Learn how to apply film grain, frames, and overlays in After Effects using AEJuice Film Textures pack for a cinematic vintage look.
Applying Film Textures for a Cinematic Look in After Effects
Introduction – Why Use Film Textures?
Film textures are a great way to give your video a nostalgic or cinematic style. Whether you’re making a music video, short film, or Instagram reel, adding elements like film grain, light leaks, or frame borders can bring a handcrafted, analog feel to your footage. In this tutorial, we’ll show you how to apply film textures using the AEJuice Film Textures pack.
Step 1: Import Your Footage
Start by going to File > Import > File and select your video clip. Drag the footage into the timeline to create a new composition. This footage will be your base layer, and the film textures will be applied over it.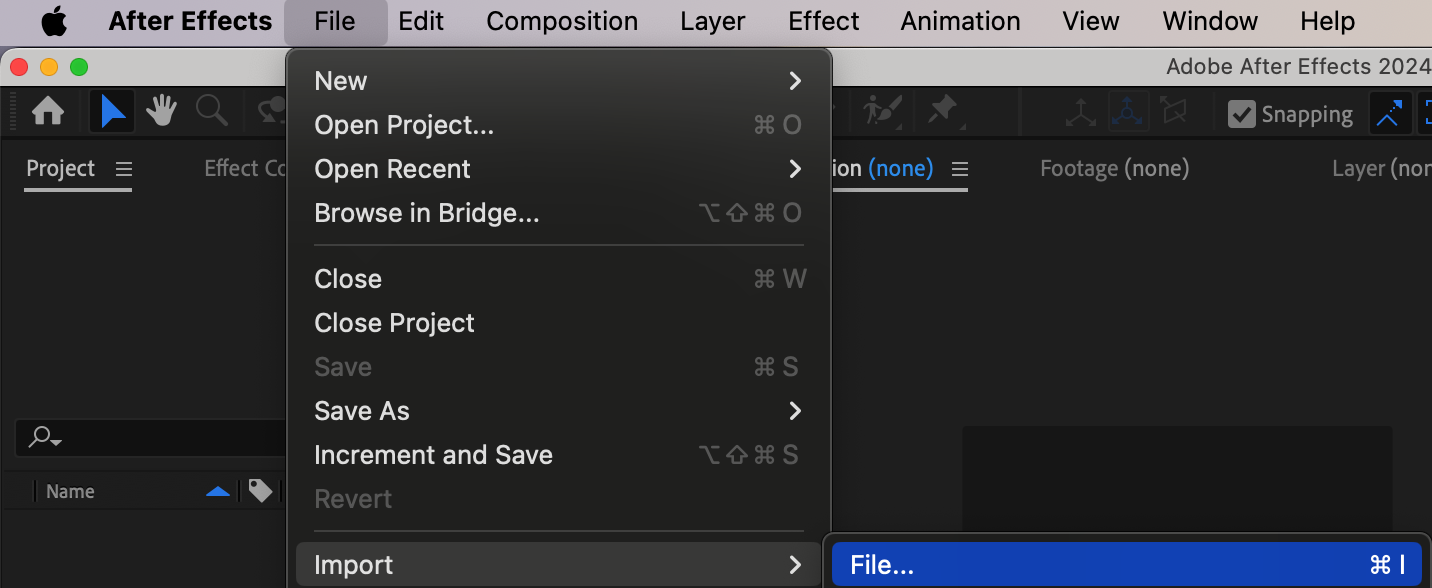
 Step 2: Open AEJuice Pack Manager
Go to Window > AEJuice Pack Manager 4 to open the plugin panel. Here you can access and manage all your AEJuice packs, including Film Textures.
Get 10% off when you subscribe to our newsletter

Step 3: Download the Film Textures Pack
Inside the Pack Manager, scroll and locate the Film Textures pack. Click on it to download if it’s not already installed. Once it’s ready, you’ll be able to explore all the included film overlays, frames, and grain effects.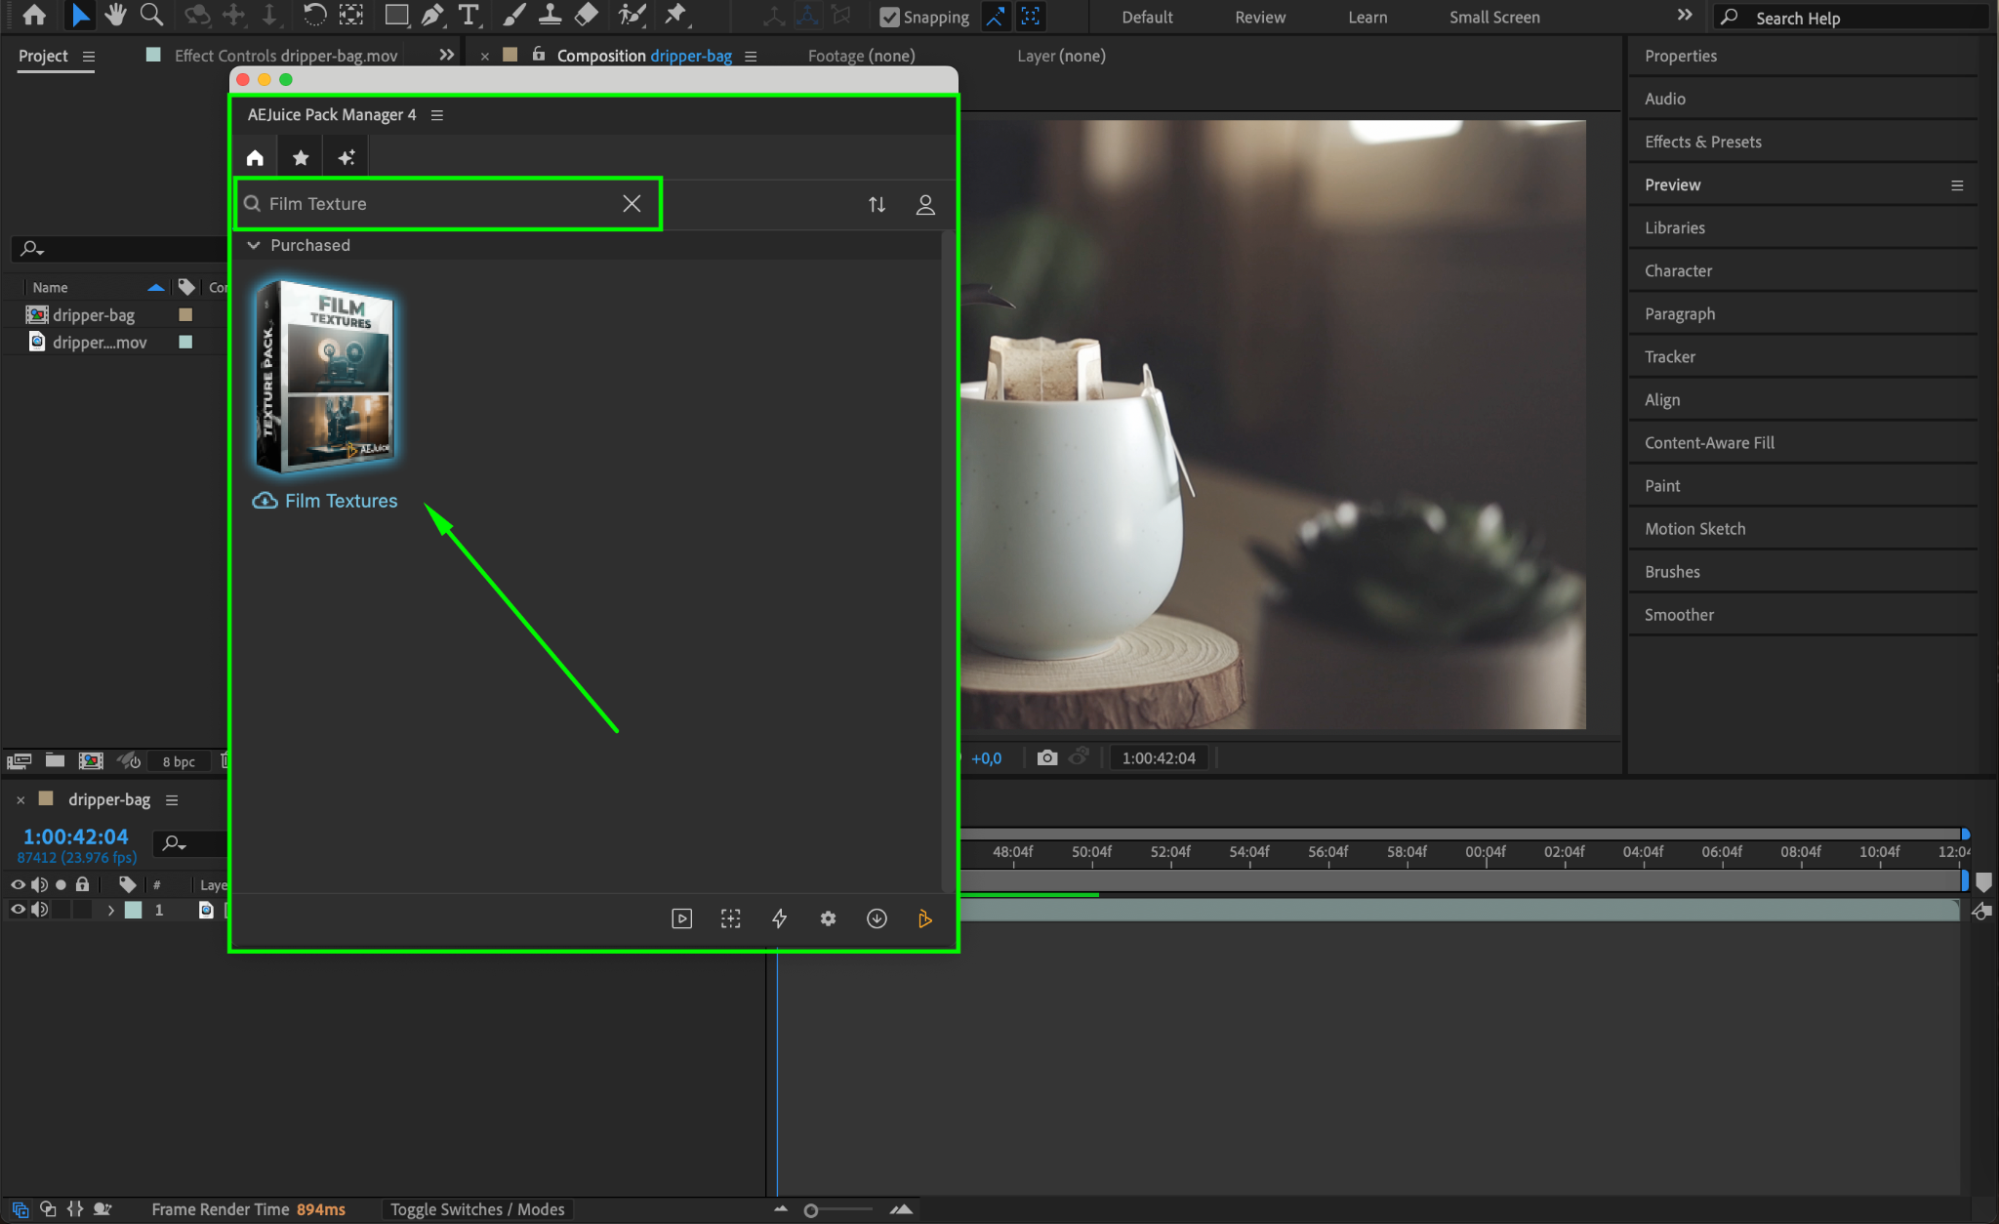 Step 4: Choose and Import a Texture
Browse through the pack and choose a texture or frame — for example, Still Frames Alpha. Click on it, then press the Import button. It will be added to your timeline as a layer.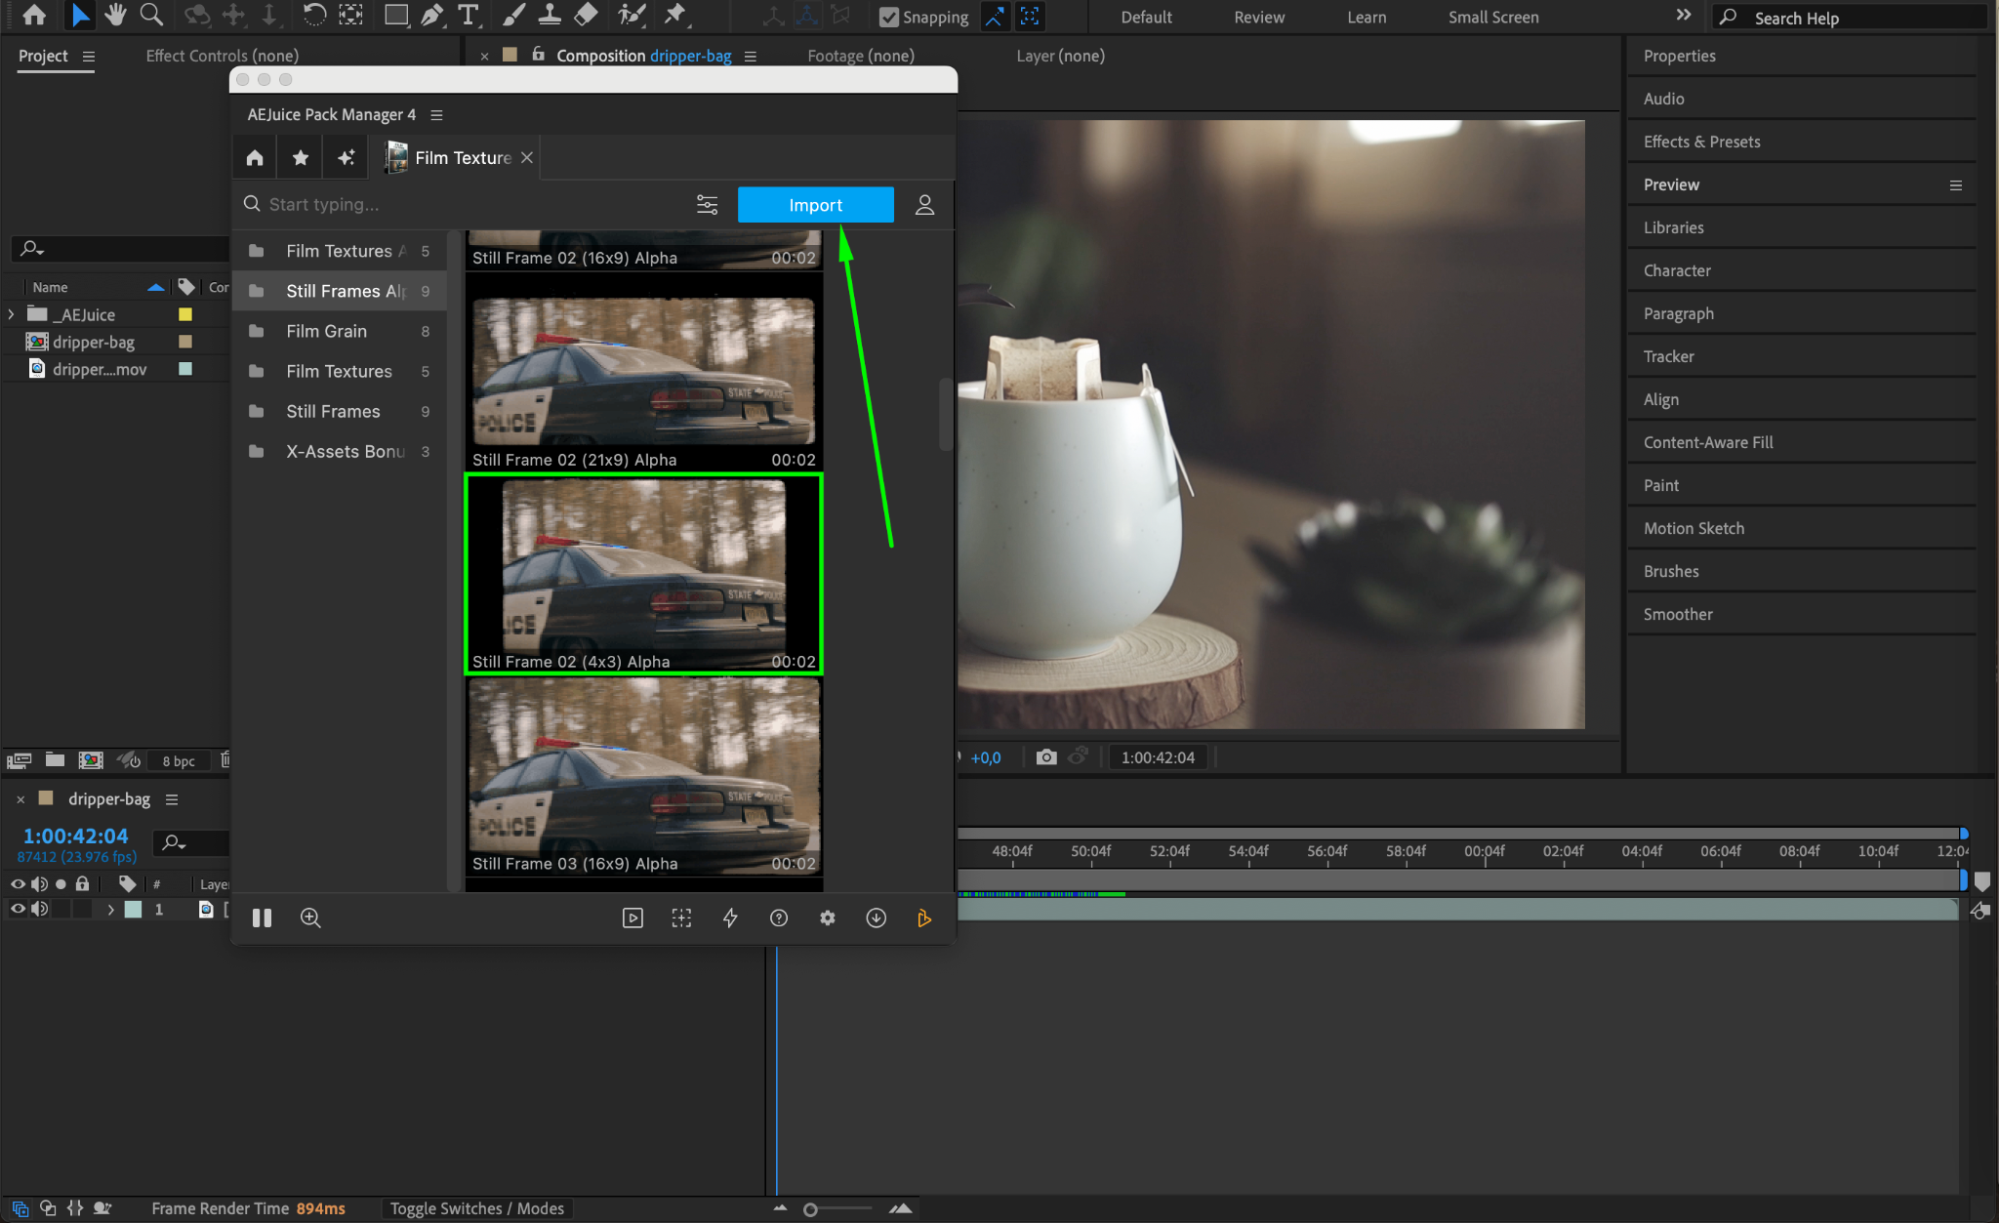 Step 5: Add Film Grain Texture
Navigate to the Film Grain section in the pack and import a grain texture. 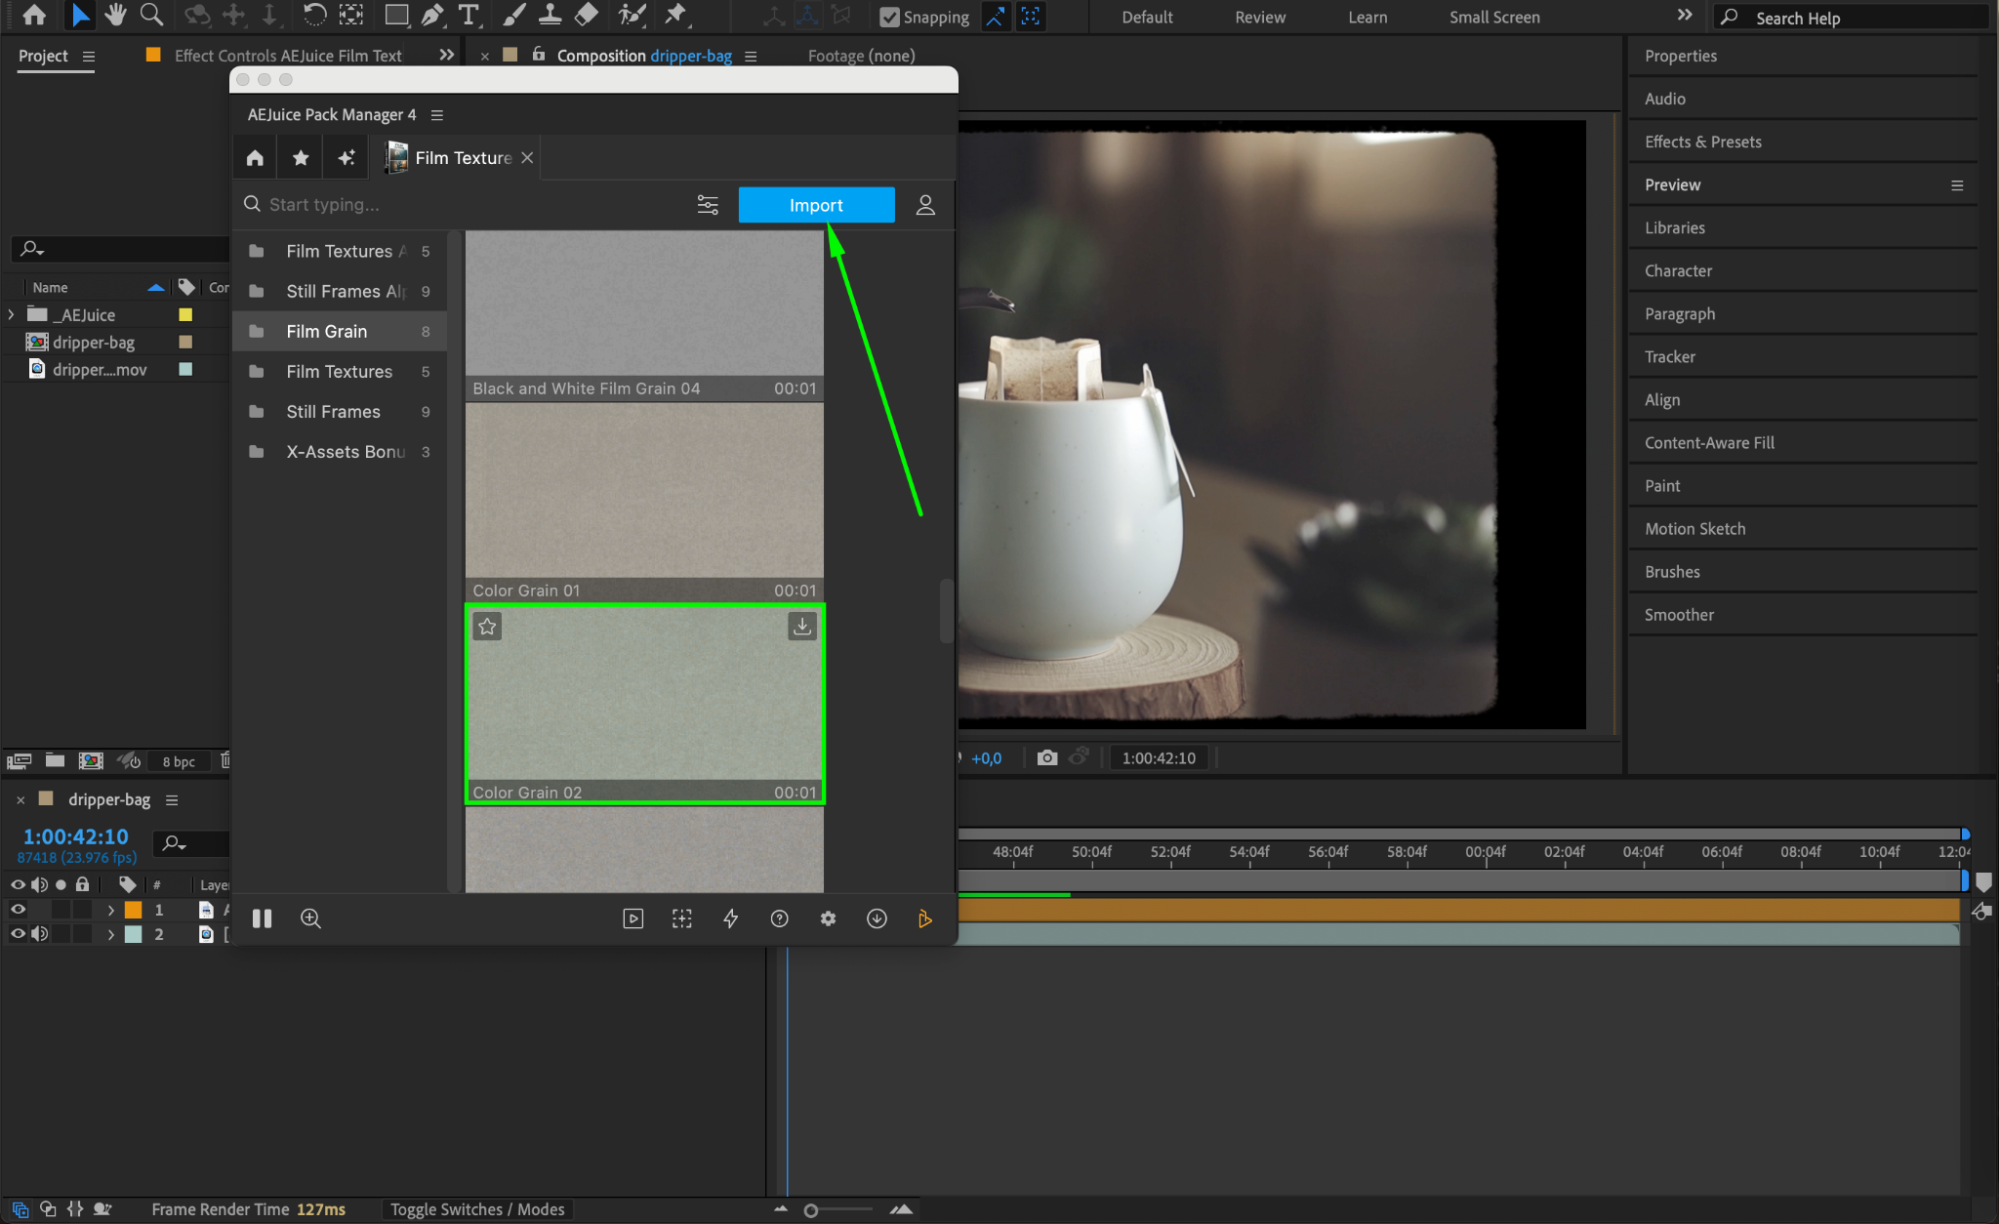
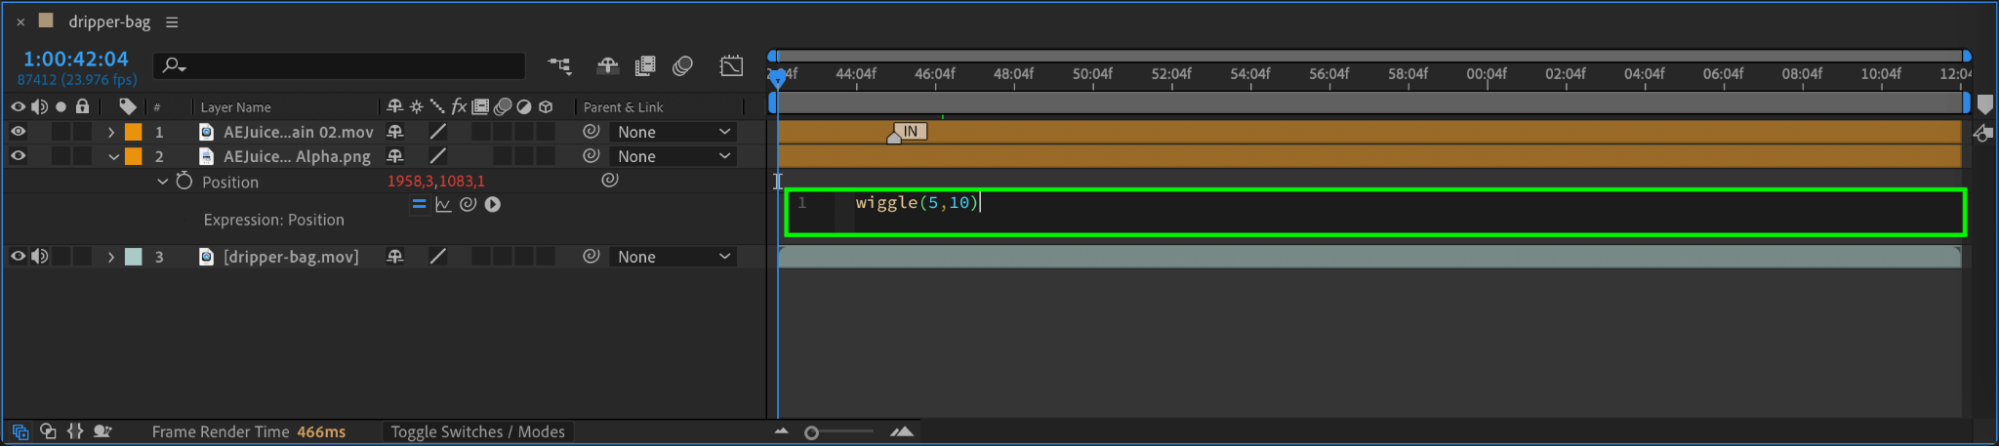
Step 6: Add Motion with Wiggle Expression (Optional)
To make the frame look more authentic, add some camera shake. Select the frame layer, press “P” for Position, then go to Animation > Add Expression and type:
wiggle(5,10)
This will make the frame jitter slightly, simulating real camera movement.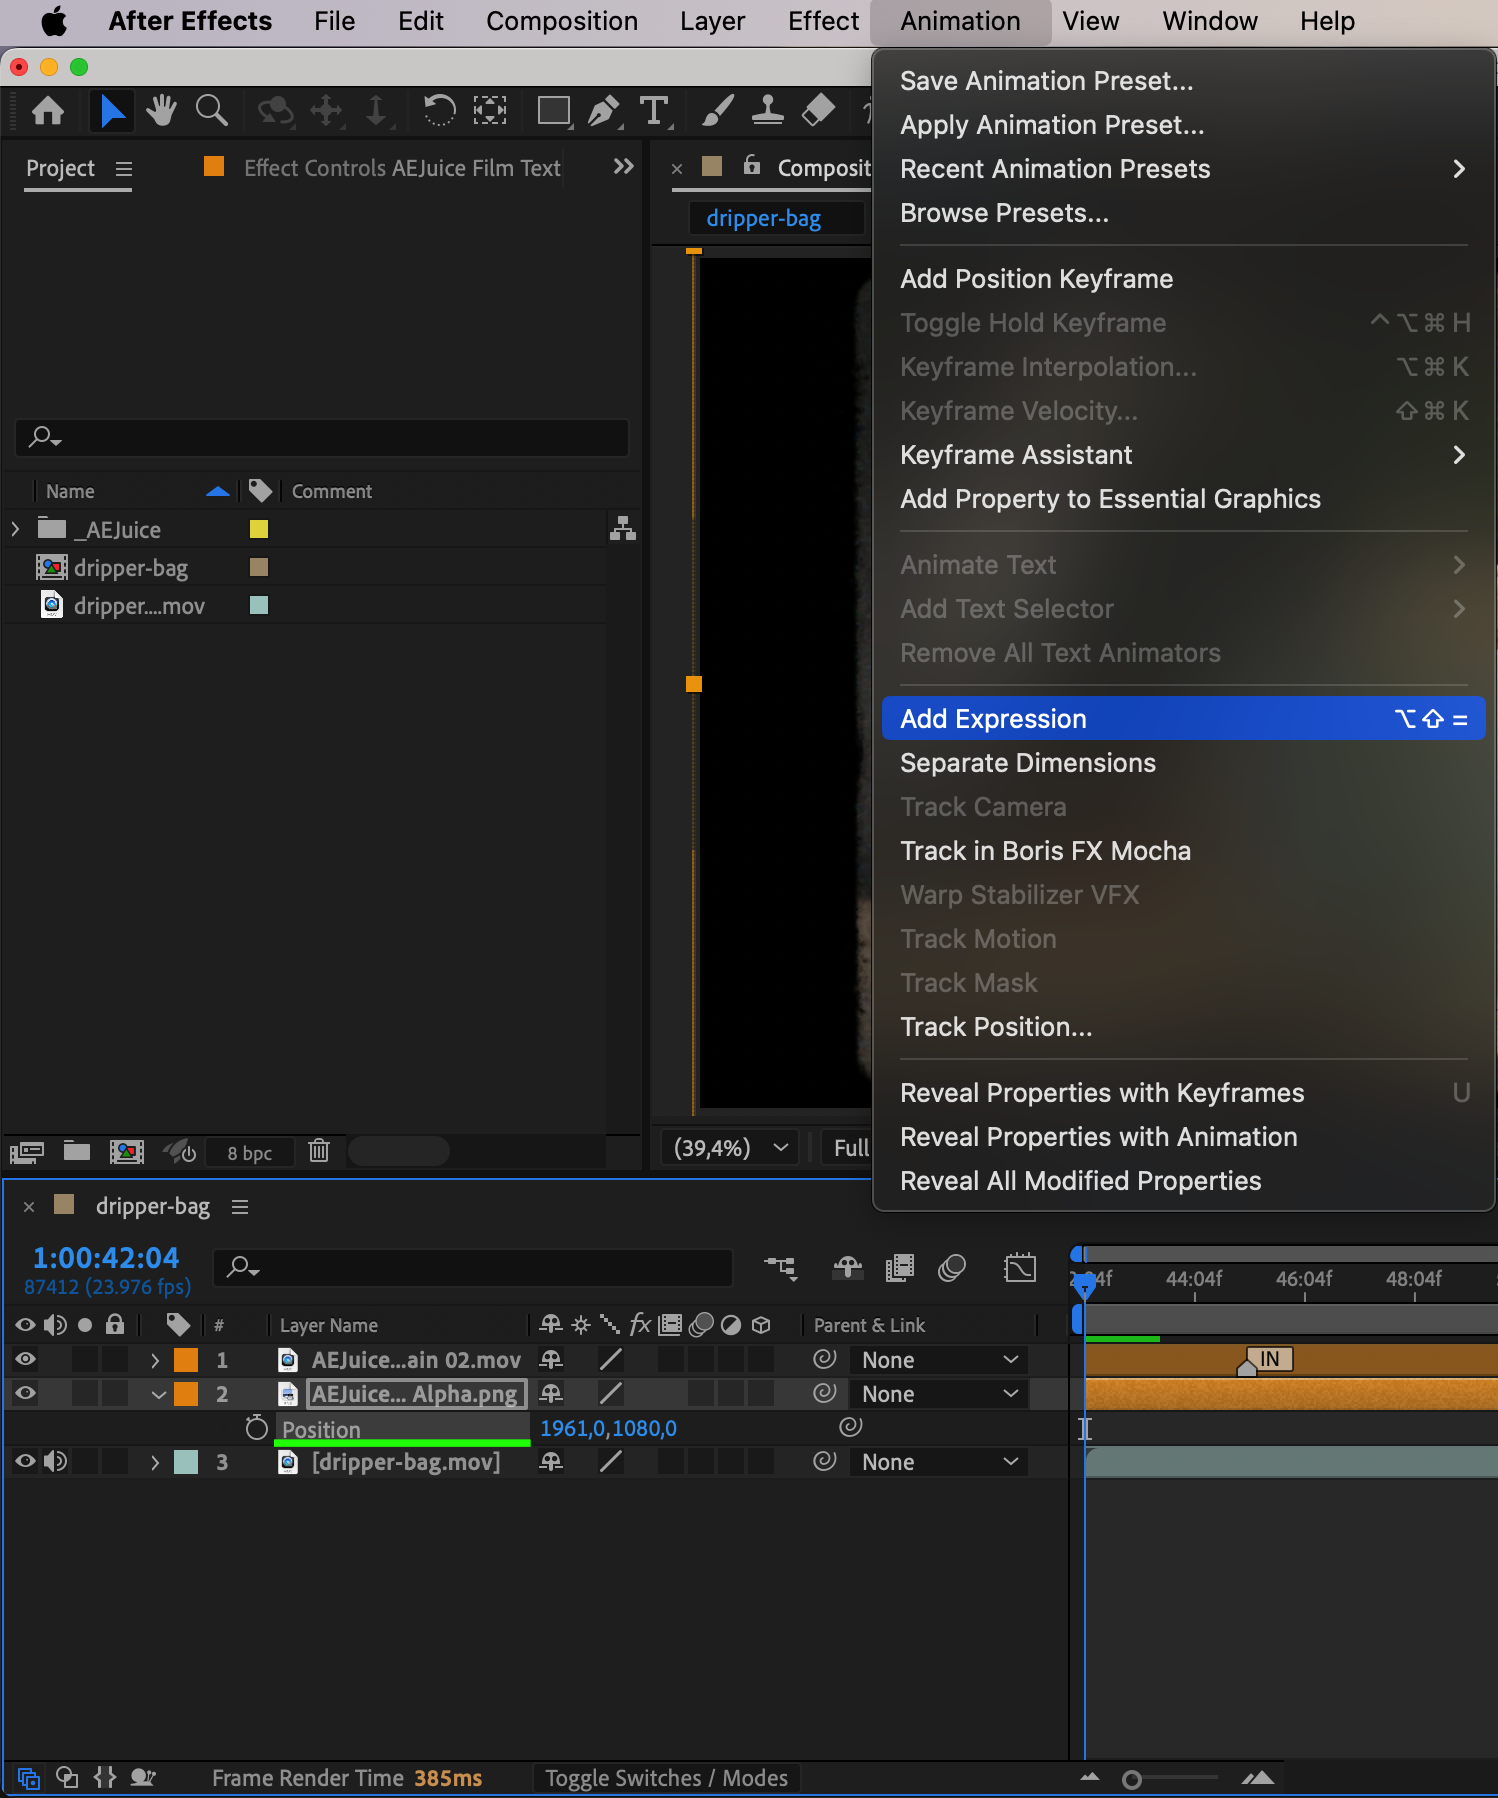
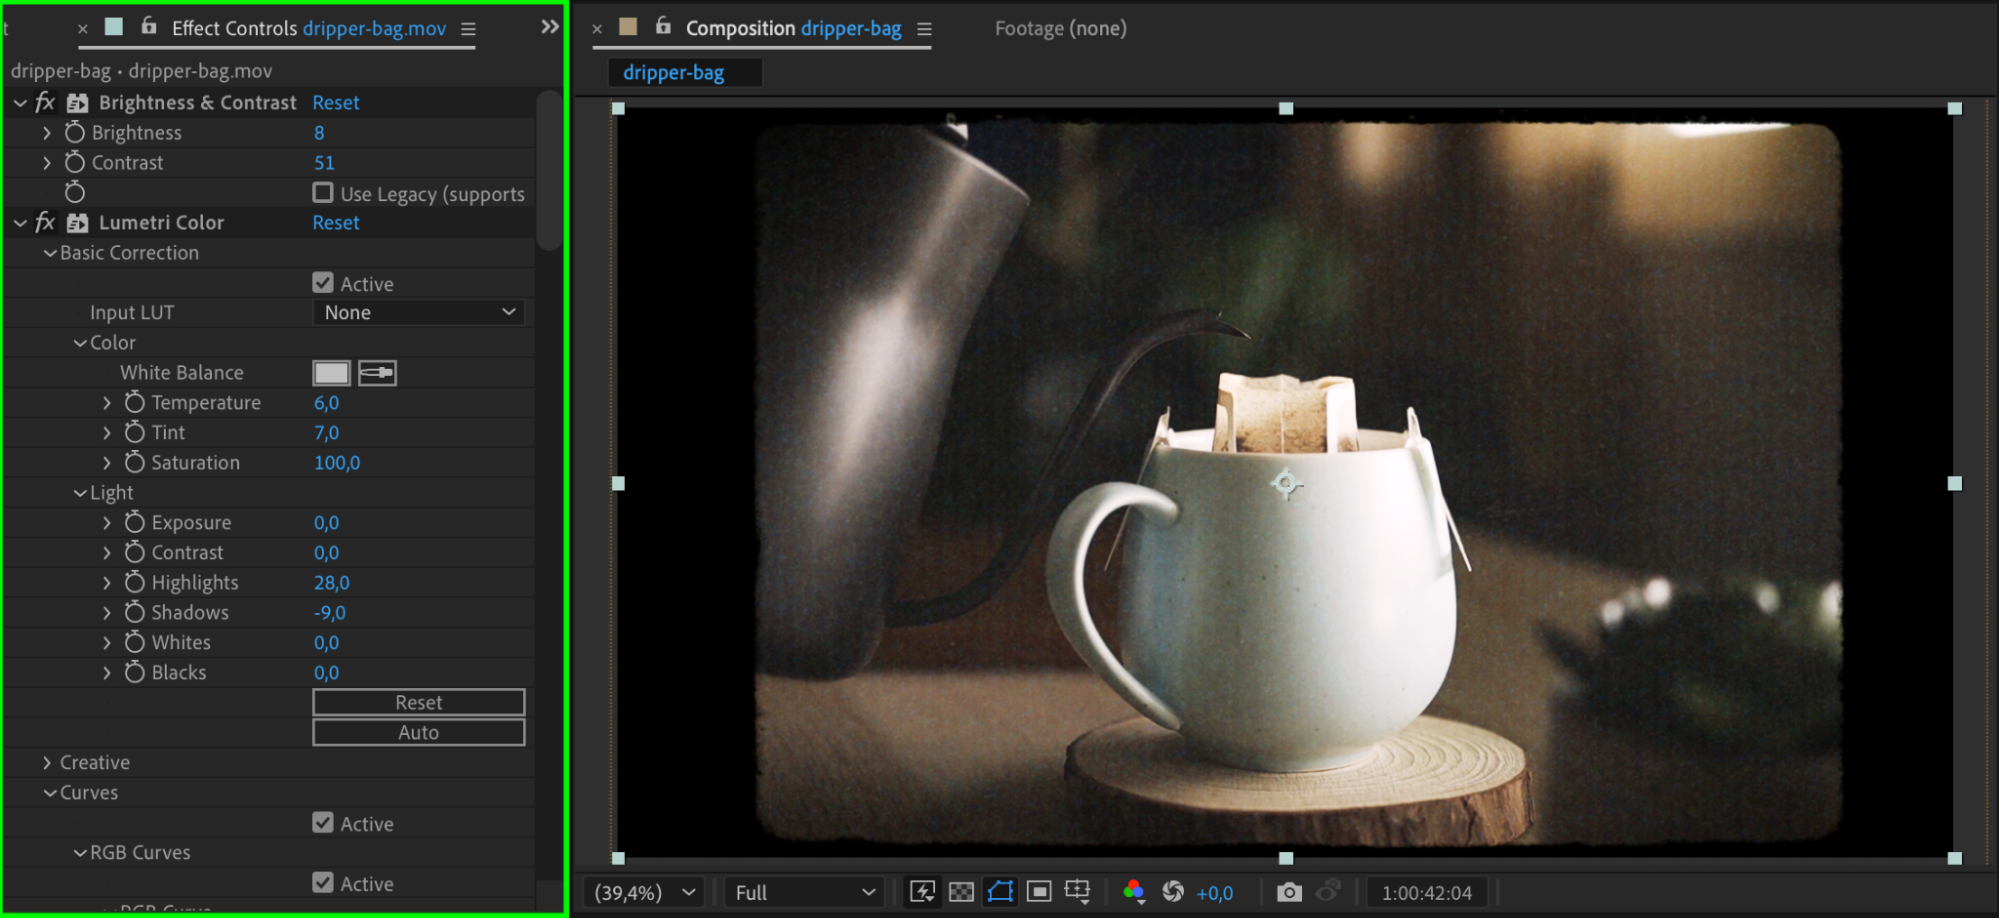
 Step 7: Apply Color Correction Effects (Optional)
To match the film aesthetic, apply Lumetri Color or Brightness & Contrast from the Effects & Presets panel to your base footage. You can desaturate the video, shift the color tone, or reduce contrast for a more vintage look.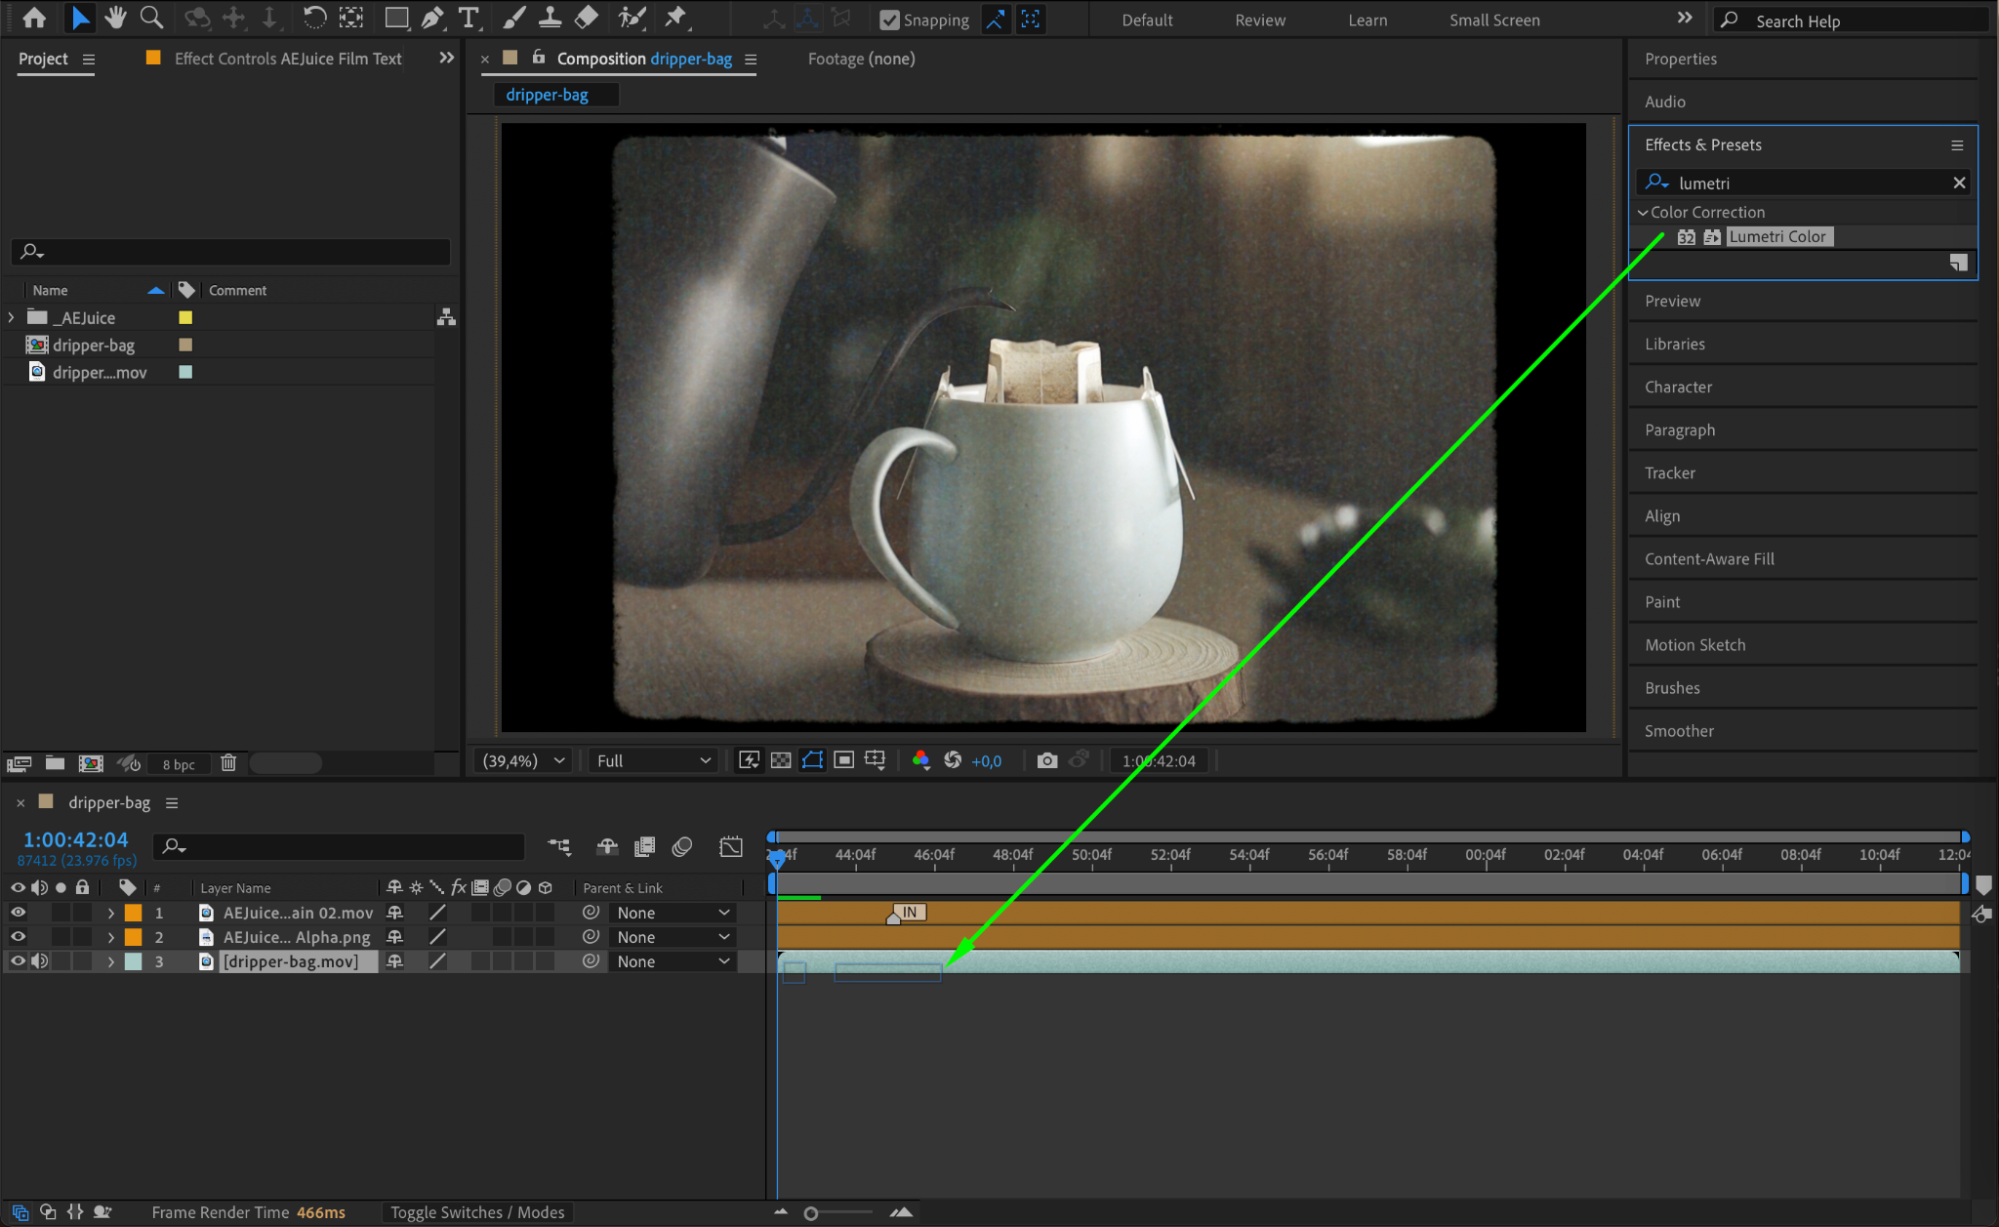
 Step 8: Preview and Export
Press Spacebar to preview your project and see how the film texture overlays enhance your video. If everything looks good, export your composition by going to Composition > Add to Render Queue.
Conclusion
By following this film textures tutorial, you’ll be able to transform your digital video into a stylized, analog-inspired visual using the best film grain textures for video editors.
Our Bestsellers


