Create Customizable Animations Using Essential Graphics in After Effects
Introduction to the Essential Graphics Workflow
Essential Graphics in After Effects lets you make your animations easier to customize – without opening the original comp. With this tool, you can turn any animation into a flexible template by exposing key properties like colors, text, or sliders. This guide will help you understand how to use Essential Graphics for color control and layer customization.
Step 1: Open Your Project with the Animation
Start by opening the After Effects project that contains your animation. Make sure the animation includes customizable elements like color or position, which you will expose later using Essential Graphics.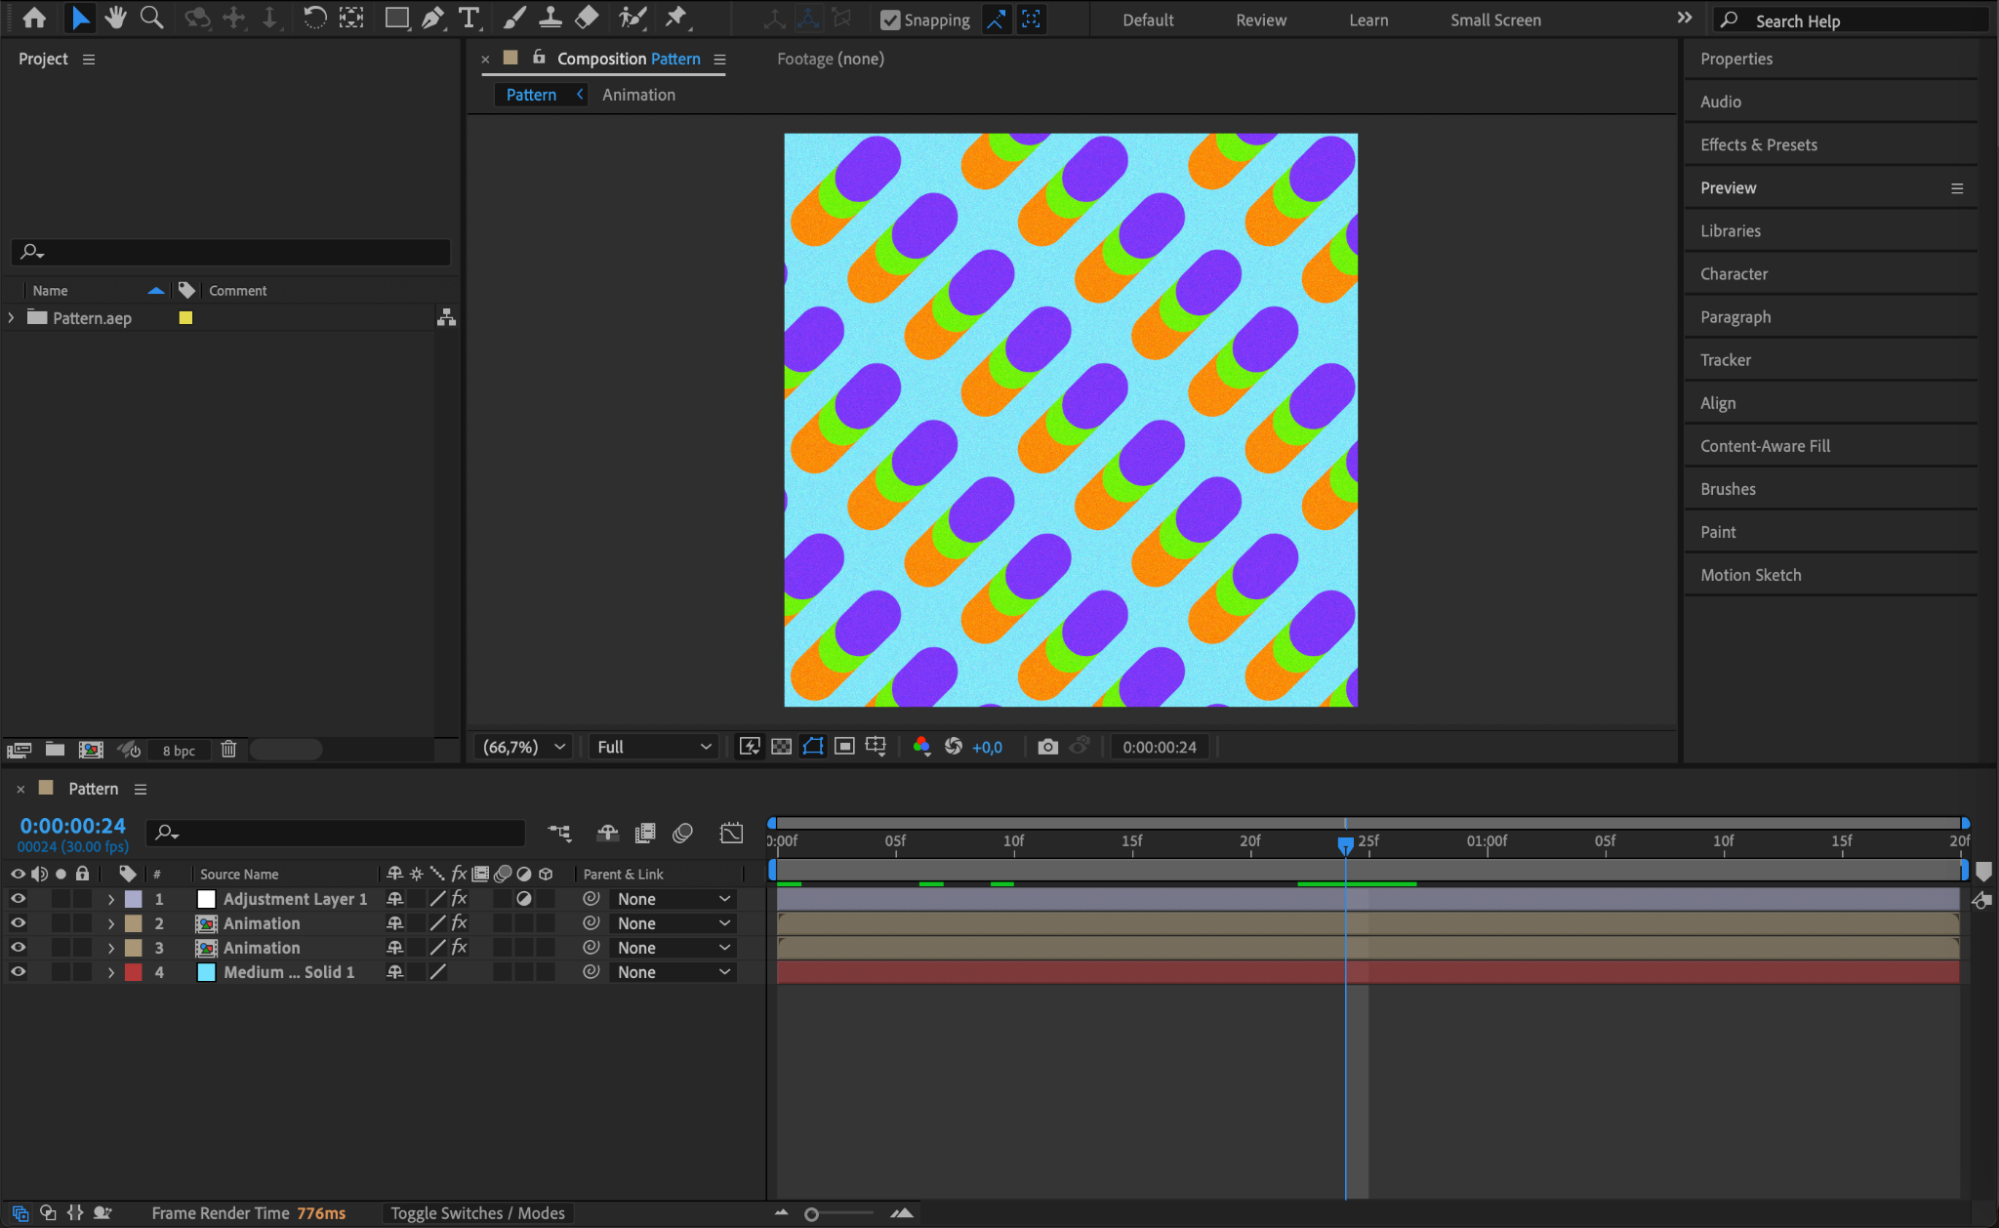 Step 2: Create a Main Composition
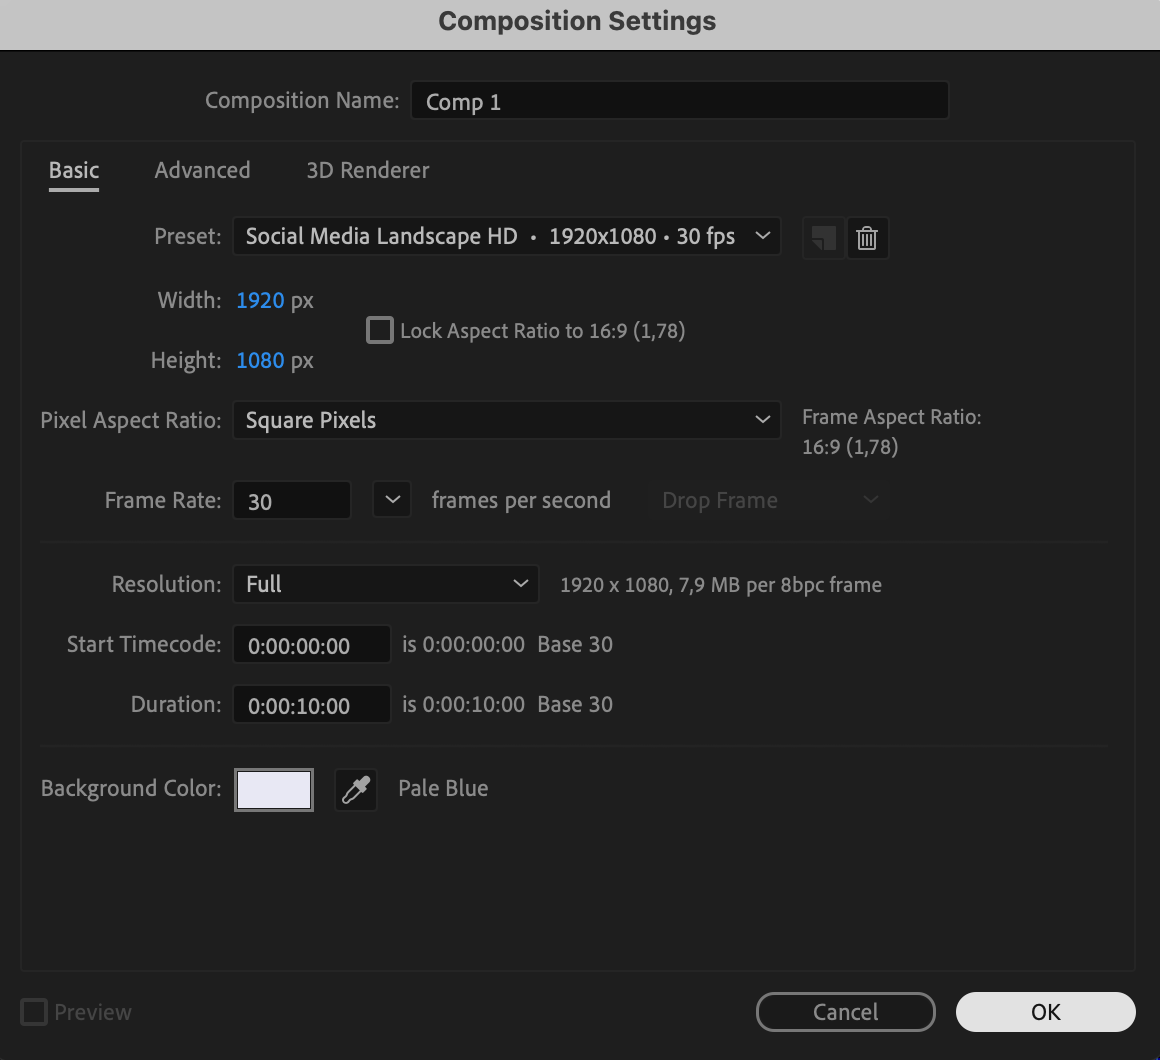
Go to the top menu and select Composition > New Composition. This will serve as the main comp where you will duplicate and customize your original animation. Set the same resolution and duration as your animation.
Get 10% off when you subscribe to our newsletter

Step 3: Add Your Animation to the Timeline
Drag your animation comp into the new main composition. If needed, adjust its scale and position to fit properly inside the frame. This main comp will be used to test and preview the Essential Graphics controls.

 Step 4: Open the Essential Graphics Panel
Go to Window > Essential Graphics to open the panel. This is where you will add the parameters you want to make editable for your animation.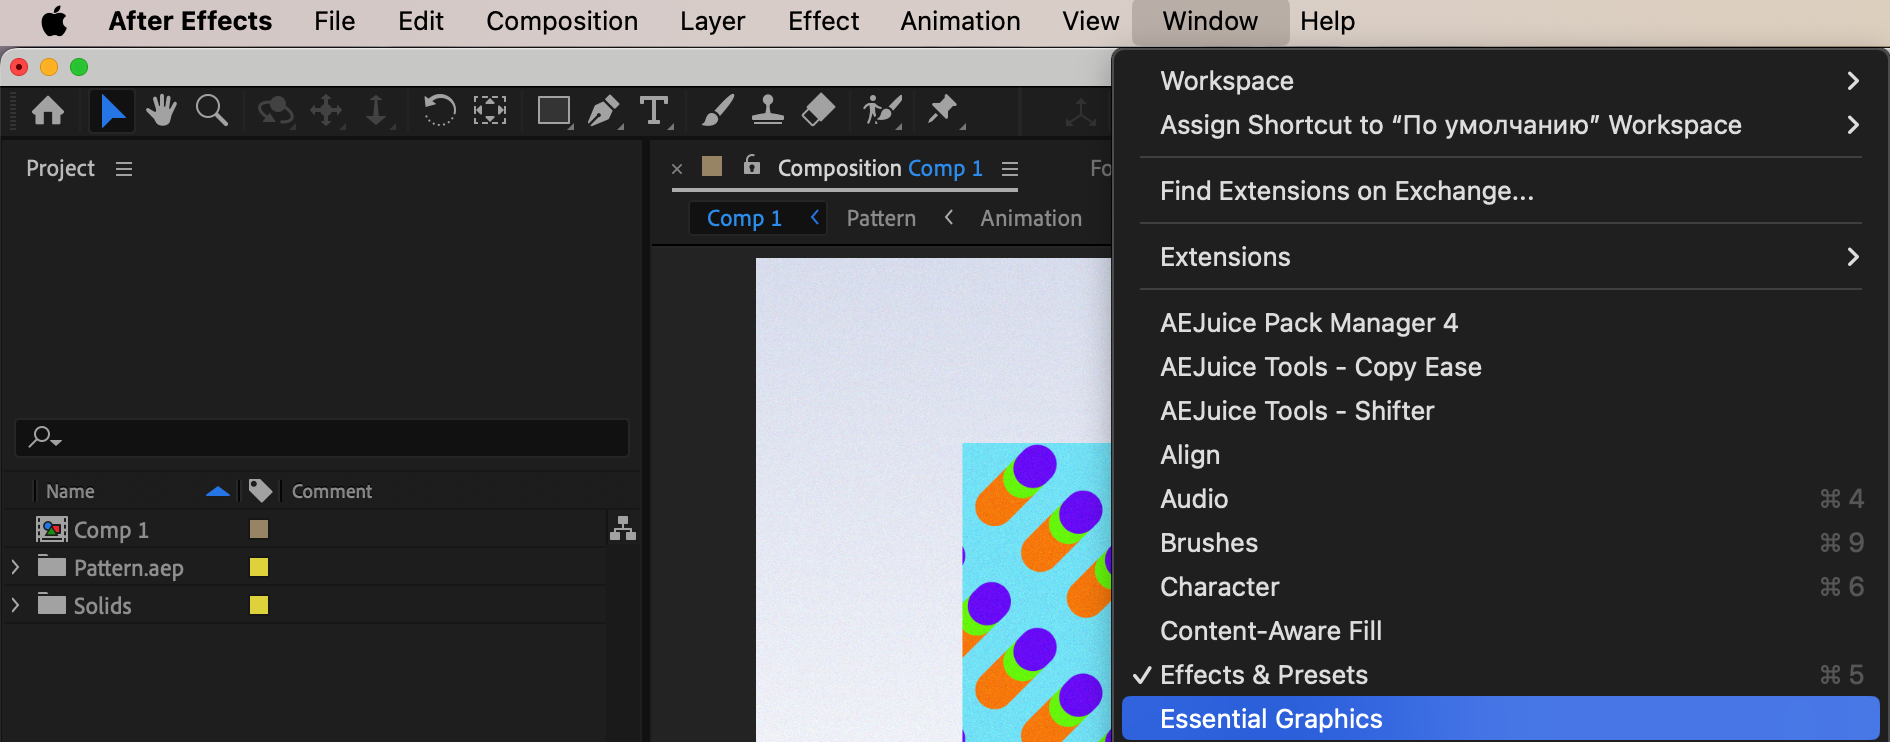 Step 5: Select the Animation Comp for Editing
In the Essential Graphics panel, use the drop-down menu labeled Primary and choose the composition that contains your animation. This tells After Effects which comp you are editing with Essential Graphics.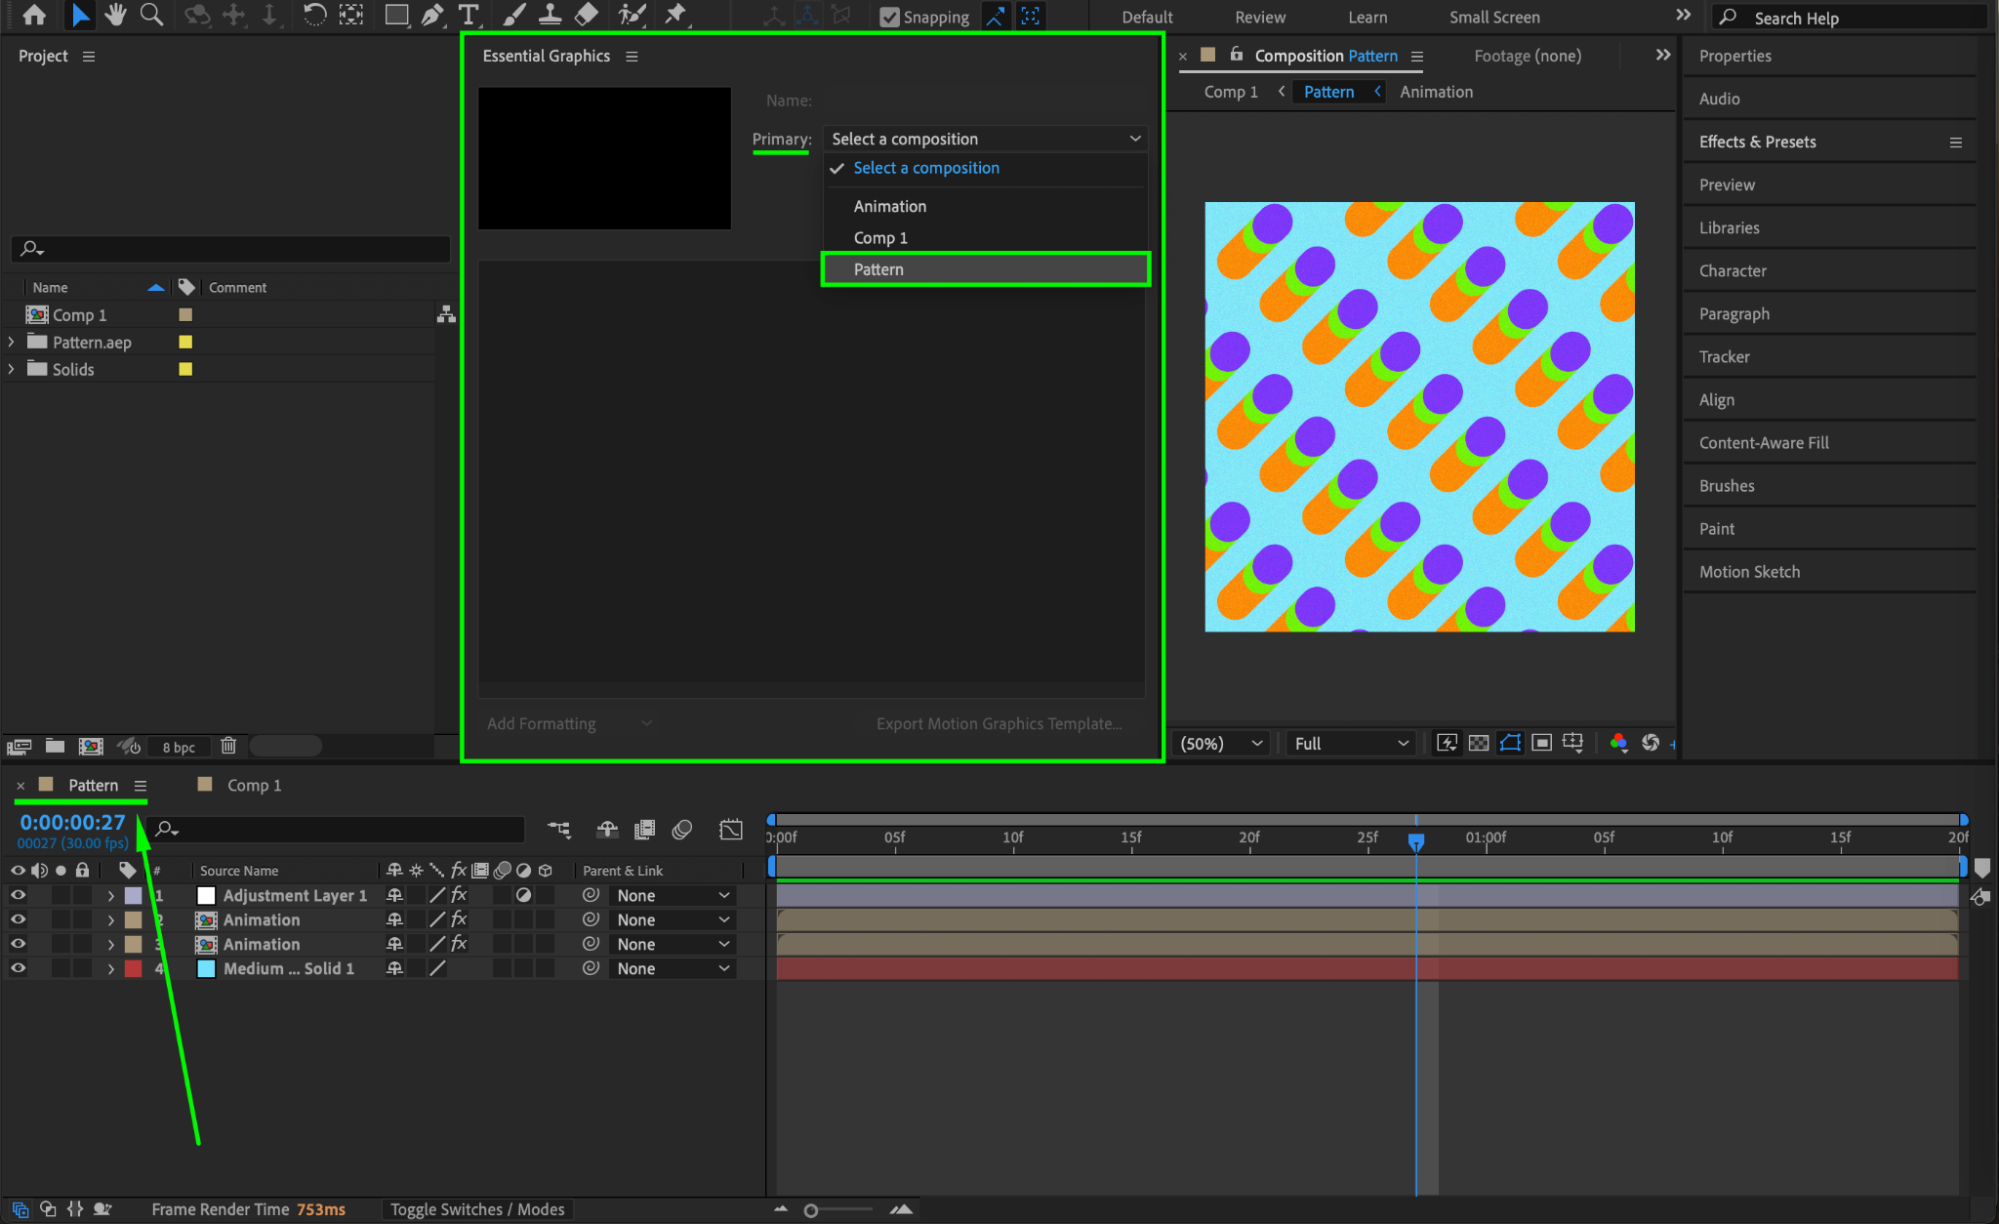 Step 6: Add Properties to Essential Graphics
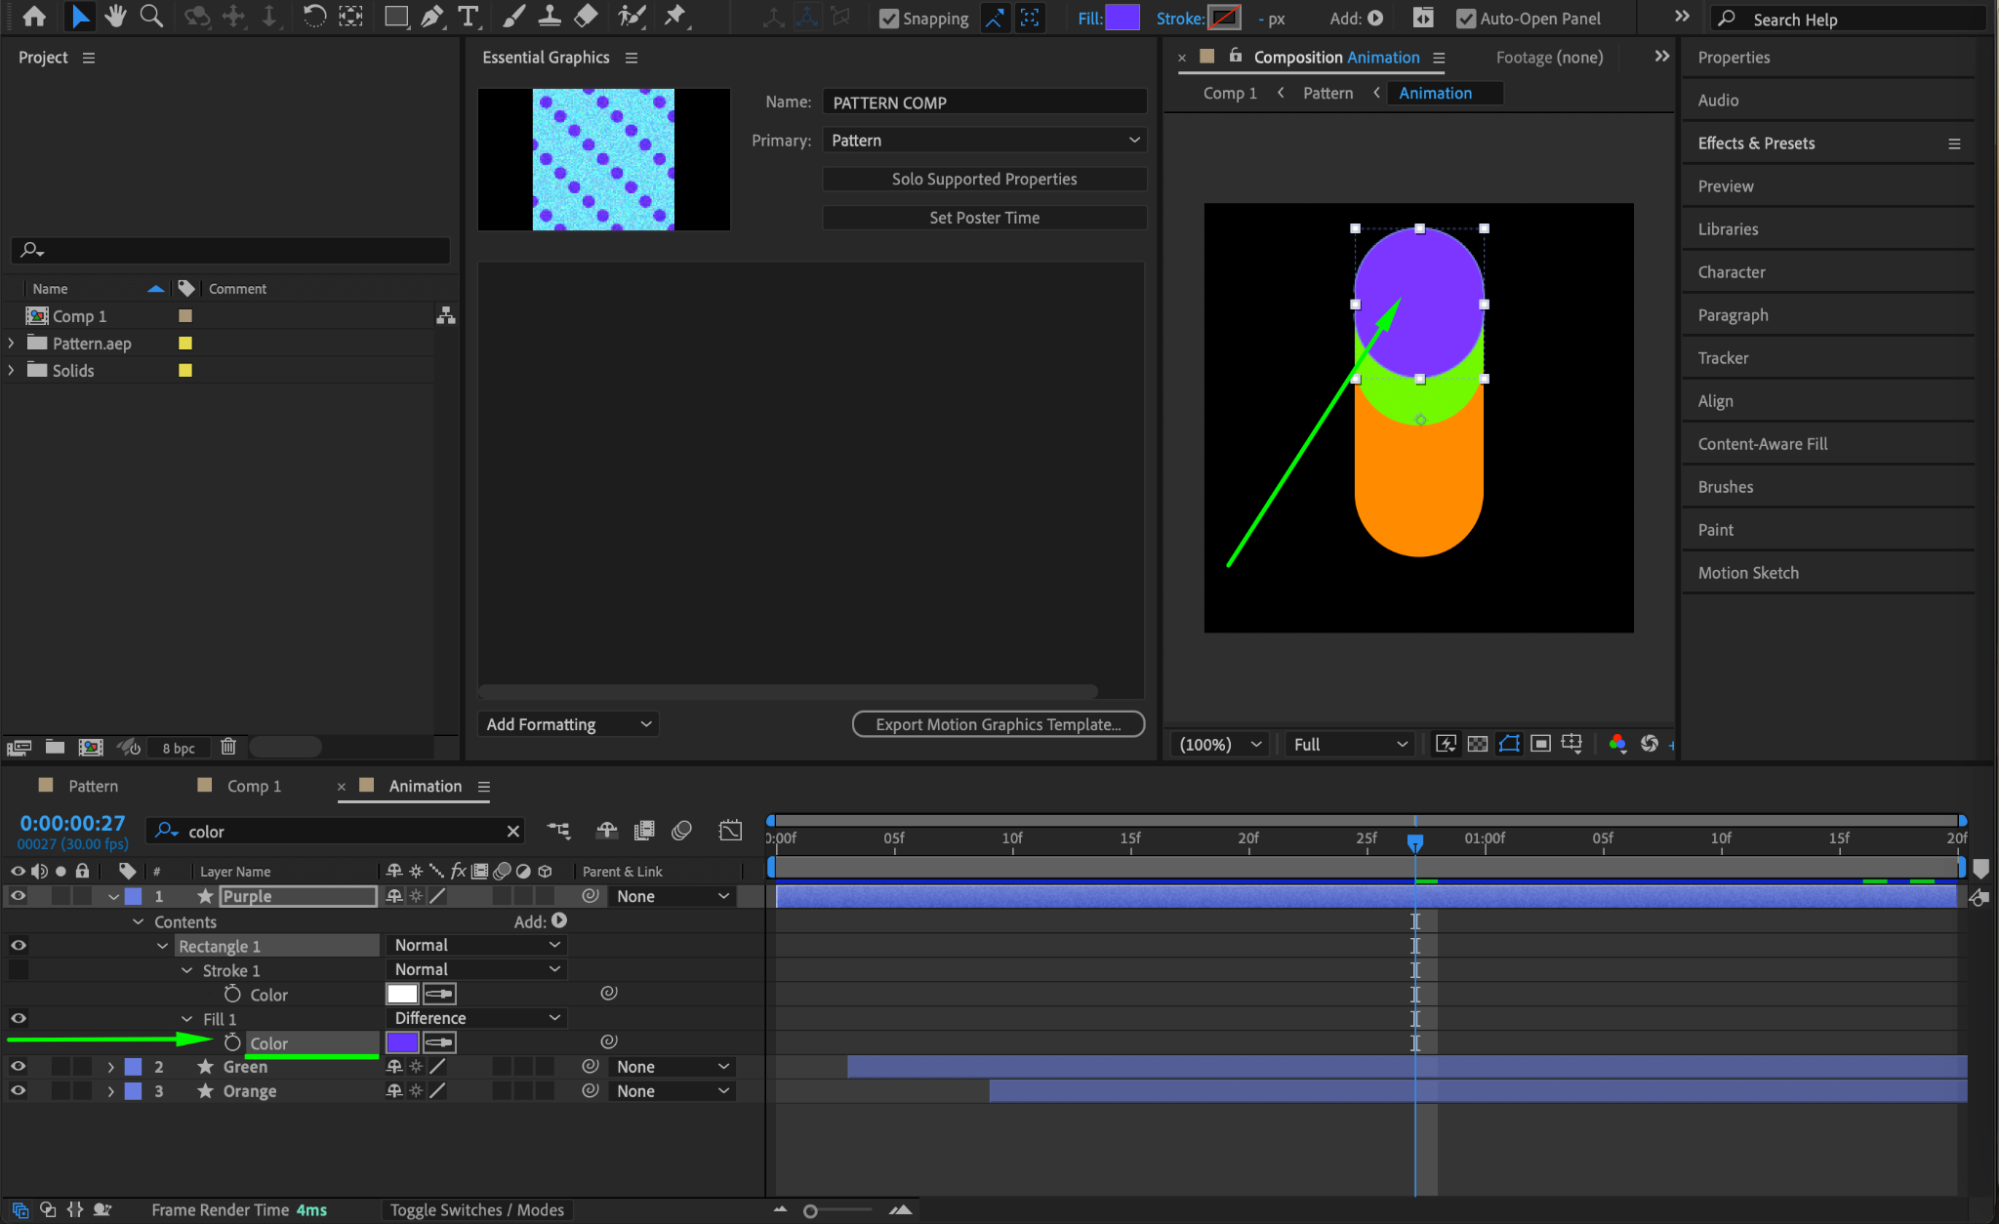
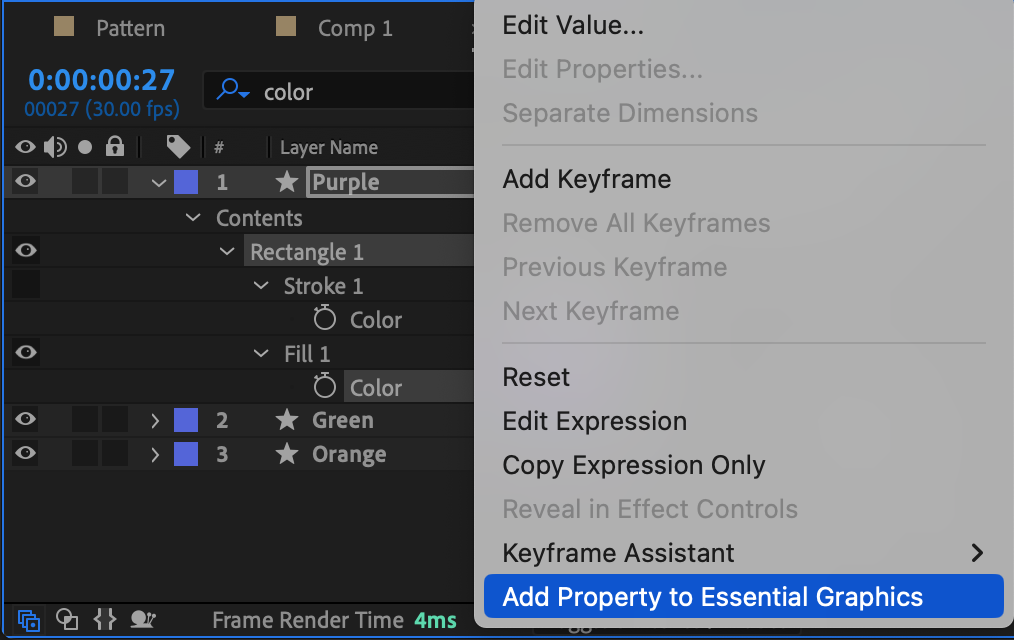
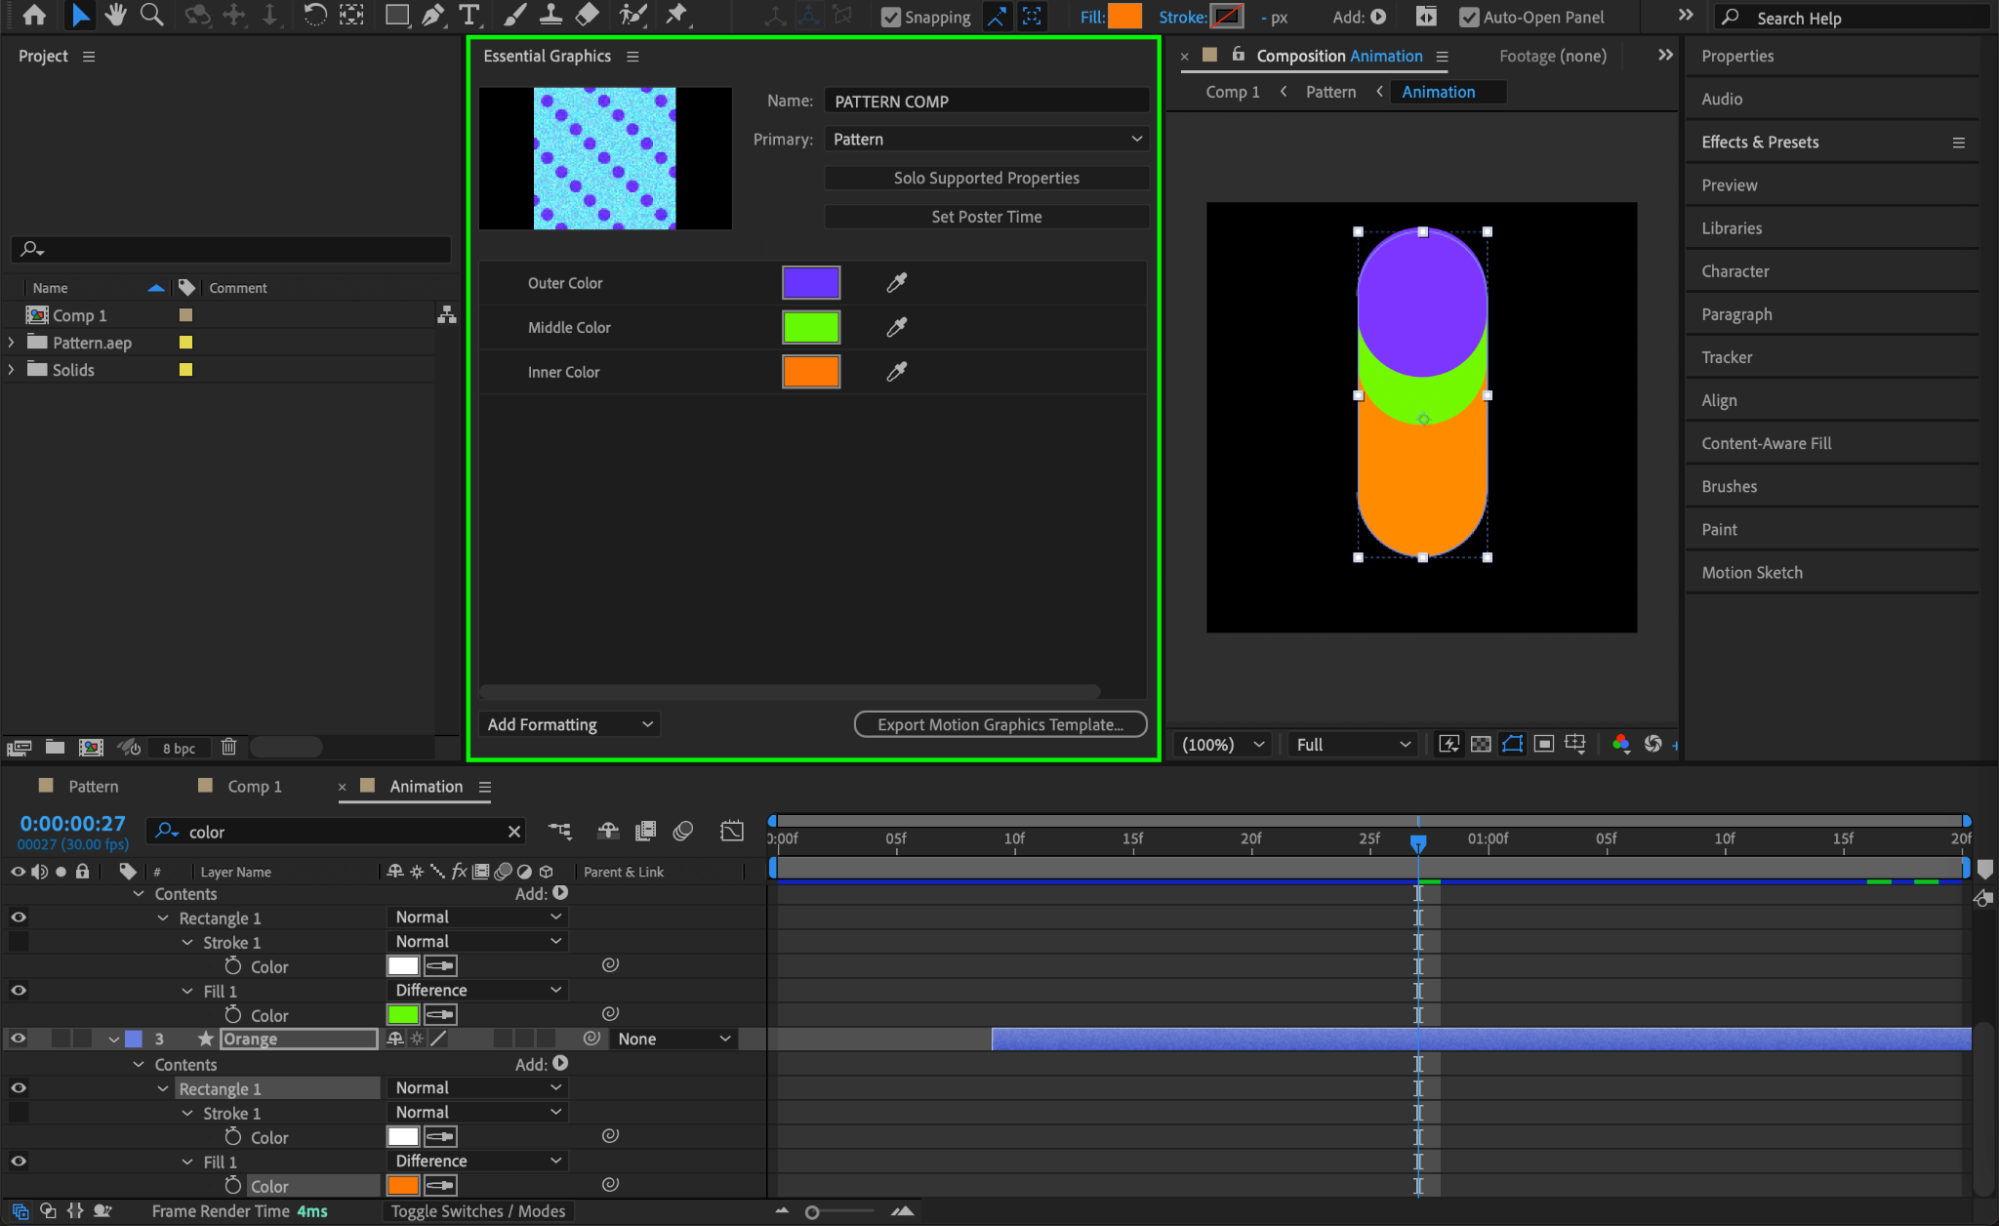
In your animation comp, open the layer properties and find the parameters you want to expose – such as fill color, text, or sliders. Right-click on the specific parameter (like Fill > Color), and choose Add Property to Essential Graphics. Give each property a clear name, such as Outer Color of Object or Shadow Intensity.

Step 7: Use Fill Effect for Solids or Non-Exposable Colors
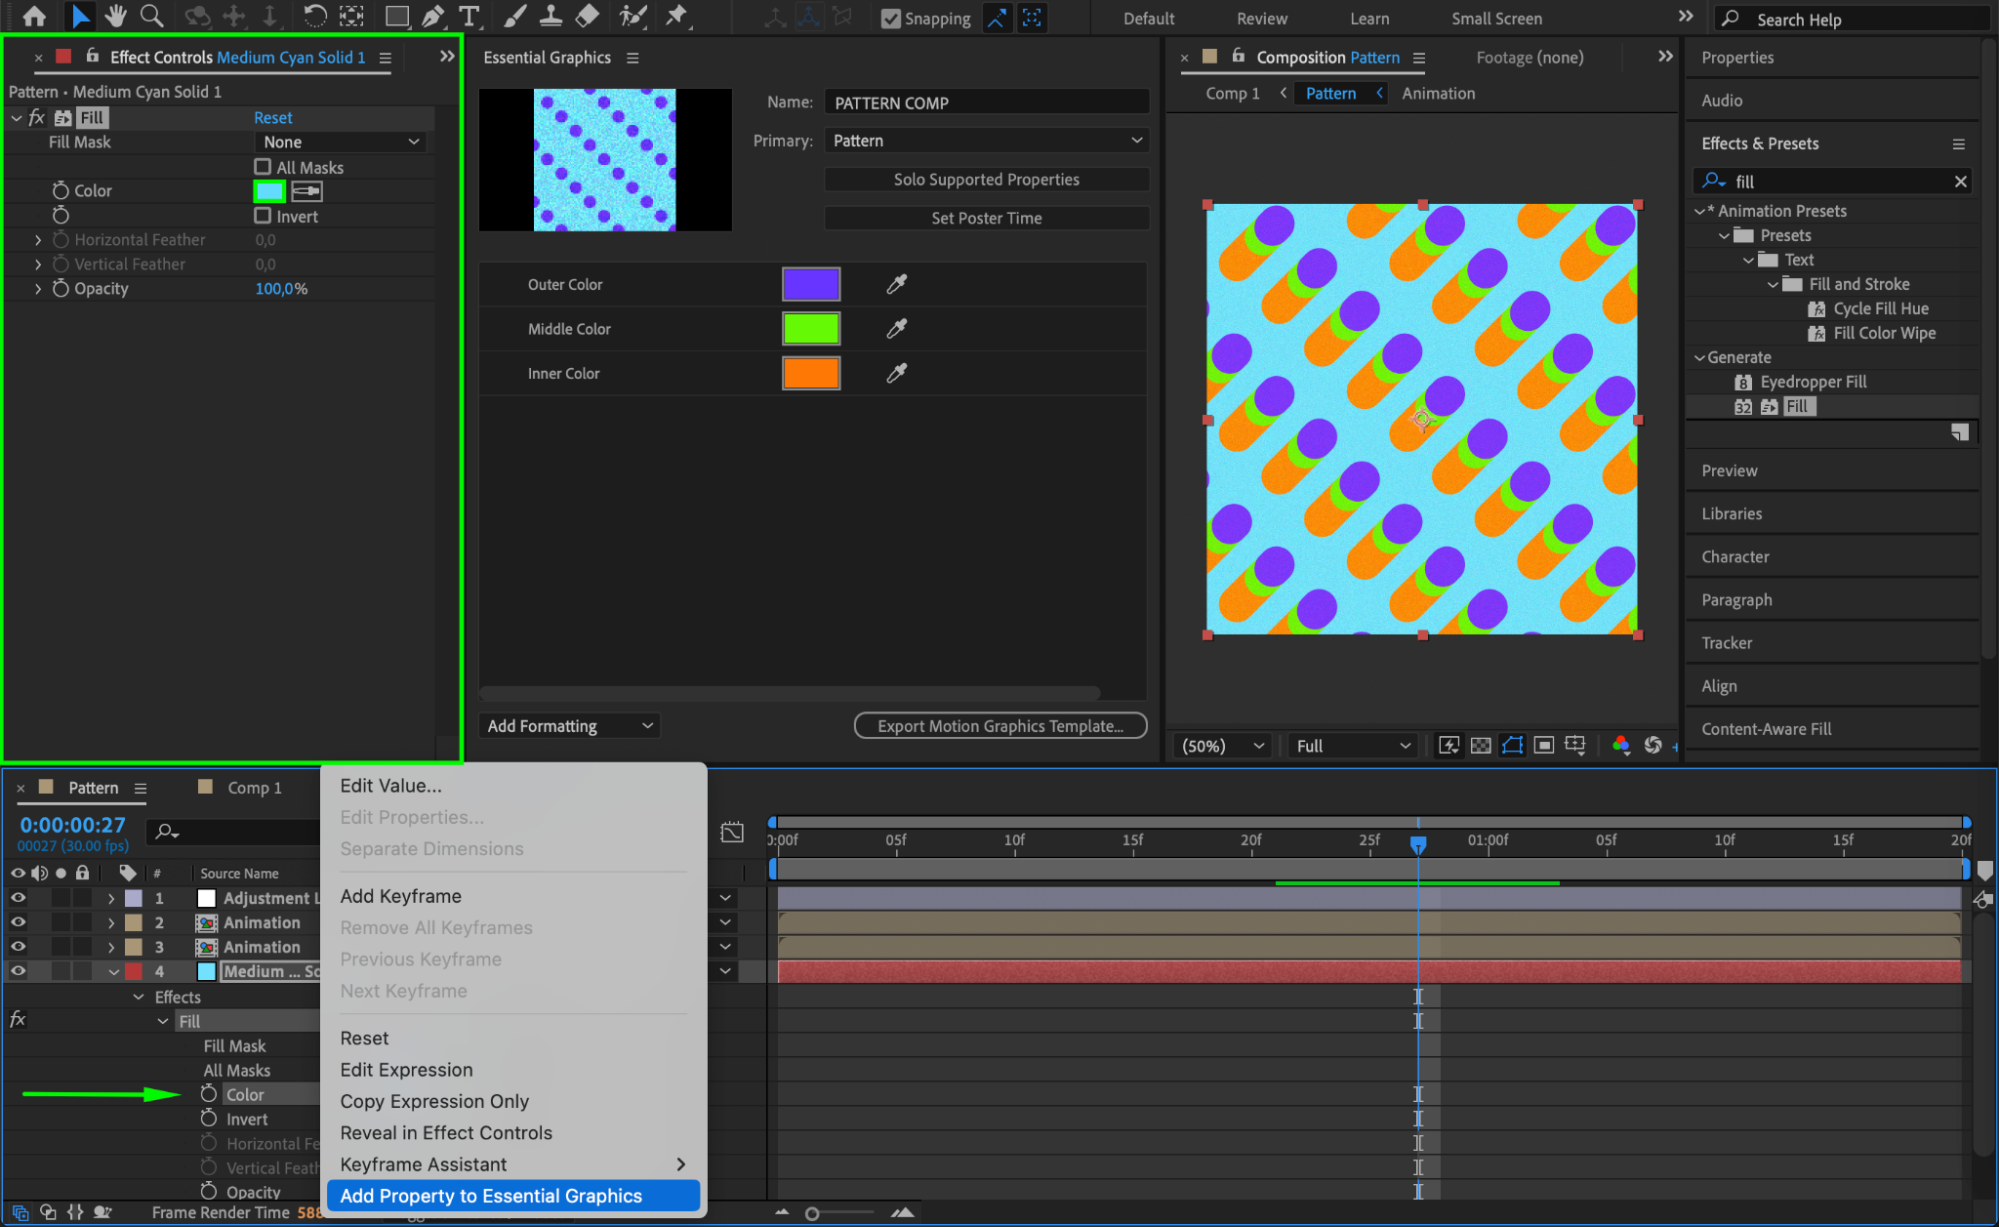
Some layers like Solids do not allow direct color editing in Essential Graphics. In this case, apply a Fill effect to the layer, choose your desired color, and then add the Color property from the Fill effect to the Essential Graphics panel. This workaround gives you full color control
 Step 8: Customize Copies in the Main Composition
Return to the main comp where you added your animation. Duplicate the animation layer if needed. Select the layer and press the arrow icon to expand Essential Properties. Here, you’ll see all the parameters you added. You can now customize each duplicate independently—without affecting the original animation or other copies.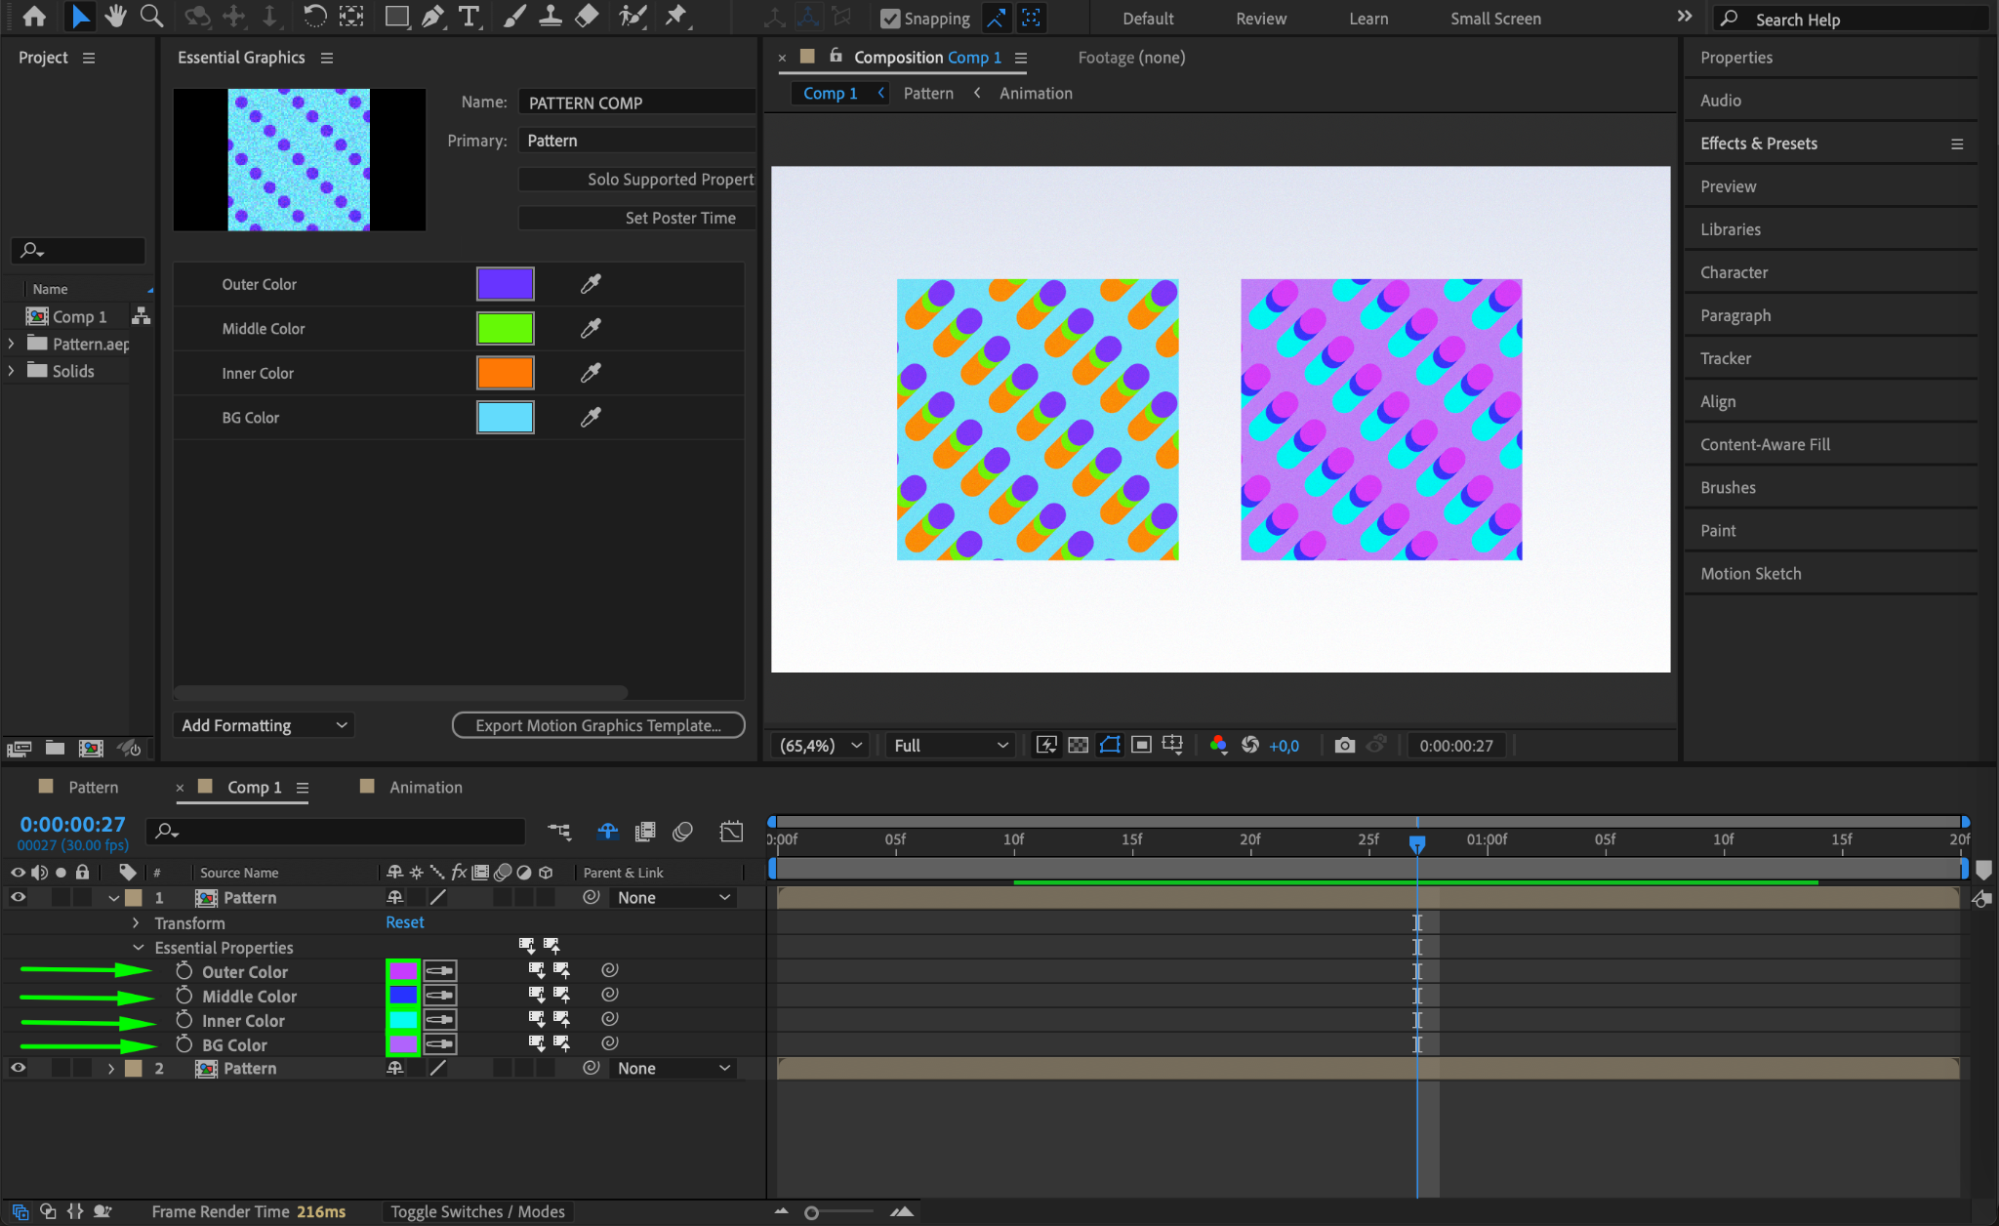 Step 9: Preview and Adjust
Press Spacebar to preview the animation. Adjust the essential properties to test their flexibility. You should see changes immediately without opening the original comp.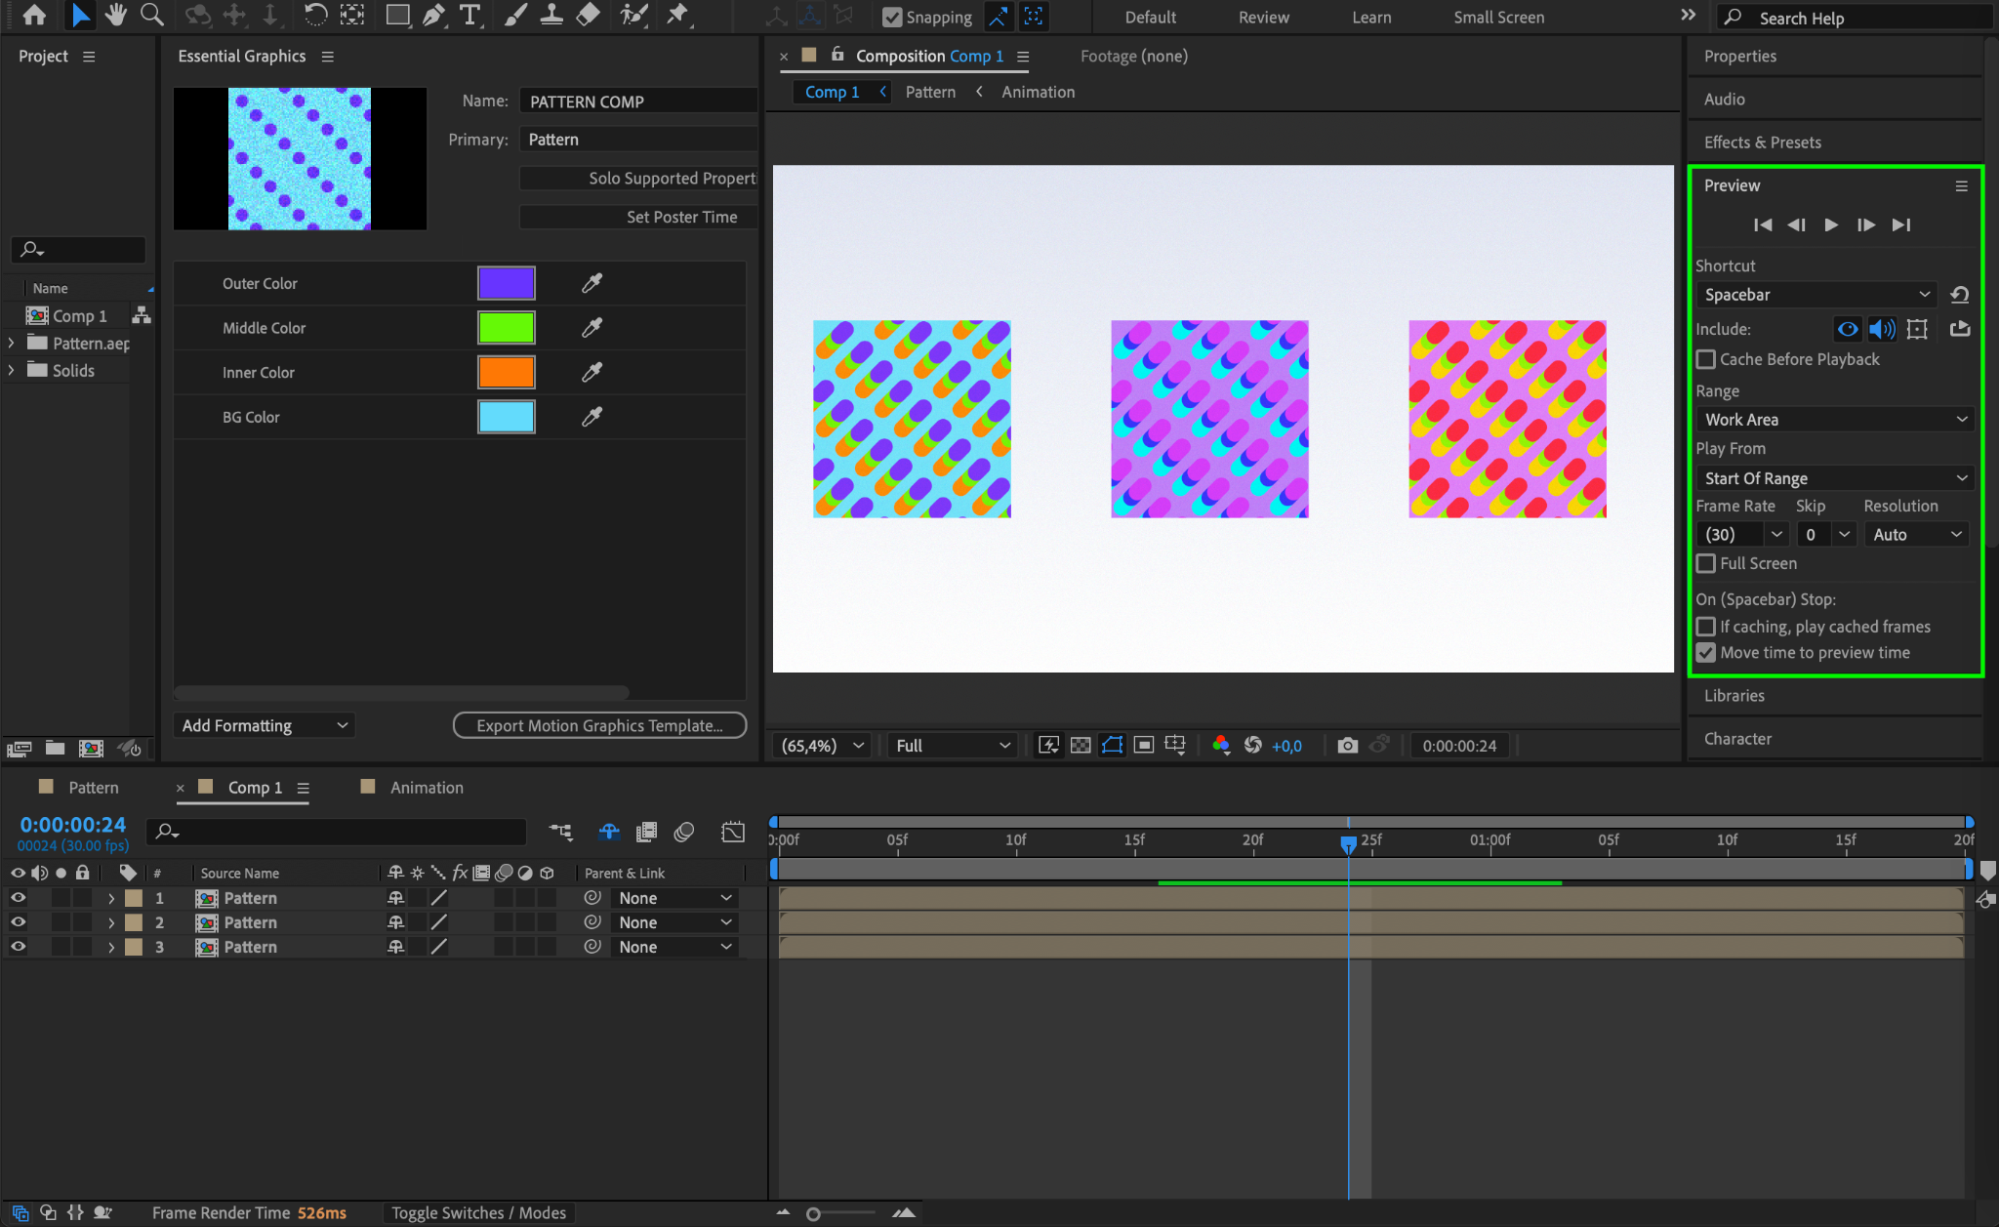 Conclusion
Using Essential Graphics in After Effects helps you build clean, reusable animations. By exposing properties like color, text, or size, you can quickly customize versions without affecting the original design. This method is perfect for templates, team workflows, and faster edits.


