Learn how to customize and apply loops from Animated Backgrounds 2 to enhance your motion graphics in After Effects.
Create Dynamic Motion Graphics with Animated Backgrounds 2
Introduction – Why Use Animated Backgrounds?
When designing motion graphics, backgrounds play a big role in setting the tone, mood, and style of your video. AEJuice’s Animated Backgrounds 2 pack includes professionally designed animated loops that can instantly elevate your composition. Whether you need liquid gradients, abstract motion, or minimal loops, this pack offers editable, seamless animations perfect for YouTube, reels, title sequences, and client projects.
Step 1: Create a New Composition
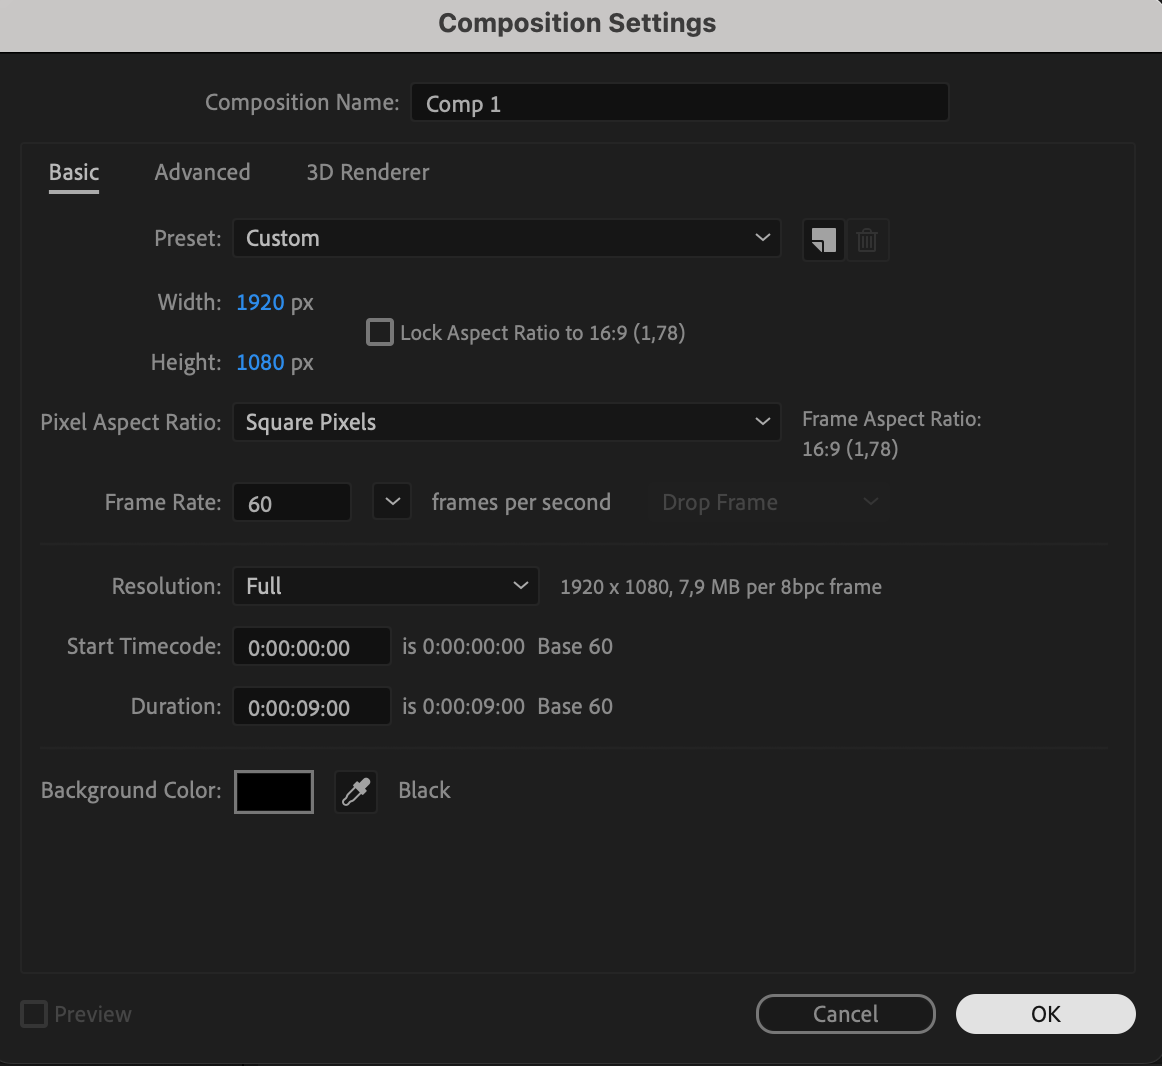
Start by going to Composition > New Composition in After Effects. Set your desired resolution, frame rate, and duration. This will be the foundation for adding your animated background and any other layers you want.

 Step 2: Open AEJuice Pack Manager
Navigate to Window > AEJuice Pack Manager 4 to launch the AEJuice plugin. This is where you can manage, browse, and import assets from your purchased or downloaded AEJuice packs.
Get 10% off when you subscribe to our newsletter

Step 3: Download the Animated Backgrounds 2 Pack
In the Pack Manager interface, scroll through the available packs until you find Animated Backgrounds 2. If it’s not yet installed, click the pack to download it. Once downloaded, you’ll have access to all included animated templates.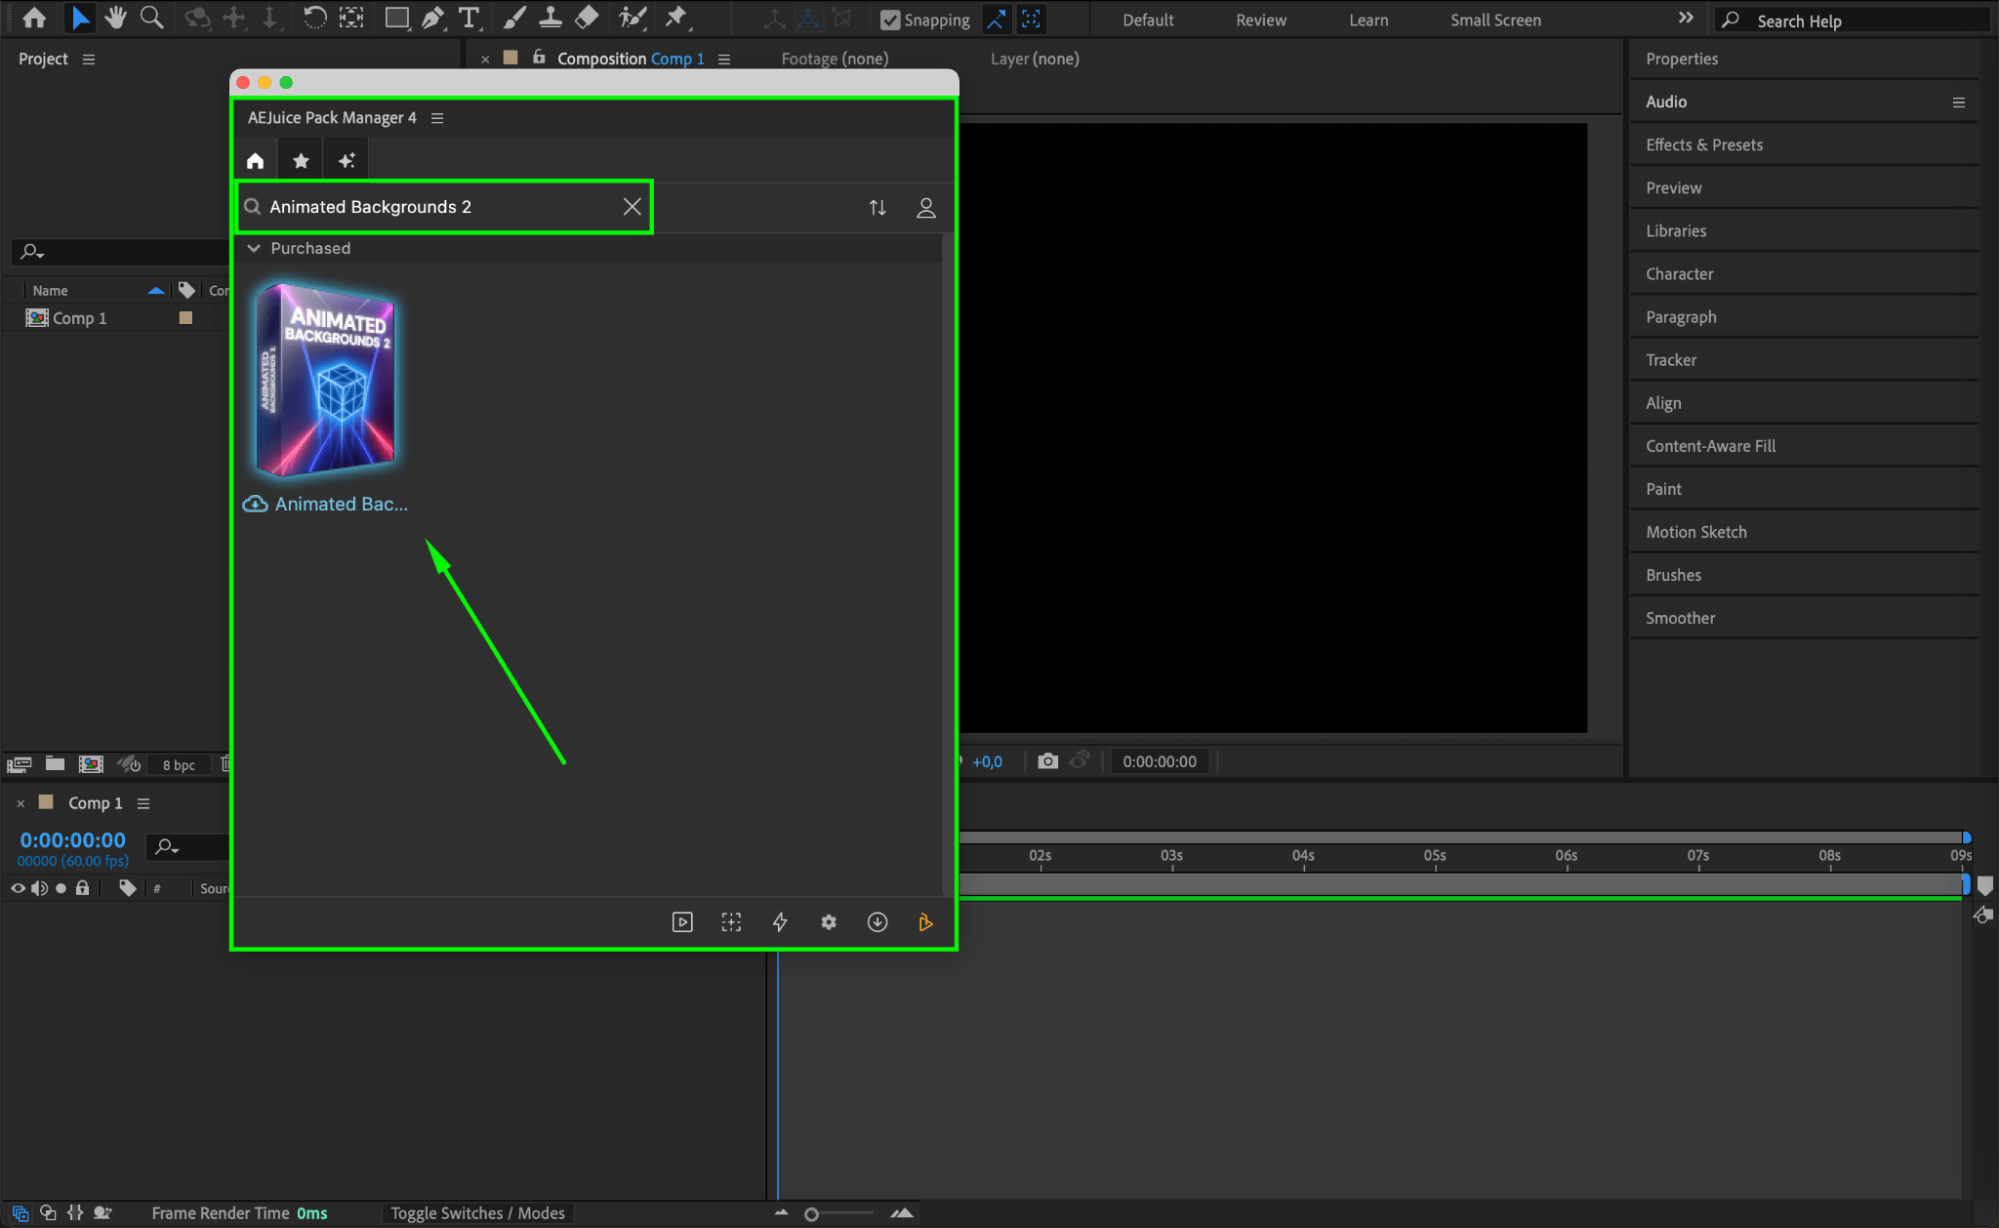 Step 4: Choose and Import a Background
Browse through the pack and find an animation that fits your project’s aesthetic. Click on your chosen template, then hit the Import button. This will load the animation as a pre-composition into your project timeline.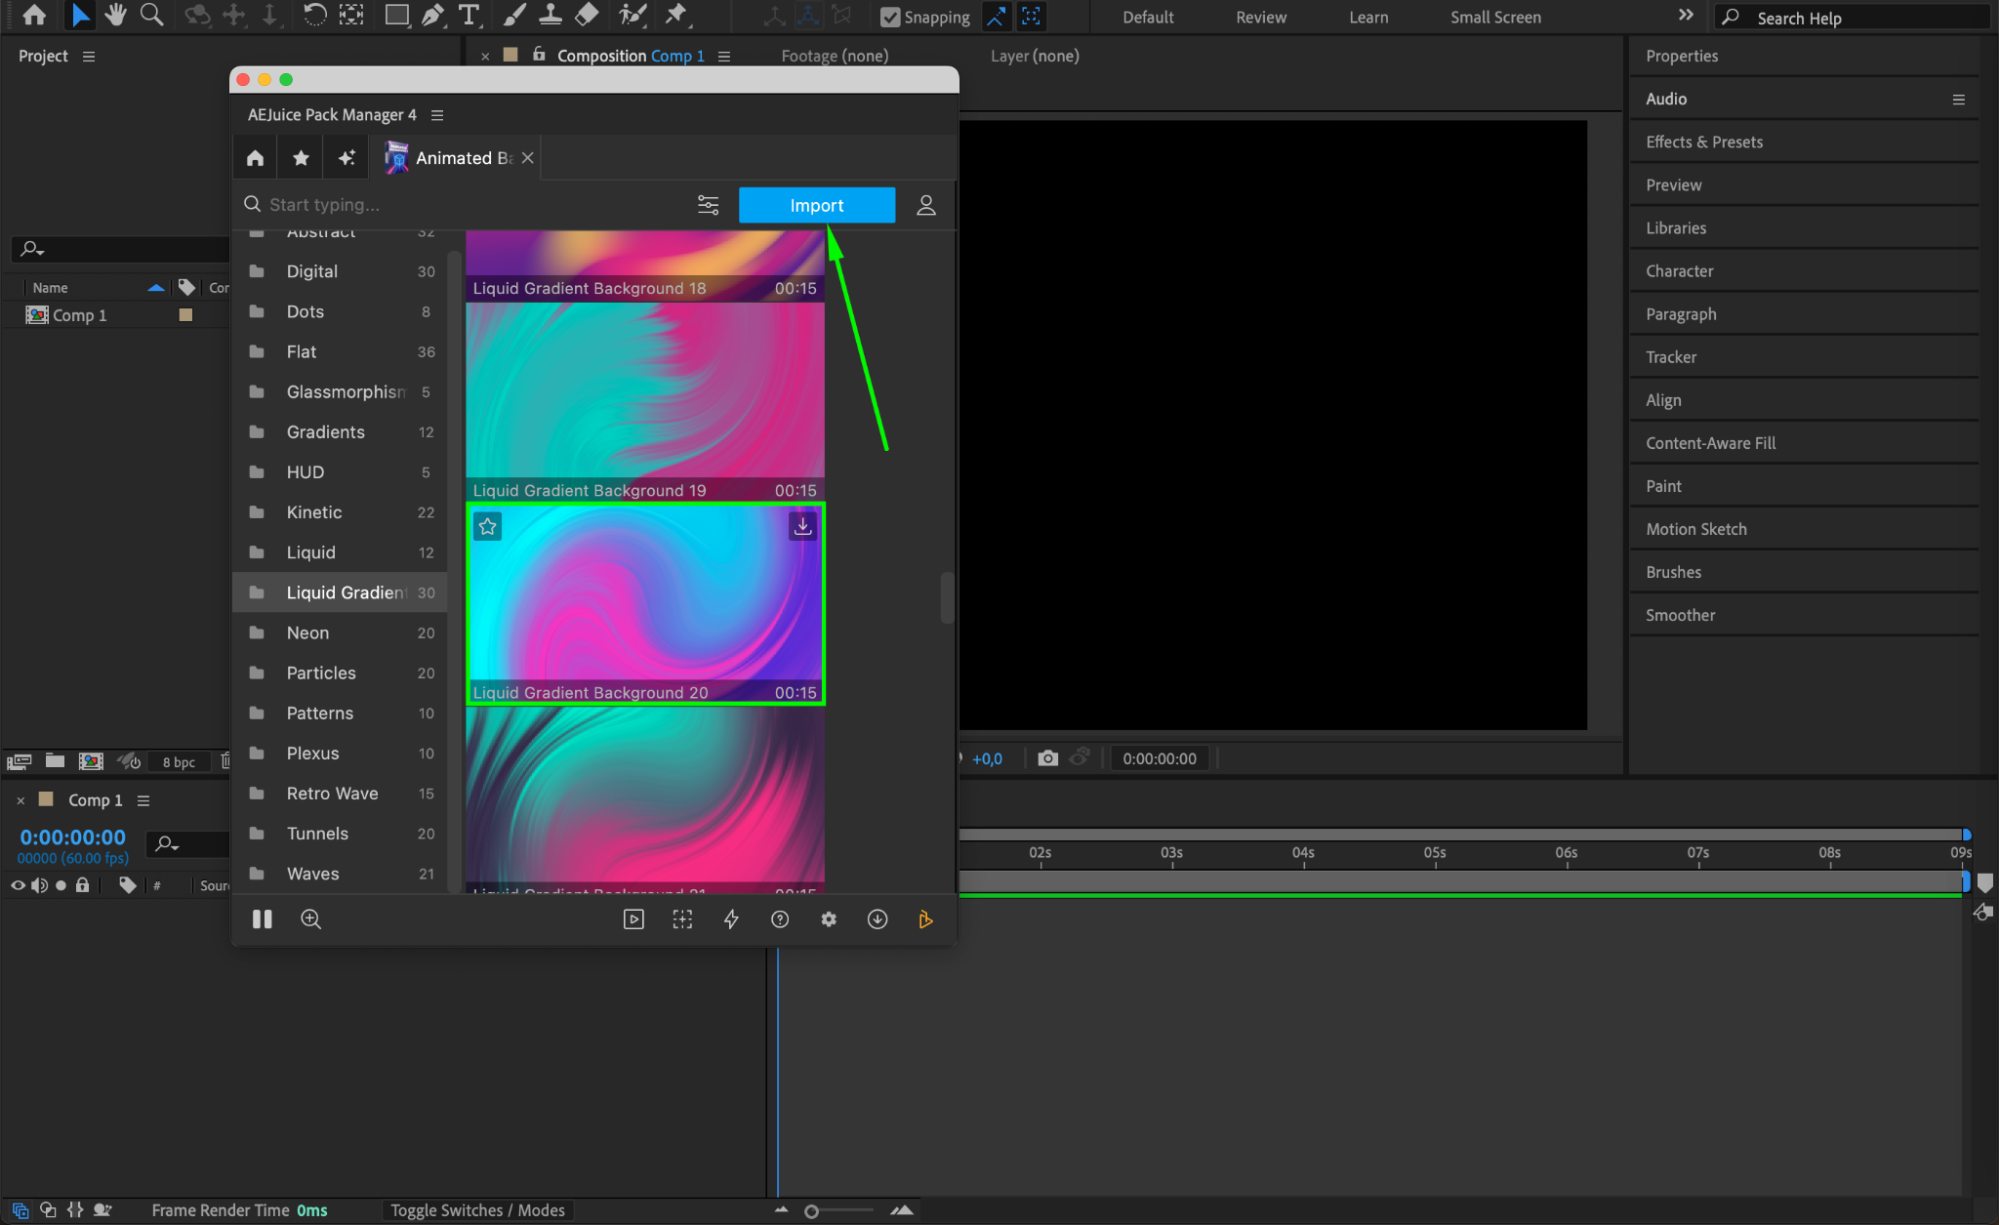 Step 5: Customize Colors and Layers
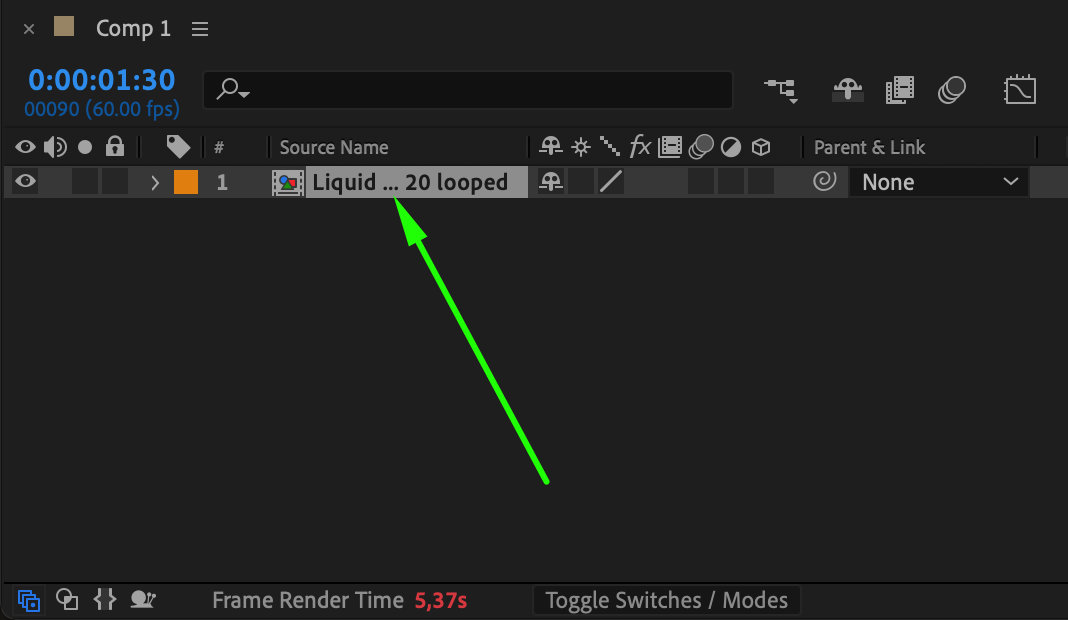
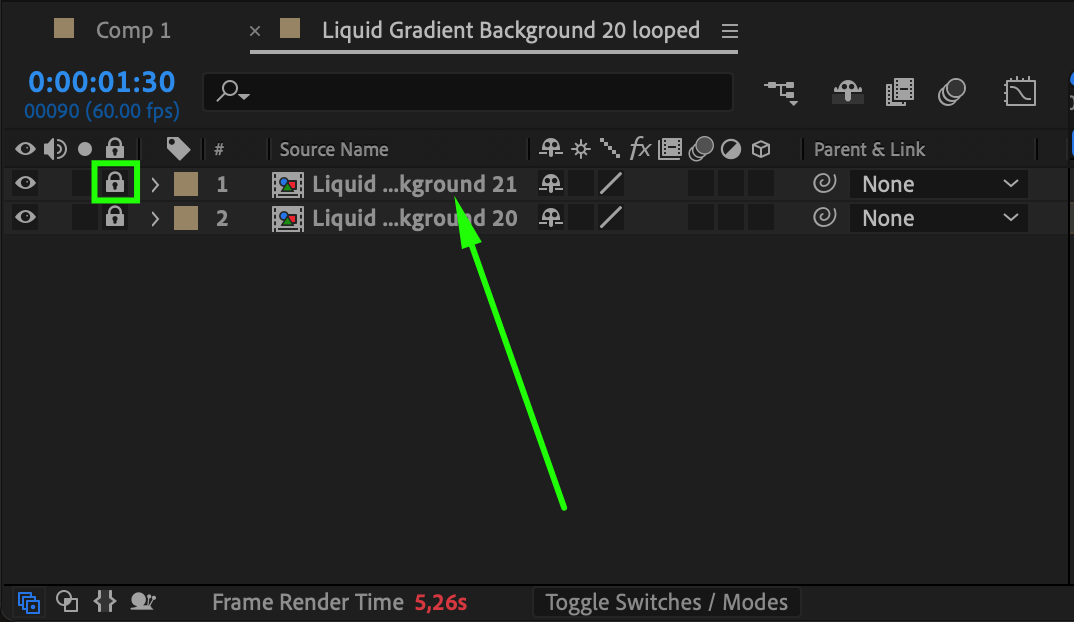
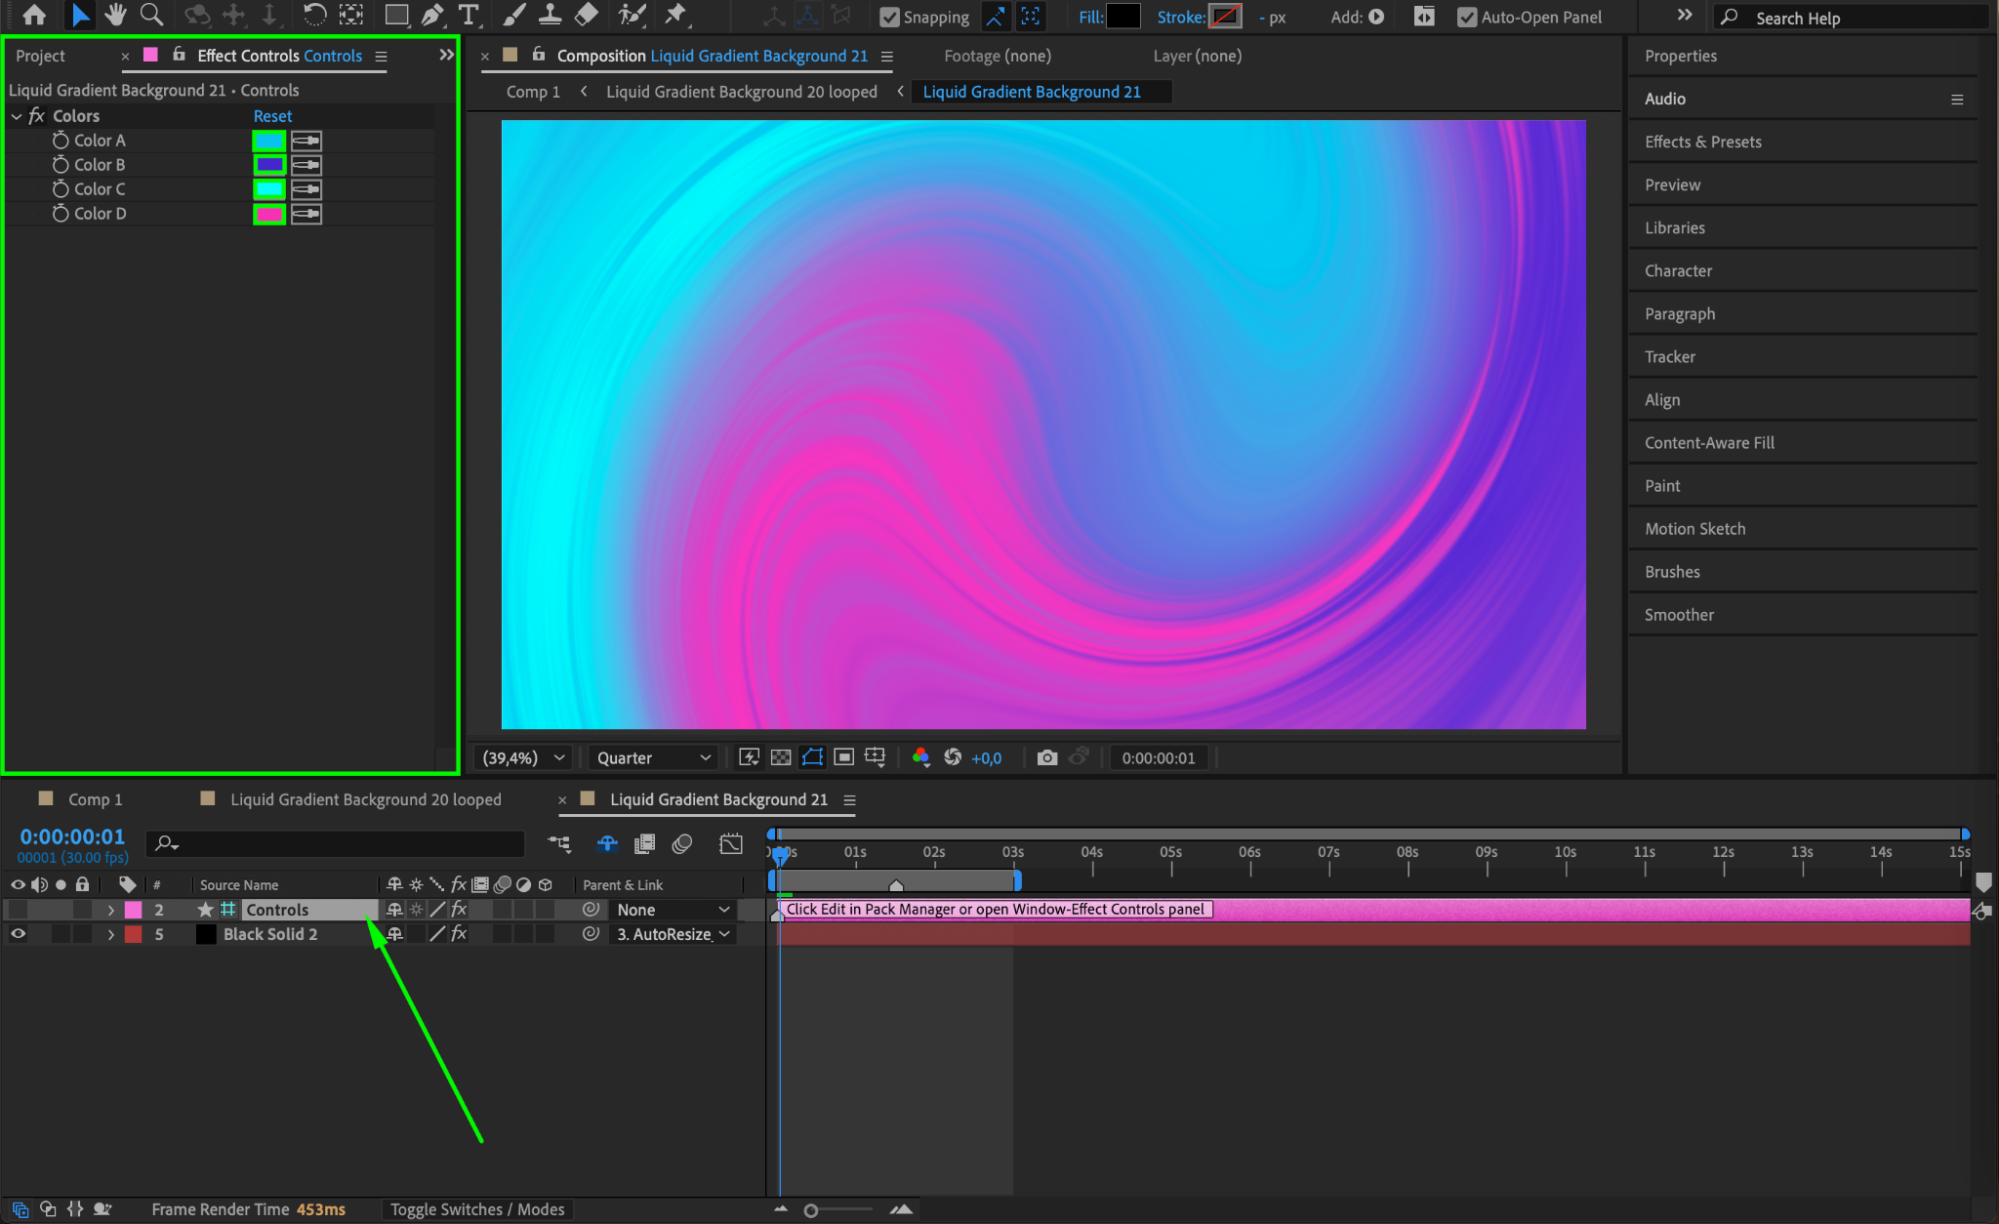
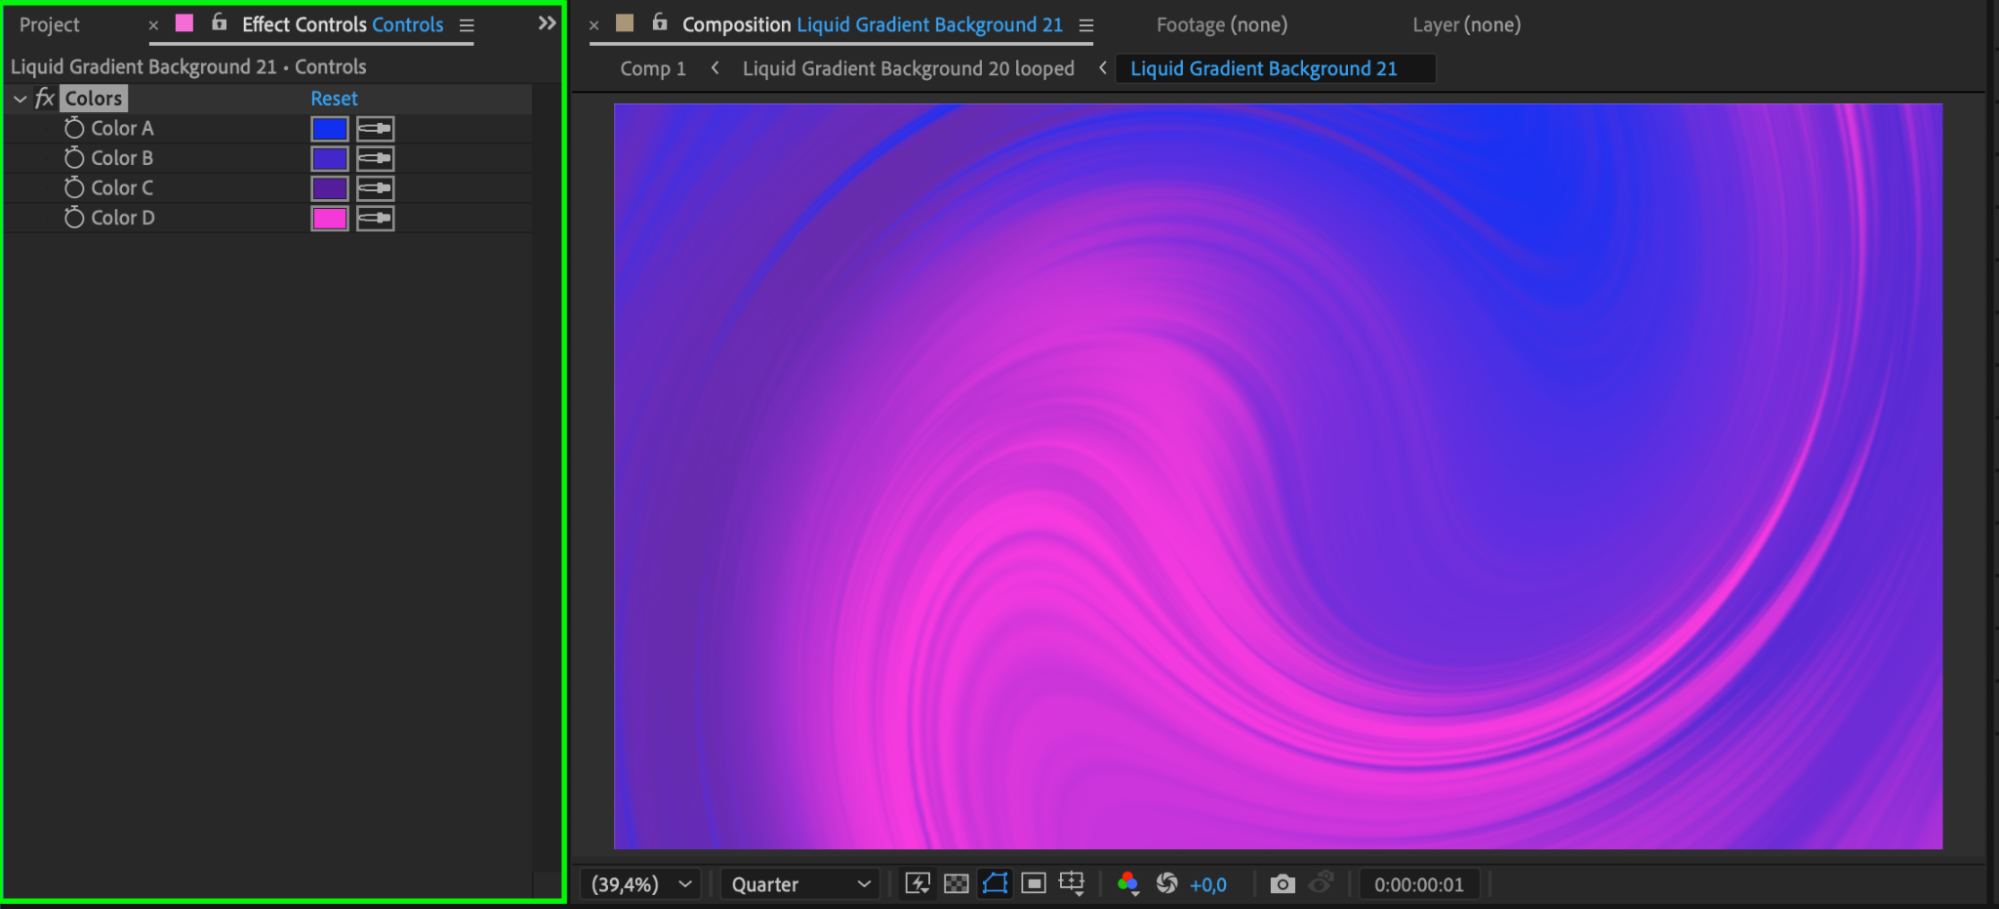
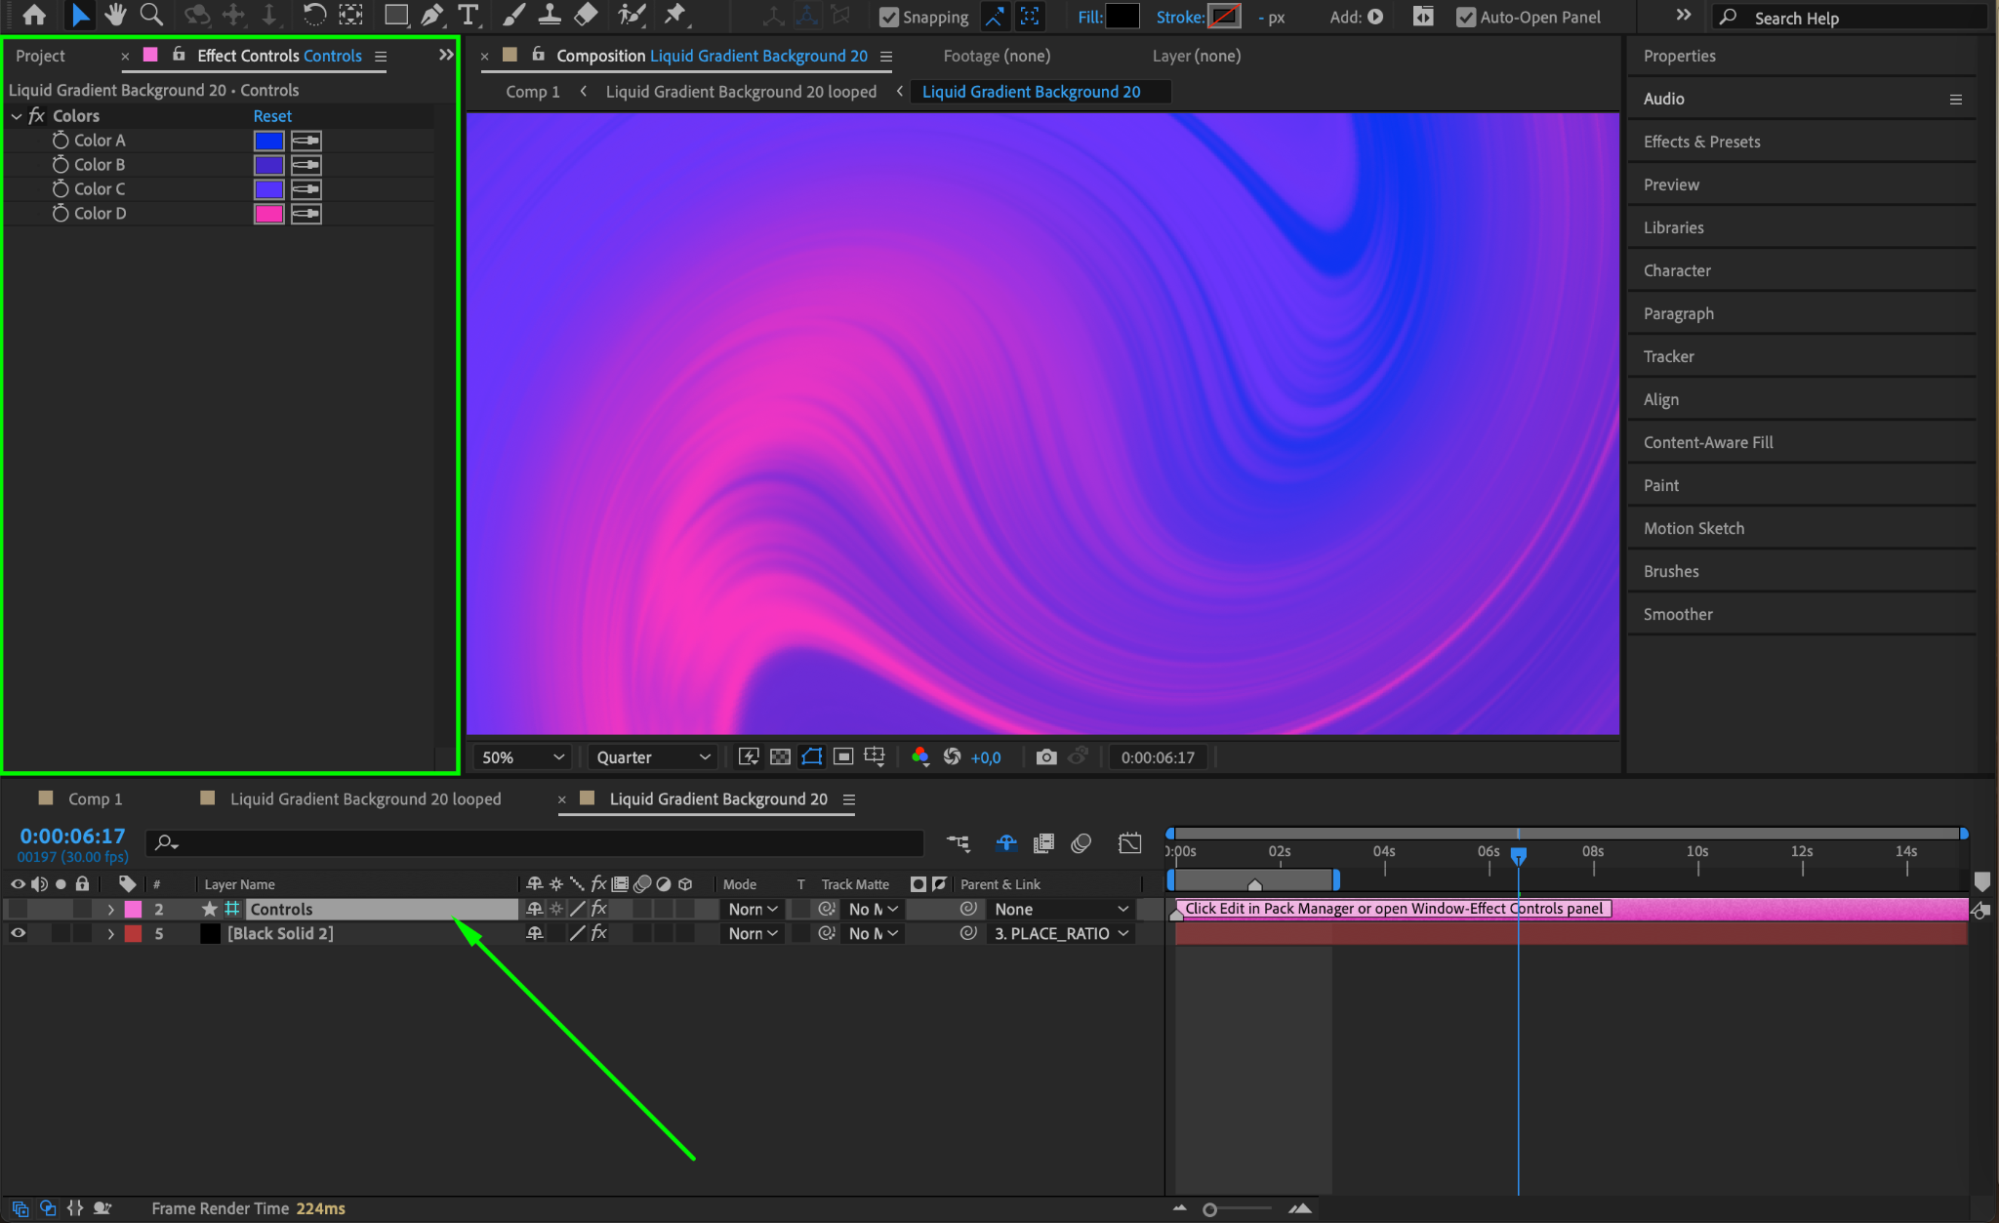
Double-click the pre-comp to open it. For example, if you imported Liquid Gradient Background 20 looped, you may see nested pre-comps like Liquid Gradient Background 21 and 20. First, unlock any locked layers by clicking the lock icon. Then double-click the nested compositions to open them. Inside, locate the Controls layer and open the Effect Controls Panel. Here, you can adjust Color A, Color B, Color C, and Color D, depending on the template’s setup. Repeat this process for each nested comp if needed.
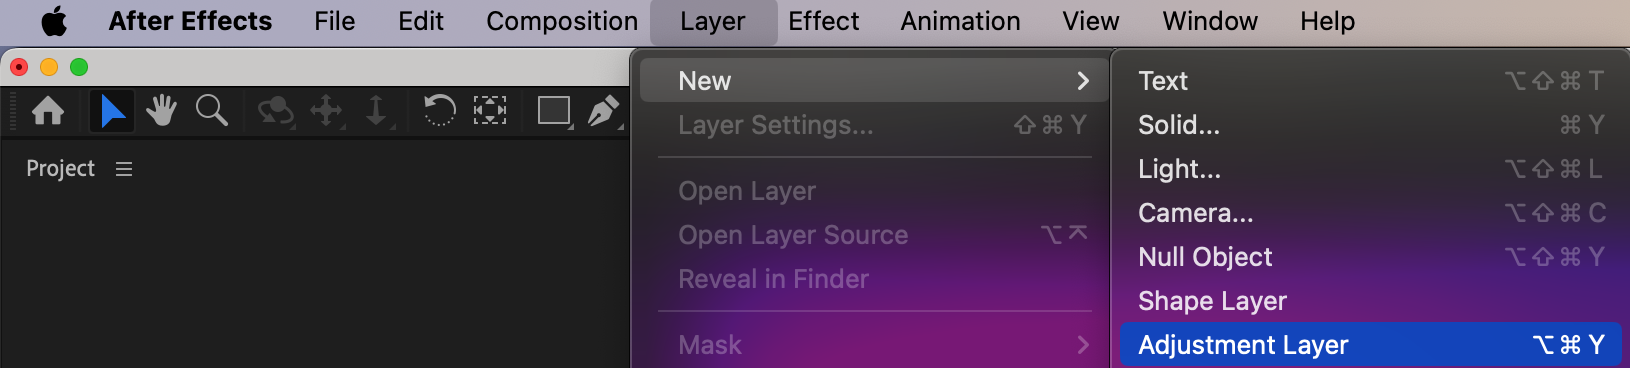
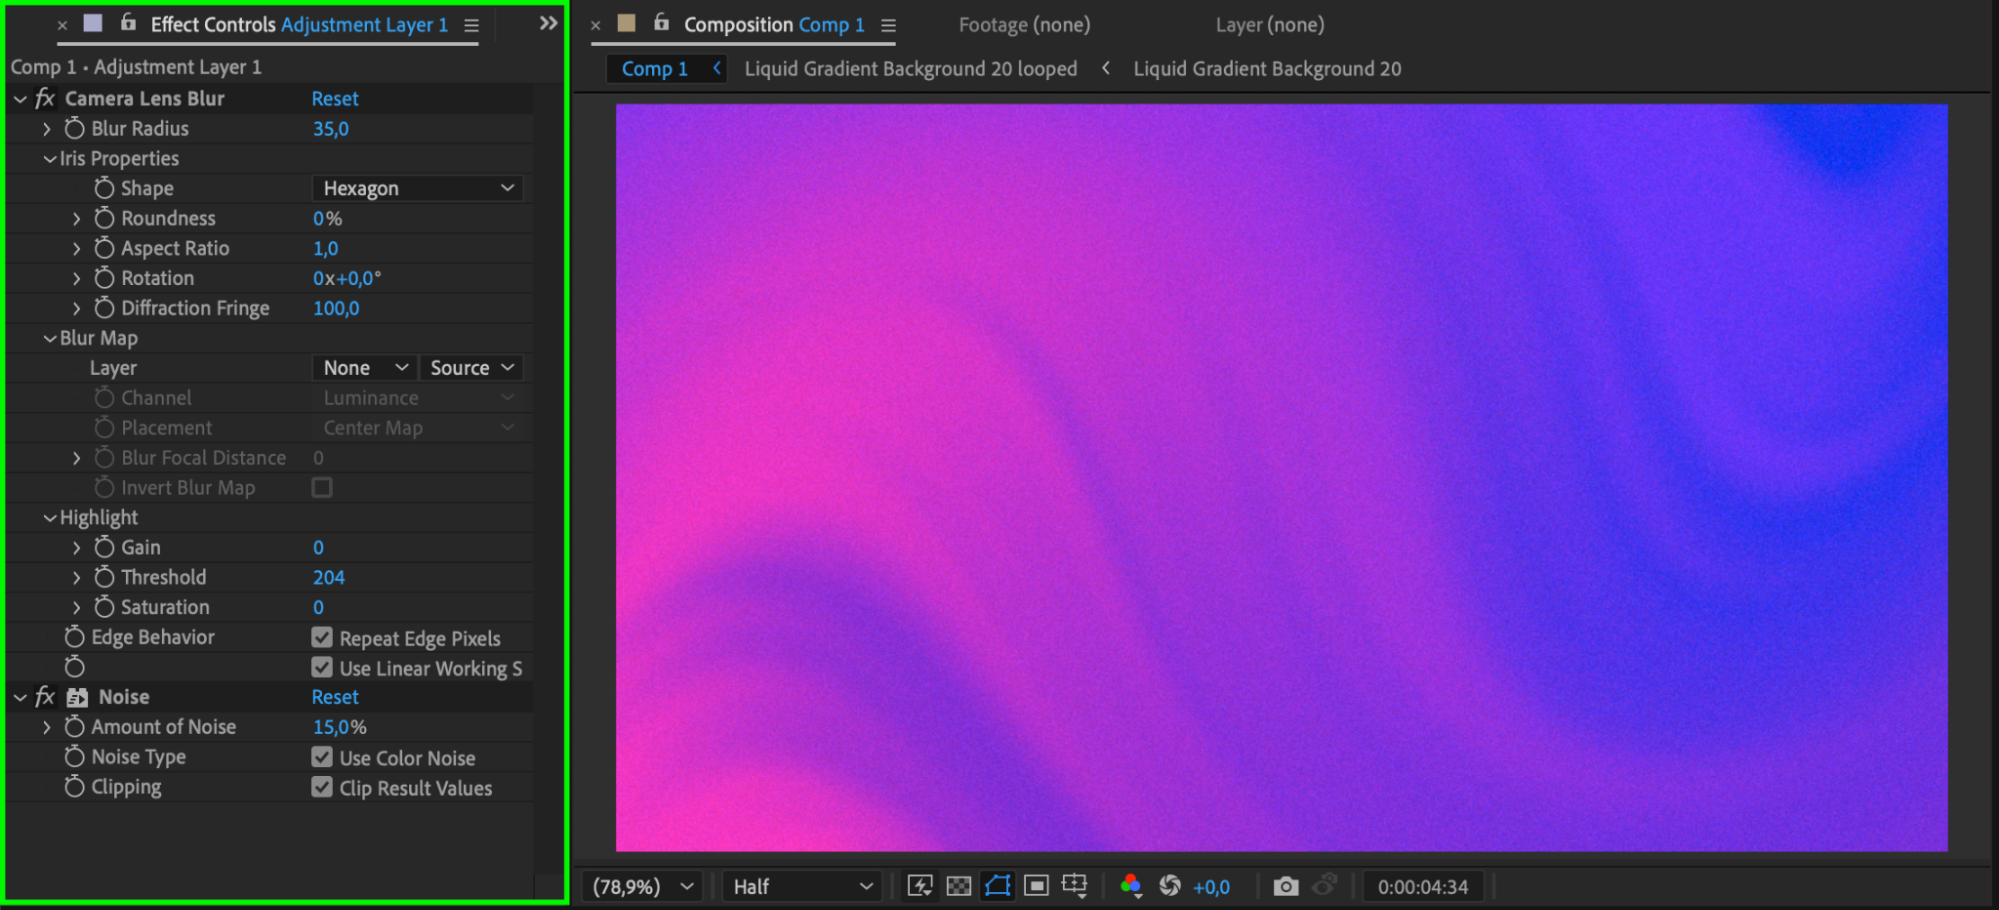
Step 6: Add Final Effects (Optional)
Return to your main composition. Go to Layer > New > Adjustment Layer to add a global effects layer. Then use Effects & Presets to apply optional finishing touches like Noise, Camera Lens Blur, or Glow to add depth and realism to your background.

 Step 7: Preview and Finalize
Press the Spacebar to preview your animation in real time. Tweak any settings until your background looks just right. Once satisfied, render your final video or continue building out your motion design.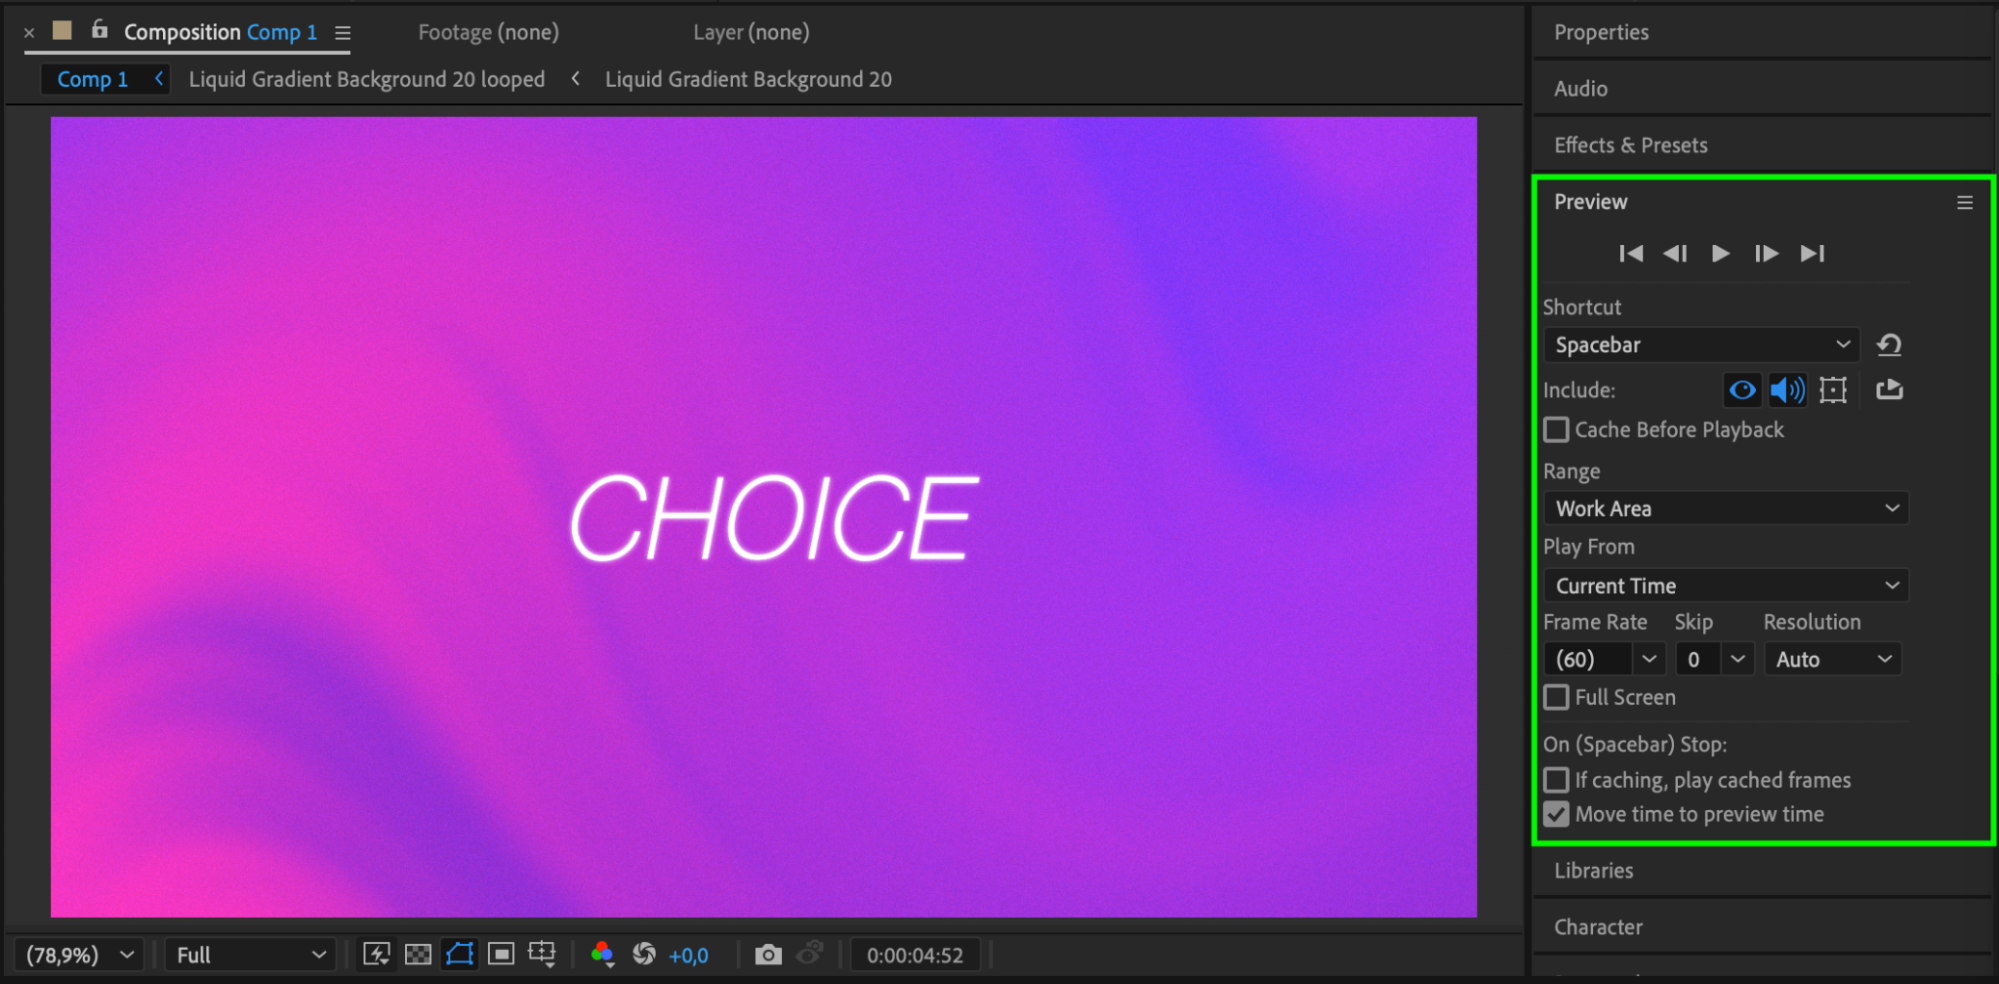 Conclusion
Animated Backgrounds 2 is one of the best packs for creating seamless loops and vibrant motion backgrounds in seconds. Whether you’re designing intros, social posts, or full-scale motion projects, these templates save time and deliver polished results. With just a few customizations, you can make each background match your brand or creative style. Don’t hesitate to experiment and combine them with other AEJuice packs to unlock even more possibilities in your motion design workflow.
Our Bestsellers


