Creating Audio-Reactive Text Animation in After Effects
Introduction – Making Text Bounce to the Beat
Want your text to dance to the beat of your music? In this tutorial, you’ll learn how to connect text properties like scale or position to an audio track, so it reacts dynamically as the sound plays. This method works well for lyric videos, visualizers, and motion graphics synced with music.
Step 1: Import Your Audio and Open the Project
Open your project in After Effects and make sure your audio file is imported into the timeline. This audio will be used to drive the animation. Step 2: Create the Text Layer
Select the Type Tool (Ctrl/Cmd + T) and click anywhere in your composition to type your text. Adjust the font, size, and color using the Properties Panel.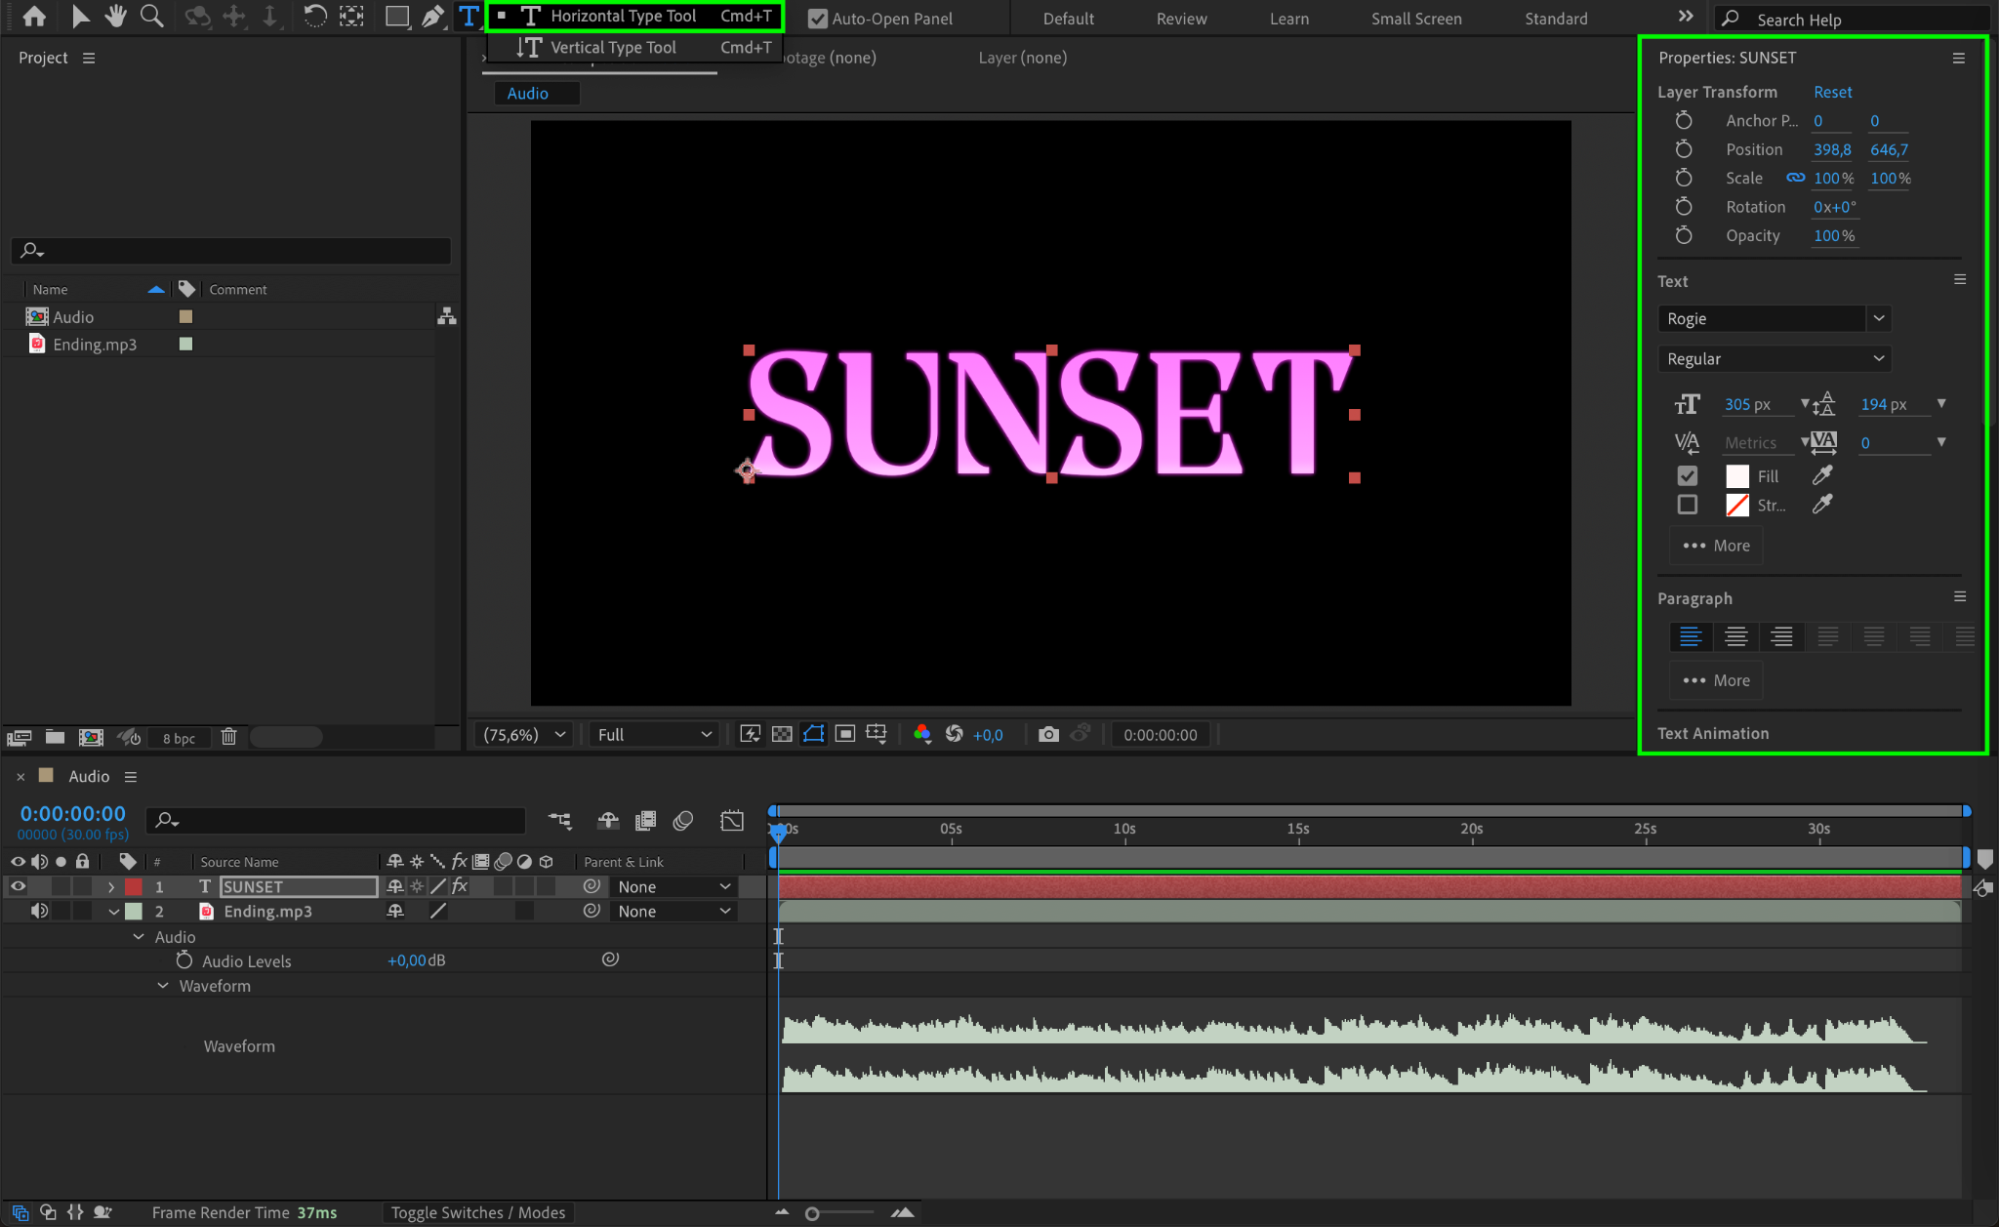
Get 10% off when you subscribe to our newsletter

Step 3: Convert Audio to Keyframes
Right-click on your audio layer and go to Keyframe Assistant > Convert Audio to Keyframes. After Effects will generate a new layer named Audio Amplitude, which contains three sliders: Left Channel, Right Channel, and Both Channels. You’ll use one of them to control the animation.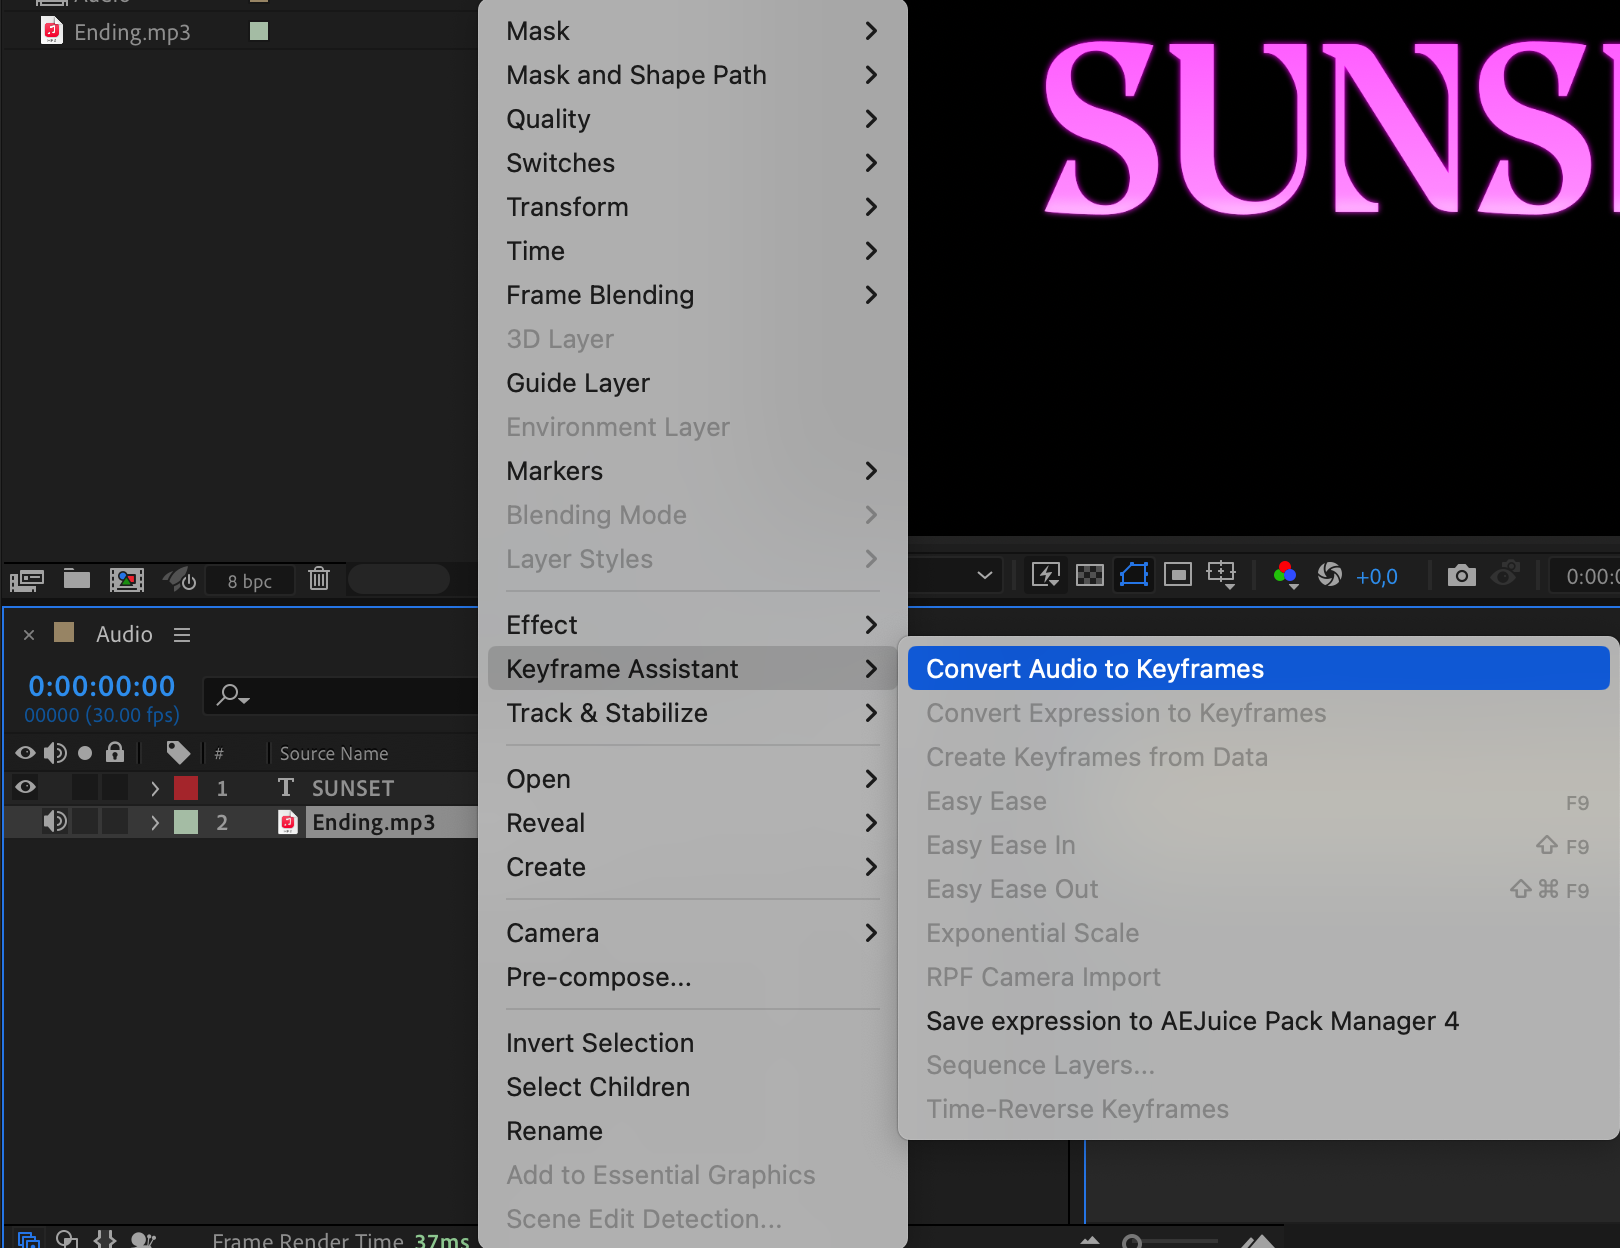 Step 4: Center the Anchor Point
Select your text layer, right-click, and choose Transform > Center Anchor Point in Layer Content. This helps the scaling or other transformations to animate from the center of the object.
Step 5: Open the Scale Property
Select the text layer and press “S” to open the Scale property. Hold Alt/Option and click the stopwatch icon to enable expression
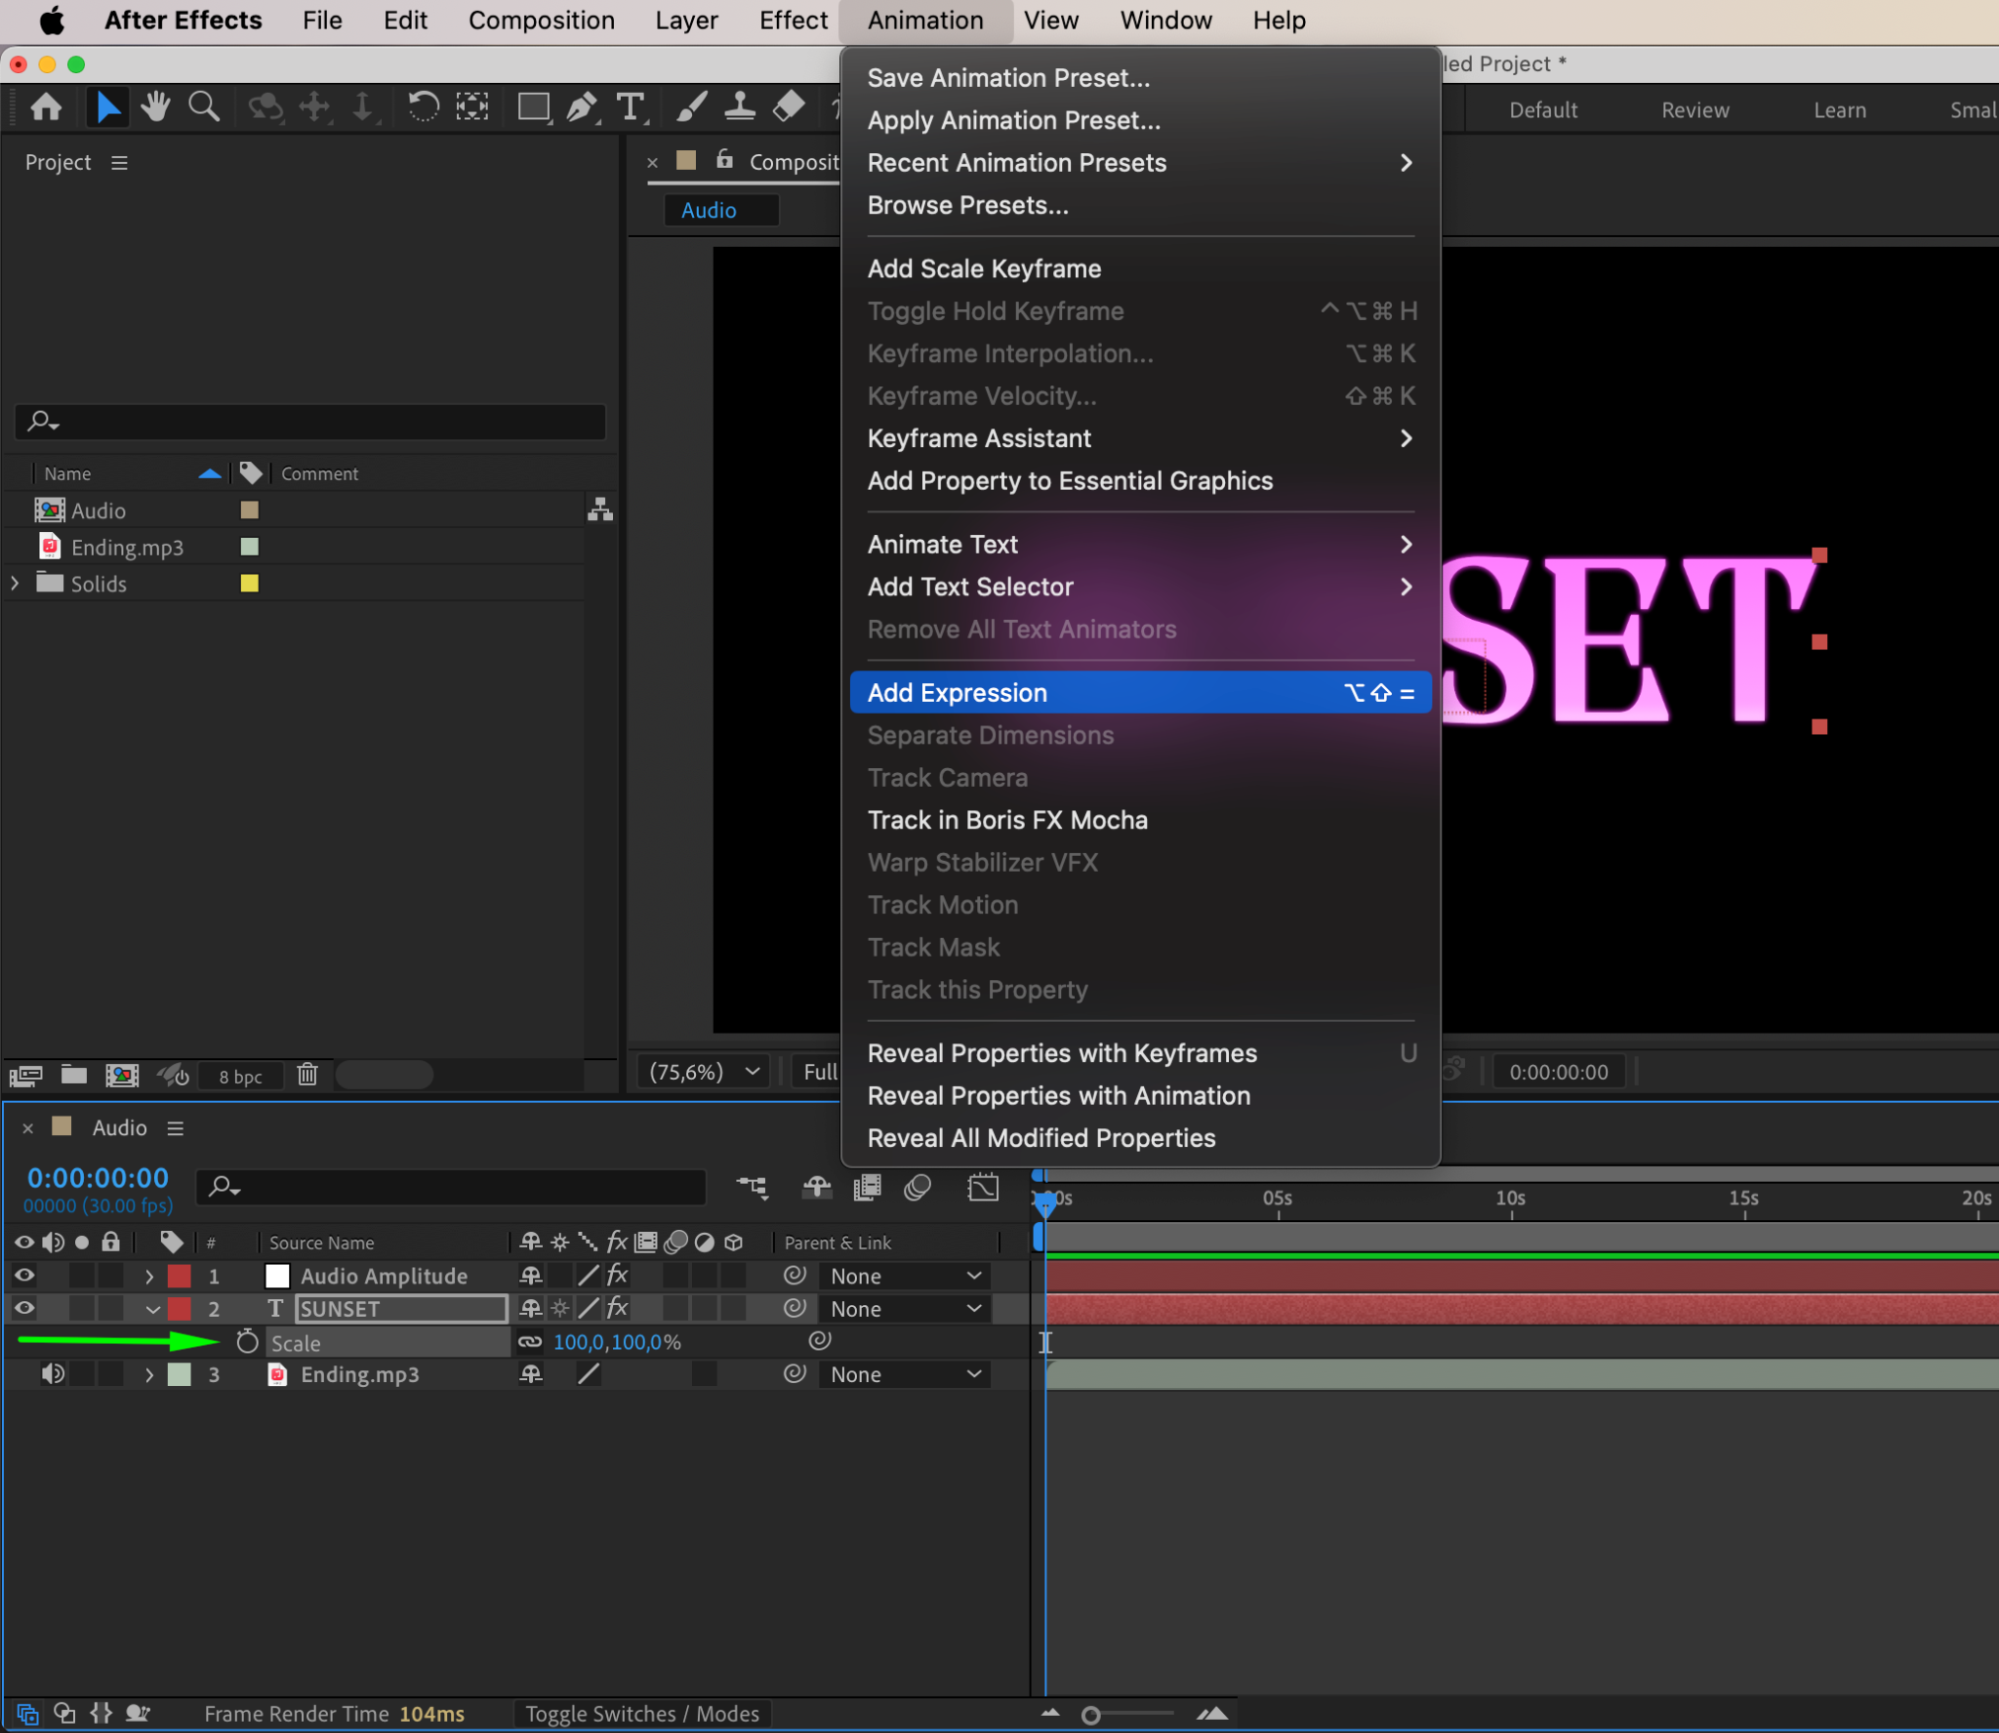 Step 6: Add the Expression to React to Music
Paste the following expression into the scale property:
a = thisComp.layer(“Audio Amplitude”).effect(“Both Channels”)(“Slider”);
s = linear(a, 0, 5, 100, 115);
[s, s]
This expression maps audio levels from a 0–5 range to scale values between 100% and 115%. As the audio gets louder, the text will scale up, creating a pulsing effect.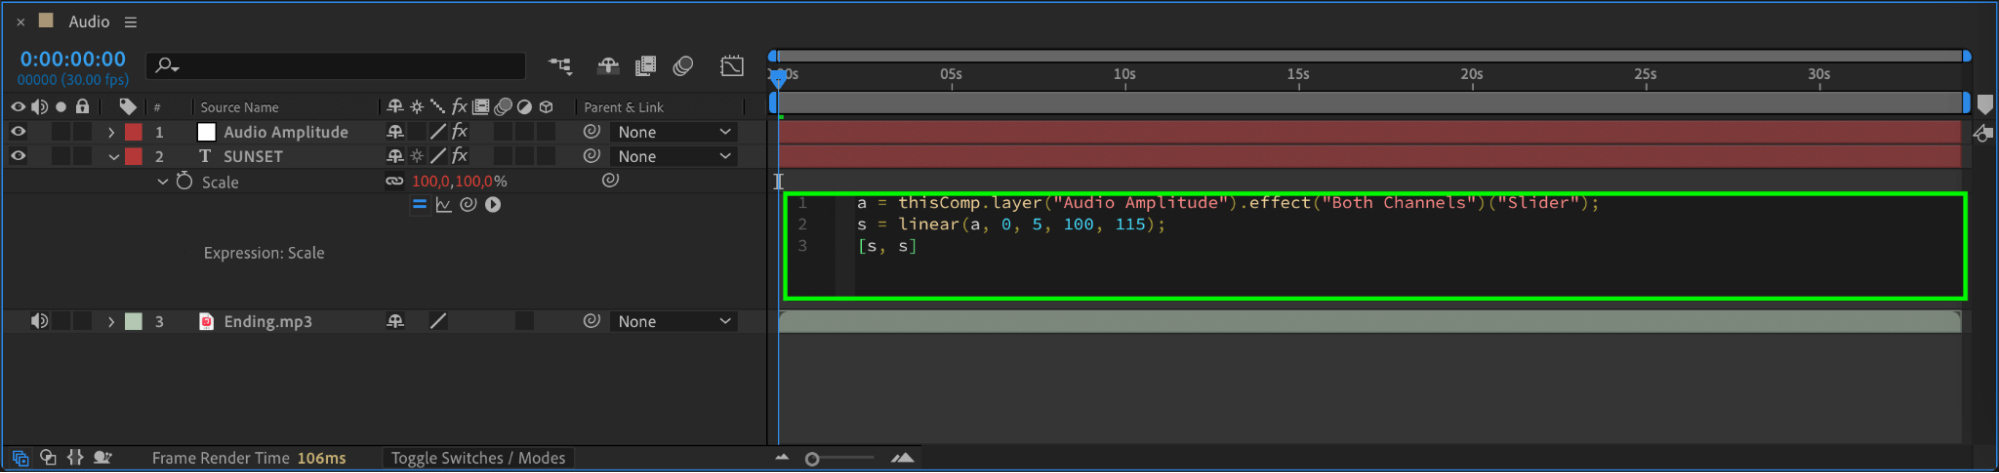 Step 7: Preview the Animation
Press the Spacebar to preview the animation. You’ll see the text grow and shrink as it reacts to the beat of your audio. If the effect is too subtle or too strong, adjust the numbers in the expression.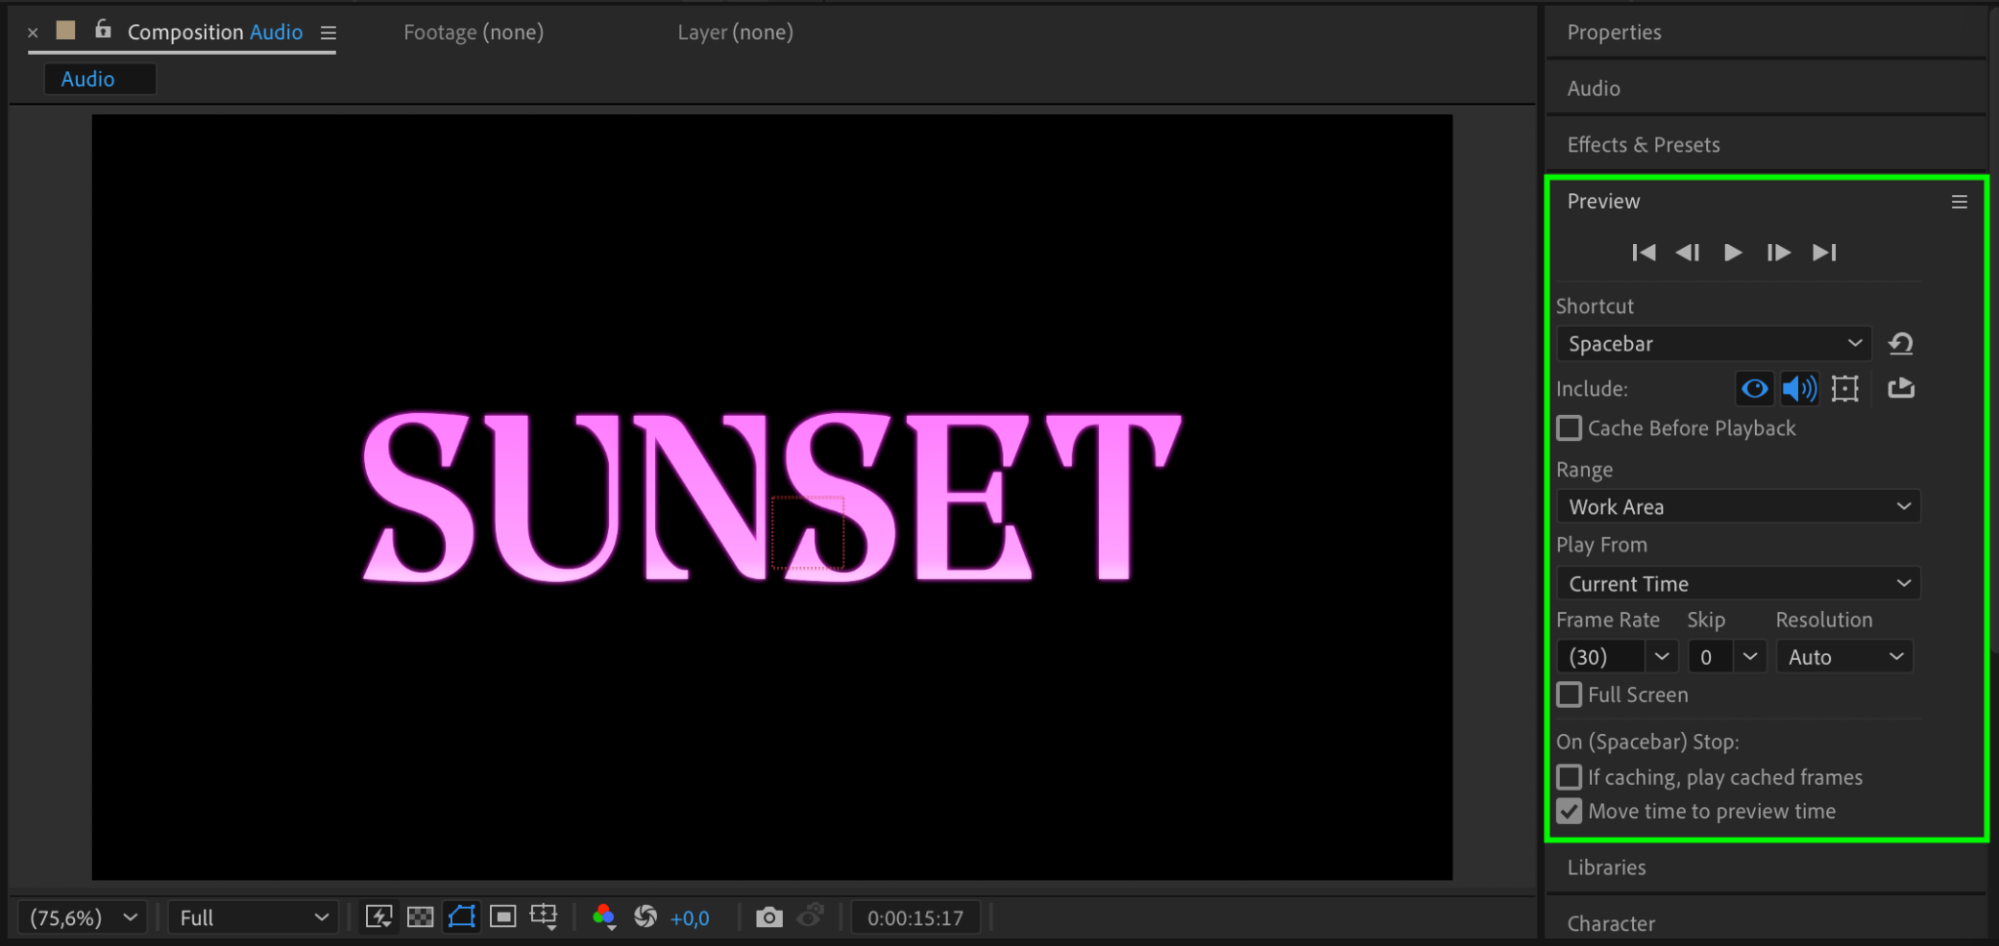 Conclusion
Creating audio-reactive text in After Effects is a great way to add energy and rhythm to your animations. With just a few steps and a simple expression, you can sync visuals to your music easily. Experiment with different properties like position, rotation, or opacity for even more dynamic effects.
Our Bestsellers


