Create a Dancing Text Animation in After Effects
Introduction – Add Energetic and Playful Motion to Text
This tutorial will show you how to create a fun dancing text effect using a combination of the Turbulent Displace effect and wiggle expressions in After Effects. It’s a great way to make your titles or lyrics feel more alive and rhythmic.
Step 1: Create Your Text
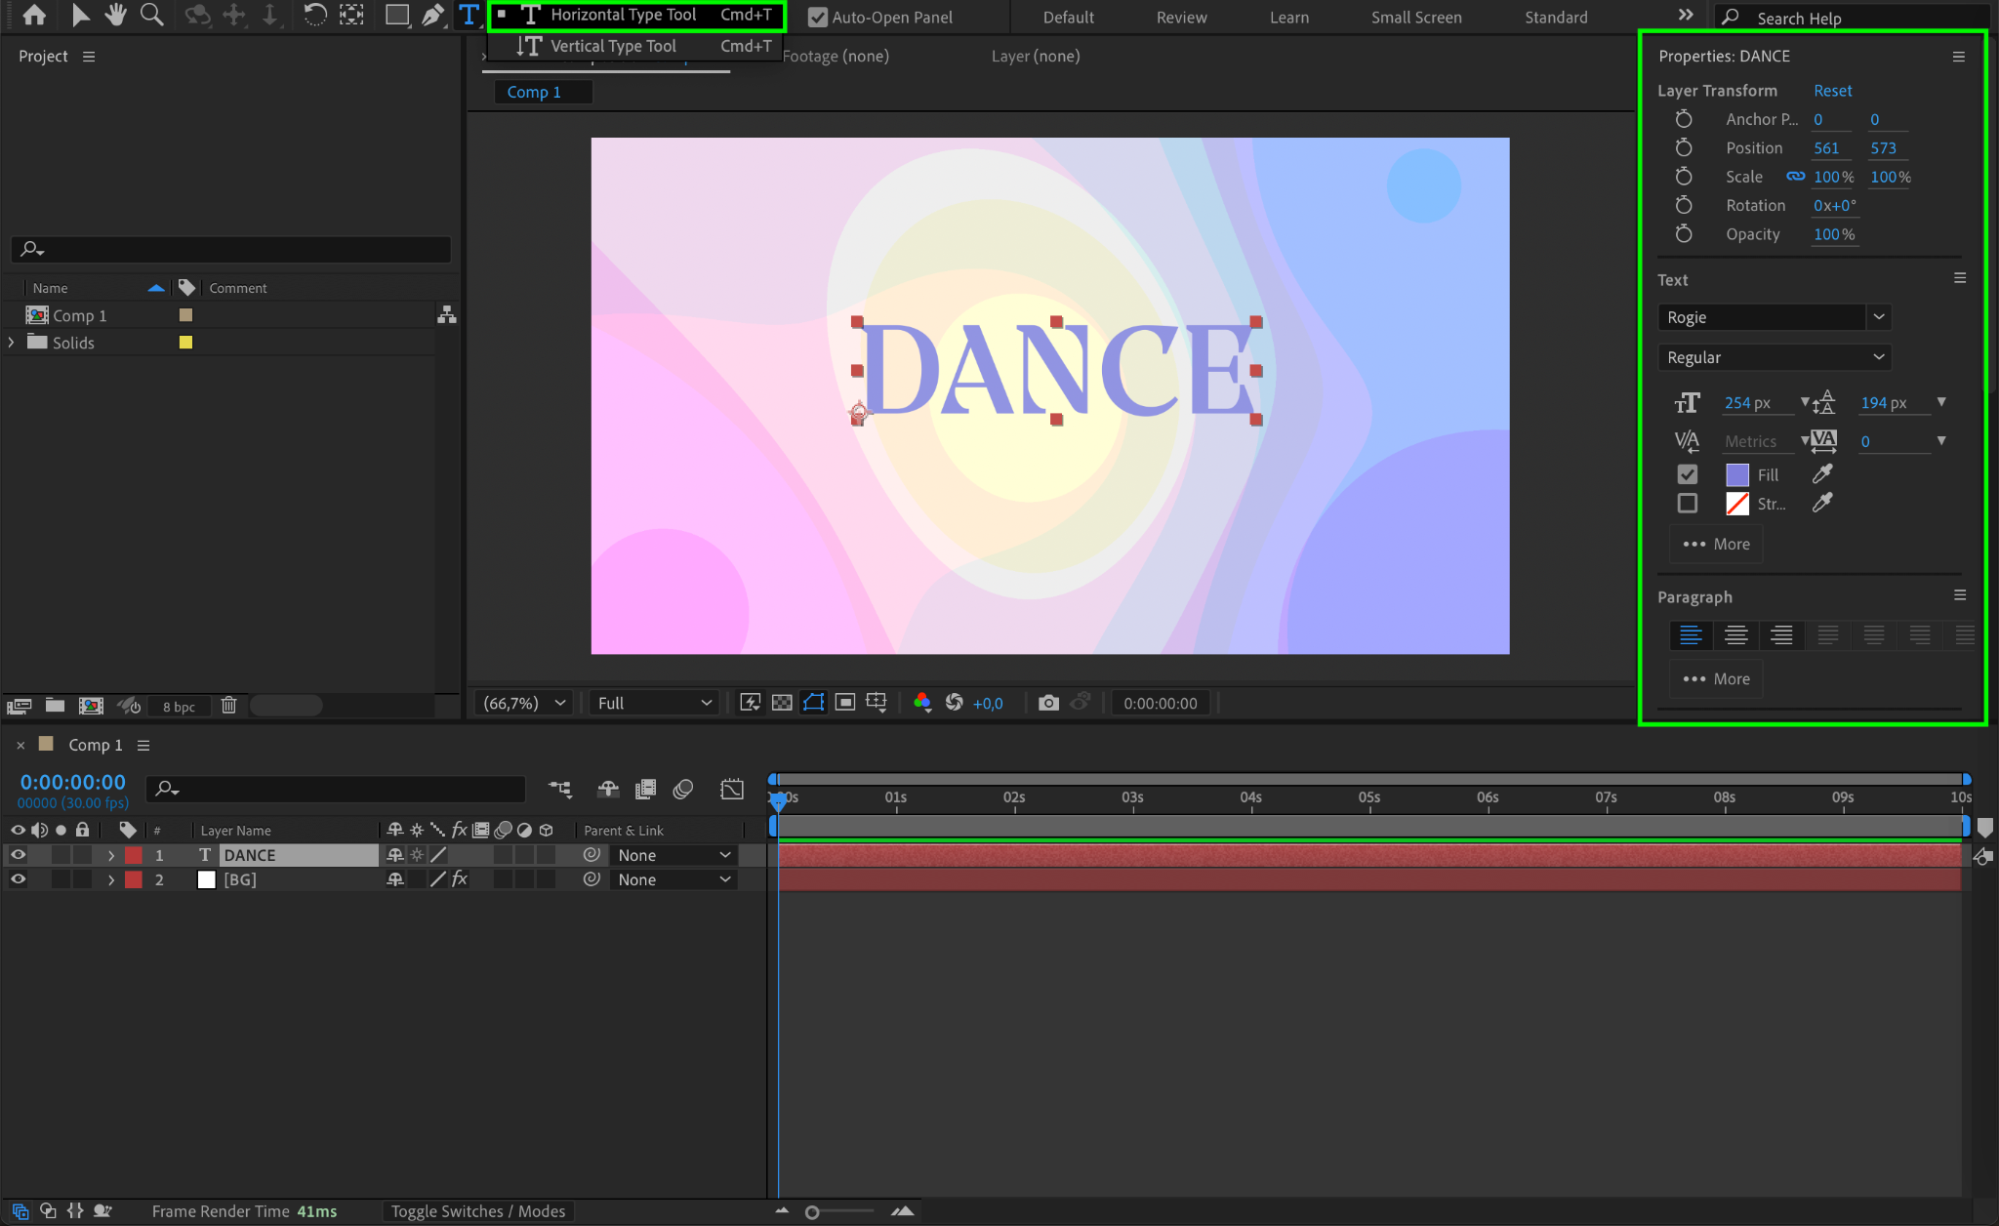
Open your project in After Effects and use the Type Tool (Ctrl/Cmd + T) to create your text. Customize the font, size, and color using the Properties panel. Position the text in the center or wherever you’d like it to dance on the screen.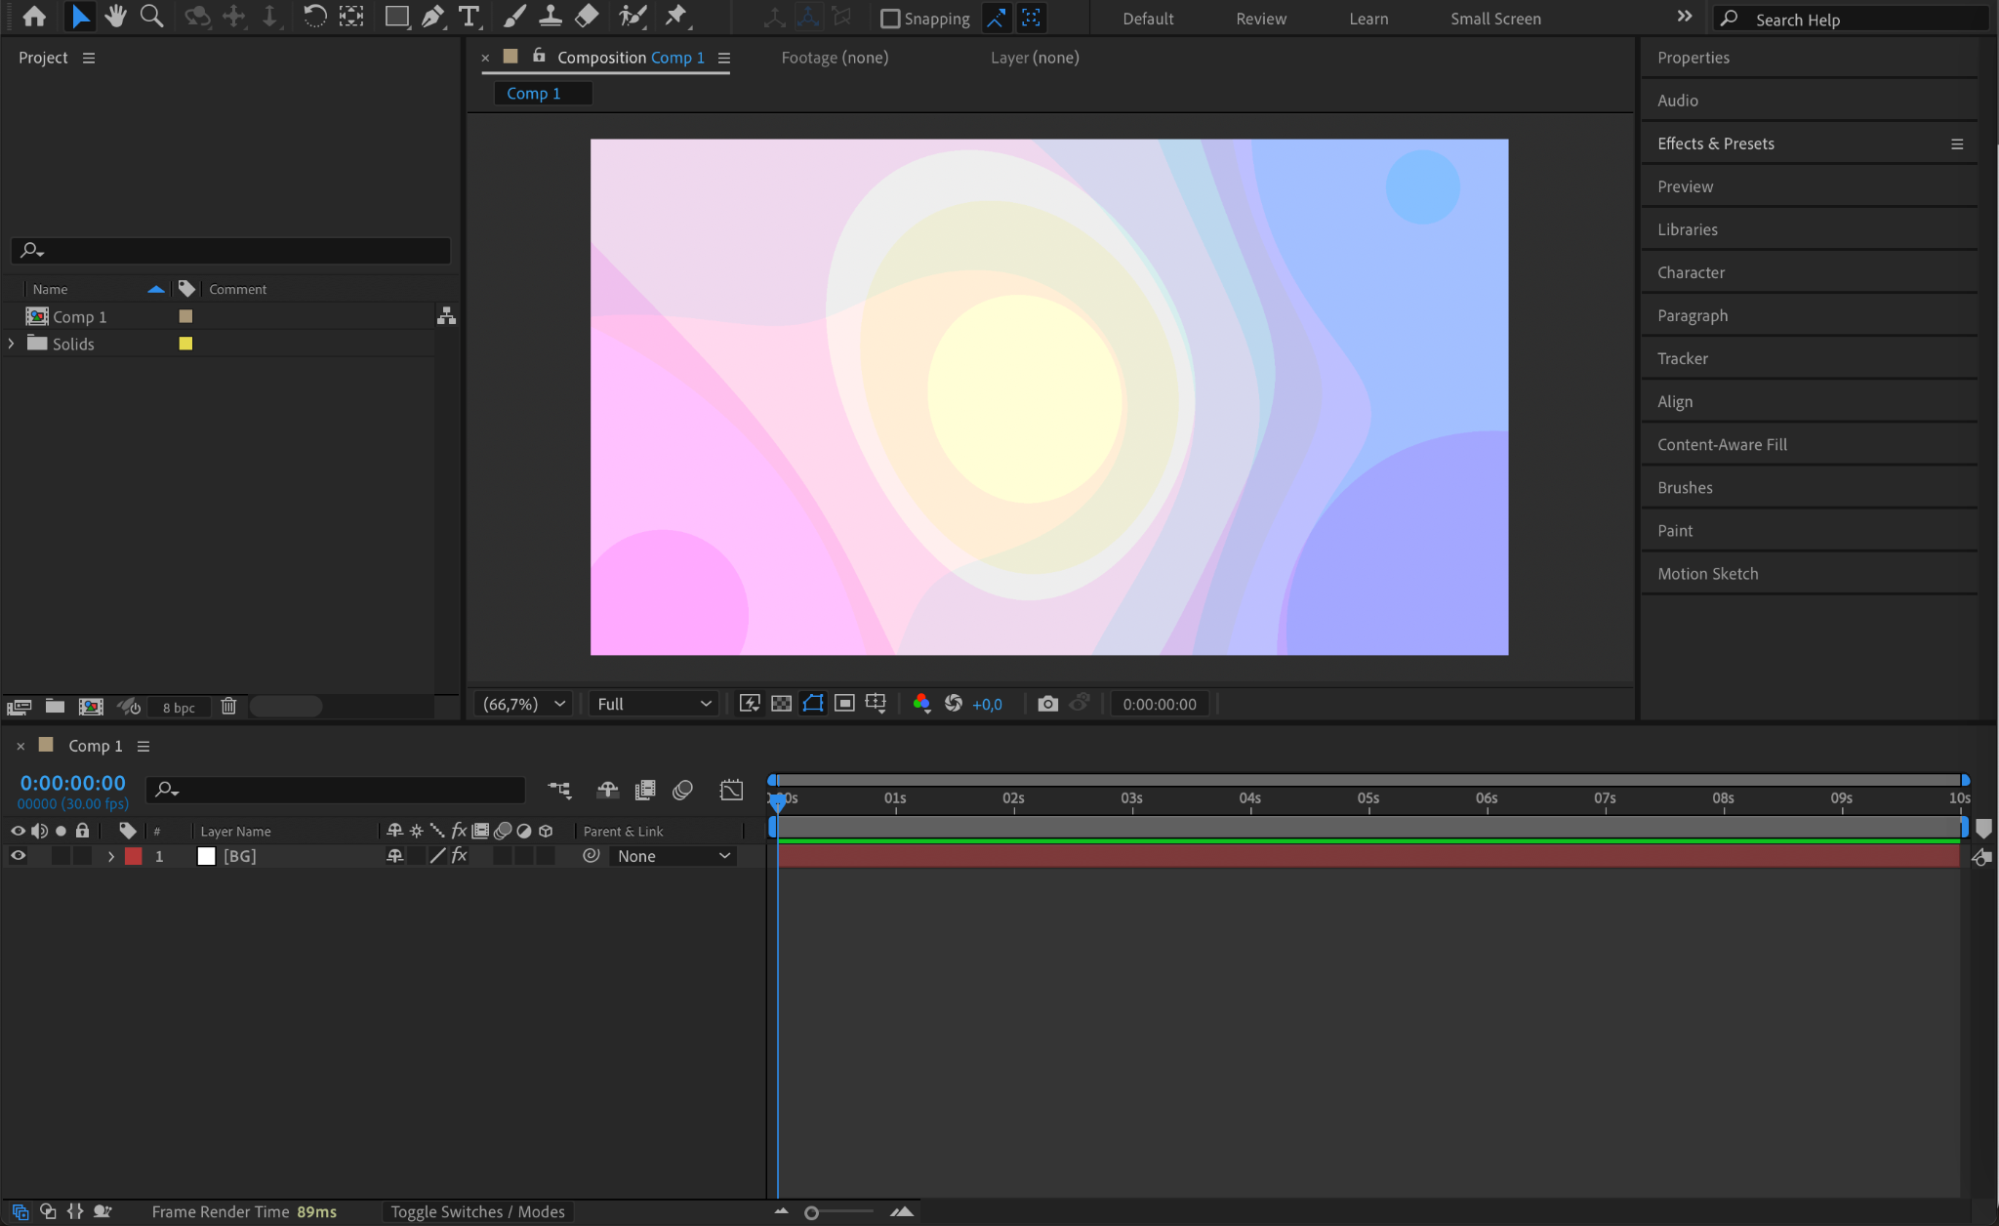
Get 10% off when you subscribe to our newsletter

Step 2: Apply Turbulent Displace
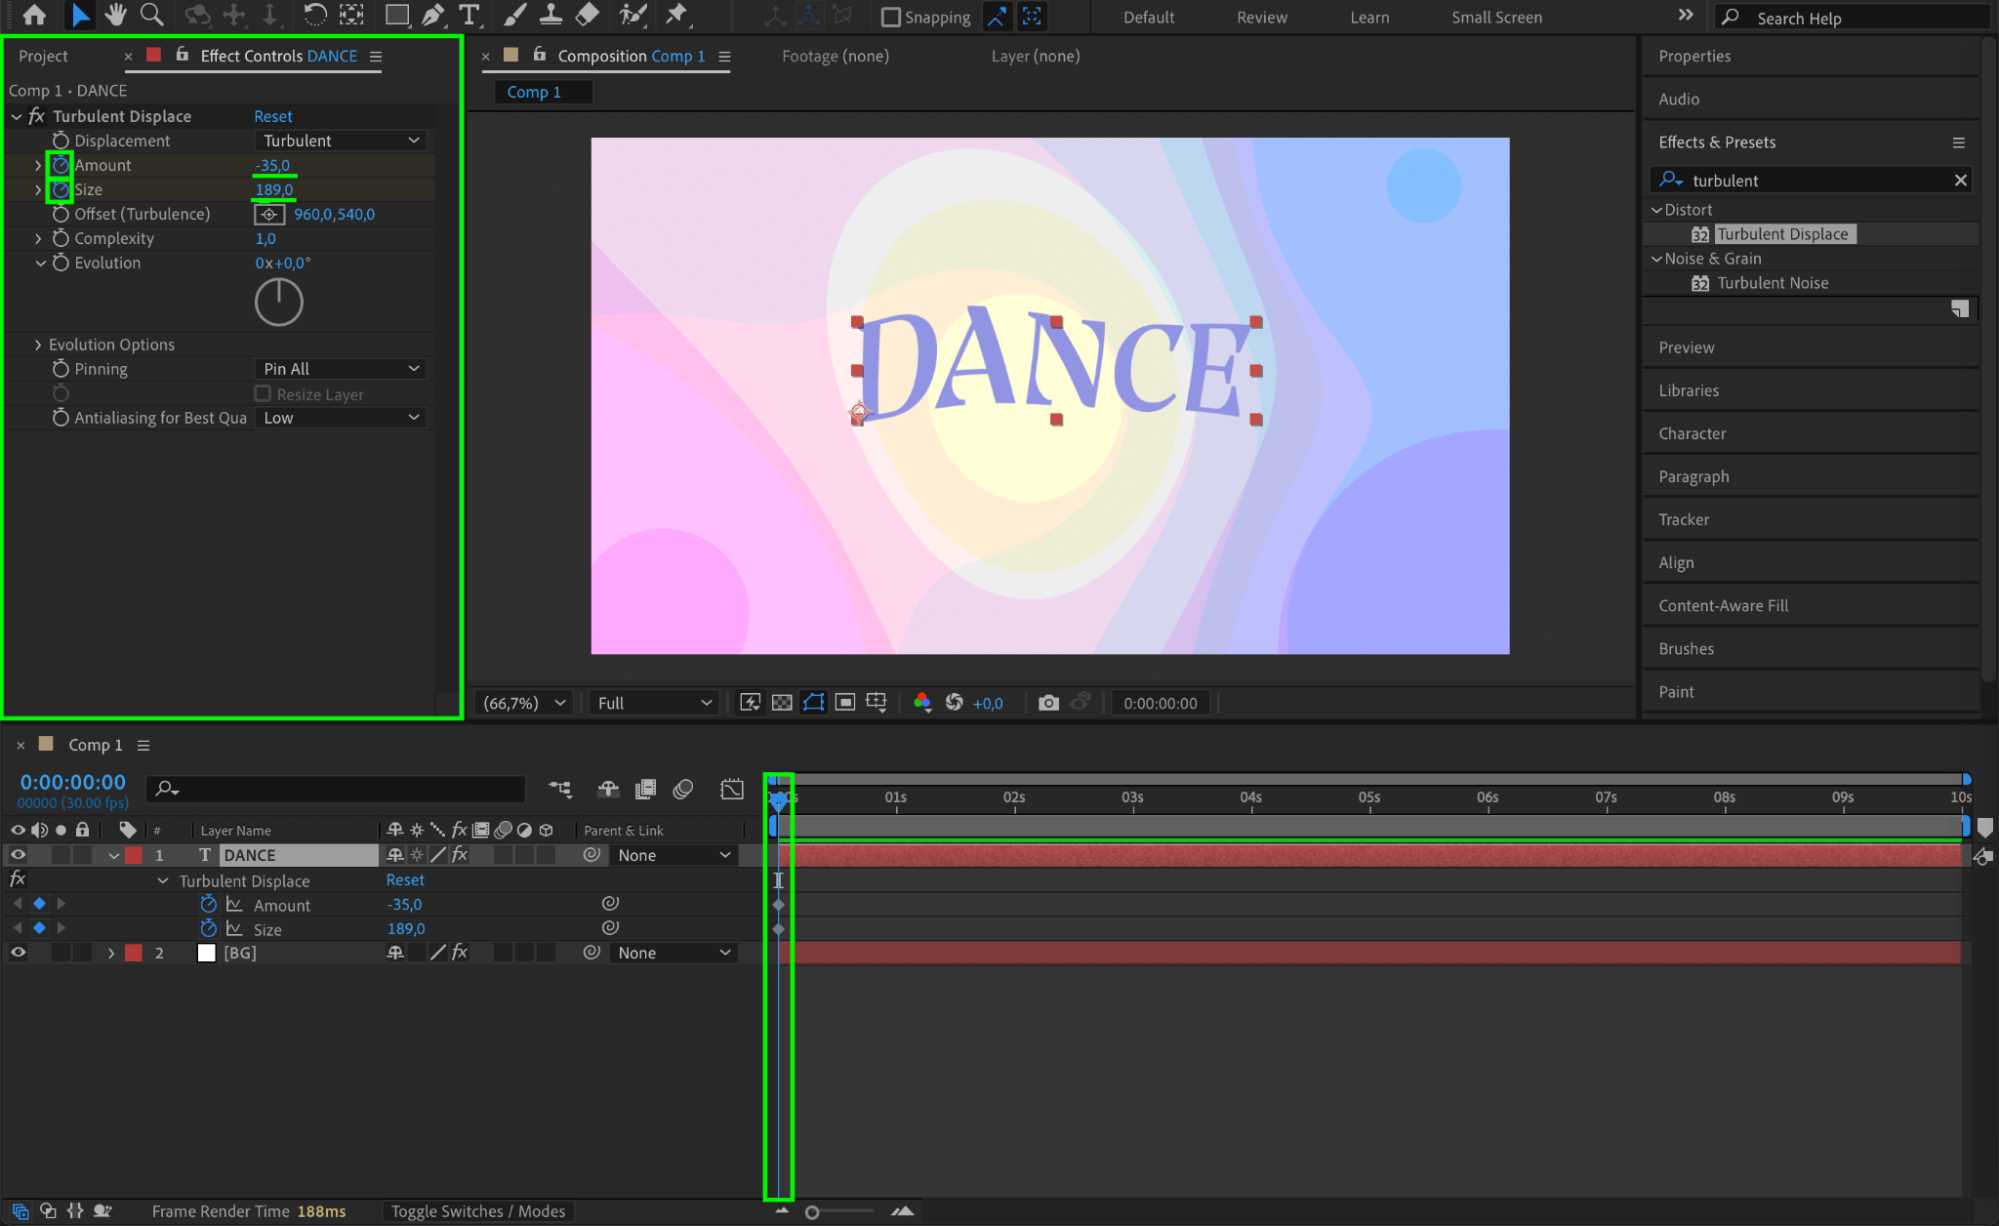
With your text layer selected, go to the Effects & Presets panel and search for Turbulent Displace. Apply it to the text layer. This effect will make the edges of your text warp and shift for a wavy, organic motion. You can animate the Amount and Size properties to create movement. Set keyframes at different points in the timeline with varying values to make the motion feel dynamic and random.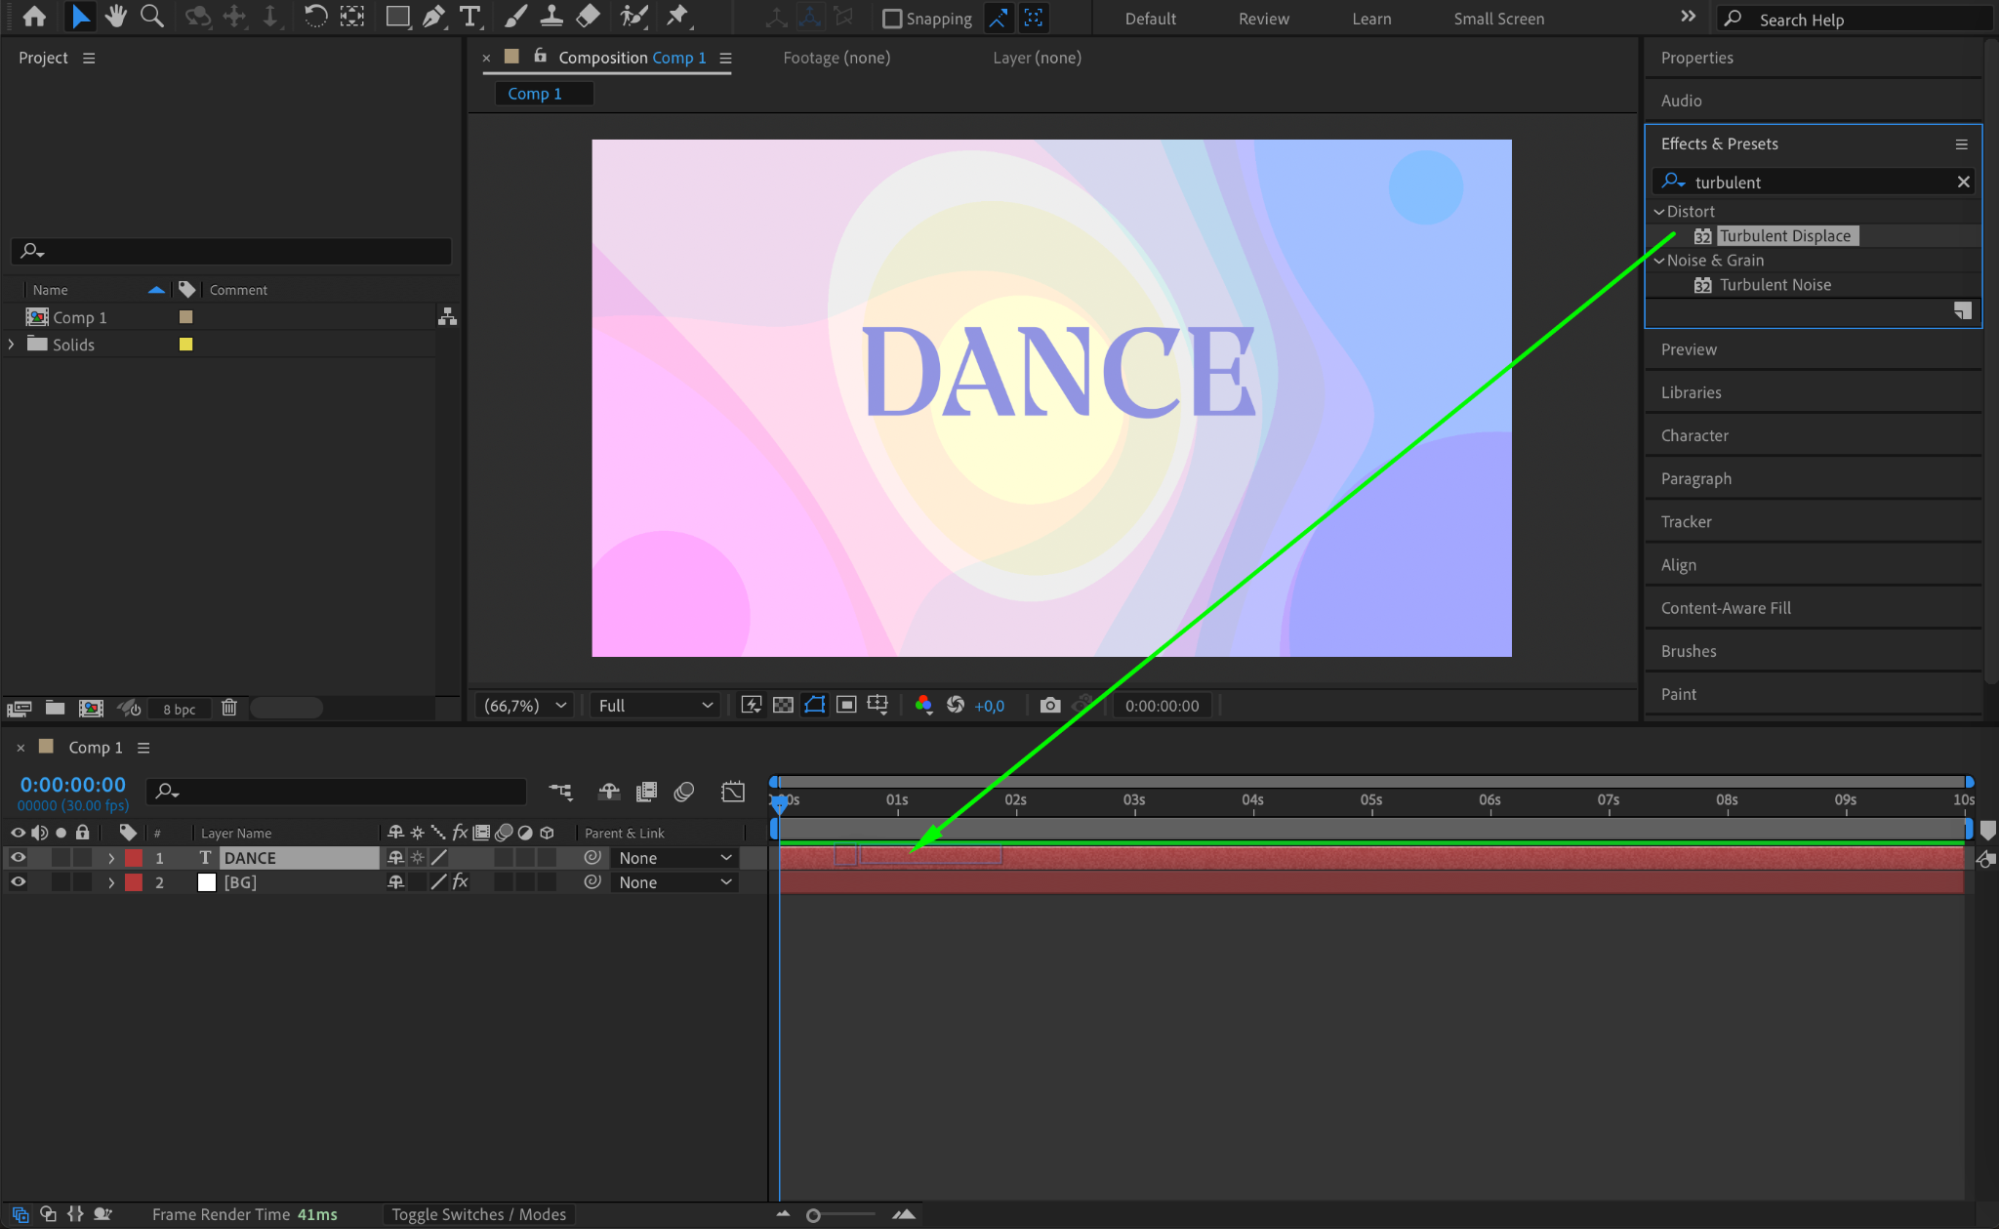
 Step 3: Add Wiggle Expression to Scale
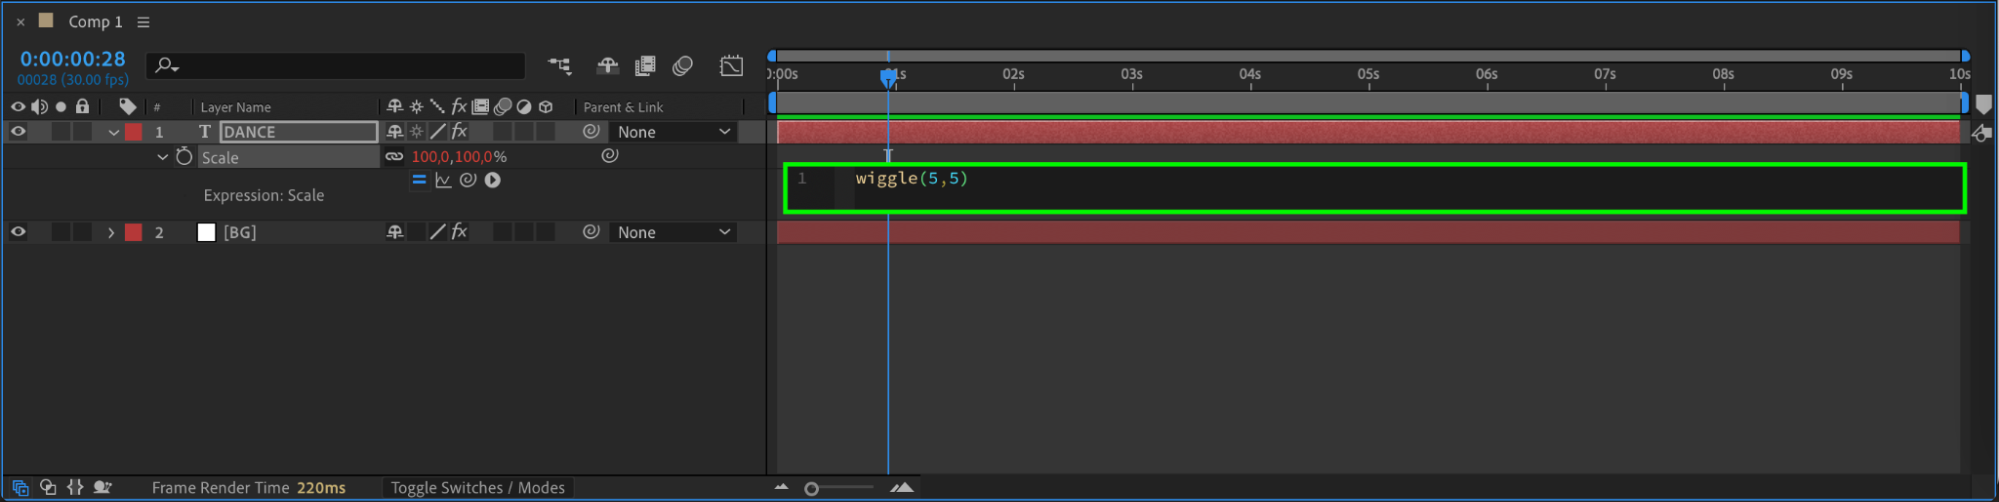
To give your text a bouncy feel, apply a wiggle expression to the Scale property. Press “S” to open the Scale, then Alt/Option + click on the stopwatch. In the expression field, type:
wiggle(5, 5)
This makes the scale change randomly 5 times per second by about 5 units. You can adjust these numbers for faster or more dramatic movement.
Step 4: Preview Your Animation
Press Spacebar to preview your composition. The text should now have a playful, wiggly motion combined with smooth distortion from the Turbulent Displace effect, creating a dancing-like behavior.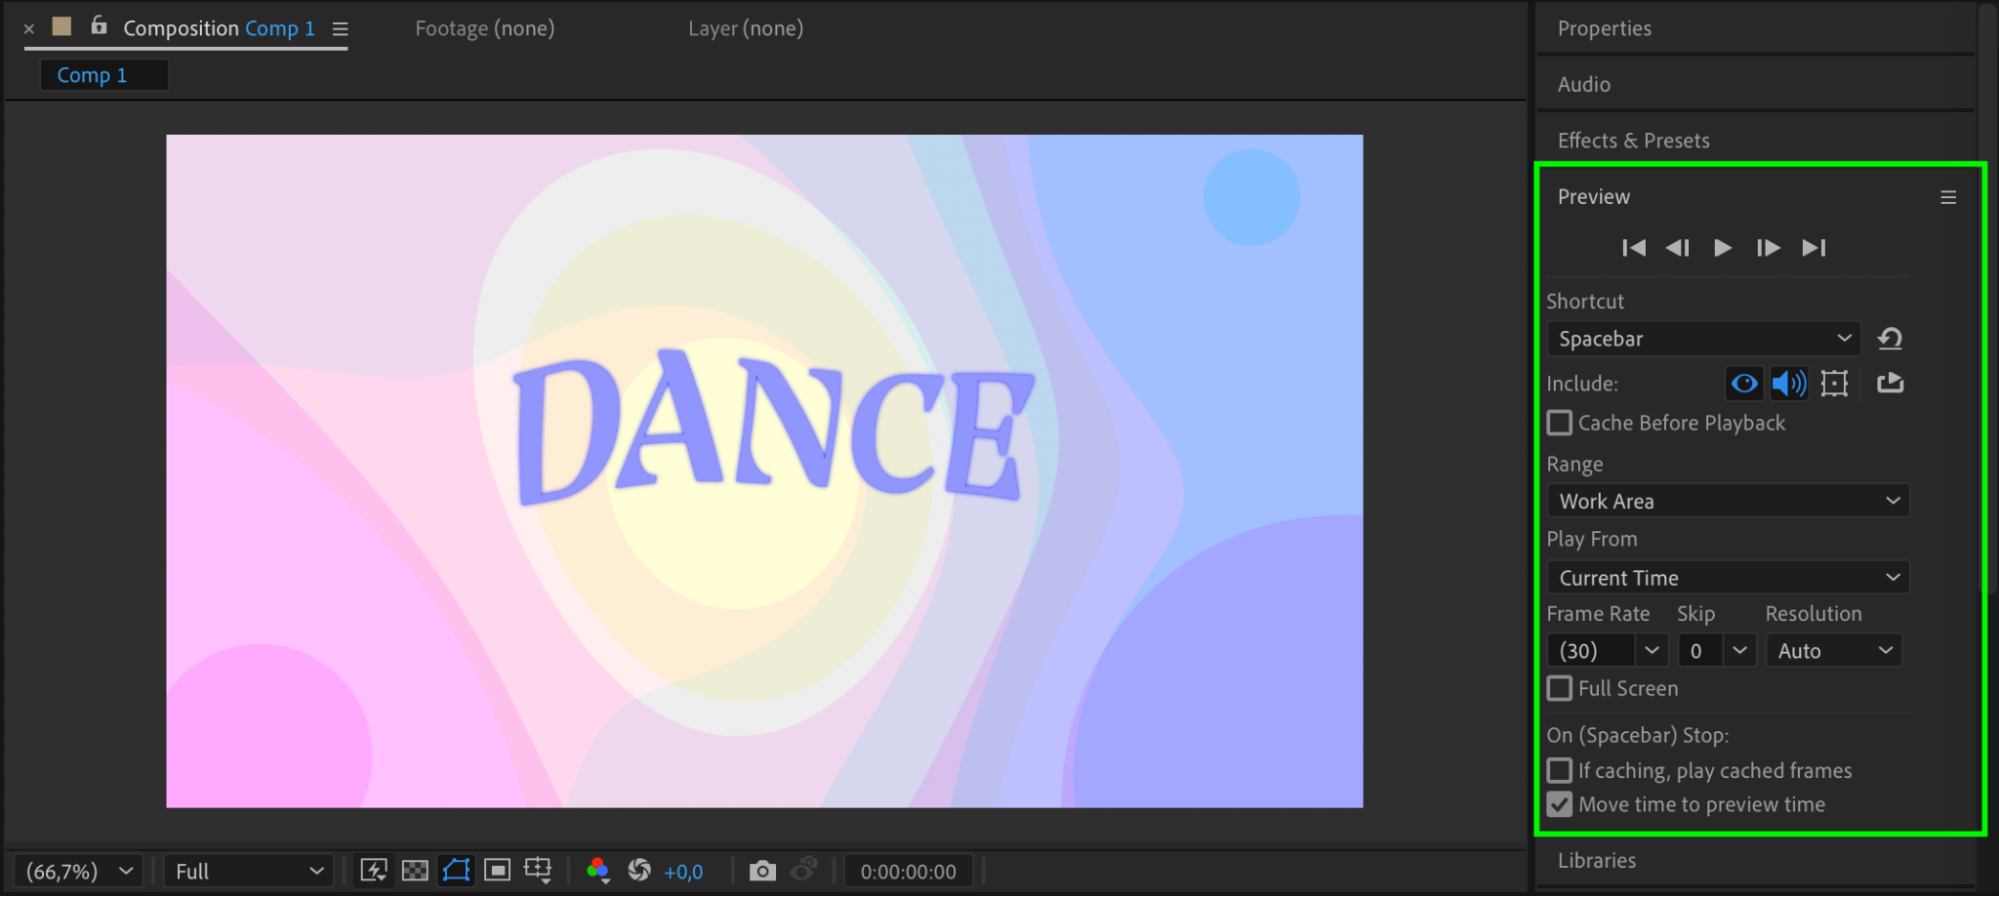
Conclusion
By combining Turbulent Displace with a wiggle expression, you can create a lively and rhythmic dancing text animation in just a few steps. This effect works great for music videos, party titles, or anything that needs a boost of energy and movement. Try customizing the wiggle values and displacement to match the vibe of your project.
Our Bestsellers


