Create Stylish Stinger Transitions in After Effects
Introduction – Build Dynamic, Animated Transitions Using Simple Shapes
In this tutorial, you’ll learn how to design and animate a vibrant stinger transition — a quick and stylish wipe used to transition between scenes or graphics. These transitions are often seen in esports, streaming, and broadcast content. We’ll use basic shape layers, the Linear Wipe effect, and color timing to build a smooth motion effect.
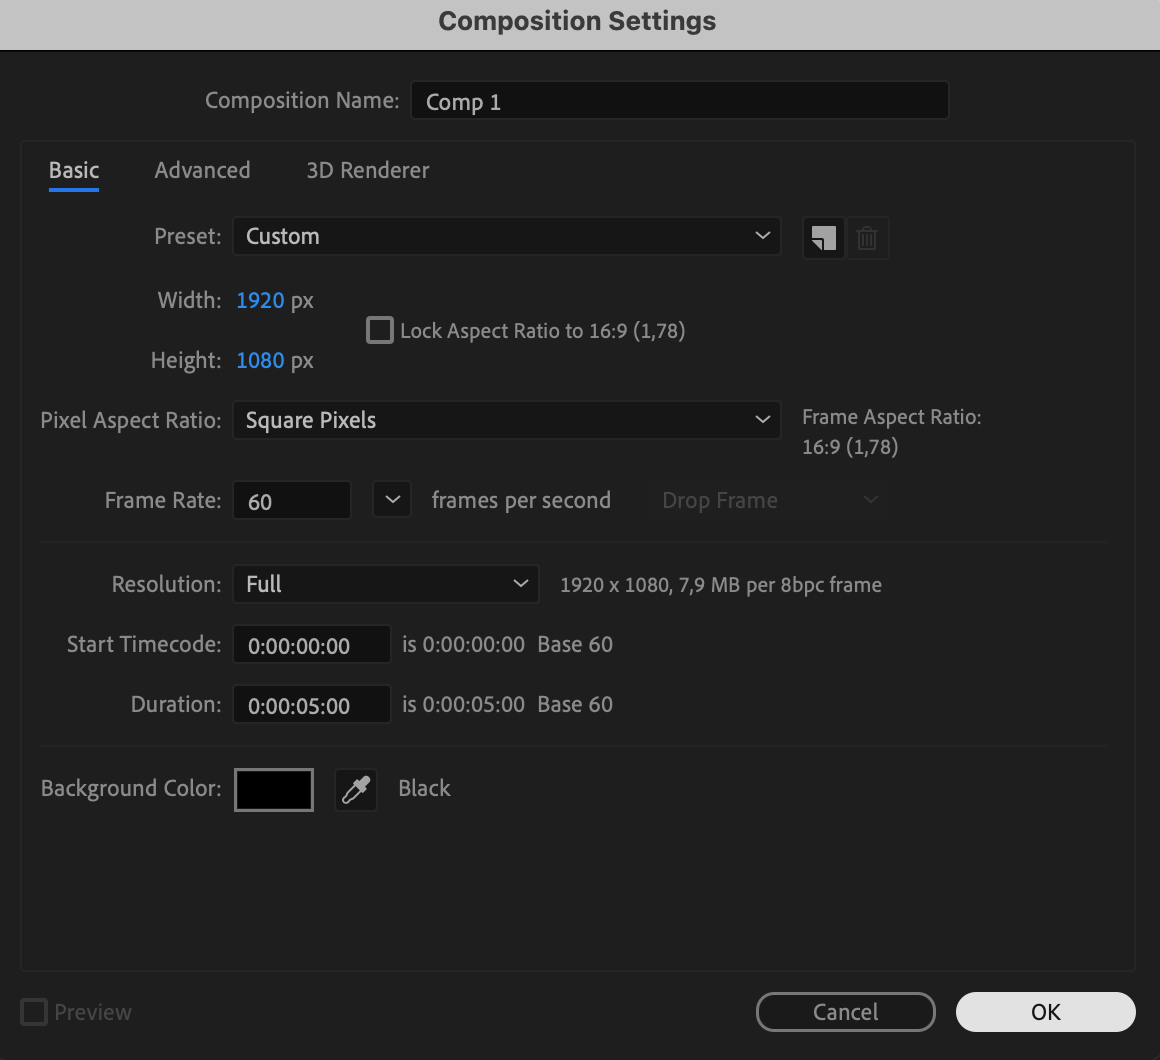
Step 1: Create a New Composition
Start by creating a new composition. Go to Composition > New Co mposition. Set the resolution to 1920×1080, frame rate to 30fps (or match your project), and the duration to around 5 seconds.
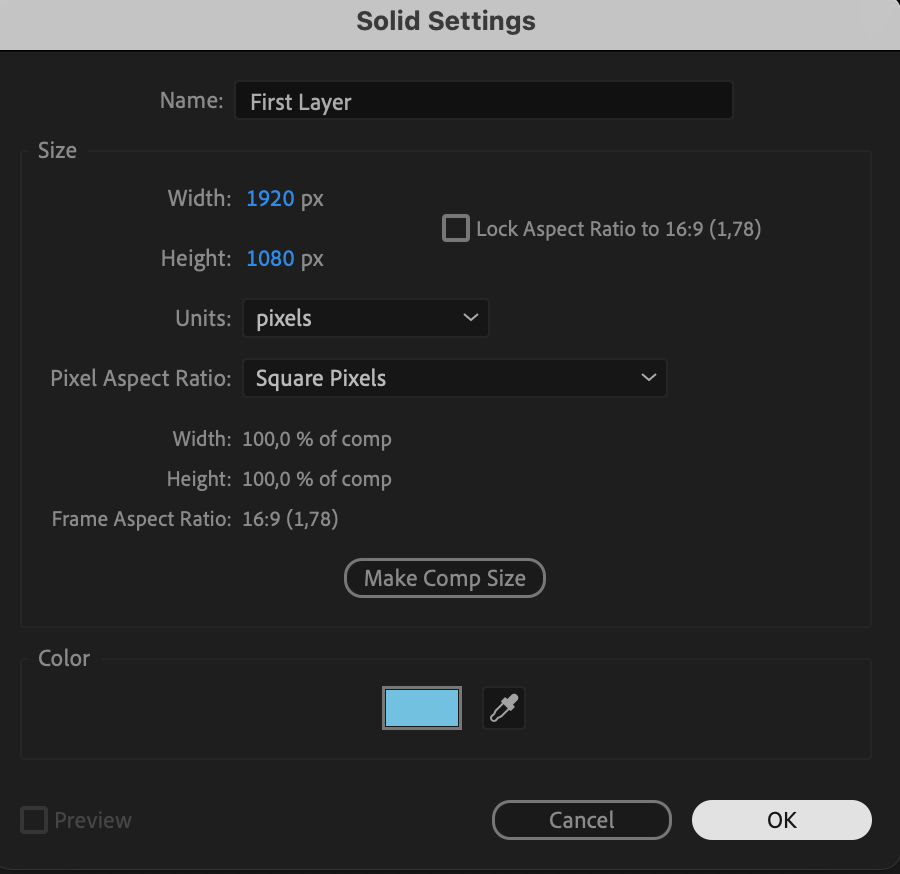
 Step 2: Add a Solid Layer
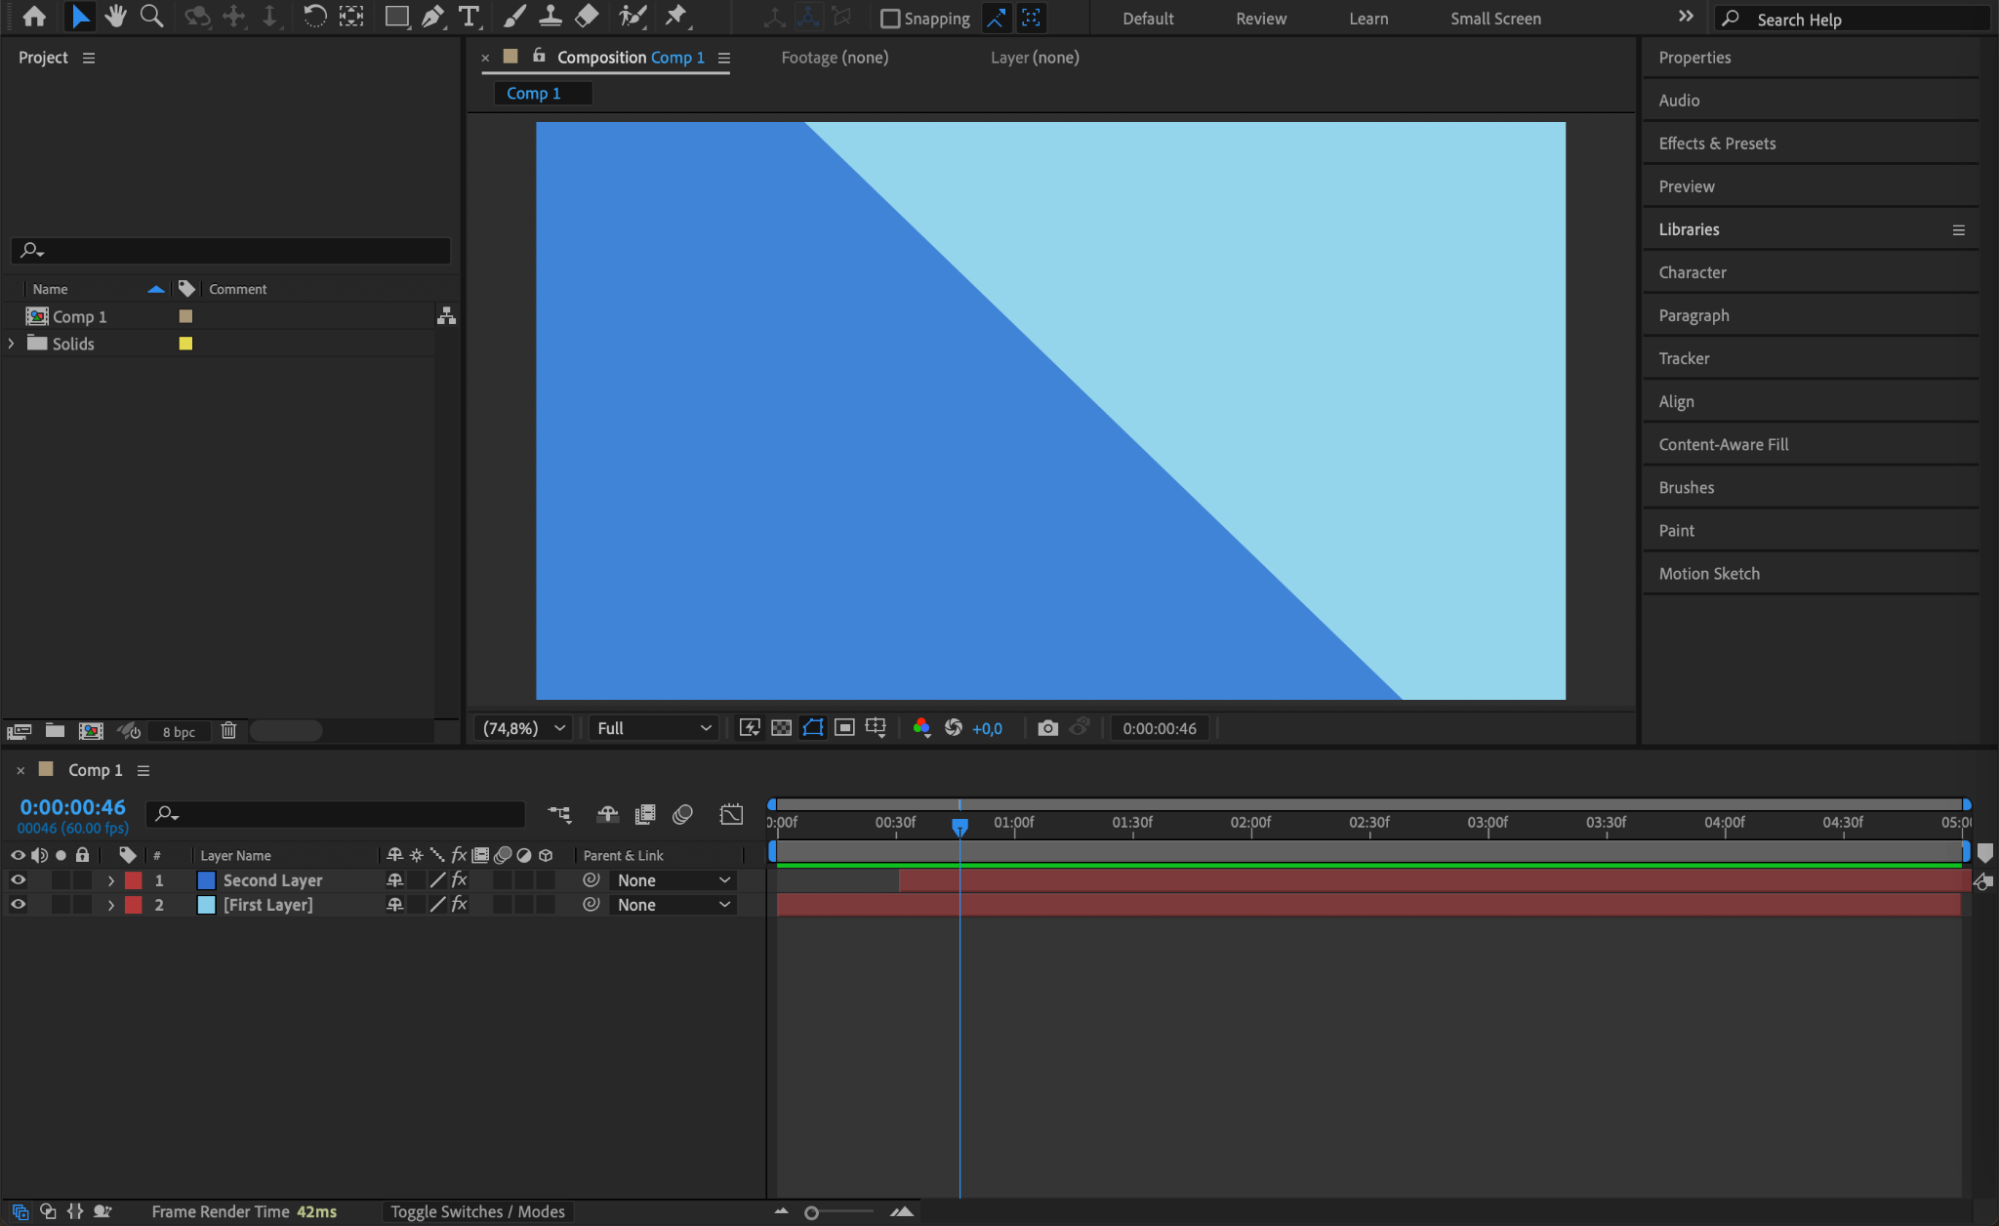
Go to Layer > New > Solid, choose a color for your transition (such as red or blue), and name it “First Layer”. This will be the base layer of your stinger animation.
Get 10% off when you subscribe to our newsletter

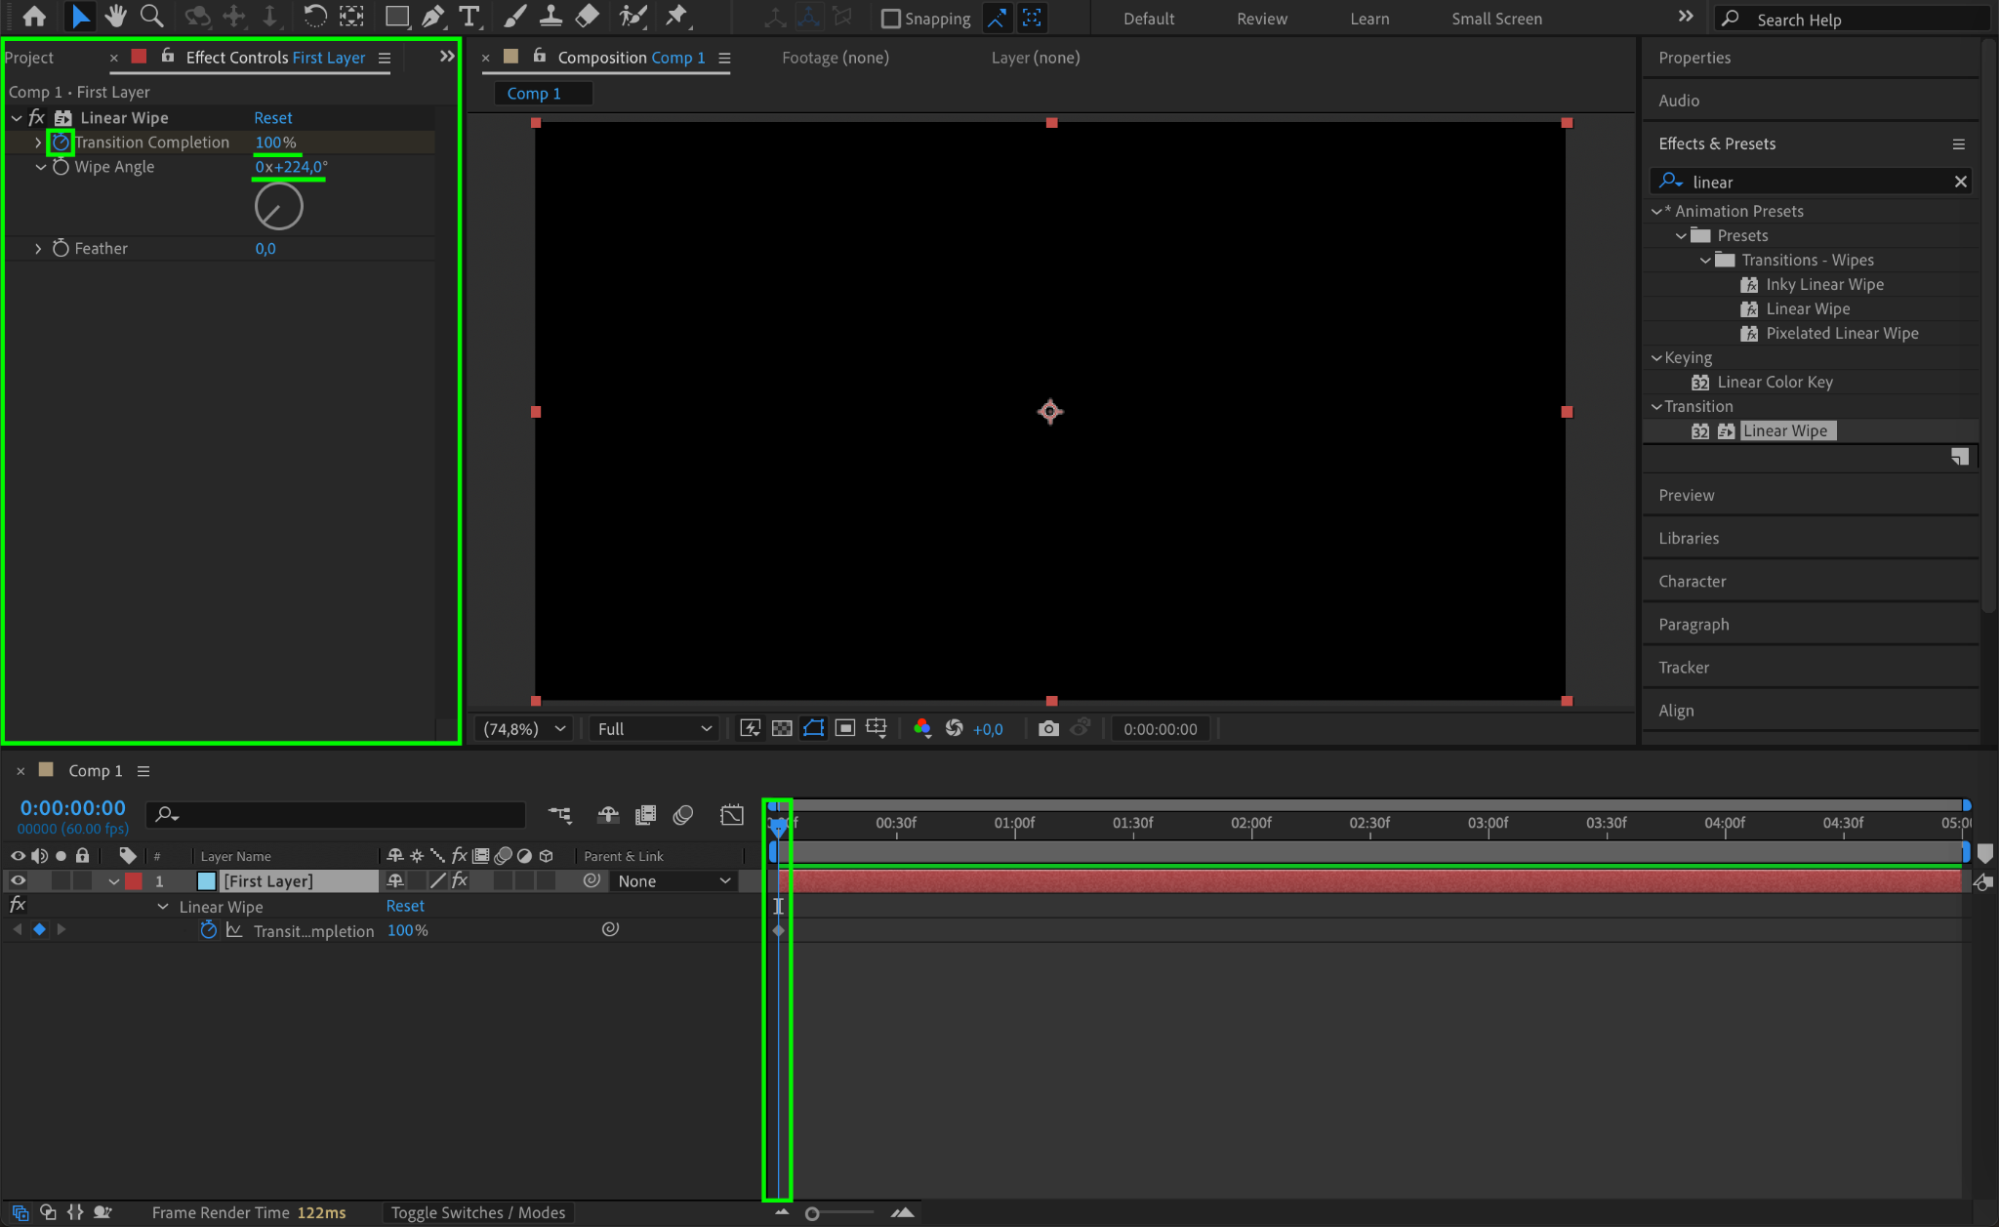
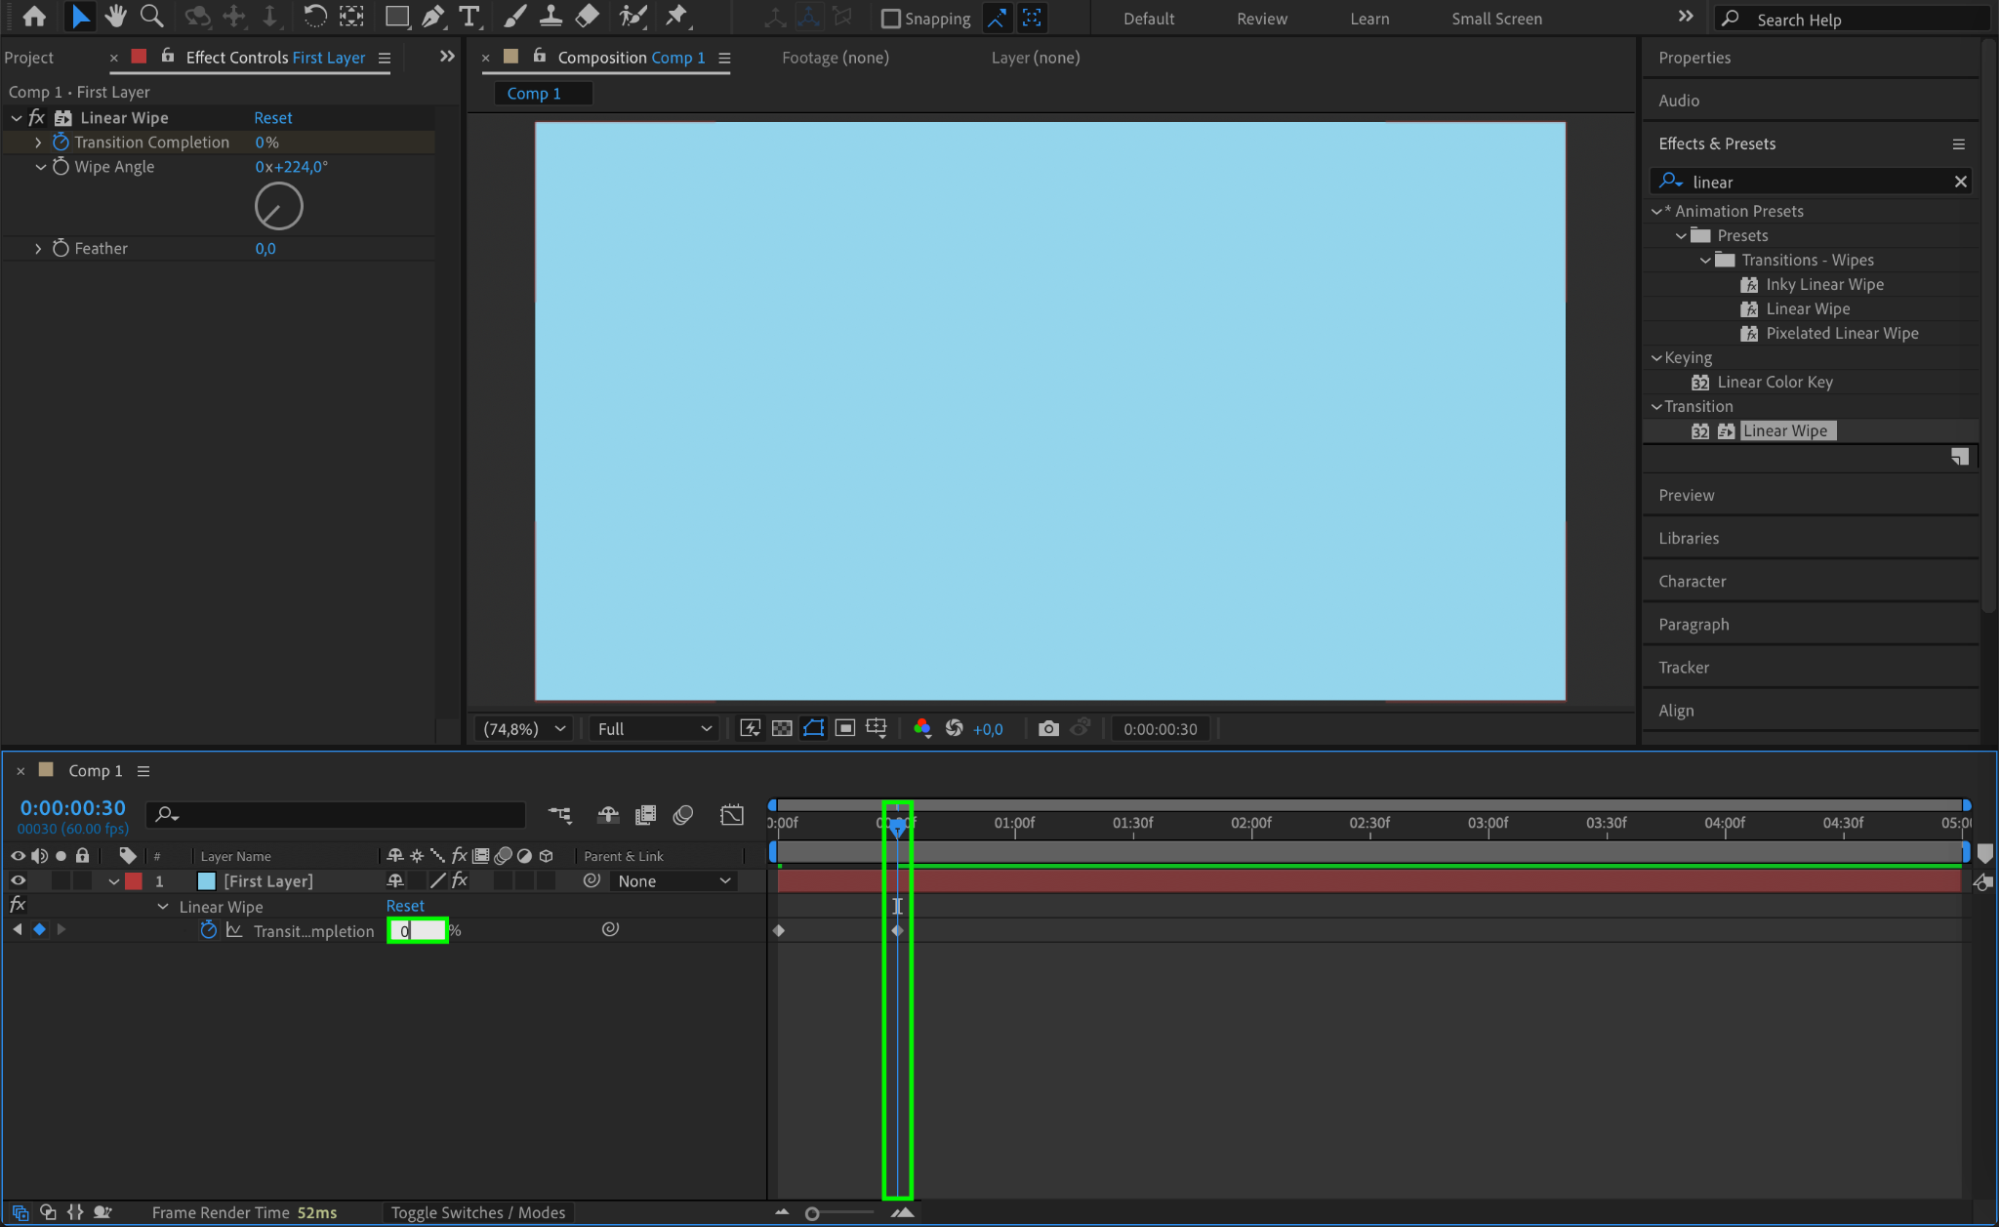
Step 3: Apply the Linear Wipe Effect
With the First Layer selected, go to the Effects & Presets panel and search for Linear Wipe. Drag it onto the layer. In the Effect Controls, set Wipe Angle to 224°. Then keyframe Transition Completion: set it to 0% at the start of the comp and 100% around frame 30 (1 second). This animates the wipe across the screen.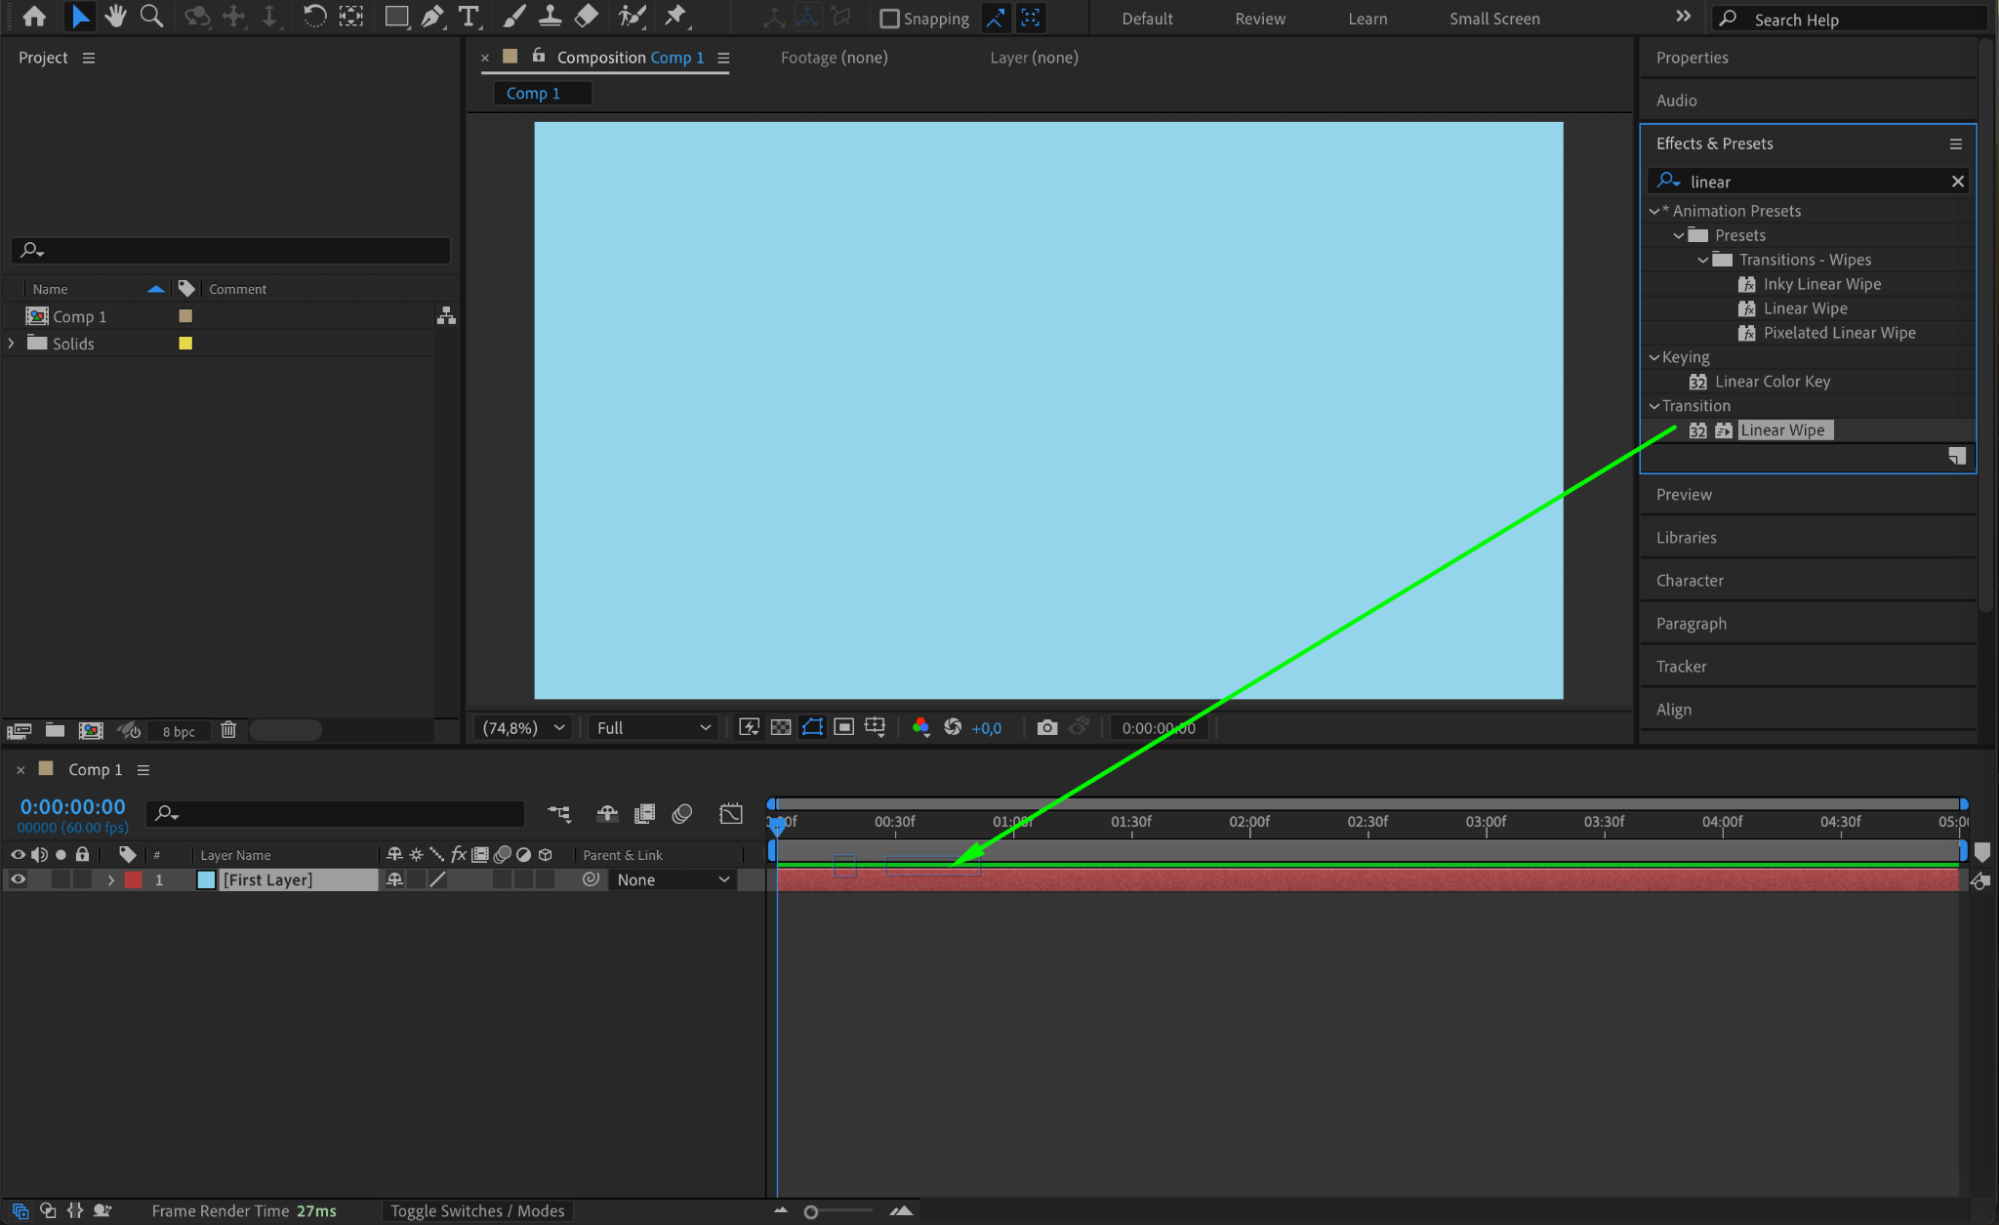
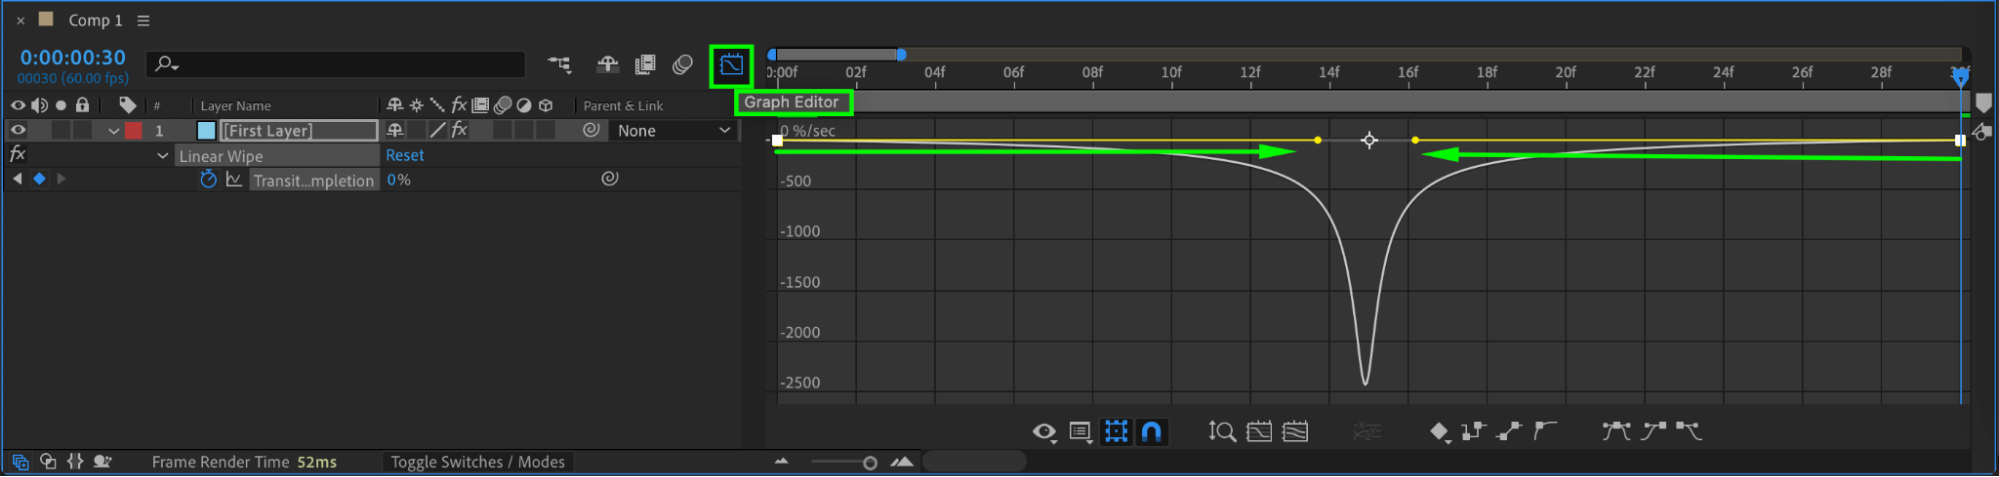
 Step 4: Smooth the Animation
Select both keyframes, right-click, and choose Keyframe Assistant > Easy Ease. Then open the Graph Editor and adjust the speed curve to make the motion faster in the middle and smoother at the start and end. This adds a professional look to the movement.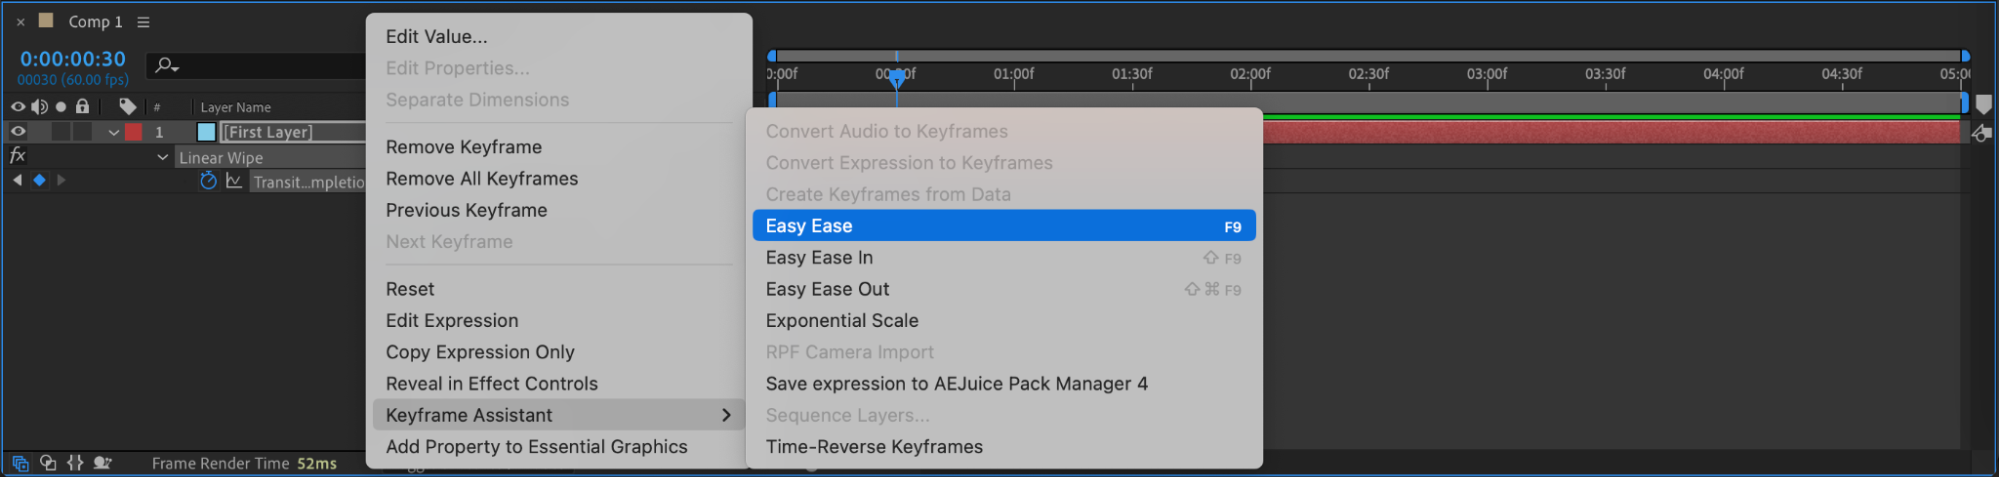
Step 5: Duplicate and Offset the Layers
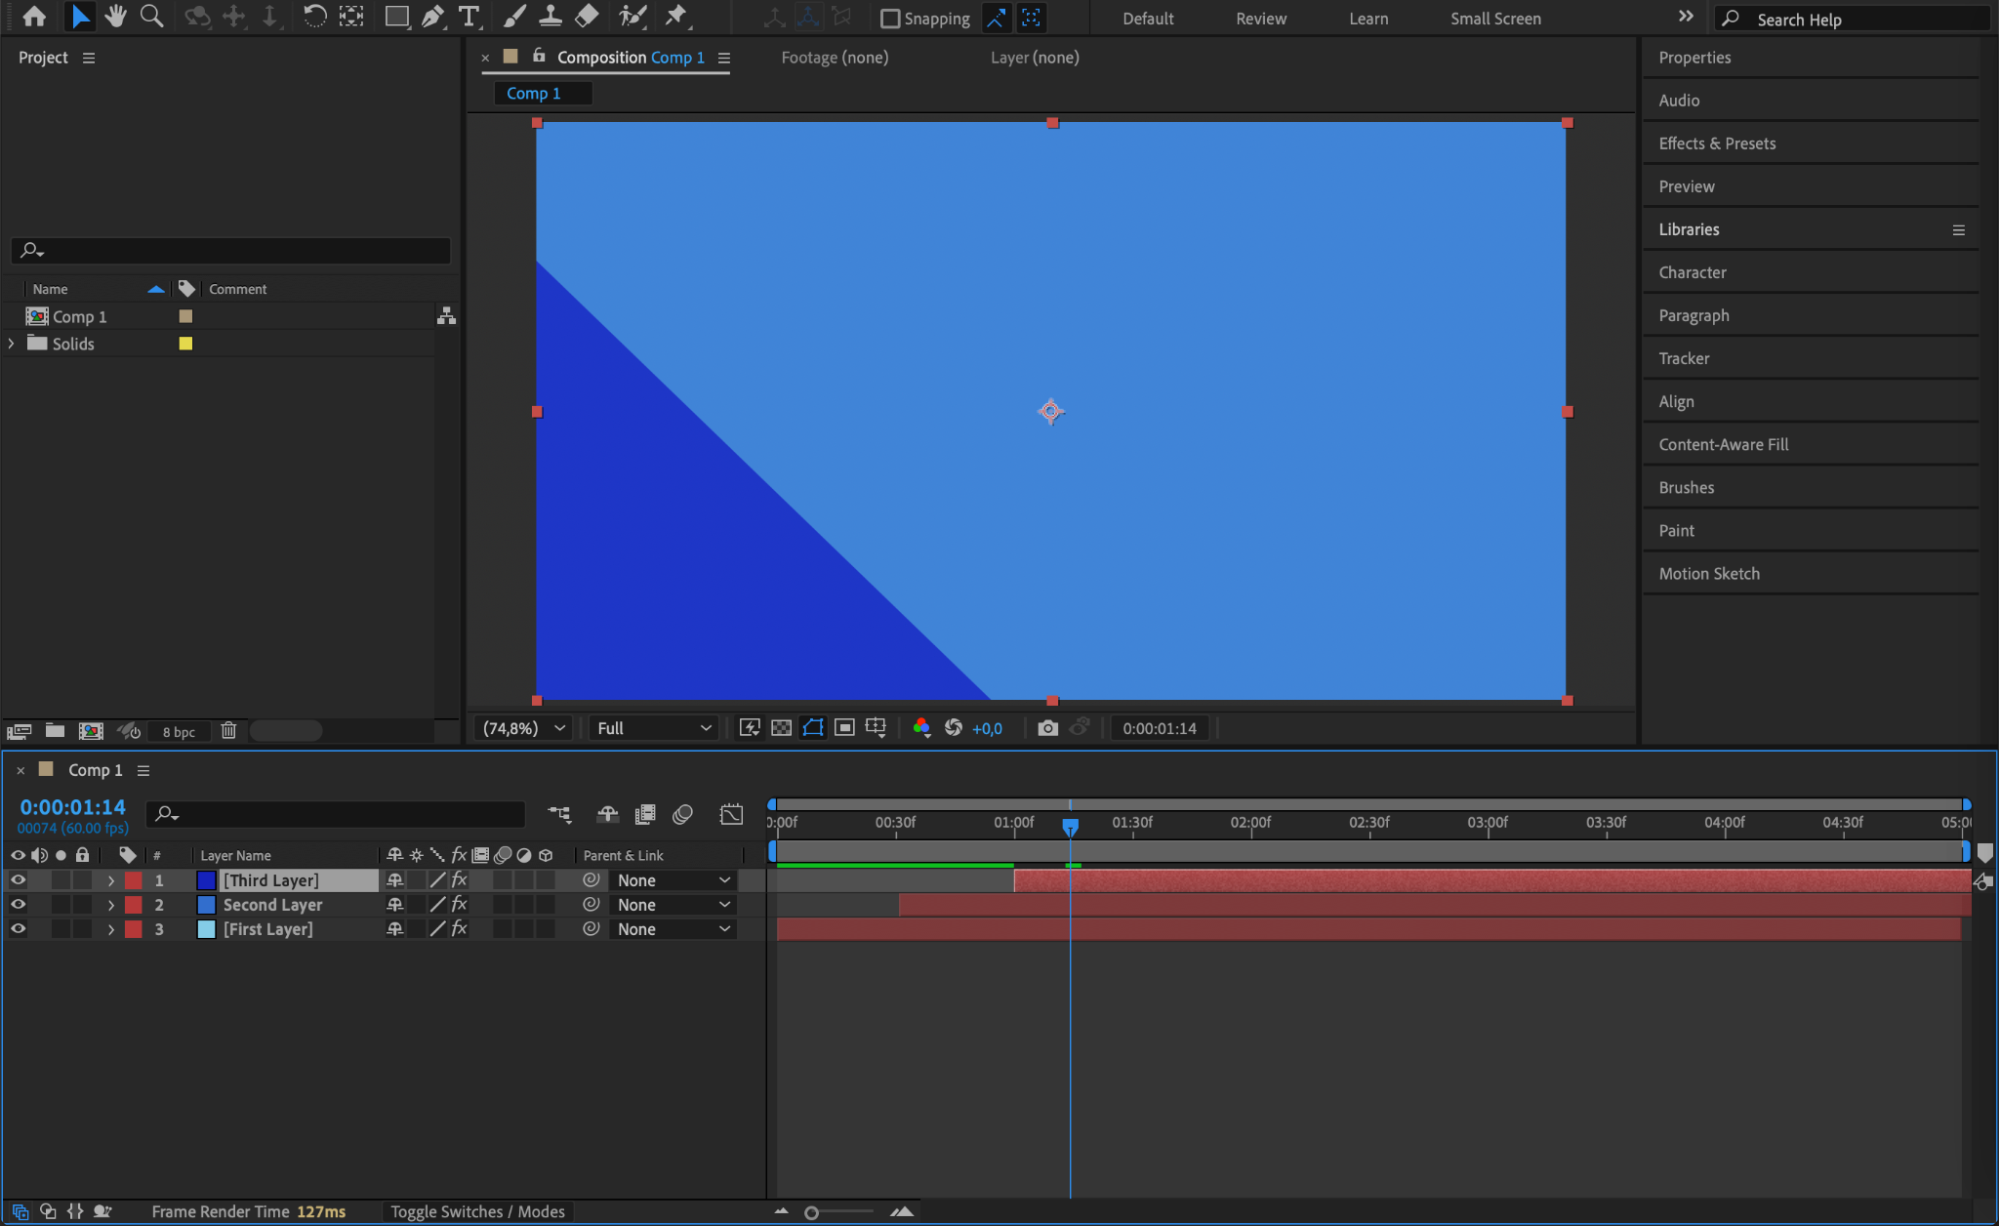
Duplicate the first solid layer by pressing “Ctrl/Cmd + D” twice. Rename the new layers to “Second Layer” and “Third Layer”. Select each duplicate, go to Layer > Solid Settings, and change the color to something different. Then, offset each layer in the timeline by dragging them a few frames to the right one after another. This creates a staggered, layered wipe effect.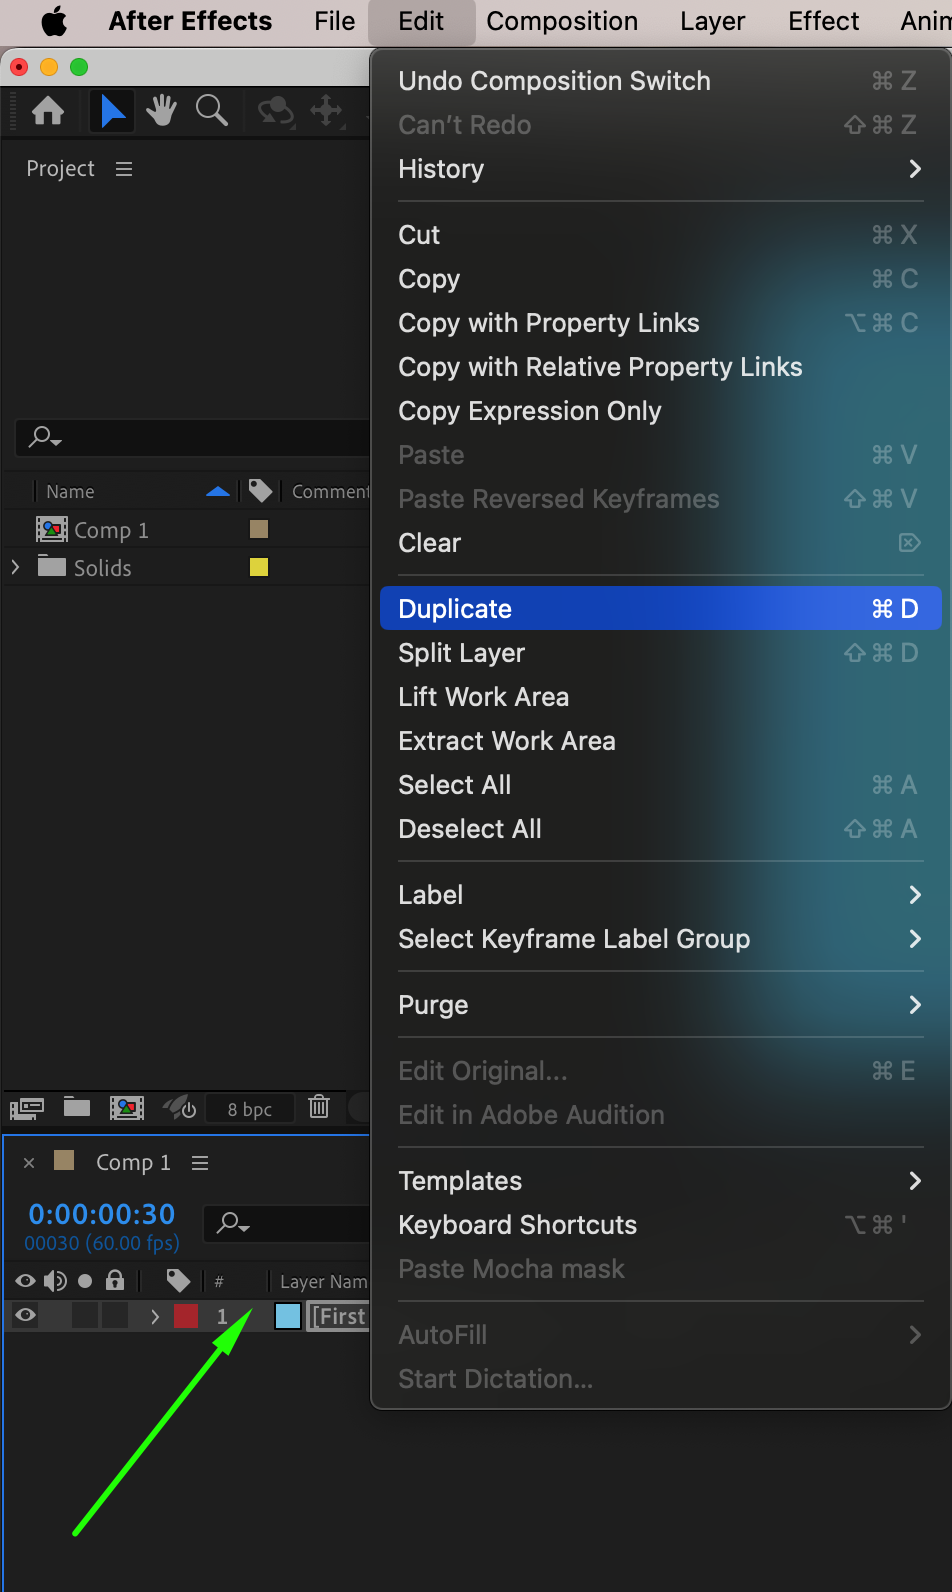

 Step 6: Preview the Animation
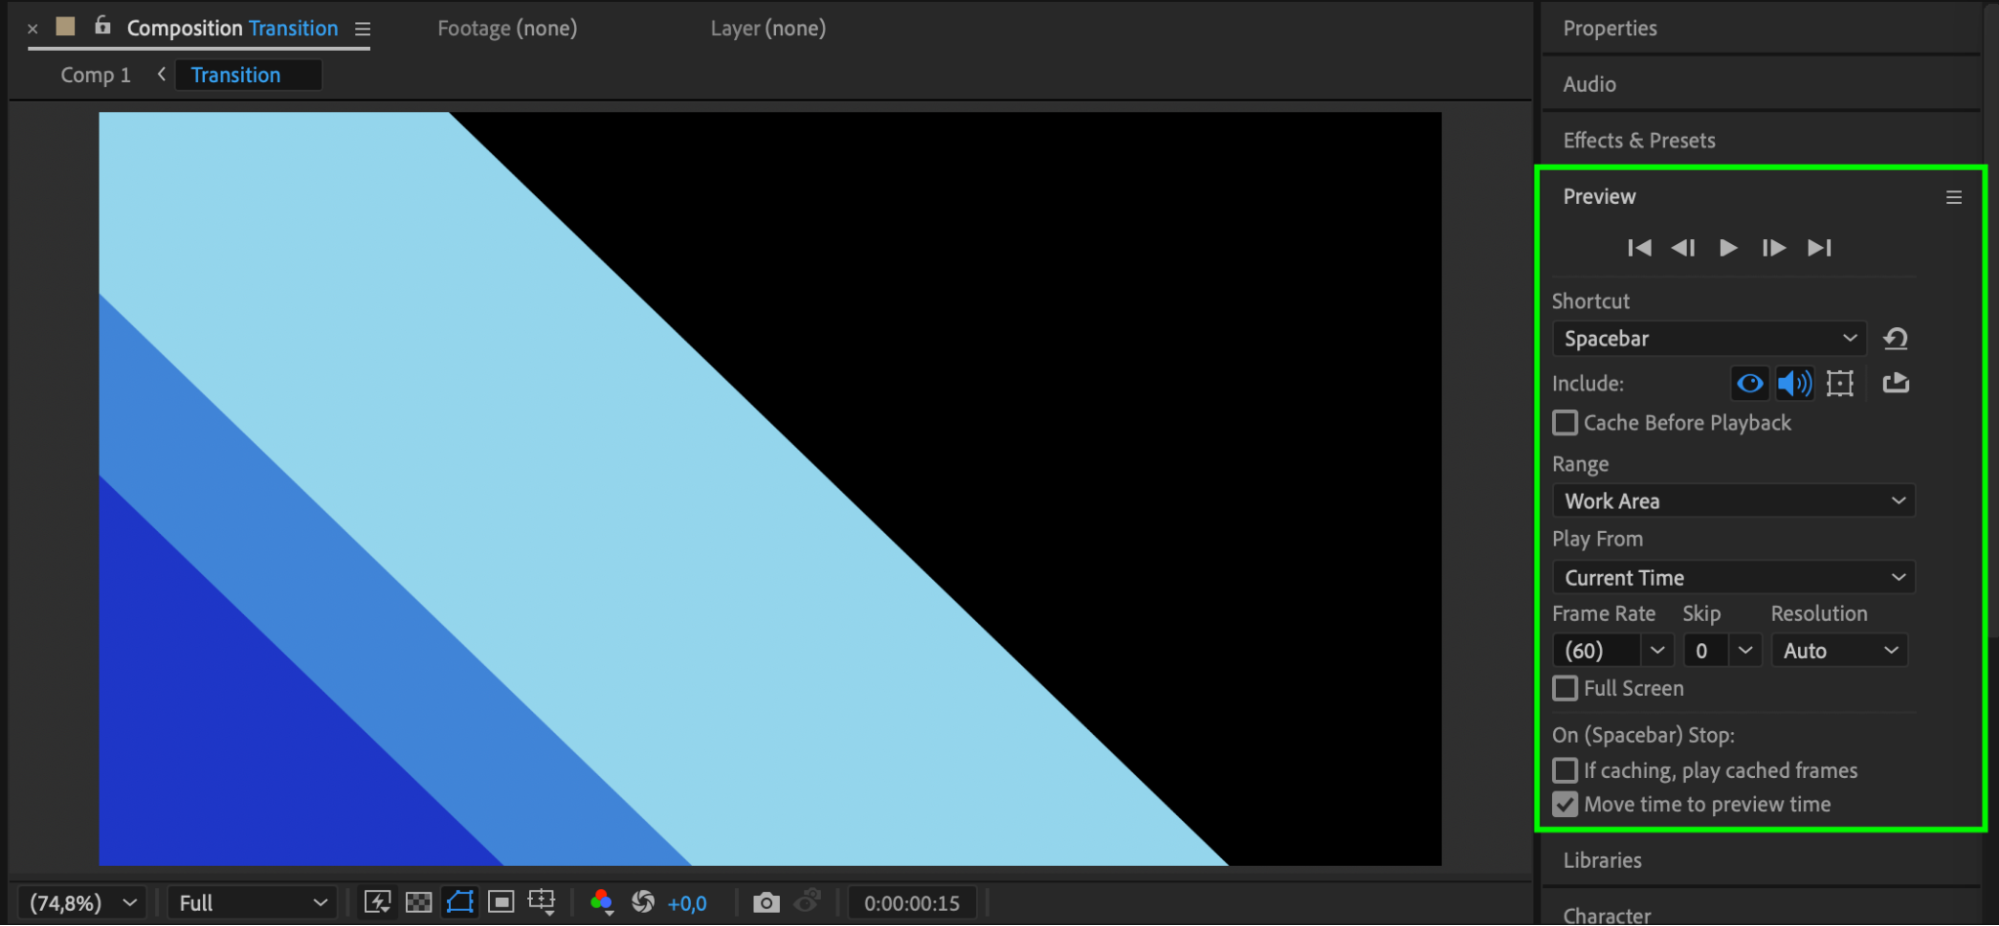
Press Spacebar to preview your transition. You’ll see three layers wipe across the screen one after another, each with a different color and smooth animation. You can now use this stinger in your editing software as a dynamic scene change.
Conclusion
Stinger transitions are easy to create and highly effective for adding polish to your videos. Using solid layers, the Linear Wipe effect, and color variation, you can build a custom wipe transition that fits your brand or style. Try combining this with motion blur or adding sound effects to make it even more impactful.
Our Bestsellers


