How to Create Rigid Animation in Adobe After Effects
Introduction
Rigid animation creates a sharp, mechanical, or sudden motion without smooth easing. It’s useful for effects like flips, digital glitches, or robotic movements. In Adobe After Effects, you can achieve this by animating properties like scale, position, or rotation with minimal frame spacing and without easing. This guide will show you how to build a simple rigid flip animation using a PNG image.
Step 1: Create a New Composition
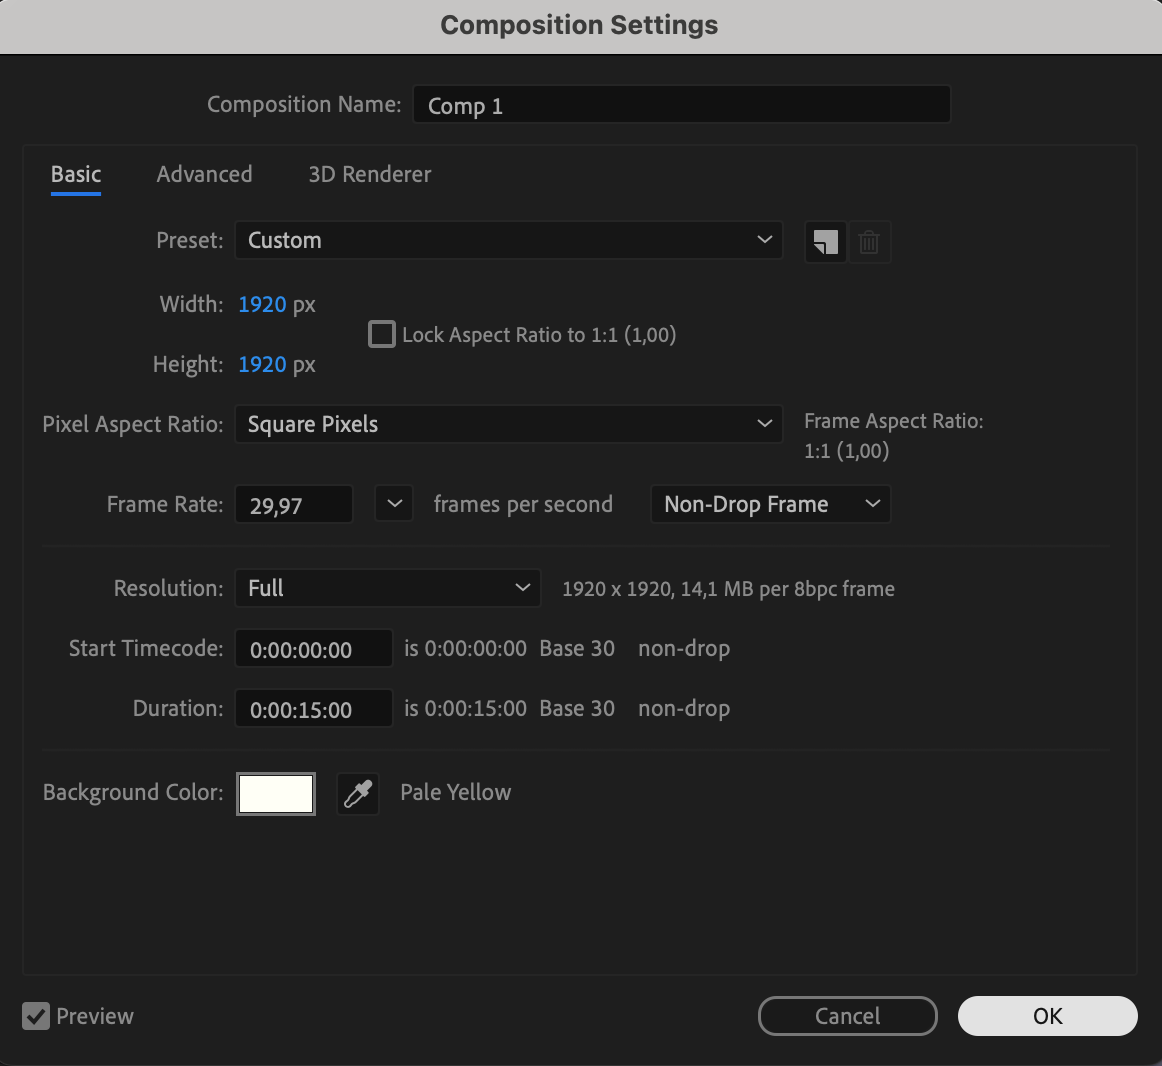
Open After Effects and create a new composition (Ctrl/Cmd + N). Set your desired resolution, frame rate, and duration. A short duration like 5–15 seconds works best for testing this kind of motion.
Step 2: Import and Add Your Image
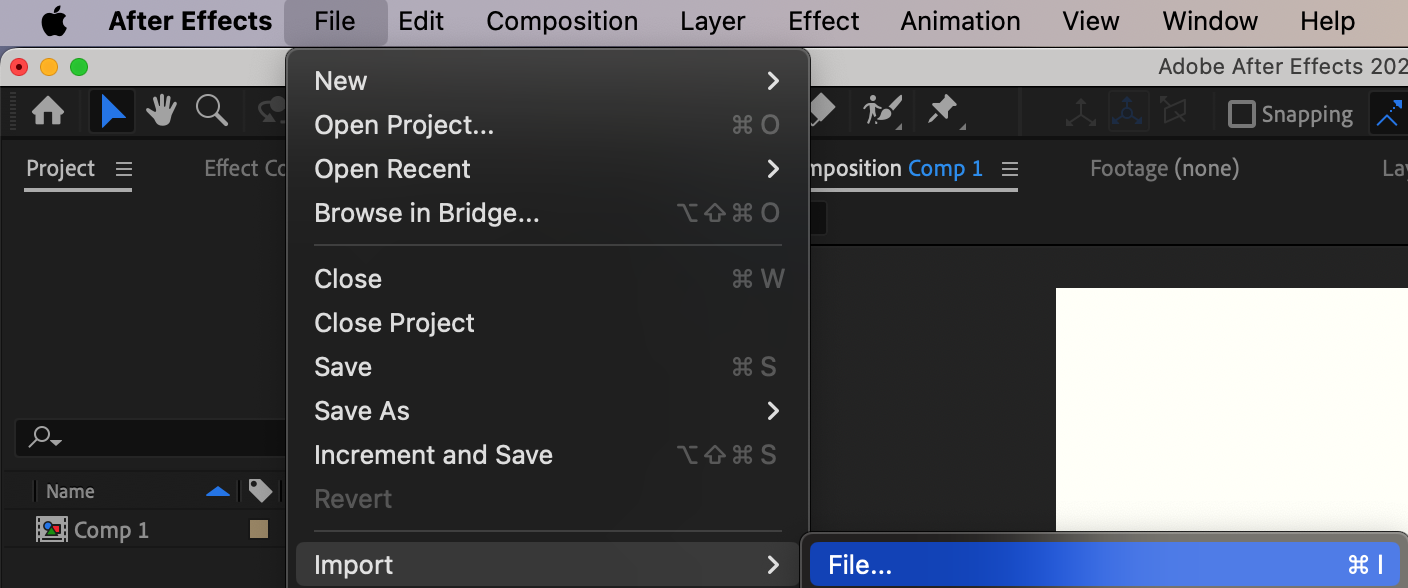
Go to File > Import > File, and select the PNG image you want to animate. Drag it from the Project panel to your timeline. You can use any image or icon that you want to flip or animate with a rigid style.

Get 10% off when you subscribe to our newsletter

Step 3: Add Drop Shadow for Depth
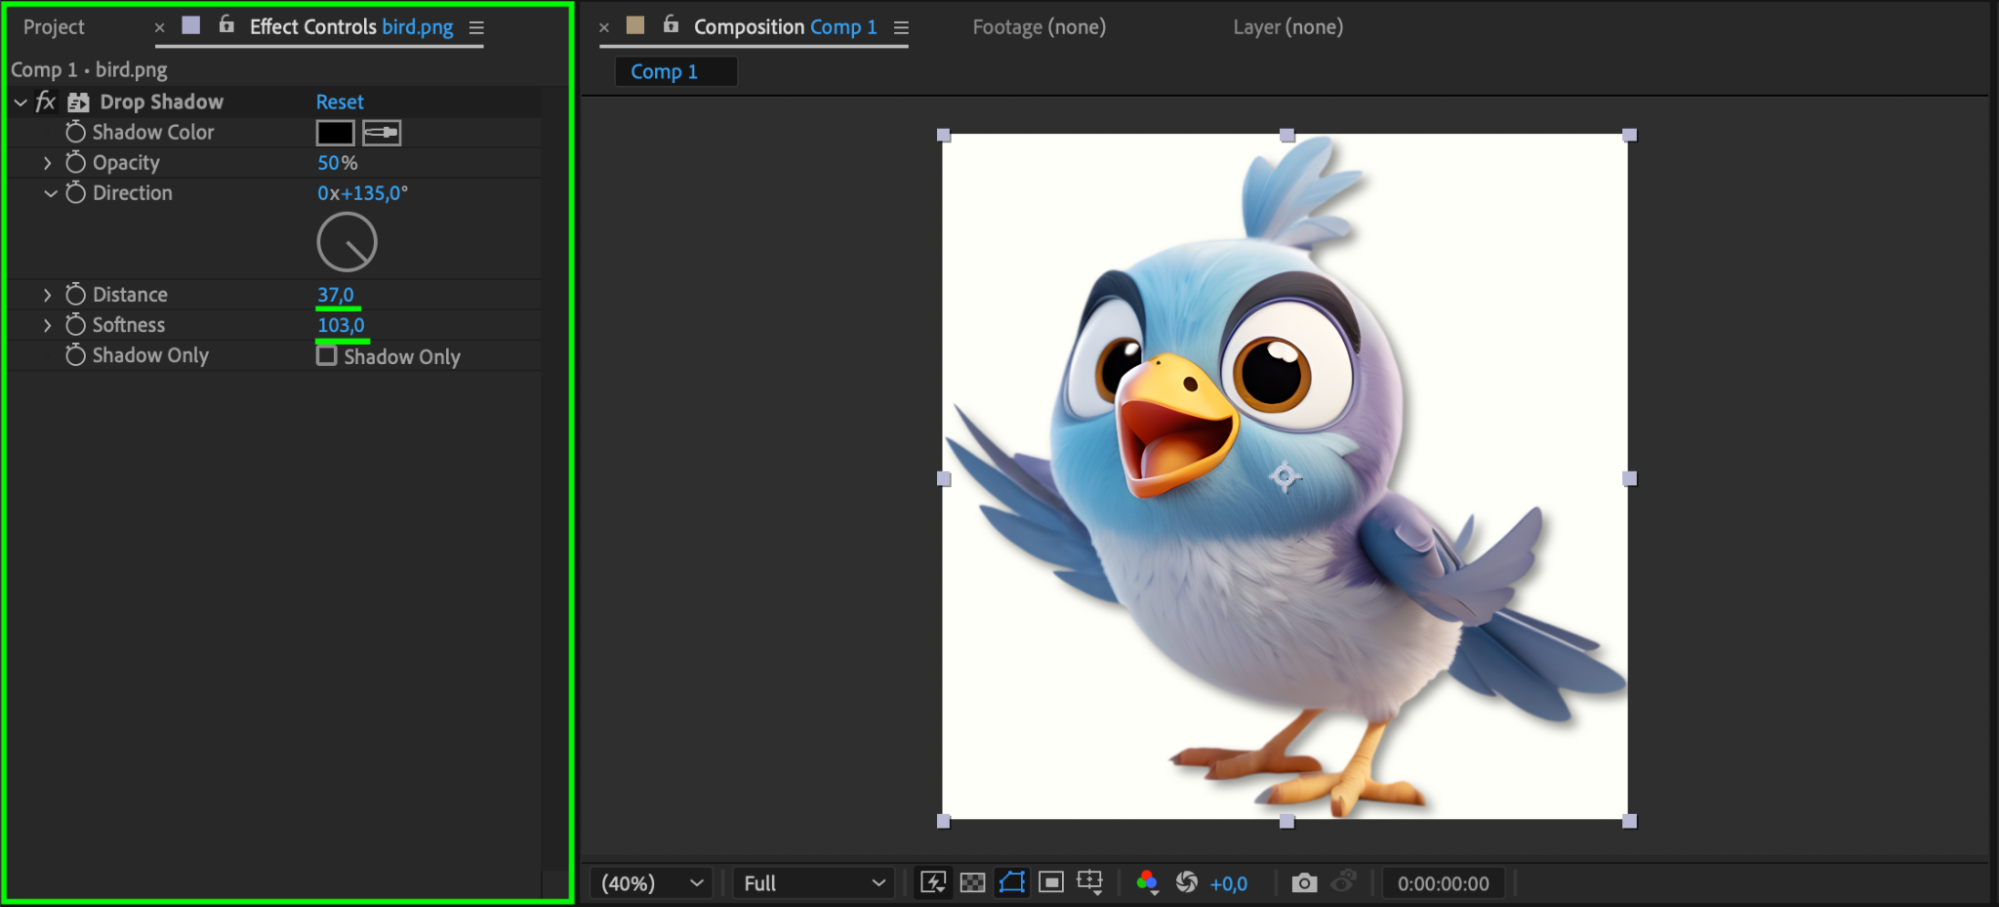
To give the animation some depth, select your layer and go to the Effects & Presets panel. Search for Drop Shadow and apply it to your image. Adjust distance and softness to match your design. This step is optional but adds a subtle sense of space and form.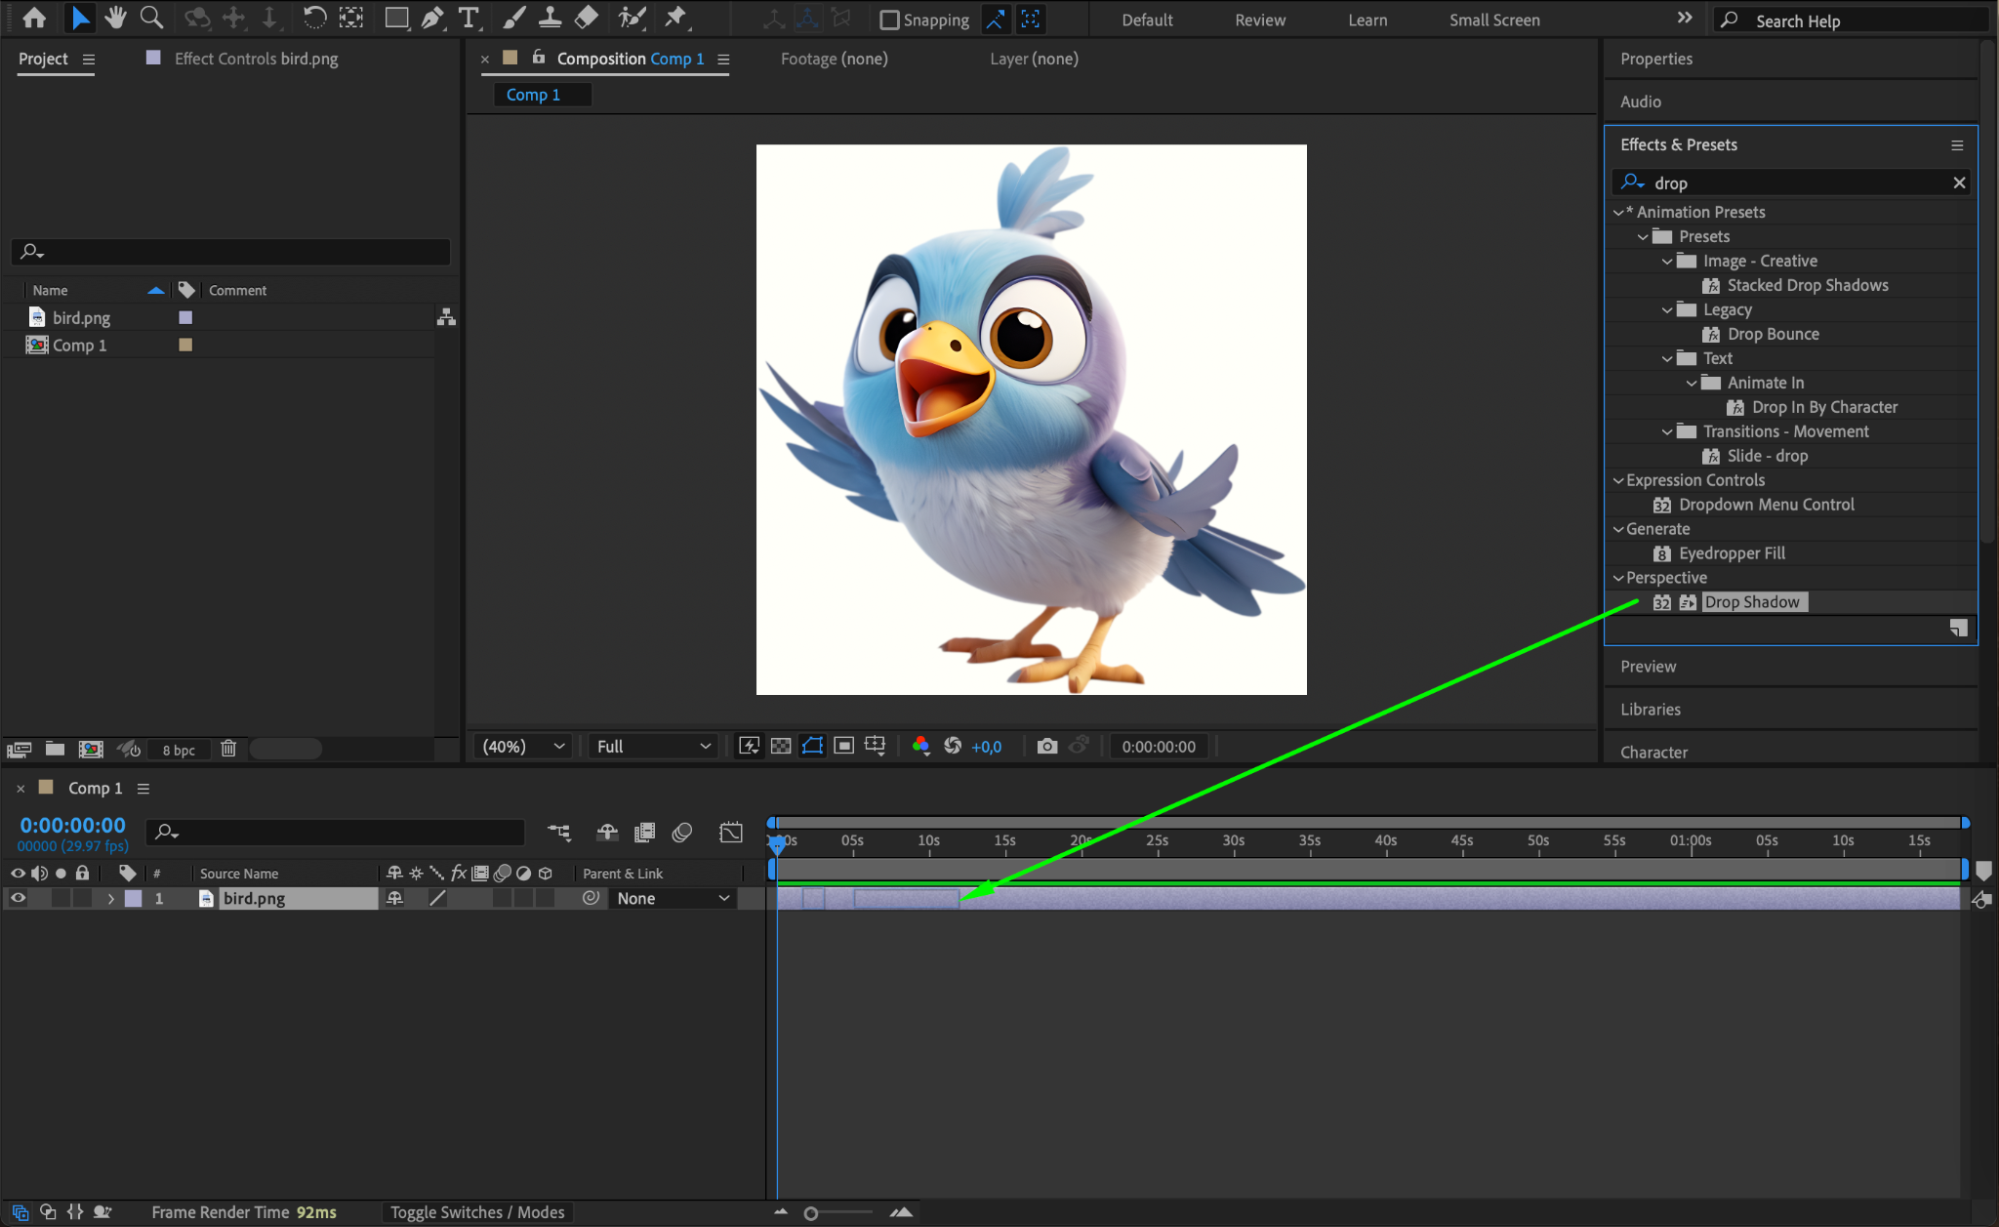
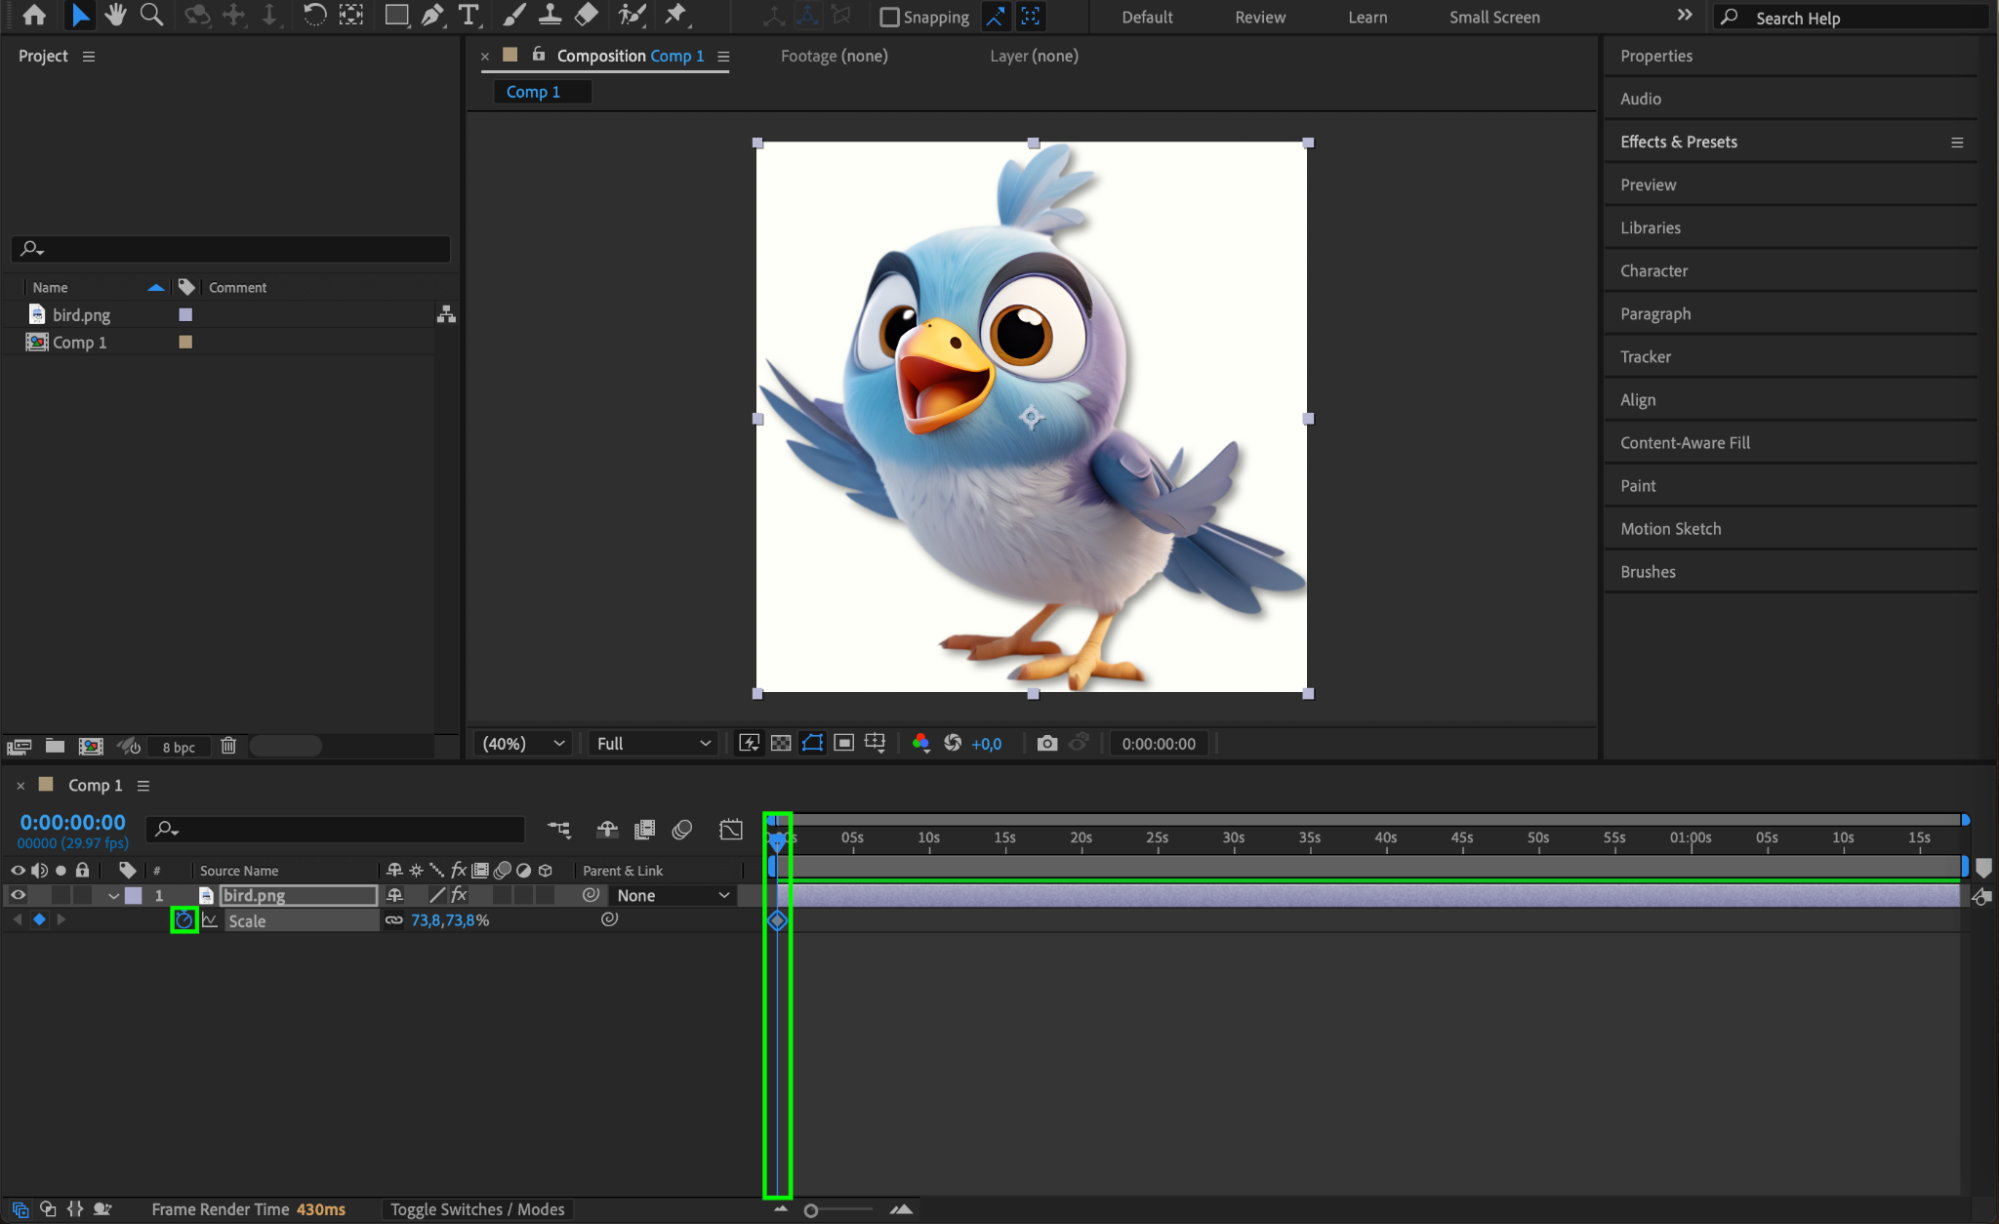
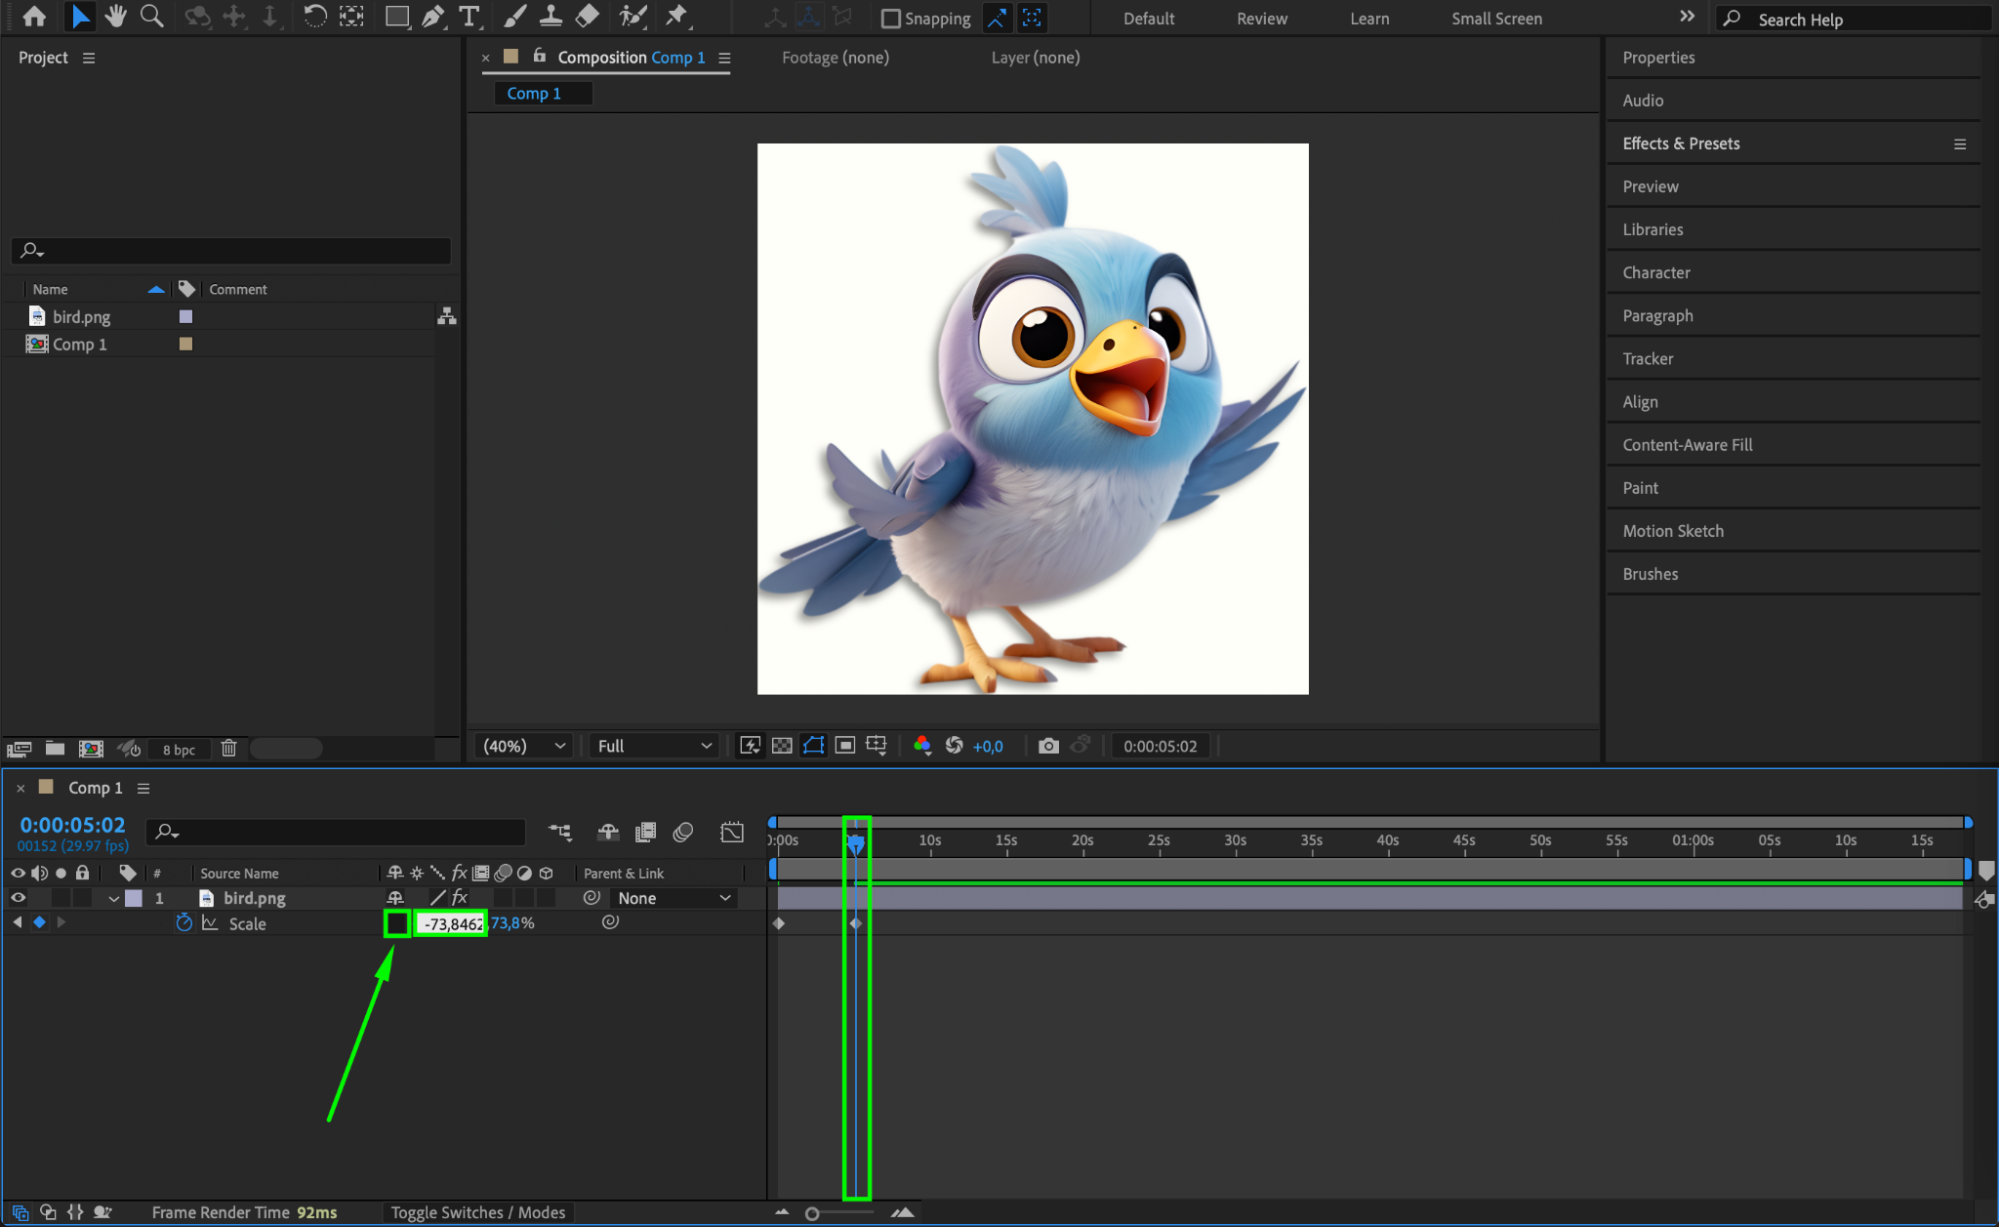
 Step 4: Animate Scale for Flip Effect
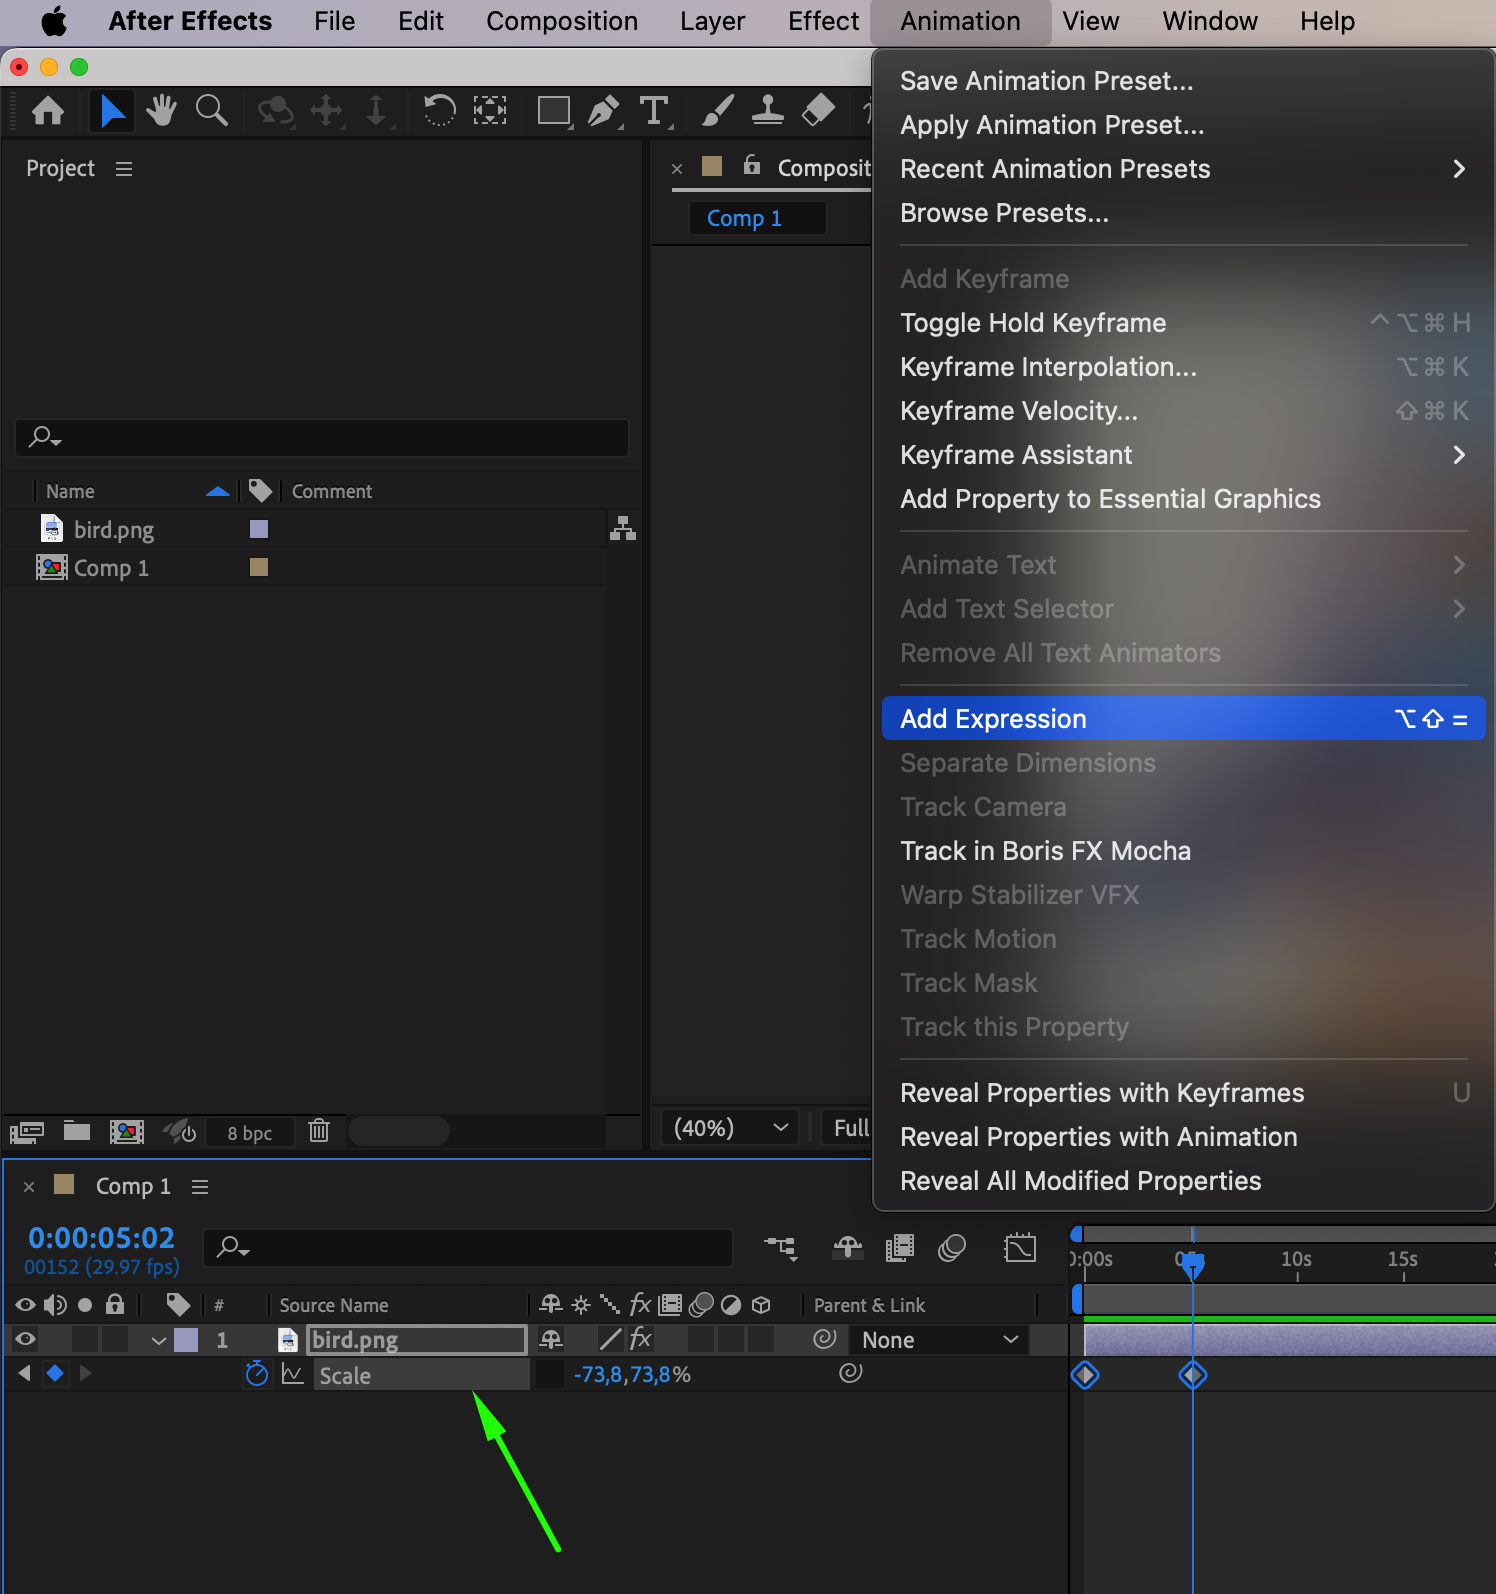
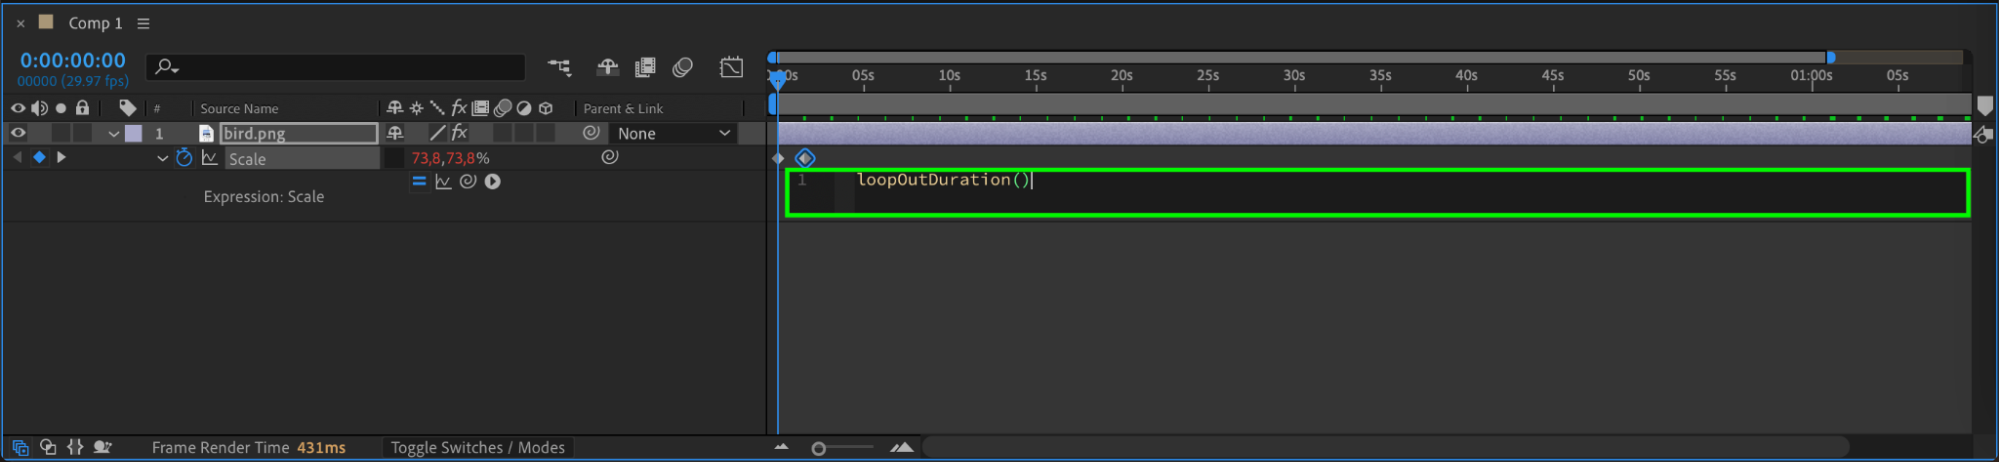
Select the layer and press “S” to reveal the Scale property. Click the stopwatch to add your first keyframe. Move the CTI (Current Time Indicator) a few frames forward (5–25 frames), then change the X scale value to its negative version (e.g., from 100 to -100). This creates a quick flip. For a looping effect, Alt-click the stopwatch and type this expression:
loopOutDuration()
This makes the flip repeat over the timeline.
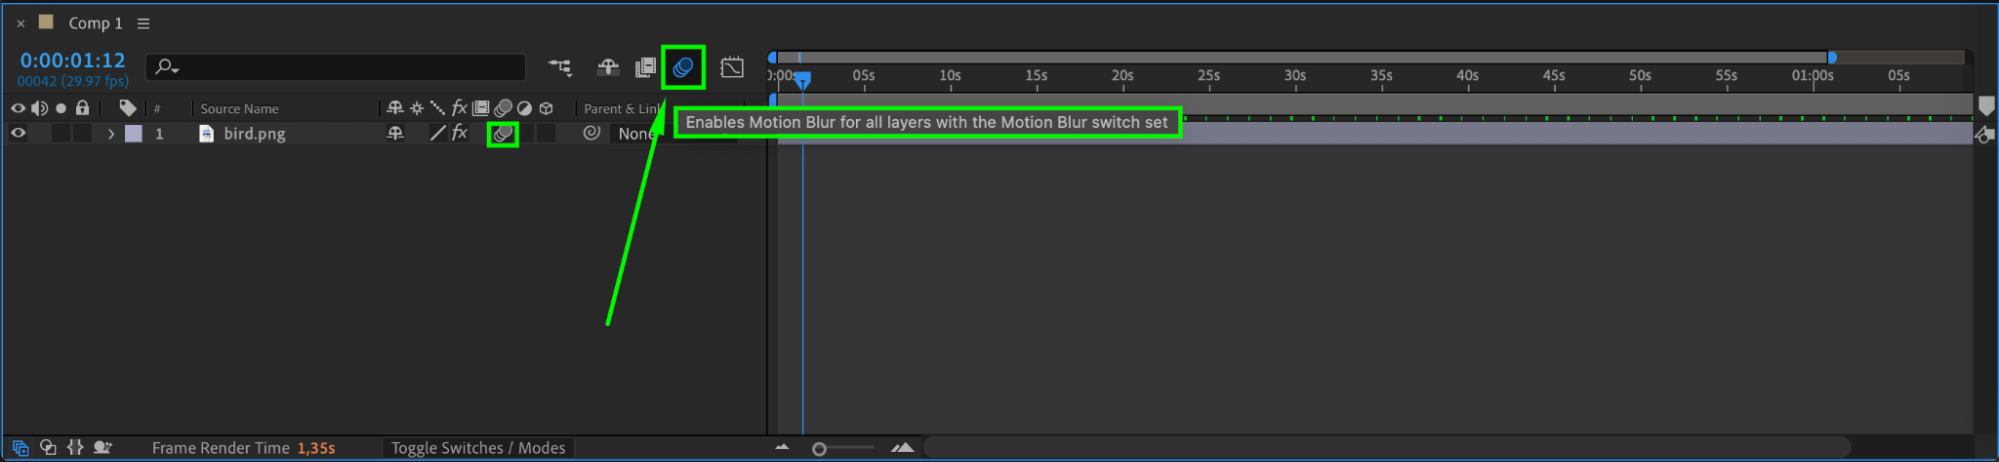
Step 5: Enable Motion Blur
Enable Motion Blur for the layer by checking the Motion Blur box next to the layer name. Then activate Motion Blur in the timeline panel (the three-circle icon at the top). This adds visual polish to the fast movement and makes it look more dynamic.
 Step 6: Fine-Tune for Sharpness
If the animation still feels too soft or slow, drag the second keyframe closer to the first one. The fewer the frames between keyframes, the faster and sharper the movement. You can also use Hold Keyframes if you want the animation to “snap” with no in-between frames.
Conclusion
Rigid animation in After Effects is perfect for sharp, snappy movements without easing. By animating scale, using loop expressions, and enabling motion blur, you can create dynamic and repetitive motion for icons, logos, or UI elements. This style works well for glitch effects, mechanical transitions, and stylized graphic motion.
Our Bestsellers


