How to Animate Rotation for Multiple Layers or Paths in After Effects
Introduction
Animating multiple objects rotating in After Effects is a great way to add motion and style to your scene. Whether you’re working with imported images like airplanes or simple shape layers, After Effects gives you full control over each object’s rotation, position, and speed. This guide shows you how to import, set up, and animate multiple layers with smooth, professional-looking rotation.
Step 1: Open Your Project
Launch Adobe After Effects and open your project or create a new one. Set your composition settings as needed (resolution, duration, and frame rate) before starting the animation process.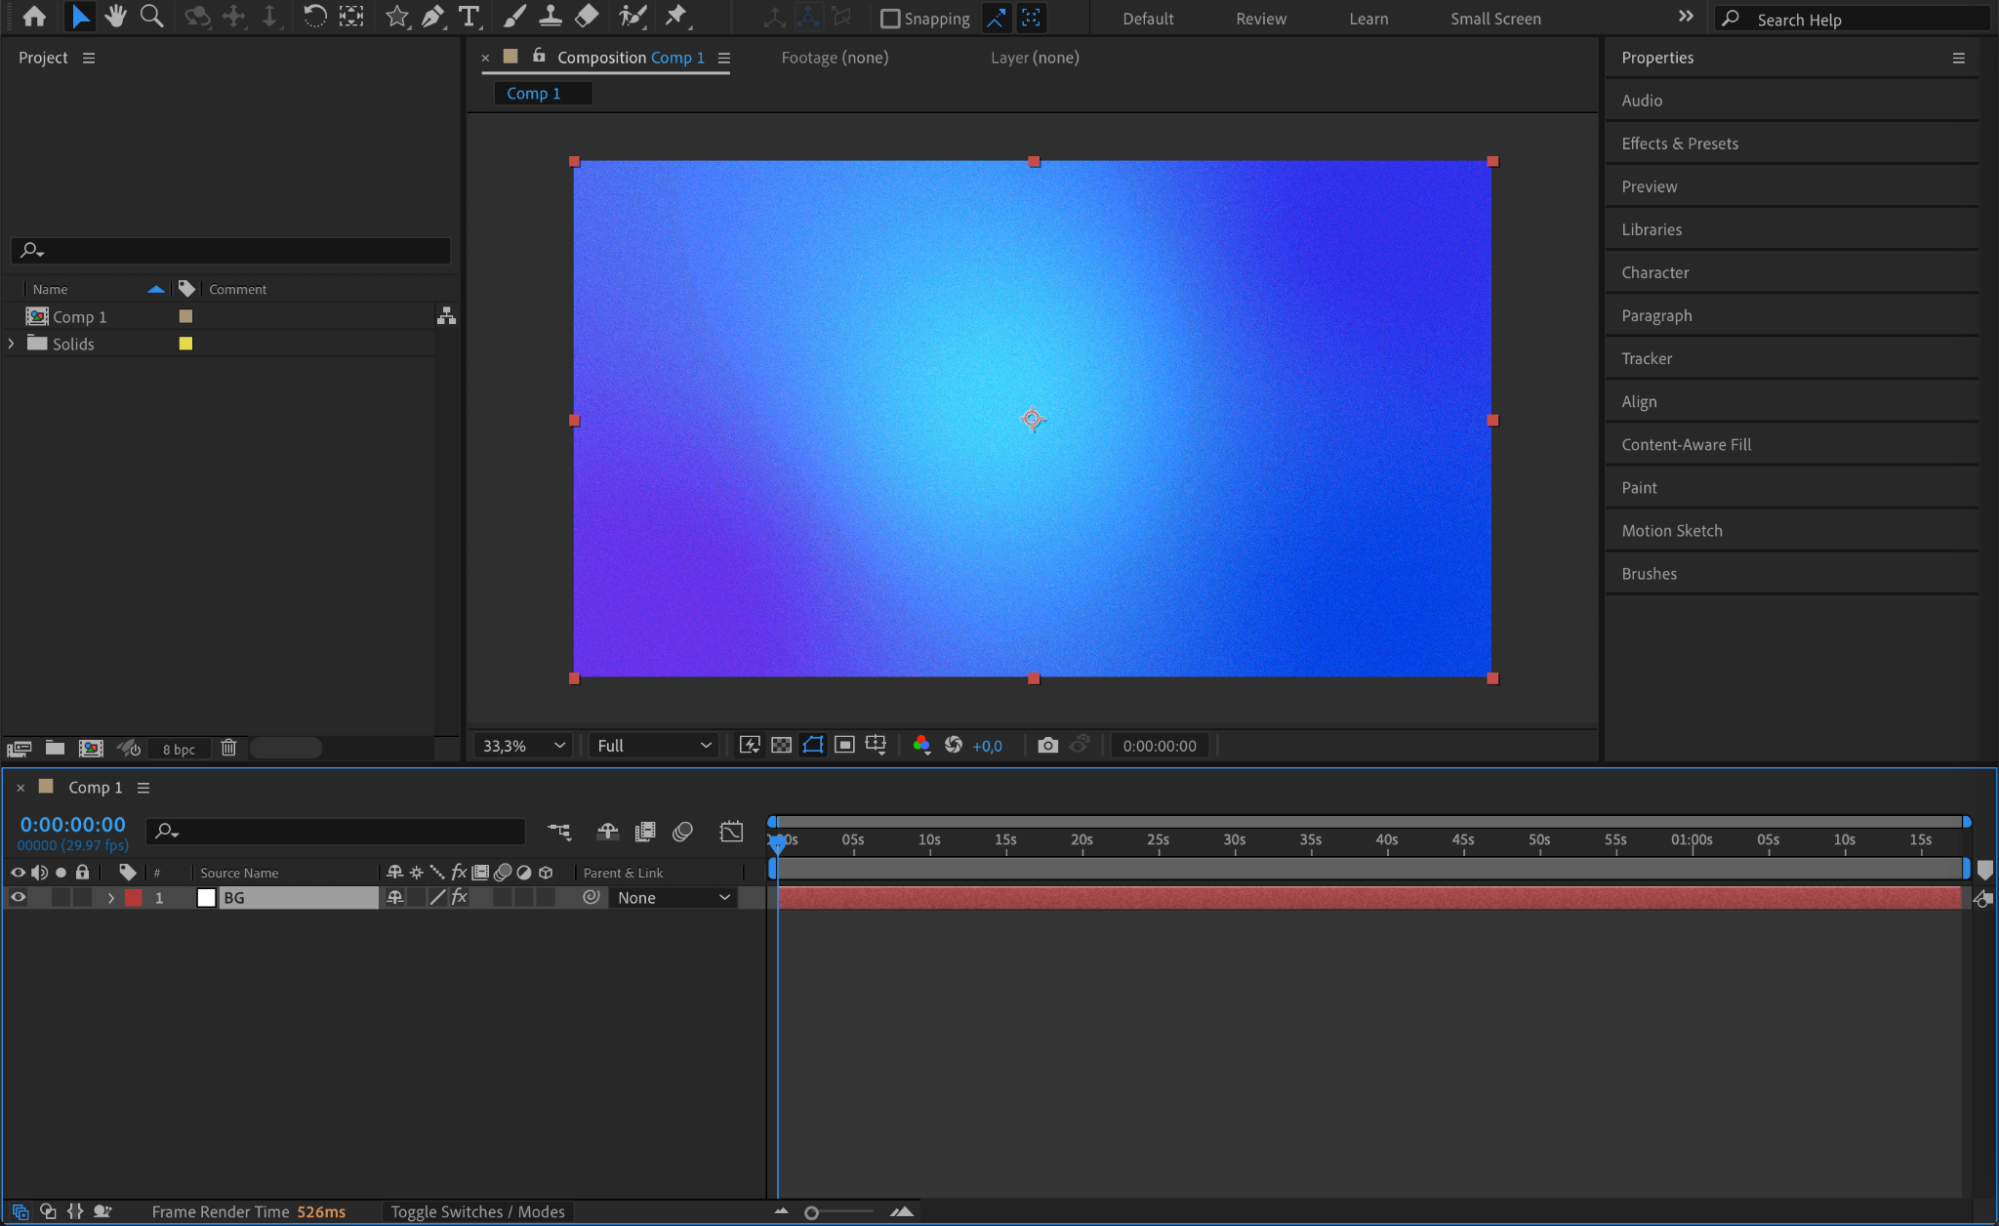
Step 2: Import or Create Your Visual Elements
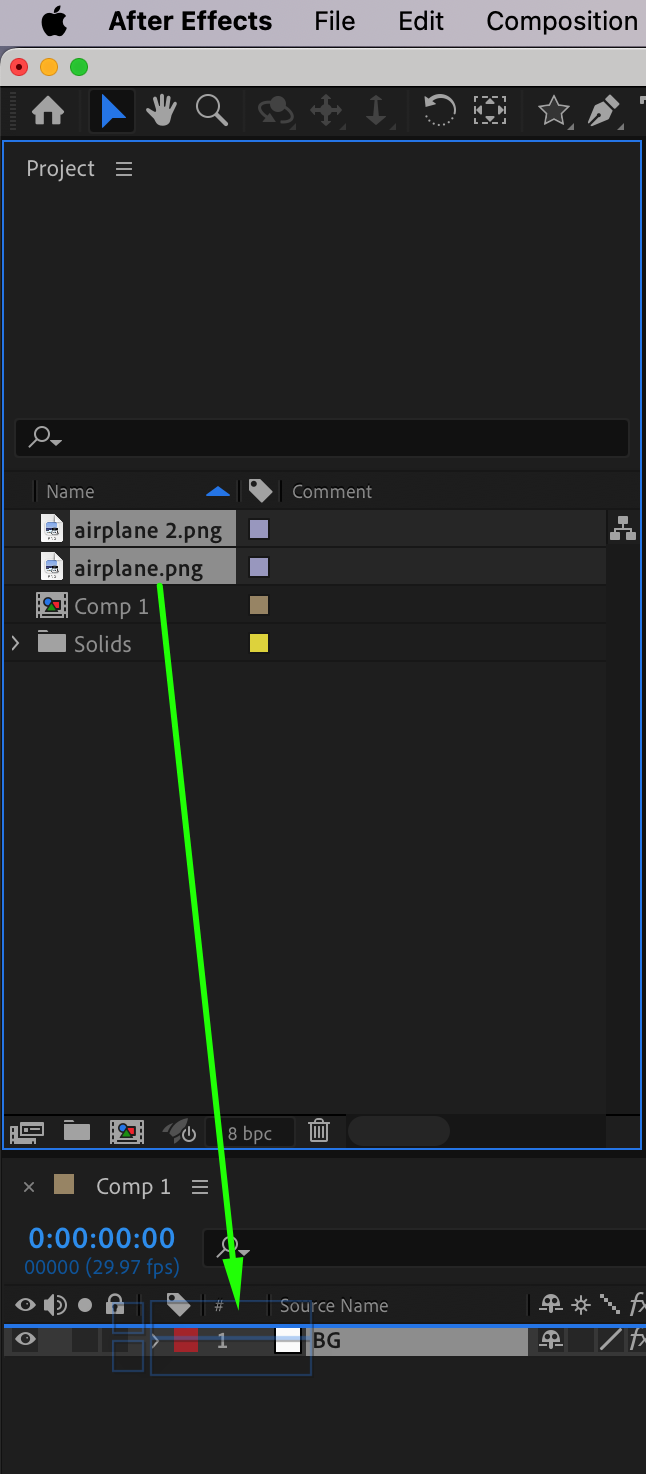
Go to File > Import > File and bring in the images you want to animate (for example, icons, arrows, or airplane graphics). Drag them into your composition. Alternatively, you can use the Shape Tool to create custom shapes directly inside After Effects.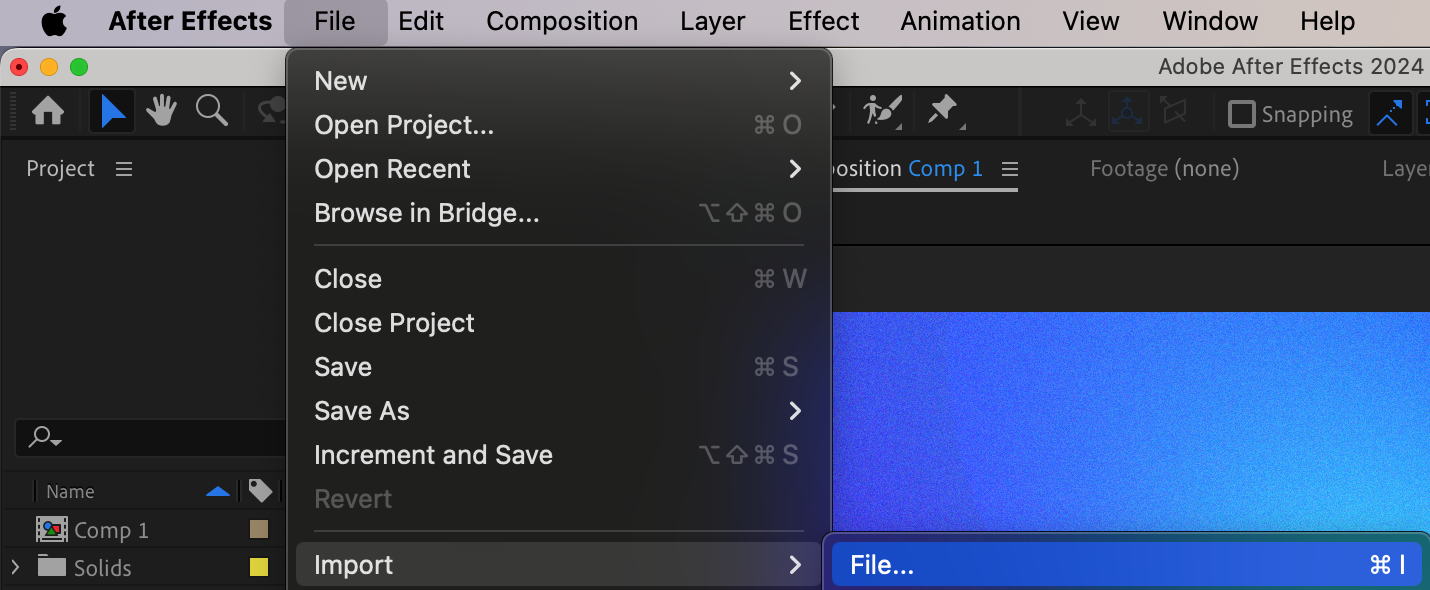
Get 10% off when you subscribe to our newsletter

Step 3: Adjust the Scale of Each Layer
Select each layer and press “S” to open the Scale property. Resize each element as needed to make sure they fit well within the composition. Keep proportions consistent unless you intentionally want variation.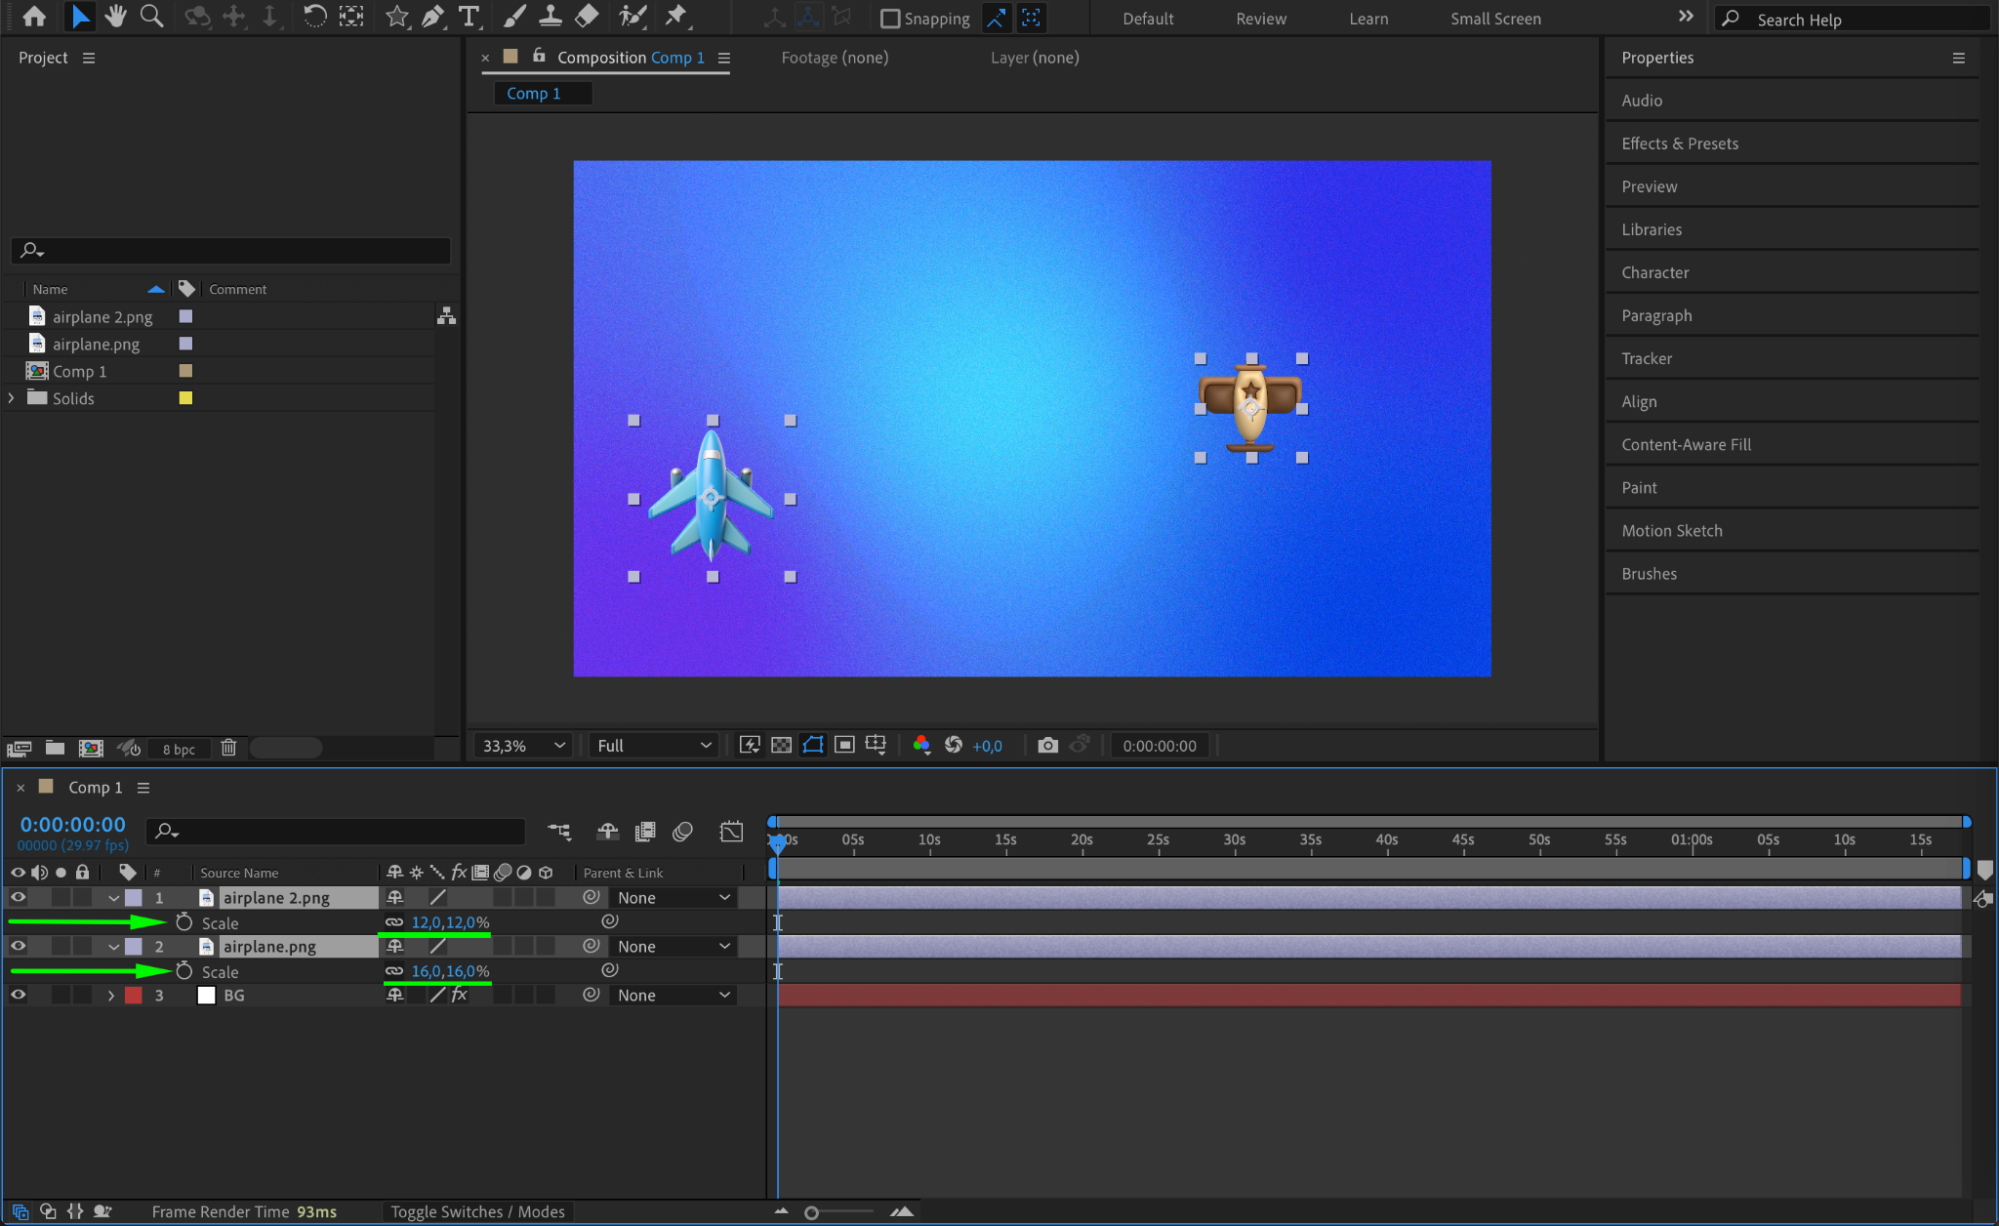 Step 4: Set Anchor Points Using the Pan Behind Tool
Use the Pan Behind Tool (Y) to move the anchor point of each layer. The anchor point controls the center of rotation, so place it where you want the object to spin around. You can align all anchor points to the same spot (like the center of the comp) or adjust them individually based on your design.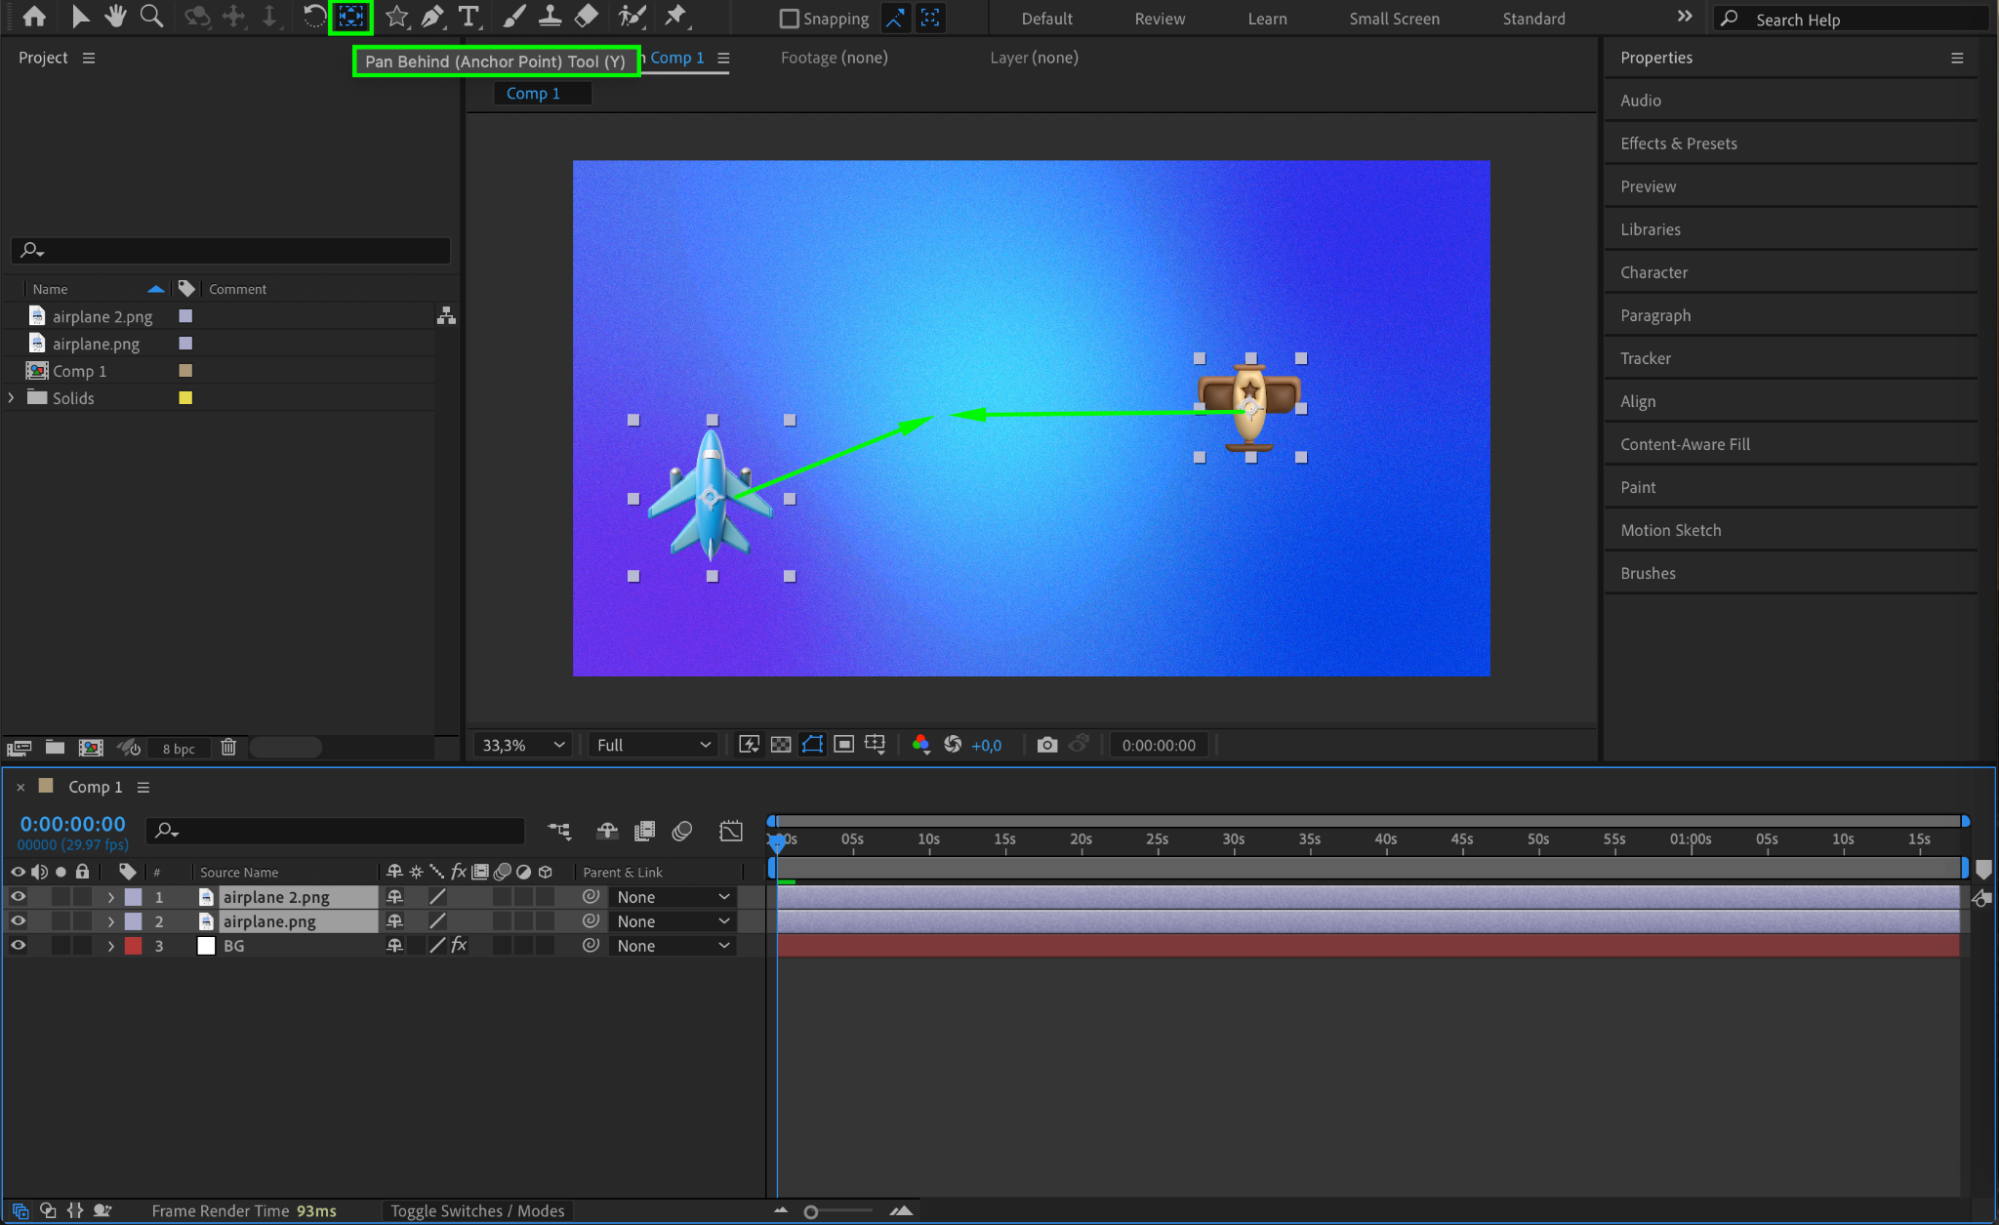
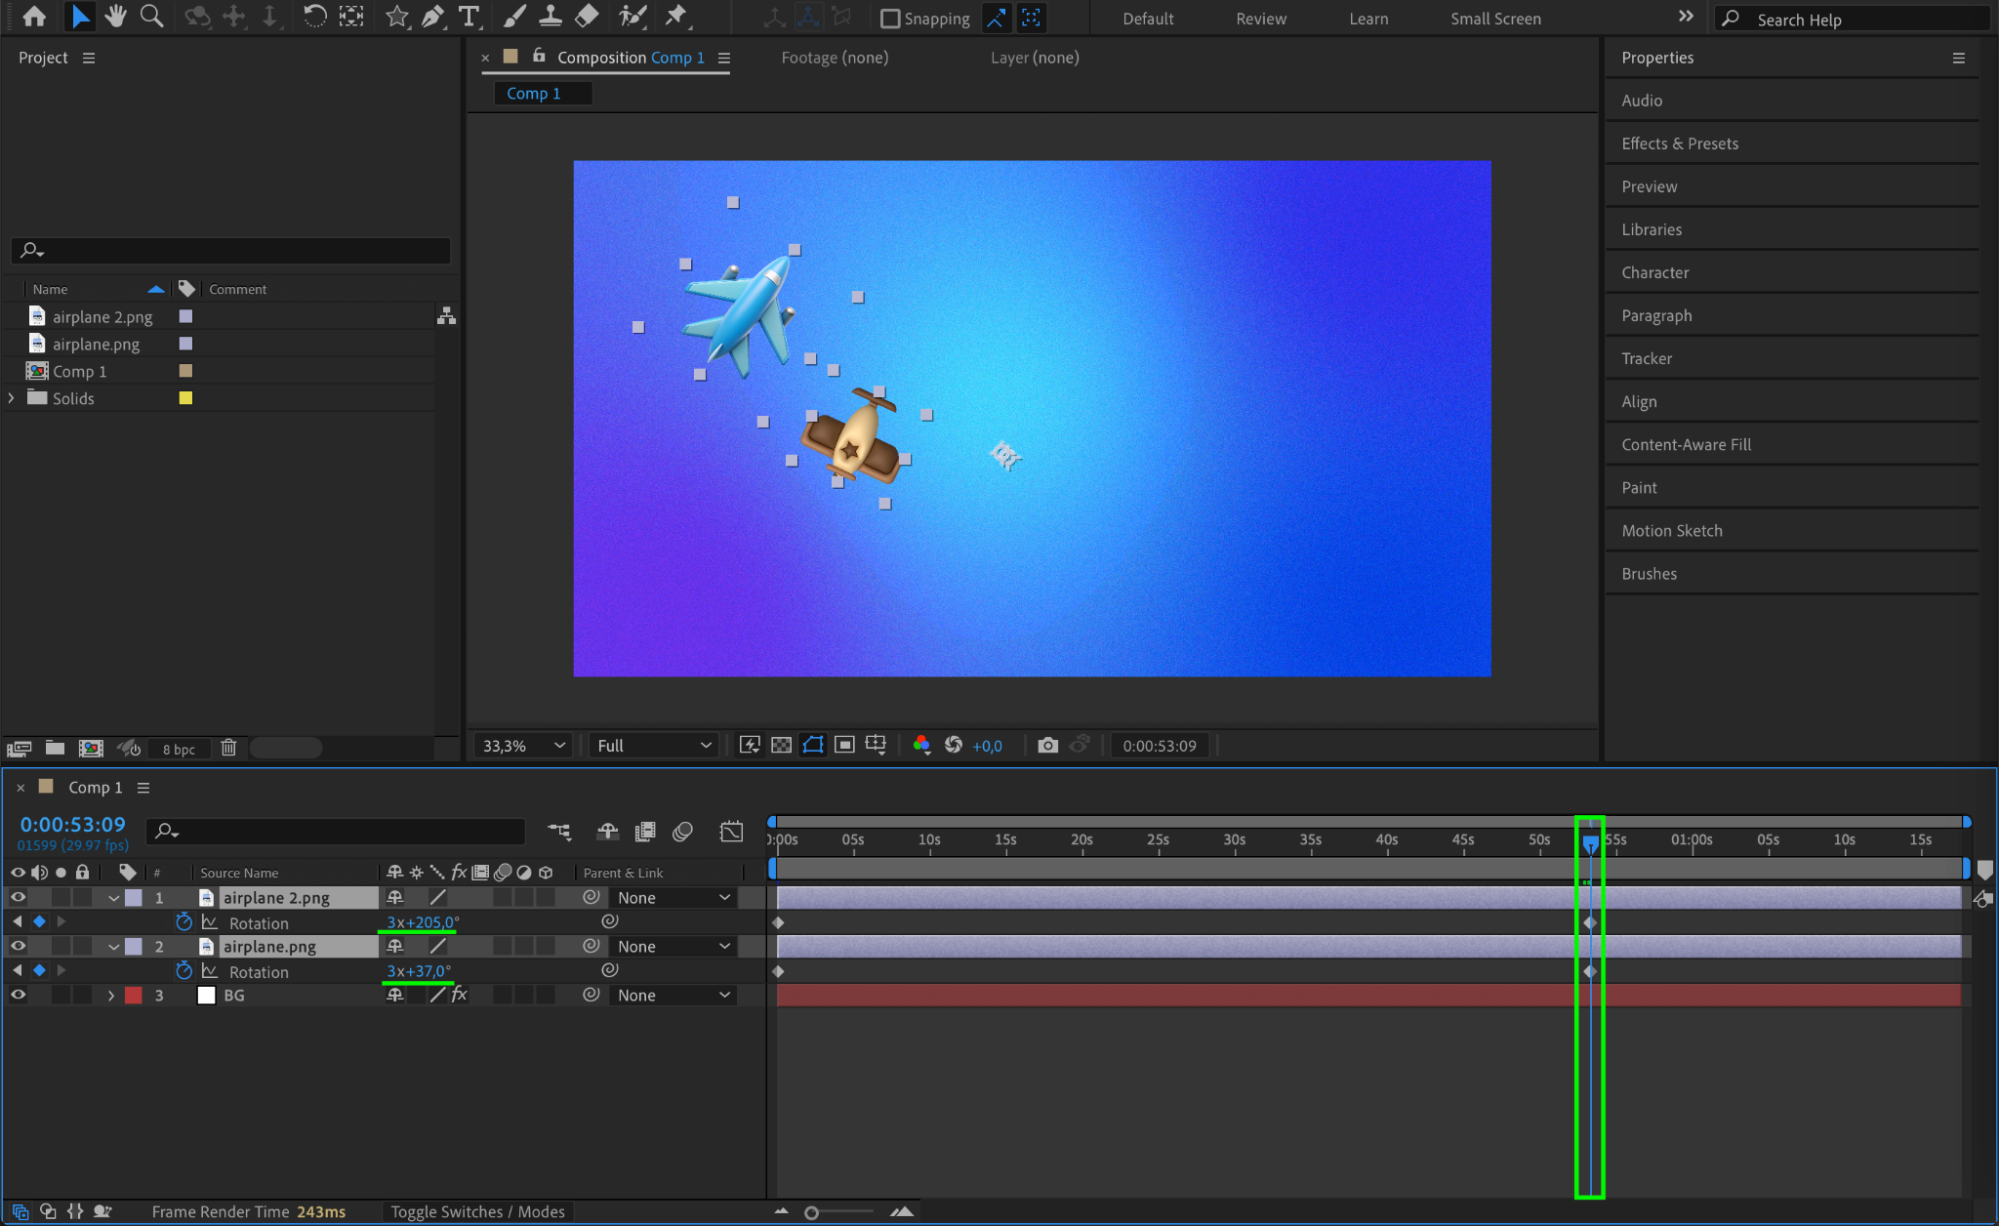
 Step 5: Animate the Rotation
Select a layer and press “R” to reveal the Rotation property. Click the stopwatch to add a keyframe at the start point. Move the playhead forward in the timeline and enter a new rotation value (e.g., 1x for one full turn). Repeat this for each layer, adjusting timing and rotation direction as needed.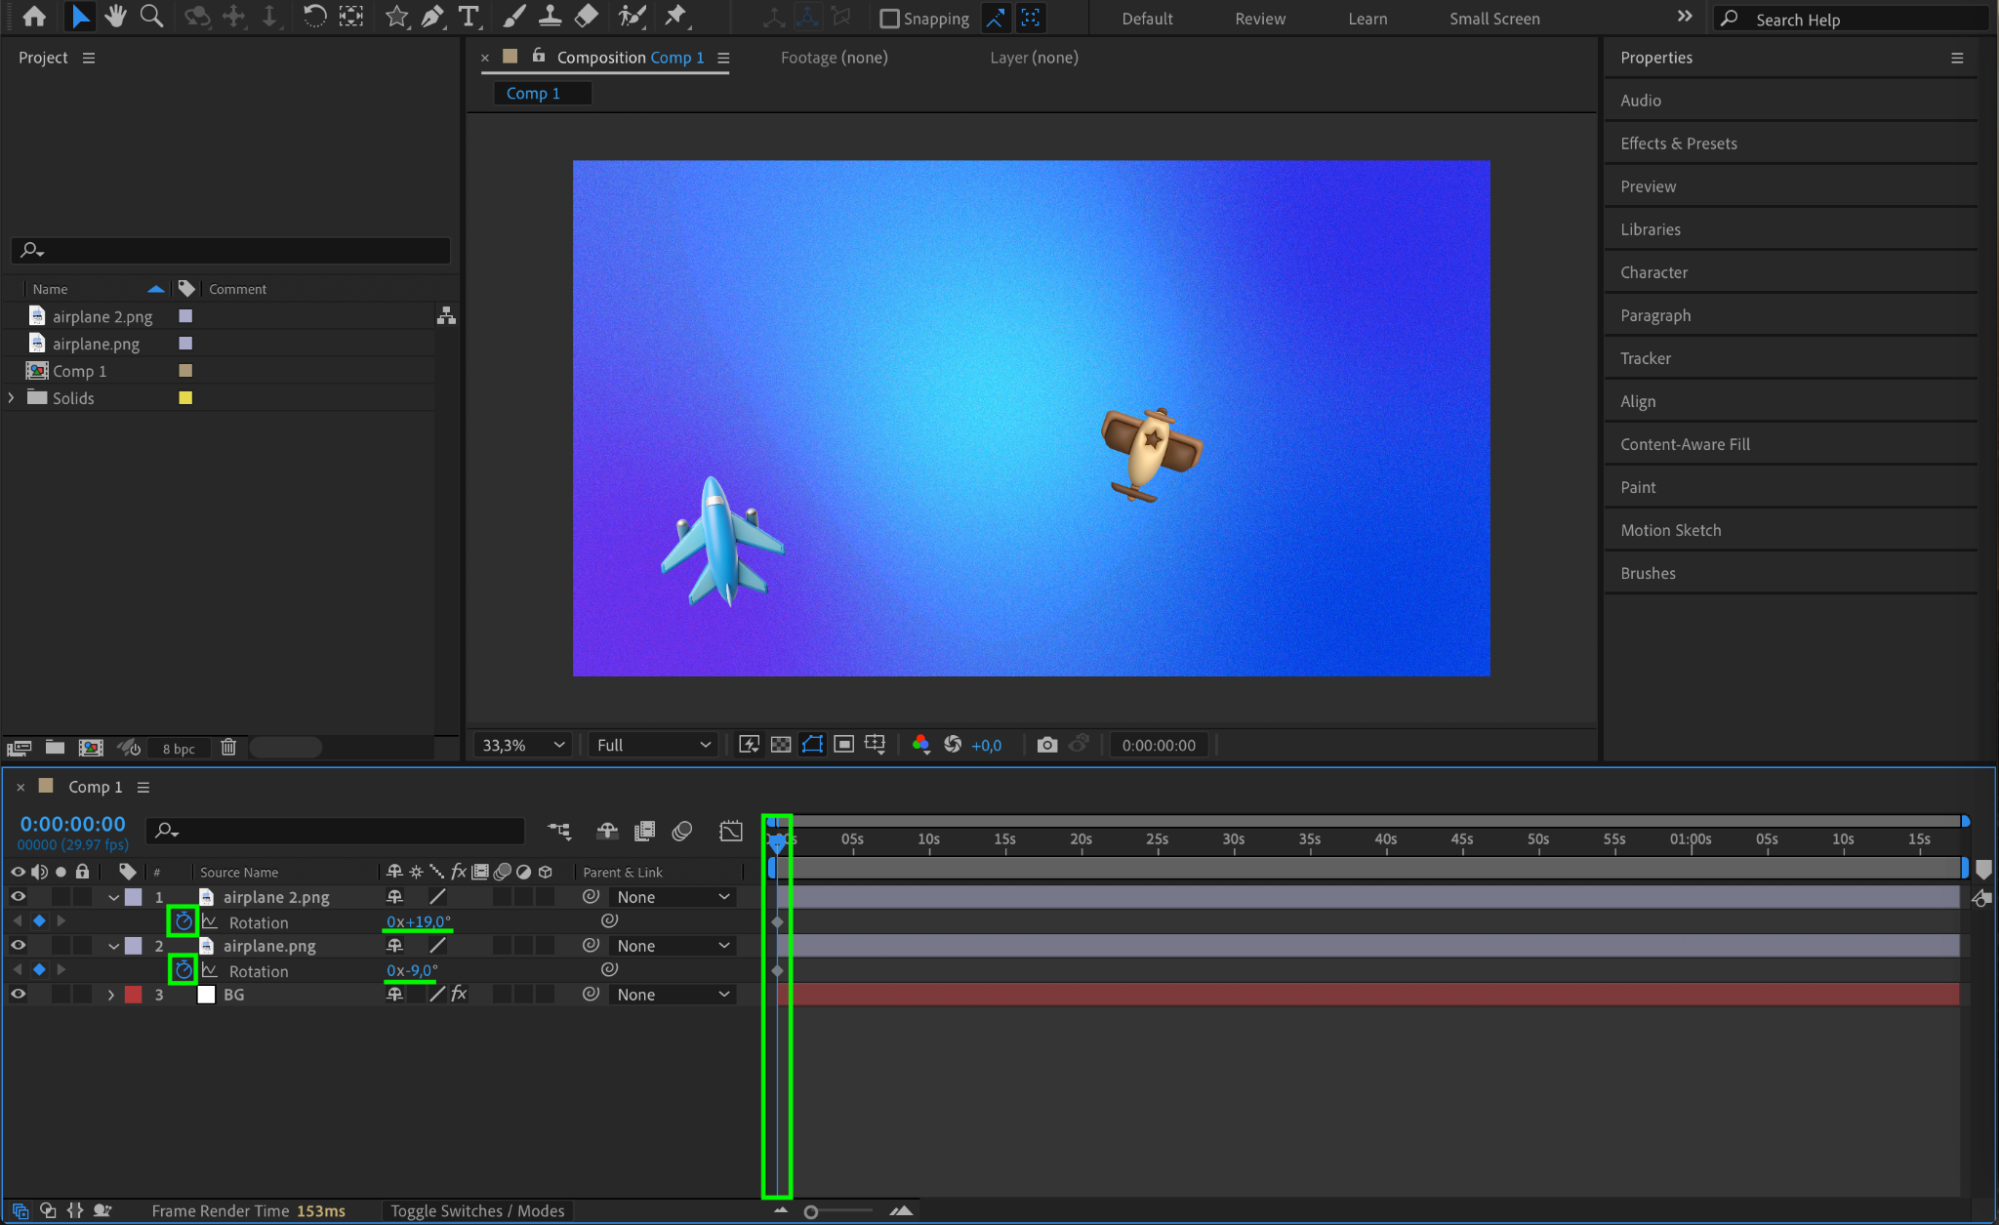
Step 6: Enable Motion Blur
To make the rotation look more natural and dynamic, enable Motion Blur. Click the motion blur icon next to each layer in the timeline and then enable the master Motion Blur switch at the top of the timeline panel.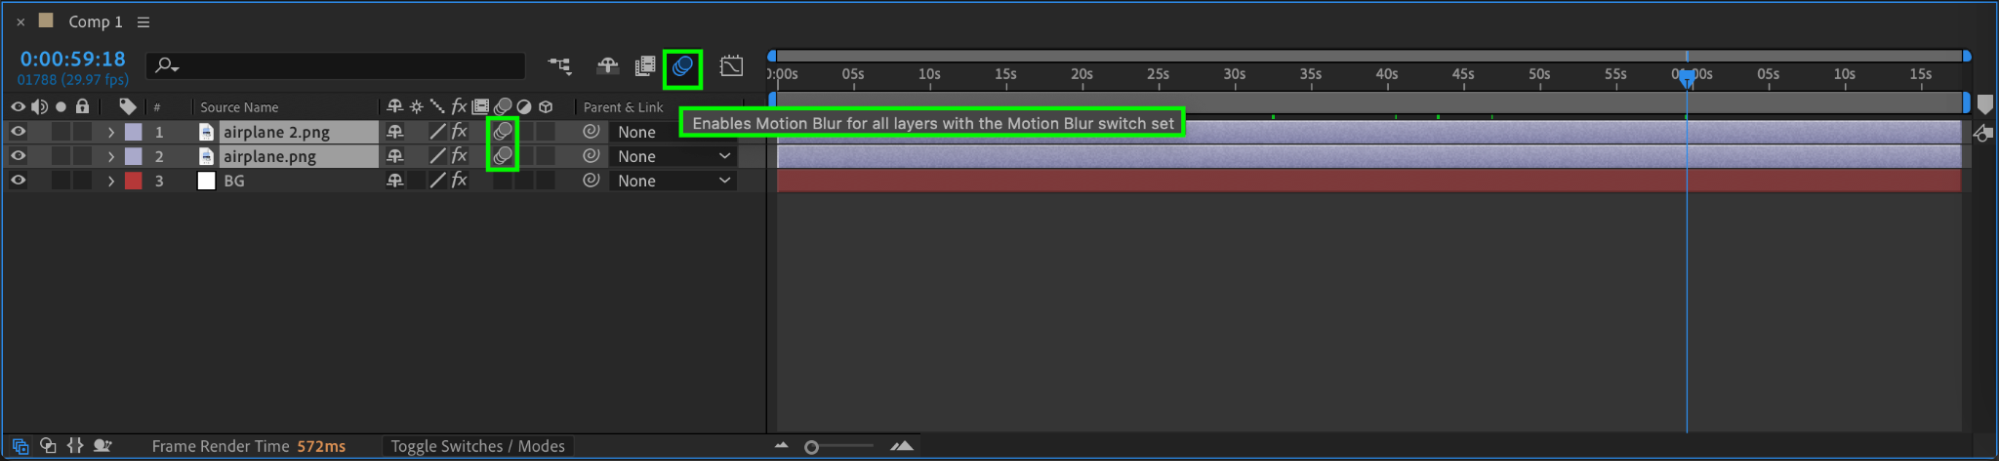
Step 7: Apply Easy Ease for Smooth Animation
Select your keyframes, right-click, and choose Keyframe Assistant > Easy Ease or press F9. This softens the acceleration and deceleration of your animation, making the rotation feel smoother and more natural.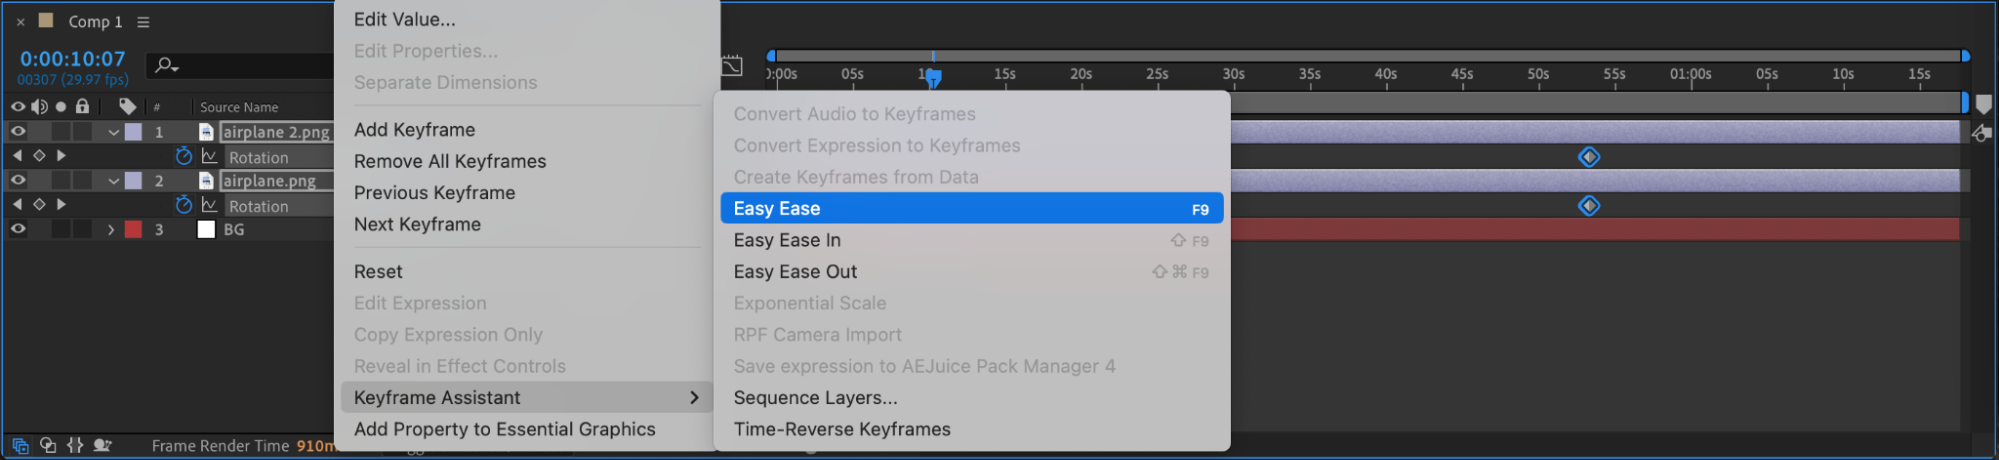 Step 8: Preview and Finalize
Press Spacebar to preview your animation. Make adjustments to anchor points, timing, or easing as needed. When satisfied, go to Composition > Add to Render Queue to export your animated scene.
Conclusion
Animating multiple rotating paths or images in After Effects is a straightforward process that gives you full creative control. By adjusting anchor points, rotation values, and easing, you can create smooth, professional motion that’s perfect for logos, graphics, or dynamic scenes.
Our Bestsellers


