Creating Animated Money Effects in After Effects
Introduction to Animating a Dollar Bill in After Effects
Animating money in After Effects is a creative way to enhance videos with a fun, dynamic element. Whether you’re designing motion graphics for finance, ads, or content creators, this tutorial will show you how to animate a realistic rotating money bill using simple tools and effects.
Step 1: Create a New Composition
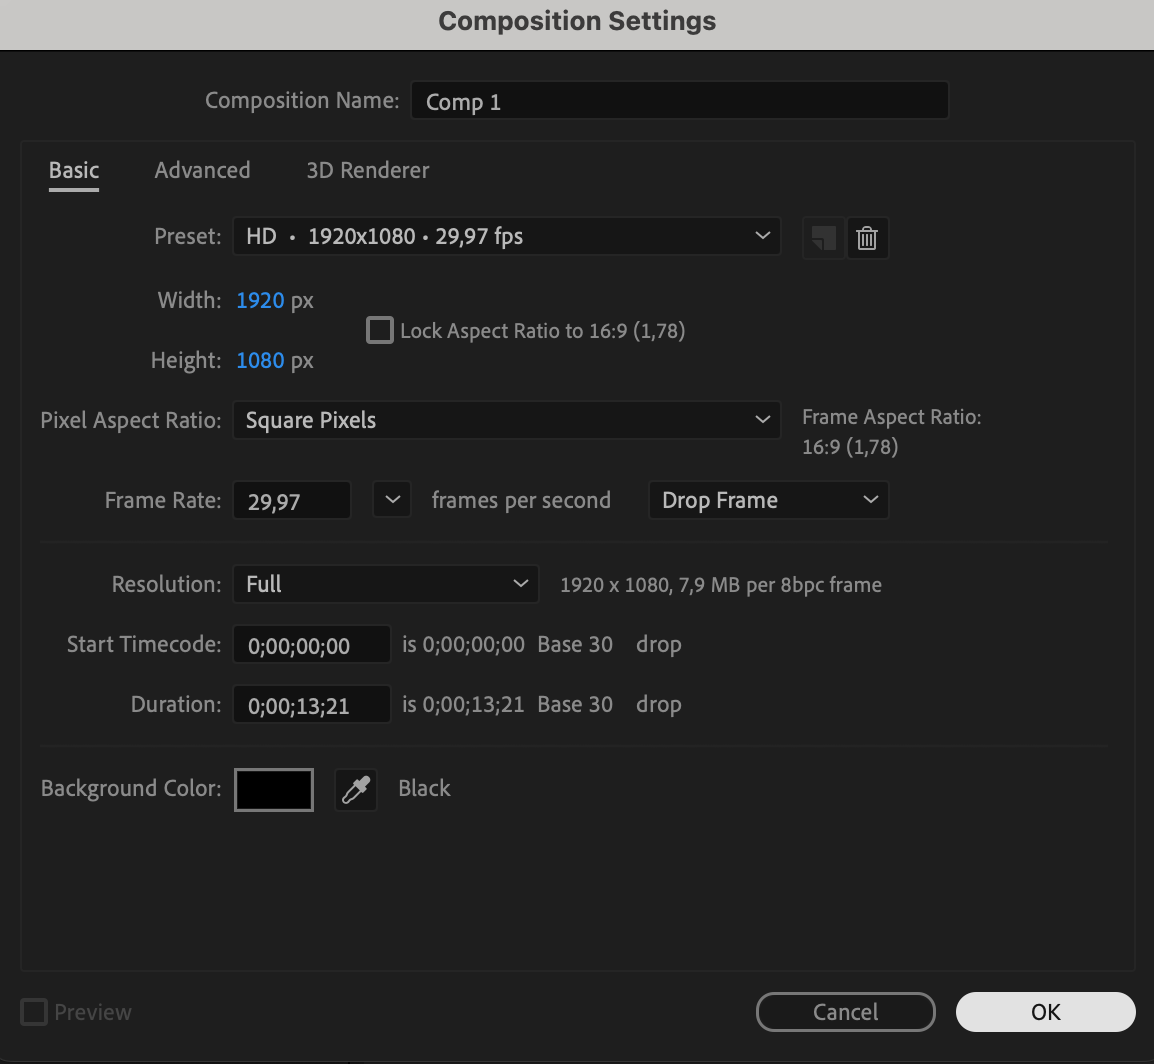
Start by going to Composition > New Composition. Set your frame rate (e.g., 30 fps) and resolution (1920×1080 or your preferred size). Name your composition and press OK
 Step 2: Import Your Money Image
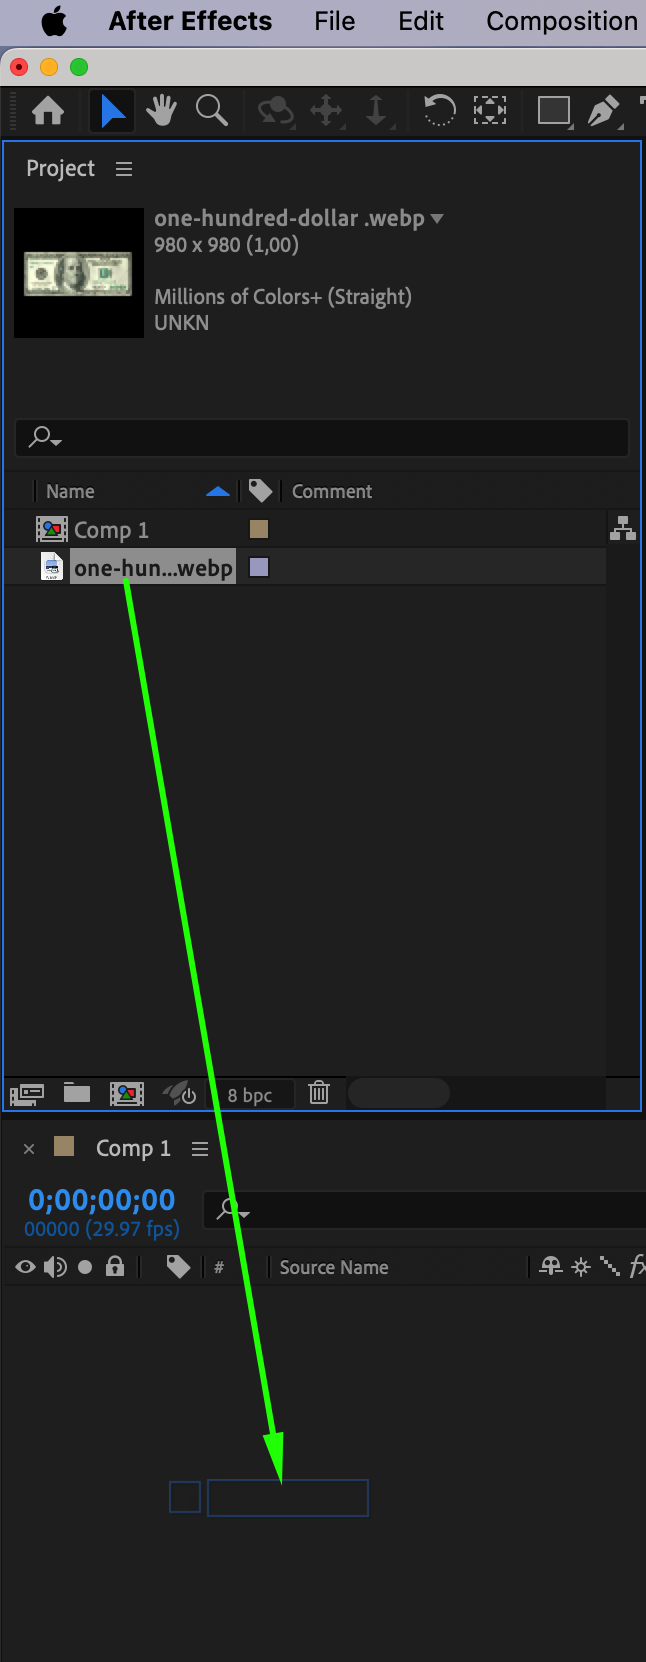
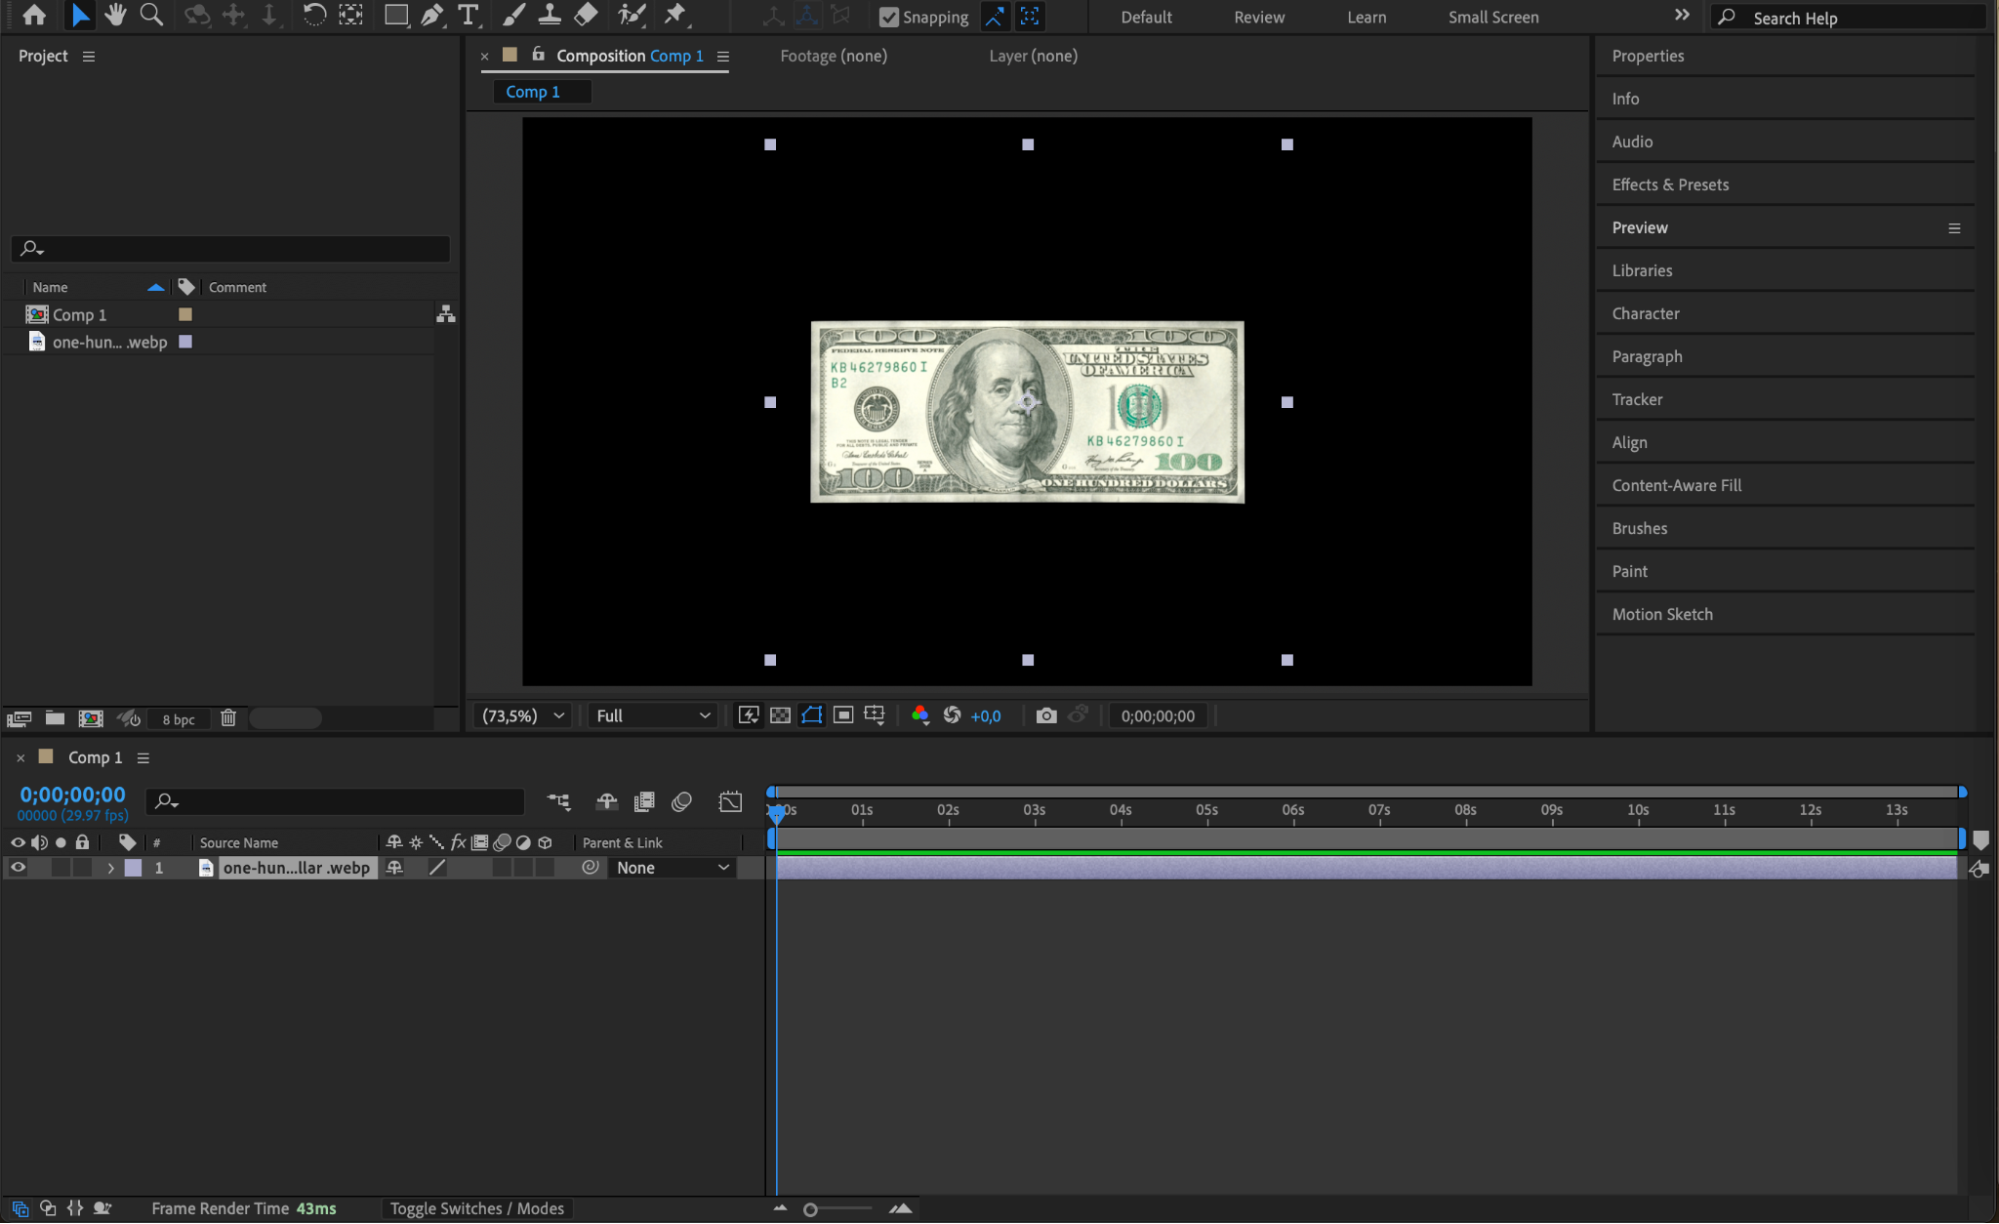
Go to File > Import > File, and bring in your image of a banknote. Drag it onto your timeline to create a new layer.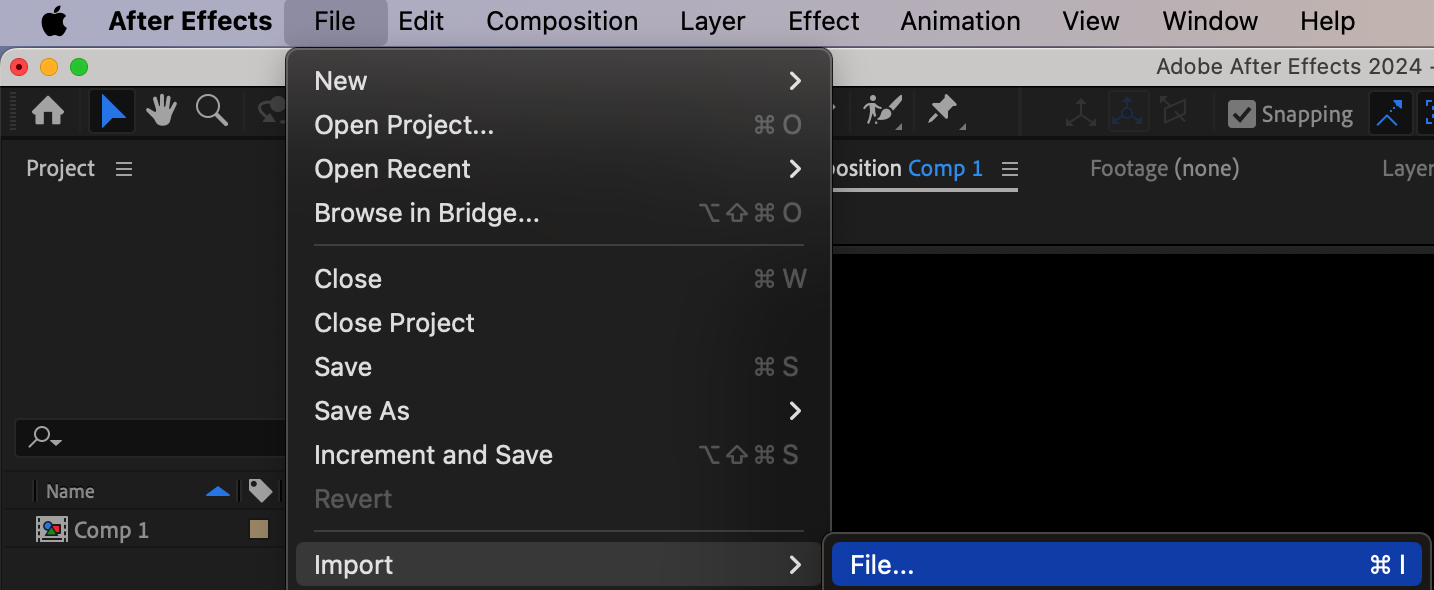
 Step 3: Pre-compose the Money Layer
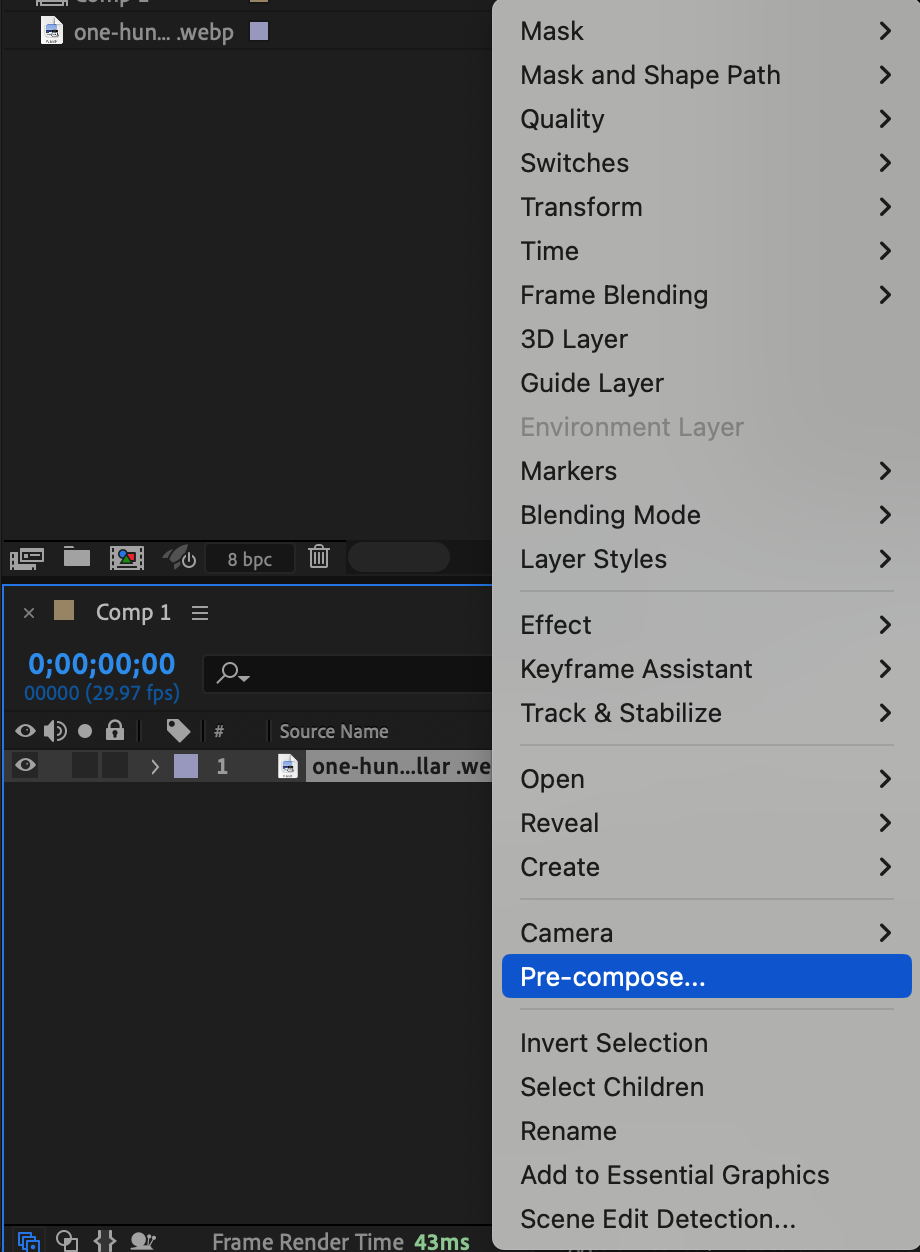
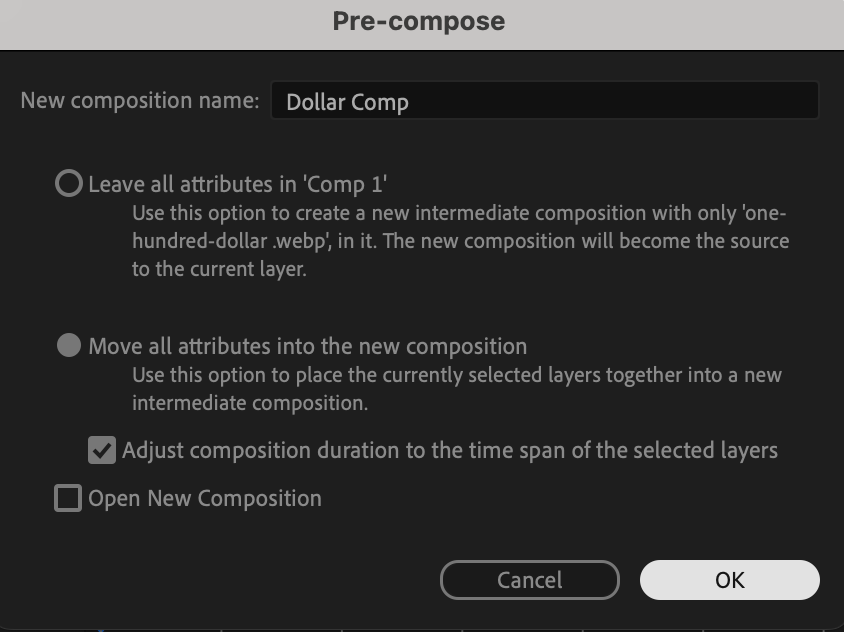
Right-click the money layer and choose Pre-compose. Name the pre-comp “Money Comp” and make sure “Move all attributes into the new composition” is selected. Click OK.
Get 10% off when you subscribe to our newsletter

Step 4: Resize the Pre-comp
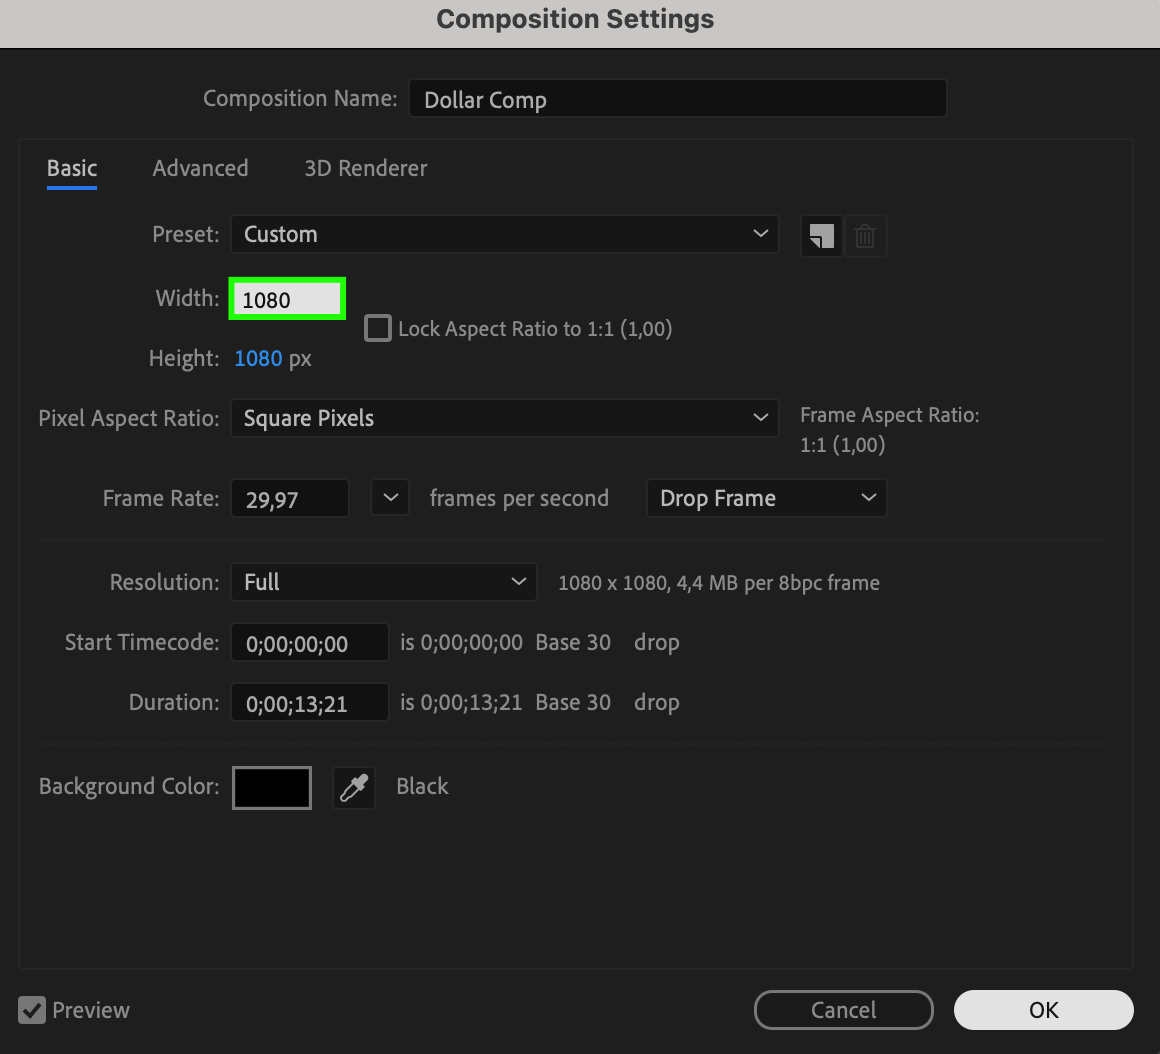
Double-click to open the pre-comp. Go to Composition > Composition Settings, and change the width to 1080px. Press OK.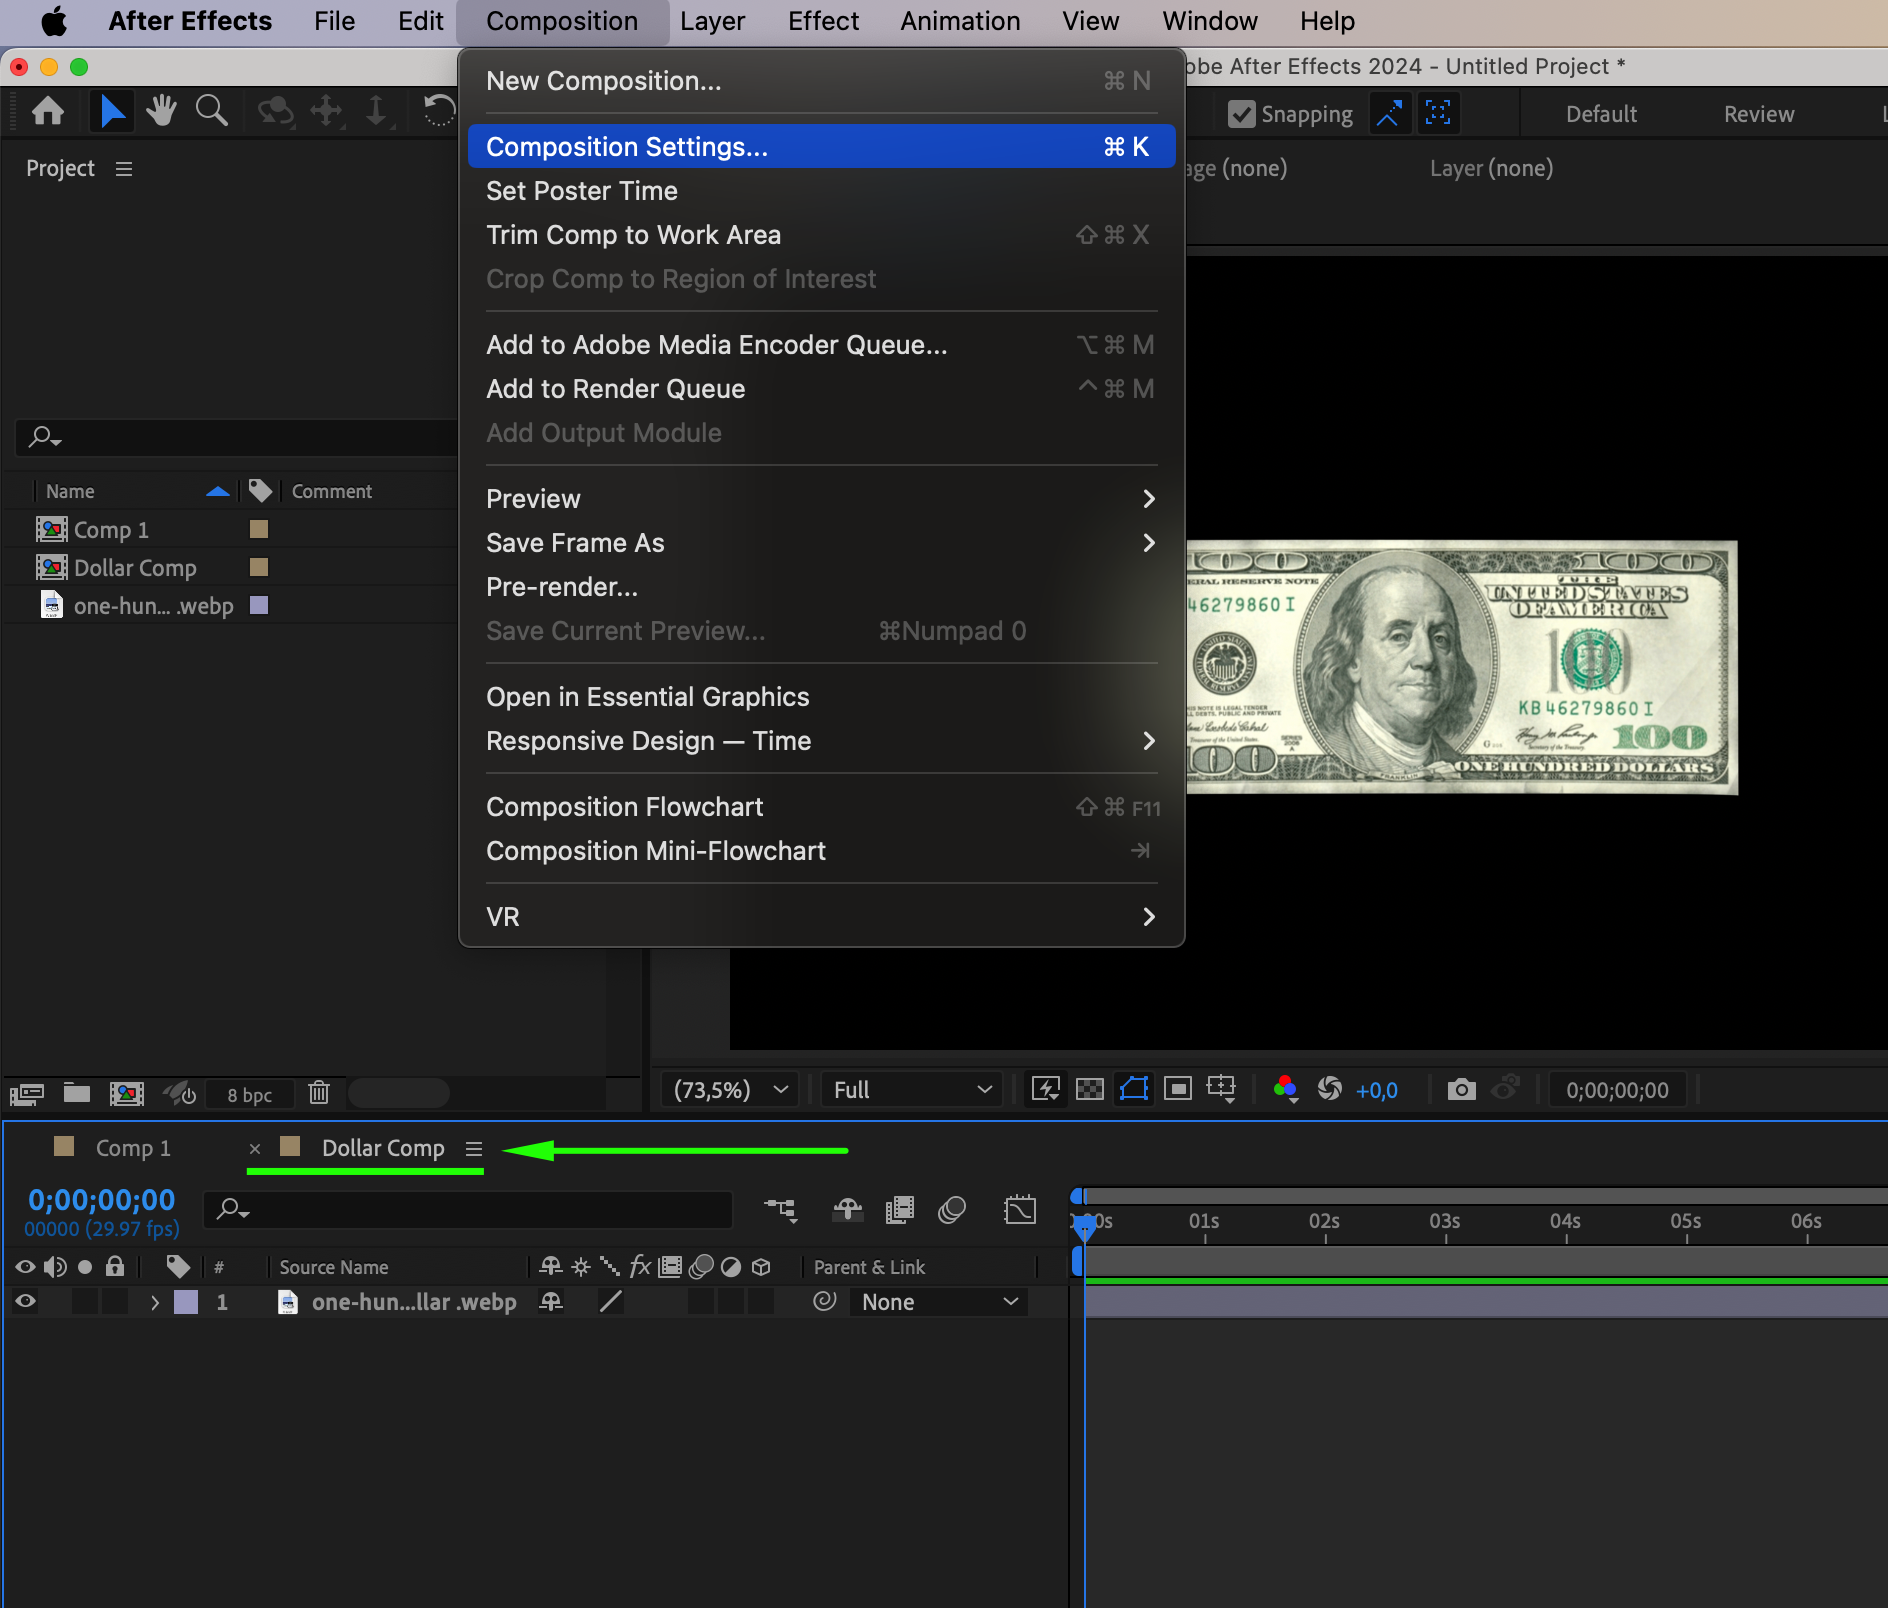
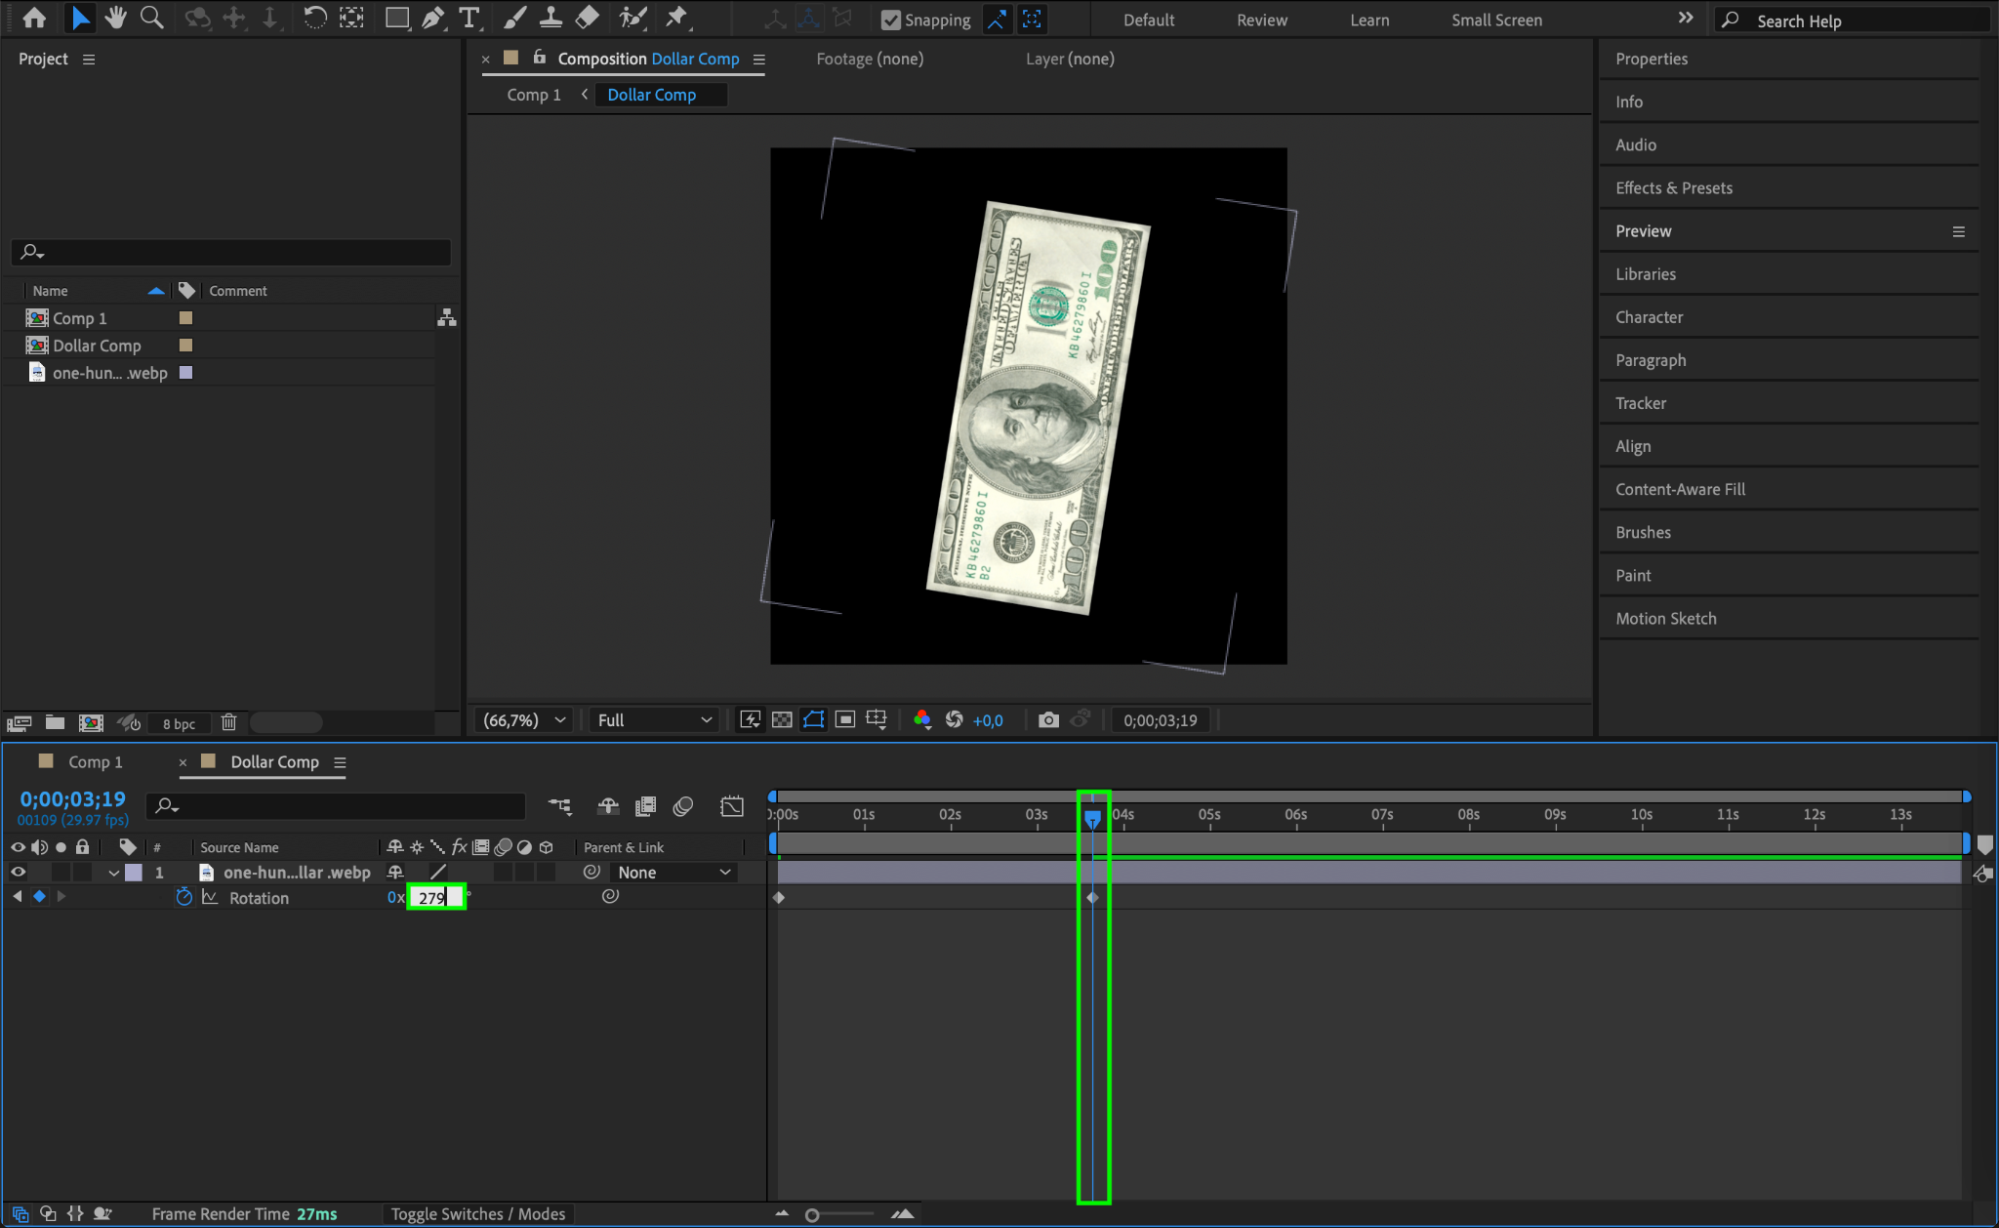
 Step 5: Animate Rotation
Press “R” to open the Rotation property. With the CTI at the beginning of the timeline, click the stopwatch. Move the CTI forward a few seconds and change the rotation value to 279° to simulate a full spin.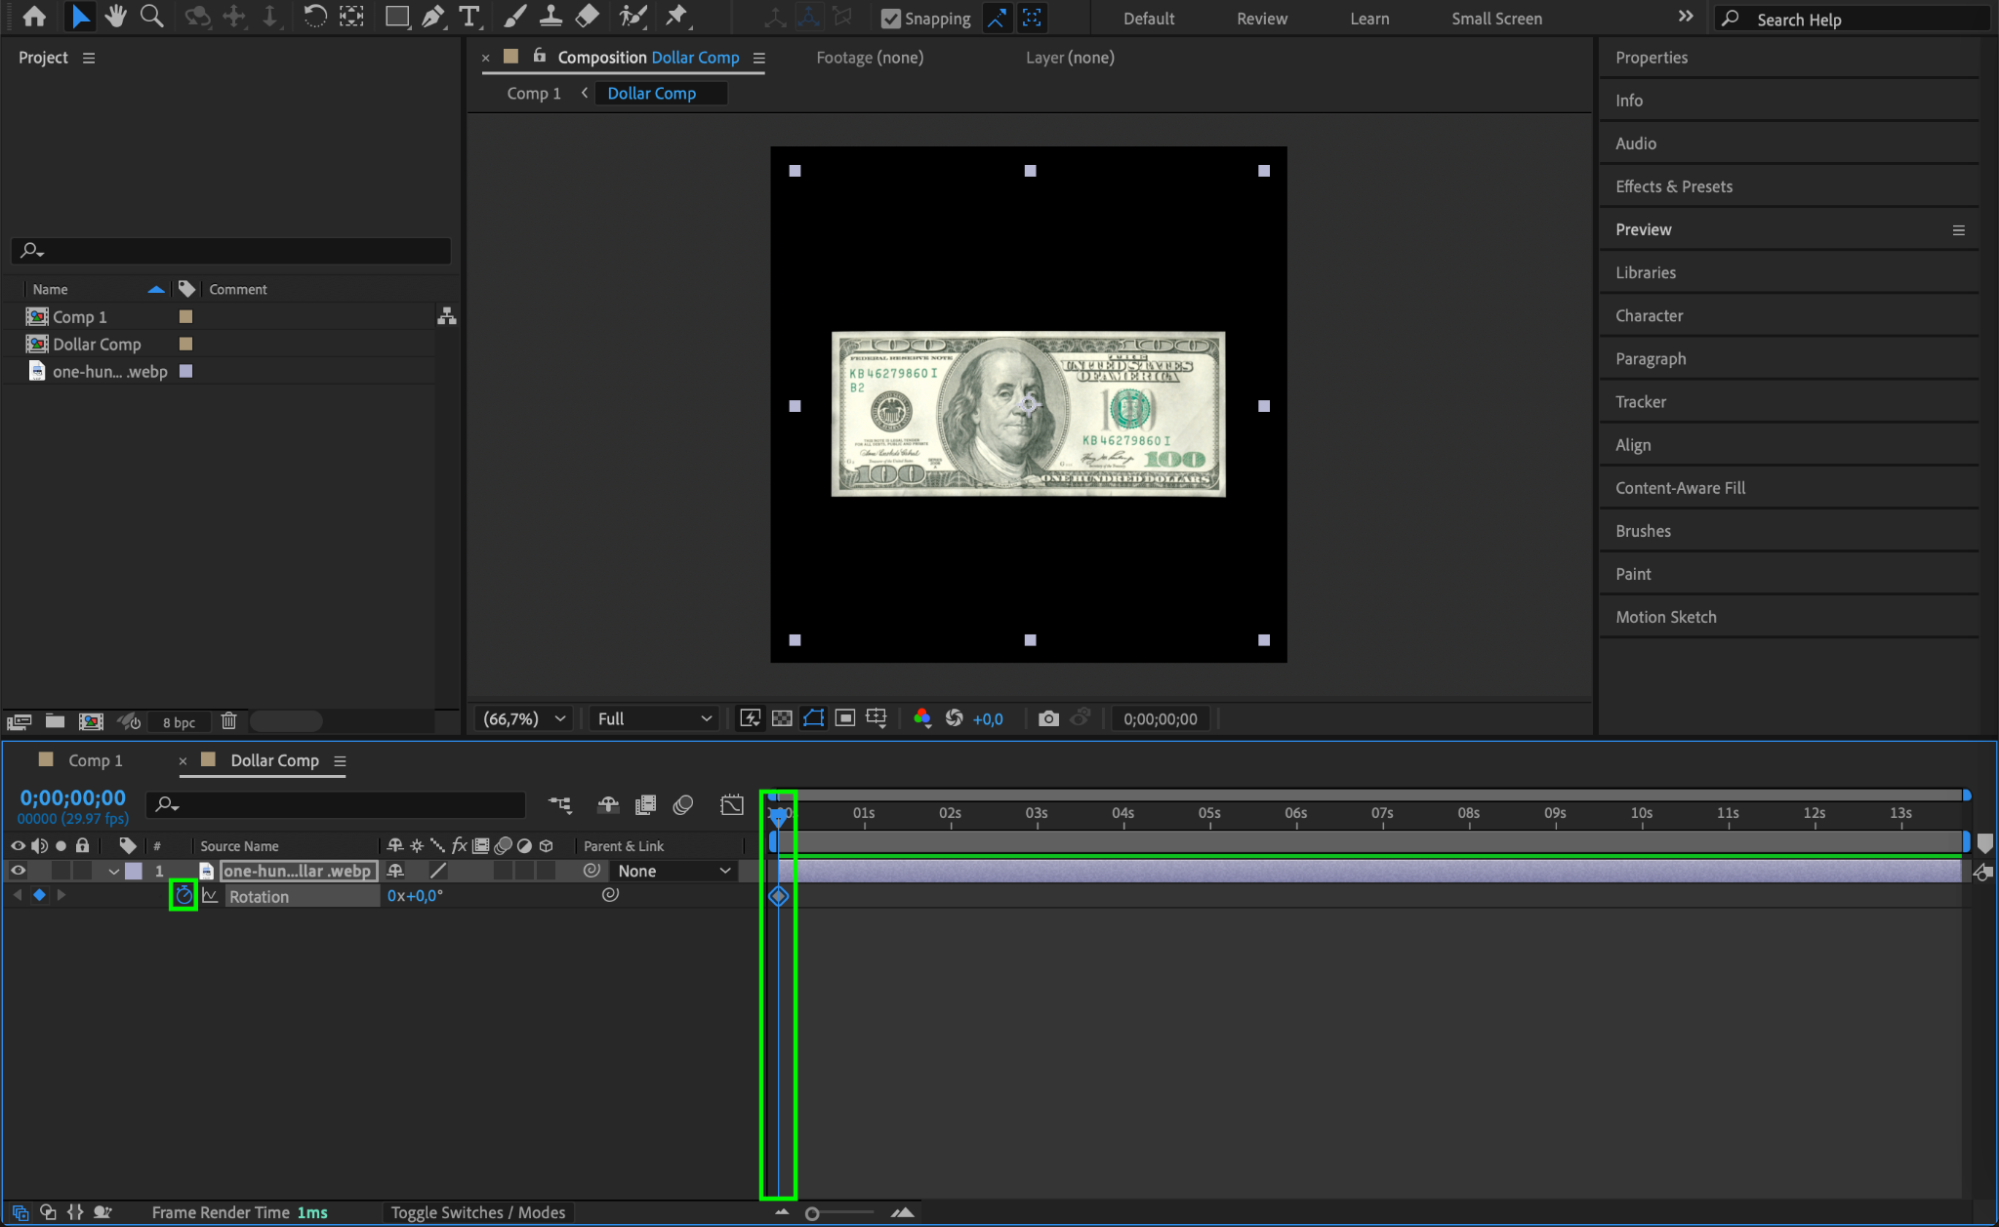
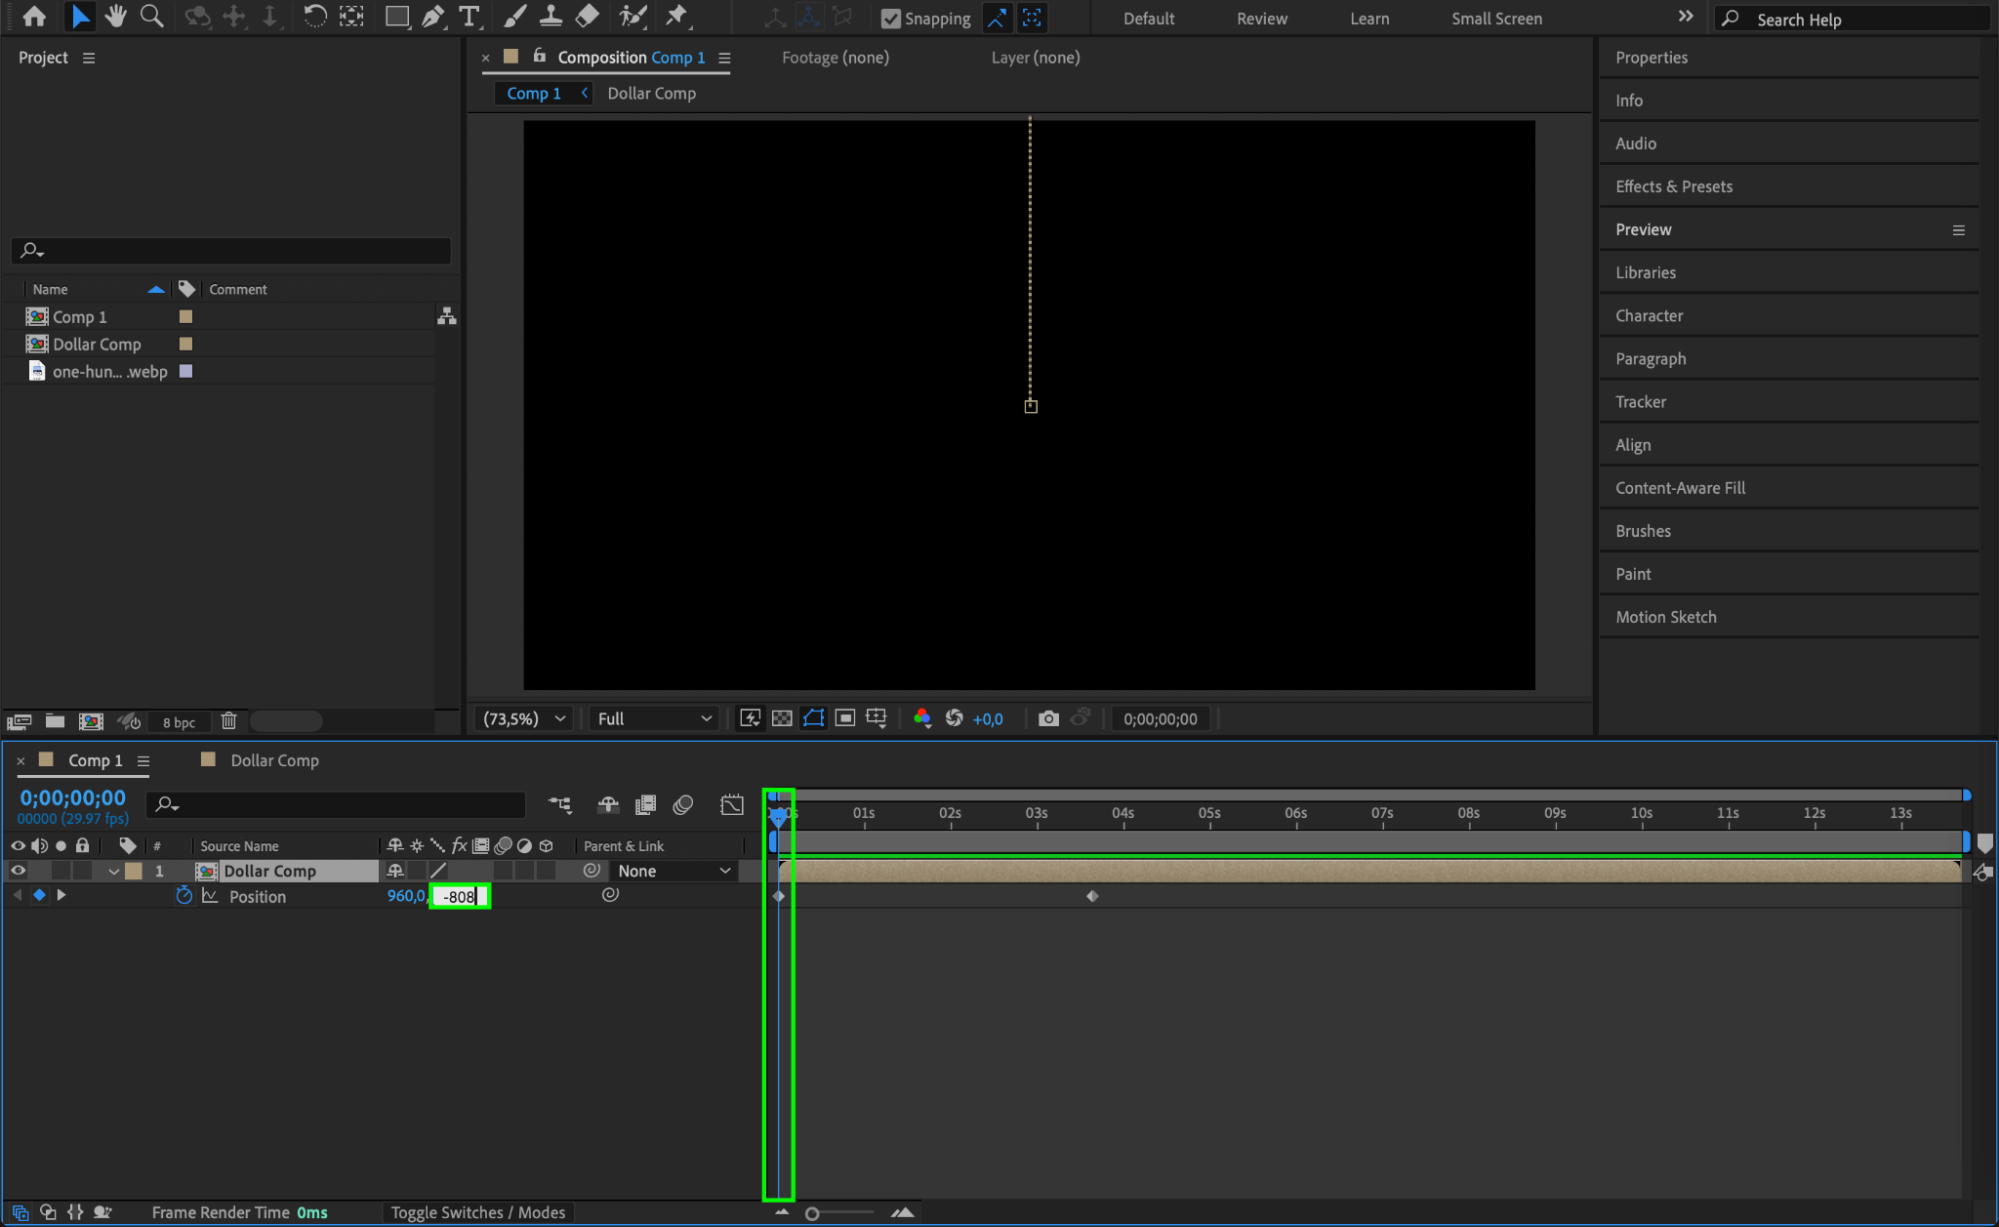
 Step 6: Animate Position
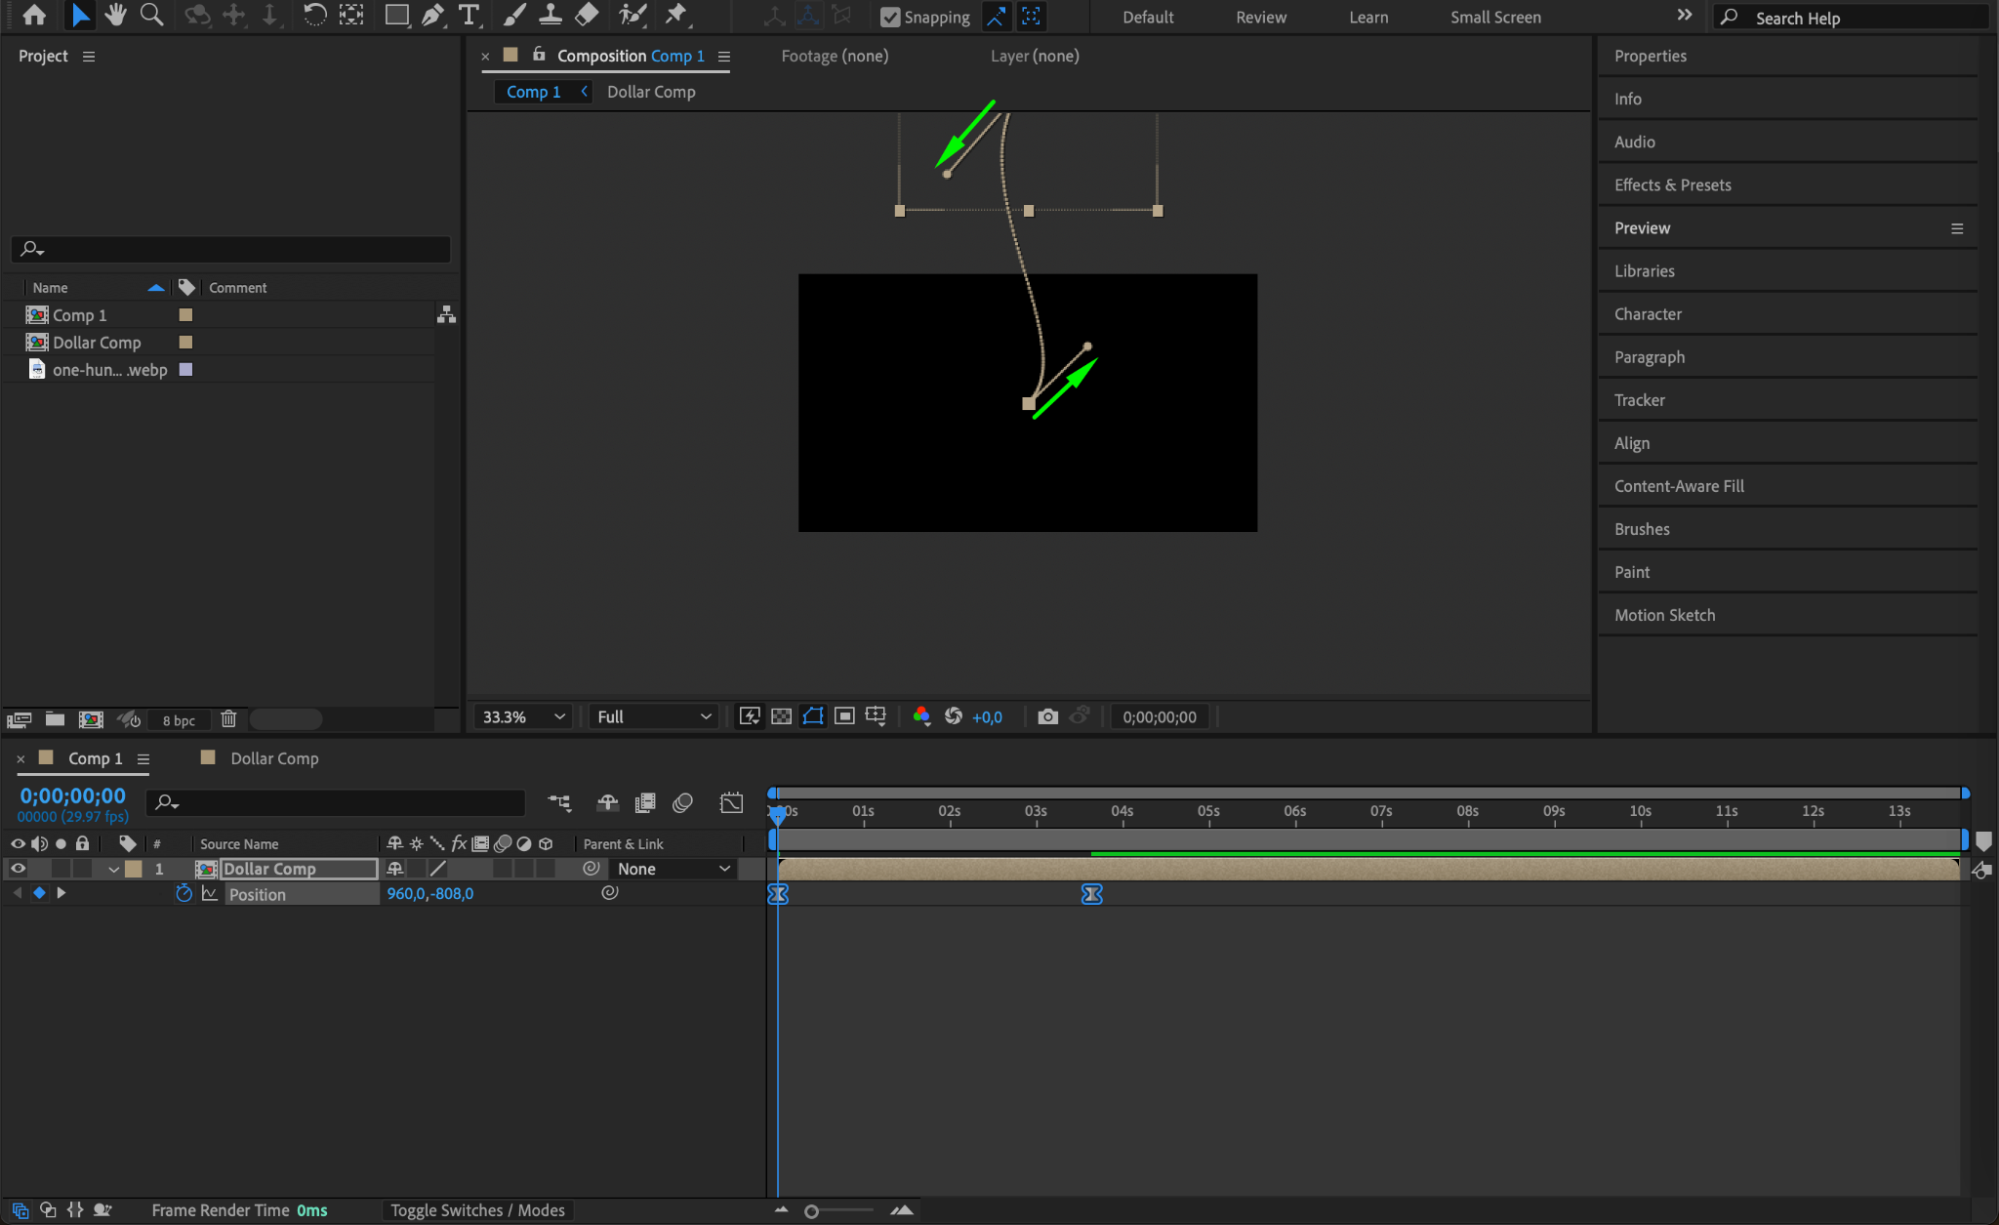
Go back to the main comp. Move the CTI to where your rotation ends. Select the layer and press “P” for Position. Click the stopwatch. Then move the CTI to the beginning and adjust the Y position so the bill starts above the composition (offscreen), giving a falling effect.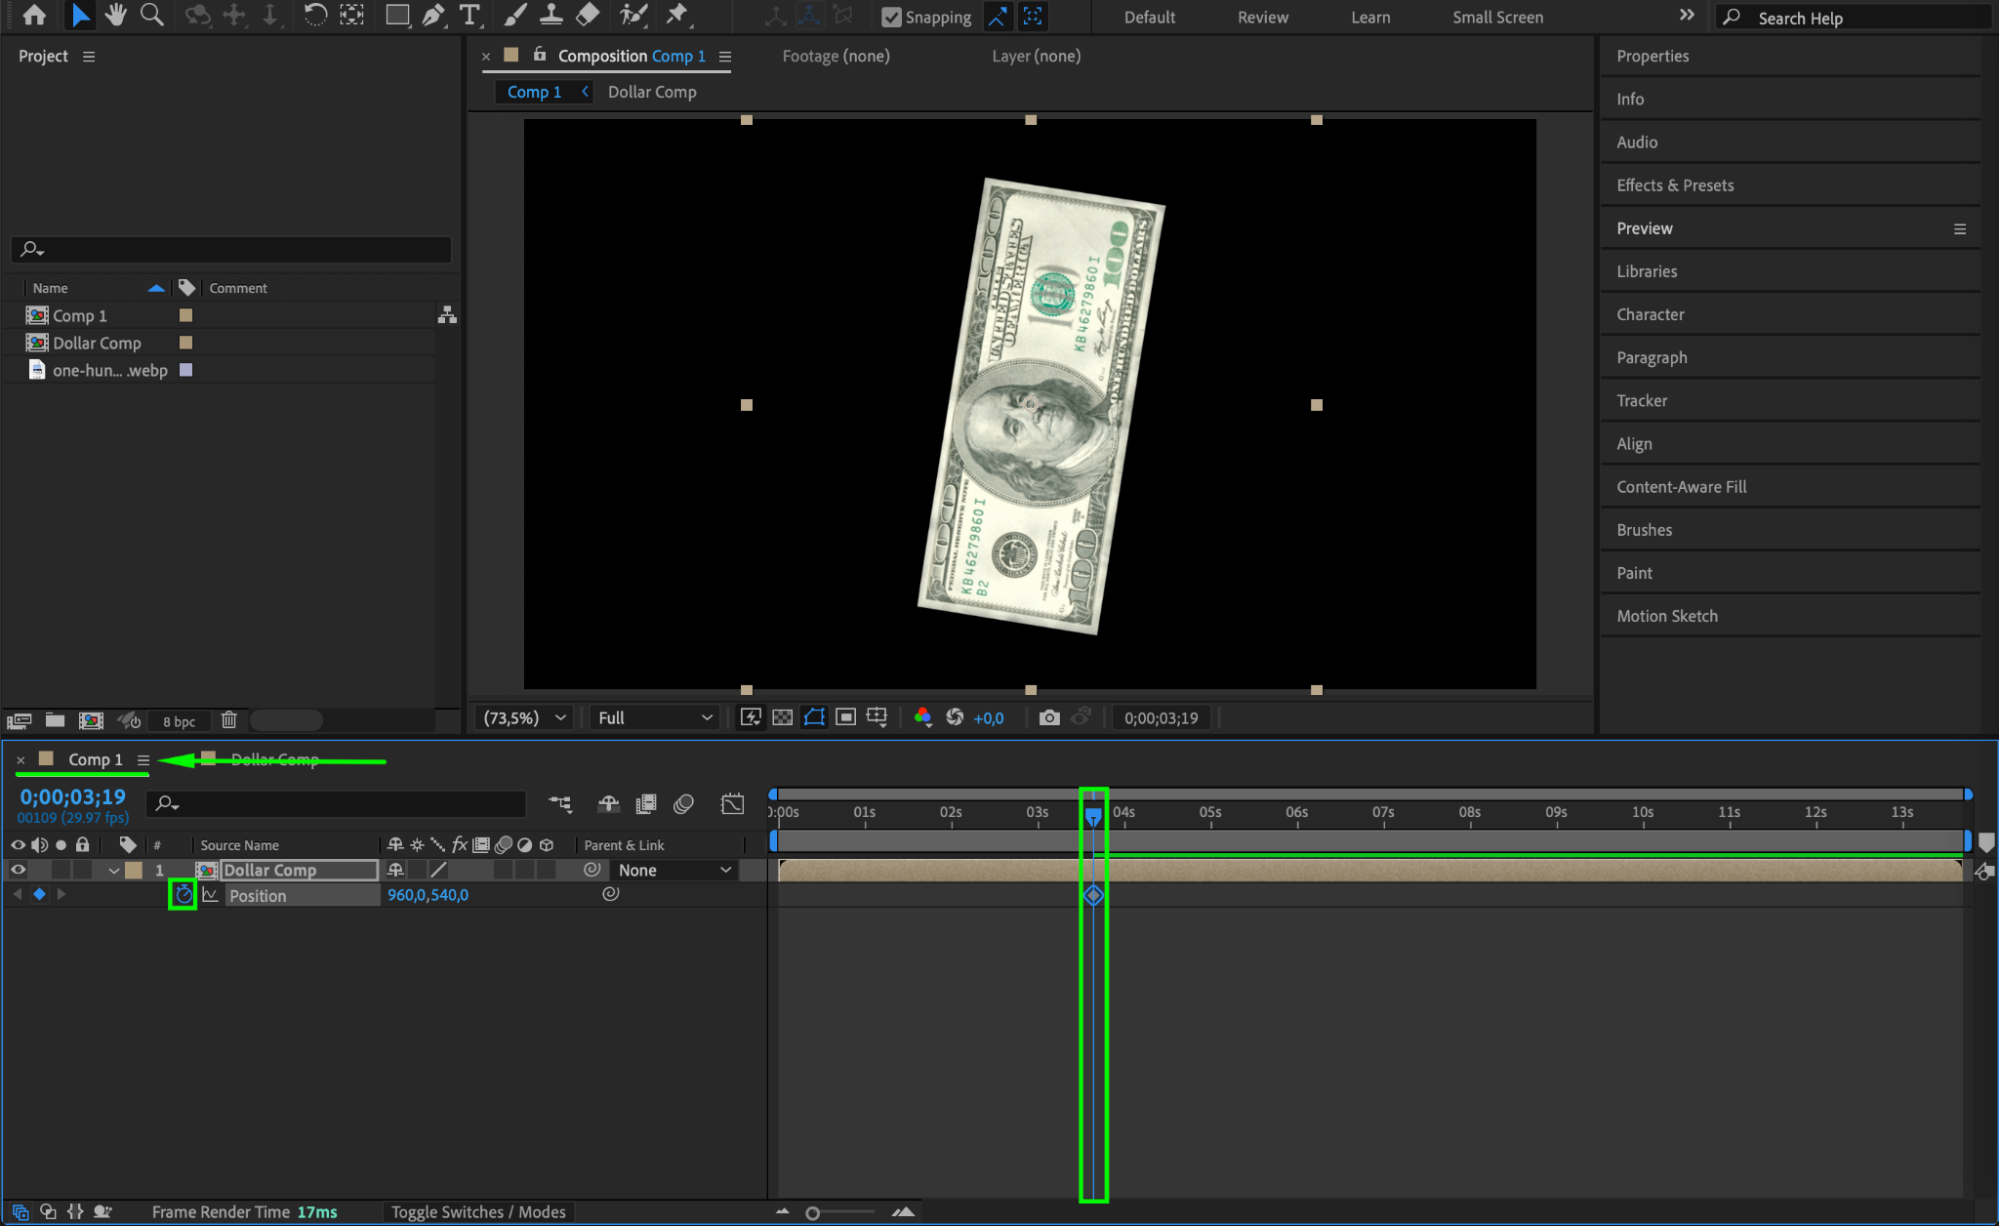
 Step 7: Smooth the Animation
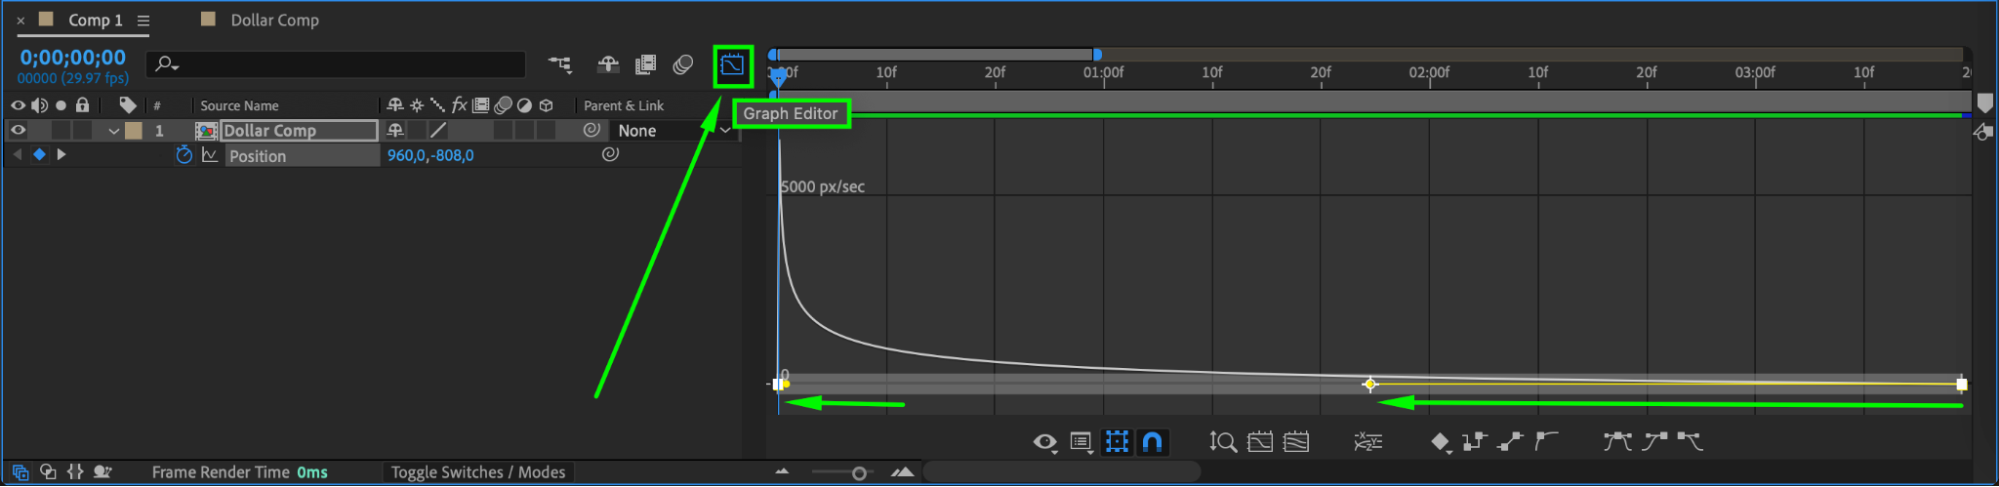
Select all keyframes, right-click and choose Keyframe Assistant > Easy Ease. Open the Graph Editor and adjust the curves for smoother acceleration and deceleration.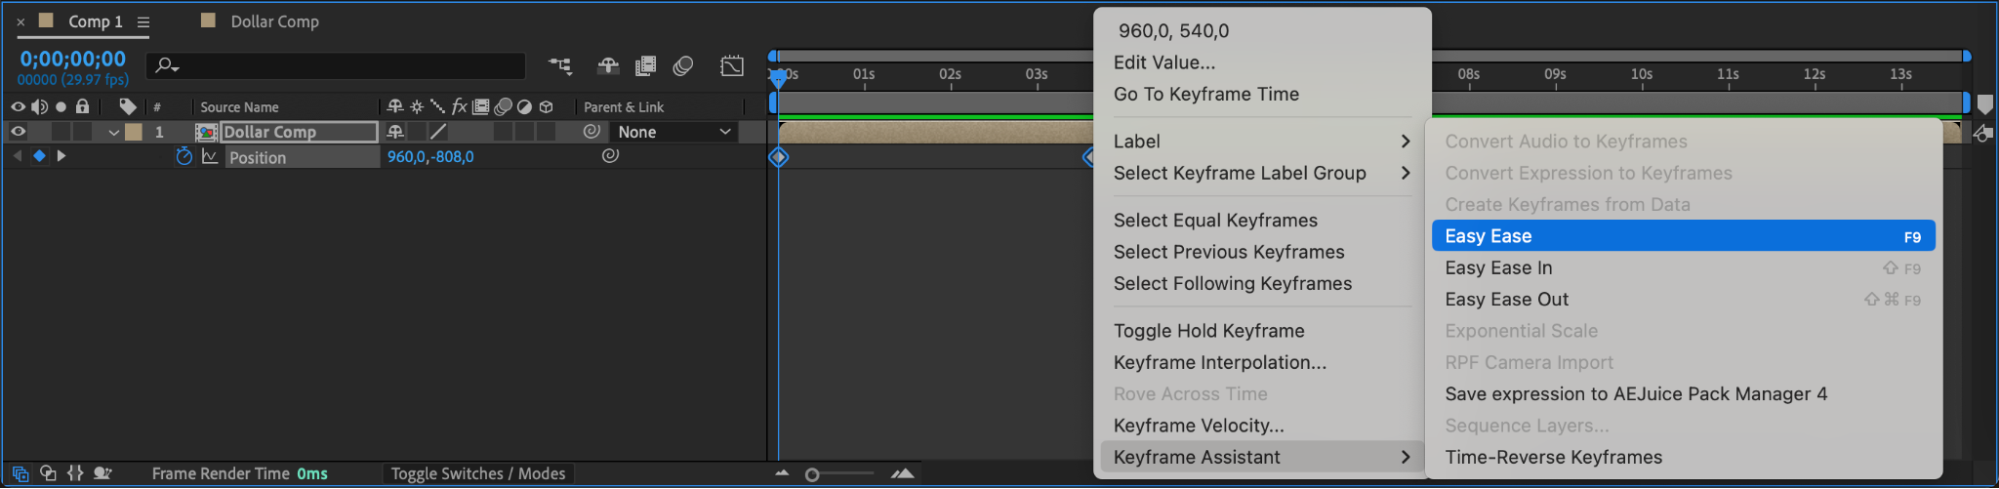
 Step 8: Add CC Cylinder Effect
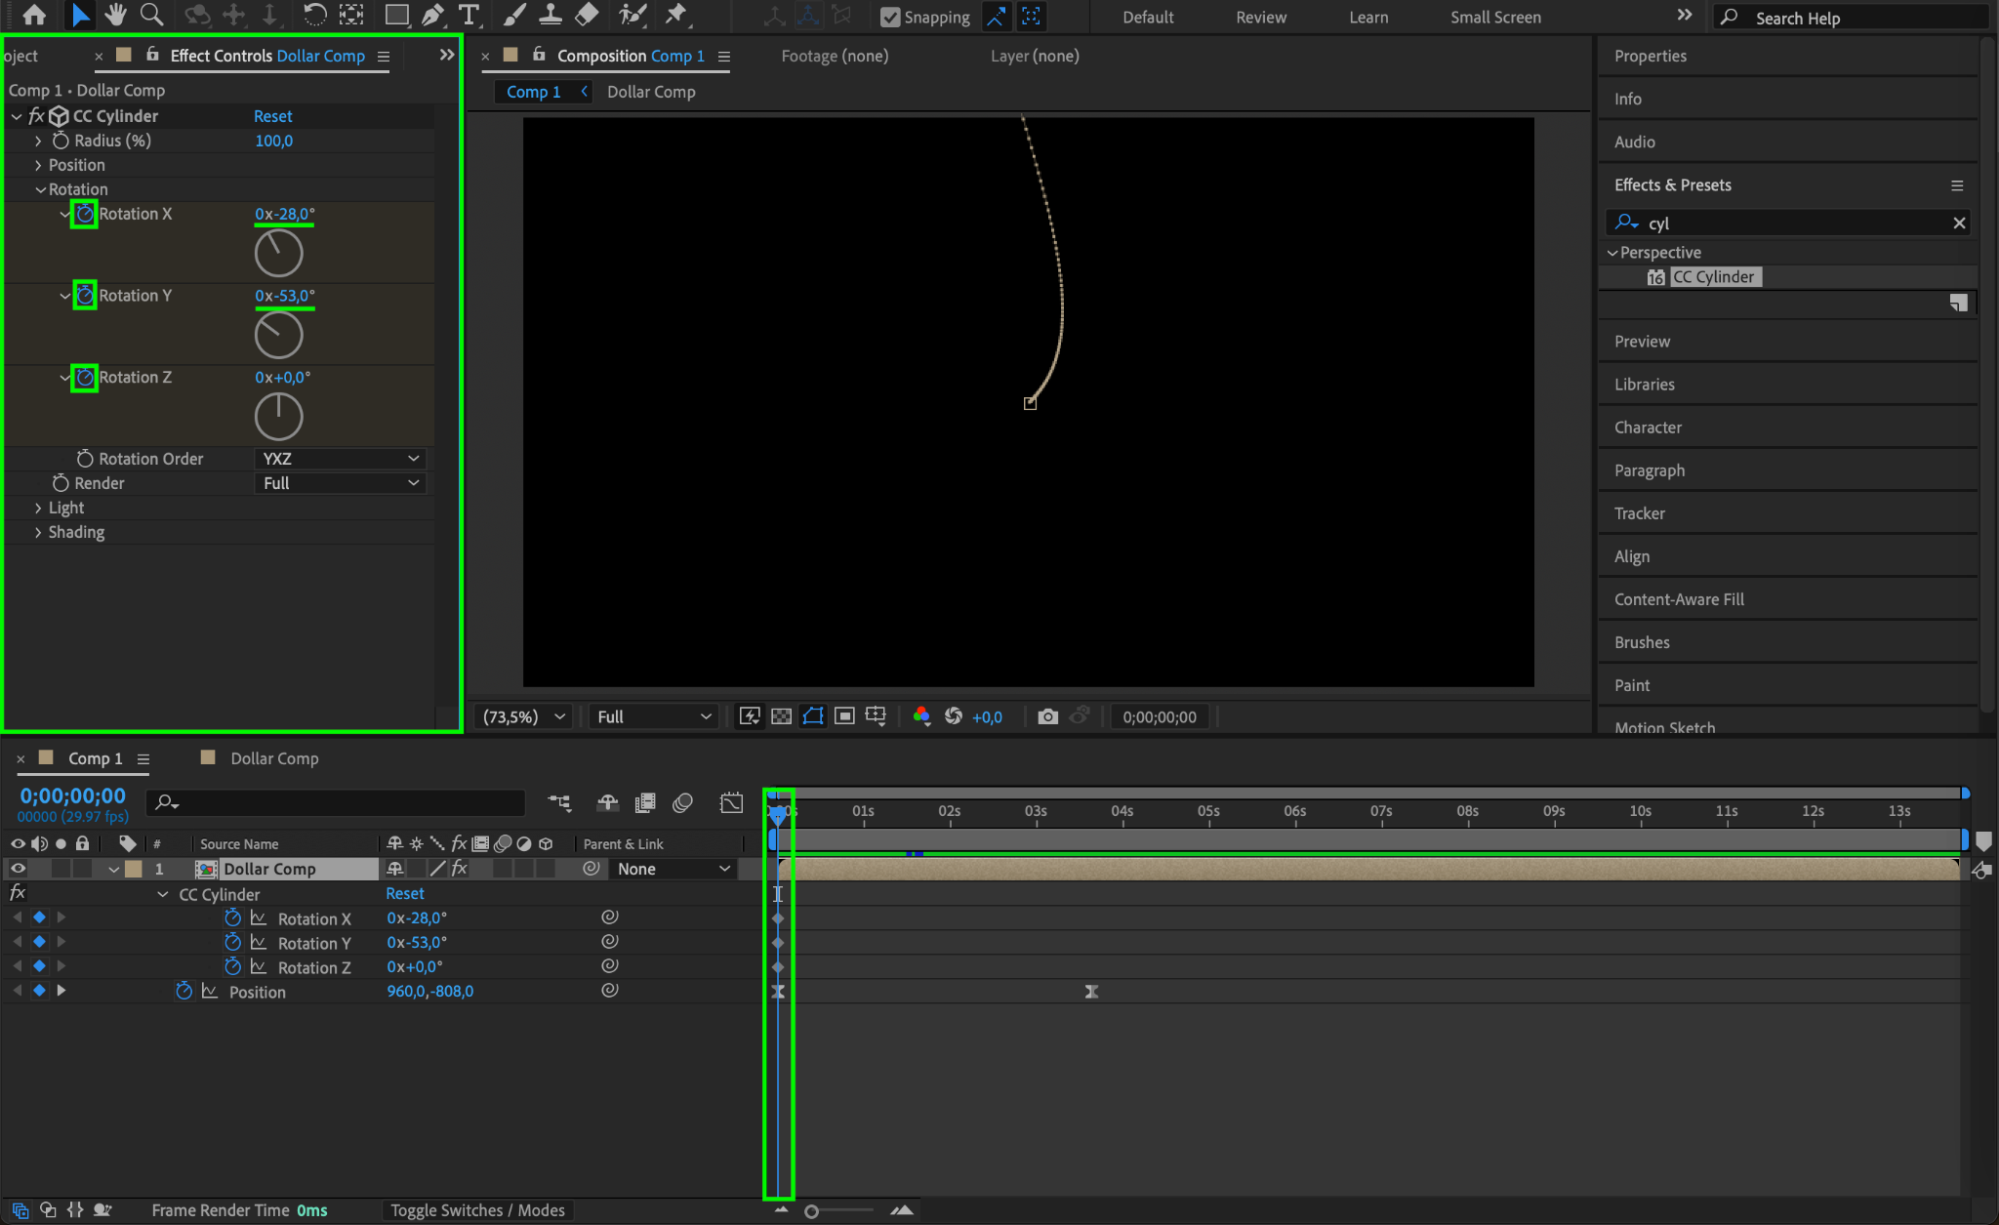
Drag the CC Cylinder effect from the Effects & Presets panel onto your money pre-comp. In the Effect Controls panel, click the stopwatch for Rotation X, Y, and Z. At the beginning of the timeline, set:
X: -28
Y: -53
Z: 0
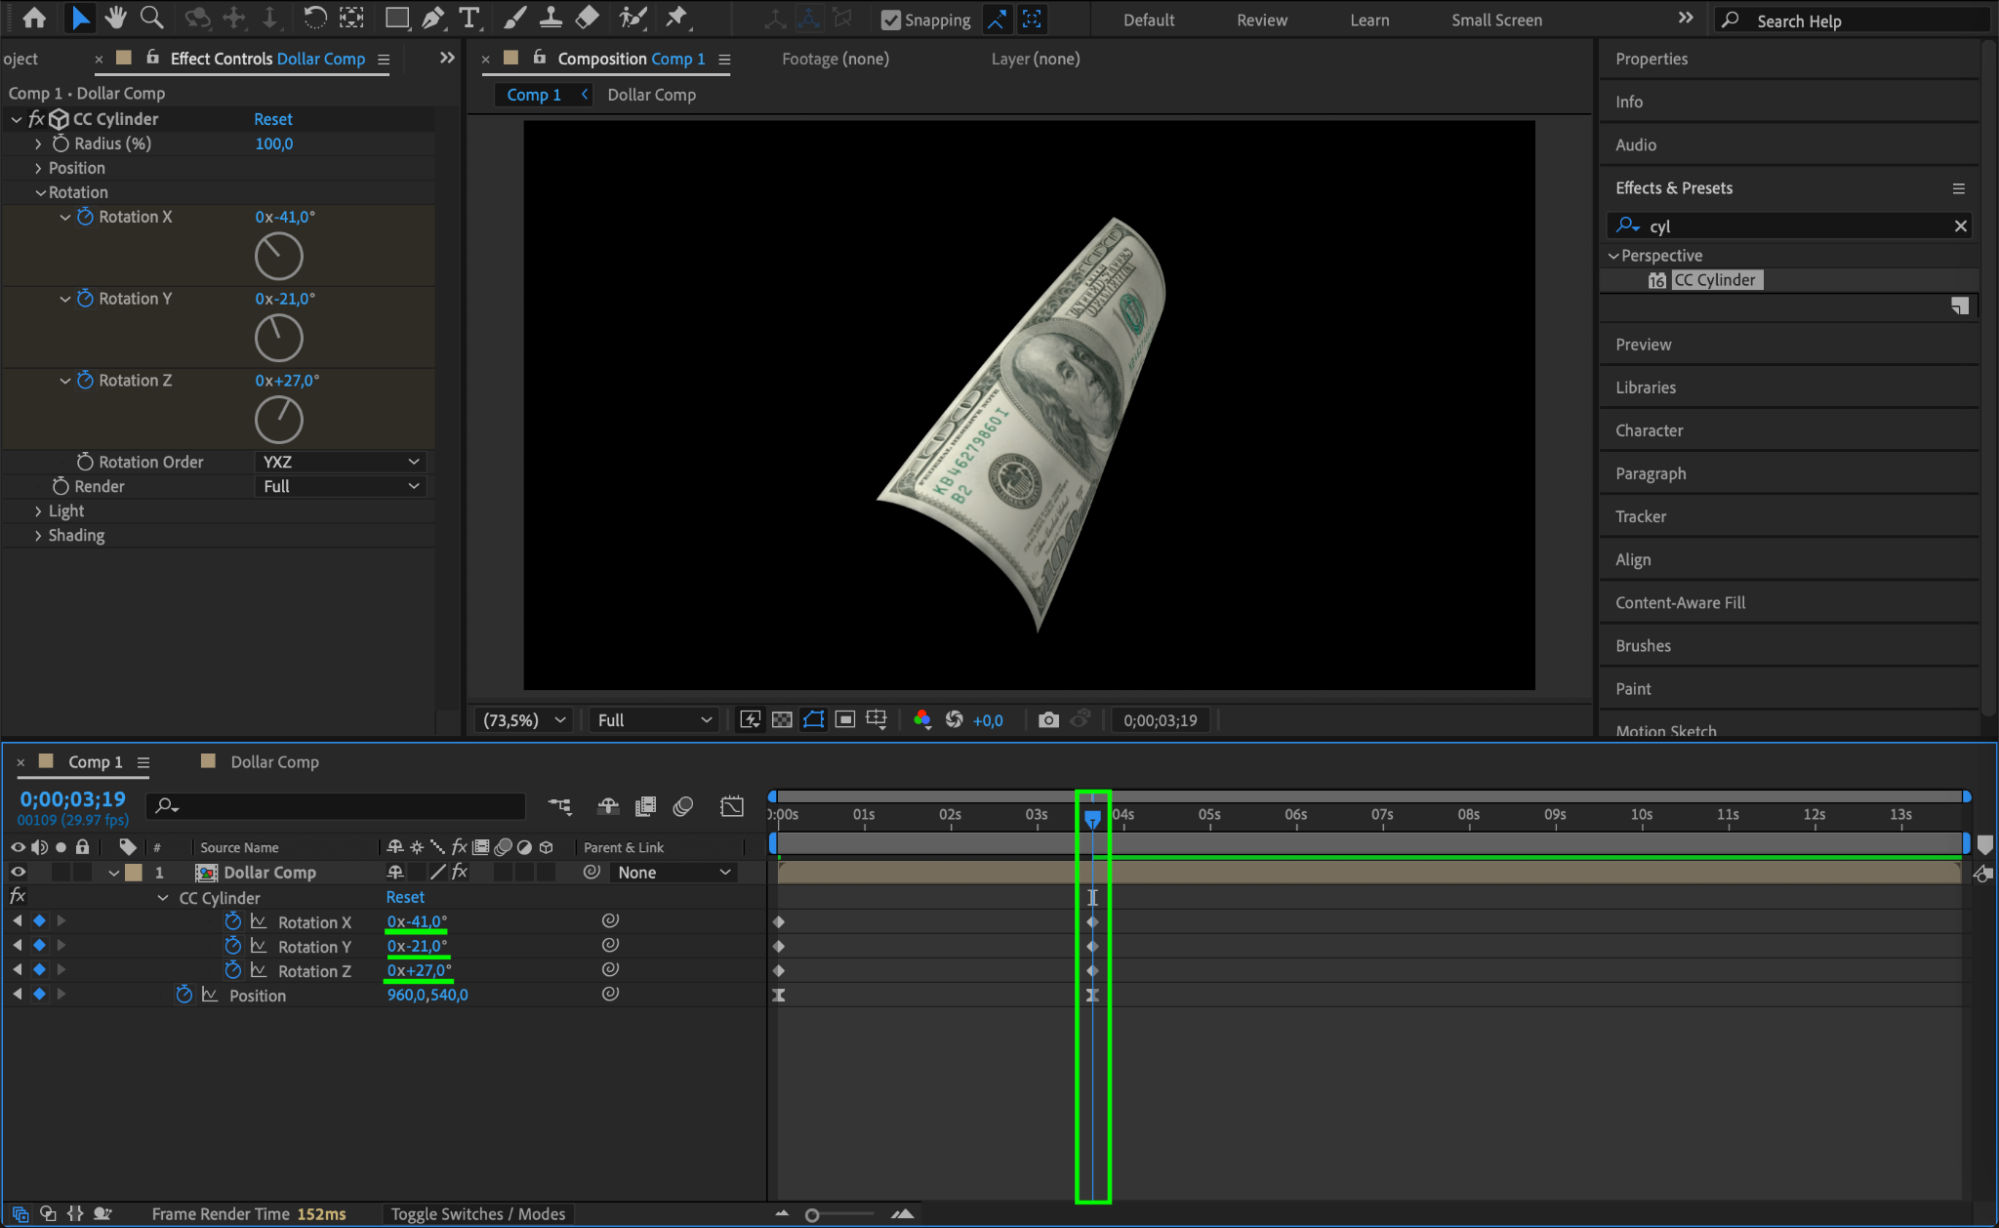
Then move the CTI to the end of the animation and set:
X: -41
Y: -21
Z: 27
This adds a 3D roll-like movement.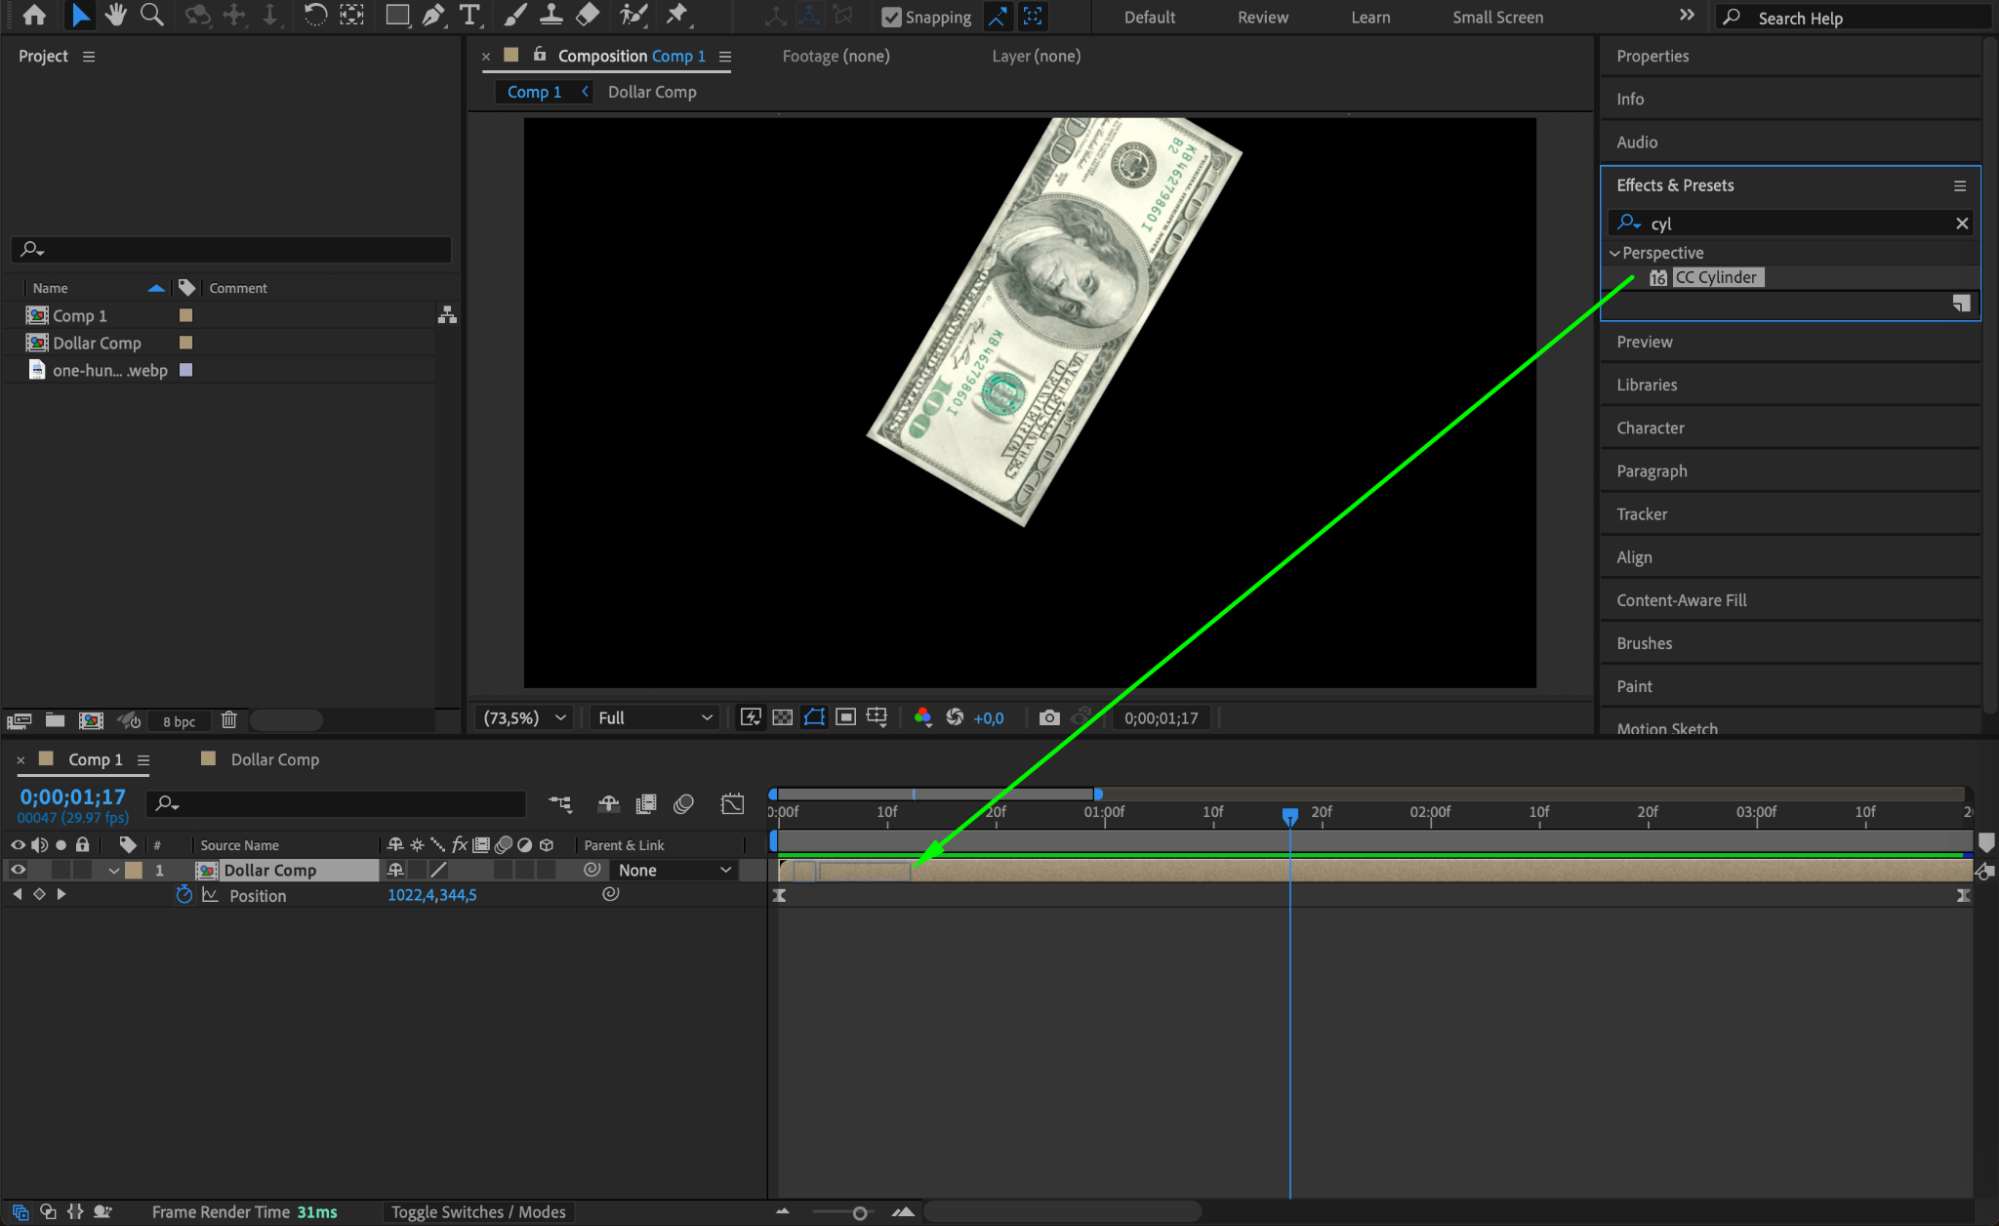
Our Bestsellers
Step 9: Apply Wave Warp Effect
Drag the Wave Warp effect onto the layer. Set the Wave Width to 110. This gives the banknote a fluttering motion as it falls.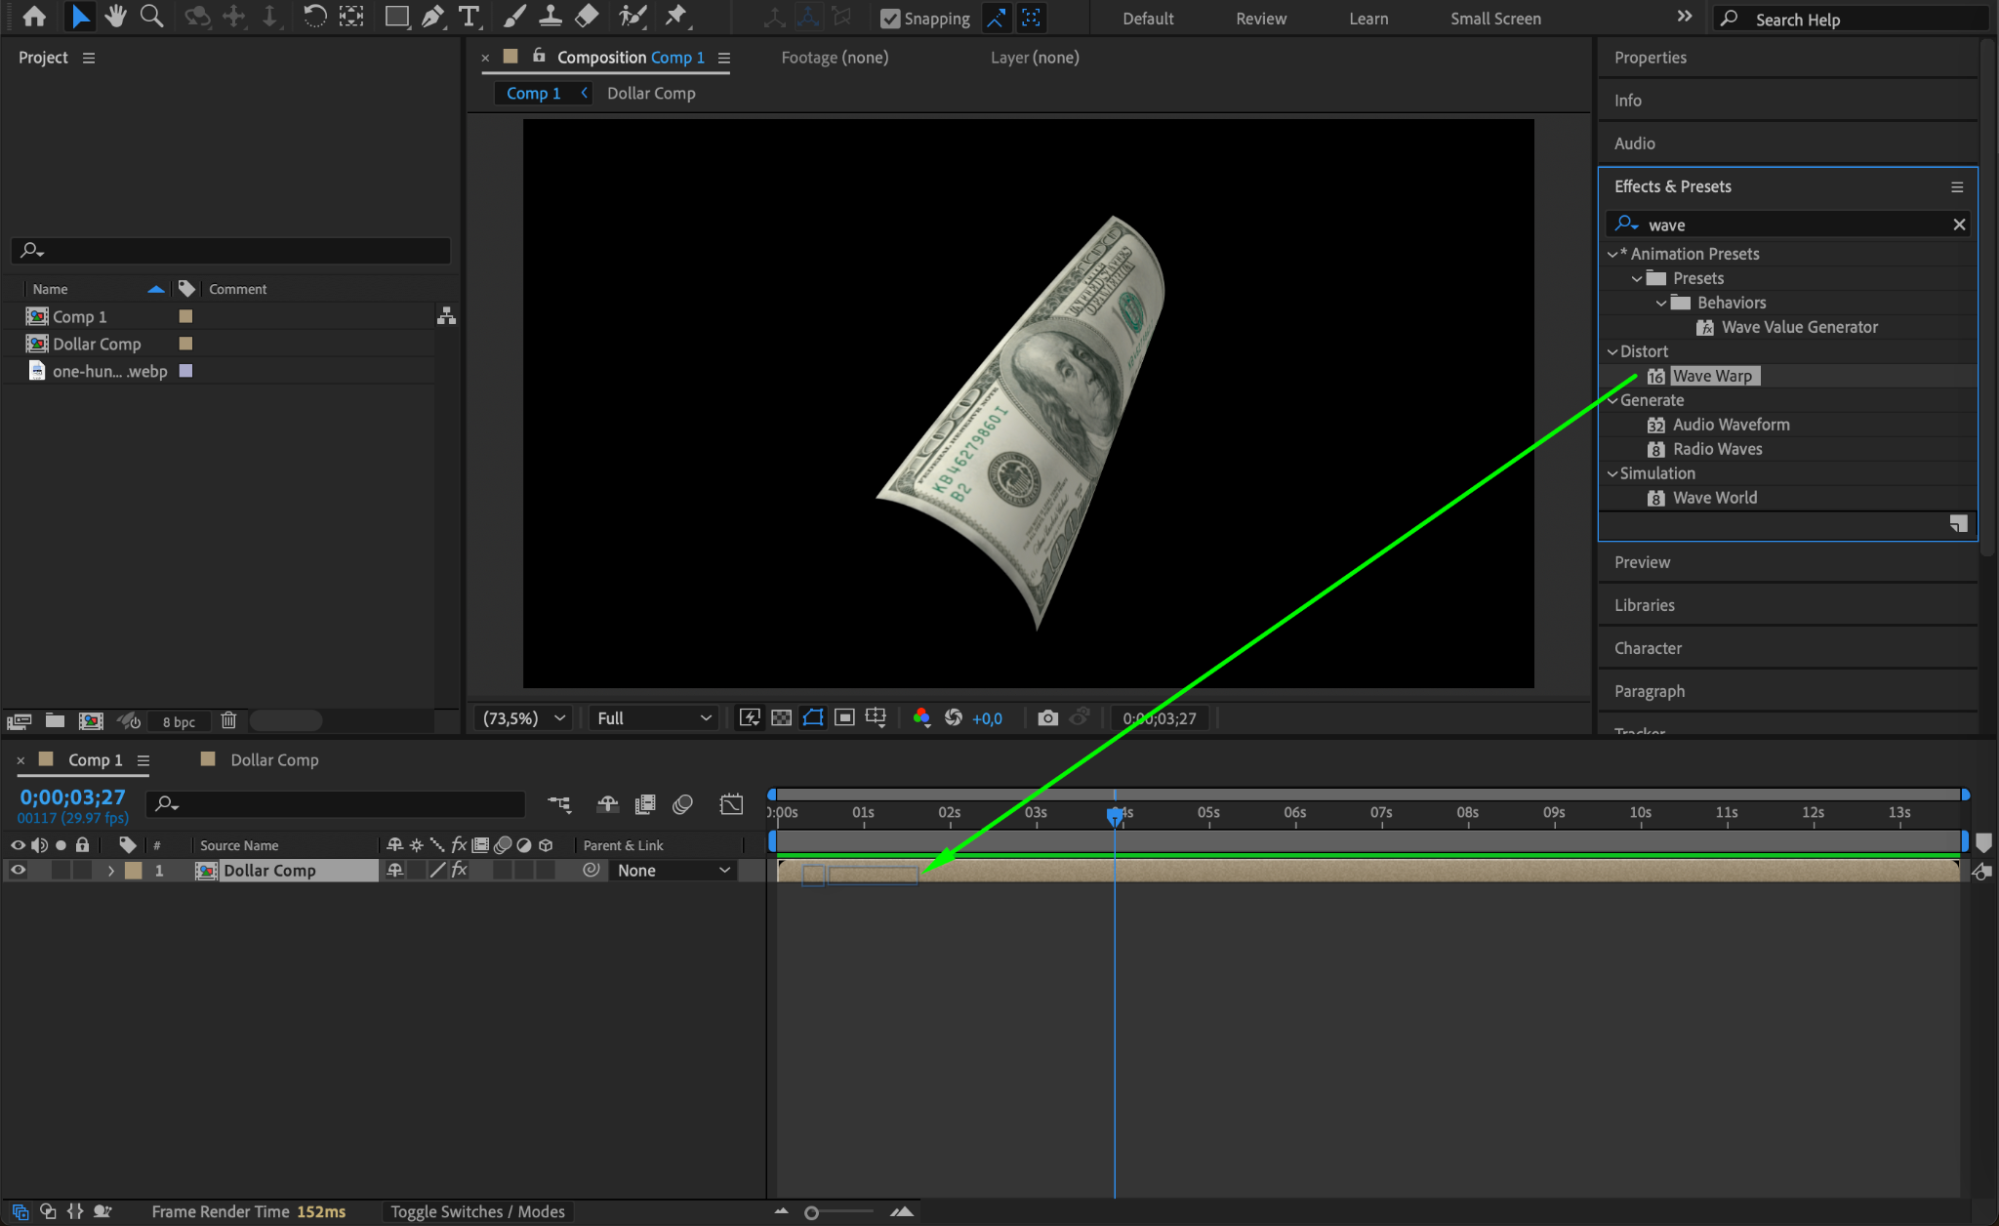
 Step 10: Adjust Scale If Needed
To resize the bill, double-click into the pre-comp and scale the banknote image up or down as needed. You can also duplicate the money pre-comp layer in the main comp and stagger them in space for a raining money effect. Vary the rotation slightly for each duplicate.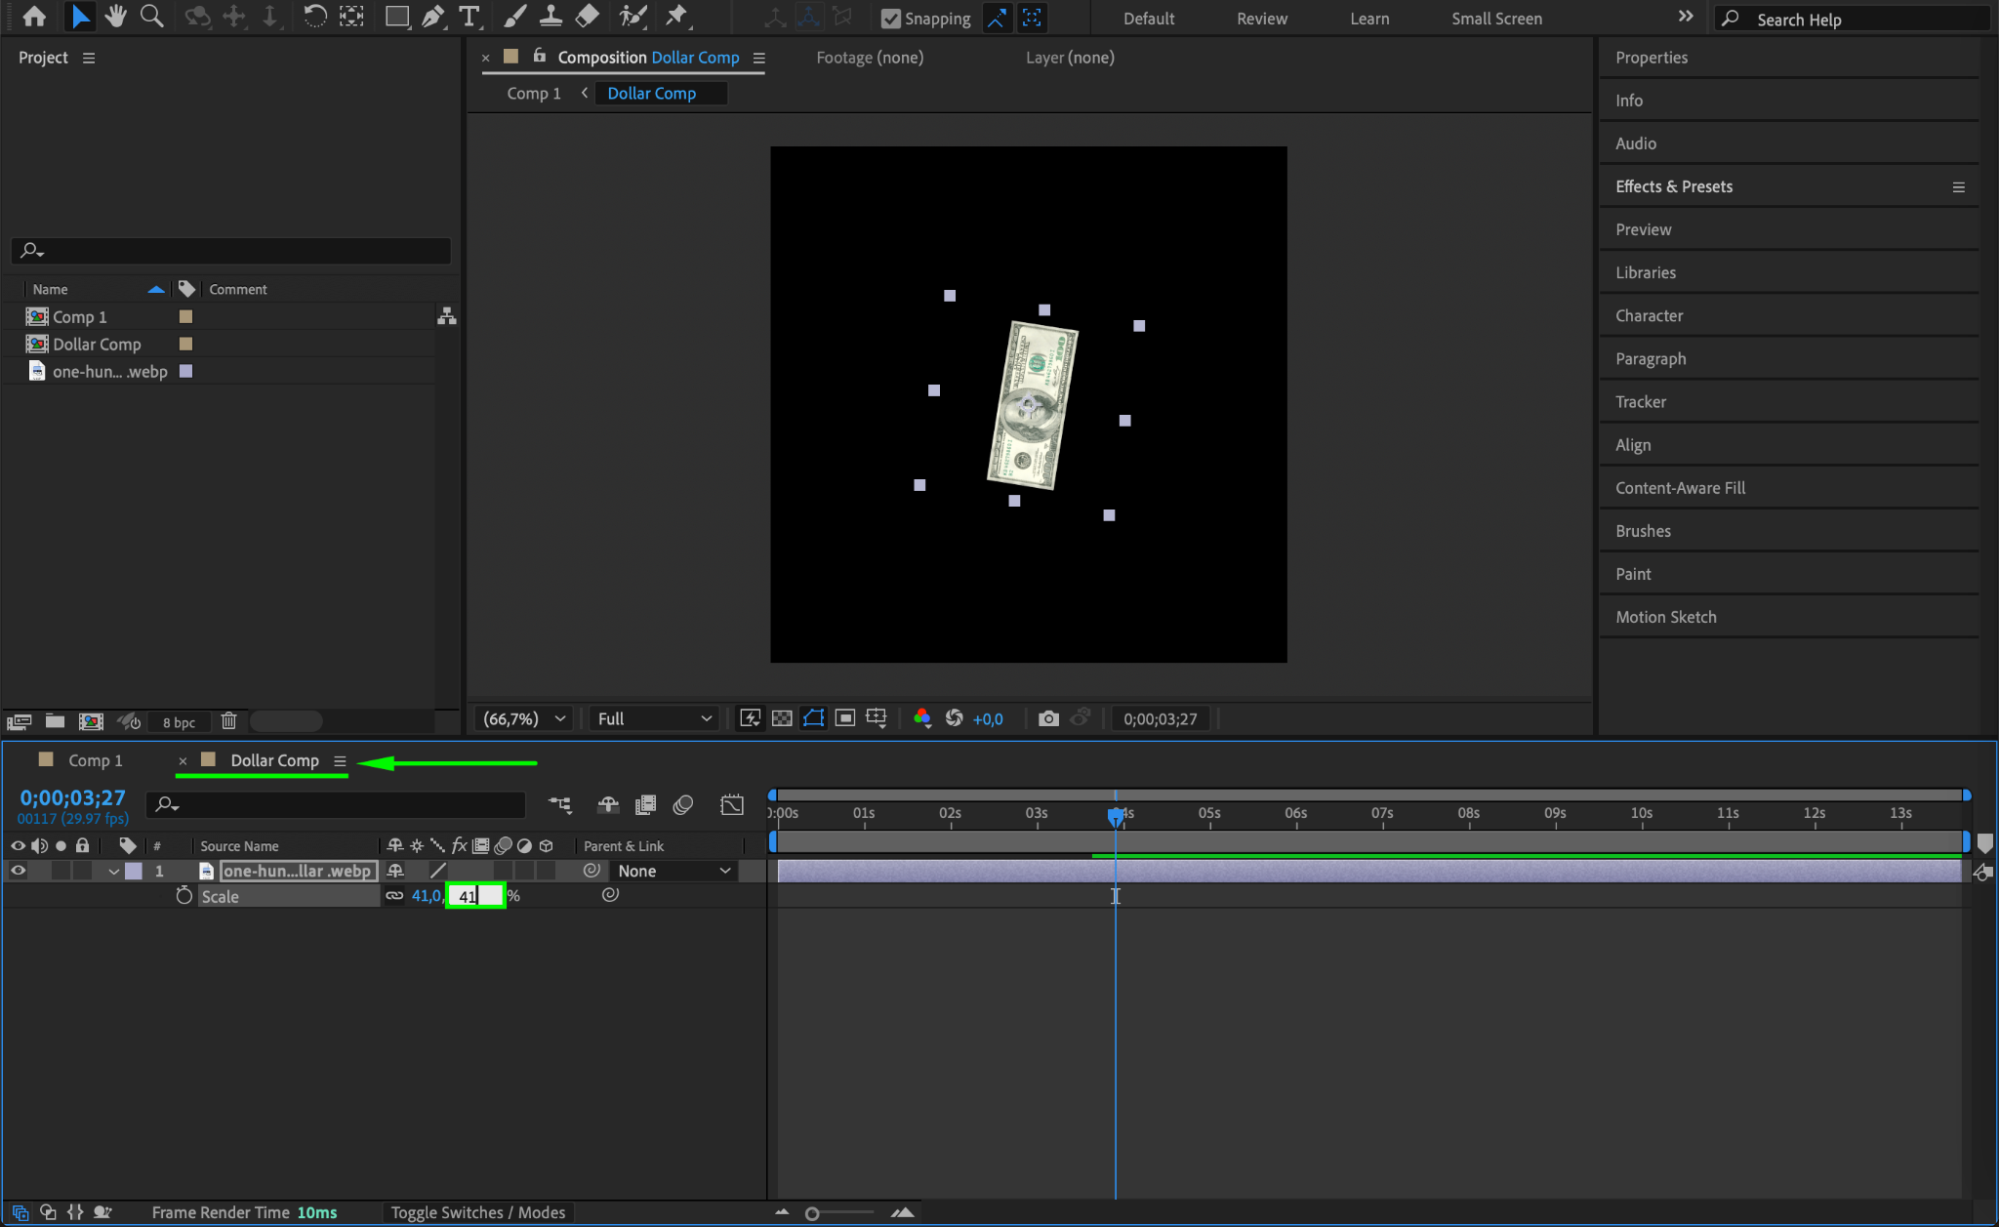
 Step 11: Enable Motion Blur
Turn on Motion Blur for all money layers and enable it for the composition to enhance realism.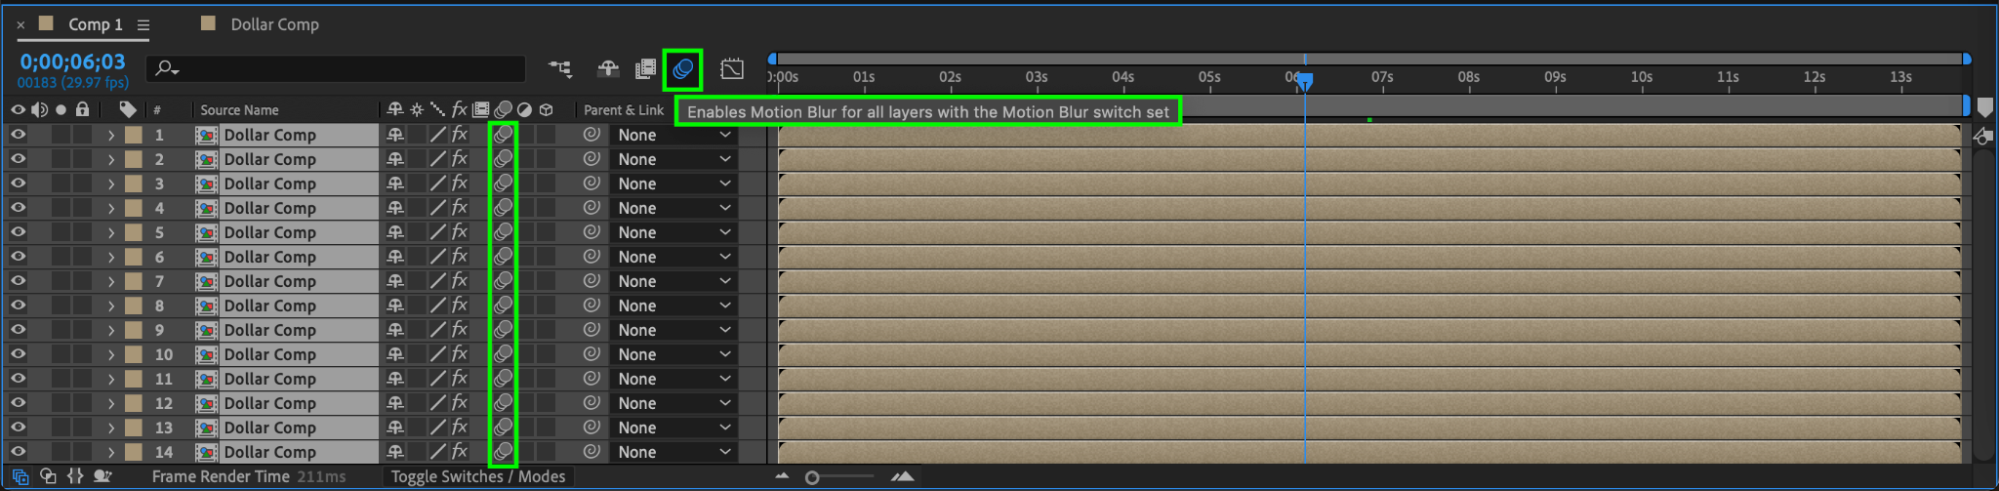 Step 12: Preview Your Animation
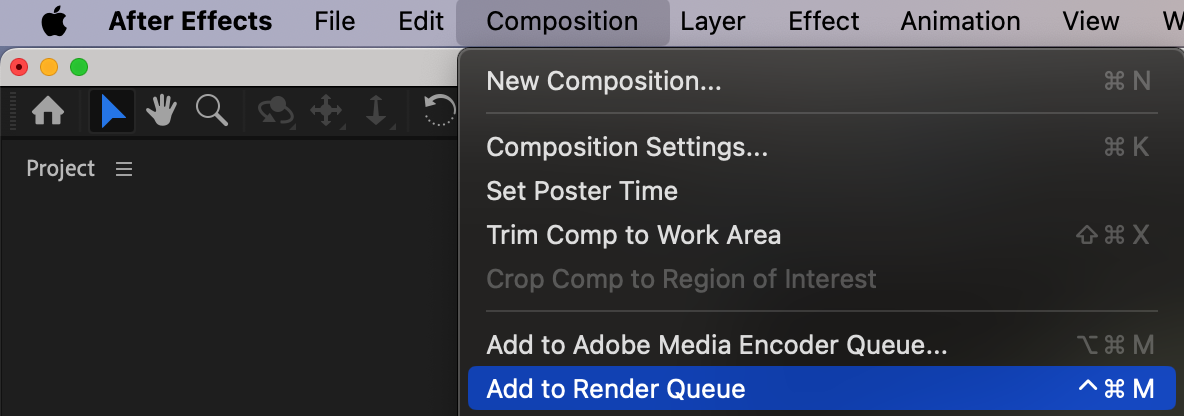
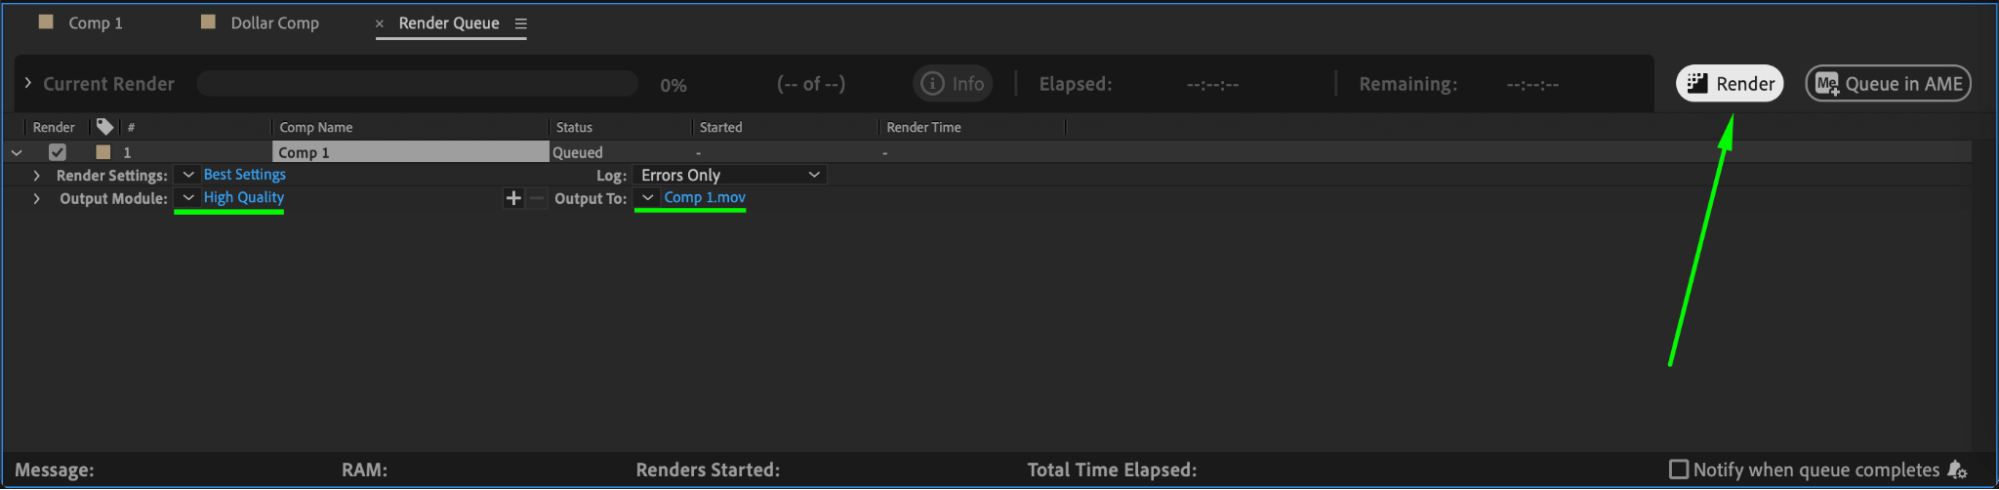
Press the spacebar or use the Preview panel to play back your animation and check that everything looks smooth and dynamic. Once you’re satisfied, go to the Render Queue or use Adobe Media Encoder to export your animation in your preferred format and quality.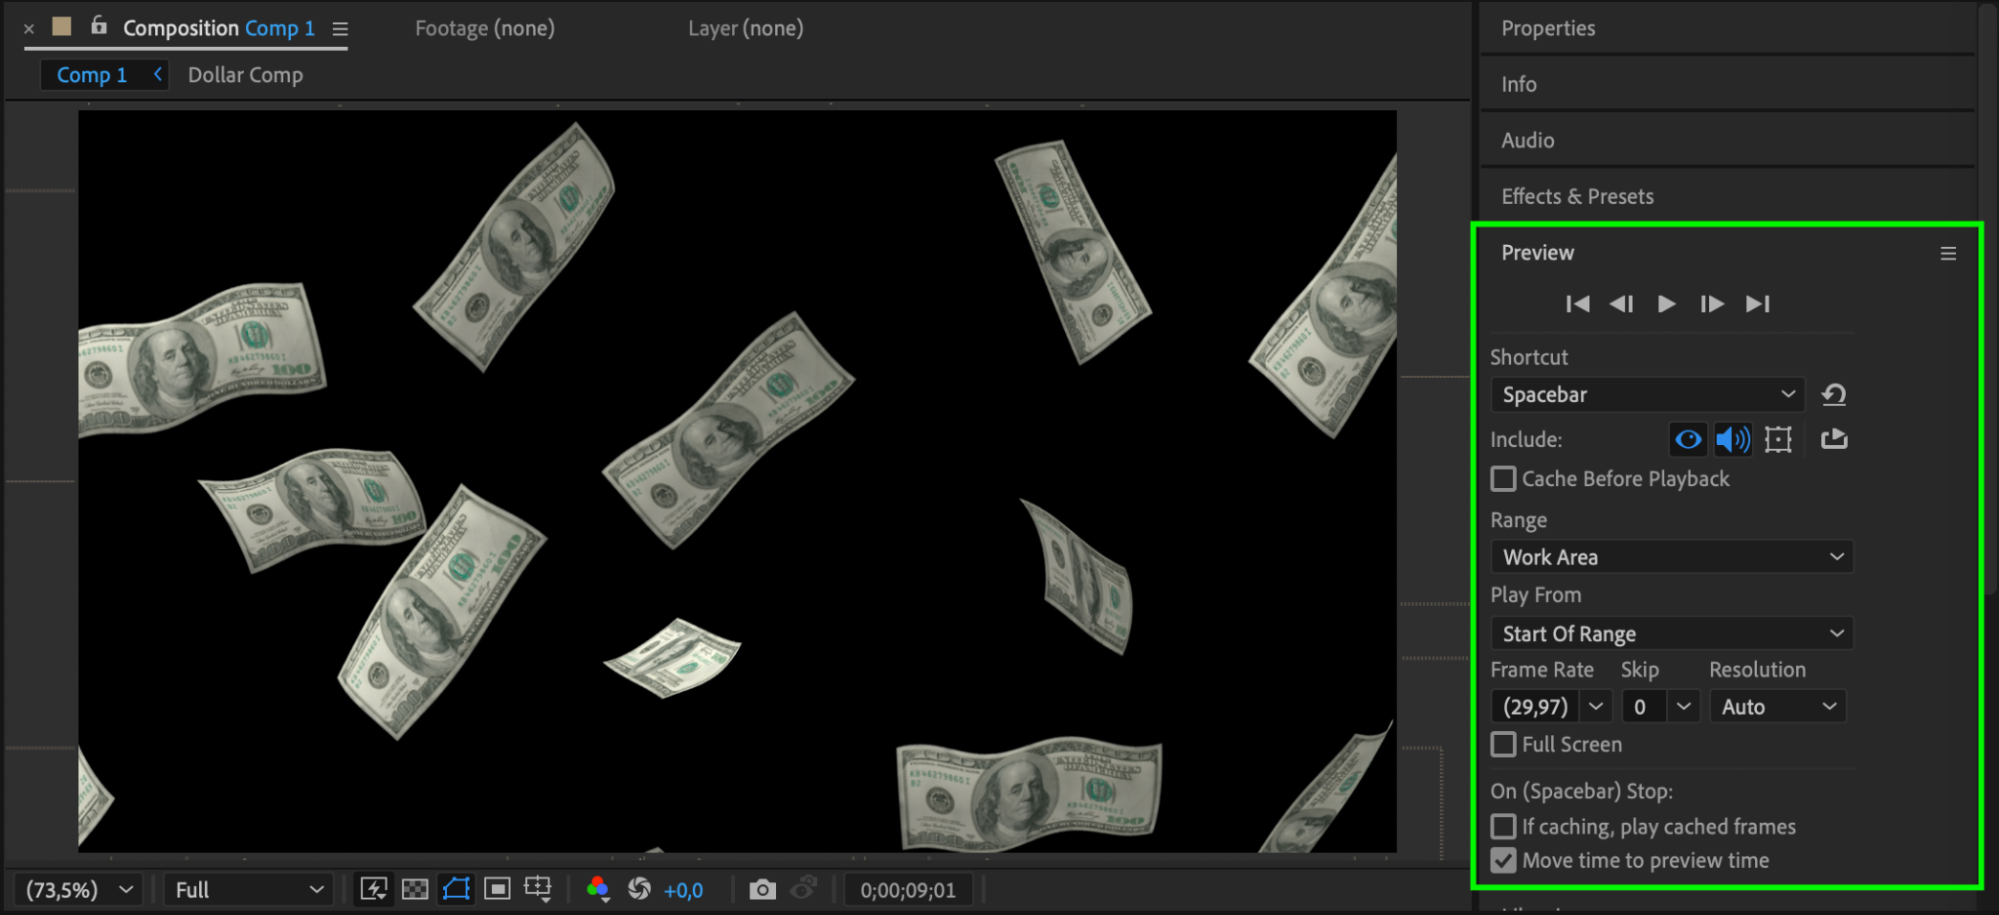
 Conclusion
This method helps you create a visually engaging money animation using basic tools and effects in After Effects. With a few enhancements like CC Cylinder, Wave Warp, and motion blur, your animation will look professional and dynamic. Experiment with different angles, speeds, and layer duplicates to create your unique money effect.
Our Bestsellers


