How to Animate Properties Based on Audio in After Effects
Introduction
In this guide, you will learn how to make any property of an object in After Effects react to audio. By using the Audio Amplitude feature, we can link audio levels to any property like scale, position, or opacity, making your animations more dynamic and synced with the audio. Let’s dive into the process!
Step 1: Open Your Project
Start by opening your After Effects project. If you don’t have a project yet, create a new composition with the desired dimensions, frame rate, and duration. Step 2: Import Audio
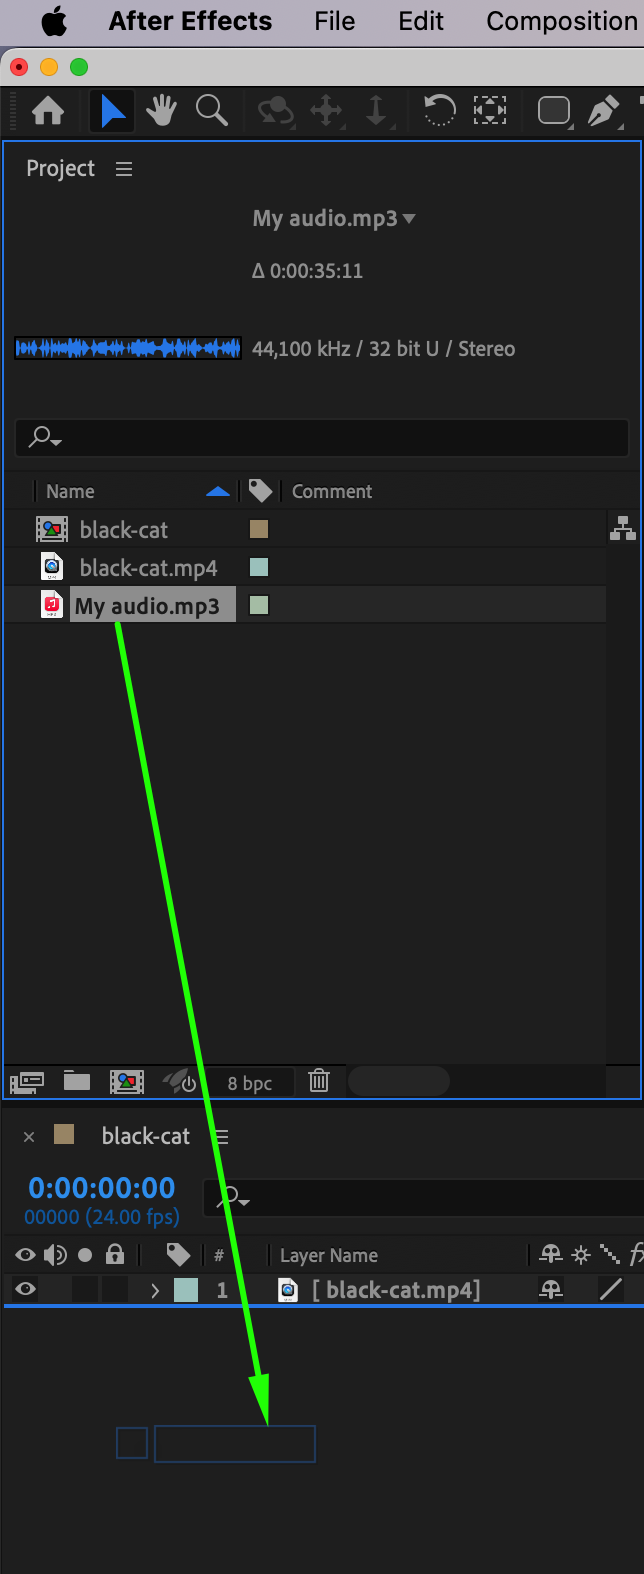
Navigate to File > Import > File and select the audio file you want to work with. Drag it onto your timeline to add it to your composition.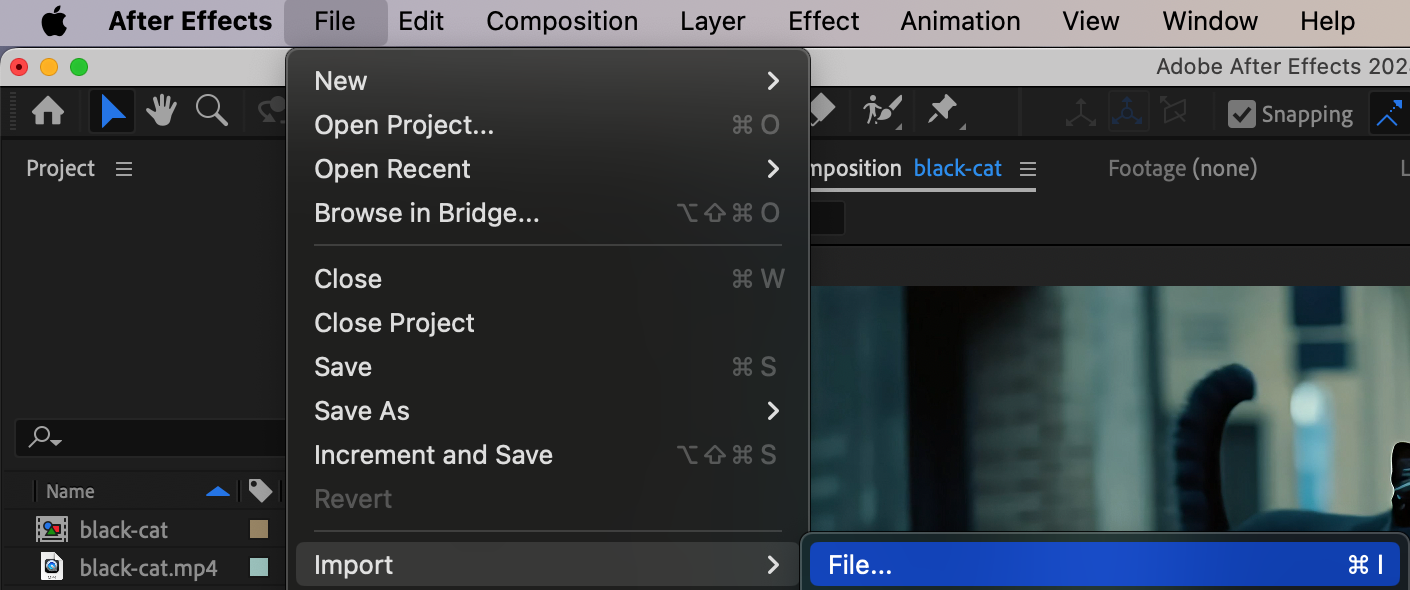
Get 10% off when you subscribe to our newsletter

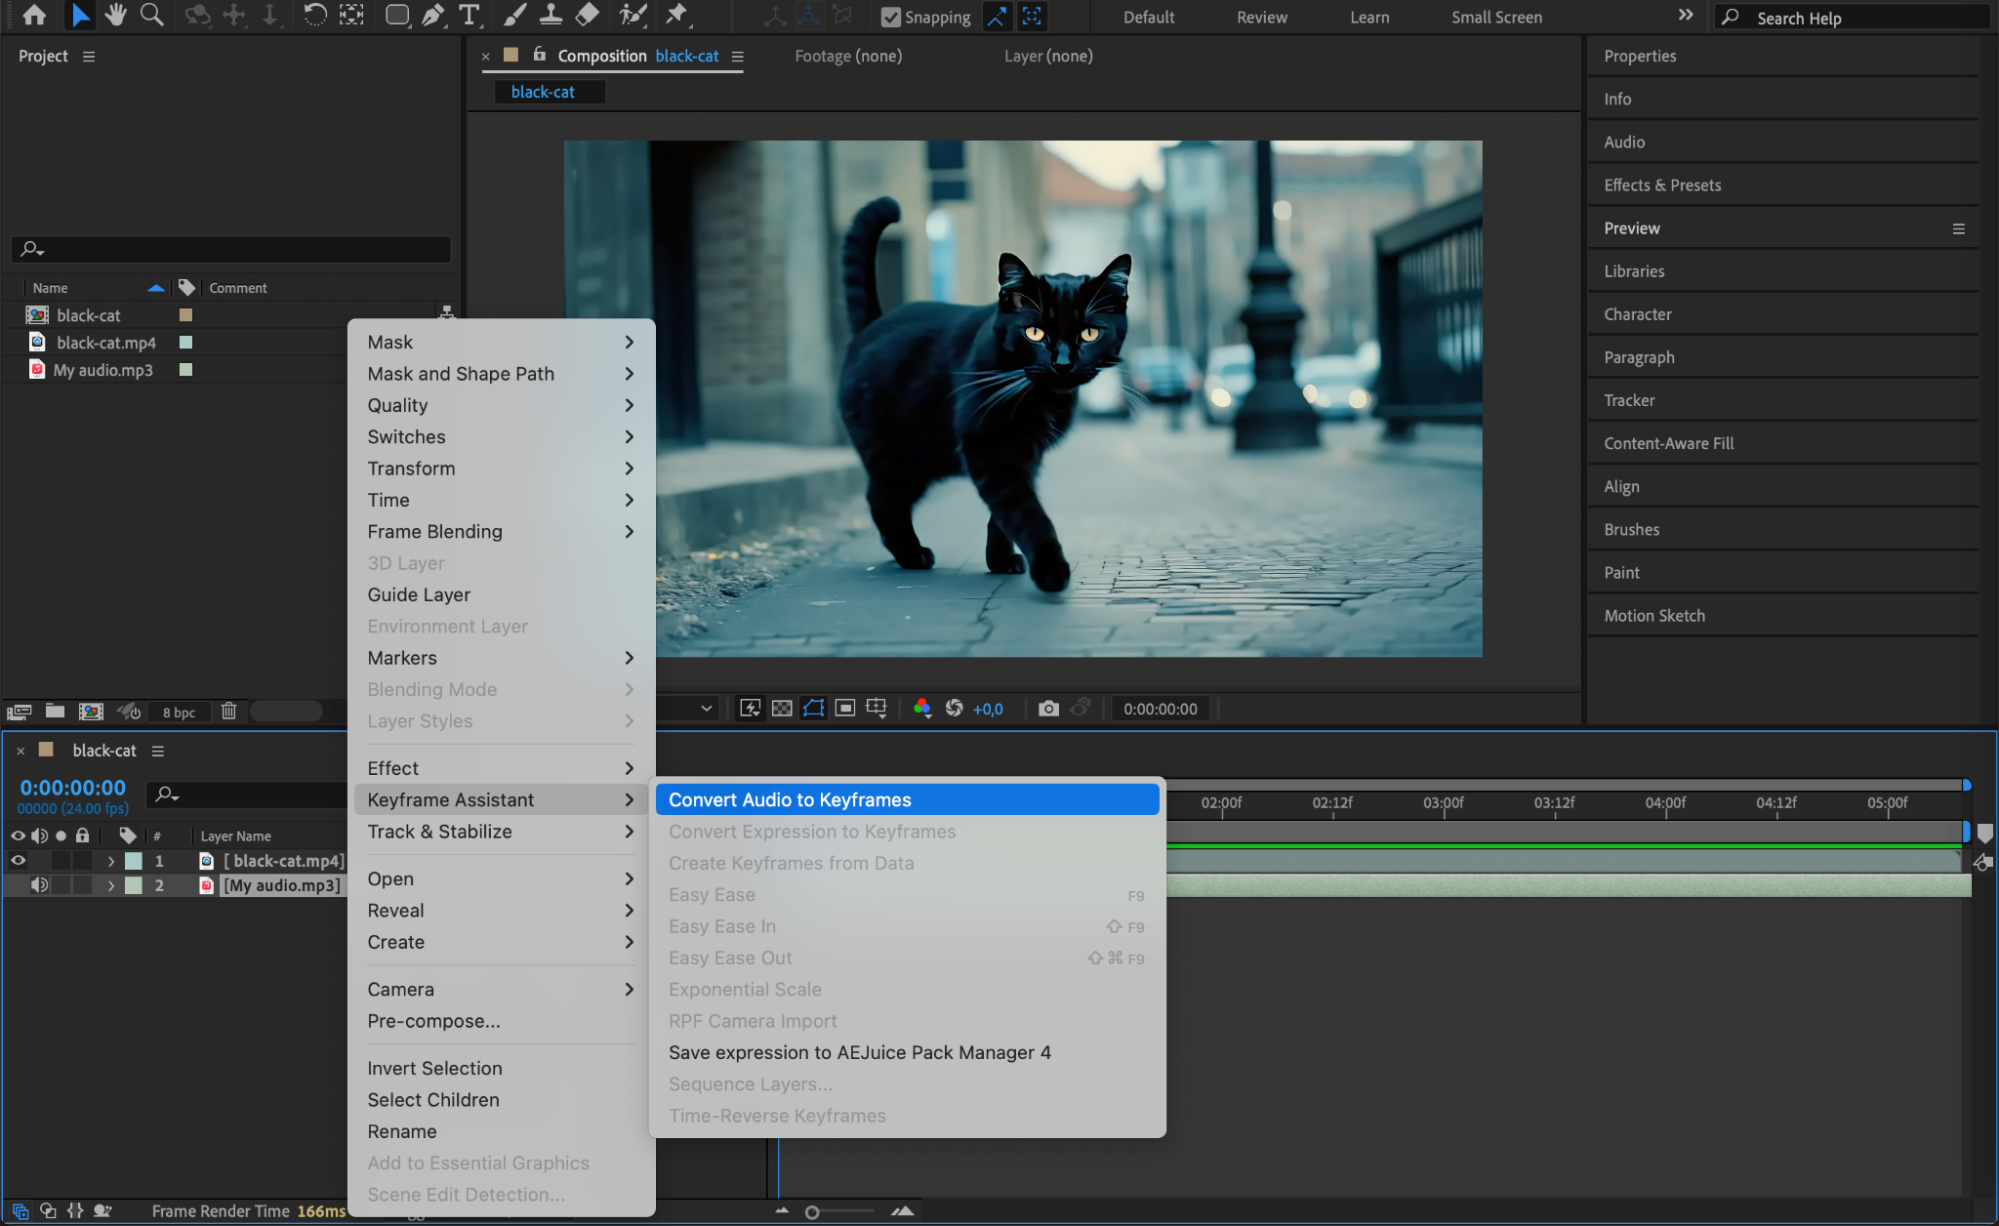
Step 3: Convert Audio to Keyframes
Right-click on the audio layer and select Keyframe Assistant > Convert Audio to Keyframes. This step will create a new layer named Audio Amplitude containing the audio data (both left and right channels). The data will be in the form of keyframes, which can be used to control animations.
 Step 4: Simplify the Audio Amplitude Layer
Expand the properties of the Audio Amplitude layer by clicking the arrow next to it. You’ll see options for Left Channel and Right Channel, both of which contain the same audio data. To simplify, you can keep just one channel or use the Both Channels slider. If you want to delete a channel, select the keyframes for either the Left Channel or Right Channel, then press Delete. You can choose to keep both or delete one depending on your preference.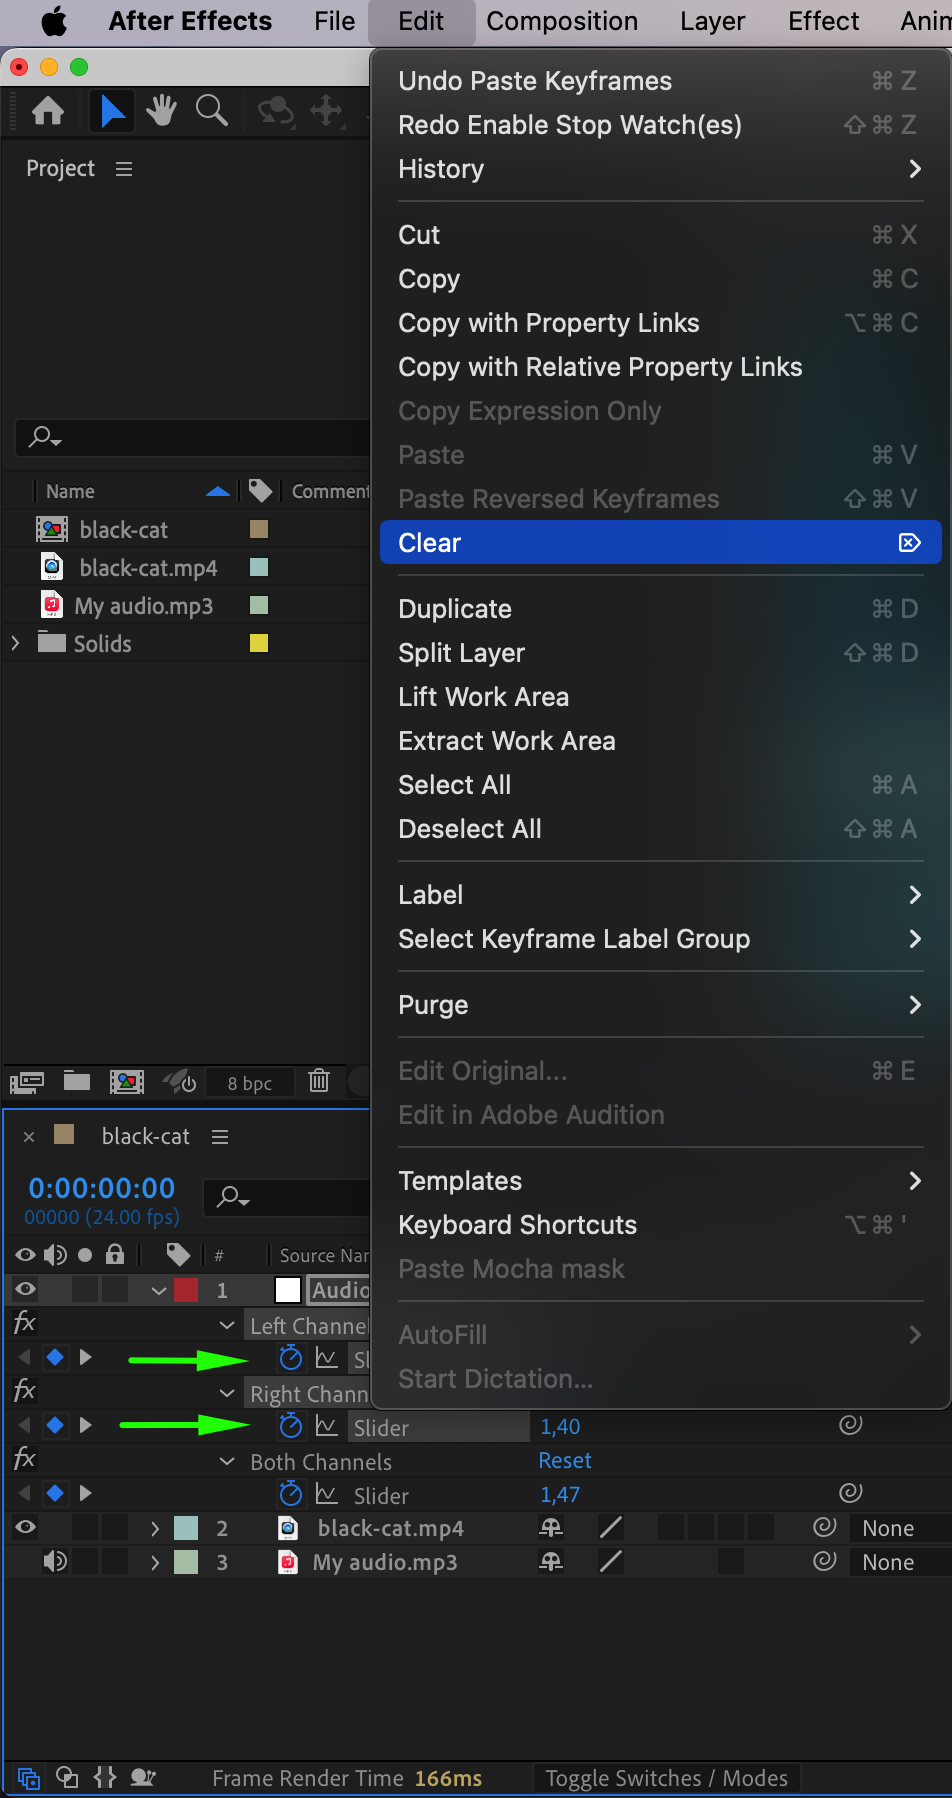 Step 5: Choose the Property You Want to Animate
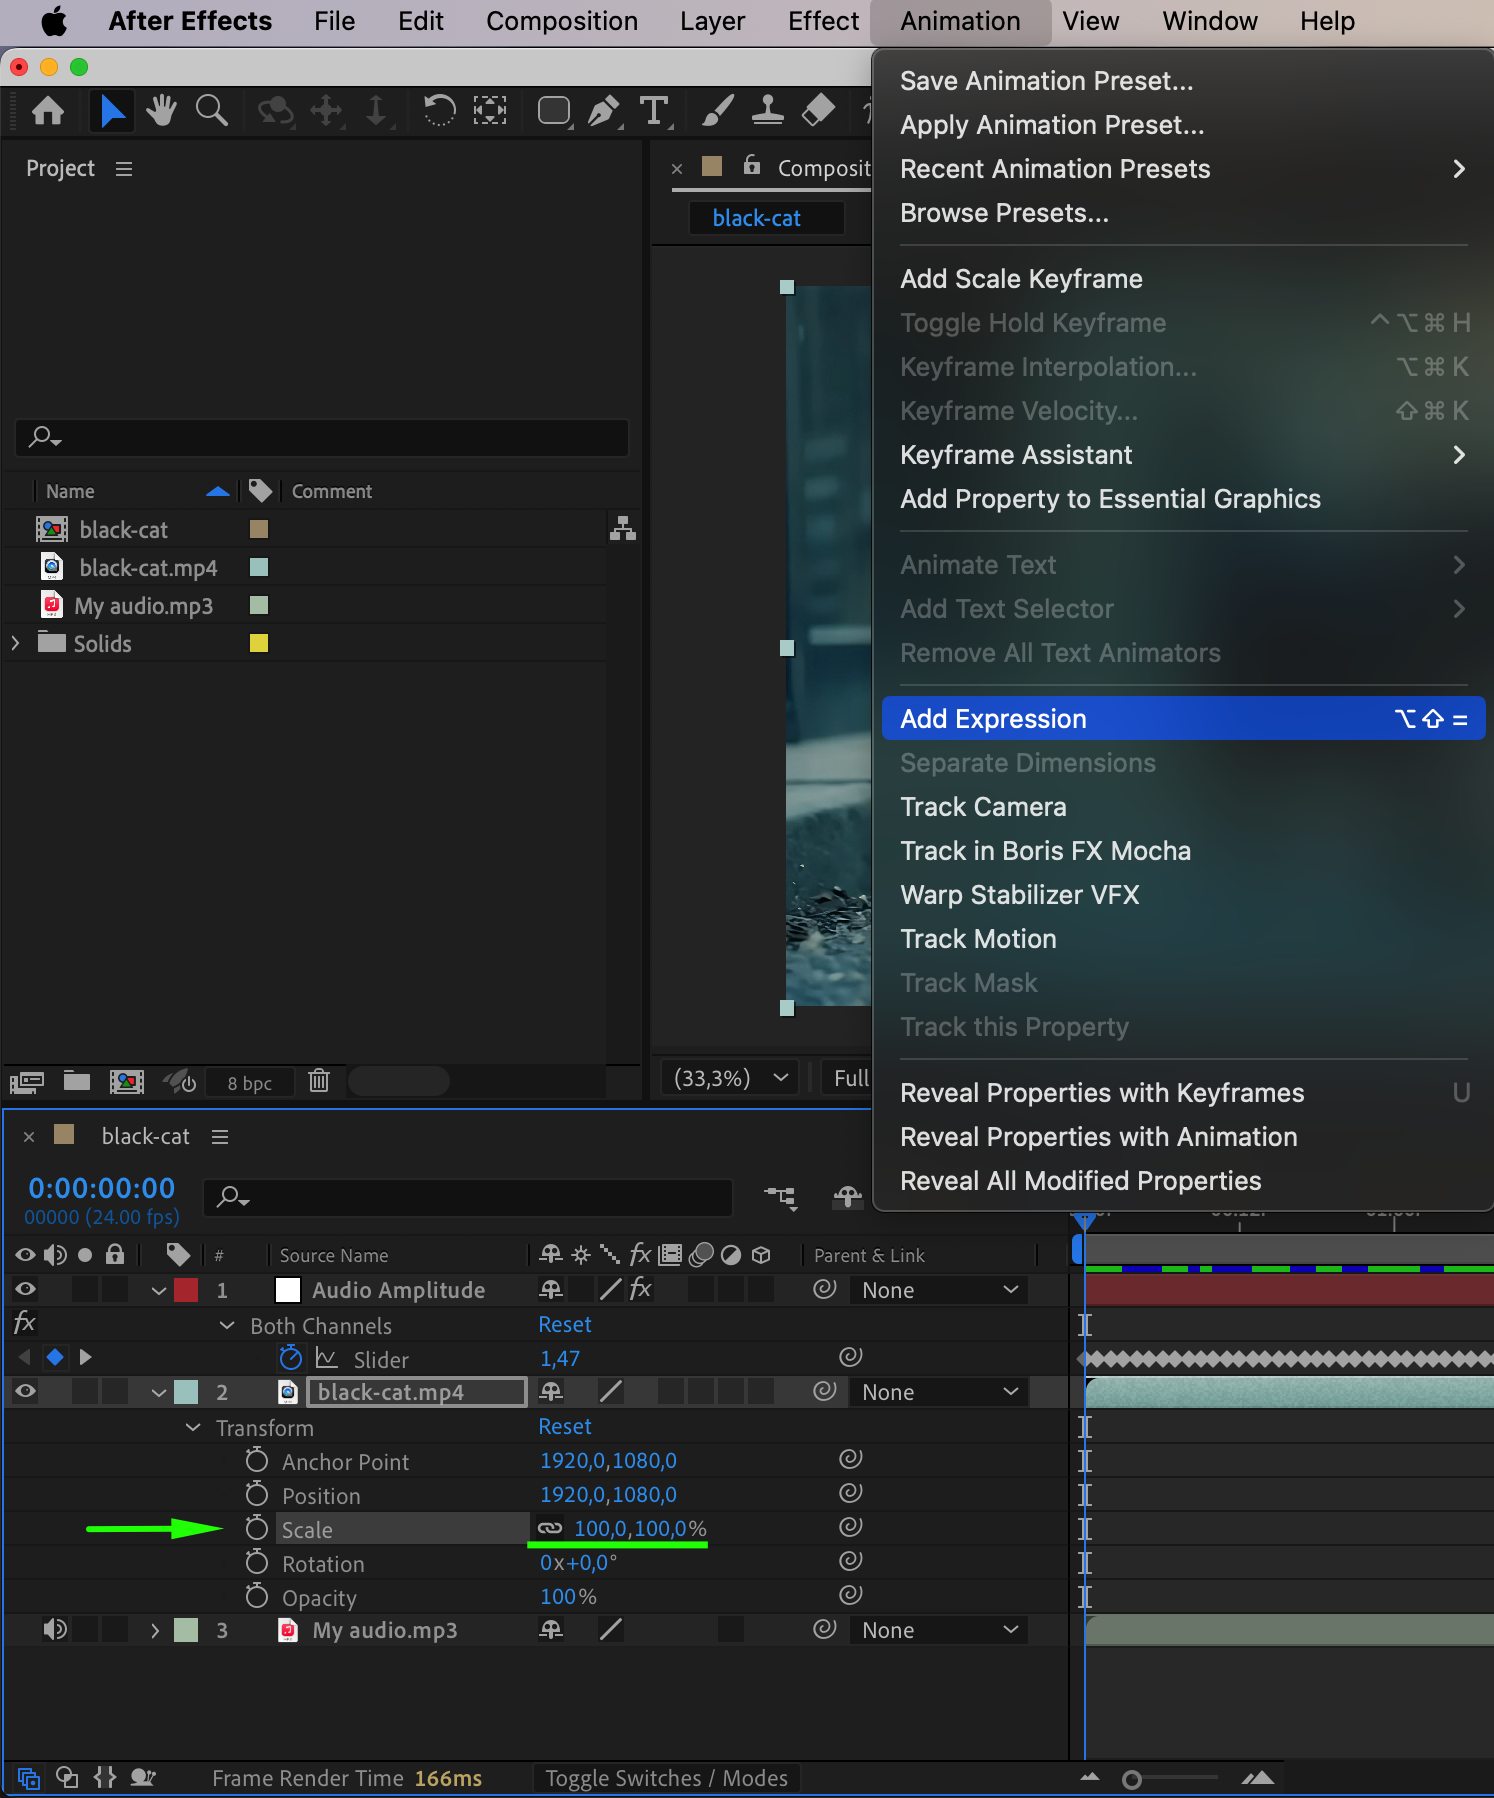
Select the layer that contains the property you want to animate (for example, a video layer). Click on the Scale property, Position, Opacity, or any other property you want to link to the audio. Once selected, go to Animation > Add Expression to open the expression editor.
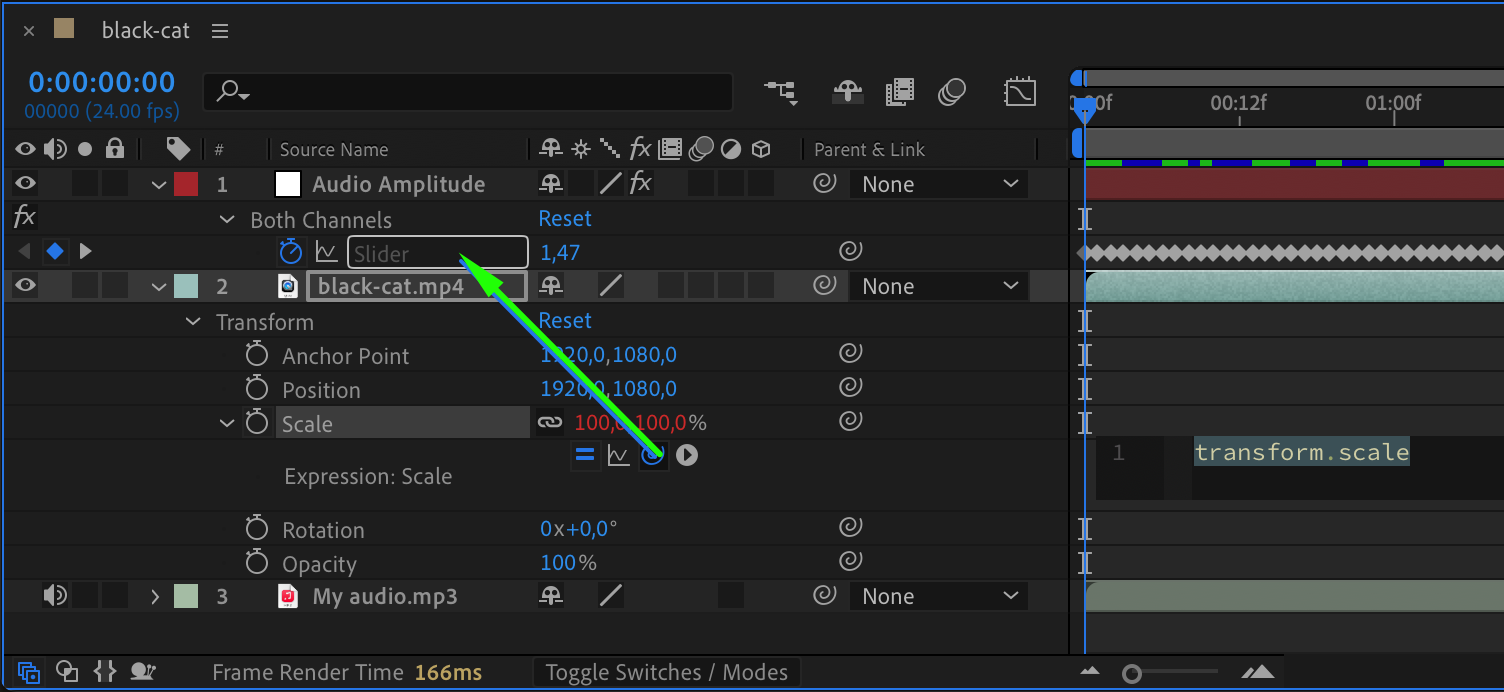
Step 6: Link the Property to Audio Using the Pick Whip Tool
Using the Pick Whip tool, click and drag from the property you want to animate (e.g., Scale) to the Audio Amplitude slider parameter. This will create a link between the two, so the property you chose will now be driven by the audio amplitude.
 Step 7: Add a Value Adjustment
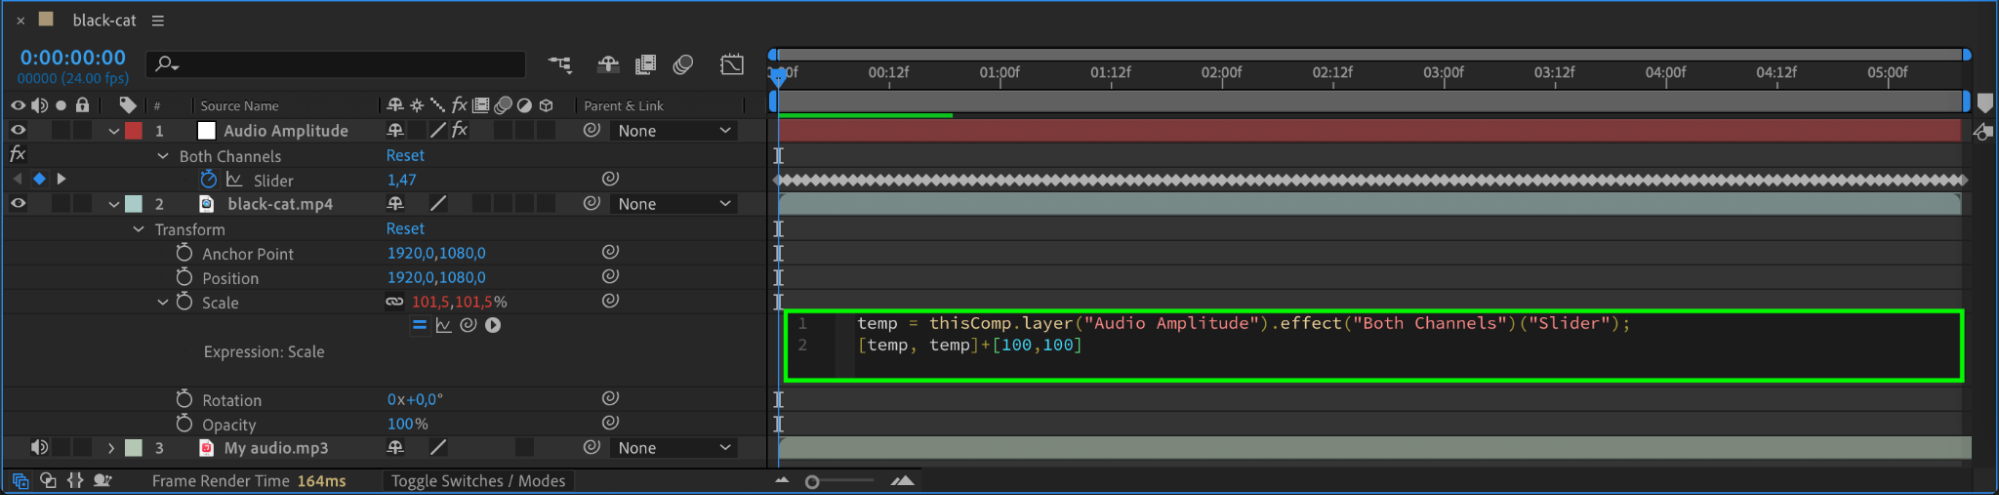
To adjust the animation range, click on the expression you created and add + [100, 100] (or any value you want to offset the animation by) to the expression. This ensures the property starts from a value of 100 rather than reacting only to the audio amplitude.
The expression should look something like this:
temp = thisComp.layer(“Audio Amplitude”).effect(“Both Channels”)(“Slider”);
[temp, temp]+[100,100]
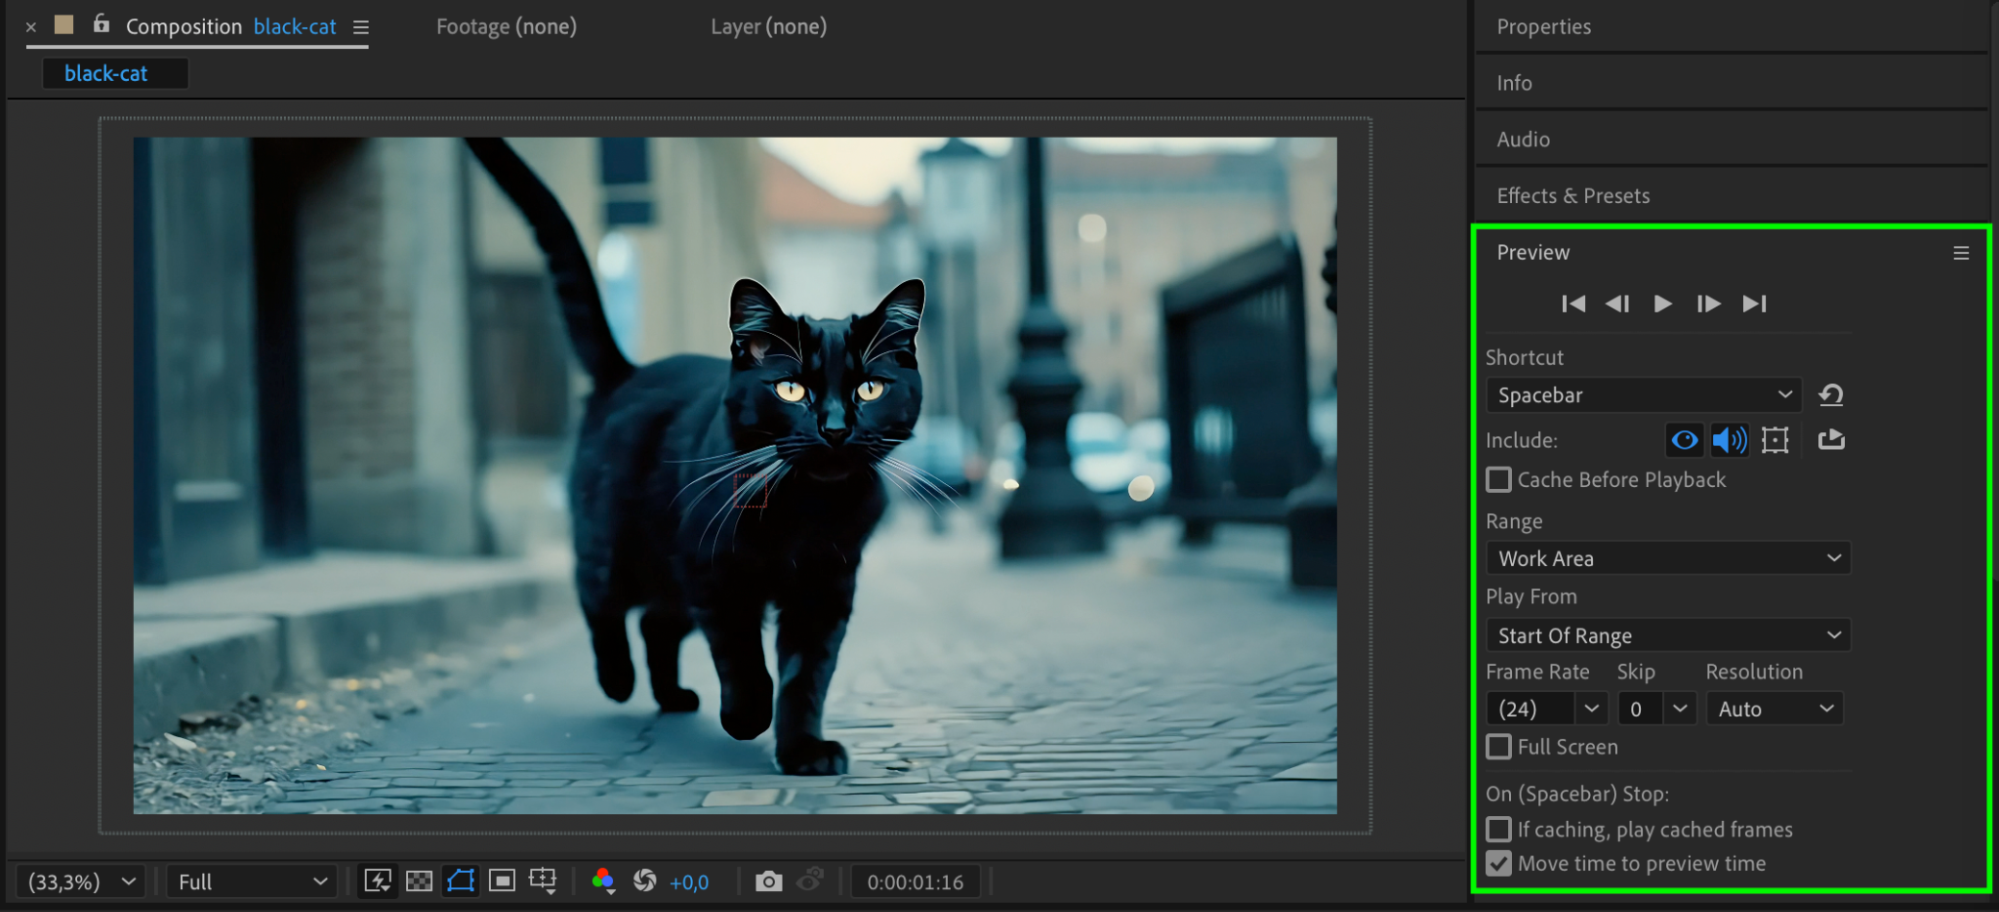
 Step 8: Preview the Animation
Click on the Preview button (or press the spacebar) to check how your animation reacts to the audio. You should see the property you selected (like scale or opacity) changing according to the audio waveform.
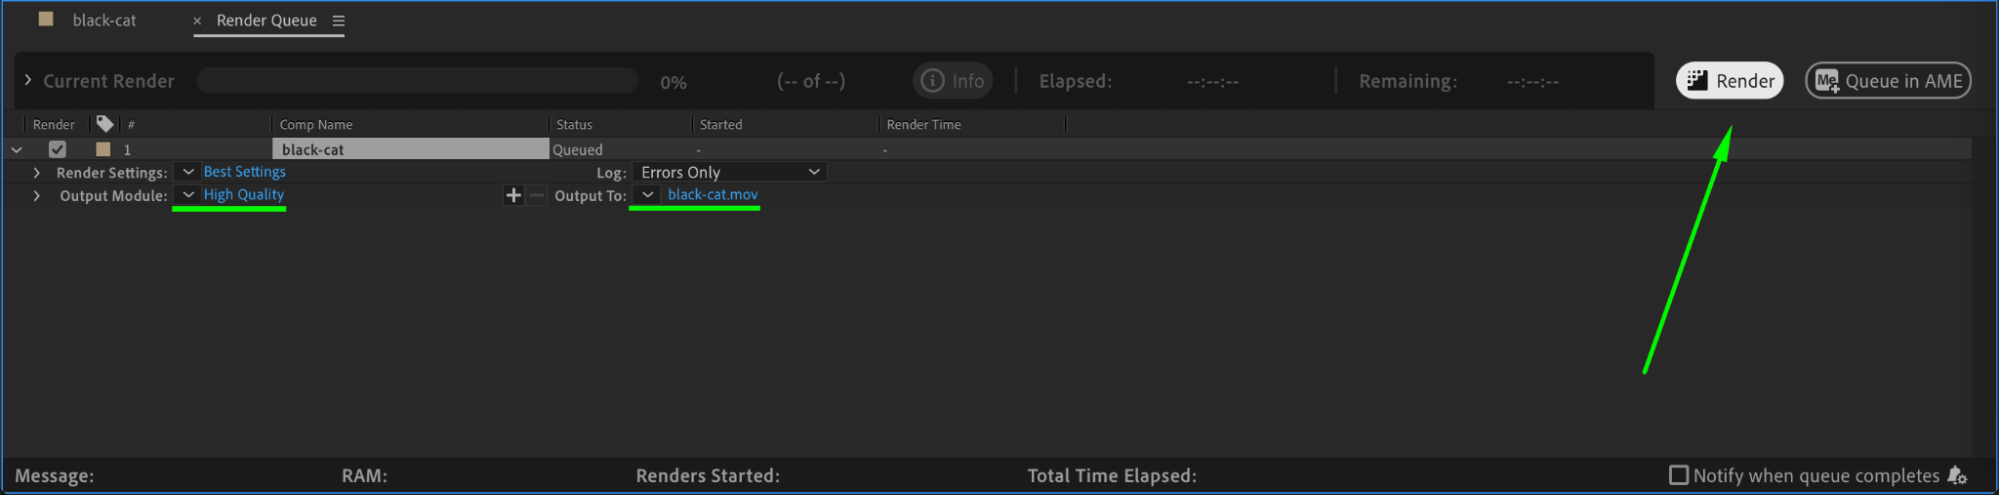
Step 9: Render the Composition
Once you’re satisfied with the result, go to Composition > Add to Render Queue and choose the output settings. Press Render to finalize and save your animation.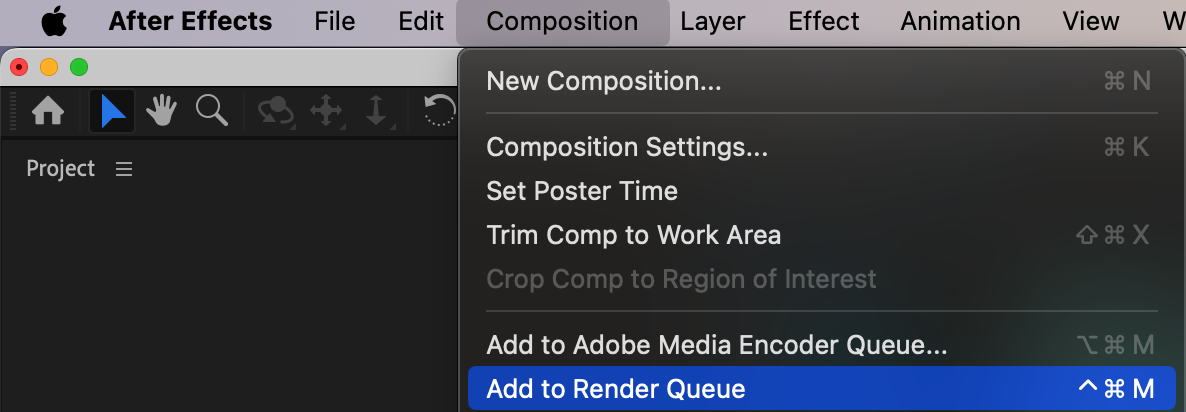
Conclusion
With these steps, you can make any property in After Effects react to audio. This technique opens up a world of possibilities for creating dynamic and engaging animations synced with sound. Whether you’re working on music videos, motion graphics, or creative presentations, using audio-driven animation can elevate your project to the next level.


