Creating a Smooth Video Pause in After Effects
Introduction
Pausing a video in After Effects is useful for highlighting key moments or creating dramatic effects. This guide explains how to freeze a frame at any point in your video while maintaining a smooth transition when playback resumes.
Get 10% off when you subscribe to our newsletter

Step 1: Open Your Project
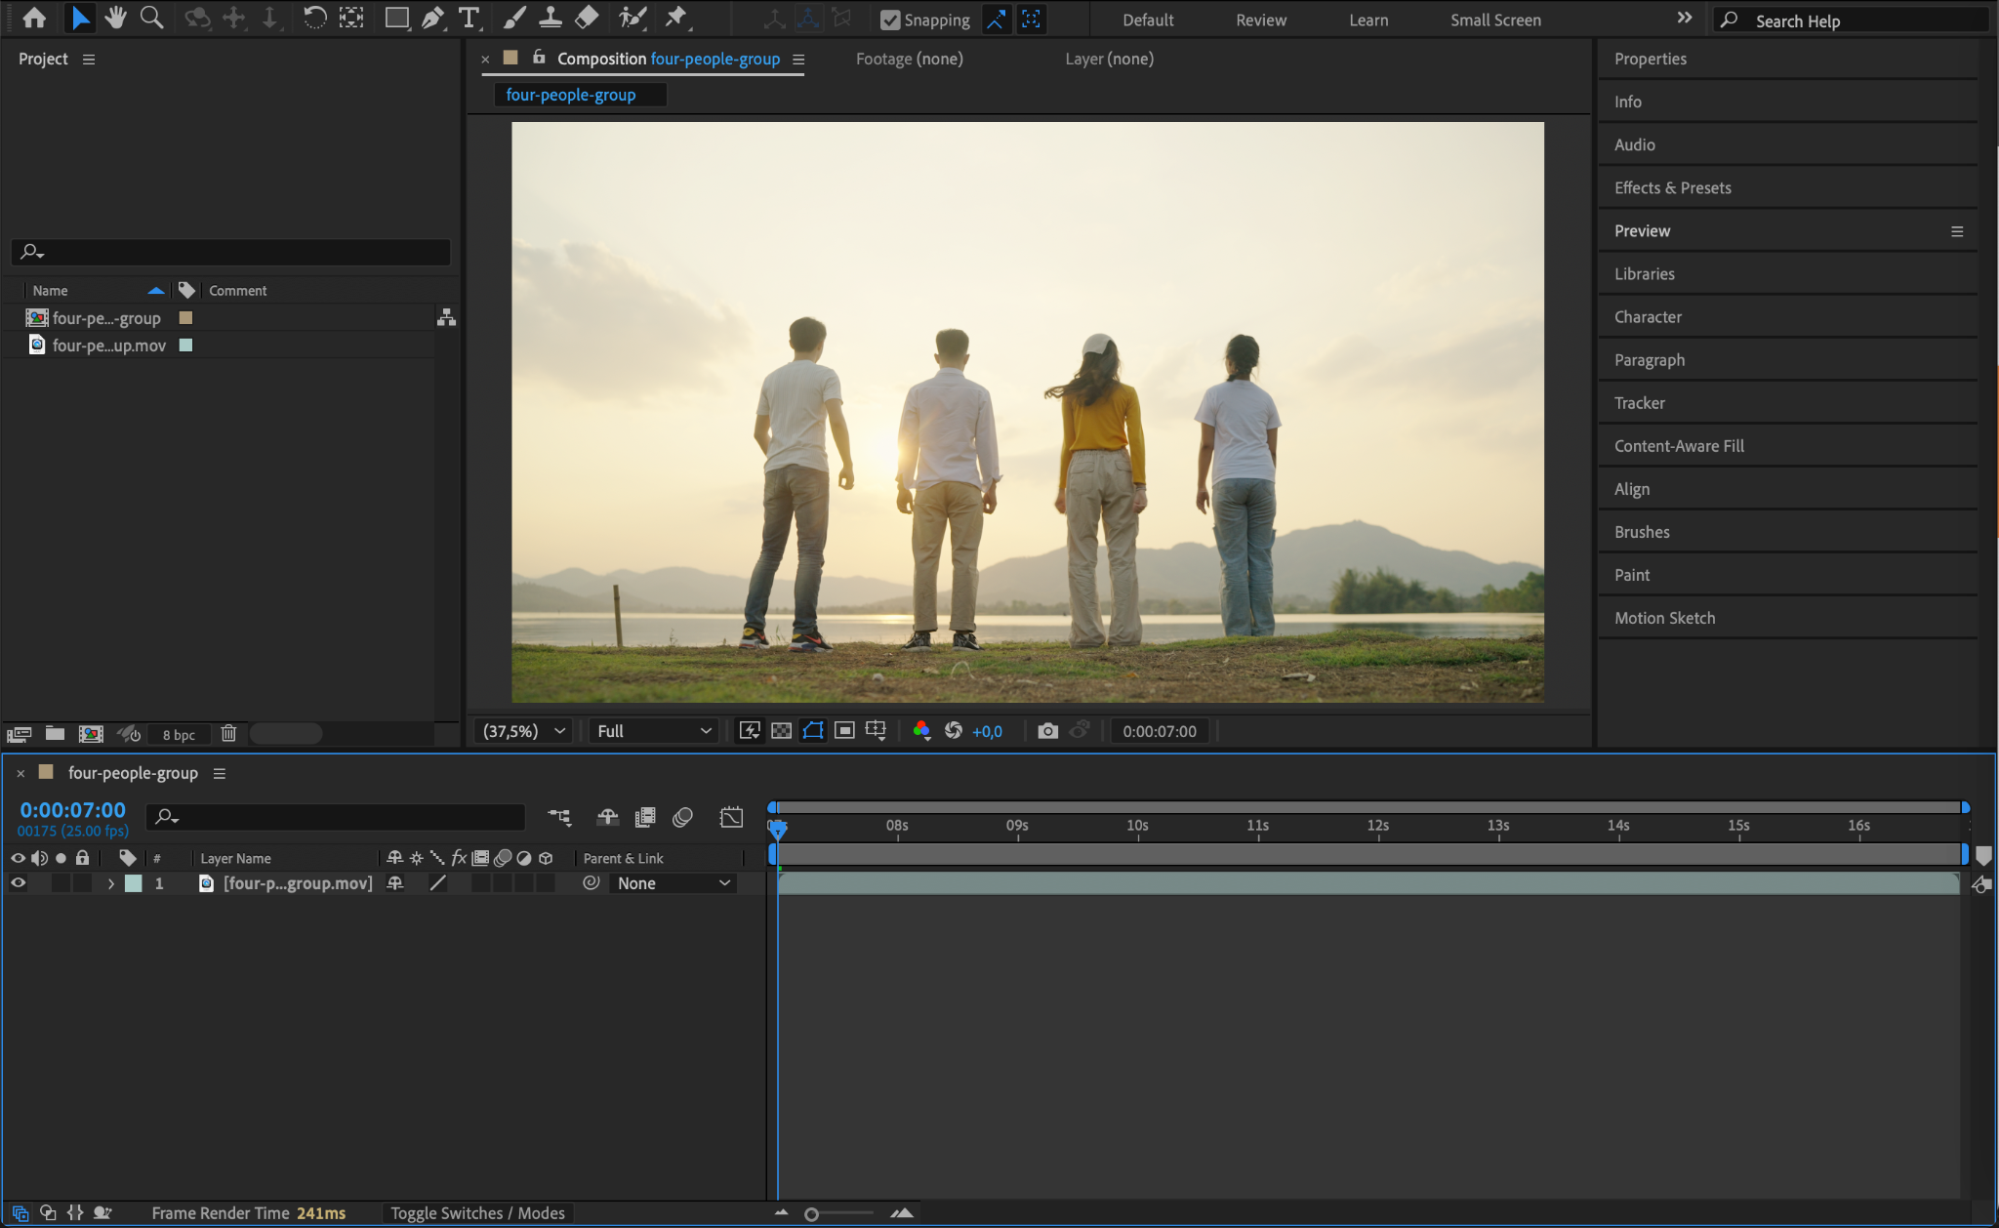
Launch After Effects and open the project containing the video you want to edit. Ensure your video layer is correctly positioned in the timeline.
Step 2: Duplicate the Video Layer
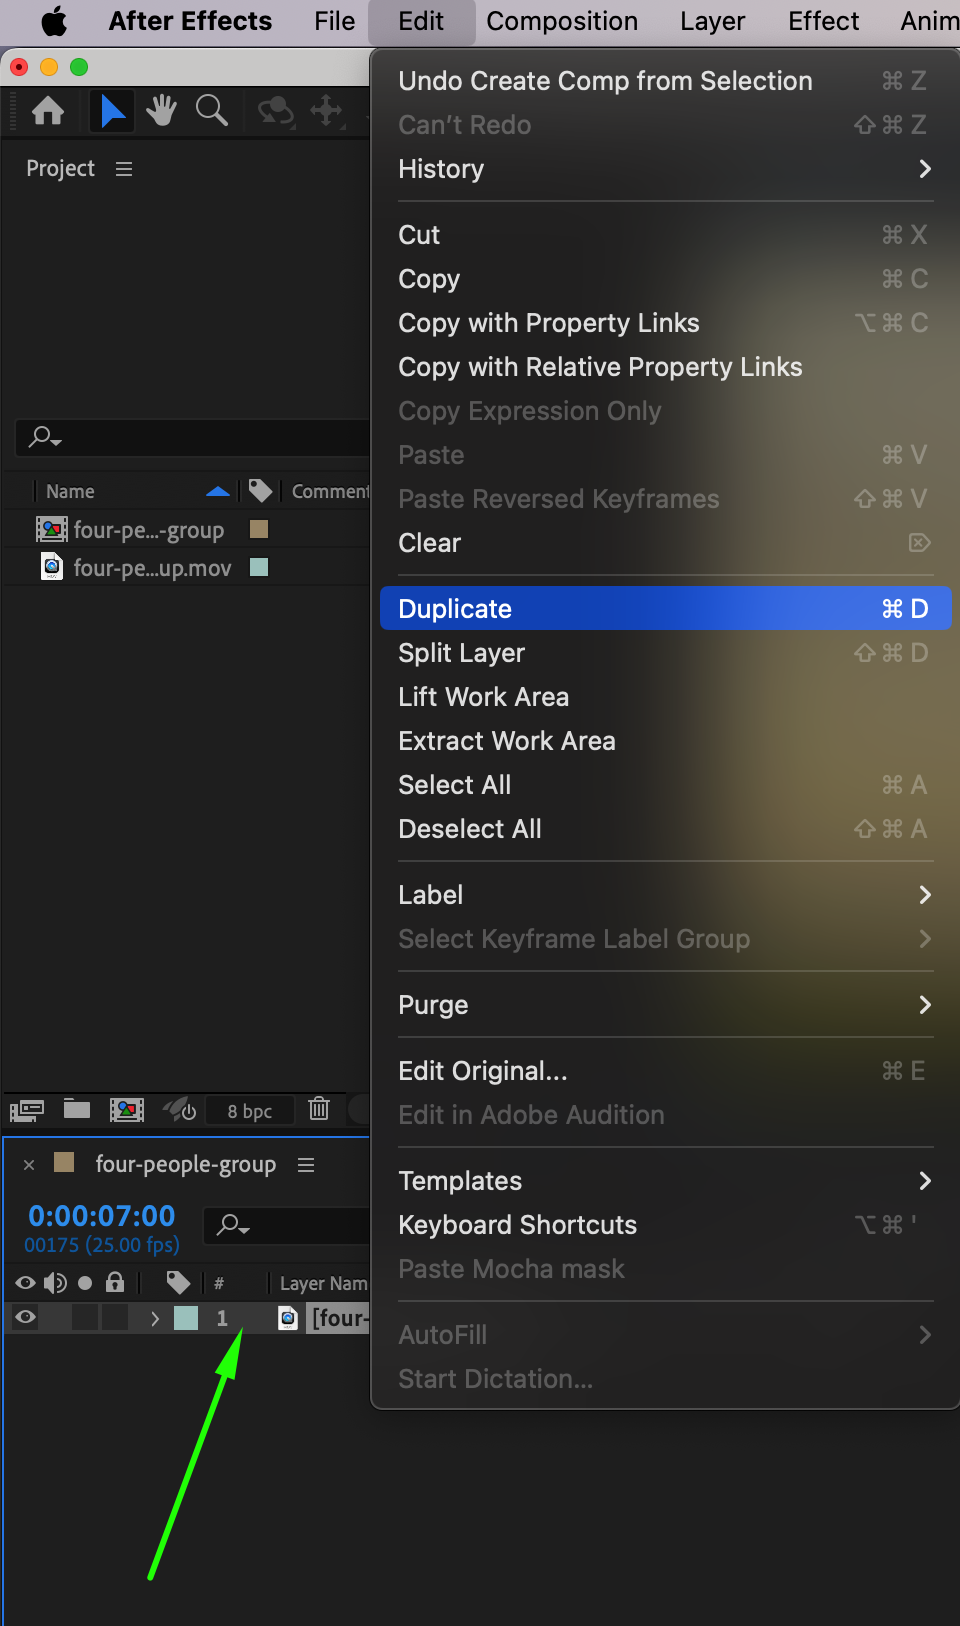
Select your video layer in the timeline and duplicate it twice by pressing “Ctrl/Cmd + D”. You should now have three identical layers. Rename them 1 Part, Frame, and 2 Part to keep your workspace organized.
Step 3: Define the Pause Point
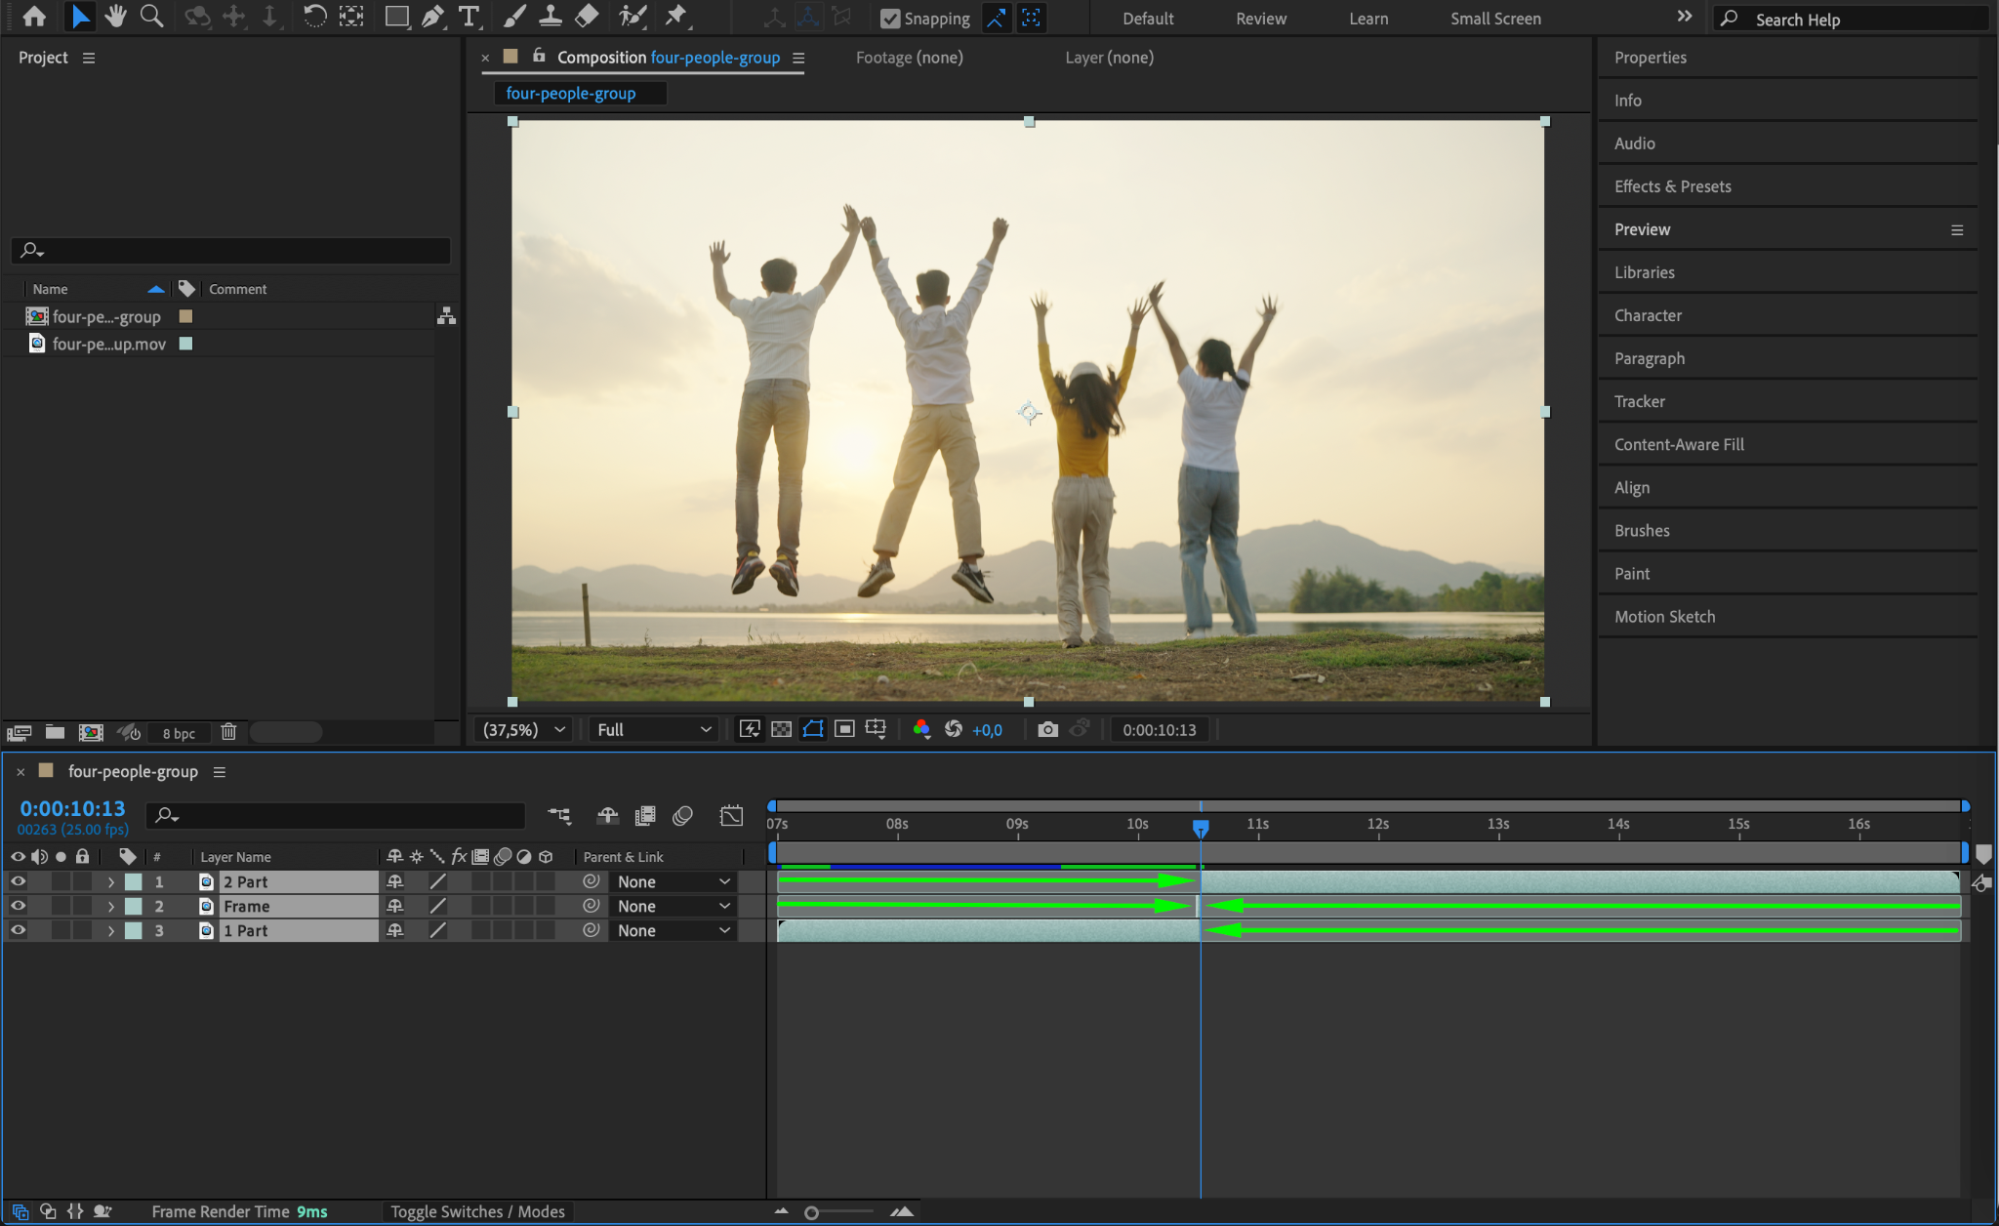
Move the Current Time Indicator (CTI) to the exact frame where you want the video to pause. Trim the 1 Part layer so that it ends at this frame. Set the Frame layer to be exactly one frame long at the current CTI position. Then, trim the 2 Part layer so that it starts immediately after this frame.
Step 4: Freeze the Frame
Right-click on the Frame layer, go to Time > Freeze Frame. This locks the selected frame in place, creating a still image that appears as a pause in the video.

Step 5: Extend the Frozen Frame Duration
Drag the end of the Frame layer to extend its duration as needed. Then, reposition the 2 Part layer so that it starts immediately after the frozen frame, ensuring a seamless transition.

Step 6: Preview the Effect
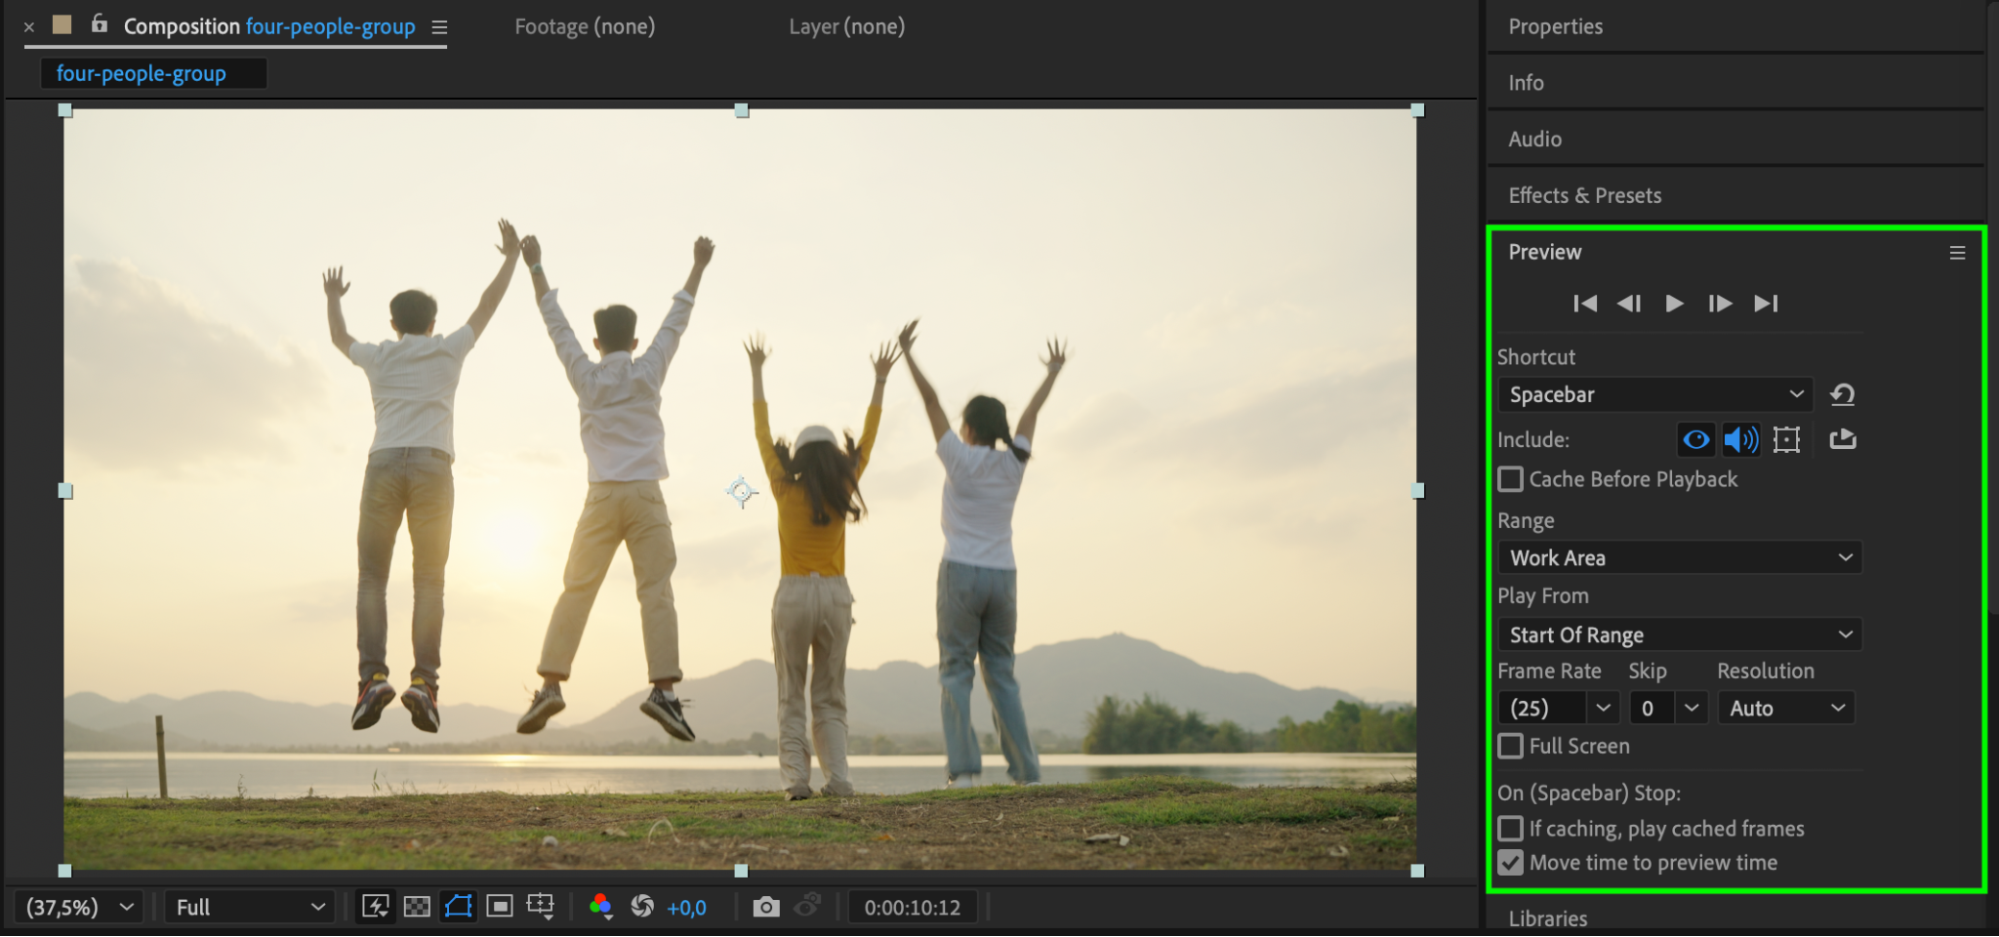
Press Spacebar to preview the animation. Your video should now play, pause at the selected moment, and then continue smoothly.
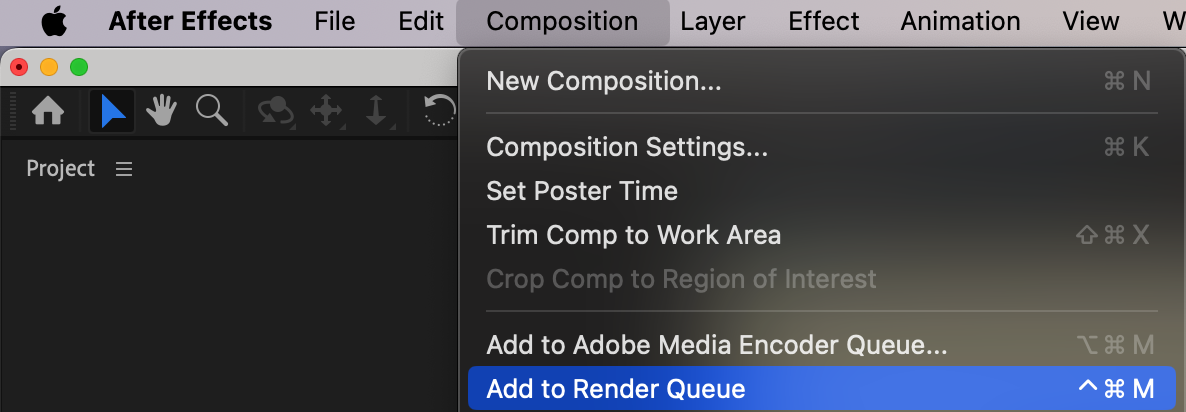
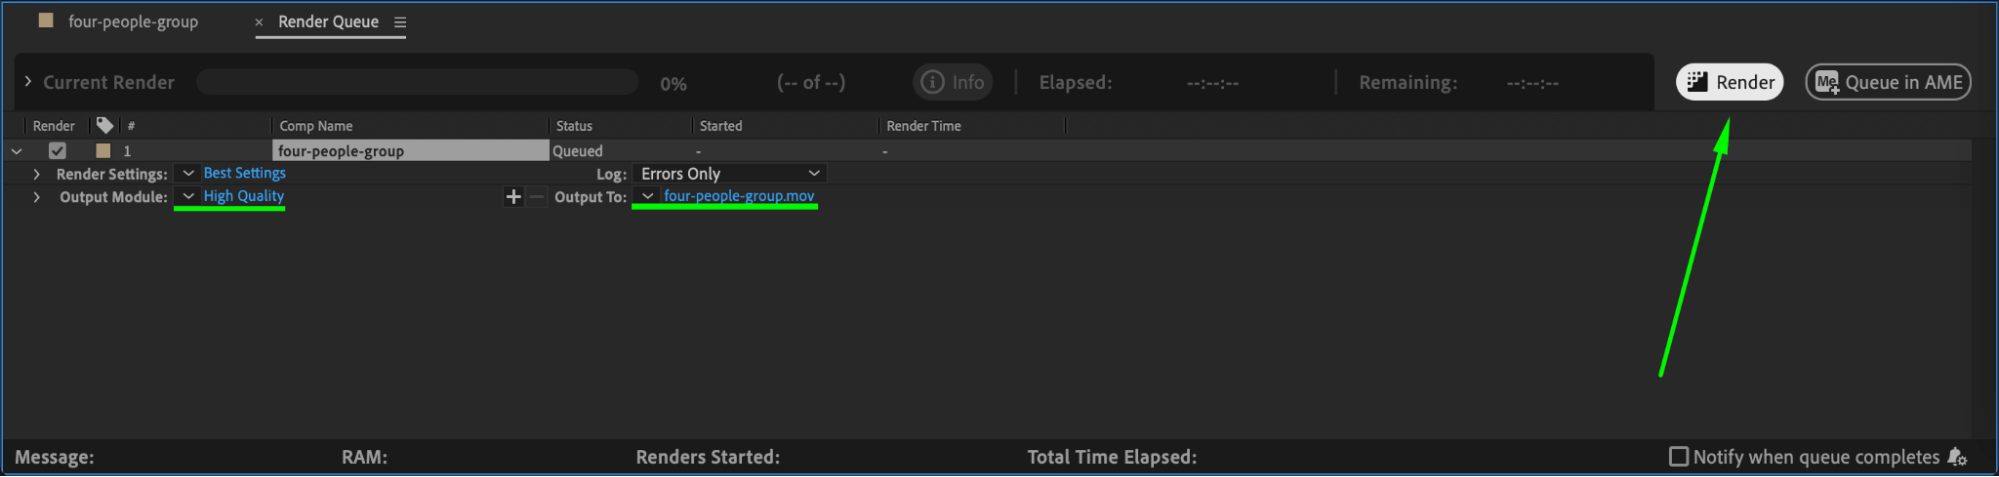
Step 7: Render the Final Video
Once you are satisfied with the effect, go to Composition > Add to Render Queue, adjust your export settings, and render your final video.
Conclusion
By following these steps, you can easily create a smooth and professional-looking video pause effect in After Effects.
Our Bestsellers


