Creating an Animated Gradient Shape Background in After Effects
Introduction
A dynamic gradient background with moving abstract shapes can add a modern and stylish look to any video. In this tutorial, you’ll learn how to build one in After Effects using shape layers, gradients, and expressions to create an endlessly shifting effect.
Step 1: Create a New Composition
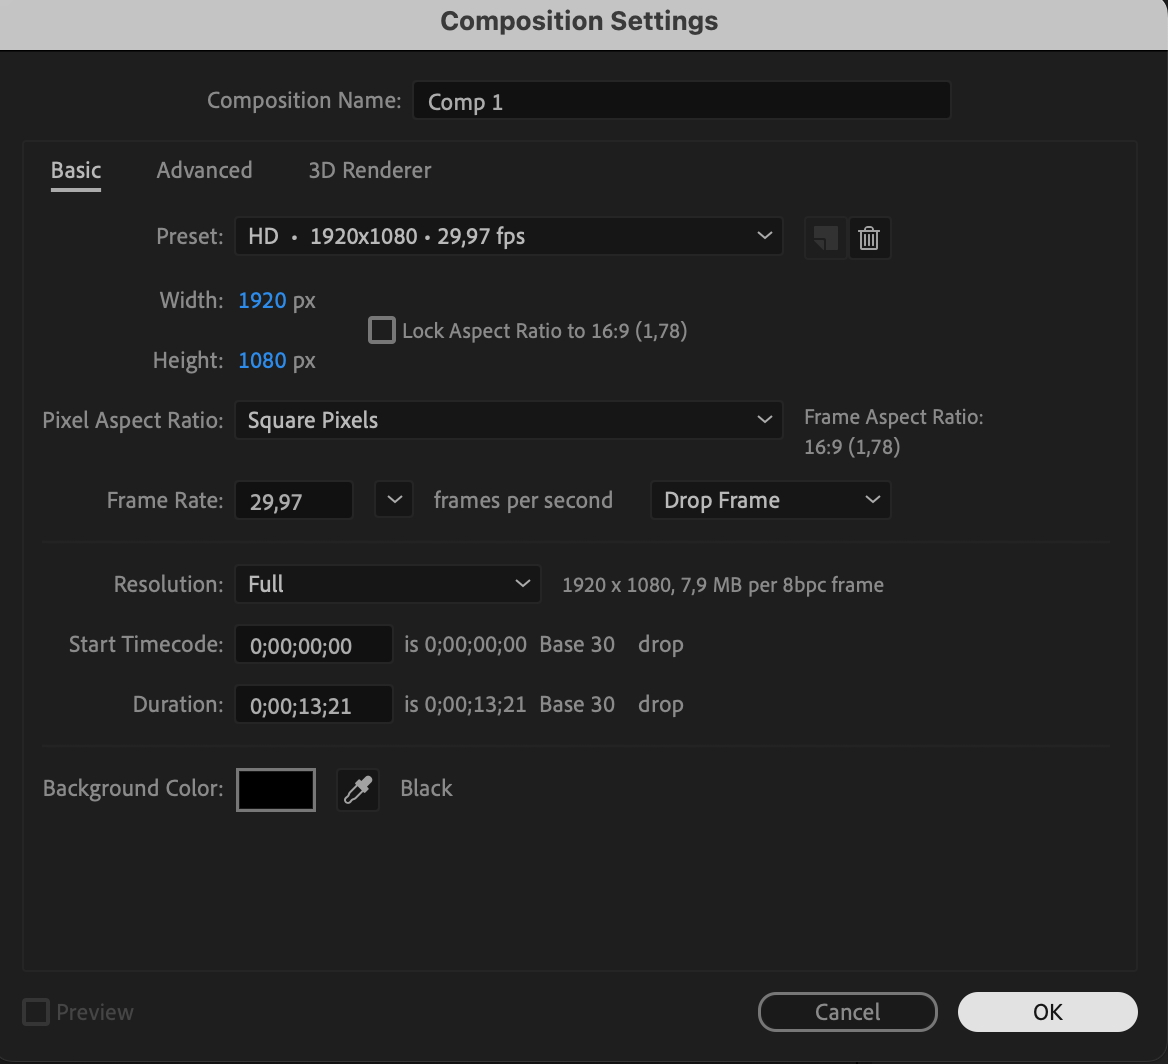
Start by opening After Effects and going to Composition > New Composition. Set your preferred resolution (e.g., 1920×1080), frame rate, and duration, then click OK.
 Step 2: Create the Background Solid
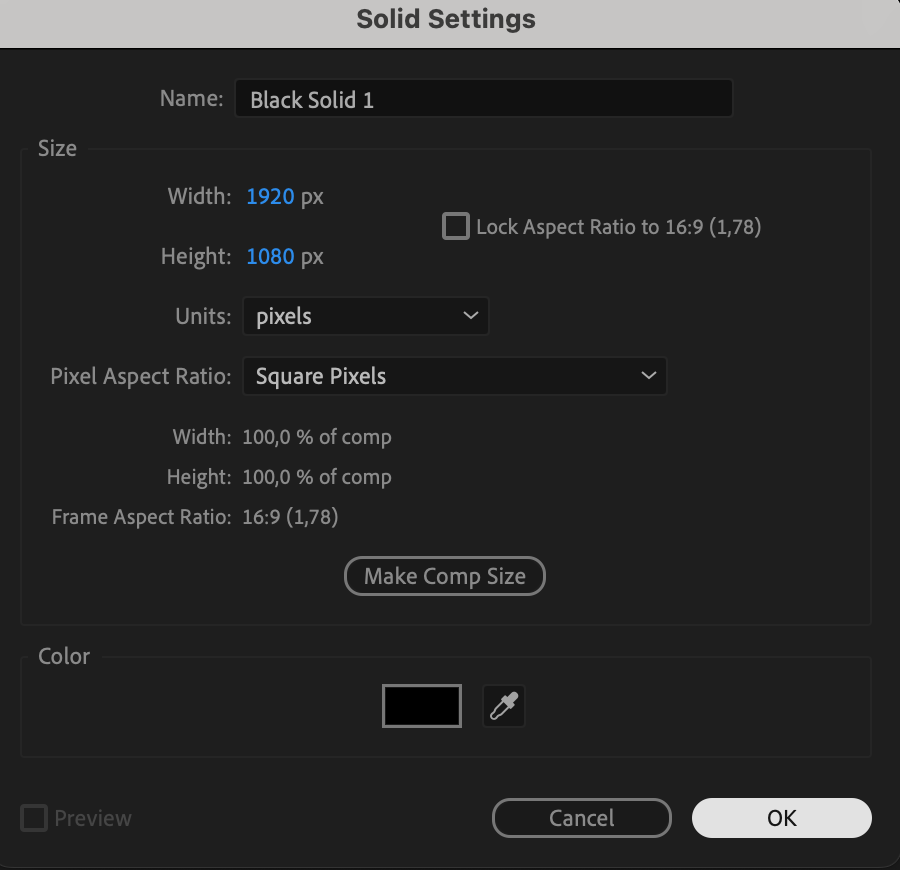
Go to Layer > New > Solid, and choose black or another dark color for the background. This will act as the base behind your gradient shapes.
 Step 3: Draw a Custom Shape
Select the Pen Tool (G) and draw an abstract, freeform shape on the solid layer. This will serve as the base for your gradient animation.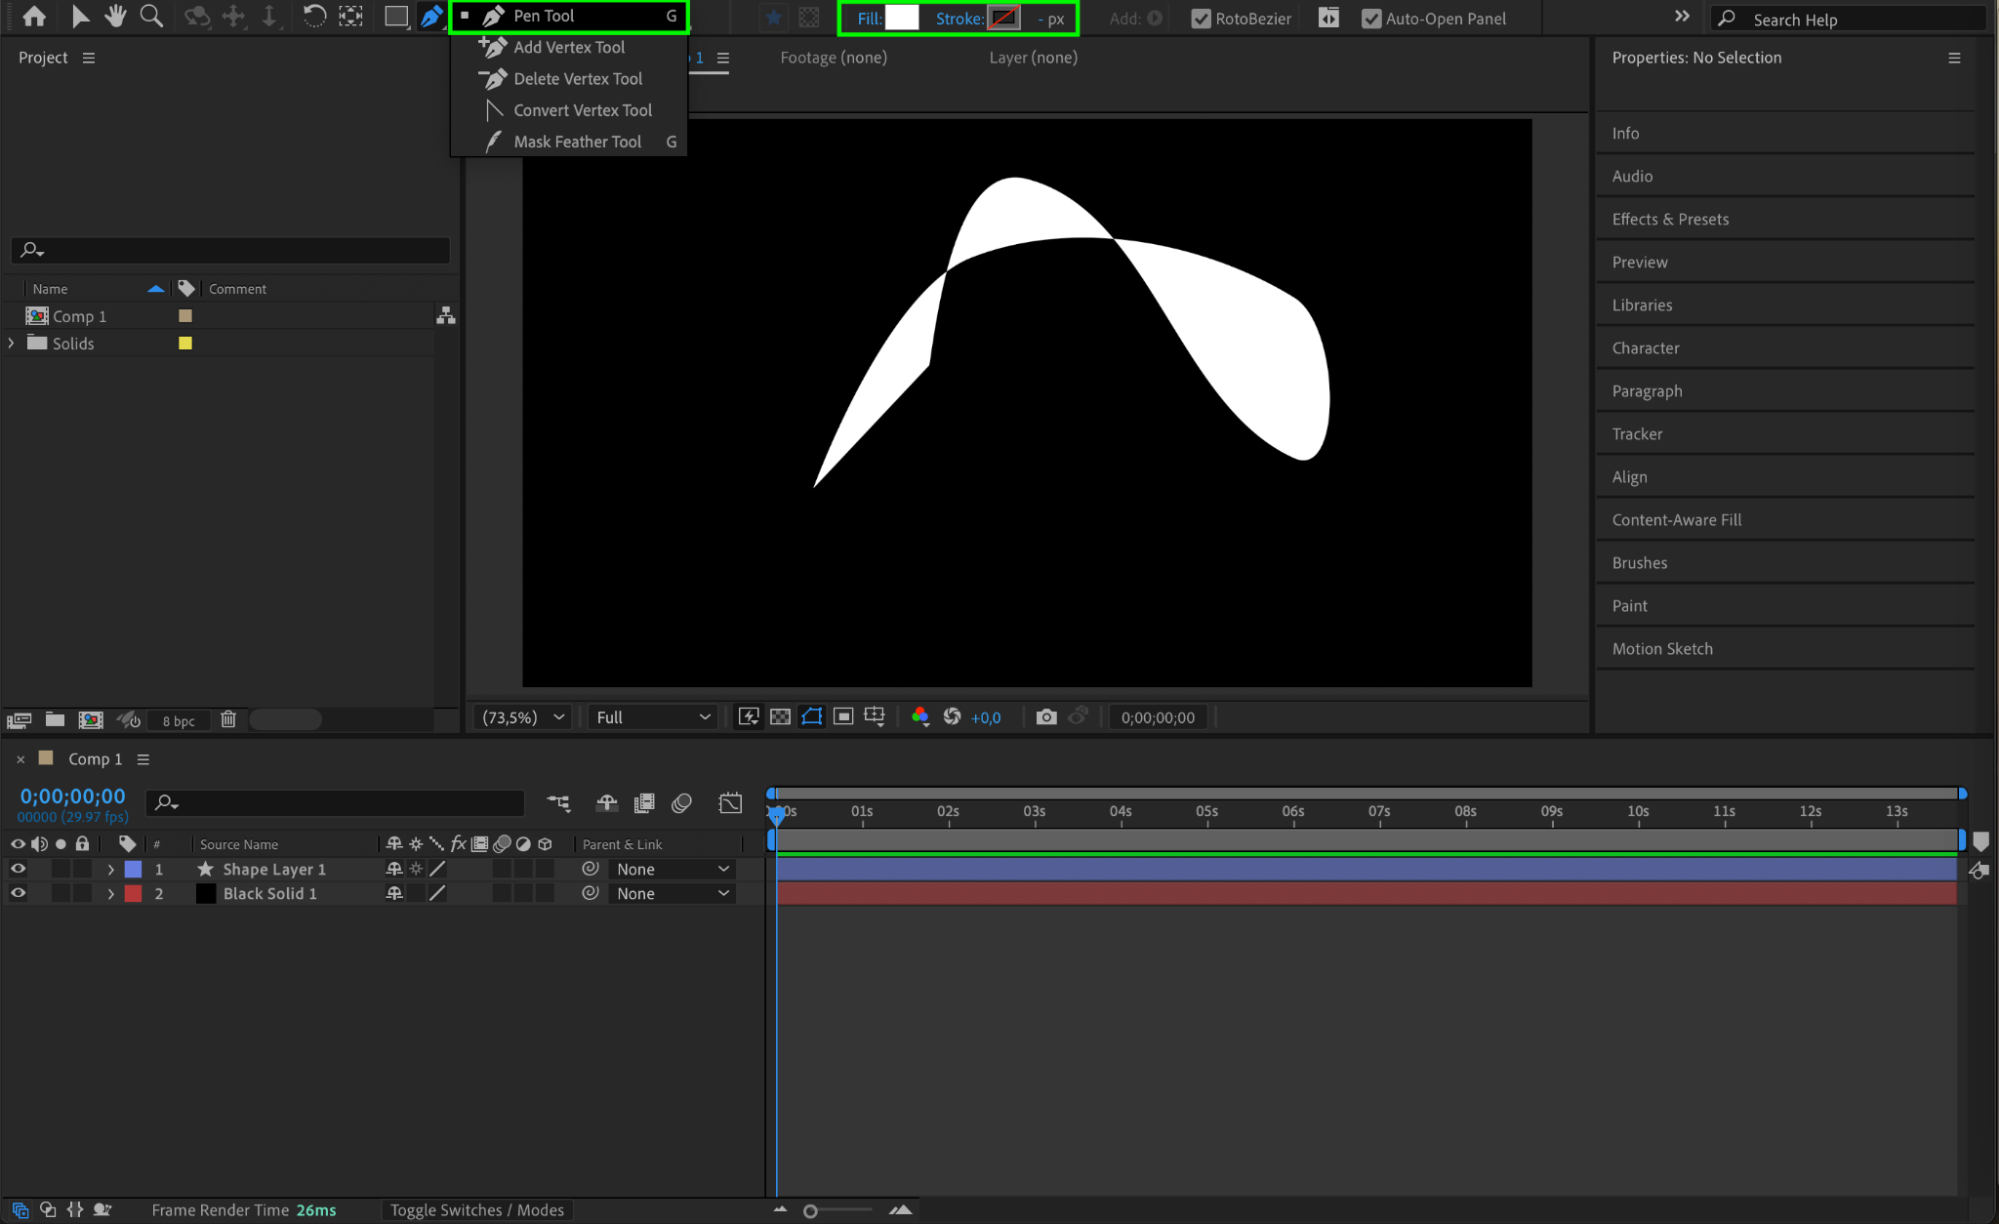 Step 4: Pre-compose the Shape
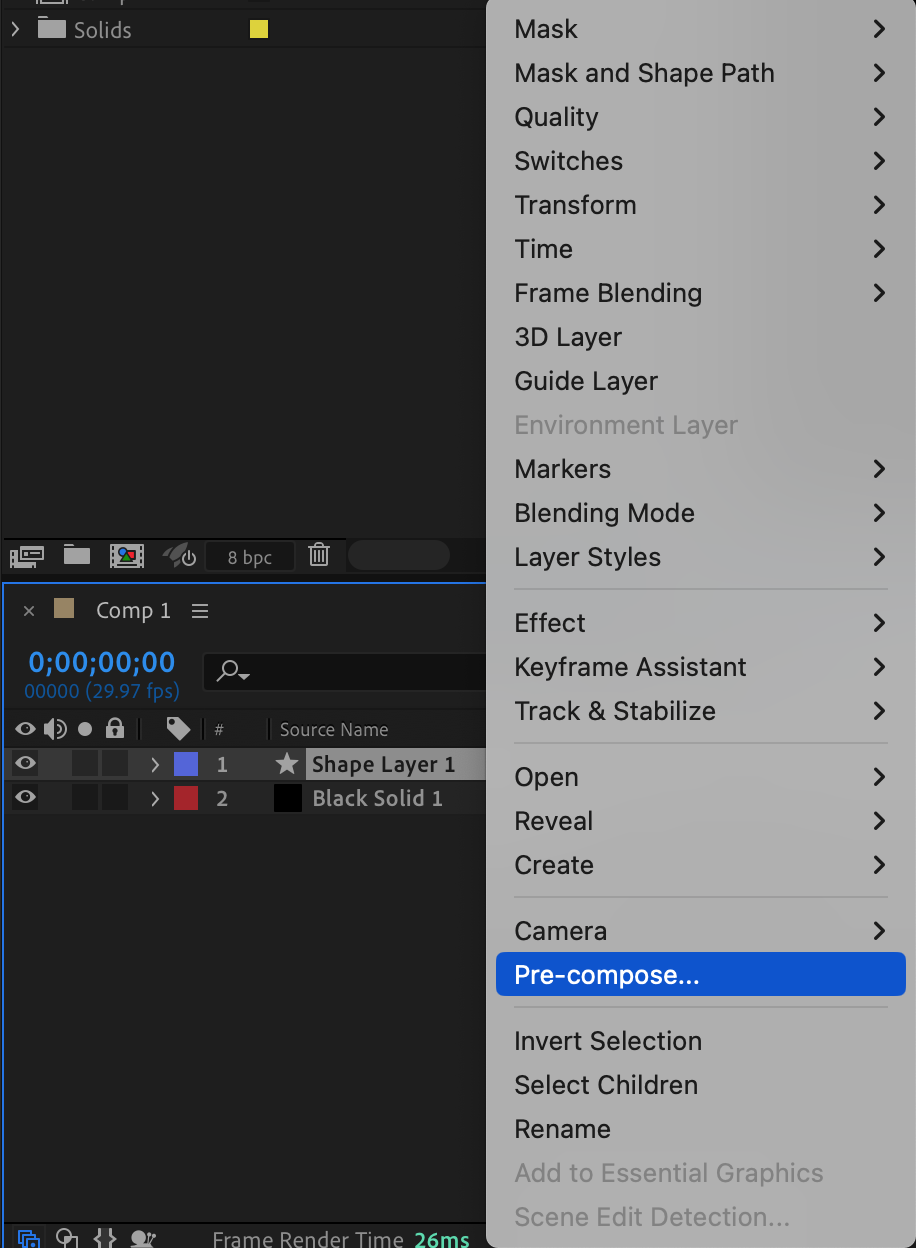
Right-click on the shape layer and choose Pre-compose. Name it something like “Design,” and make sure to move all attributes into the new composition.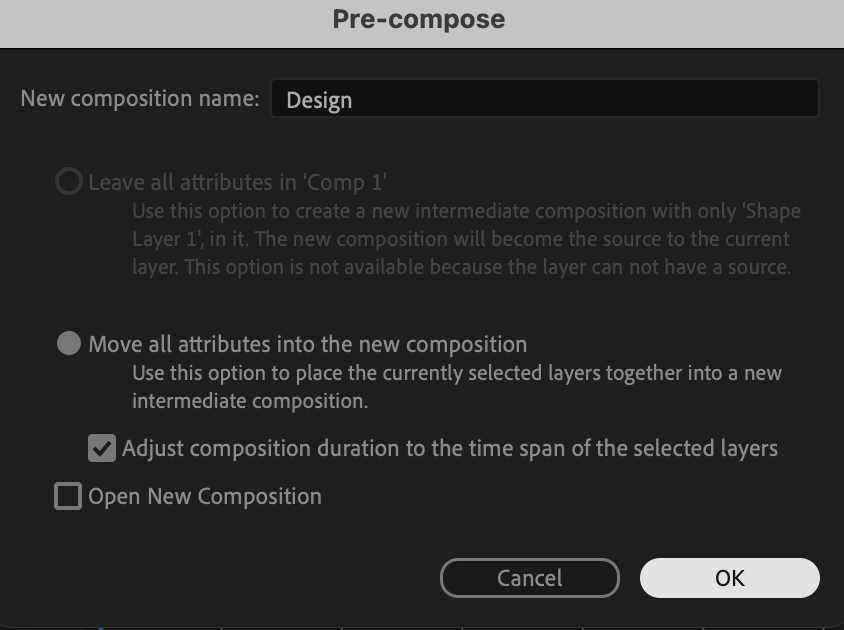
 Step 5: Add the 4-Color Gradient
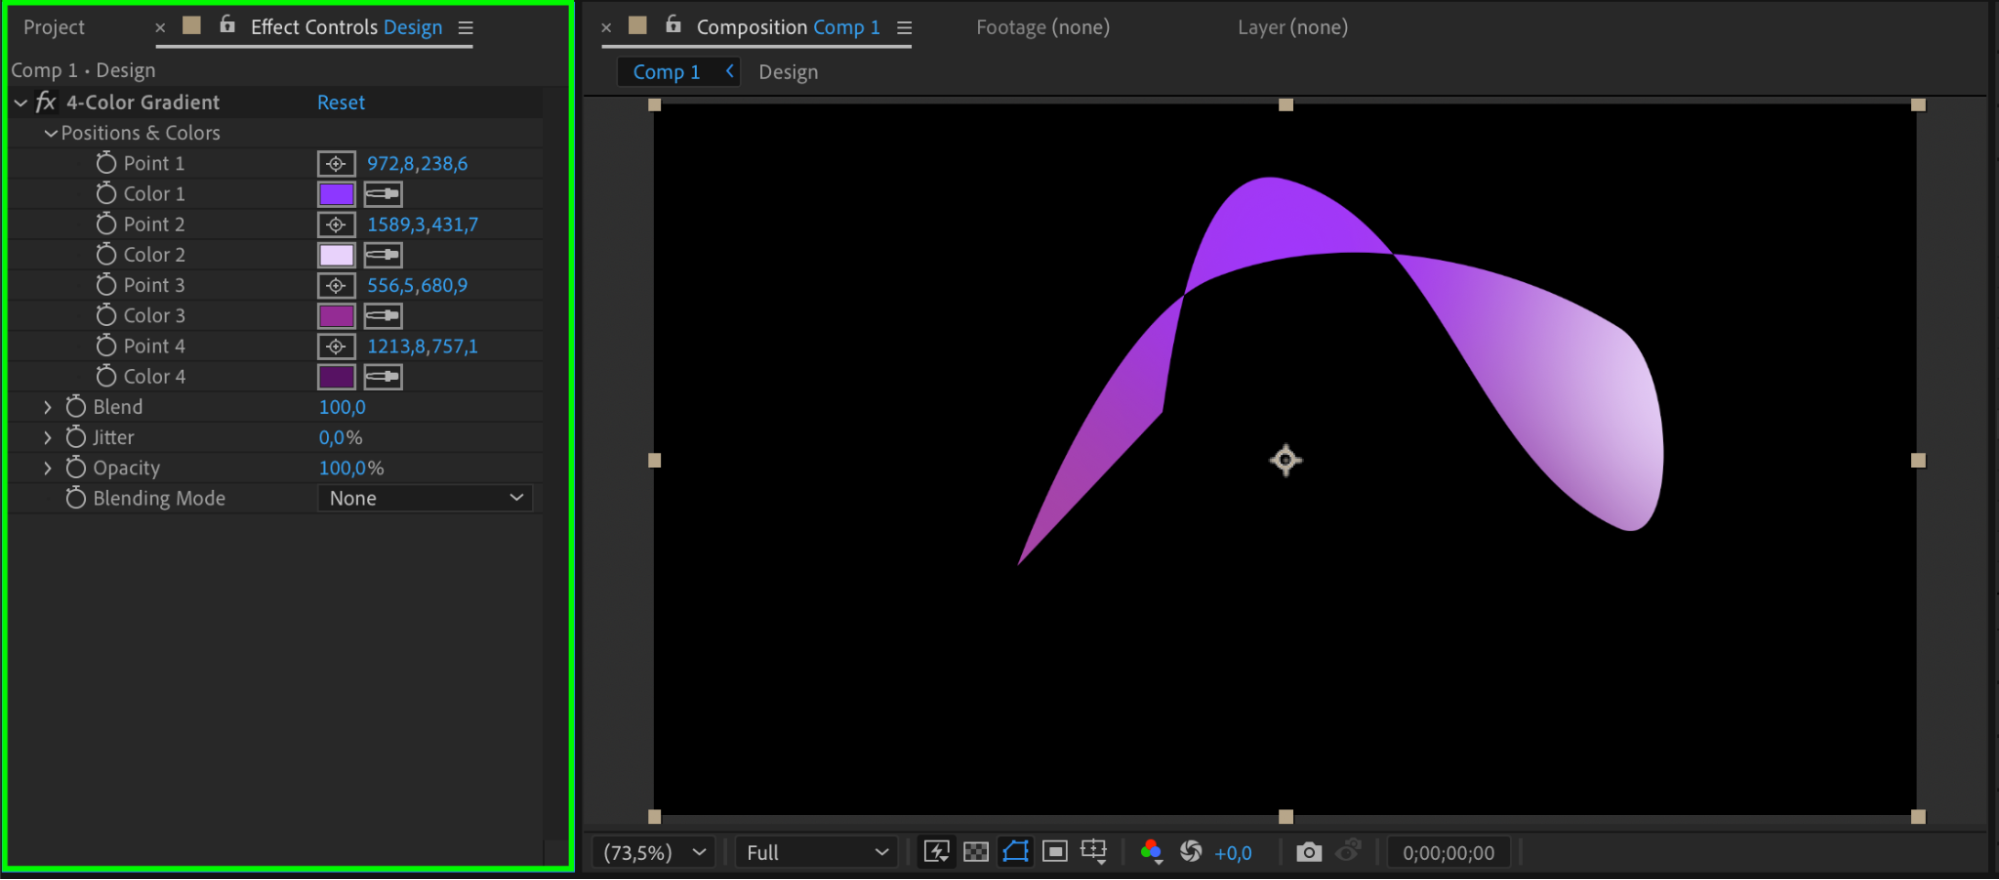
In the Effects & Presets panel, search for 4-Color Gradient and drag it onto the pre-comp layer. Adjust the colors to create an interesting gradient blend.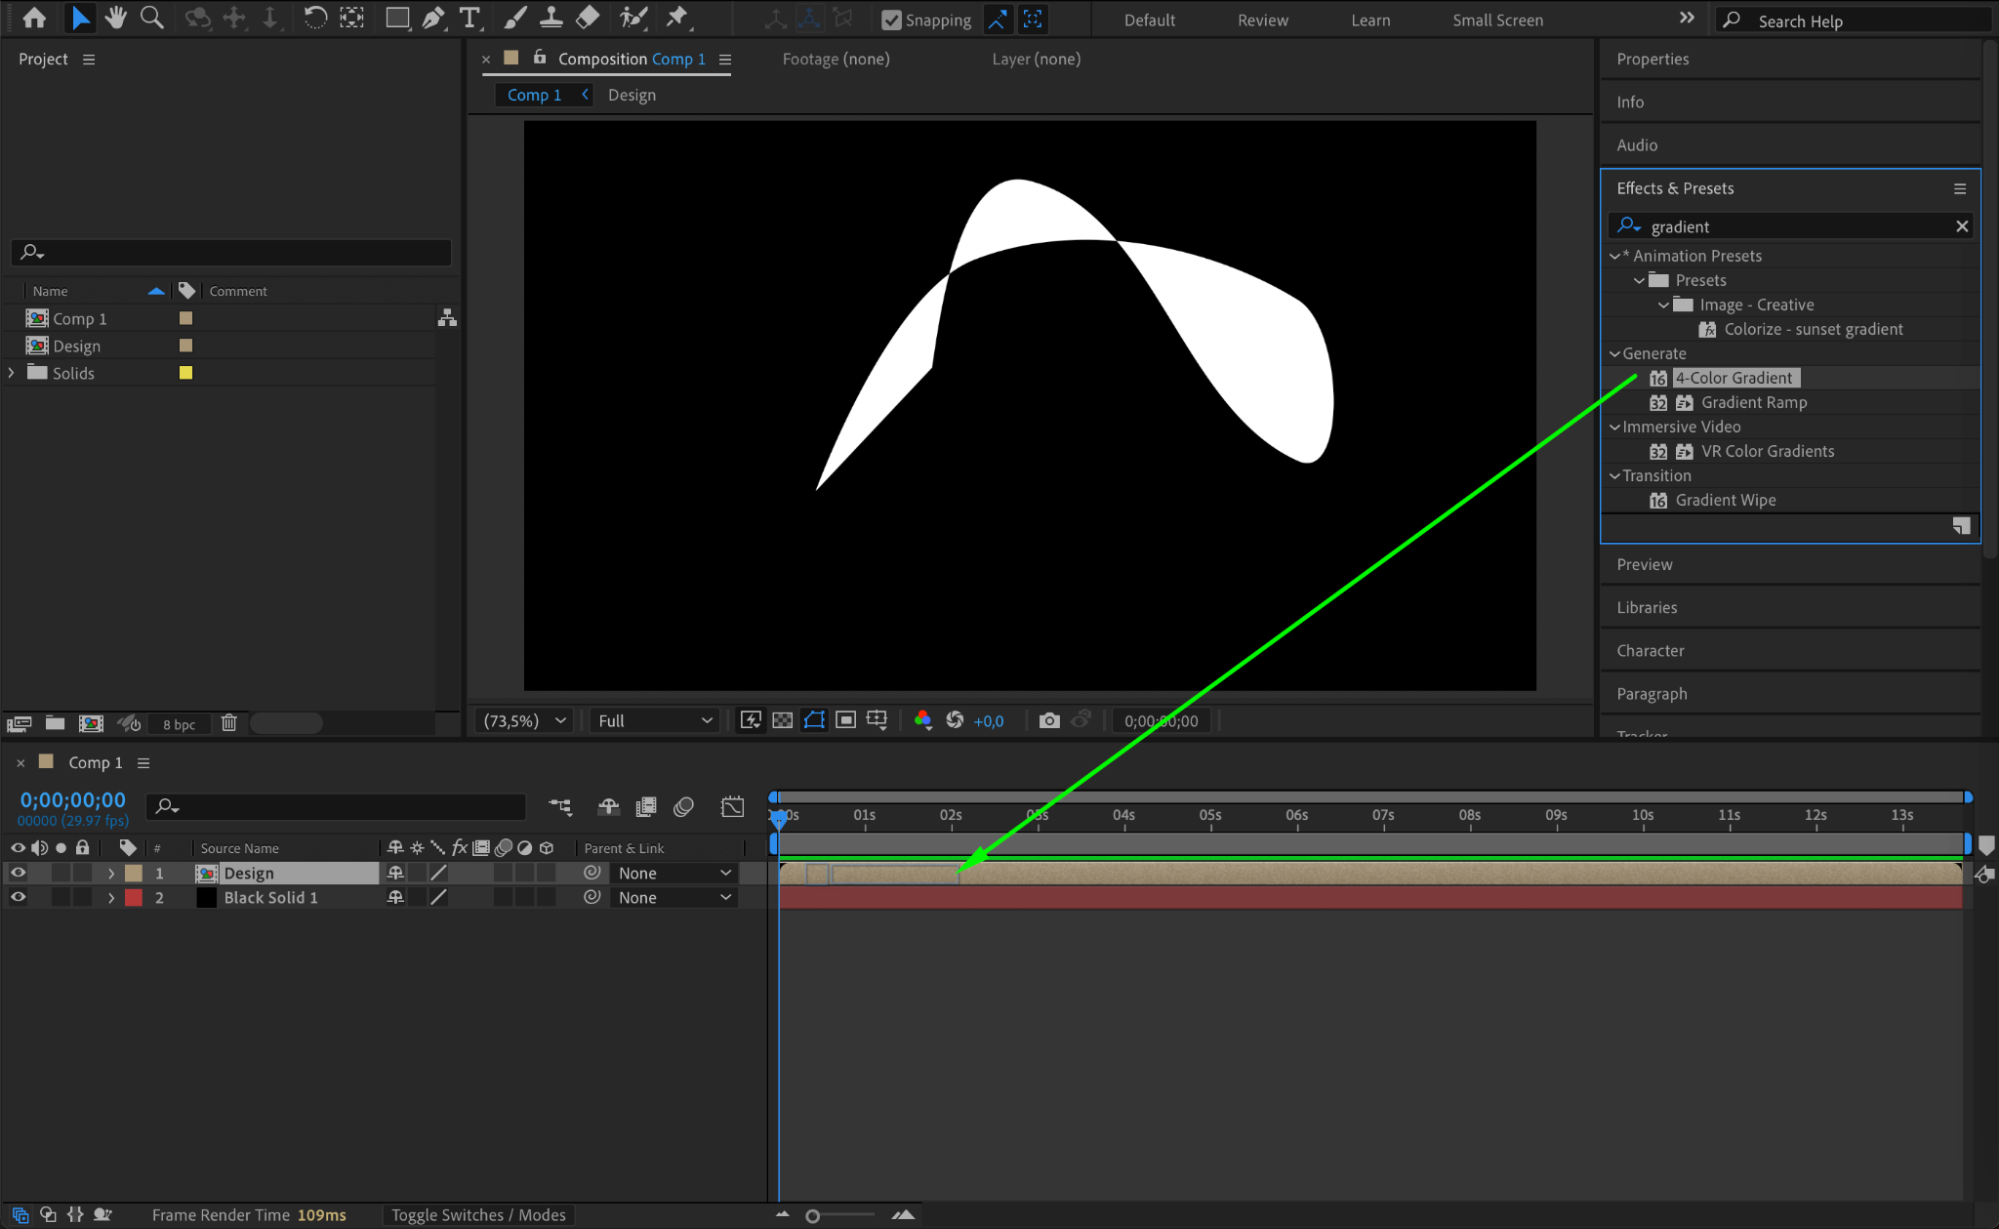
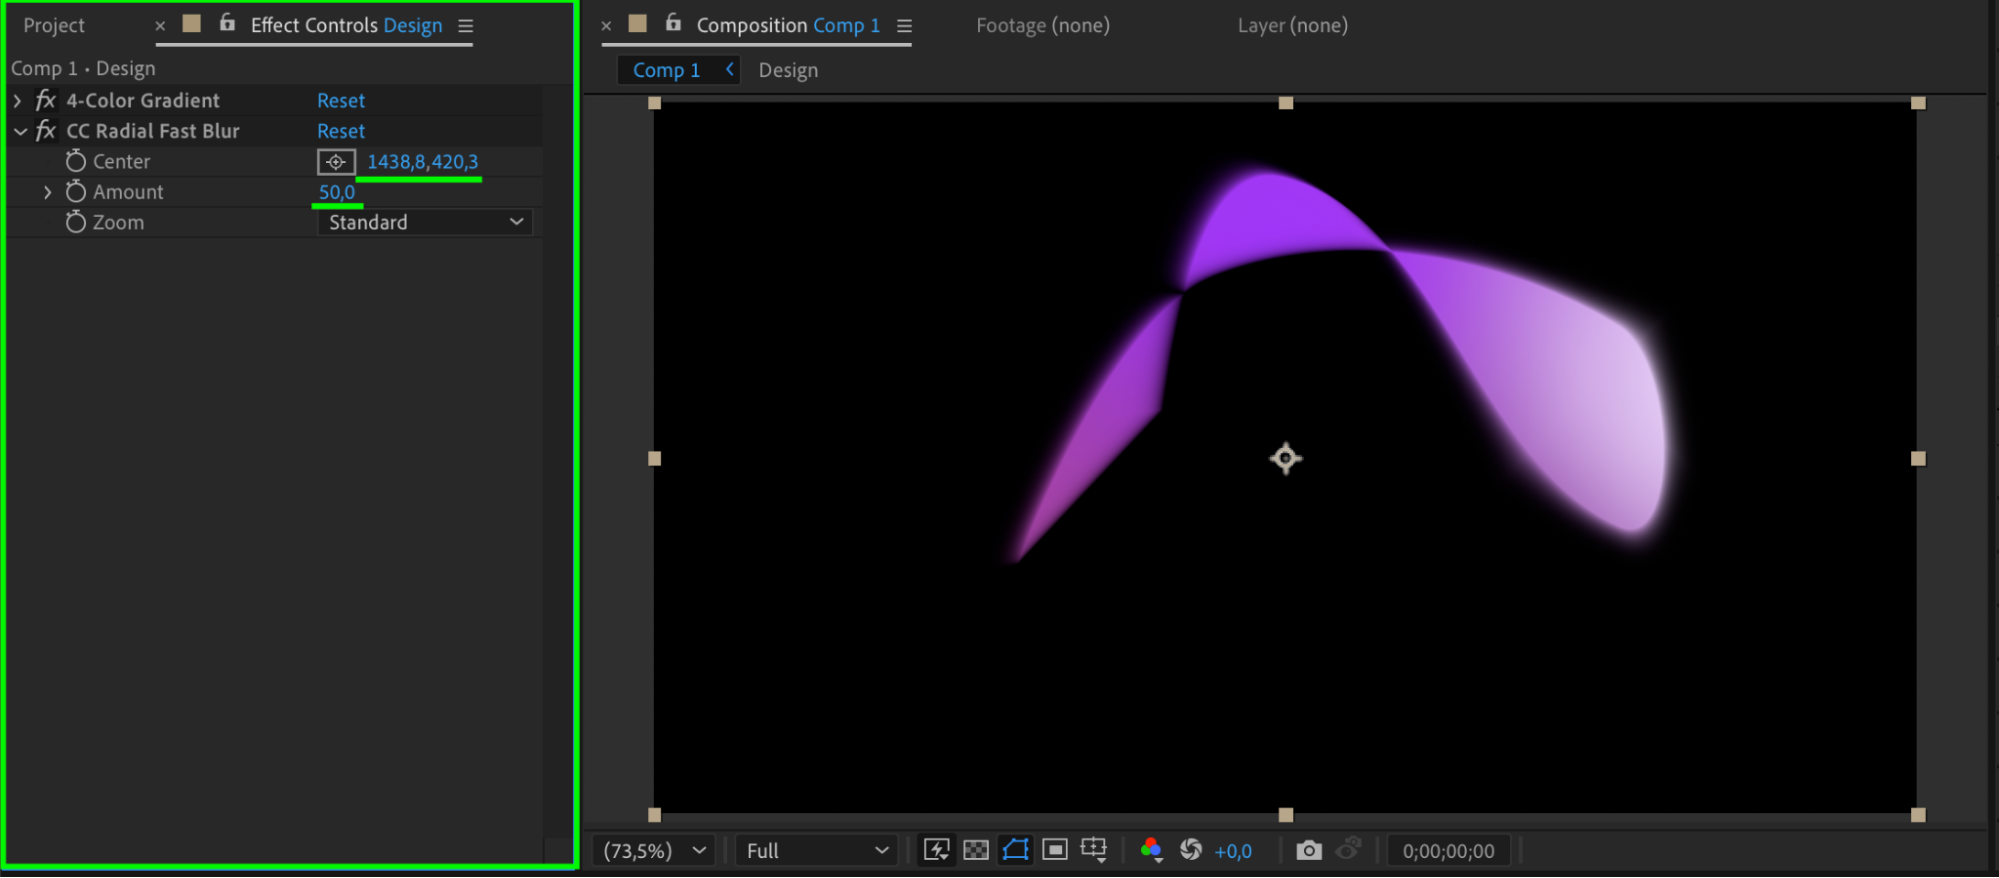
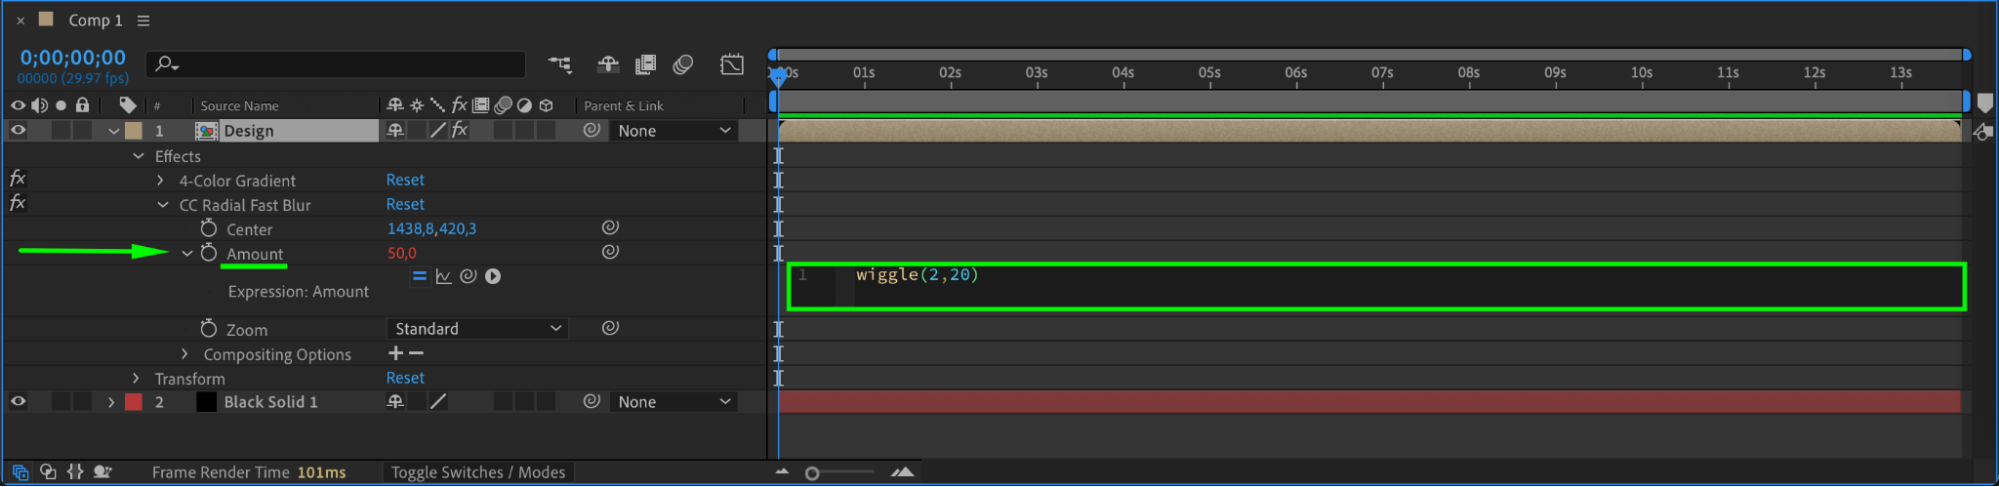
 Step 6: Add Radial Blur with Wiggle
Apply the CC Radial Fast Blur effect to the same layer. Set the Amount to 50. Then hold Alt/Option and click the stopwatch next to Amount, and type the expression:
wiggle(2,20)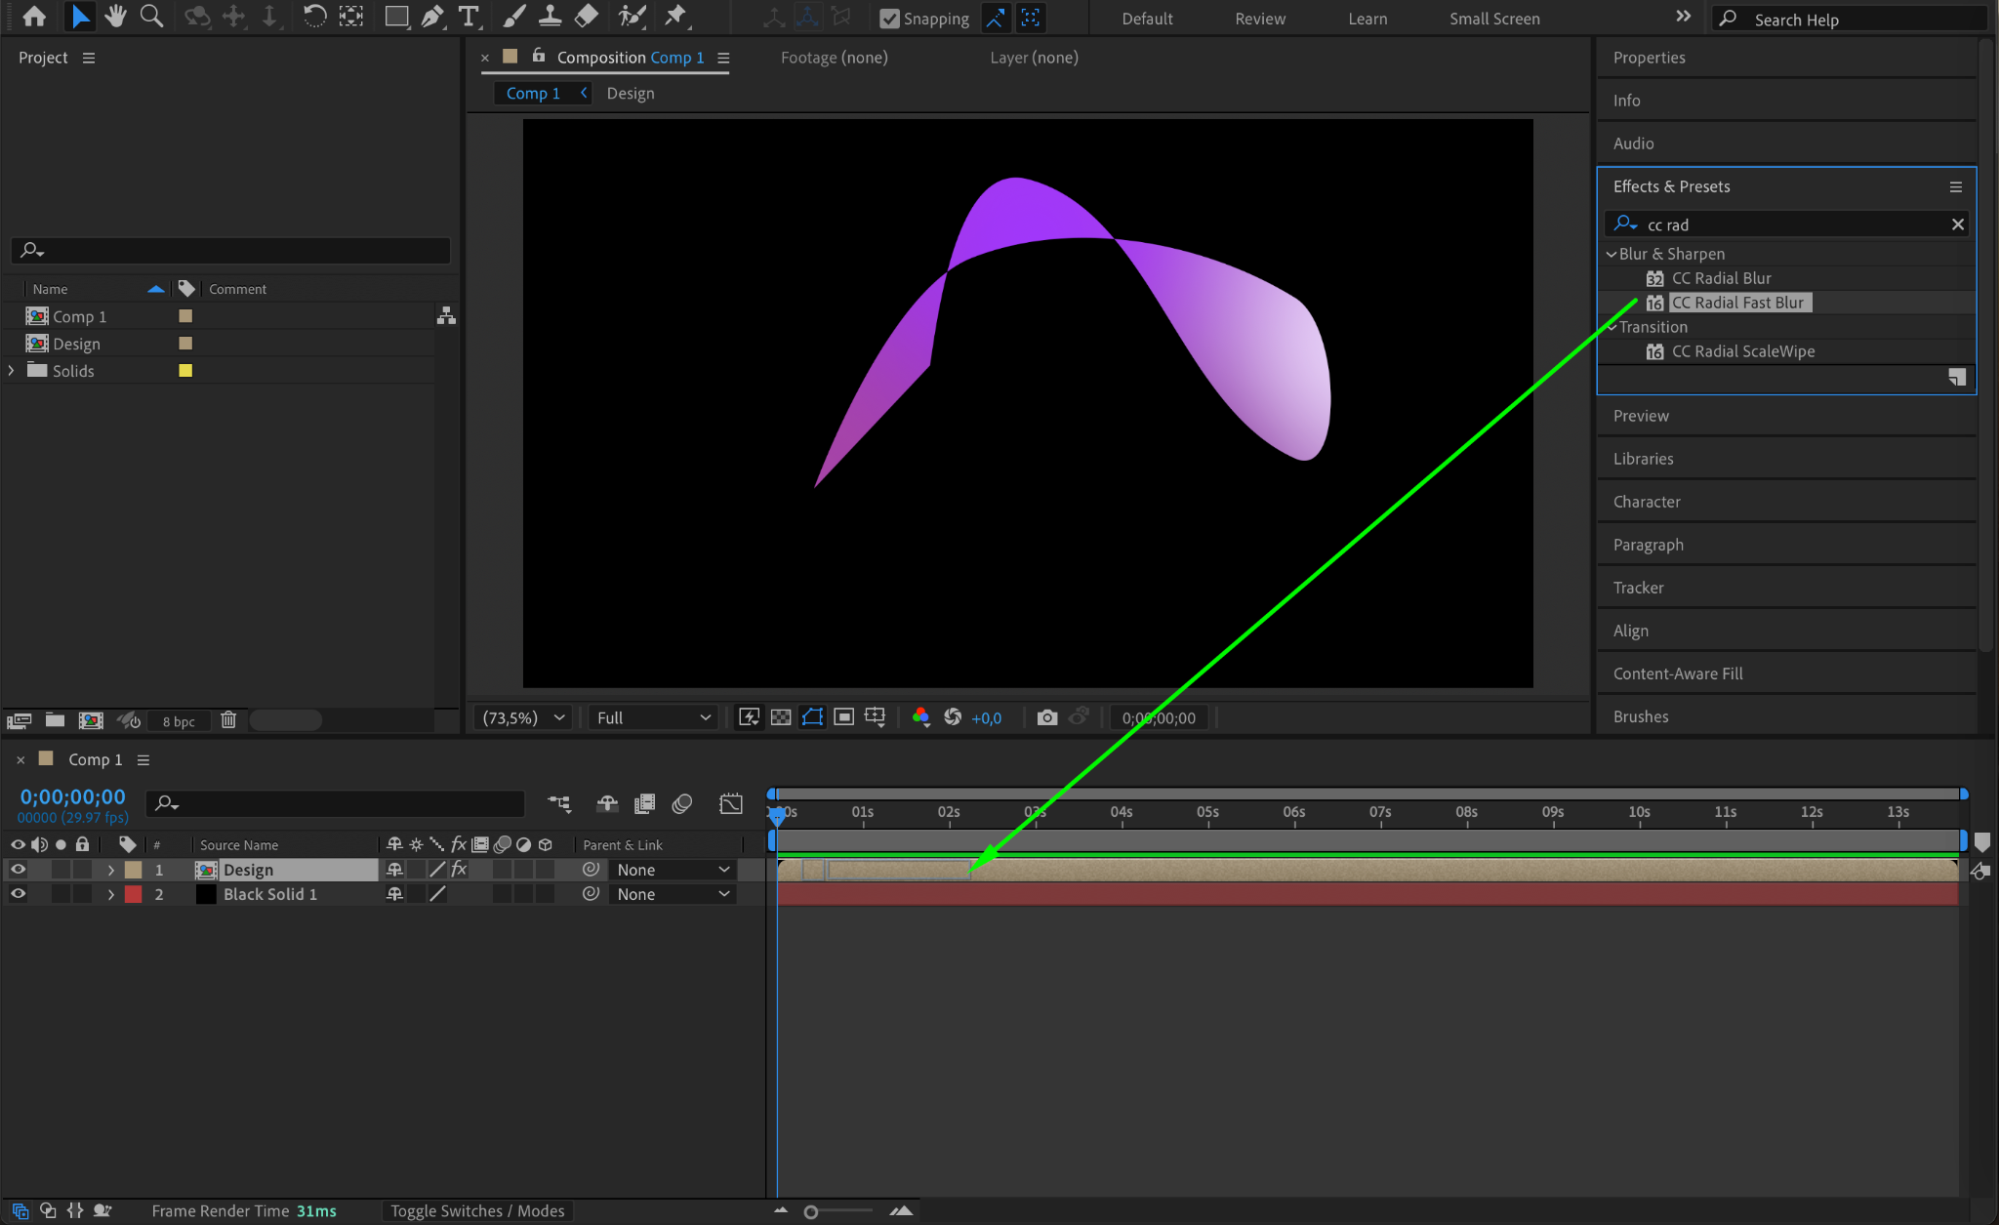
Get 10% off when you subscribe to our newsletter

Step 7: Add an Adjustment Layer
Go to Layer > New > Adjustment Layer. This layer will be used for additional global effects like noise and glow.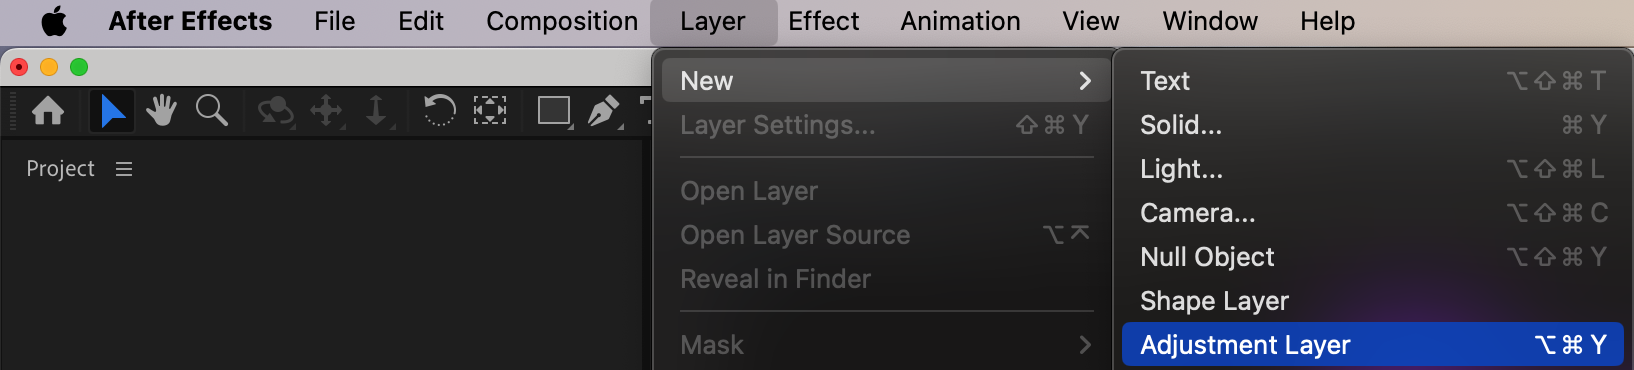 Step 8: Apply Noise
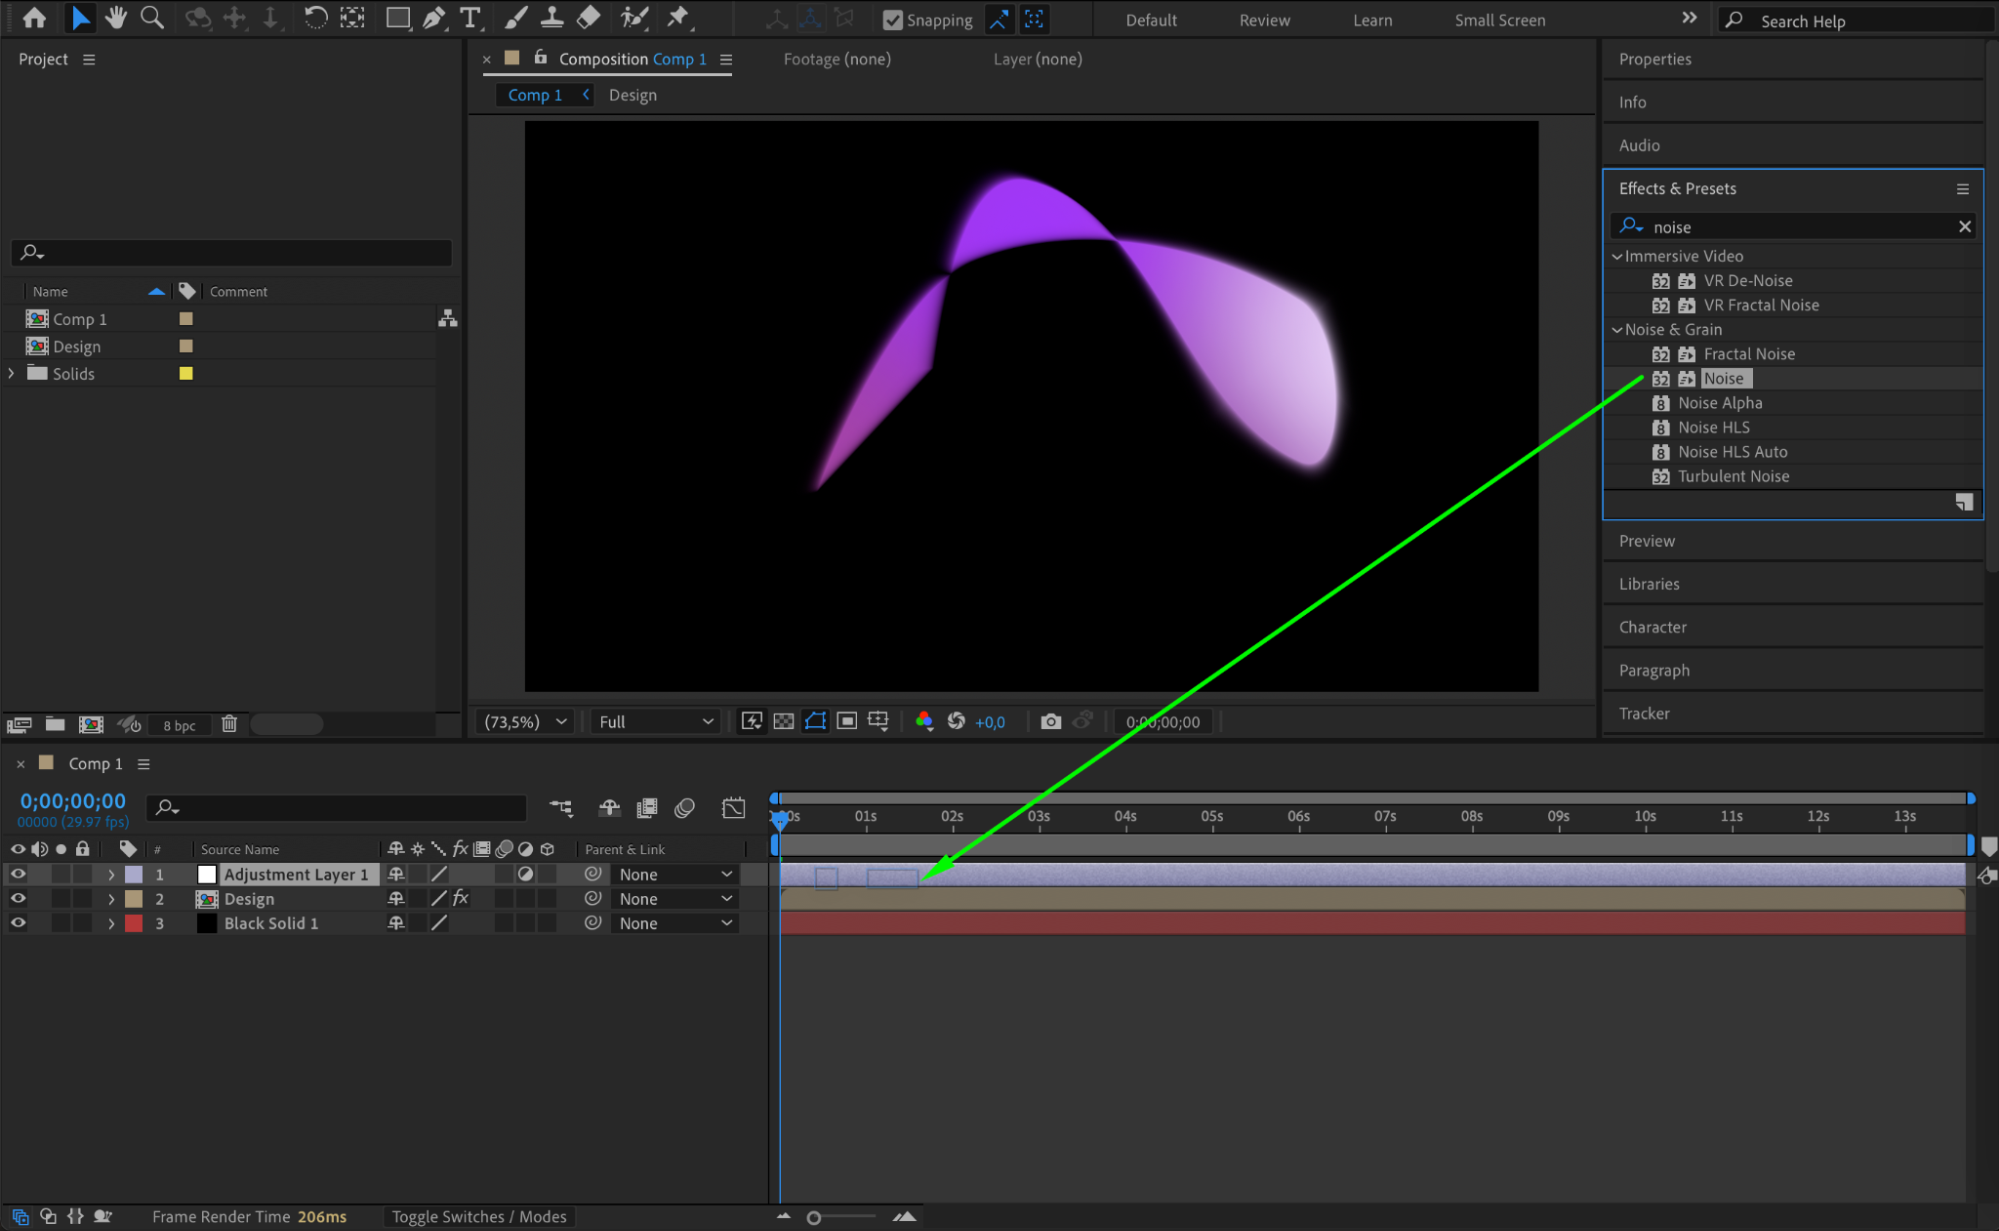
Search for the Noise effect and apply it to the adjustment layer. Set the Amount of Noise to around 14 for texture. Make sure “Use Color Noise” is enabled.
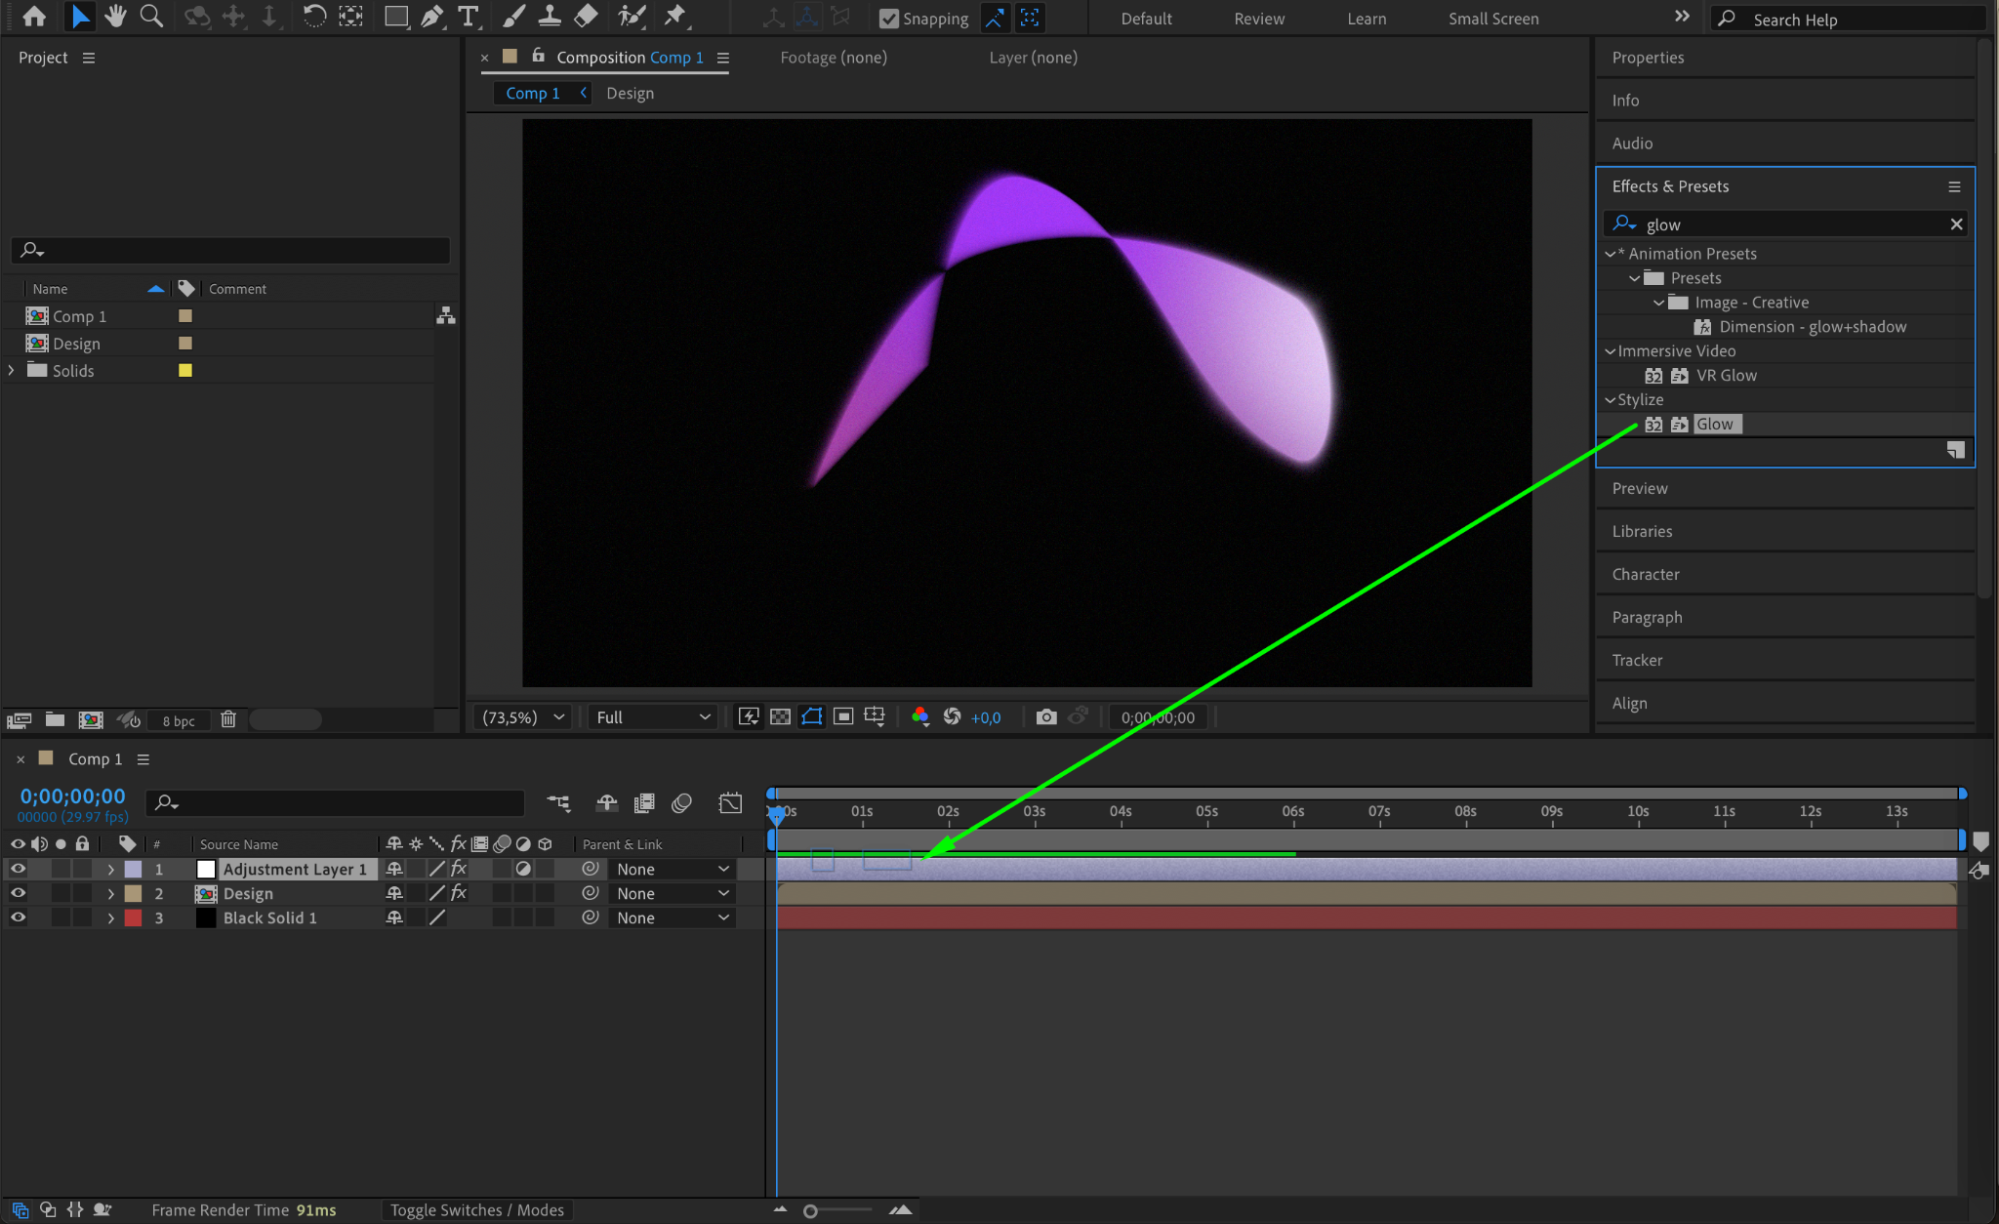
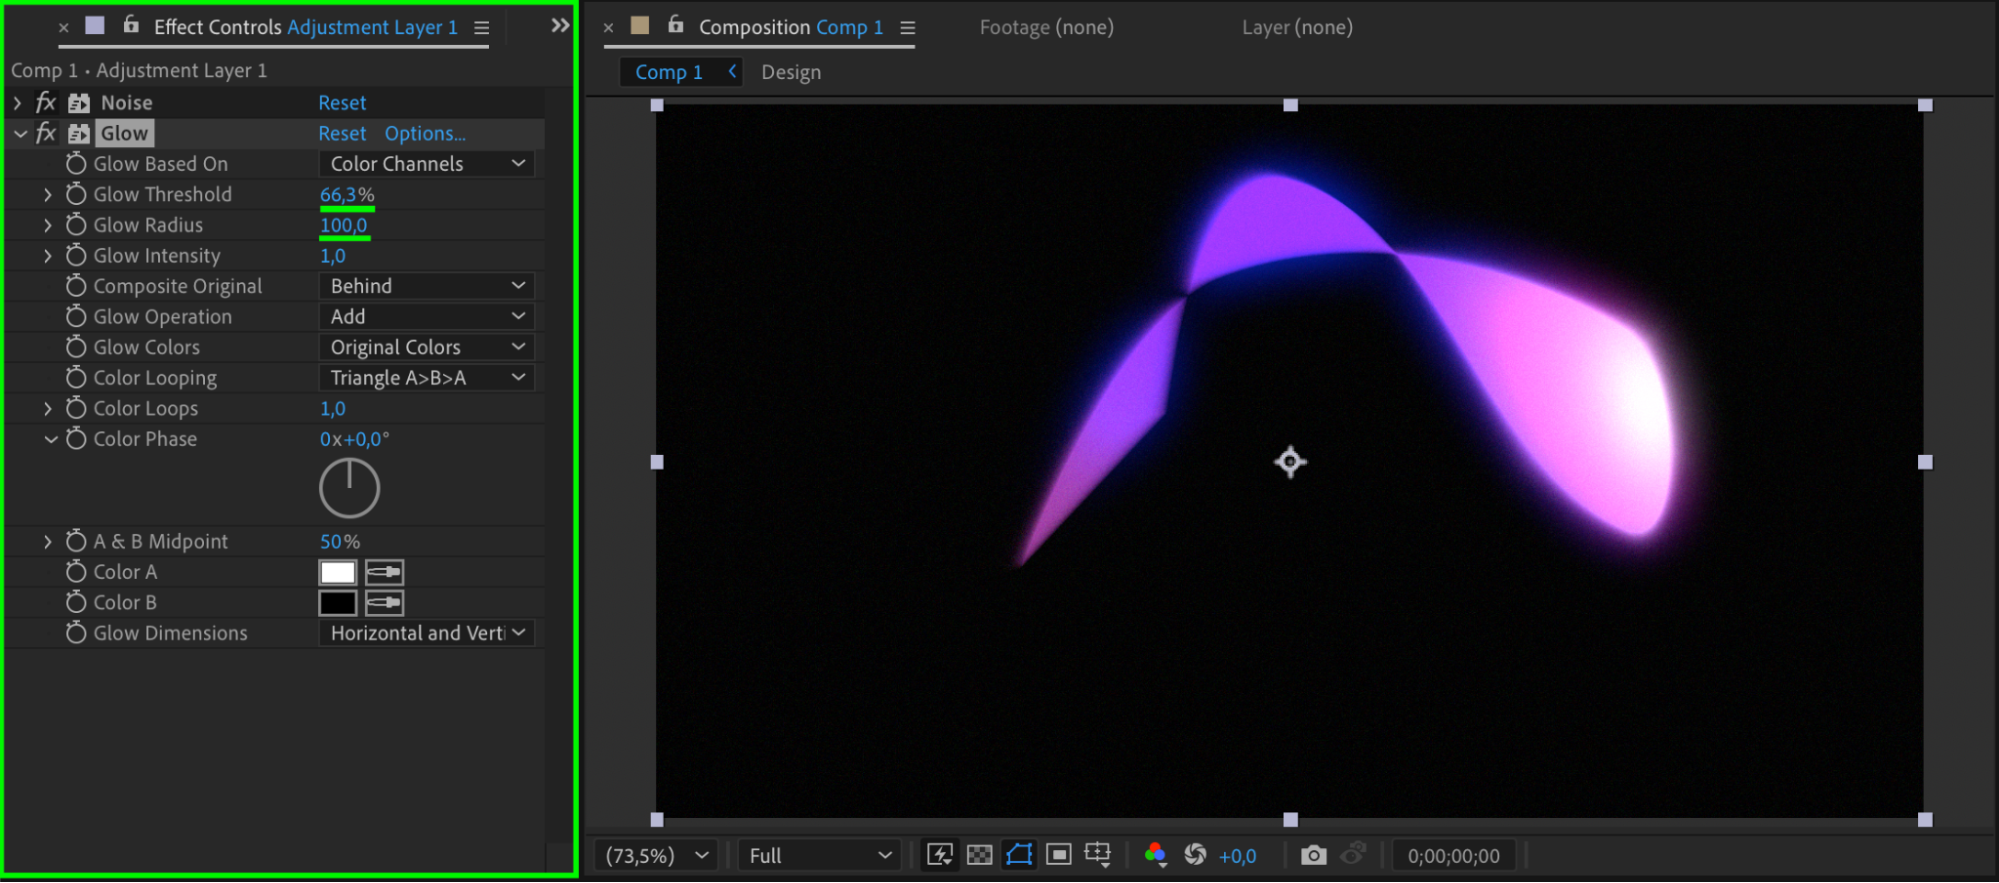
 Step 9: Add First Glow Effect
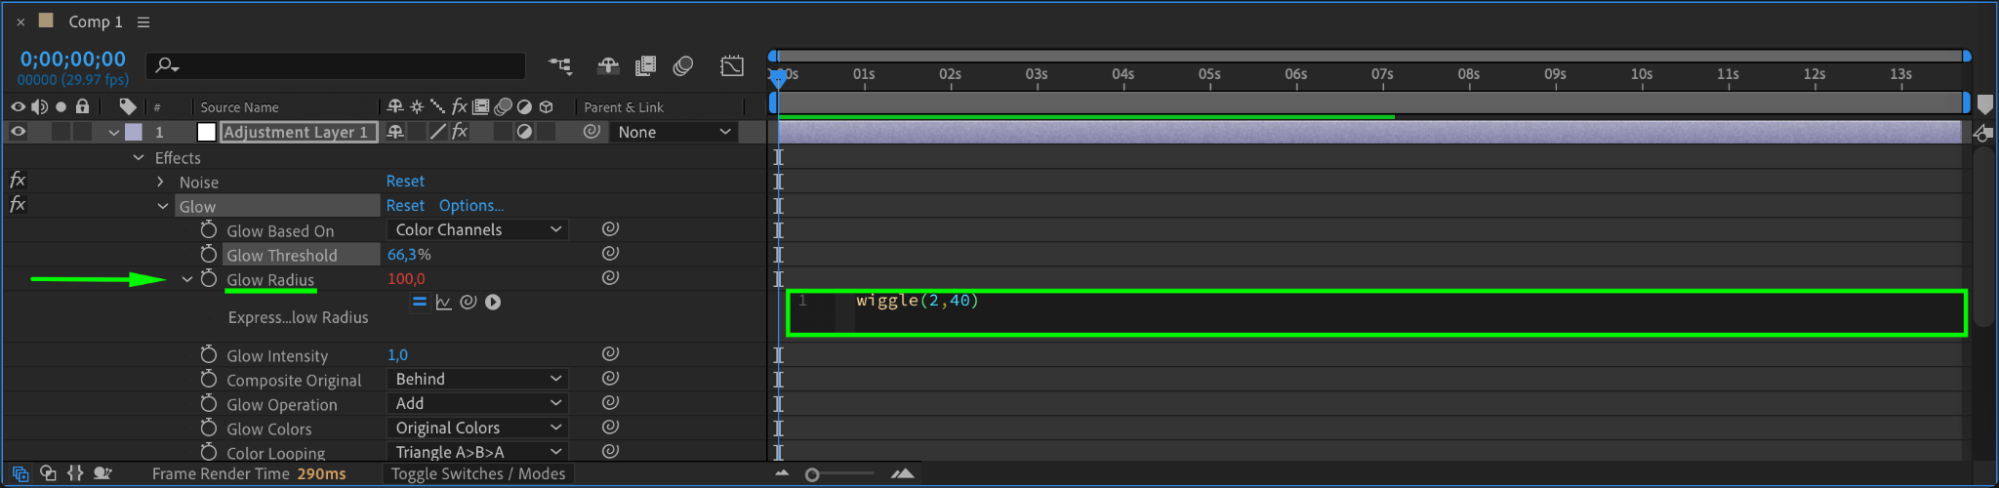
Apply the Glow effect to the same adjustment layer. Set Glow Threshold to 66 and Glow Radius to 100. Then add an expression to Glow Radius:
wiggle(2,40)
 Step 10: Duplicate the Glow Effect
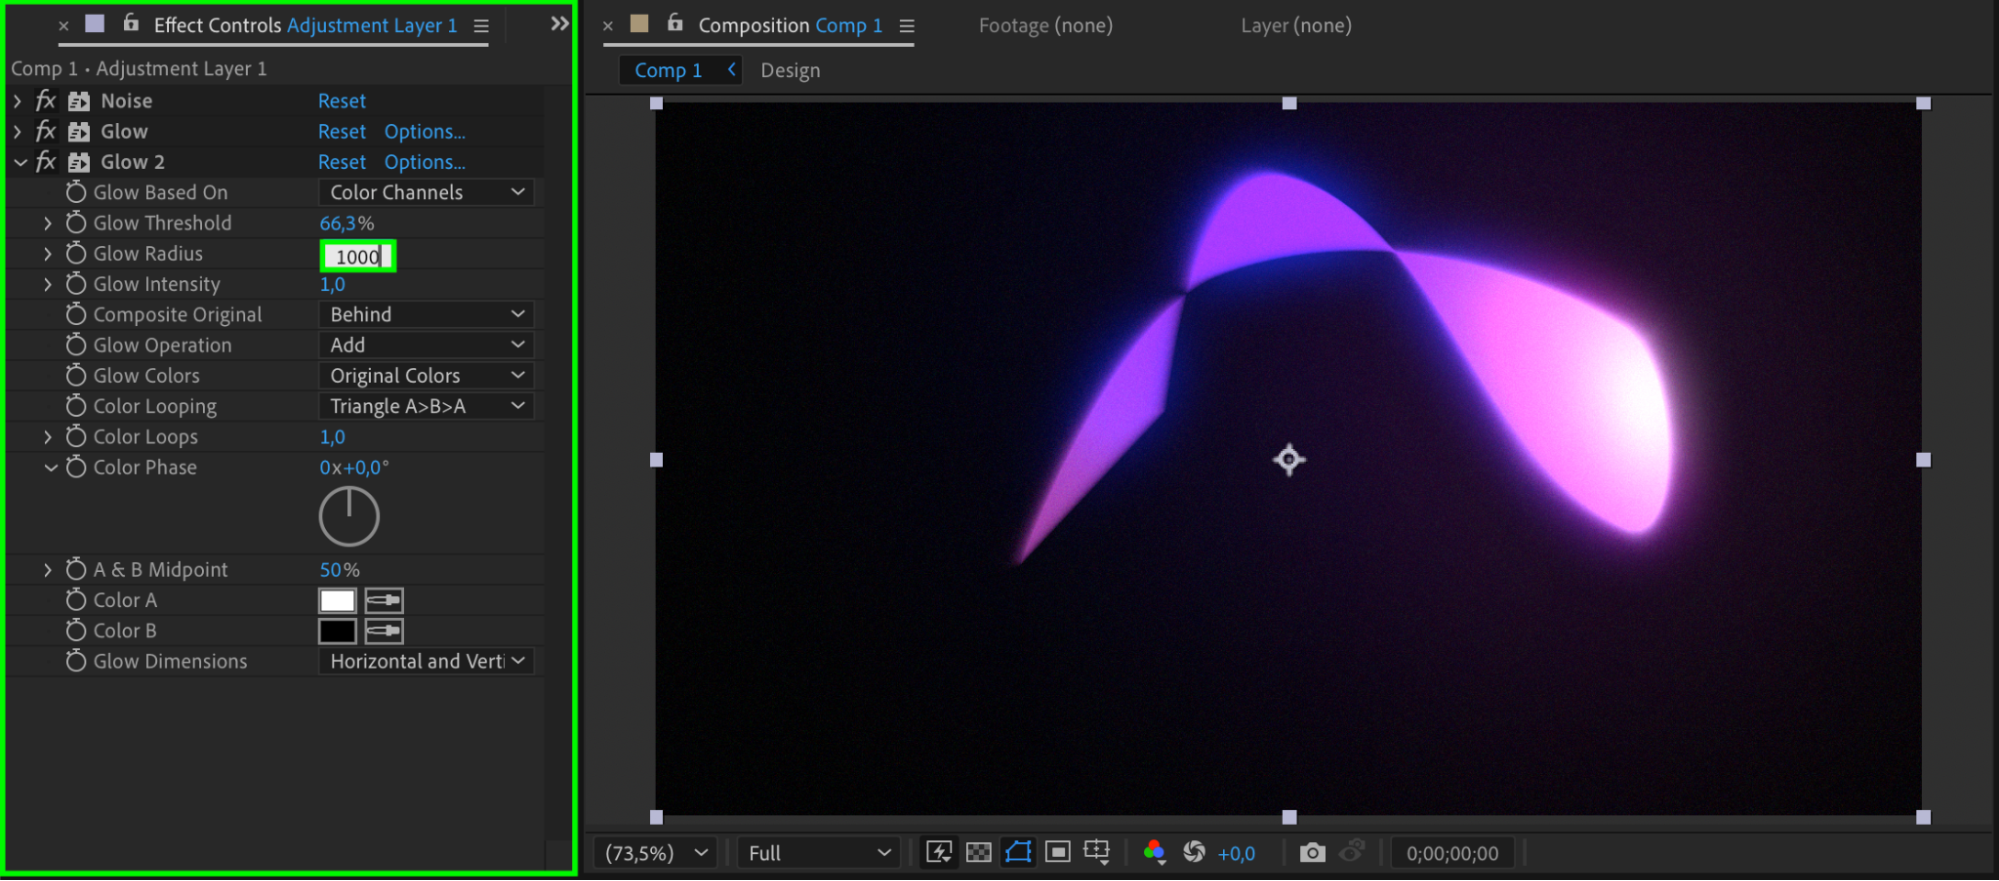
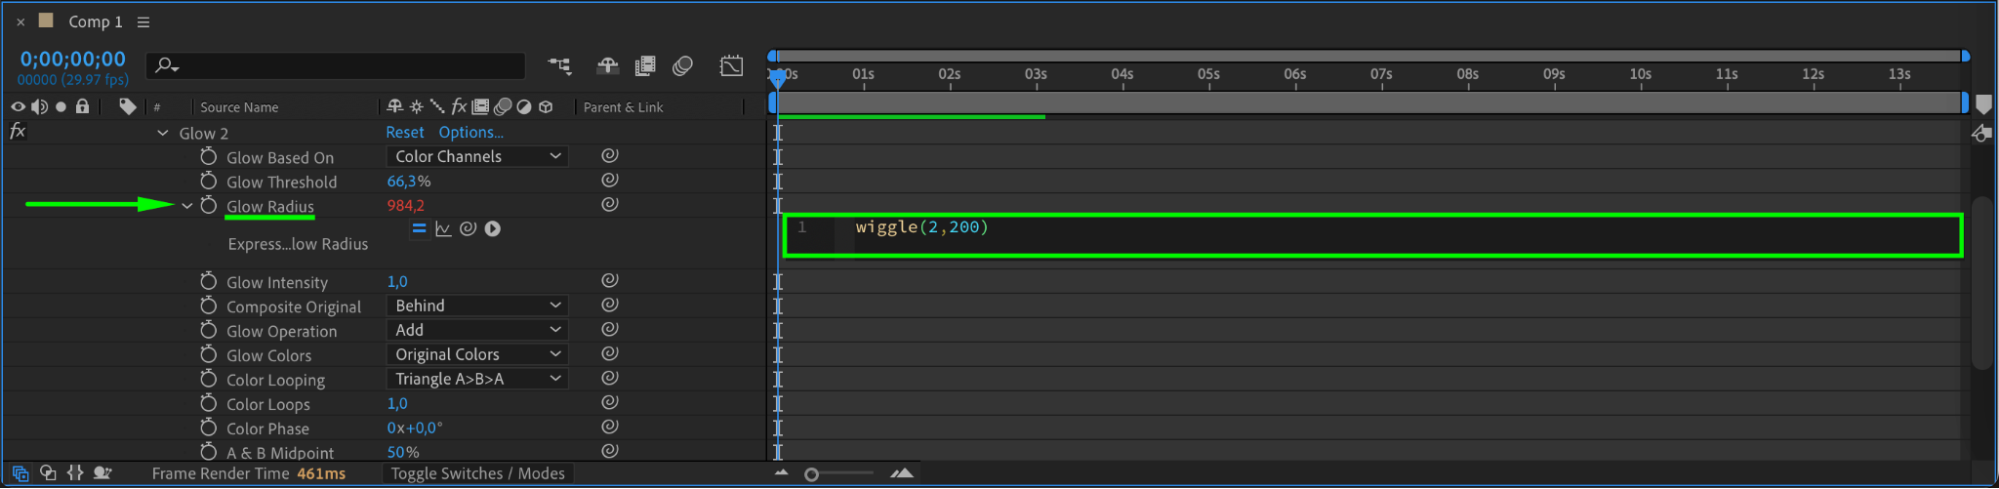
Duplicate the Glow effect on the adjustment layer. Change the Glow Radius to 1000 and update the expression to:
wiggle(2,200)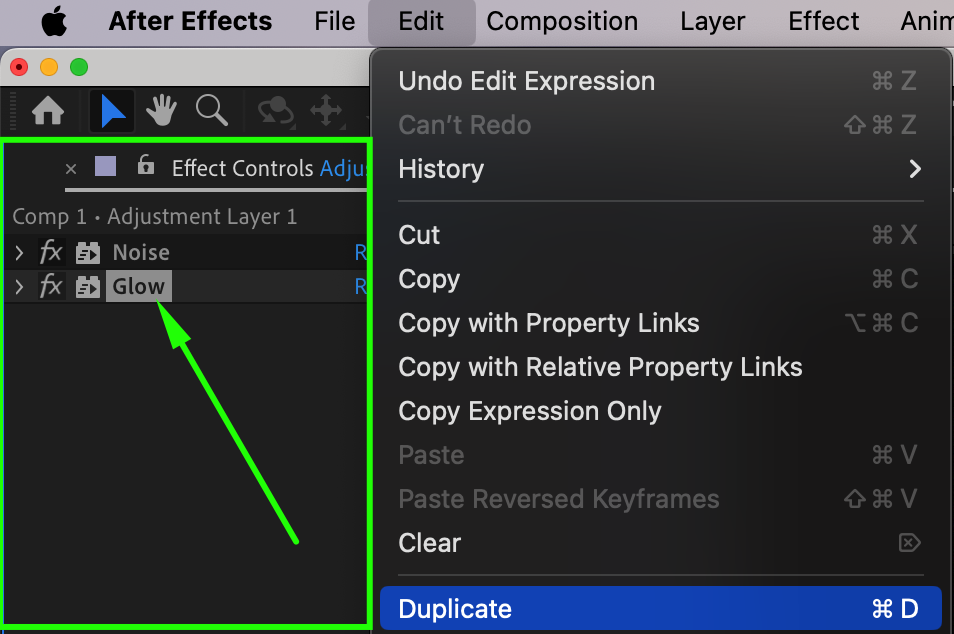
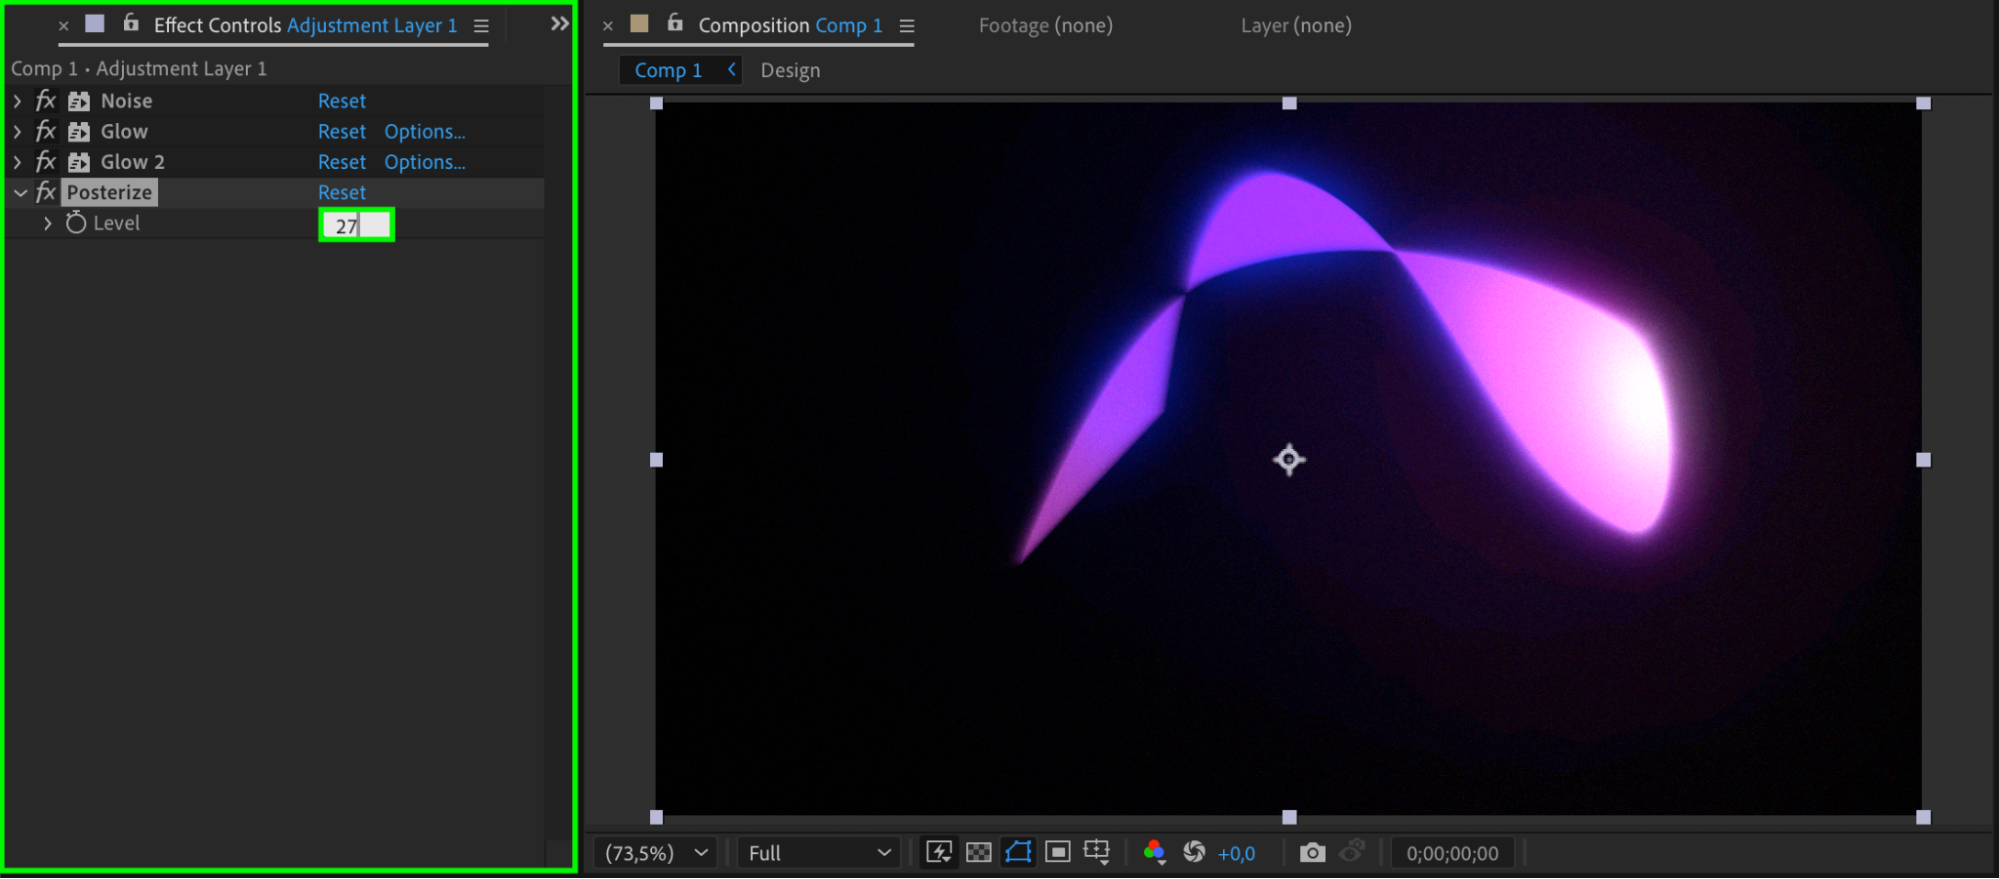
Step 11: Add Posterize Effect
Apply the Posterize effect to the adjustment layer and set the Level to 27. This will stylize the gradient and create a more graphic look.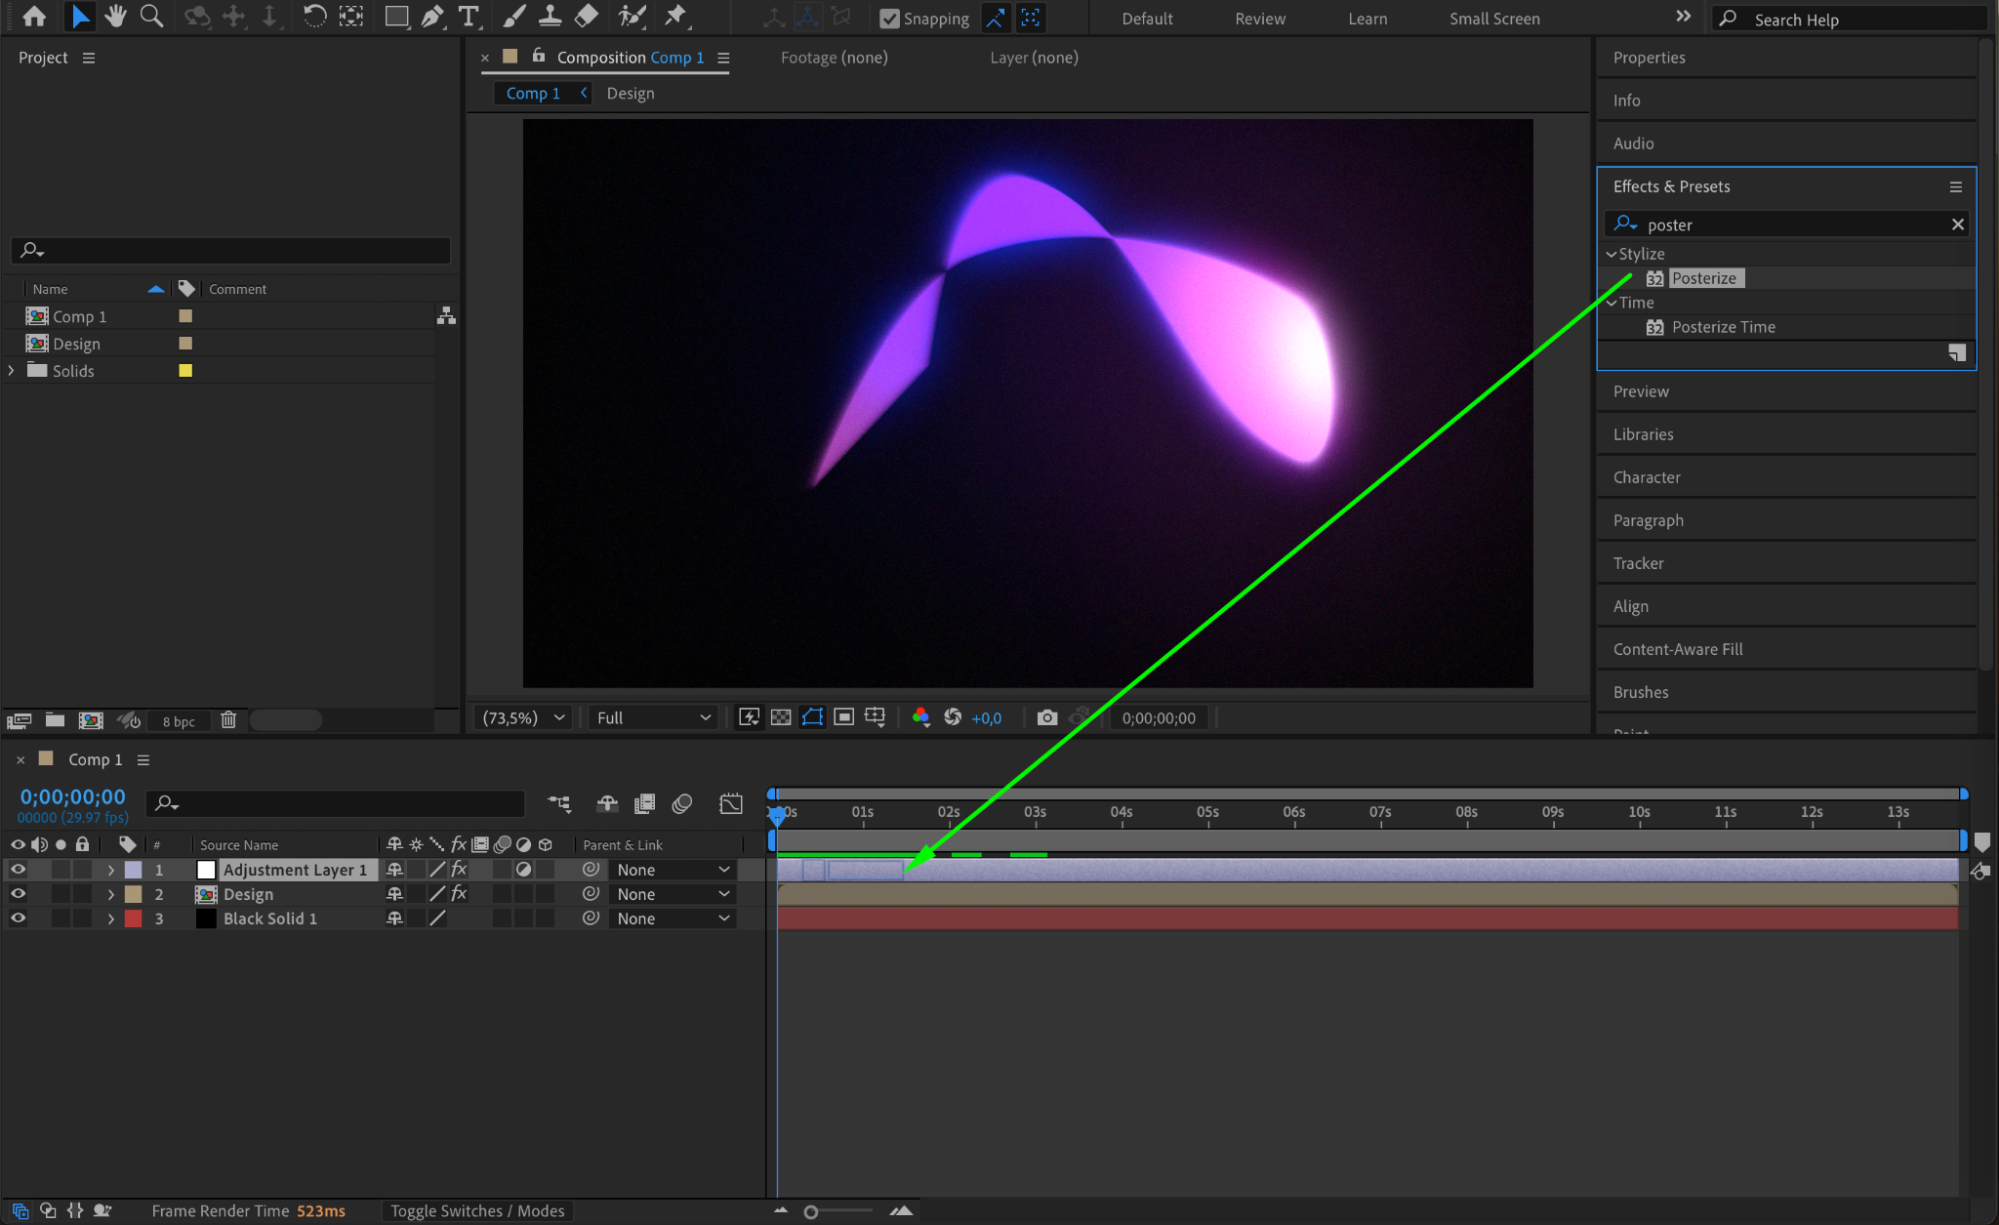
 Step 12: Animate Shape Movement
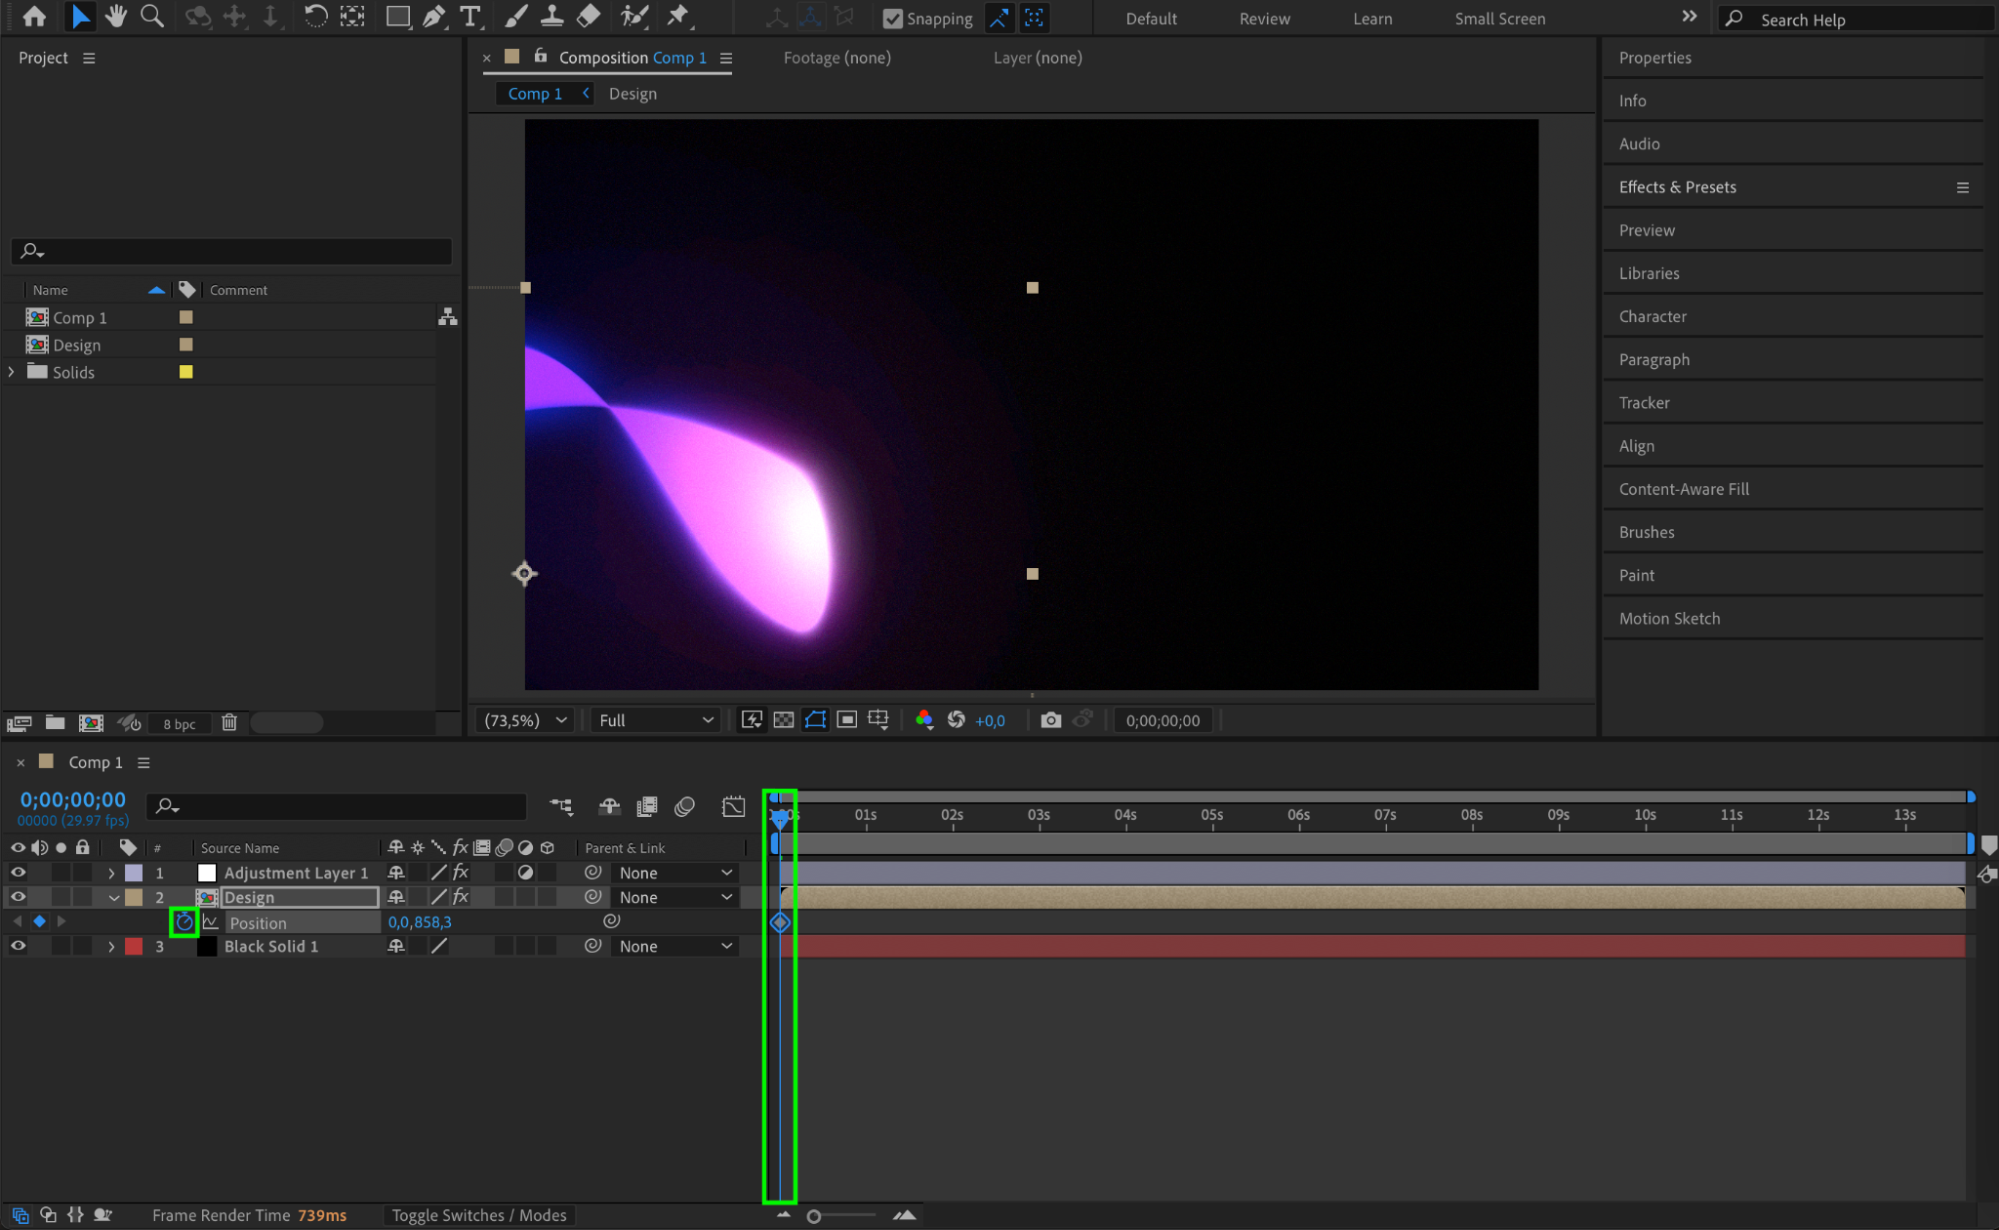
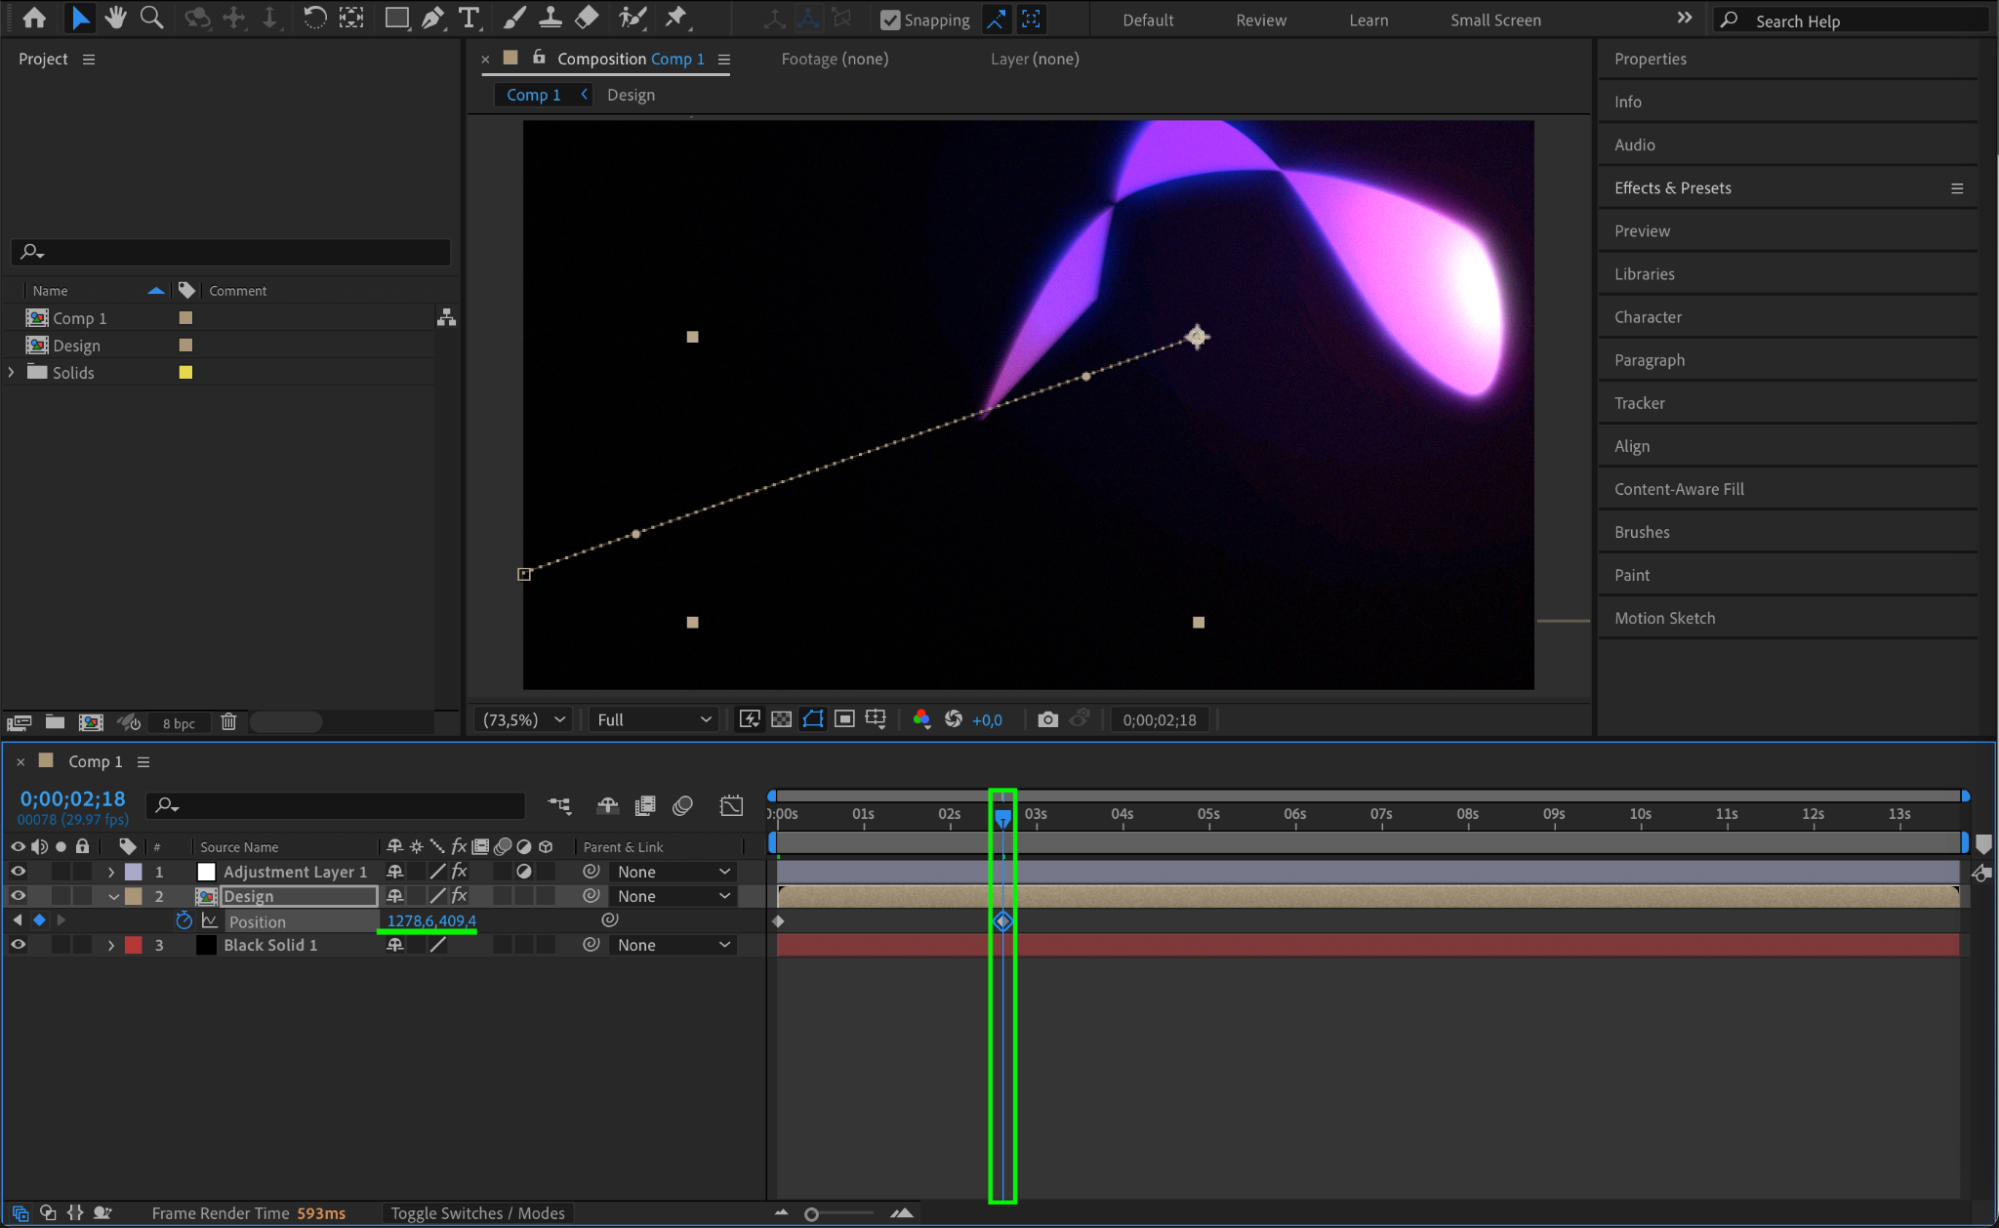
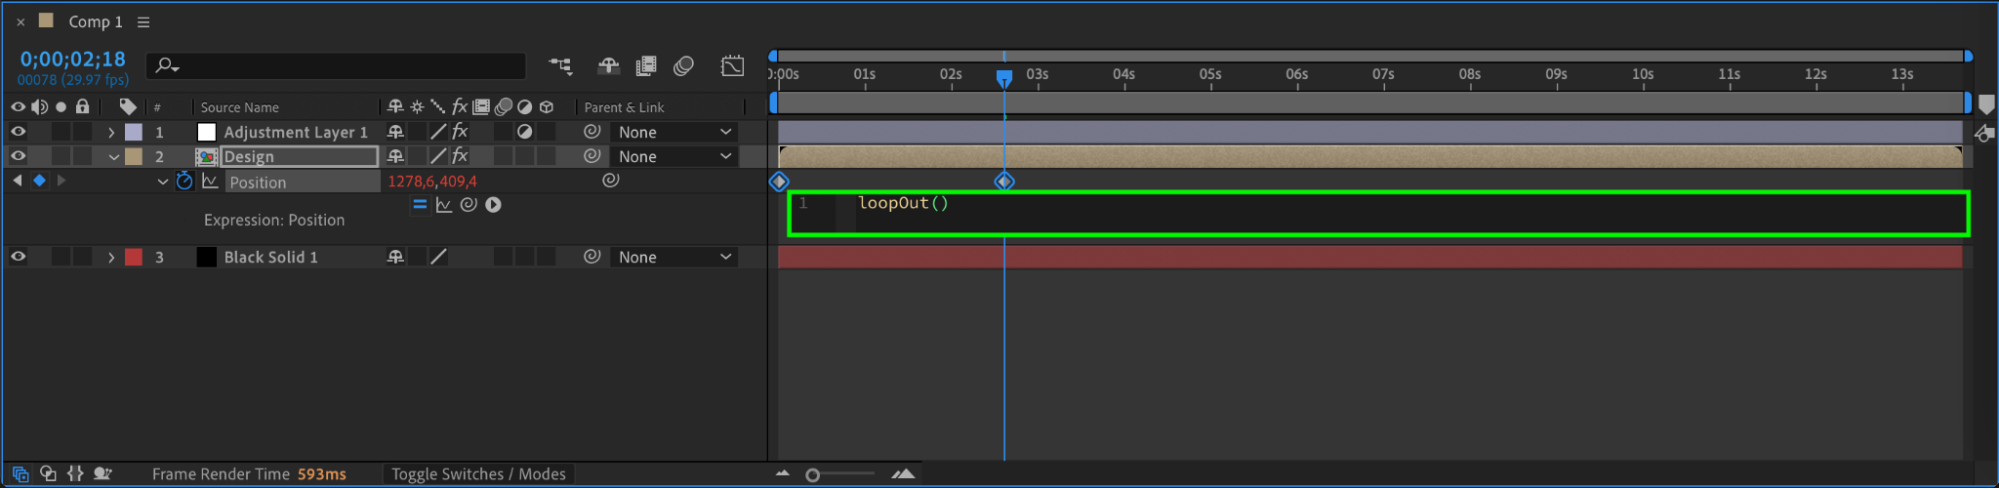
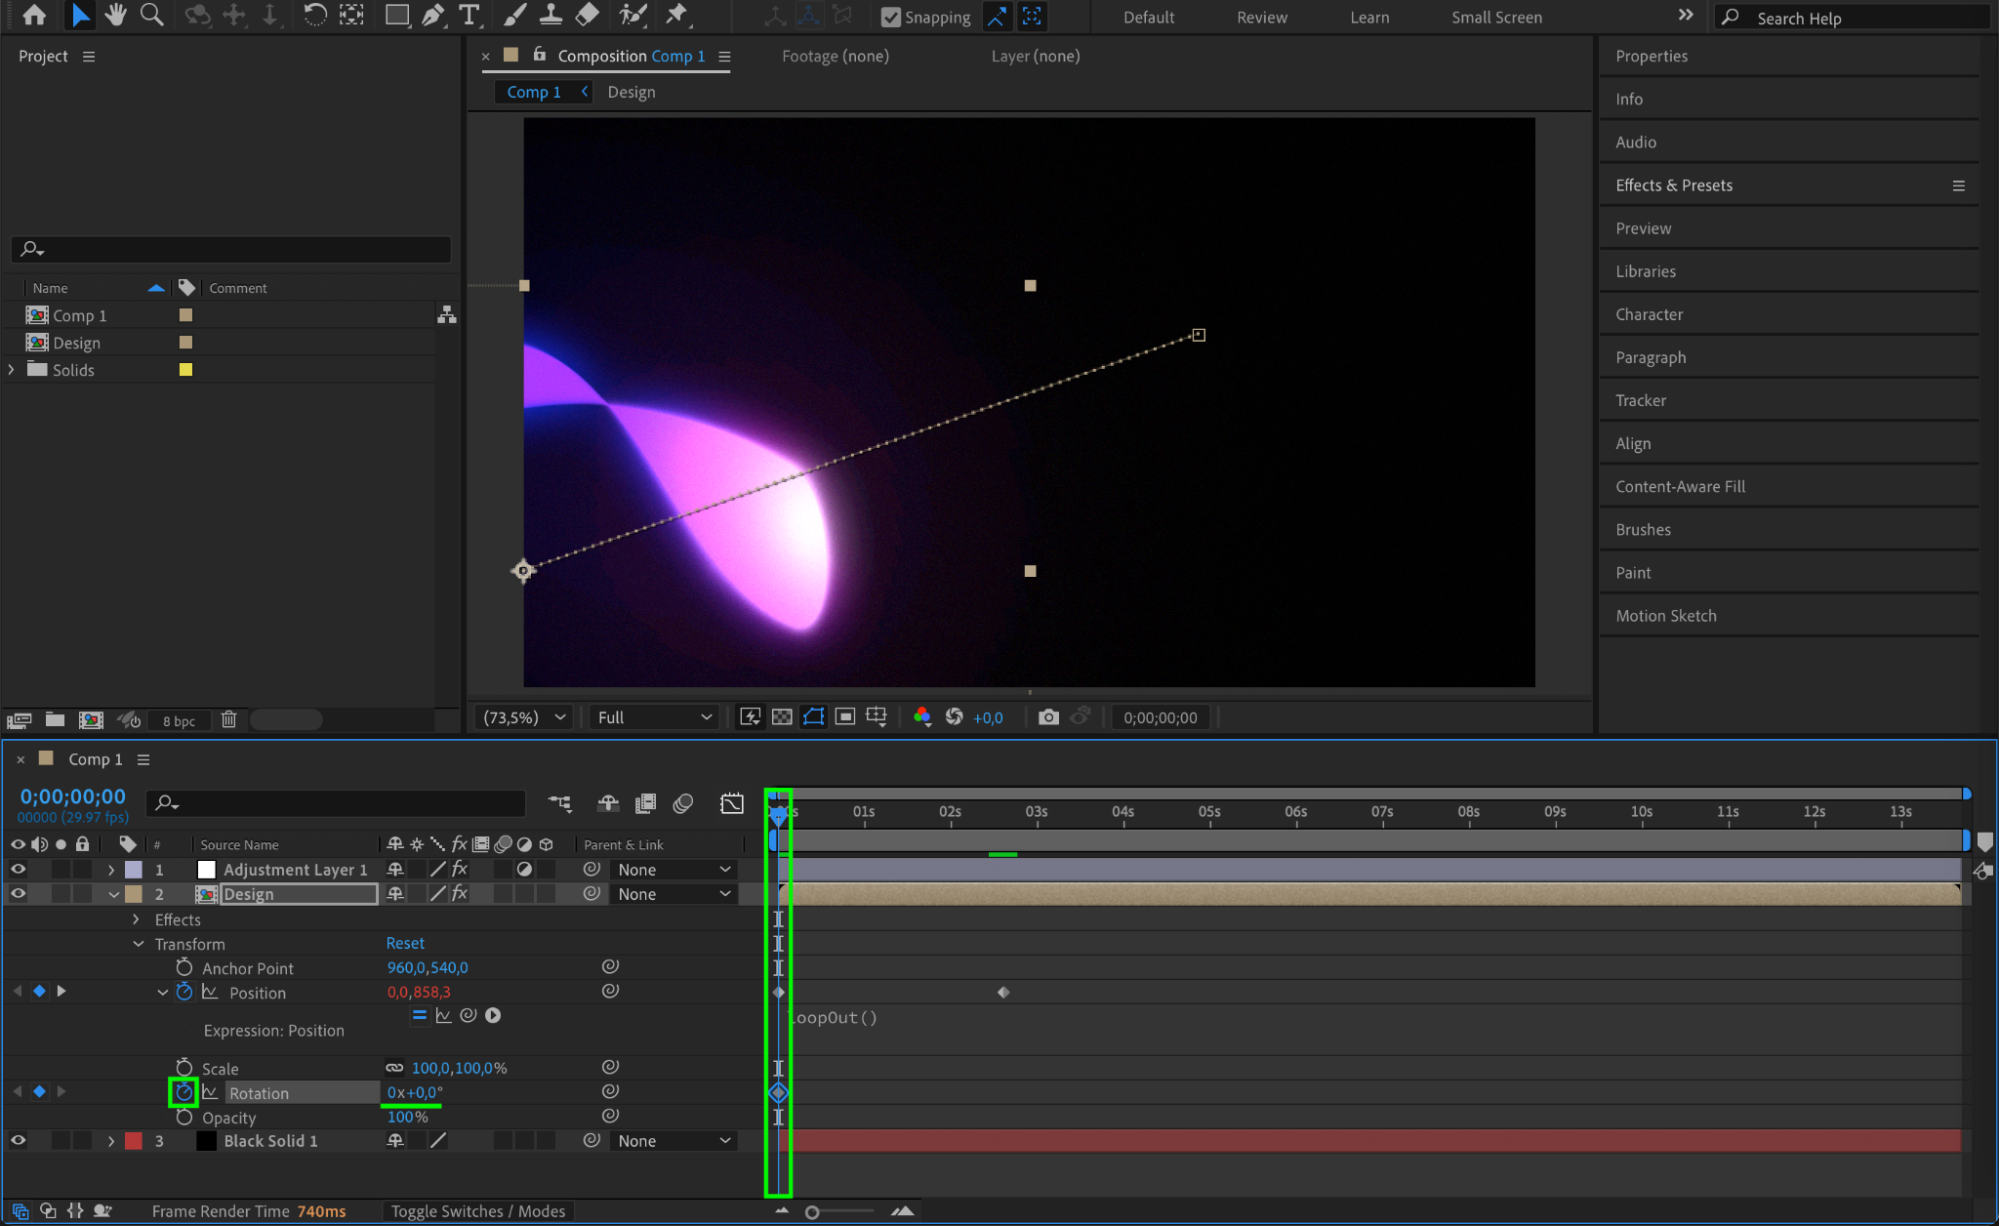
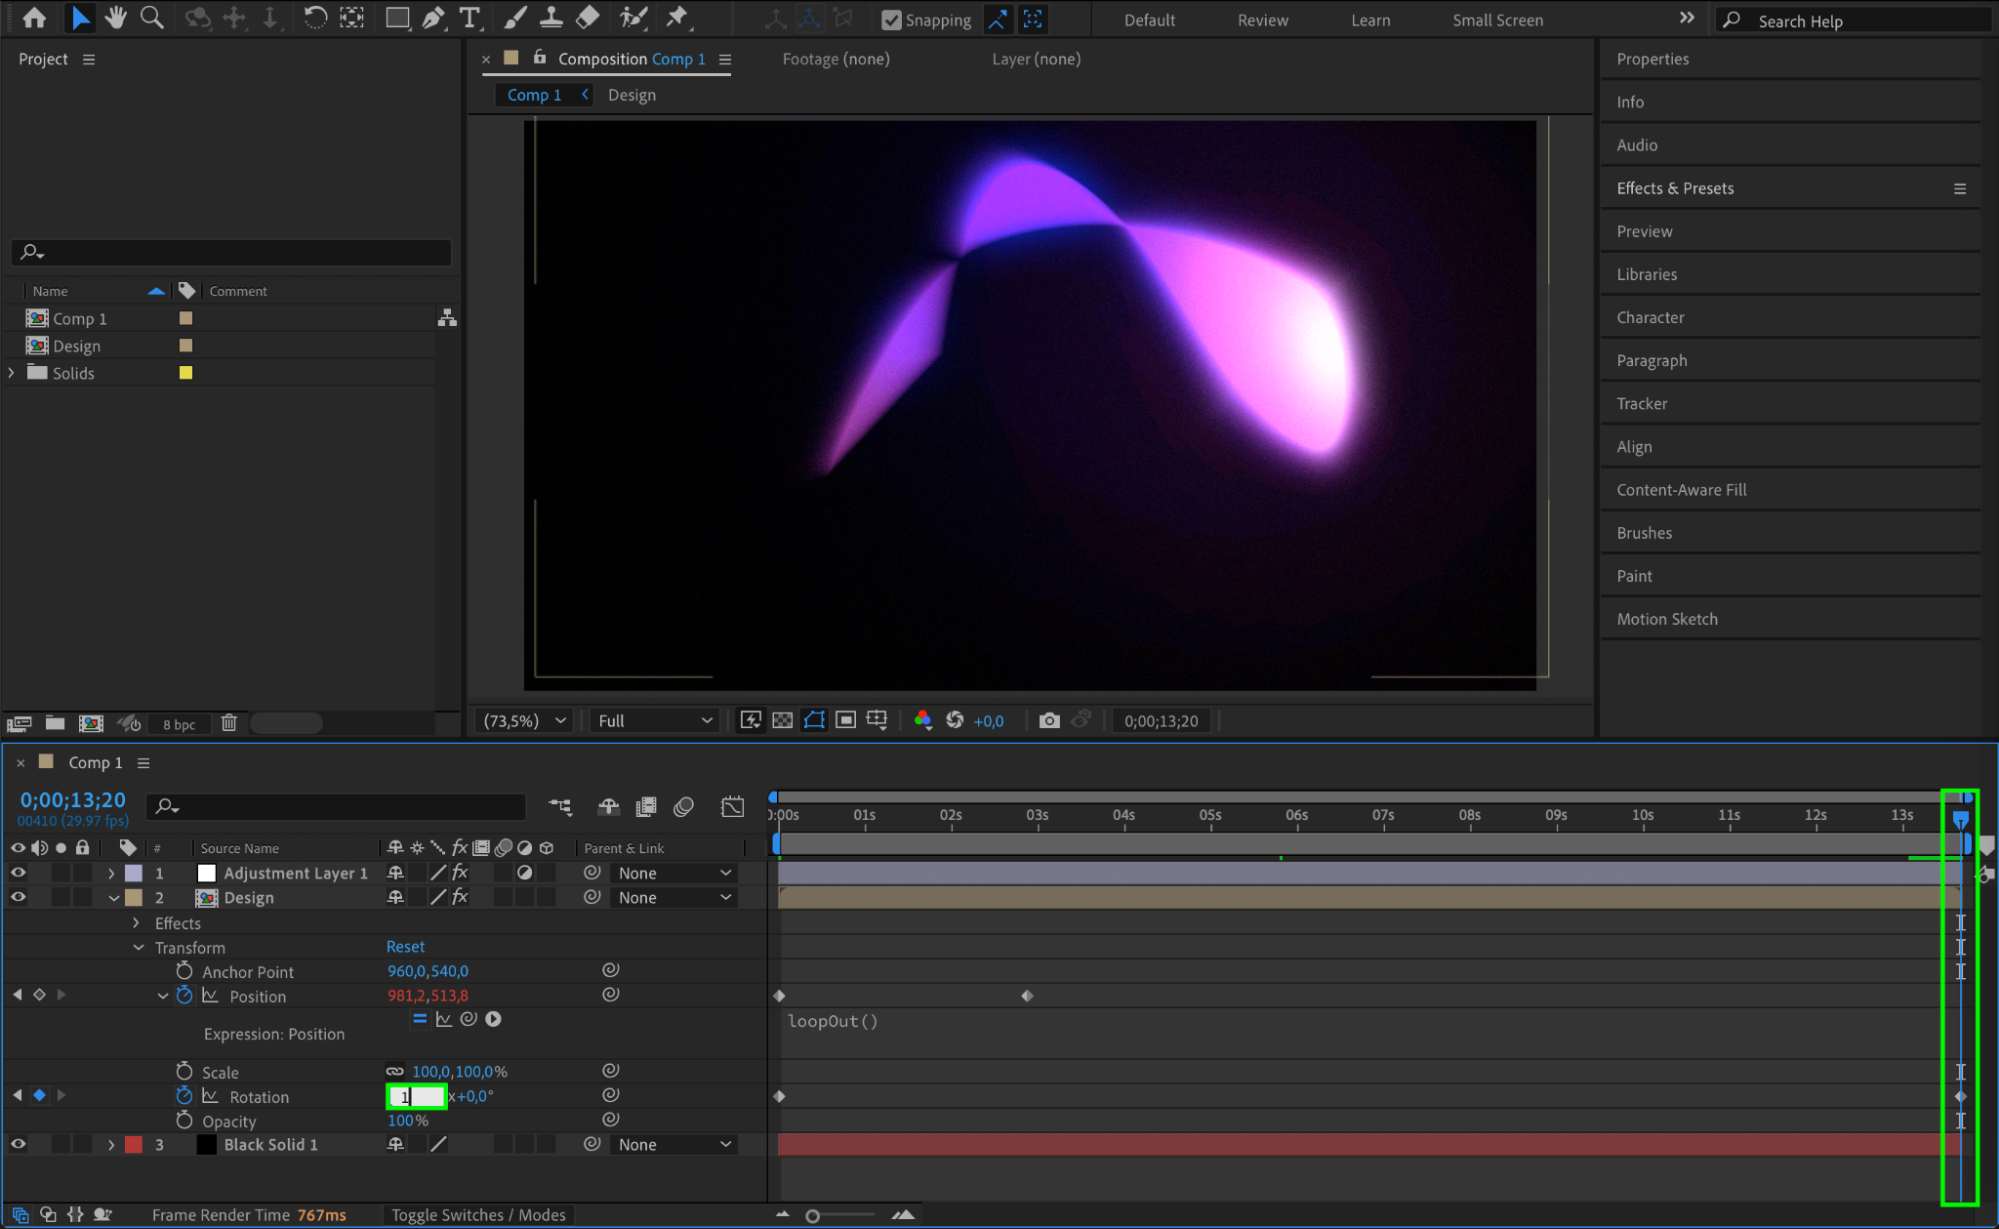
Animate the Position and Rotation of the shape layer to give your background more motion. Subtle movement works best.
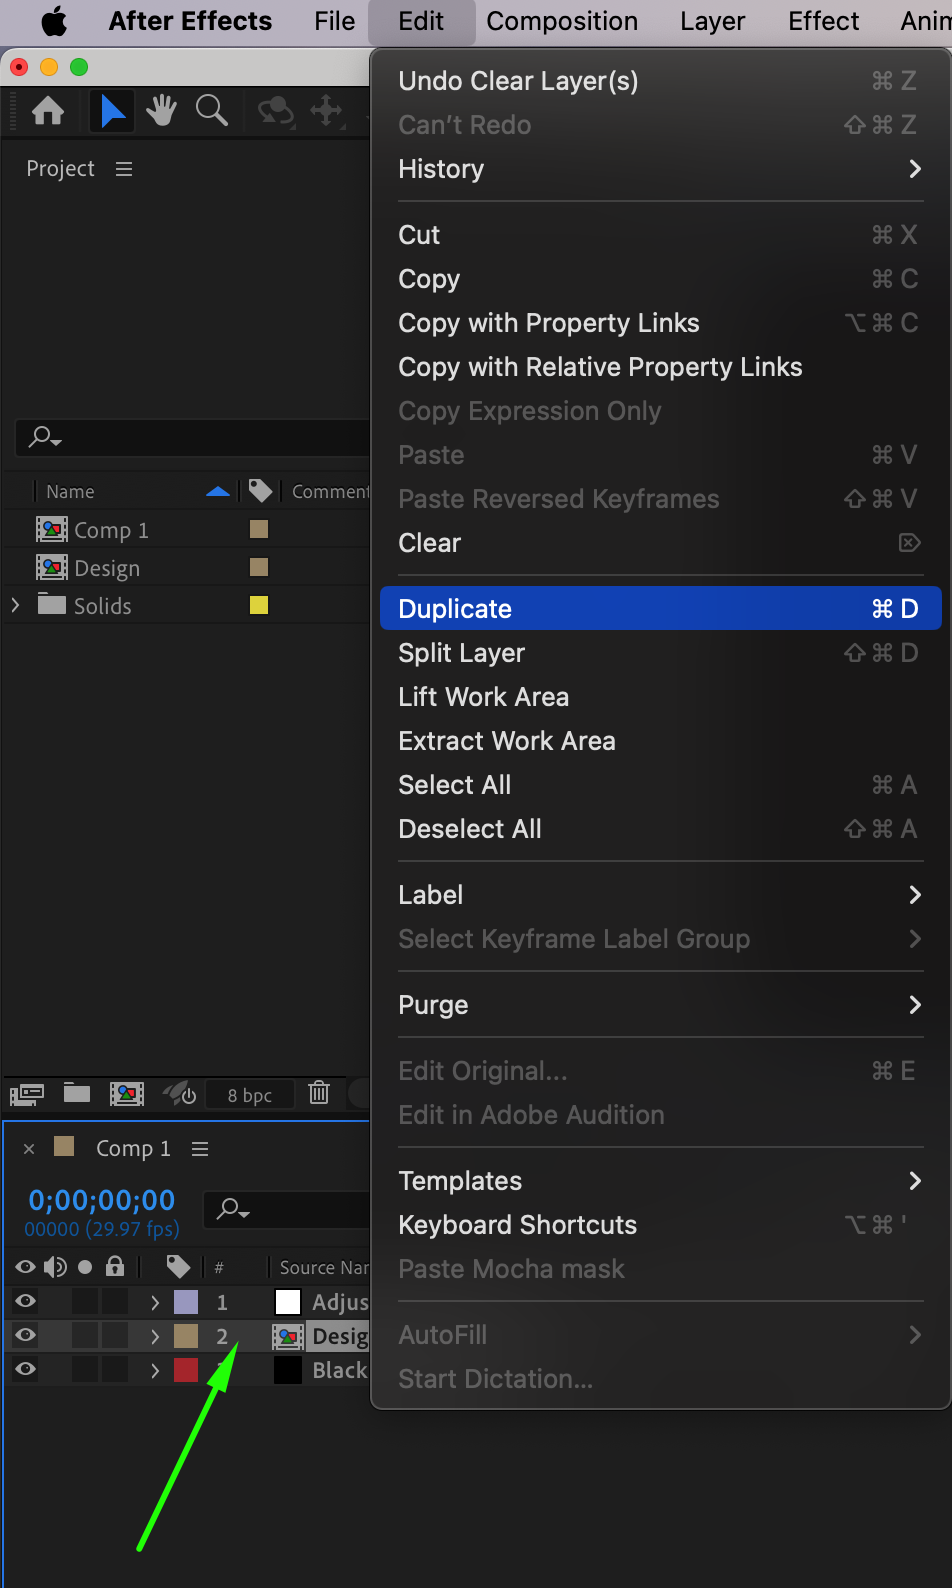
Step 13: Duplicate and Arrange Shapes
Duplicate the shape pre-comp layer several times and arrange them differently in the composition. You can rotate, scale, and offset their timing for a more complex look.
 Step 14: Enable Motion Blur
Turn on Motion Blur for all animated shape layers and enable it in the main timeline. This smooths out the movement for a more professional feel.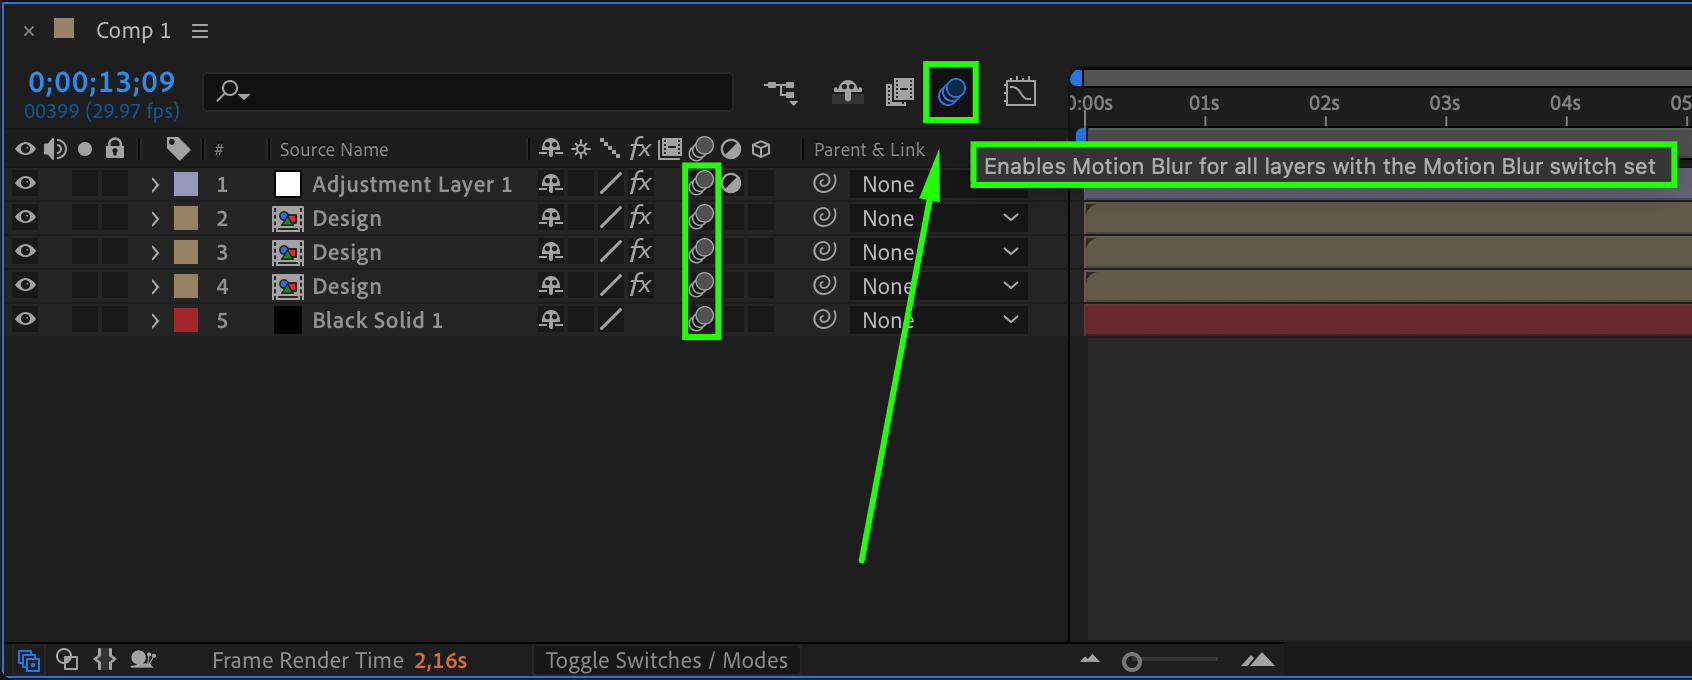 Step 15: Preview Your Work
Press spacebar to preview the animation. Make any necessary adjustments to timing, colors, or effects for the best result.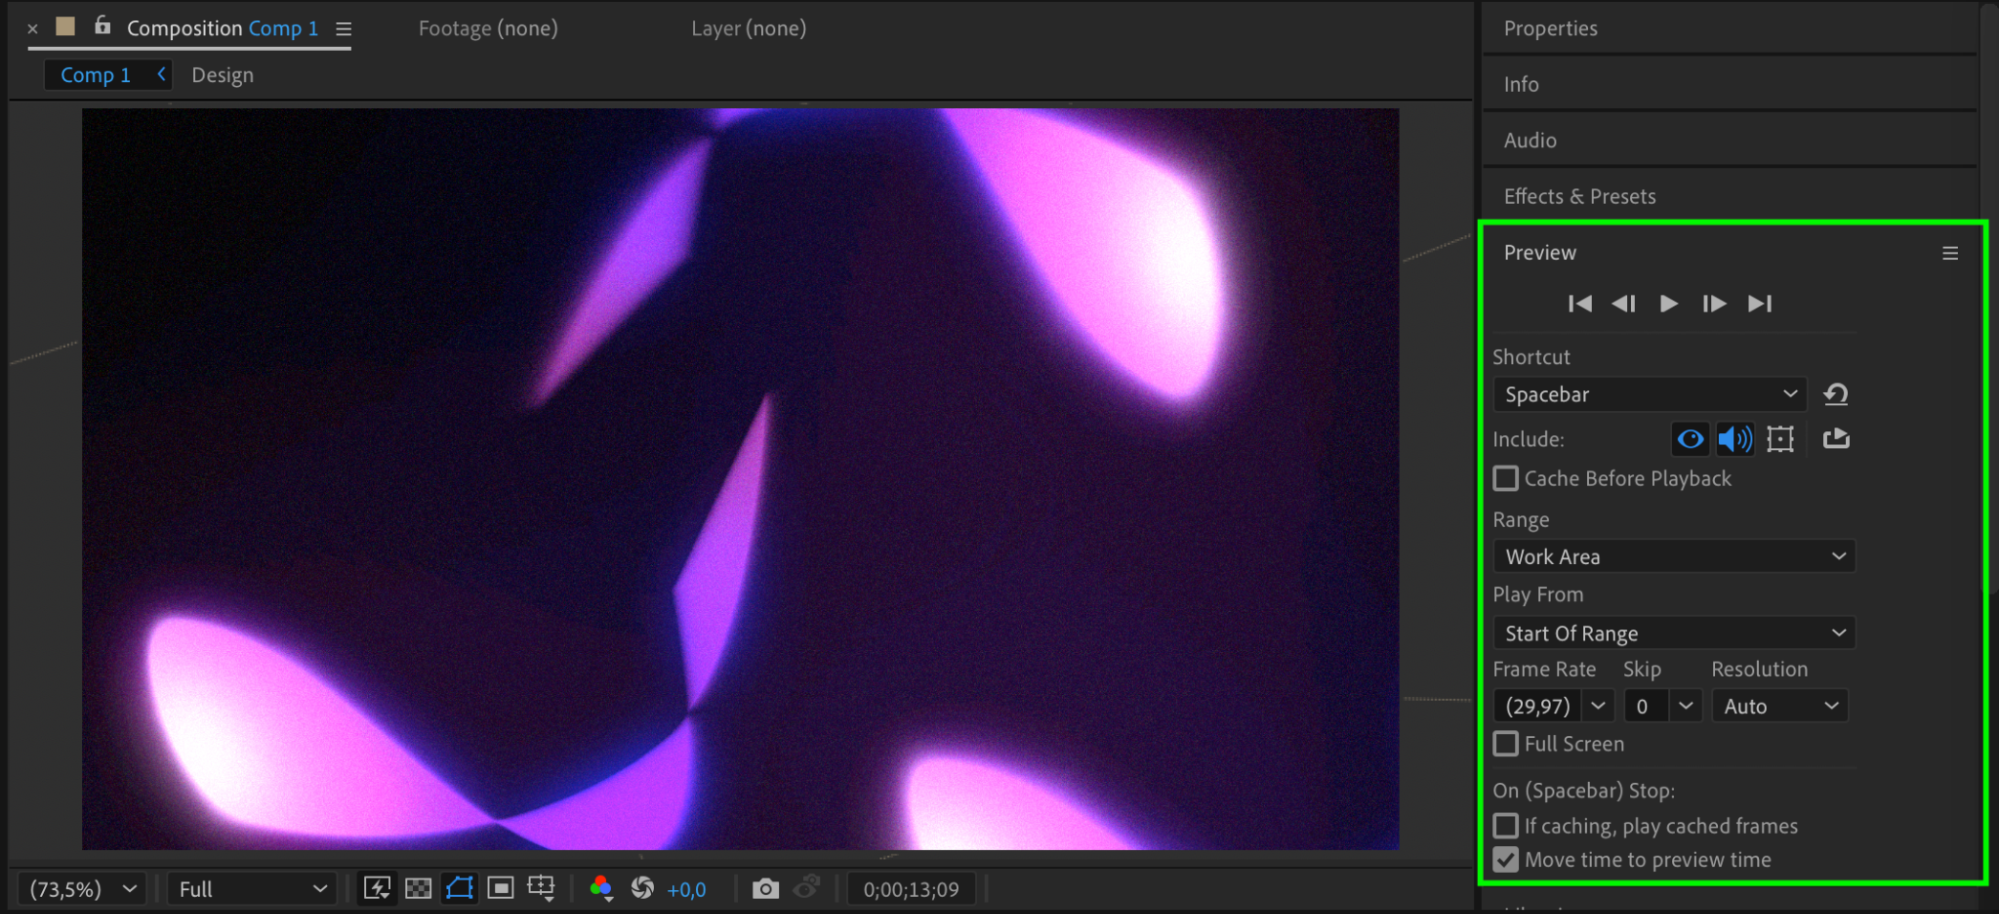 Step 16: Render the Final Video
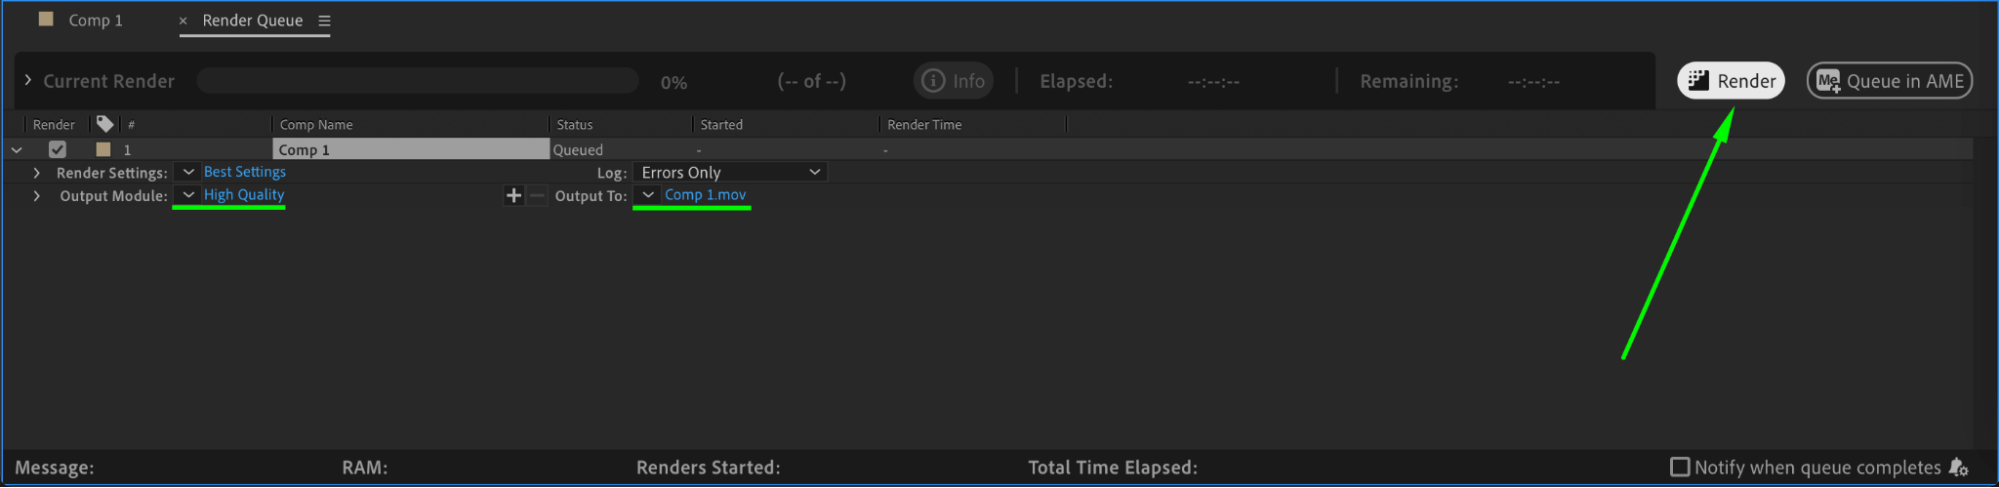
When you’re happy with the animation, go to Composition > Add to Render Queue or use Media Encoder to export your final video.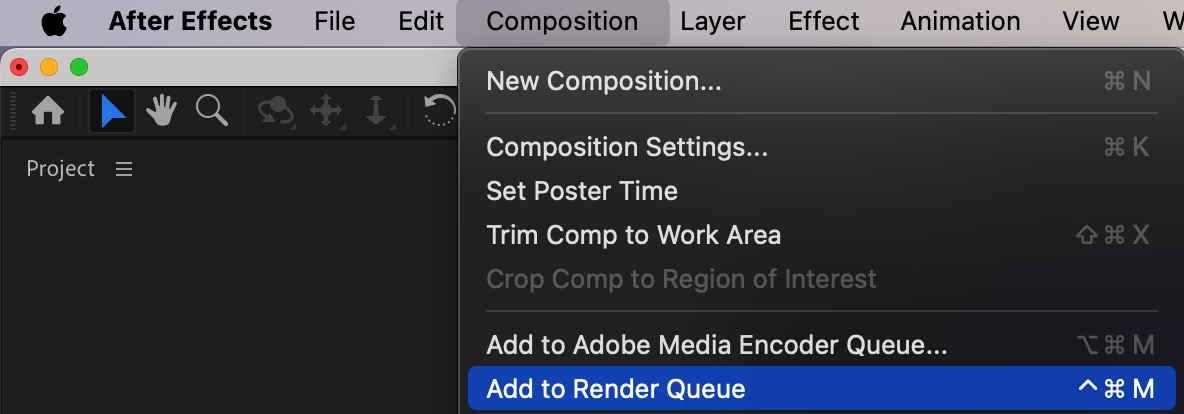
Conclusion
By following these steps, you’ve created a smooth and visually engaging animated gradient background using simple shape layers, effects, and expressions in After Effects. This kind of background is perfect for intros, presentations, or music videos and can easily be customized with different colors, shapes, and motion styles.
Our Bestsellers


