Creating a Glowing Logo Animation in After Effects
Add Shine and Glow to Your Logo for a Professional Look
Adding a glowing effect to your logo can make it more eye-catching and modern. In After Effects, you can use a combination of layer styles and built-in glow effects to create this look quickly and effectively. This guide will walk you through the steps to achieve a professional glowing logo animation.
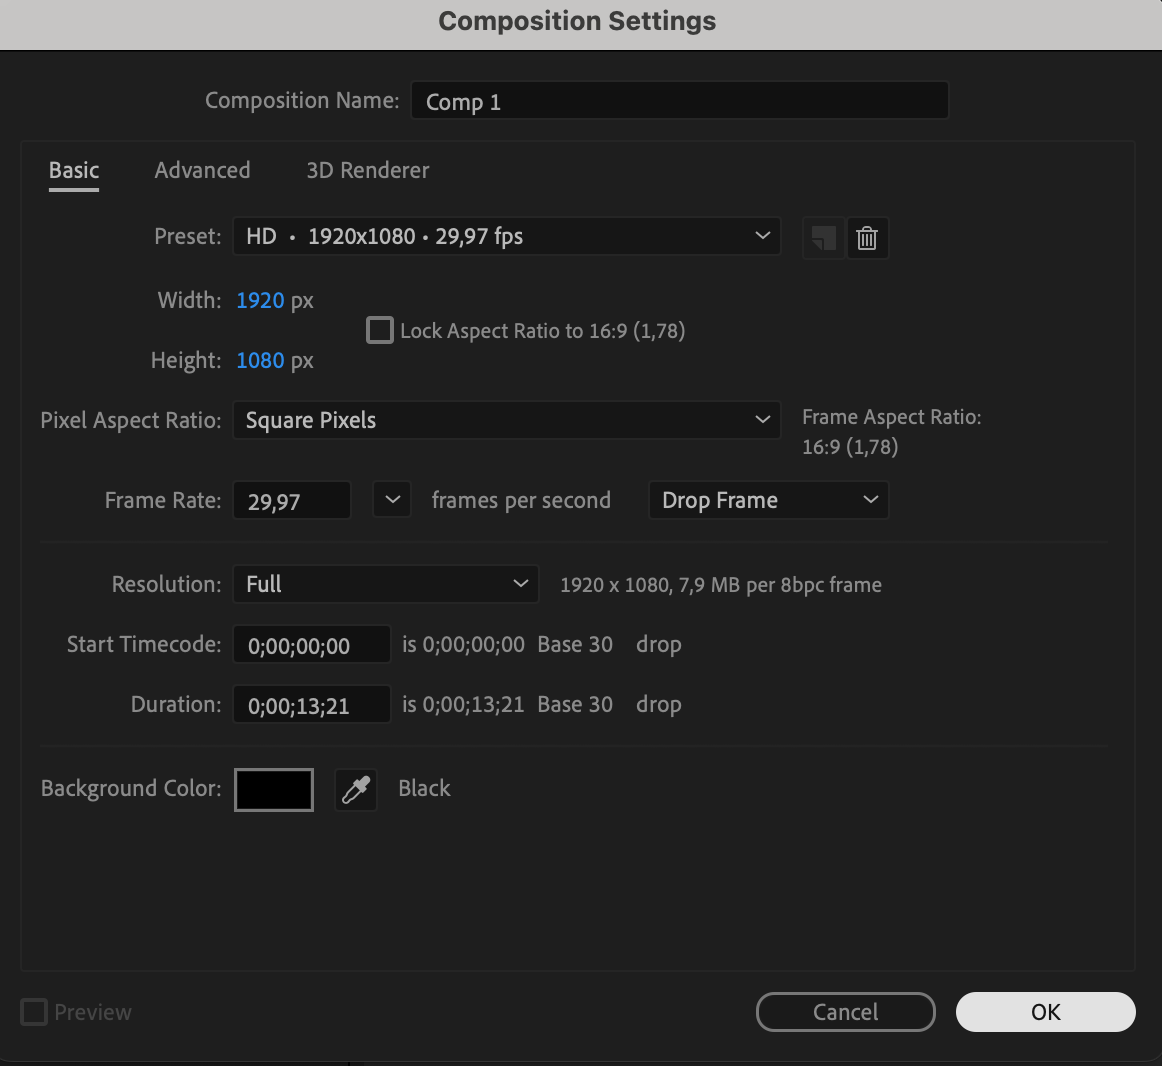
Step 1: Create a New Composition
Open After Effects and go to Composition > New Composition. Choose your desired resolution (e.g., 1920×1080), frame rate (e.g., 30fps), and duration. Name your composition and click OK.
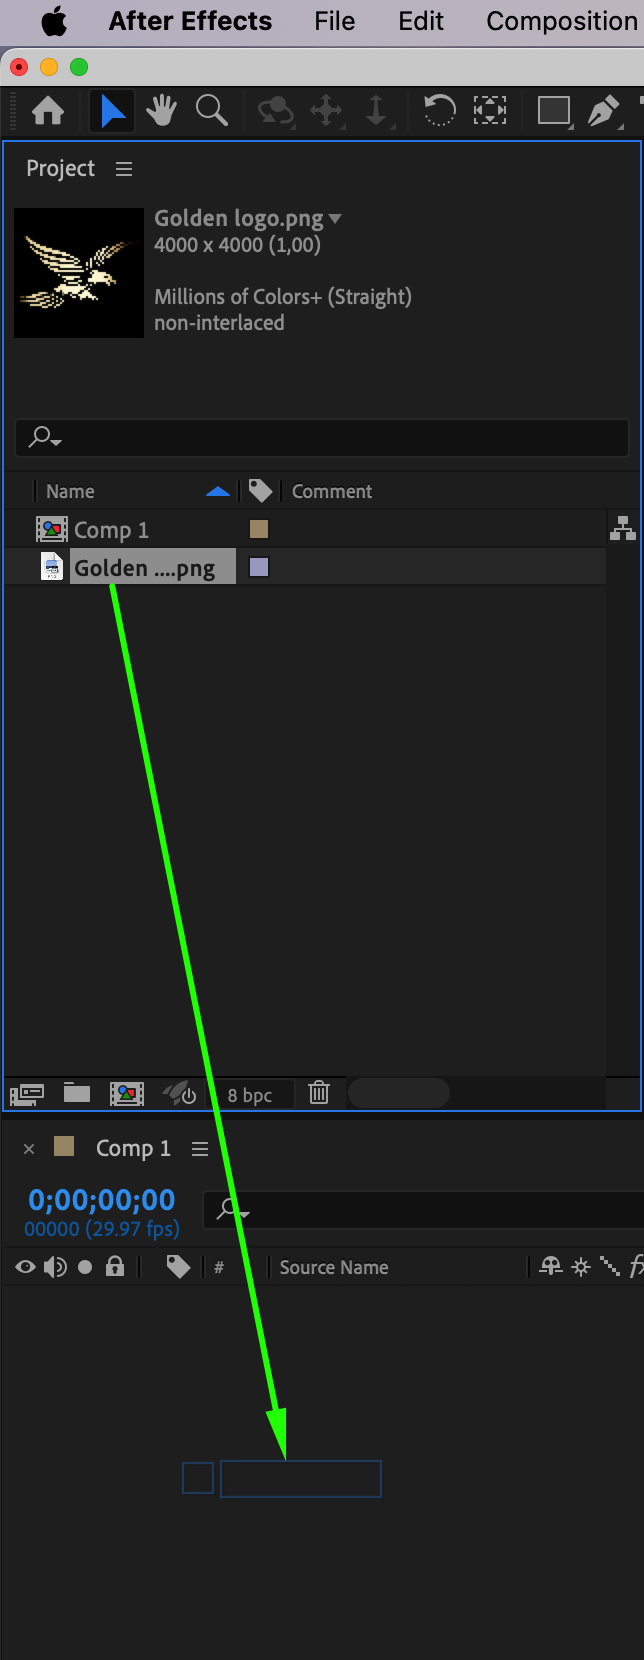
 Step 2: Import Your Logo
Go to File > Import > File and select your logo file (preferably PNG or vector). Drag the logo into your timeline to add it to the composition.
 Step 3: Adjust Logo Scale
Select the logo layer and press “S” to reveal the Scale property. Adjust the size to fit your scene by dragging the percentage or typing in a value manually.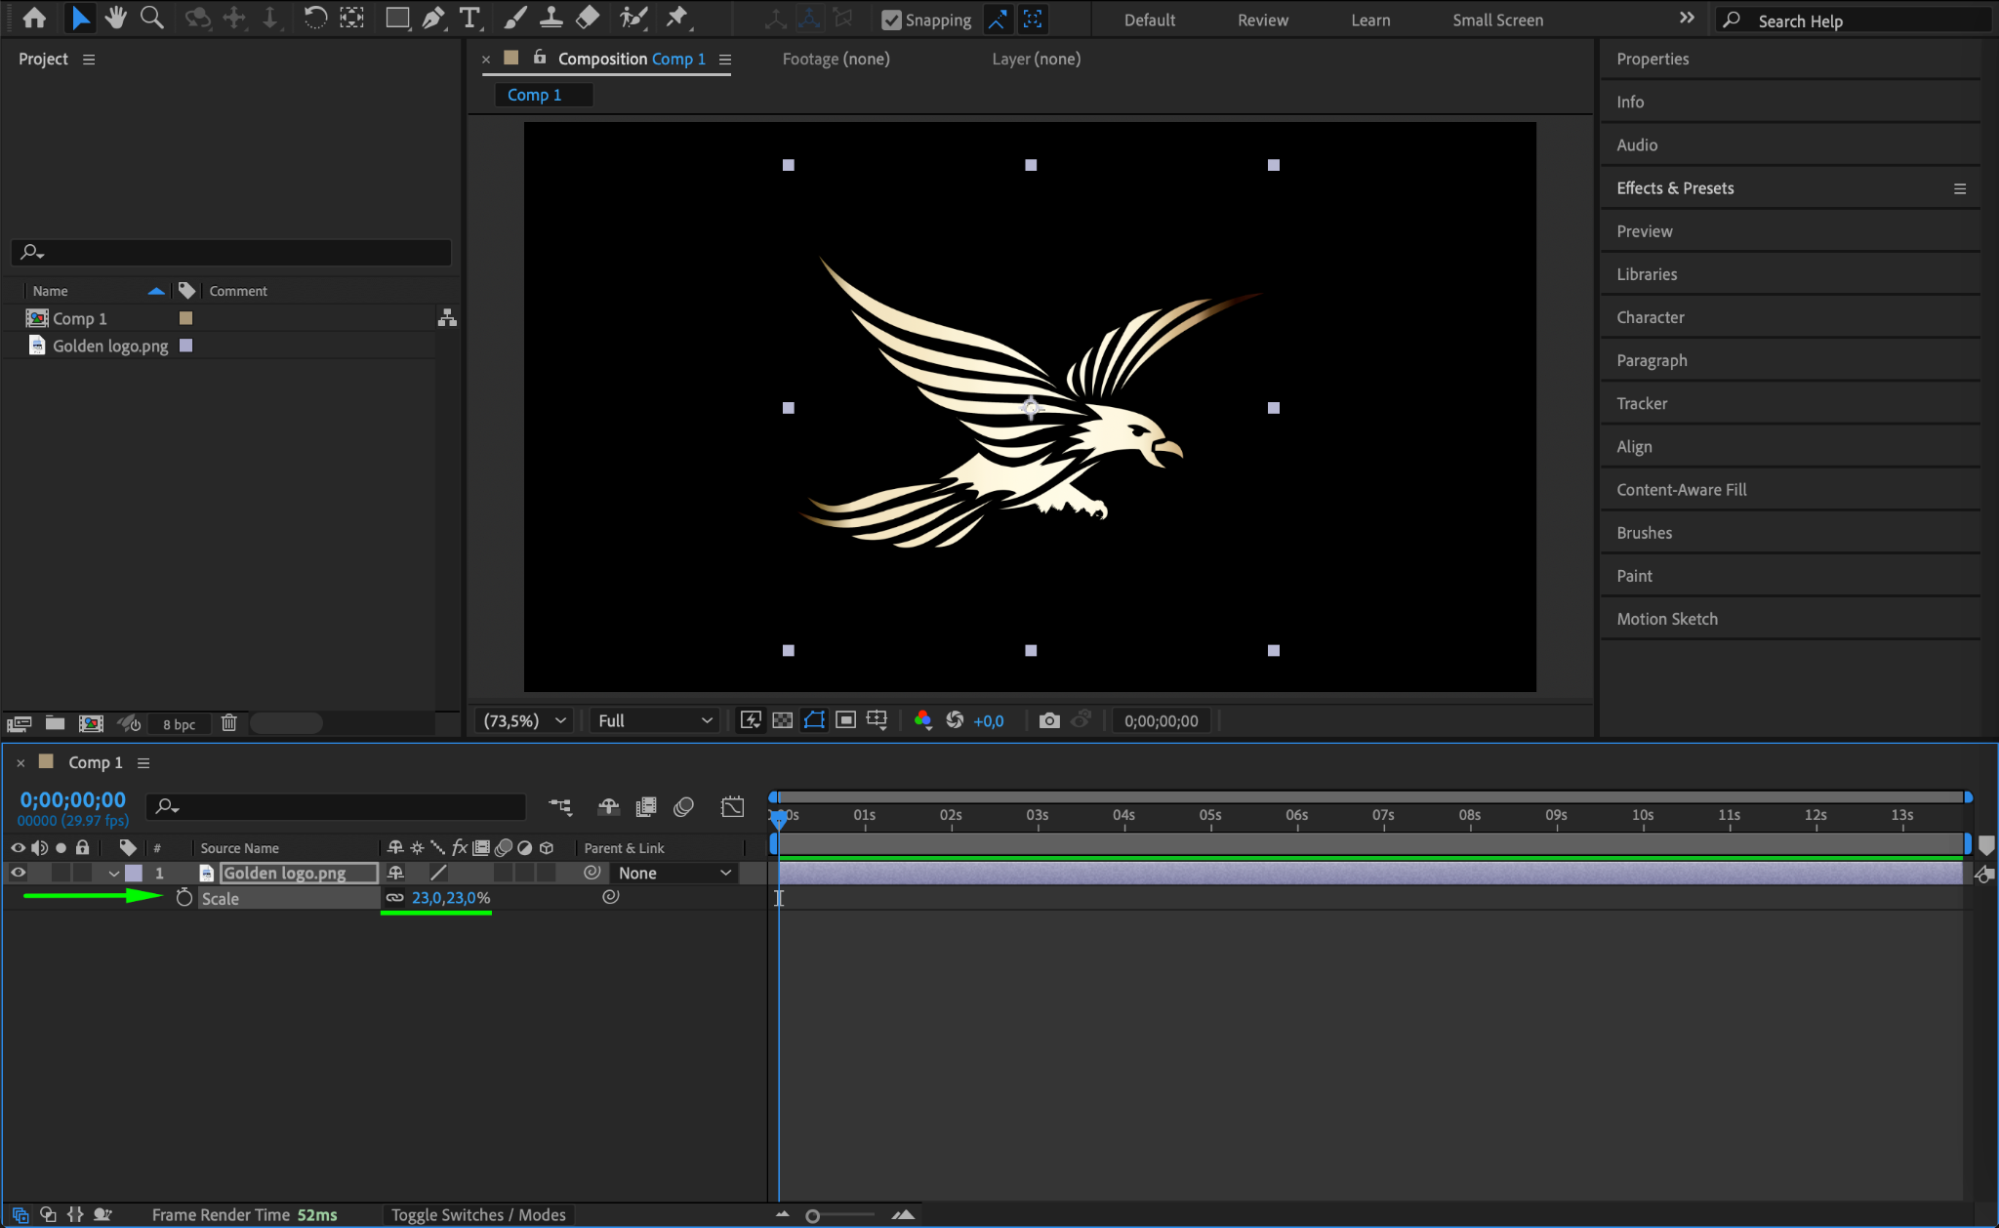
Get 10% off when you subscribe to our newsletter

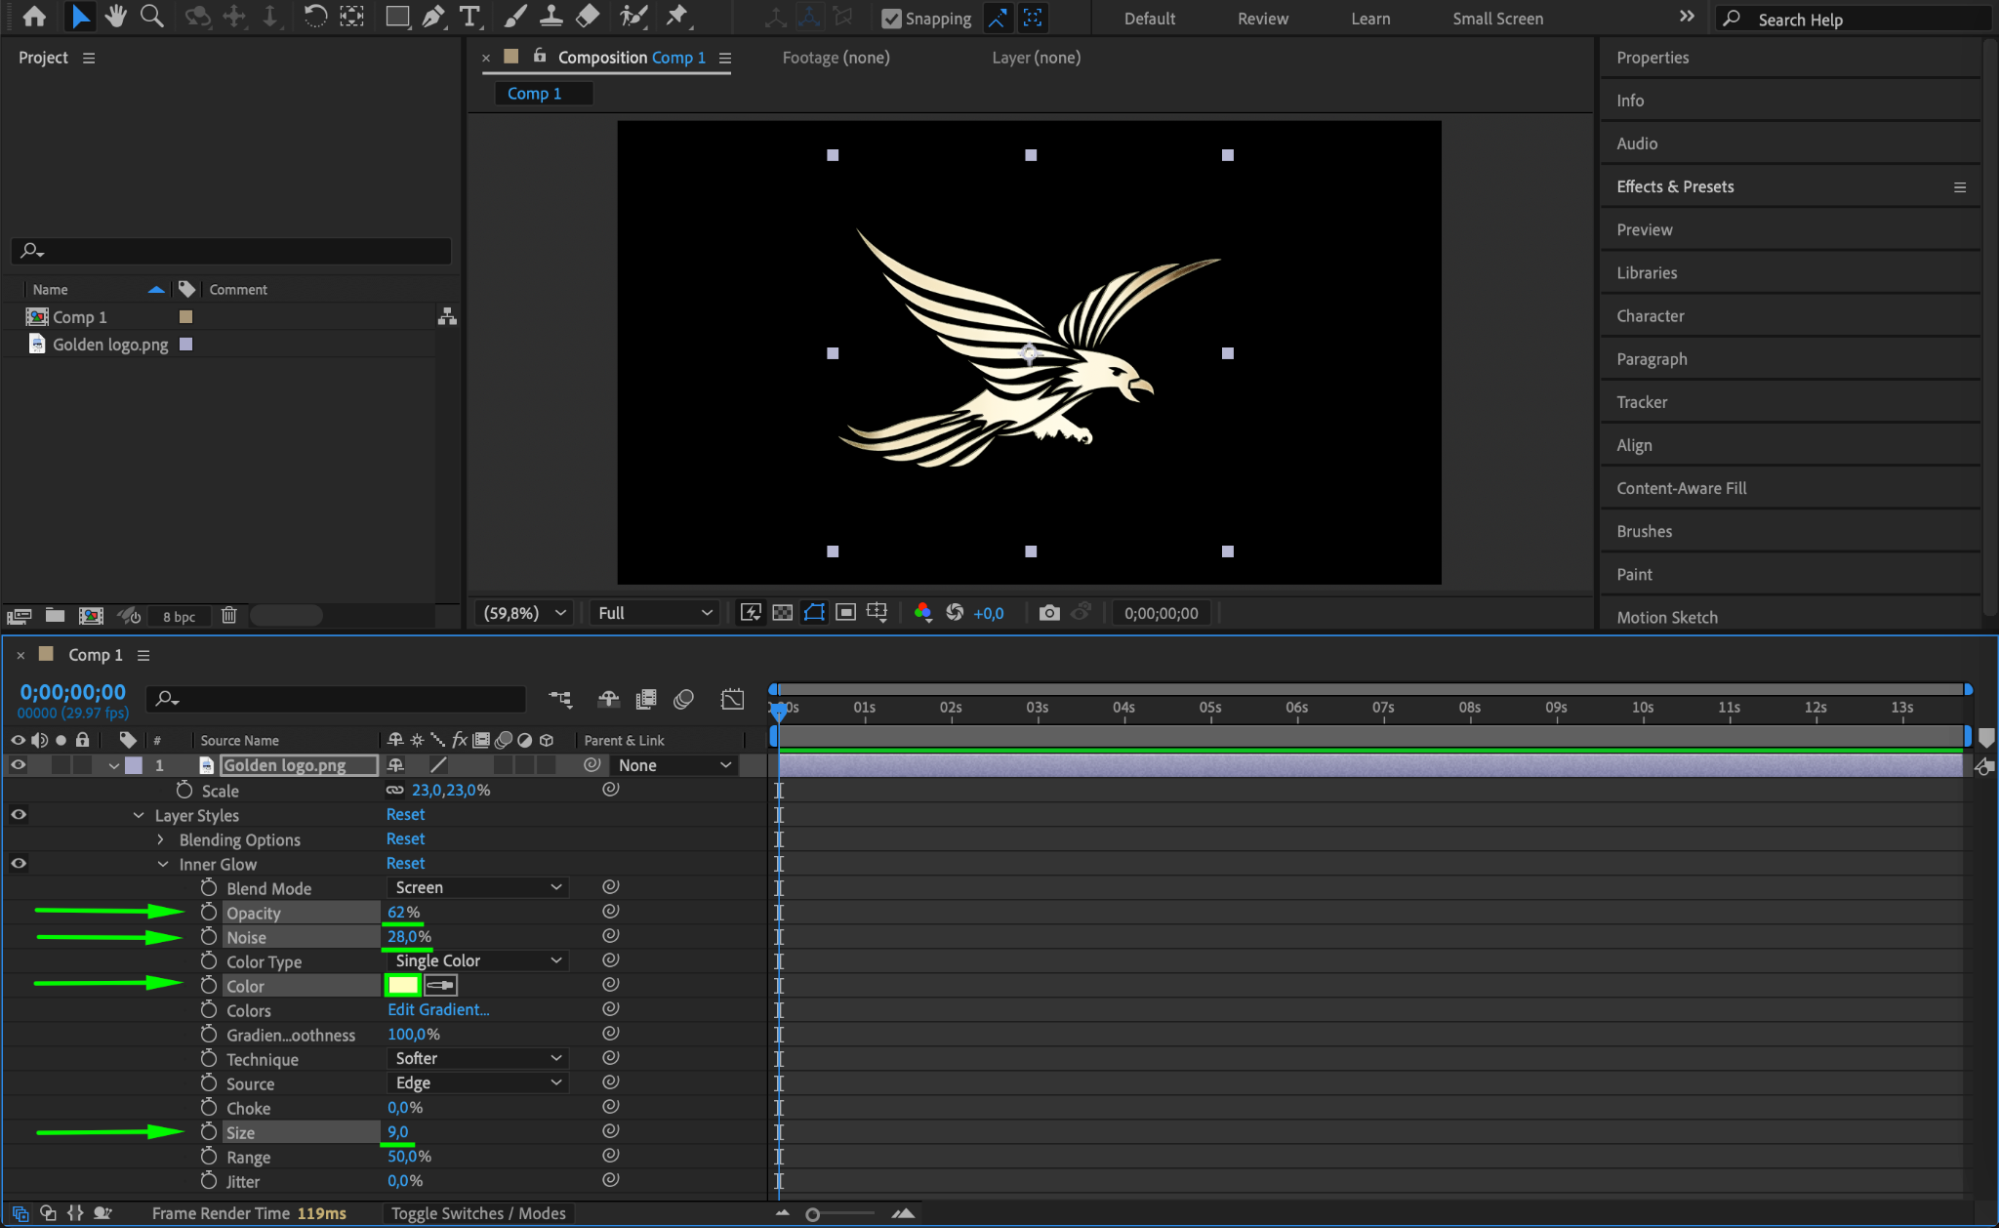
Step 4: Add Inner Glow
Right-click on the logo layer and go to Layer Styles > Inner Glow. In the Timeline, click the arrow next to the layer to access Layer Styles > Inner Glow, and tweak Opacity, Noise, Color, and Size until it looks good.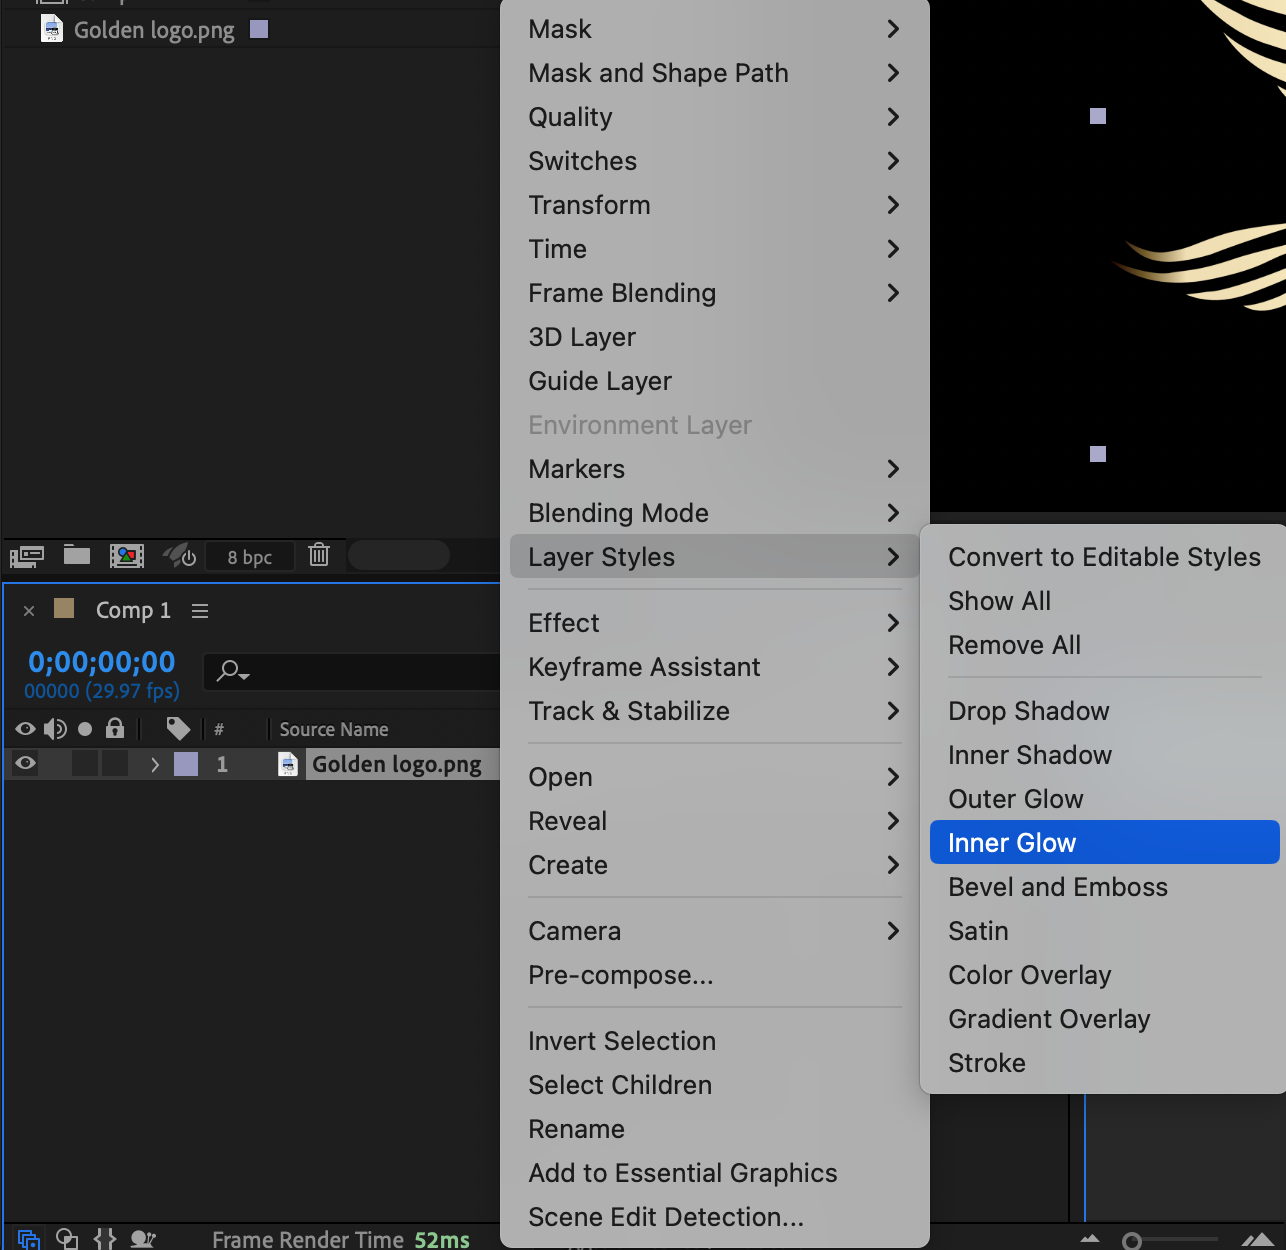
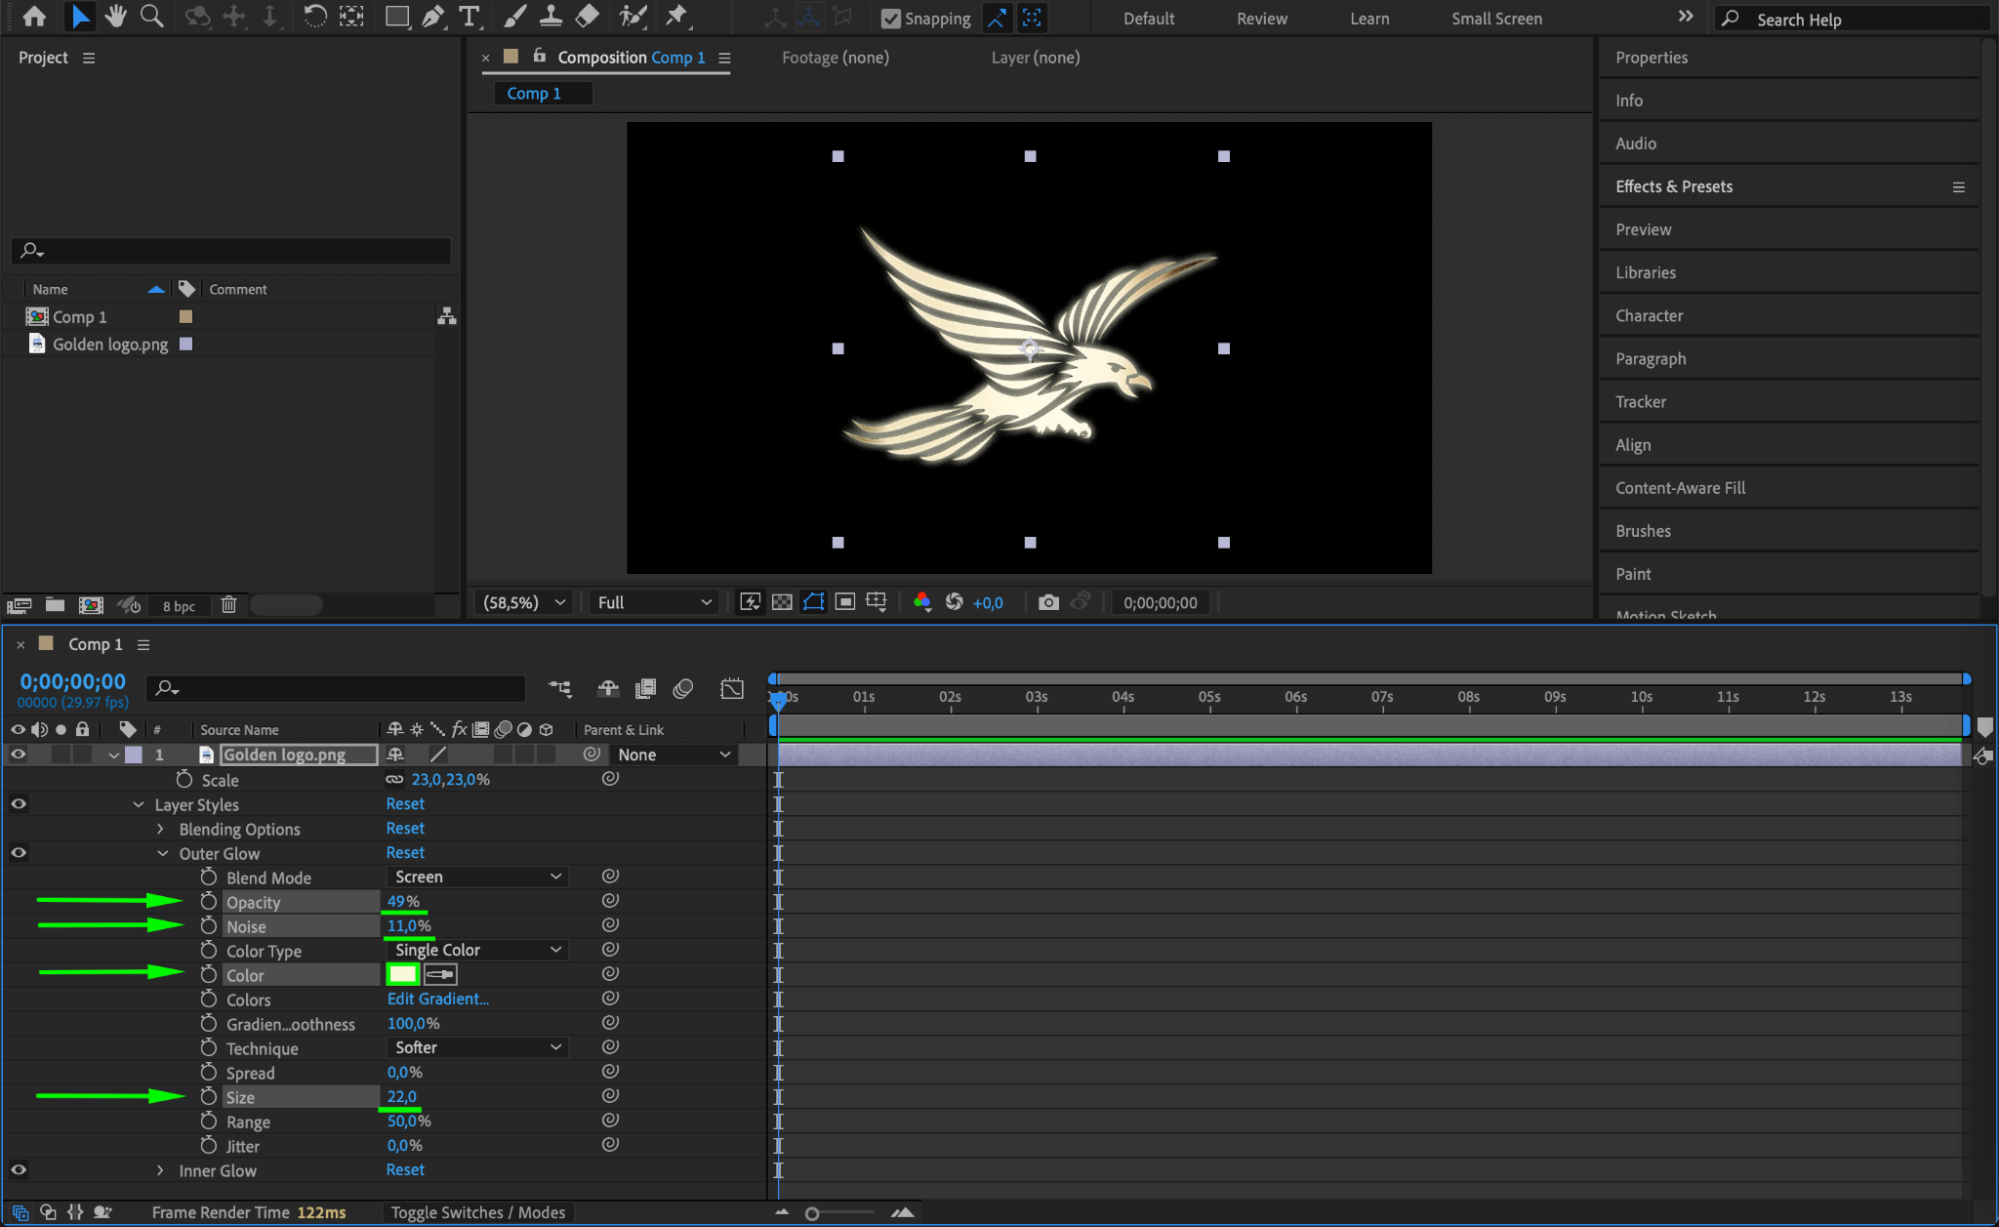
 Step 5: Add Outer Glow
Right-click the logo layer again and choose Layer Styles > Outer Glow. Adjust the settings like Opacity, Noise, Color, and Size for a glowing edge around the logo.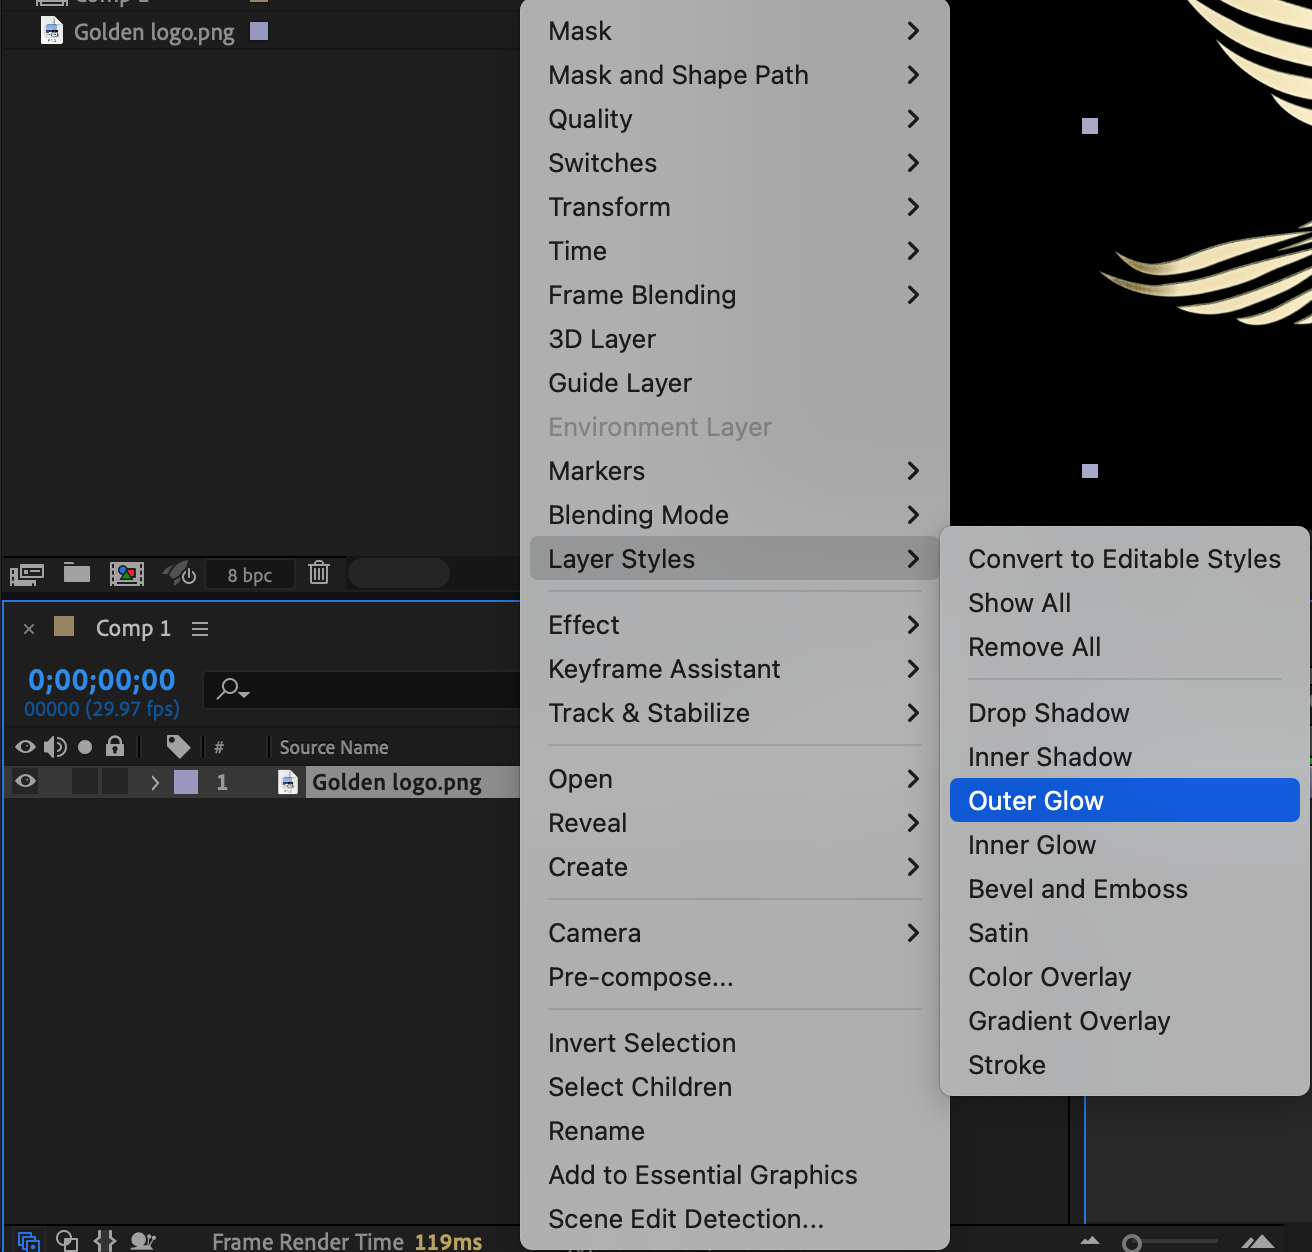
Step 6 (Optional): Add the Glow Effect
From the Effects & Presets panel, drag the Glow effect onto your logo layer. In the Effect Controls Panel, you can adjust Glow Threshold, Glow Radius, and Glow Intensity for more control over the glow appearance.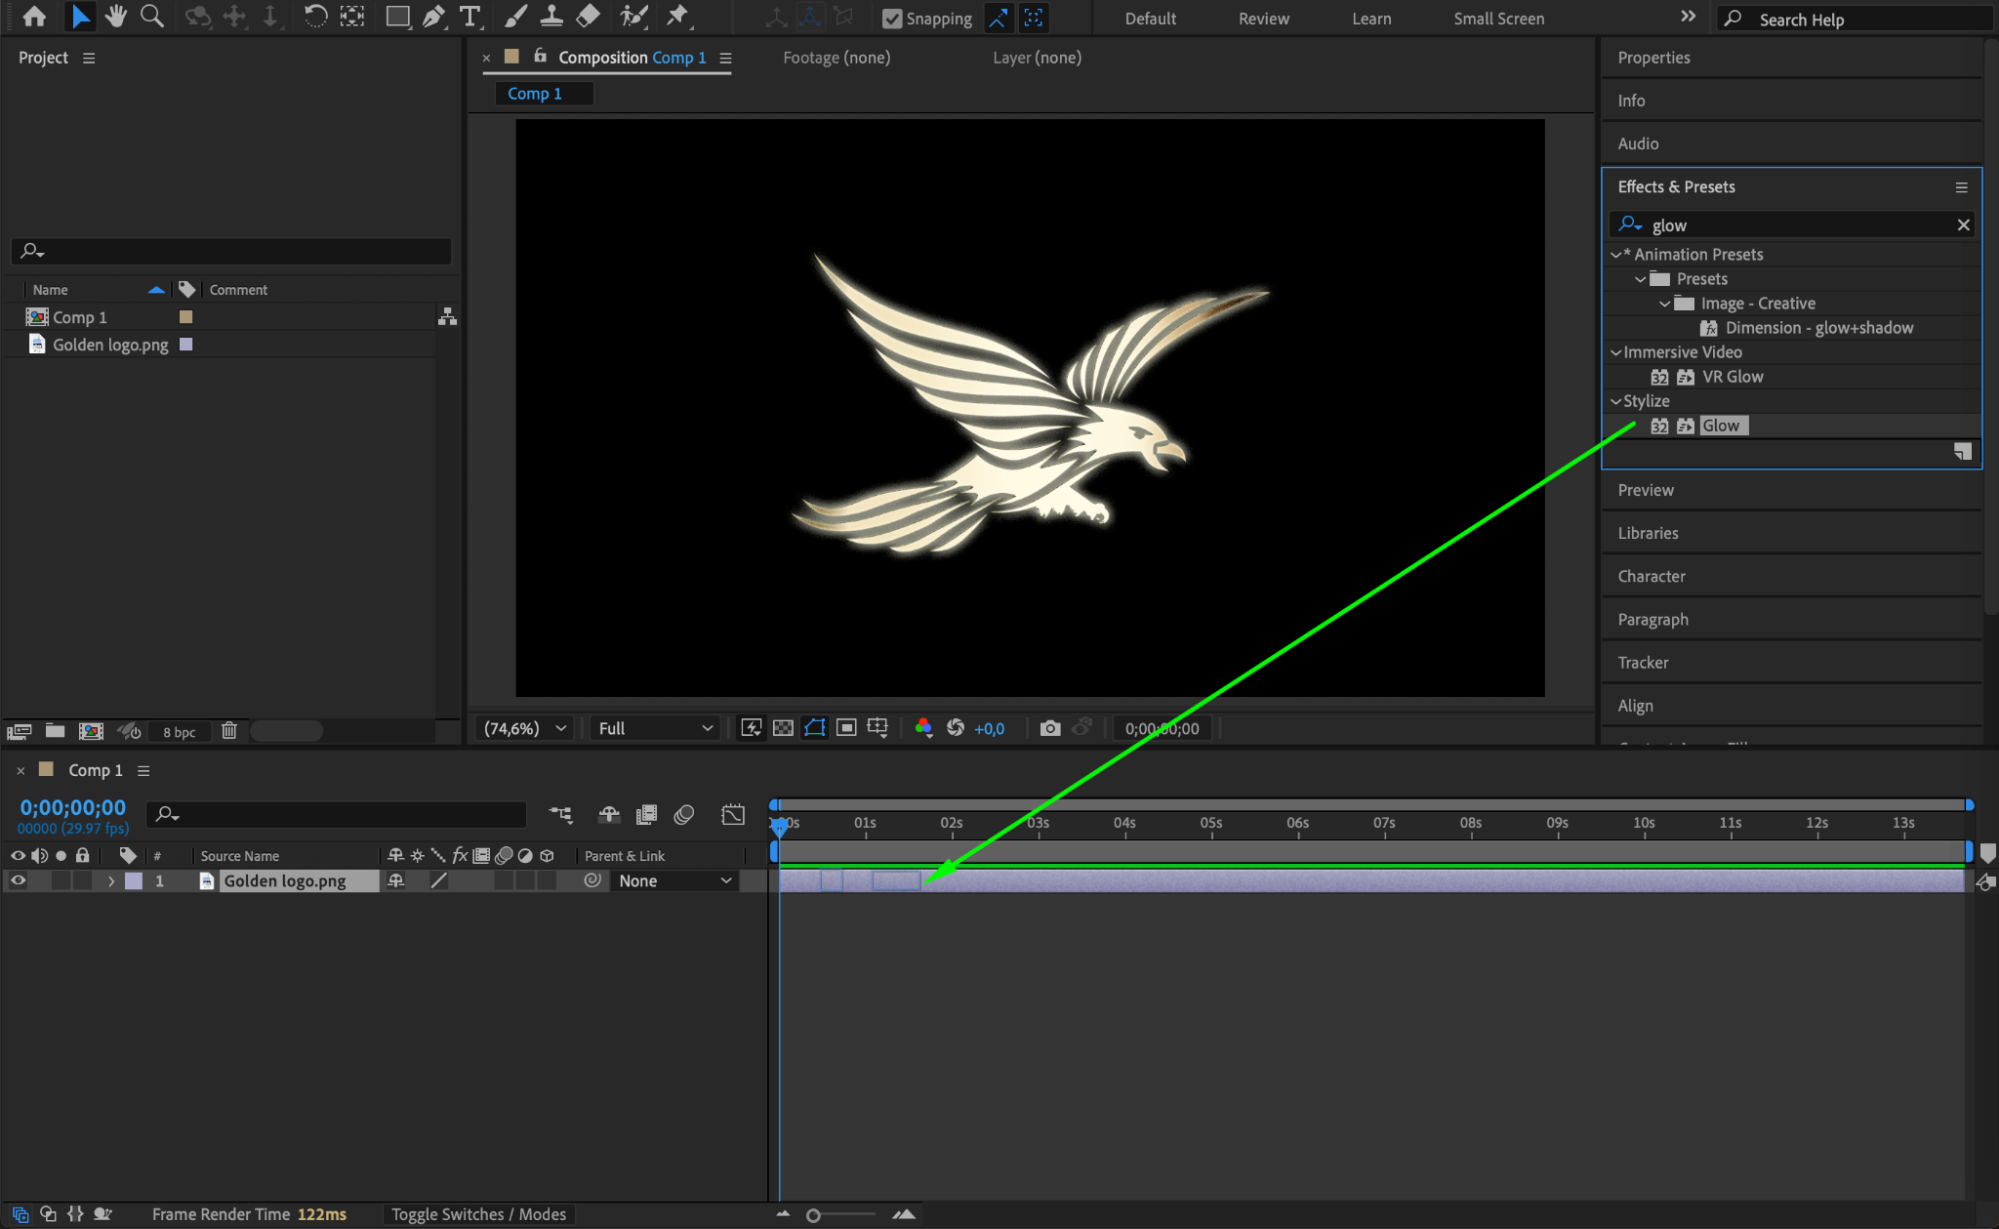 Step 7 (Optional): Animate the Glow
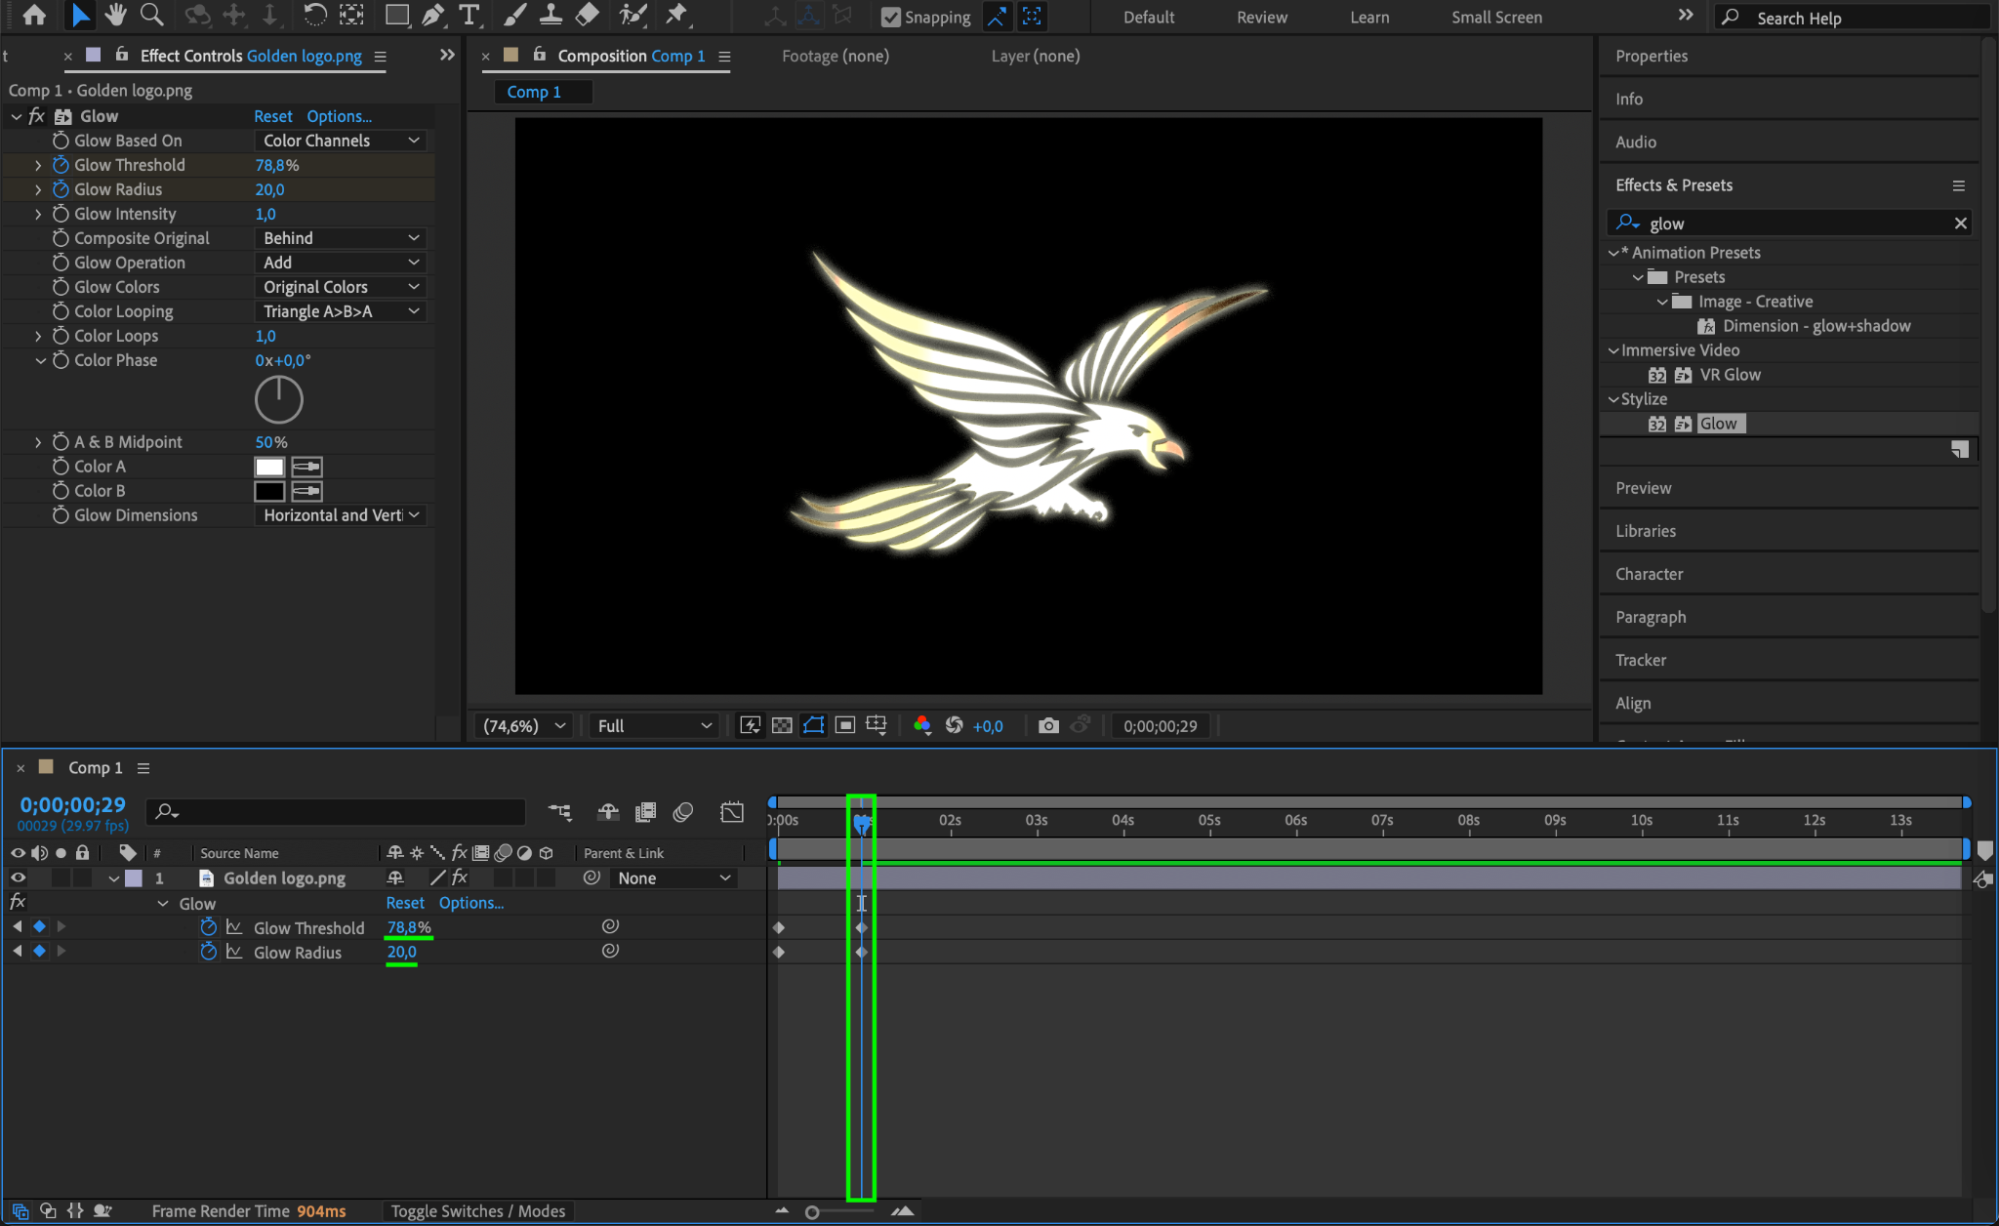
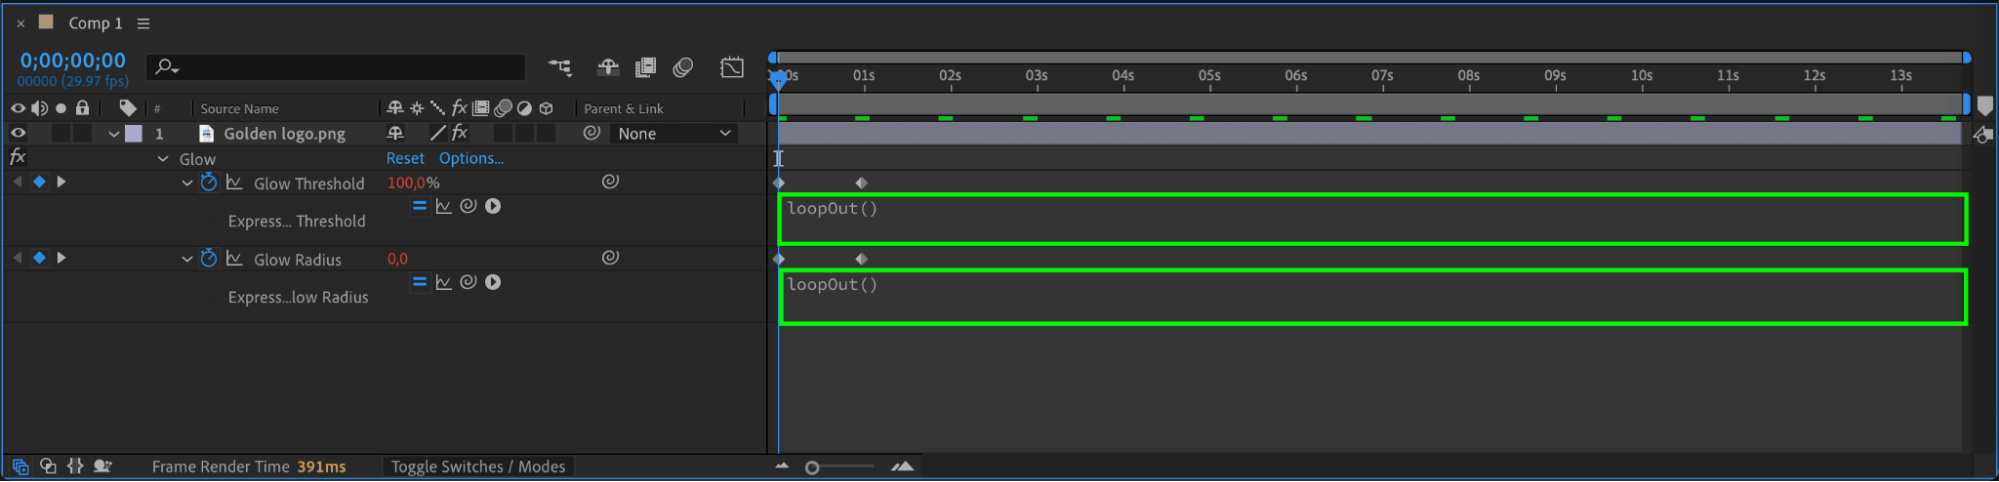
If you’d like to animate the glow, set Glow Threshold to 100 and Glow Radius to 0 at the start of the timeline. Click the stopwatch icons. Move the CTI forward and set Glow Threshold to 78 and Glow Radius to 20. Then, hold Alt/Option and click the stopwatch again to add the expression loopOut() for both properties, creating a continuous animation.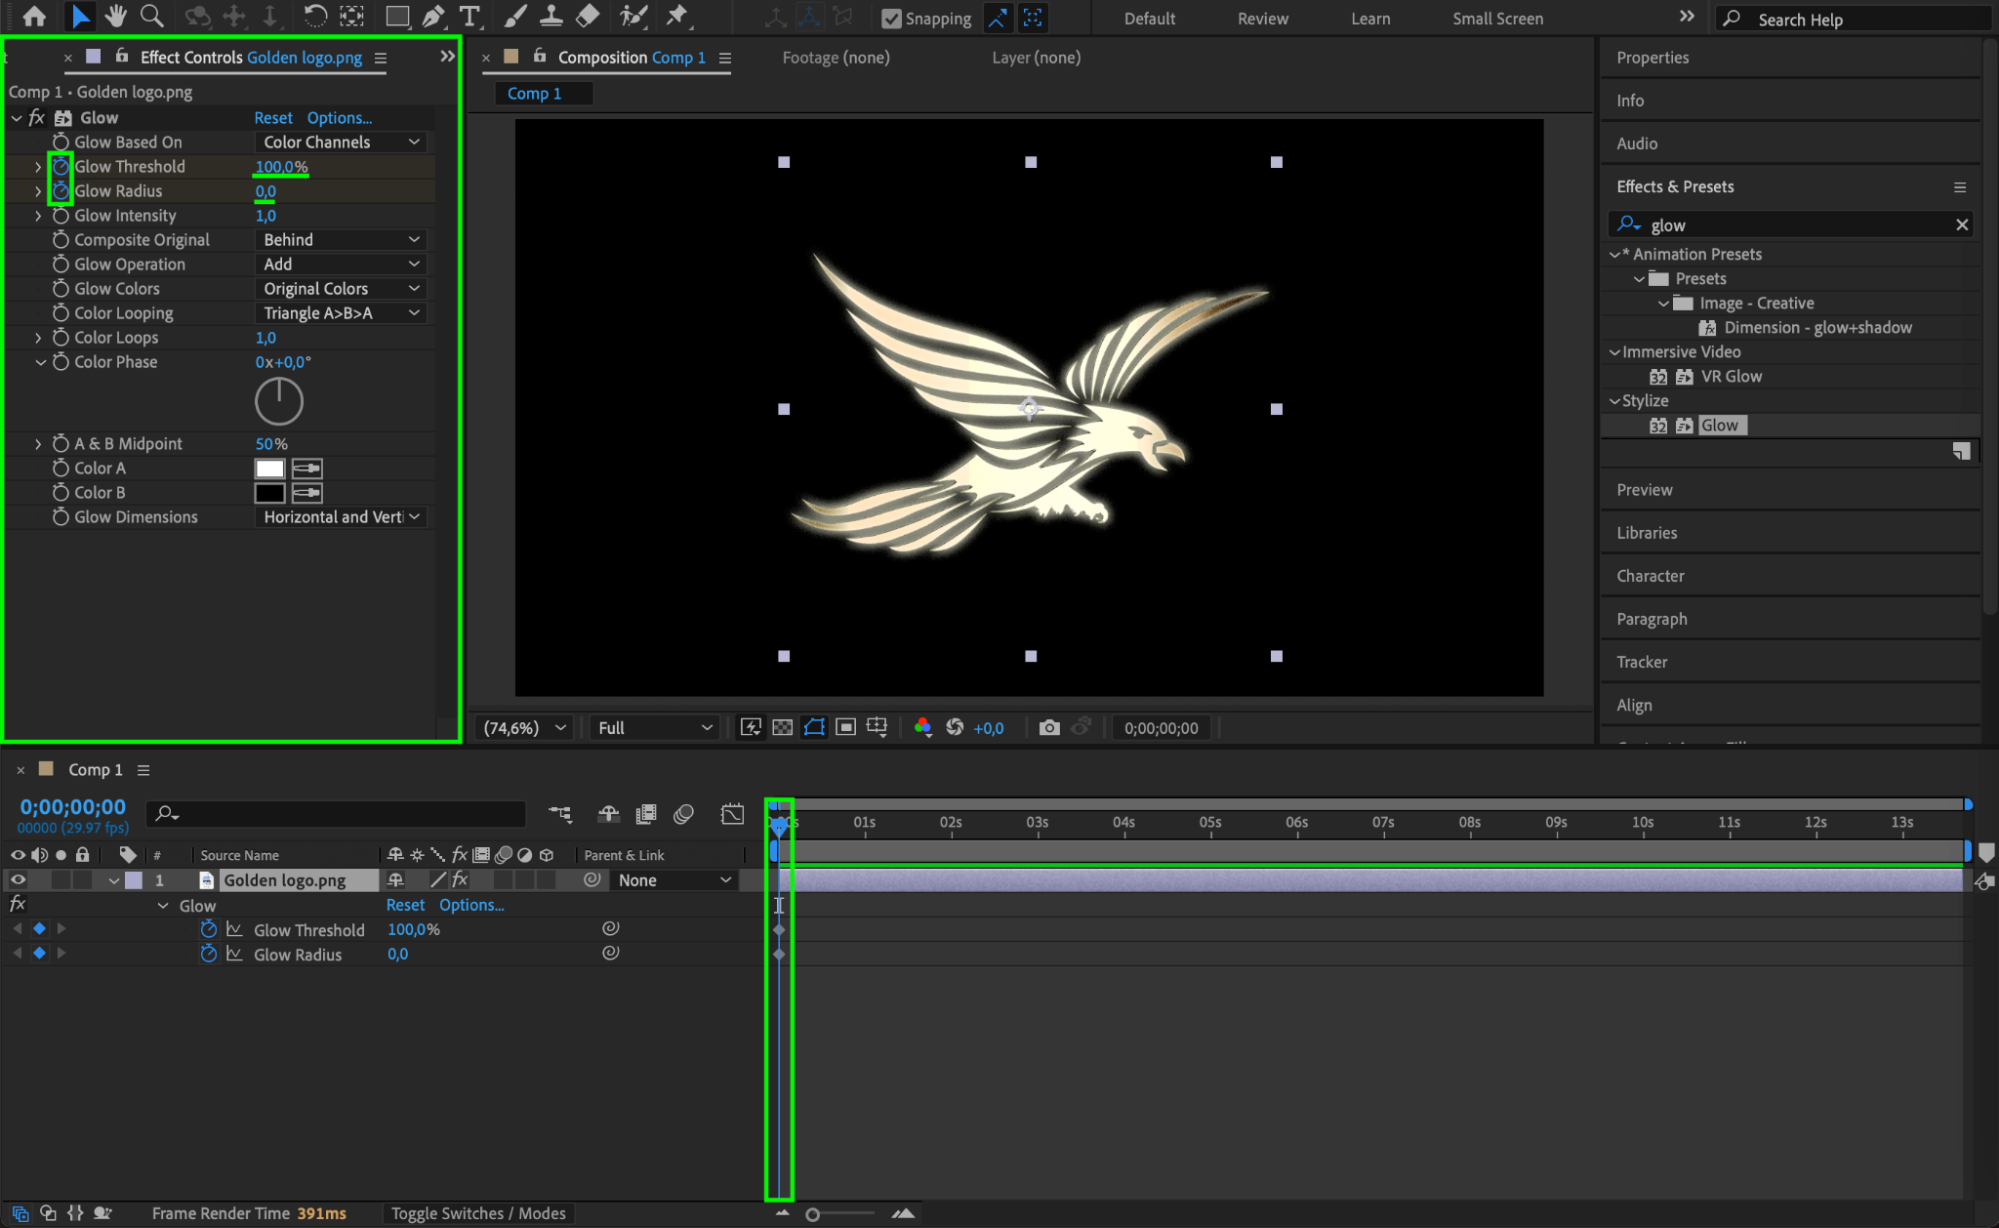
 Step 8: Preview the Animation
Press the spacebar or click Preview to watch your glowing logo animation. Make adjustments if needed for timing, glow intensity, or overall appearance.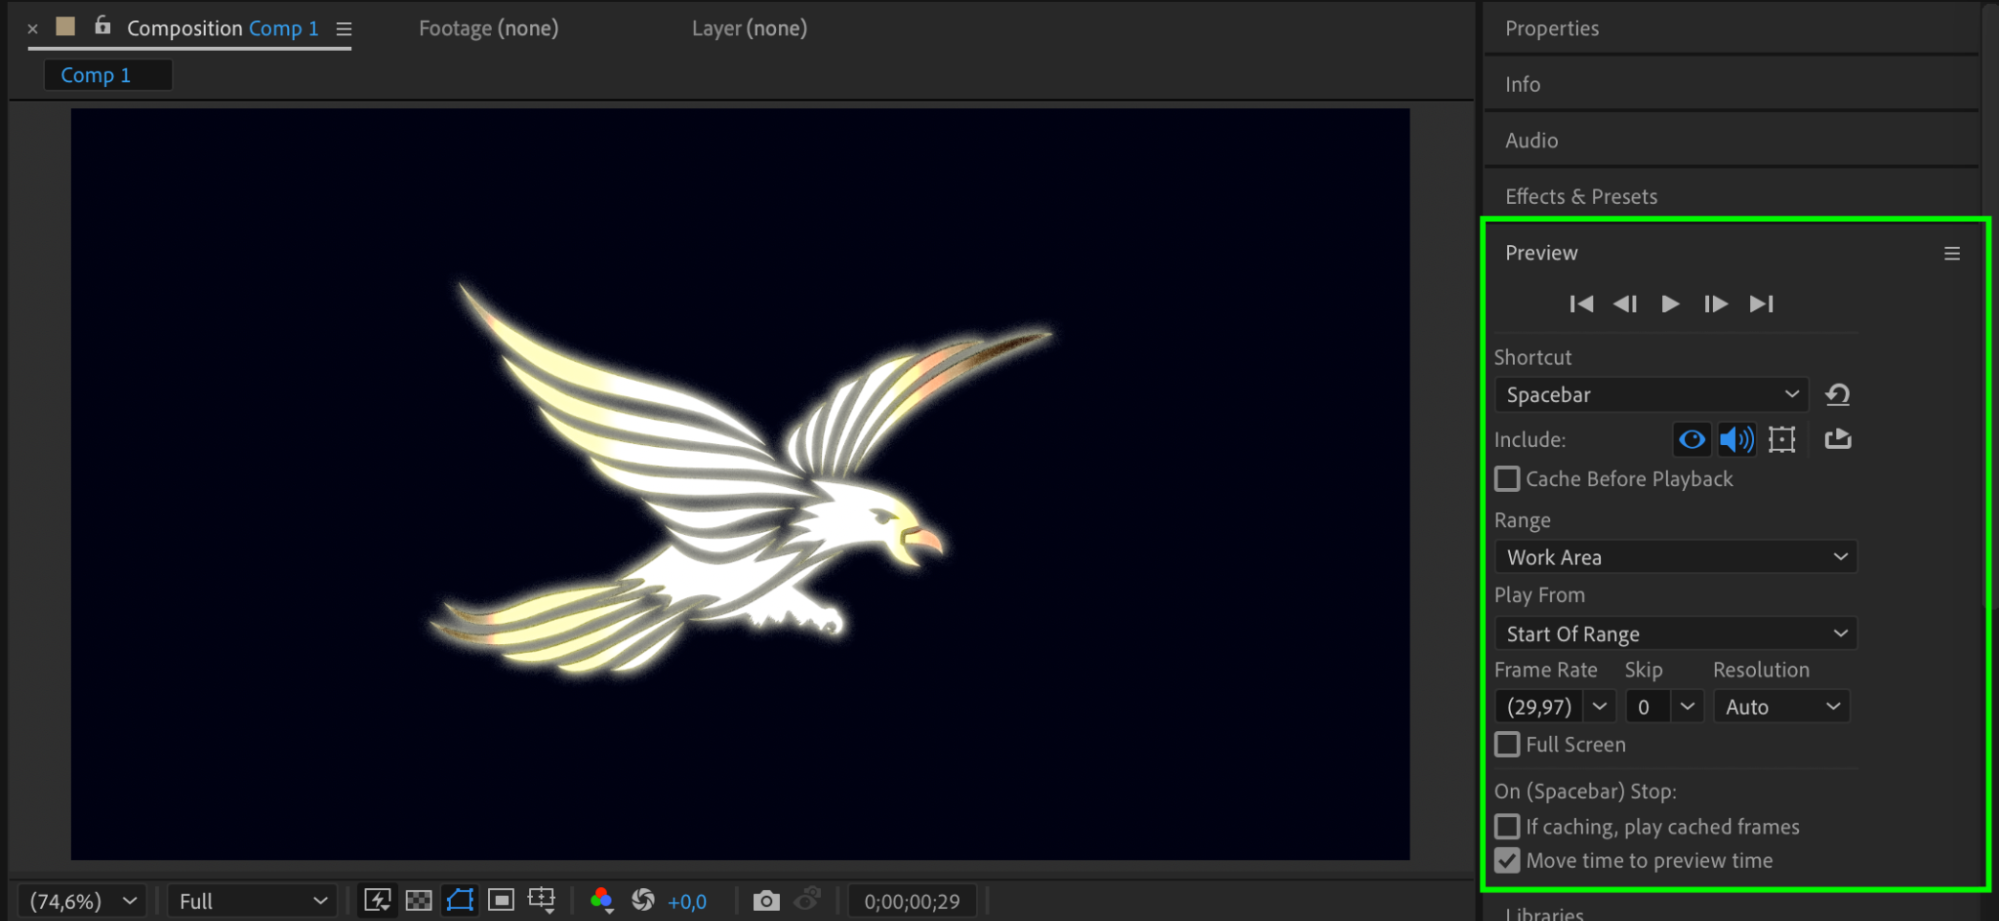
Conclusion
Using just a few layer styles and effects, you can give your logo a glowing, professional appearance in After Effects. Optional animation adds extra motion and makes your design more dynamic and engaging.
Our Bestsellers


