How to Expand the Influence Area of a Rig in Adobe After Effects
Introduction
When working with rigged characters or objects in Adobe After Effects, especially using tools like Puppet Pins or DUIK, you might notice that control points affect only a small part of the mesh. If you want smoother, more flexible motion or broader influence, you can increase the rig’s area of effect. This guide will show you how to expand the control zone of a rig to improve animation quality and flexibility.
Step 1: Import and Prepare Your Artwork
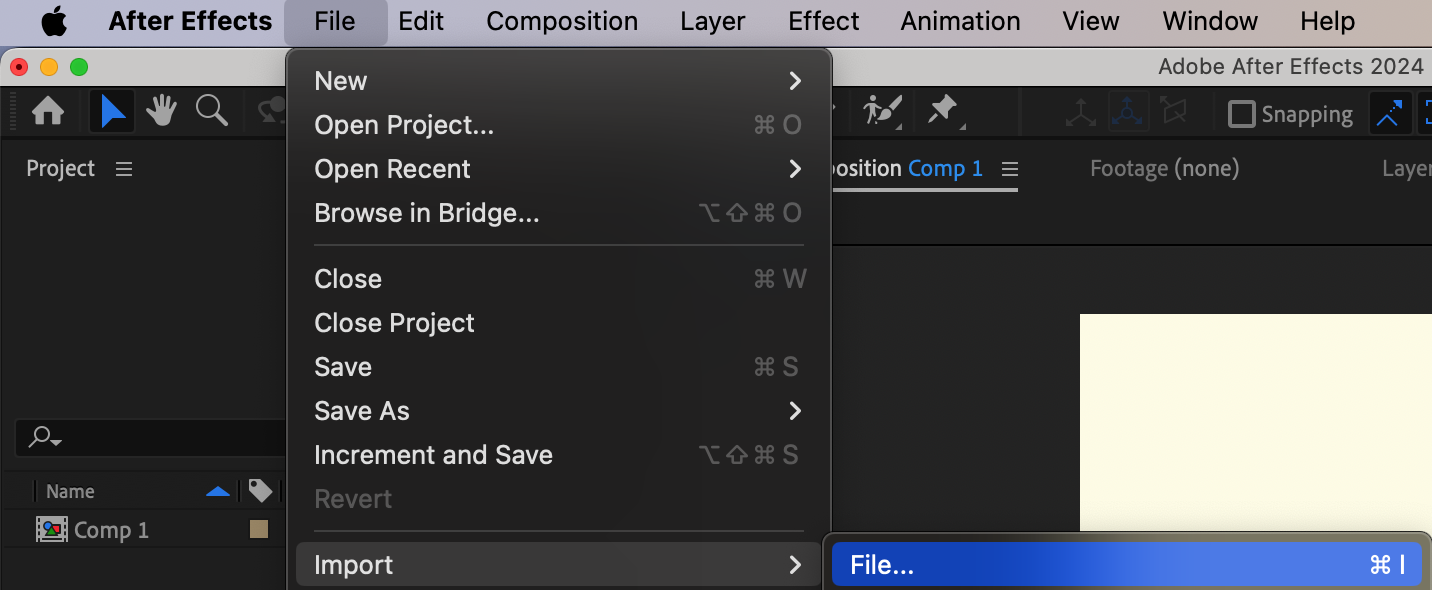
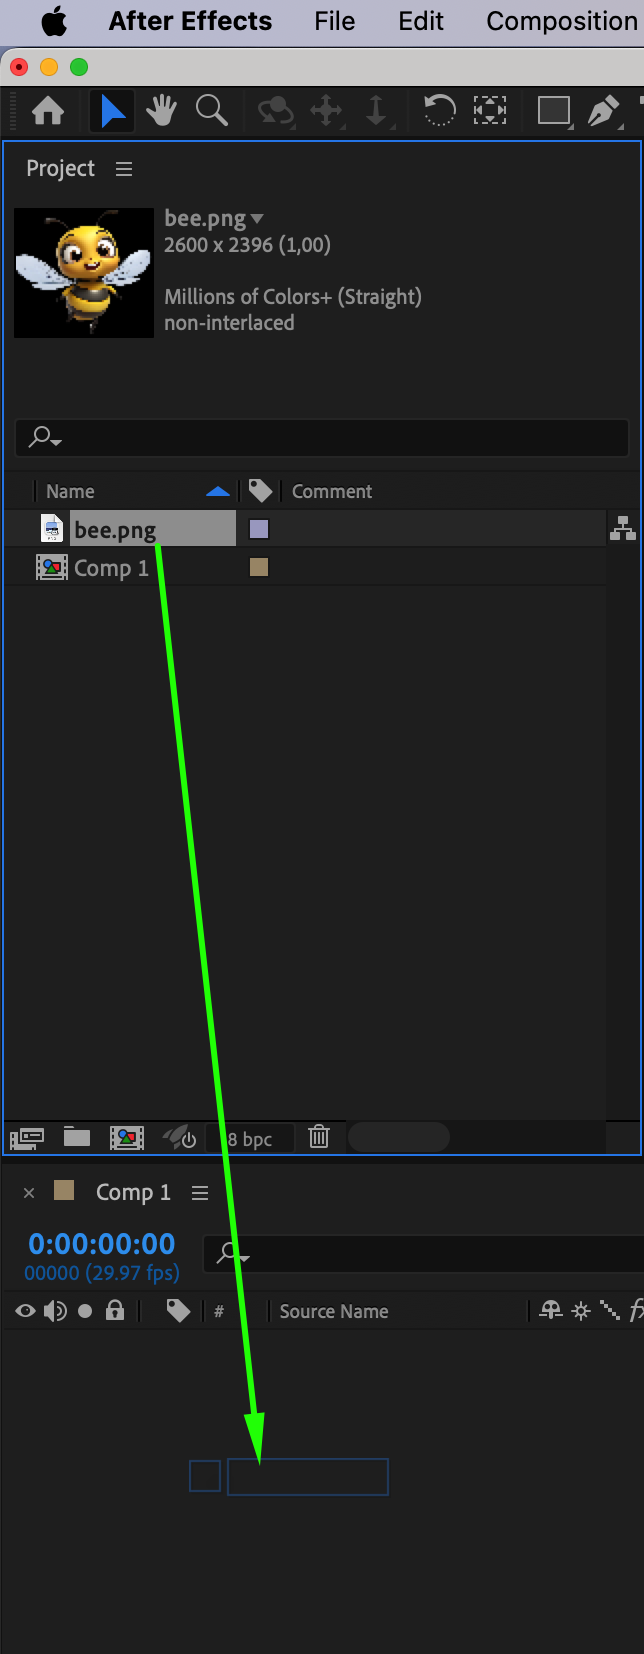
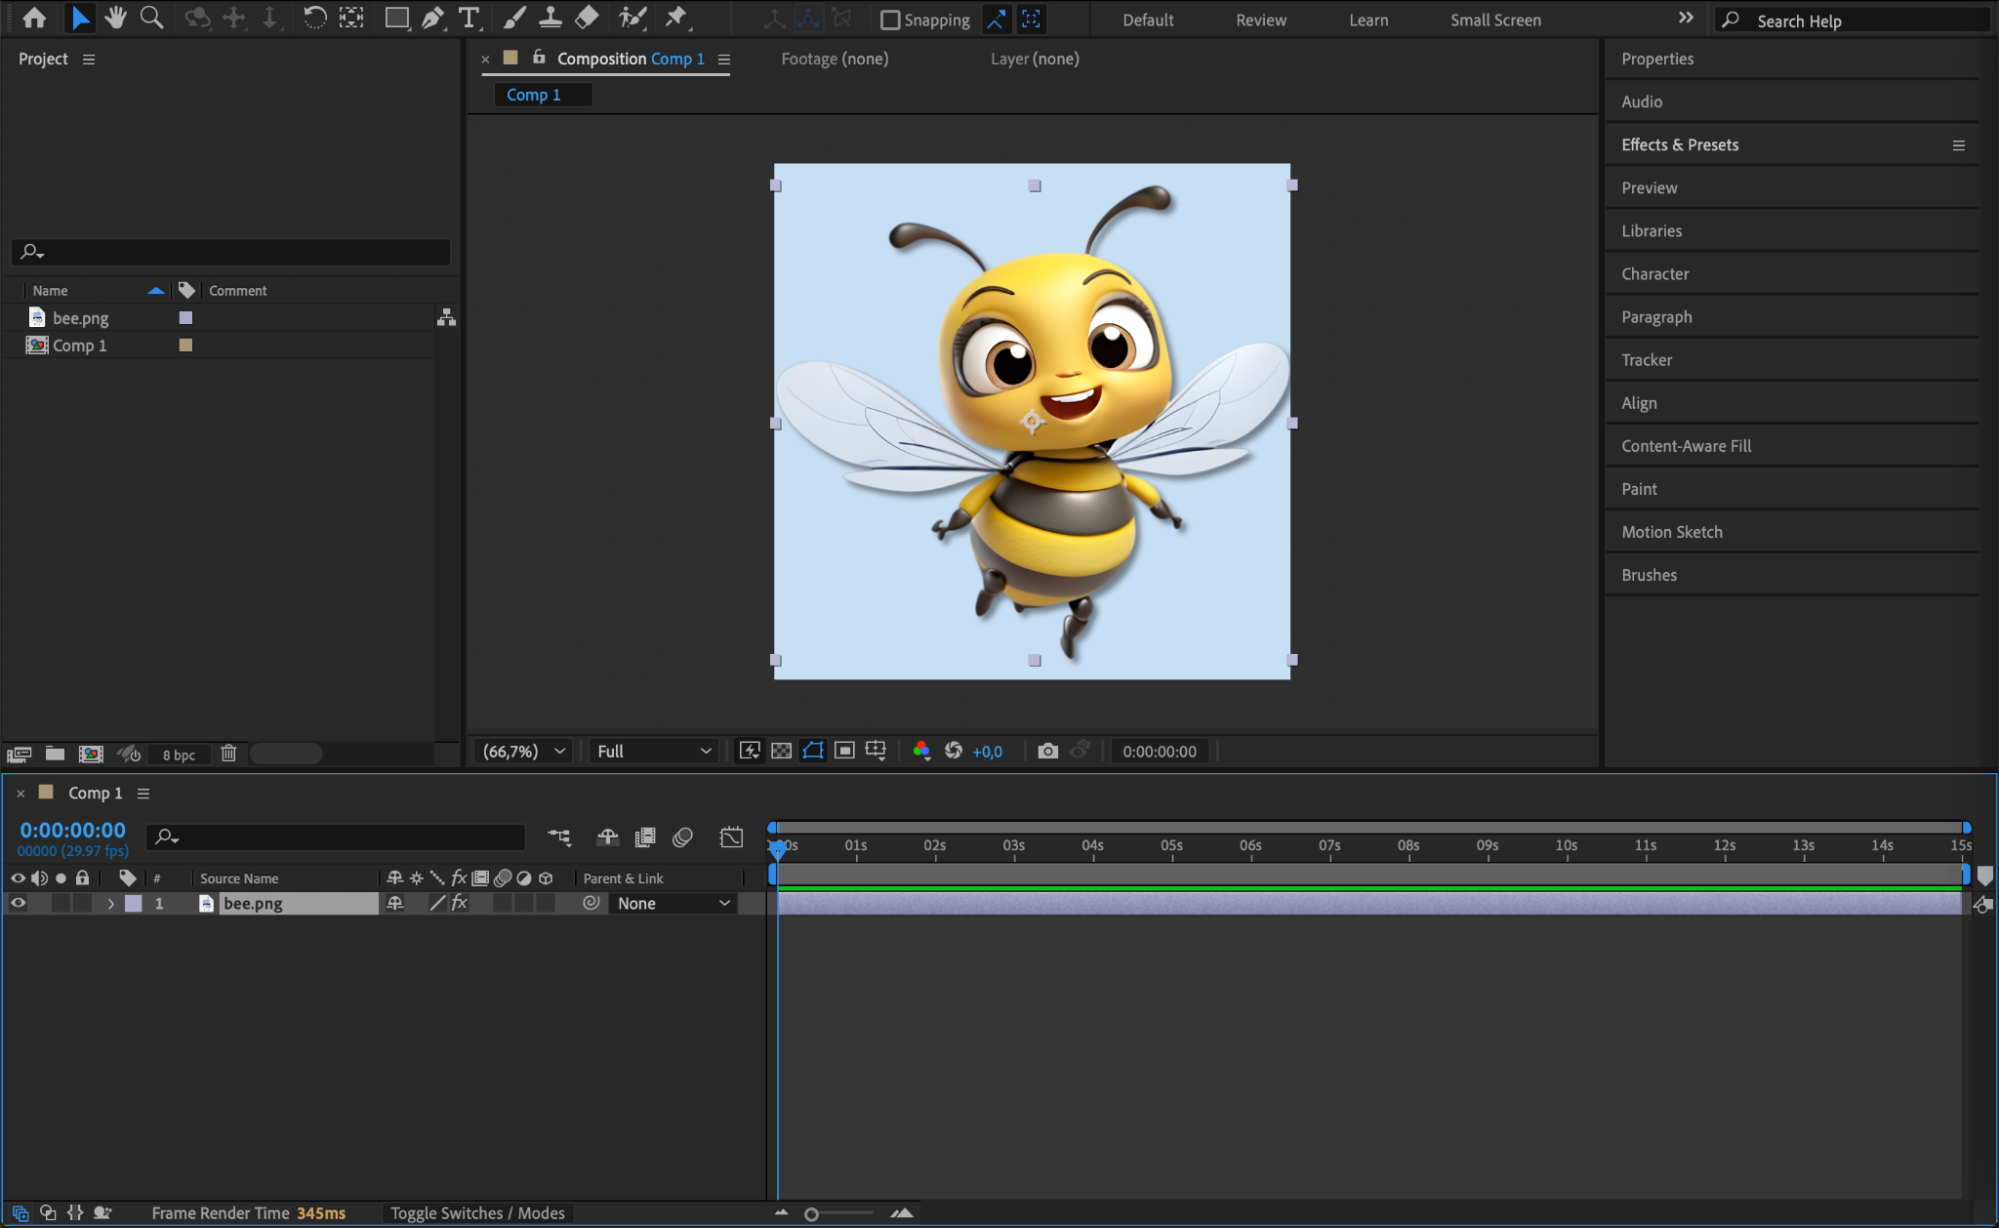
Begin by importing your rigged character or image into After Effects (File > Import > File). Place it on the timeline and ensure it’s fully visible
 Step 2: Apply Puppet Pins
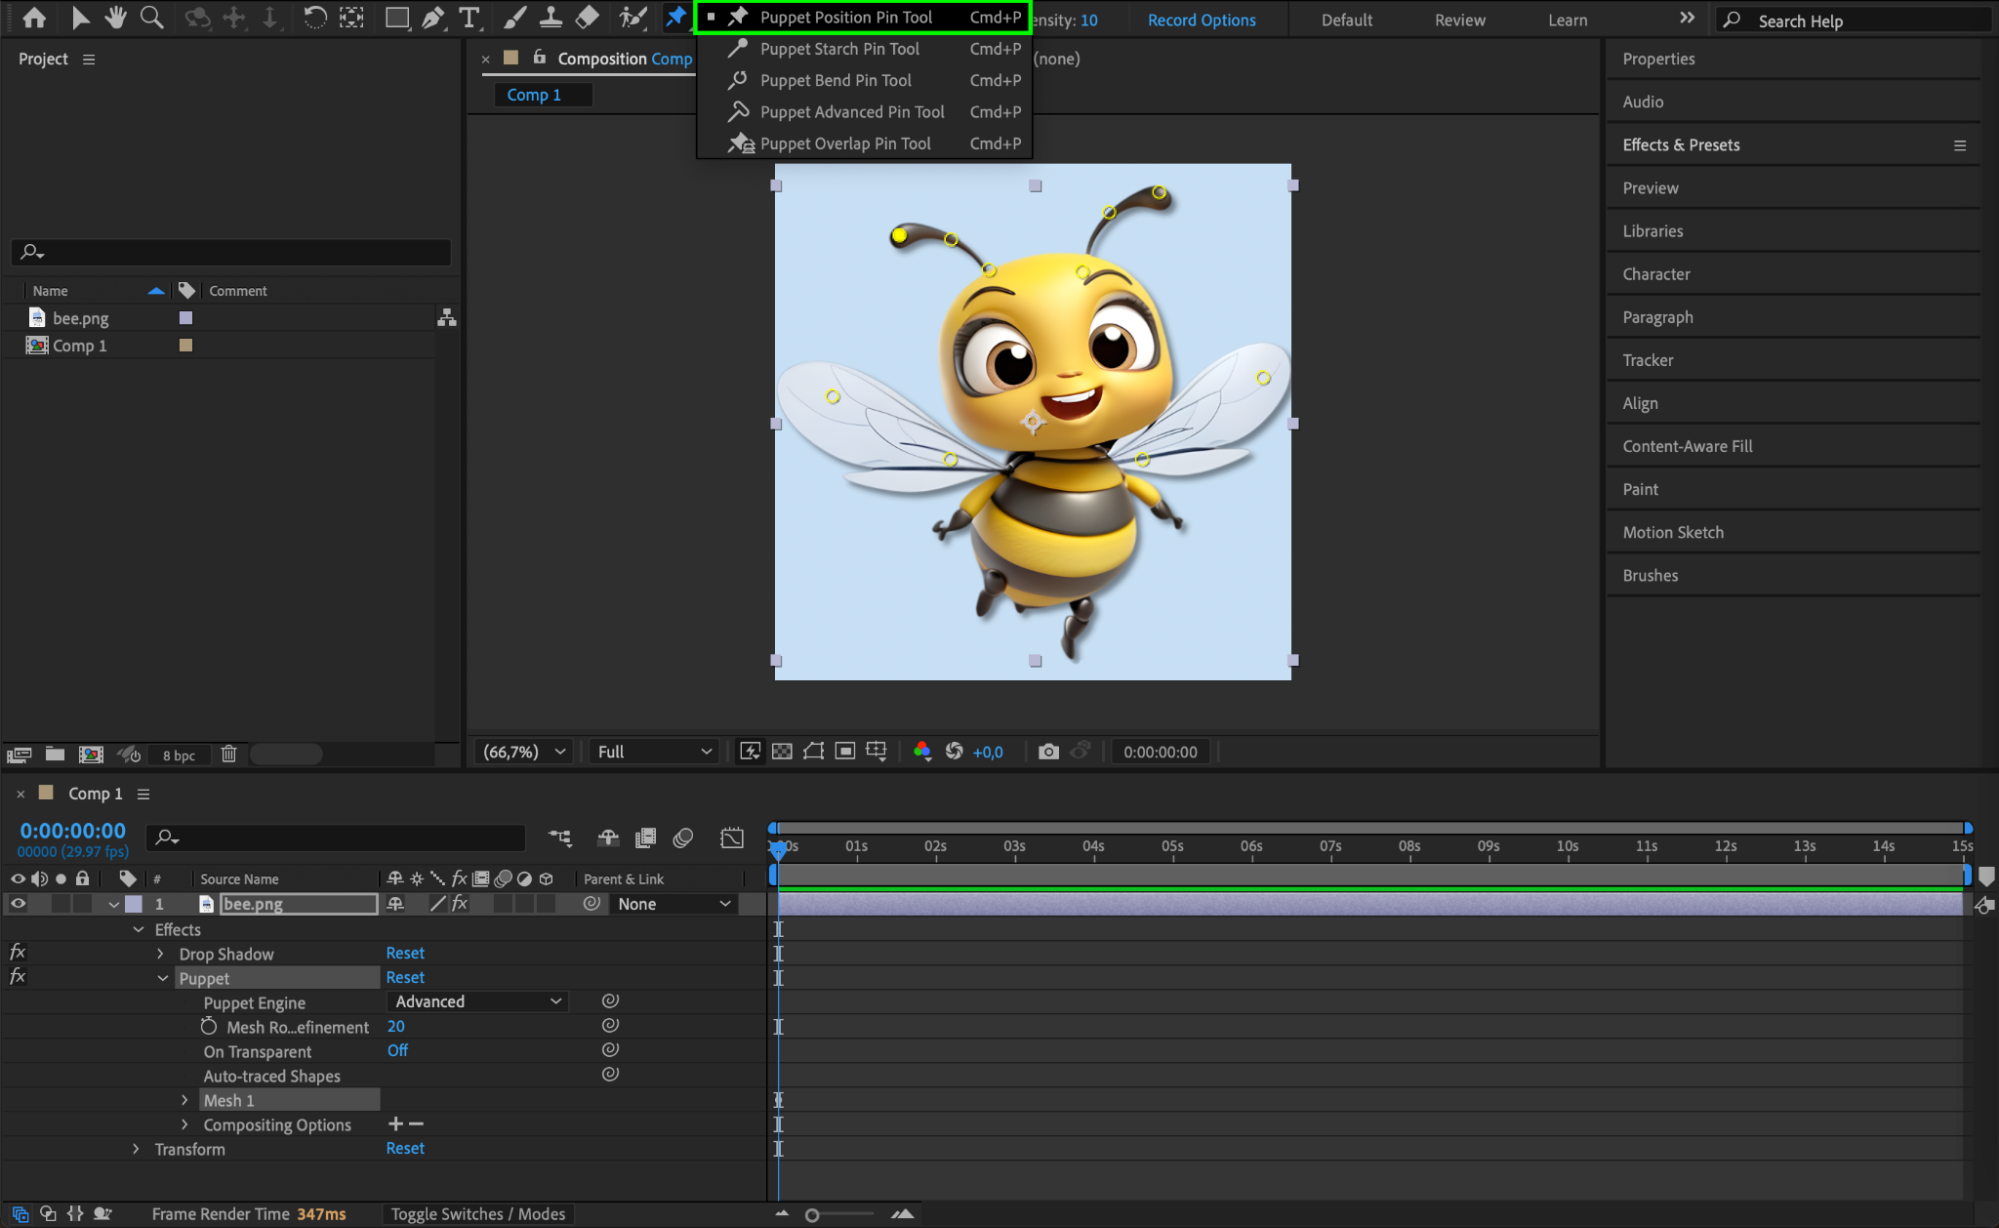
Select the layer you want to rig, then choose the Puppet Position Pin Tool (Ctrl/Cmd + P) from the toolbar. Click on the image to add pins where you want movement — typically on joints like shoulders, elbows, knees, etc. The area each pin affects depends on the mesh density and expansion settings.
Get 10% off when you subscribe to our newsletter

Step 3: Increase the Mesh Expansion
With the Puppet effect applied, go to the Effect Controls panel and expand the Puppet section. Under Mesh 1, increase the Expansion value. This expands the area around each pin, allowing it to influence a larger portion of the artwork. Use this if your pins feel too isolated or stiff.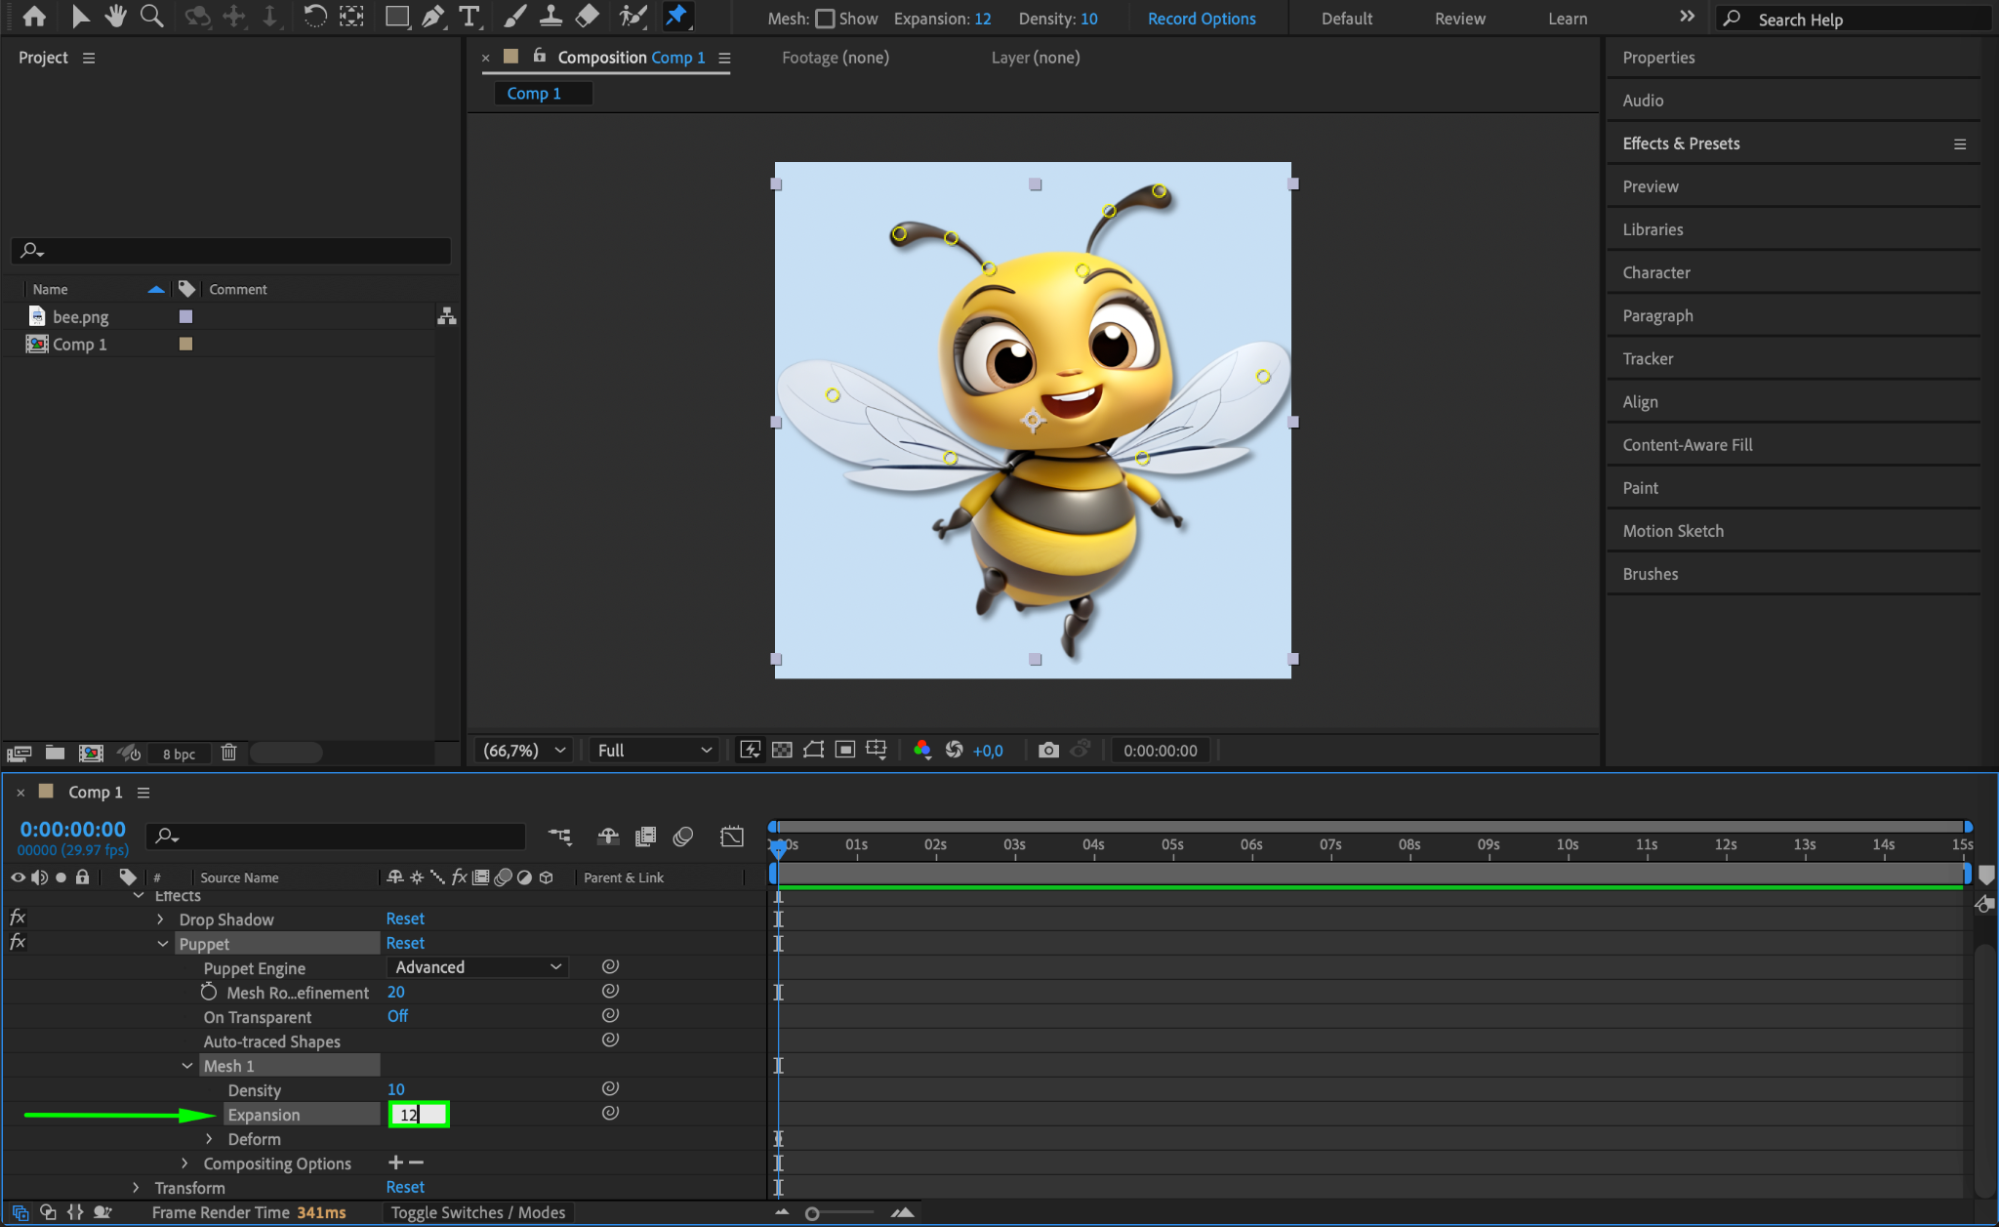 Step 4: Use Advanced Puppet Tools (Starch, Bend)
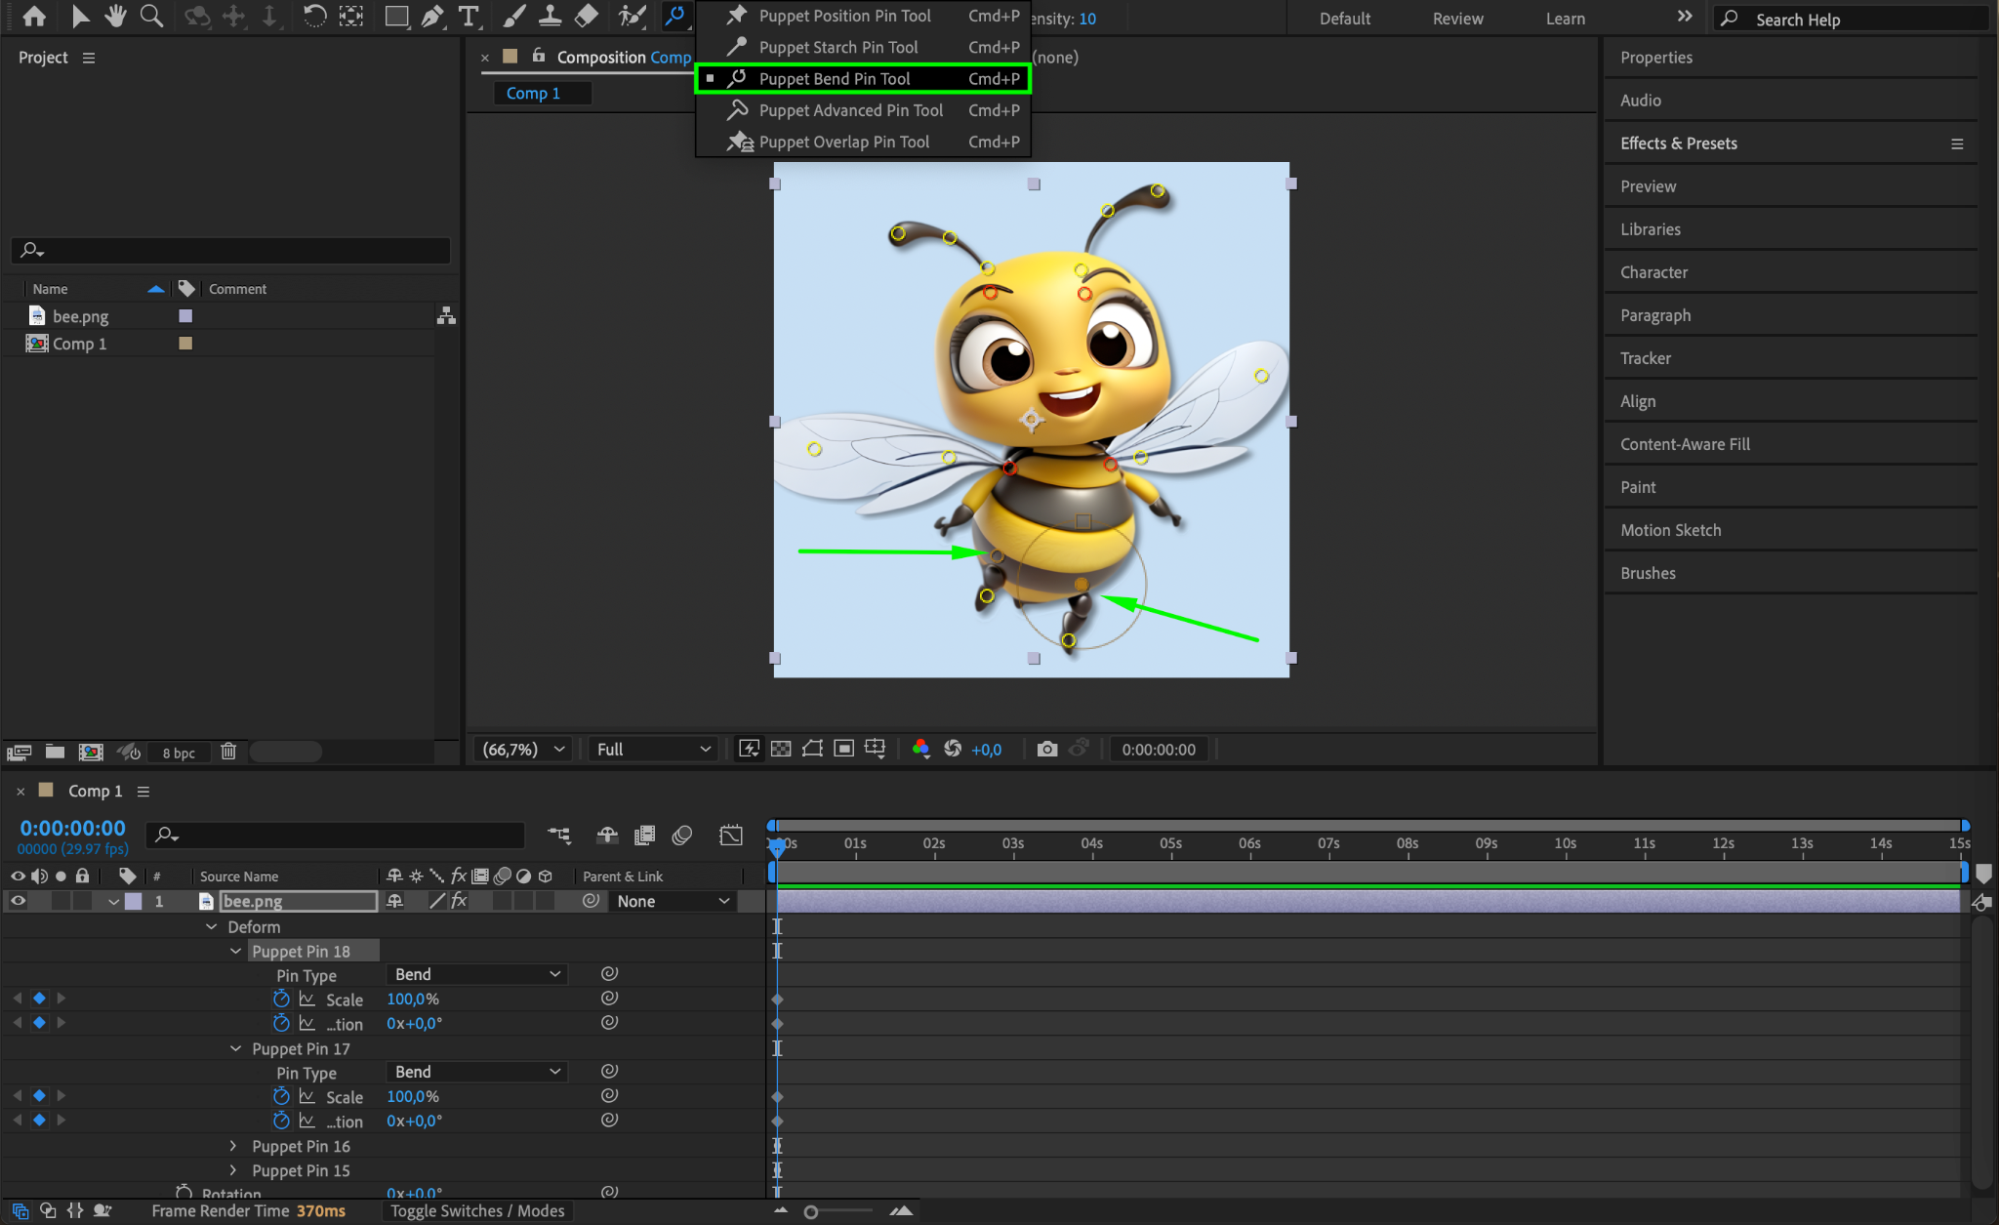
If you’re using Puppet tools for character rigging, consider using Starch Pins to freeze areas you don’t want to deform, or Bend Pins for flexible joint-like motion. These can help shape how the rig behaves over a larger area and give more control than just Position Pins alone.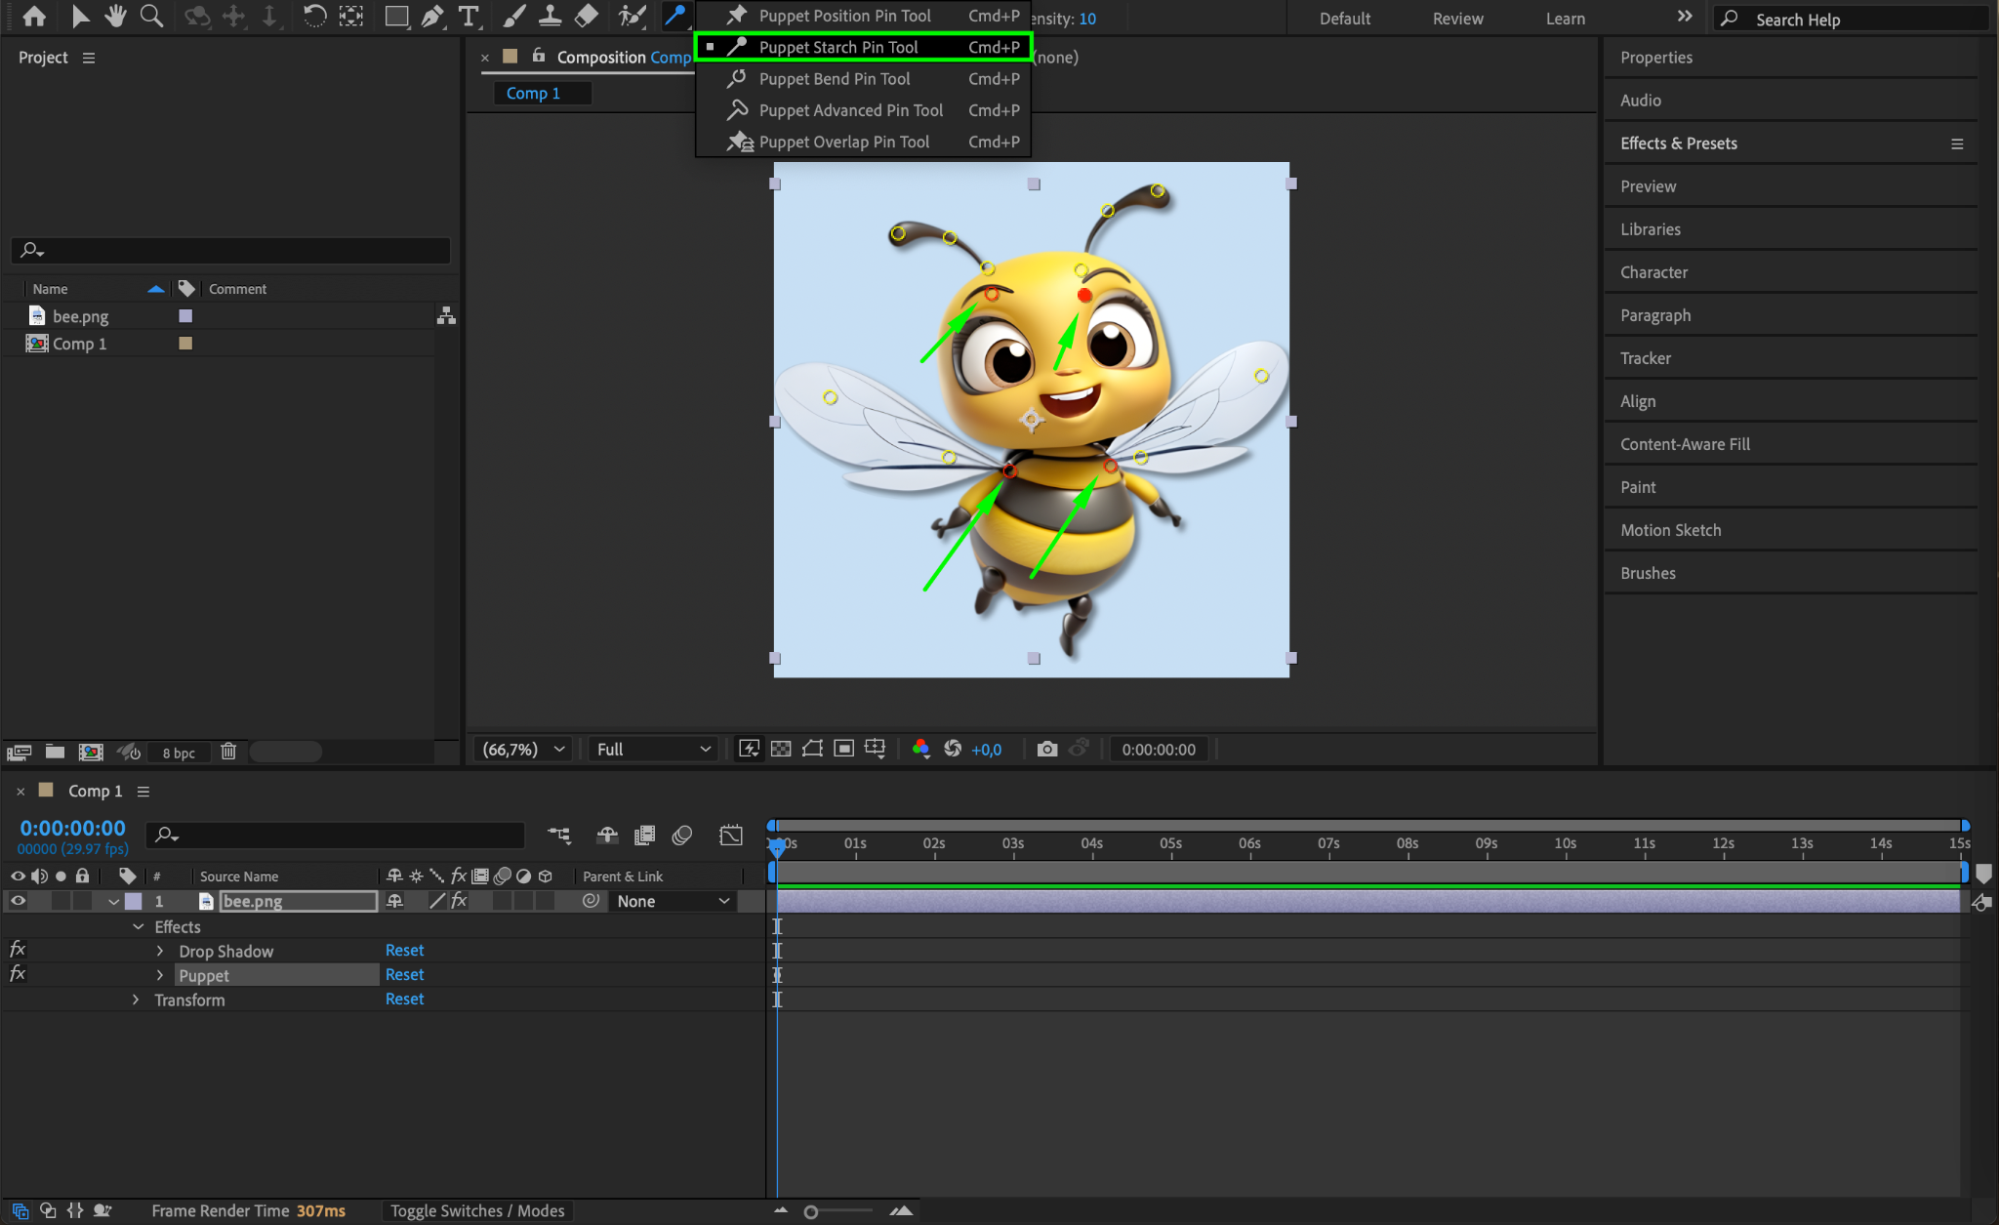

Step 5: Pre-compose and Link to Controllers
For more advanced rigging (especially with DUIK or RubberHose), it’s helpful to pre-compose parts of your rig and attach puppet pins to nulls or controllers using expressions. This gives you better control over large areas and makes the rig easier to animate.
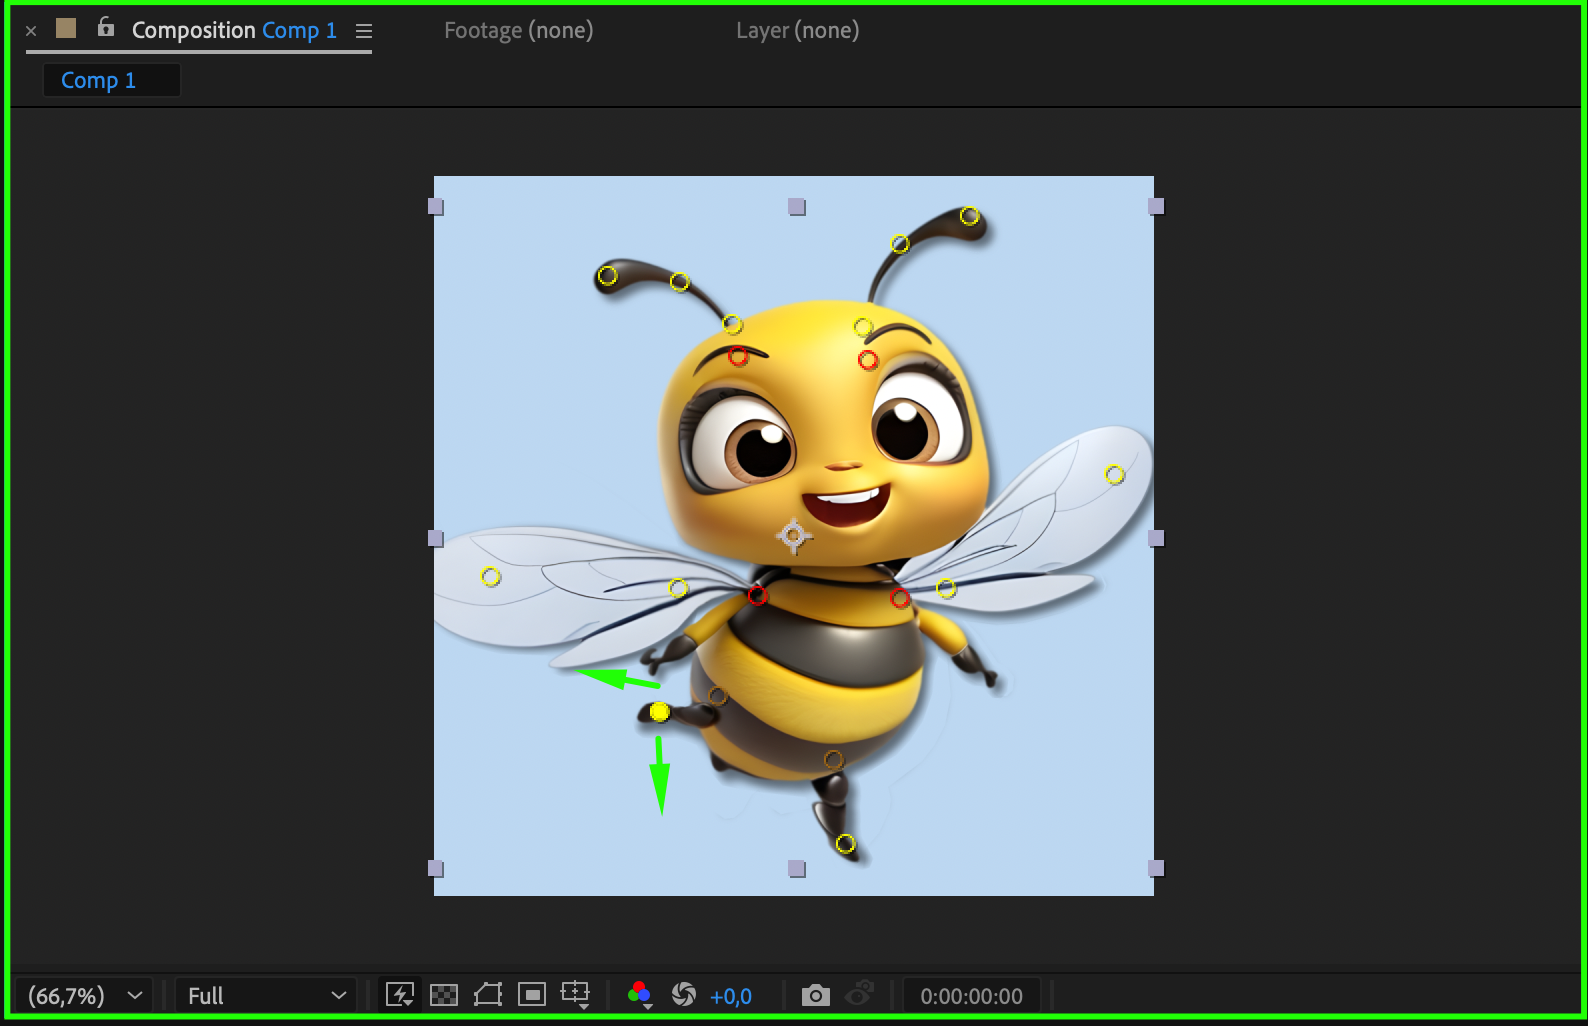
Step 6: Preview and Fine-Tune
Press the Spacebar to preview your animation. If the motion feels too restricted or too floppy, go back and adjust the Expansion or add/remove pins as needed. Small changes to the mesh can make a big difference in the final movement.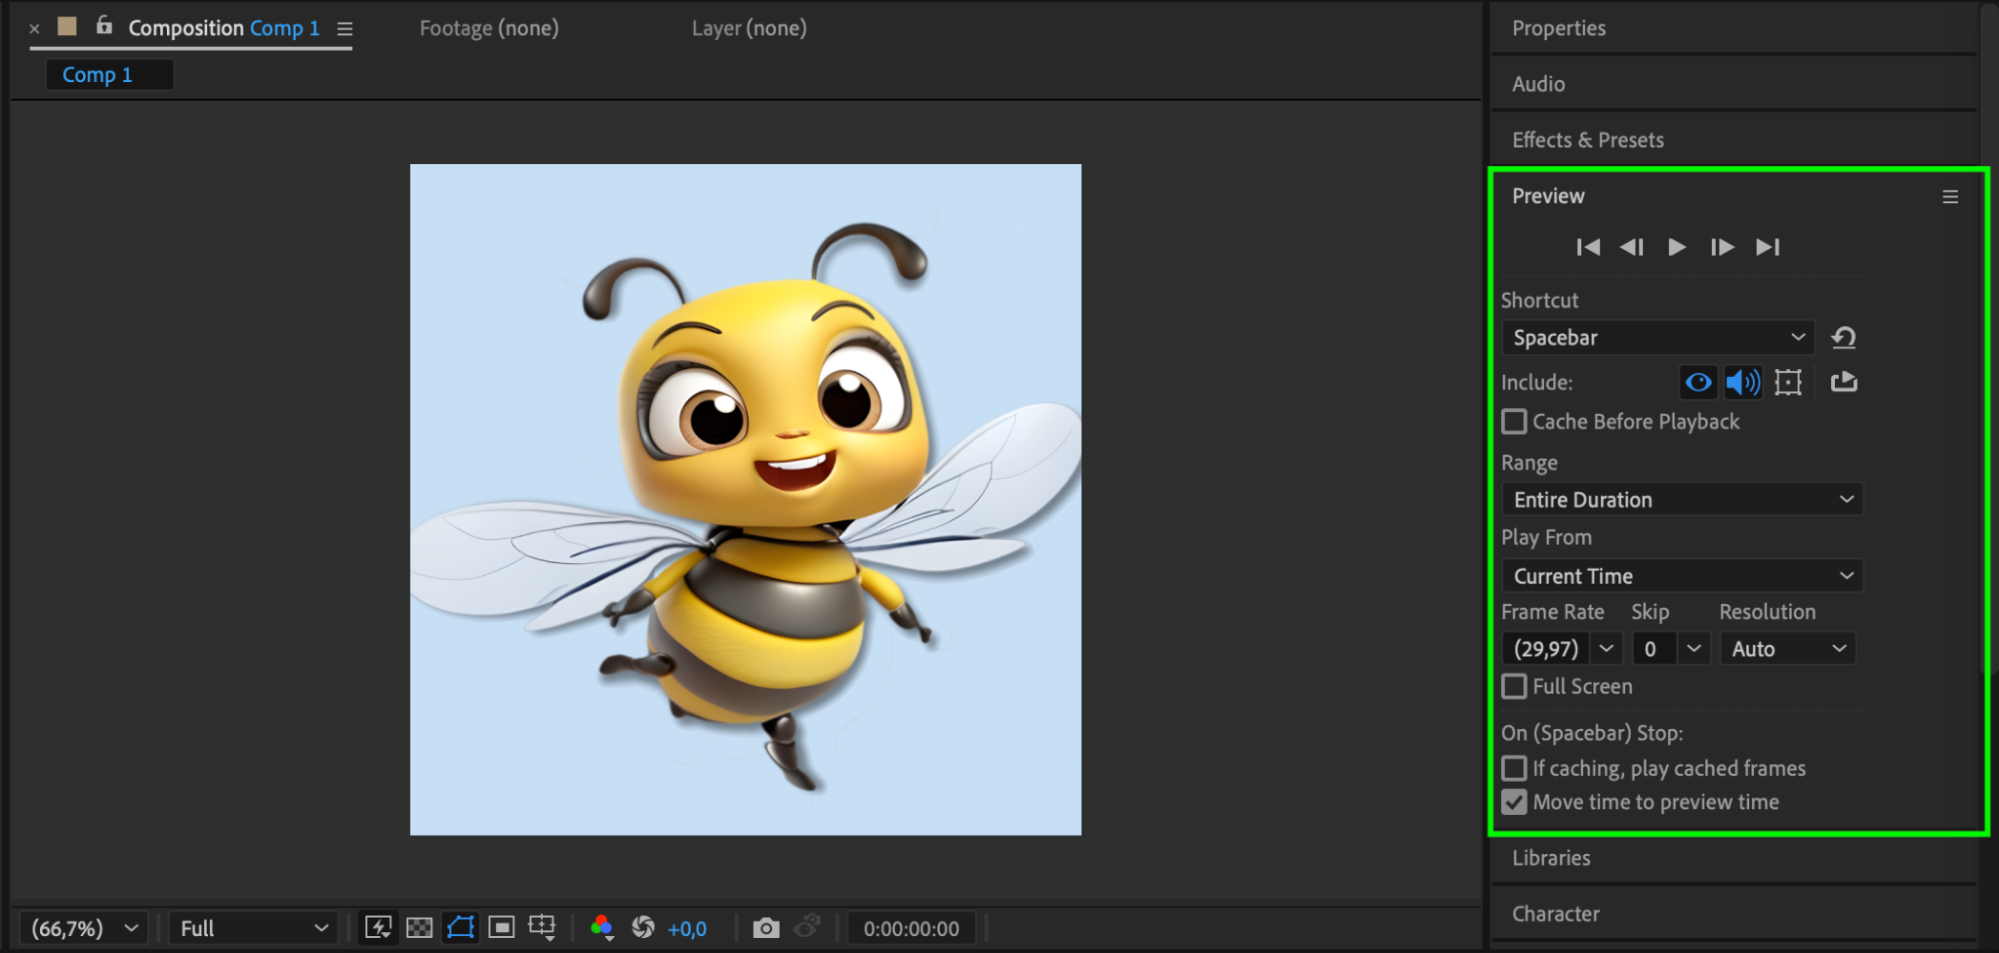
Conclusion
Expanding the area of a rig in After Effects helps create smoother, more realistic animations, especially in puppet-based character work. By adjusting the Puppet Mesh Expansion, adding pins strategically, and using tools like Starch or Bend, you can fine-tune the influence zone and achieve better results. Whether you’re animating characters or abstract shapes, understanding mesh control is key to mastering After Effects rigging.
Our Bestsellers


