How to Make Seamless Video Transitions in After Effects
Introduction
In this tutorial, you’ll learn how to create a stylish transition between two video clips using a stock transition and a luma matte. This method is great for adding polish and dynamic movement to your edits.
Step 1: Import Your Footage
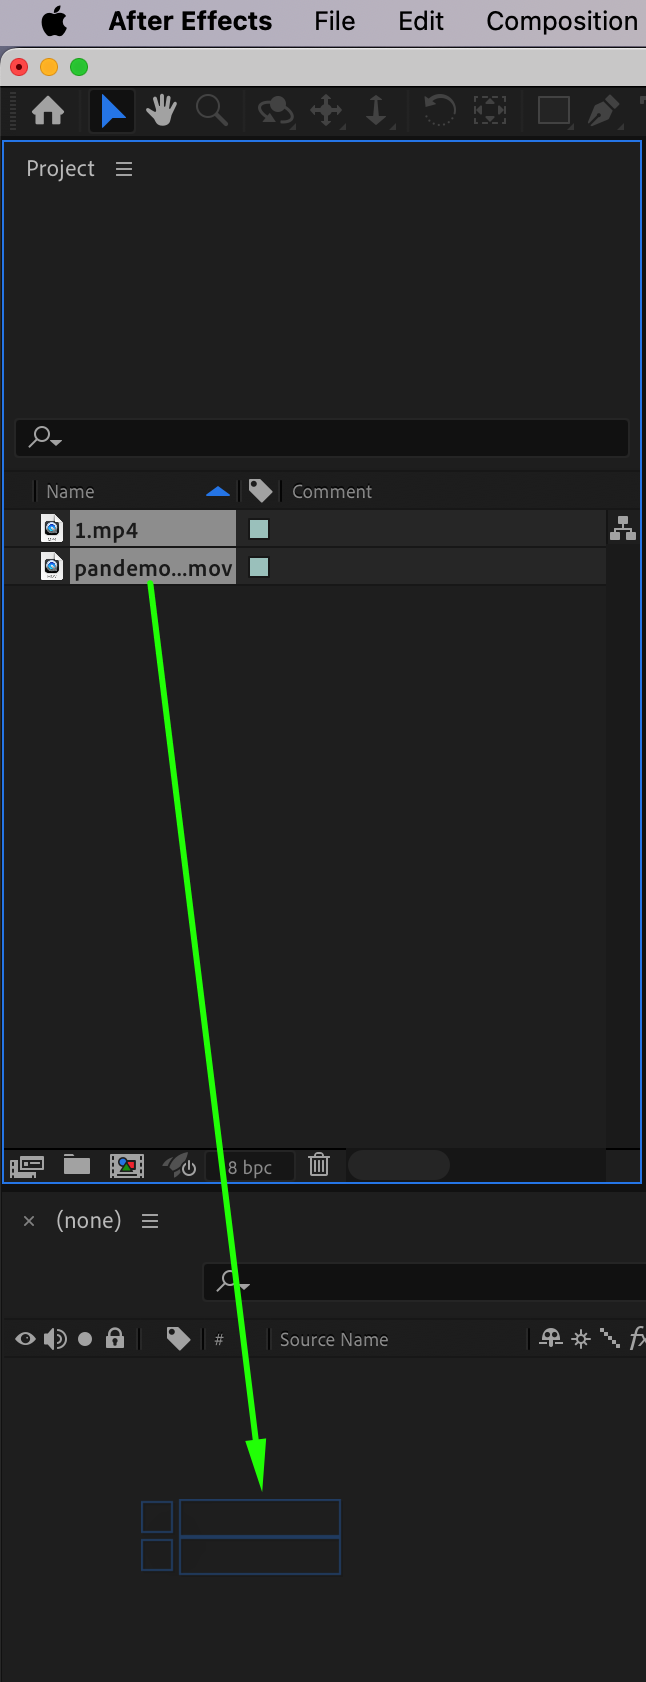
Go to File > Import > File, and bring in all the video clips you want to include. Drag them onto the timeline to automatically create a new composition. Make sure they are placed one after the other in your timeline.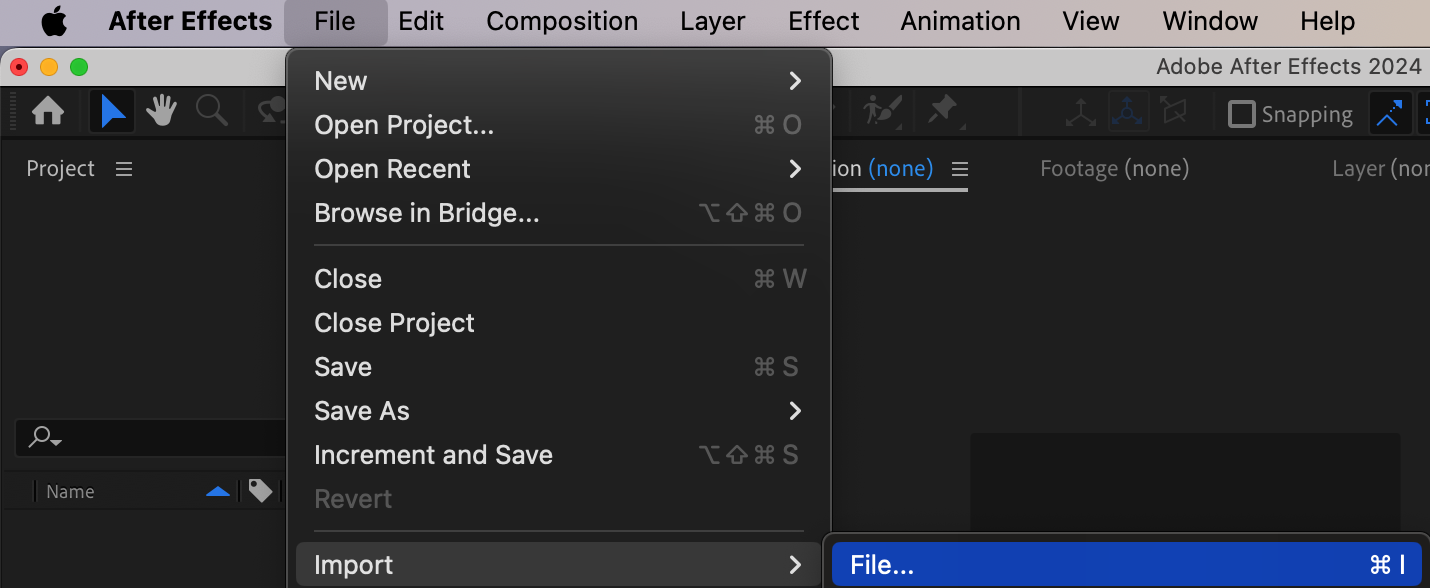
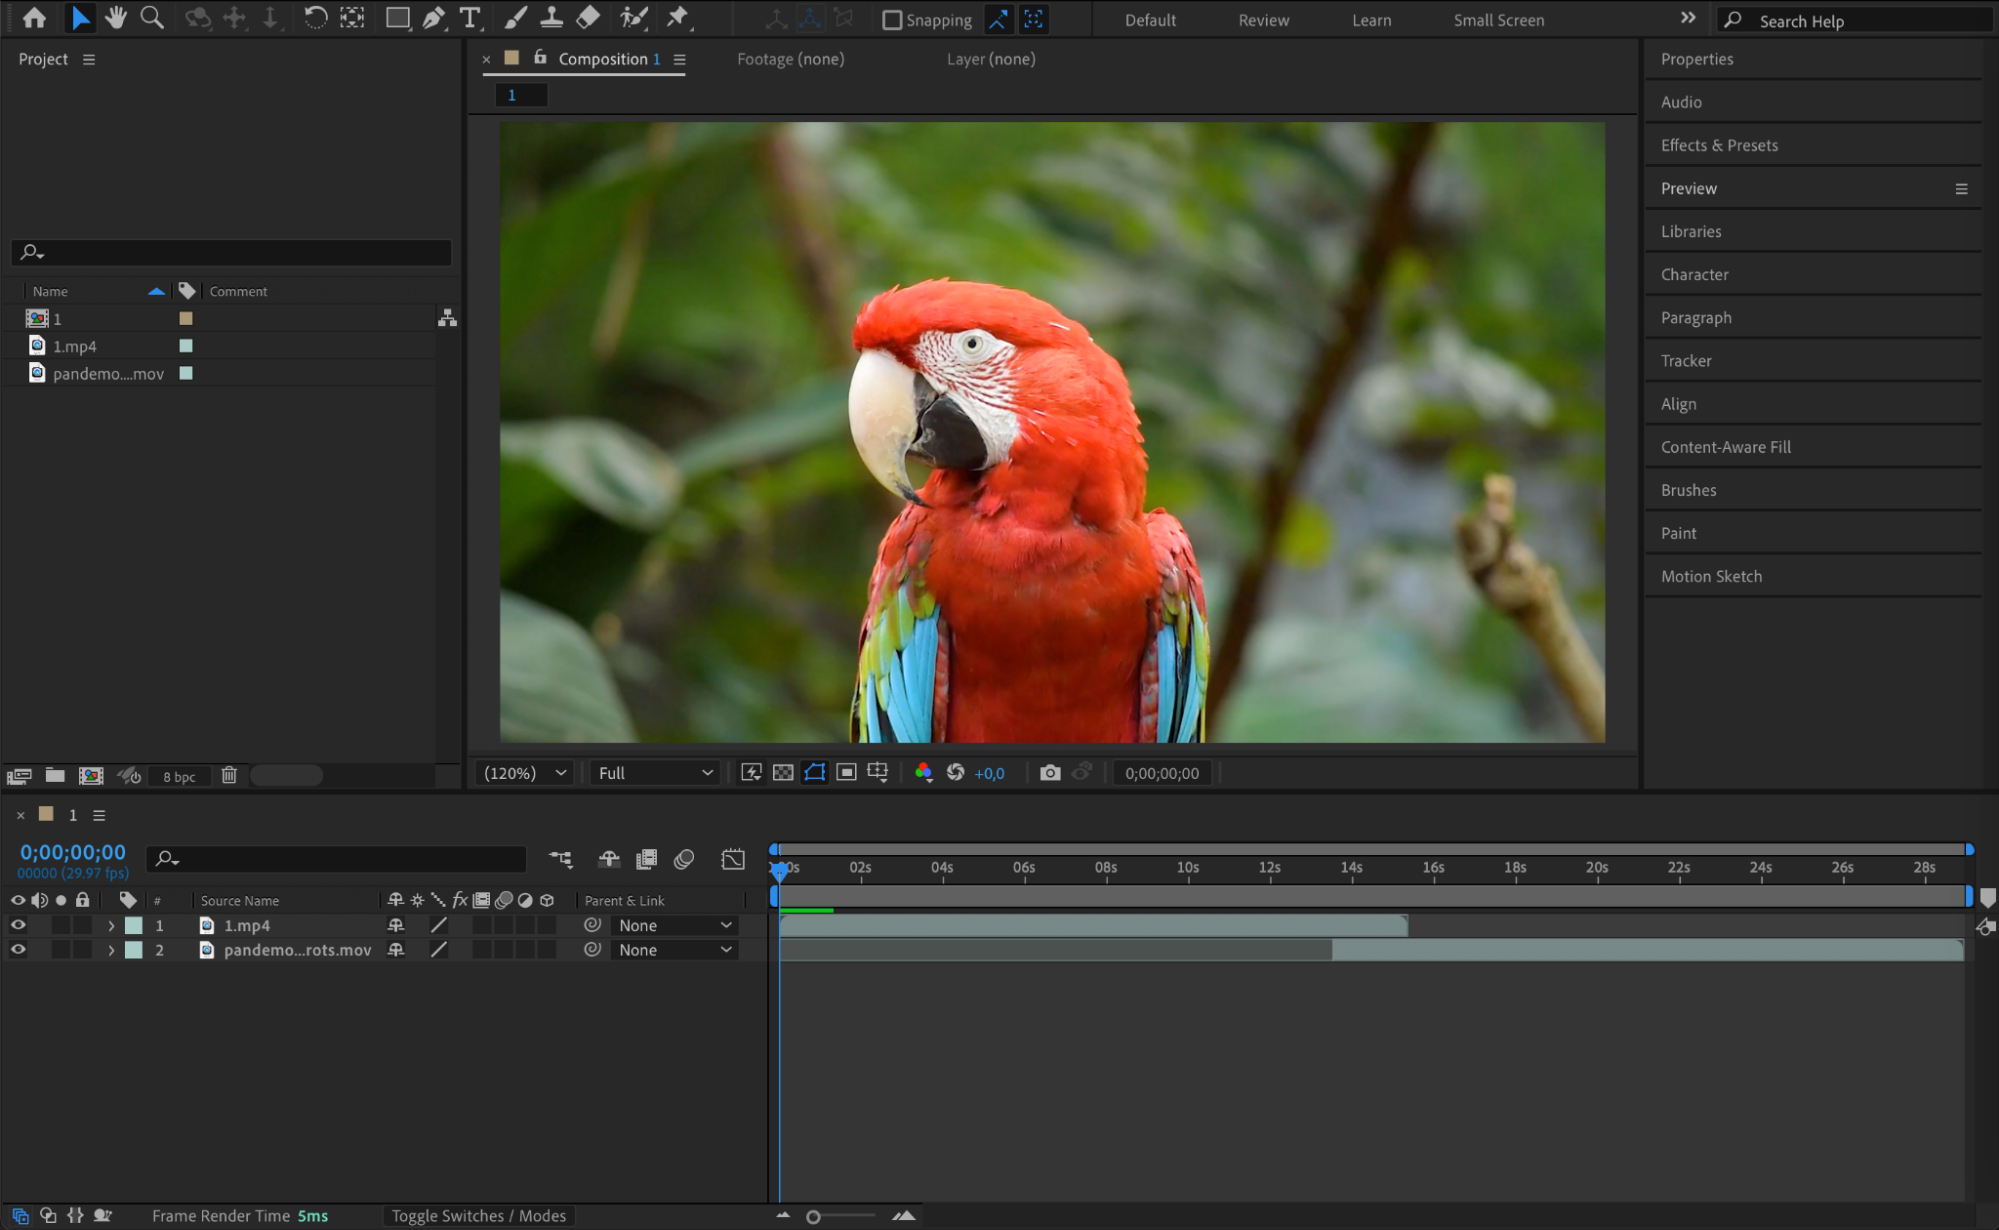
 Step 2: Overlap the Clips
Drag the first clip so it slightly overlaps the beginning of the second clip. This overlapping section is where the transition will take place. If needed, use the shortcuts “Alt/Option + [” and “Alt/Option + ]” to trim the in and out points of each video layer for better timing.
Get 10% off when you subscribe to our newsletter

Step 3: Import a Stock Transition
Import a stock transition animation – like a flash, blur, or light leak. Place it on the timeline above where the two video clips overlap. This clip will act as the visual base for the transition effect.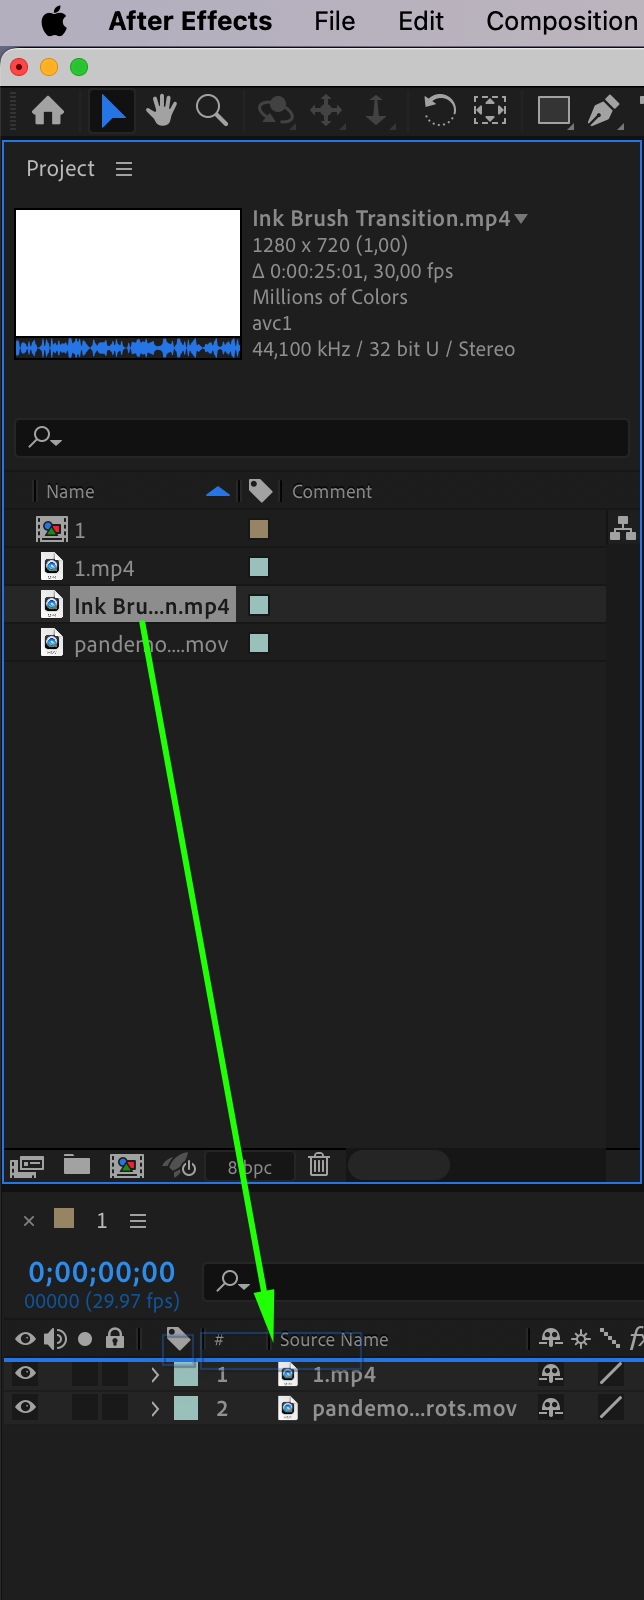 Step 4: Trim the Transition Layer
Use the Current Time Indicator (CTI) and the shortcuts “Alt/Option + [” and “Alt/Option + ]” to keep only the part of the transition you need. Make sure it aligns perfectly with the overlapping area between the two clips.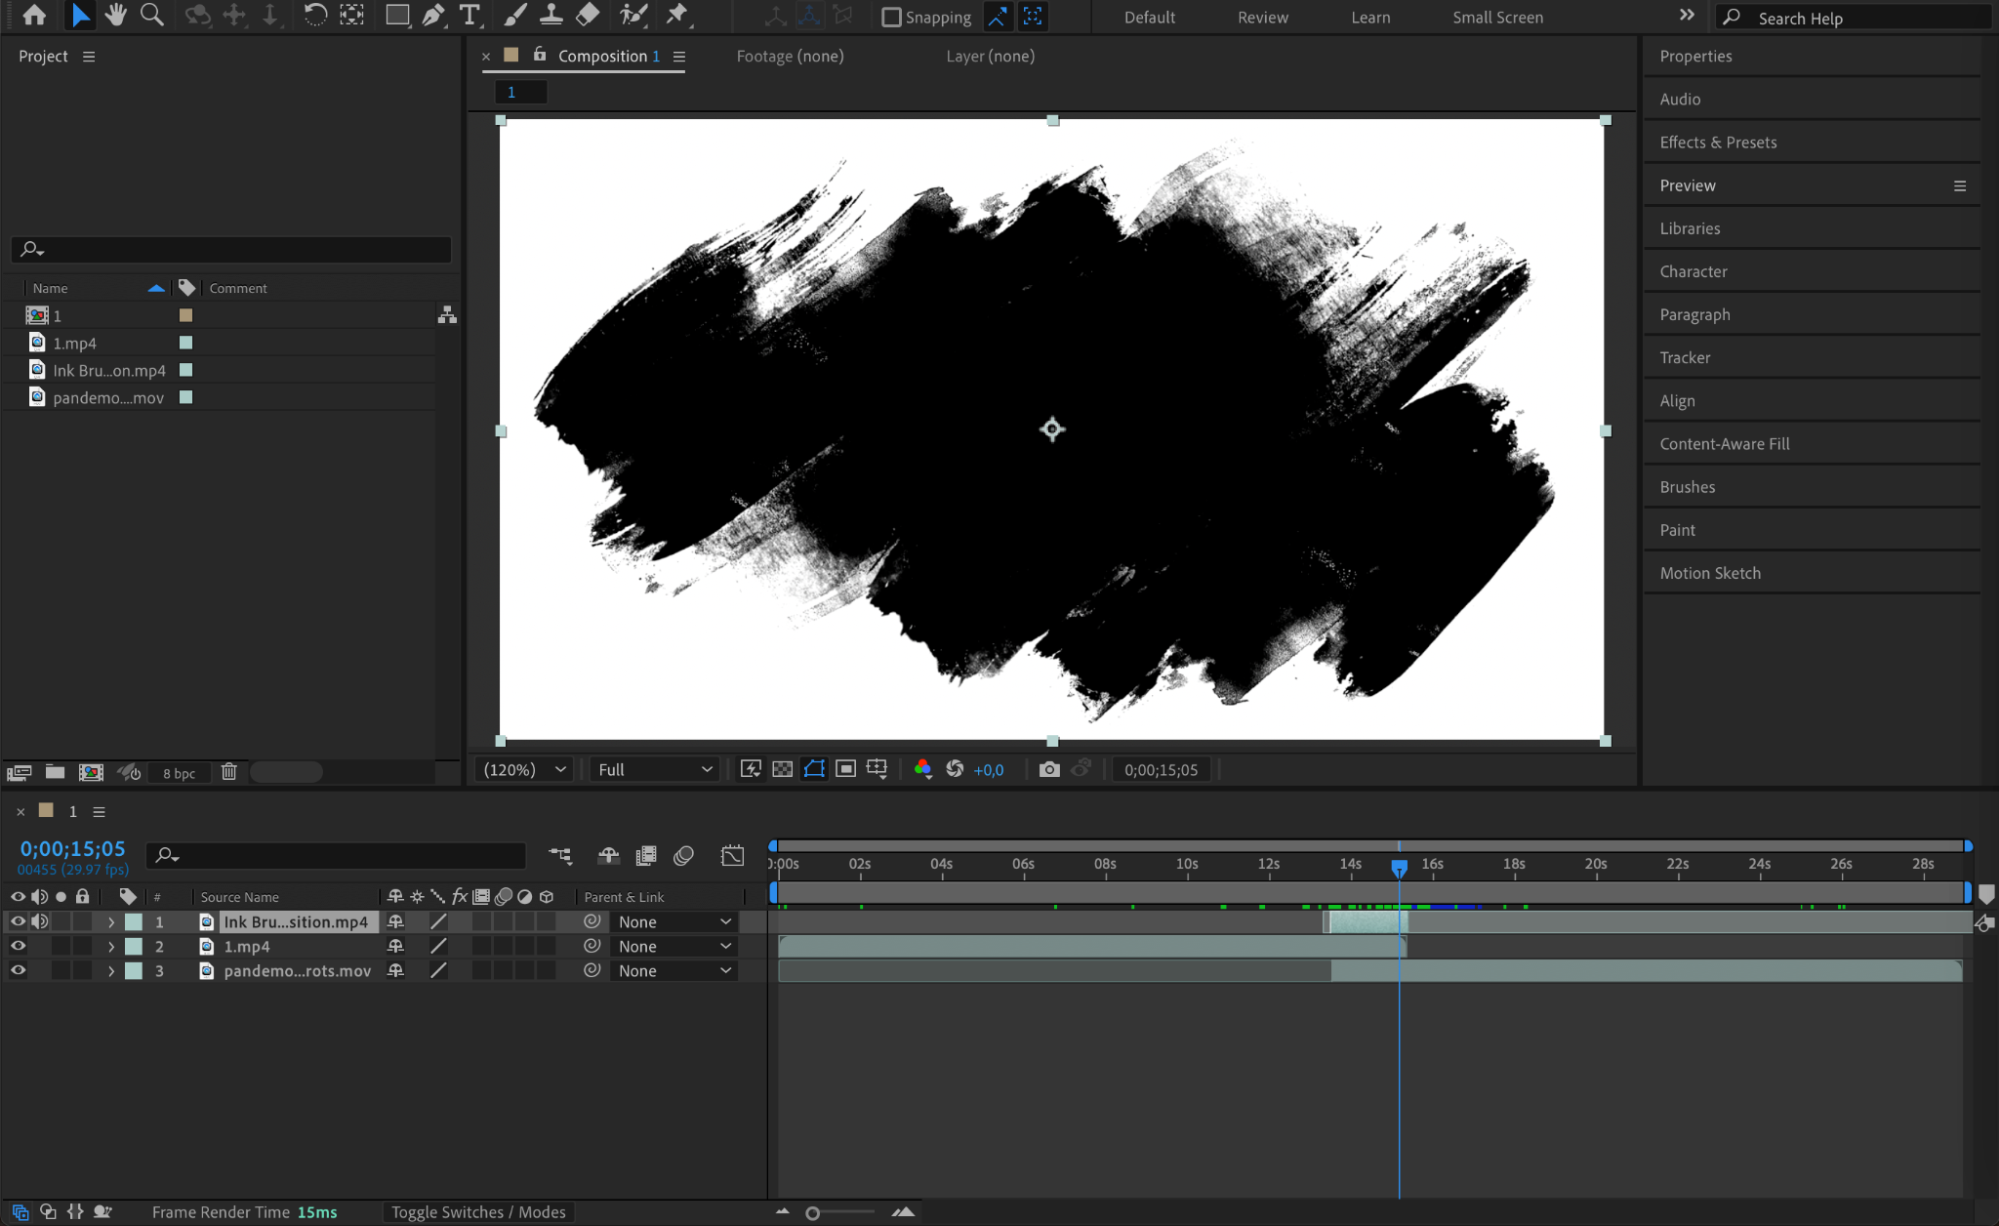 Step 5: Apply Luma Matte
Click on Toggle Switches/Modes below the timeline to reveal the “TrkMat” column. For the first video layer, choose the stock transition layer as the Luma Matte. This will make the clip fade out based on the brightness of the transition.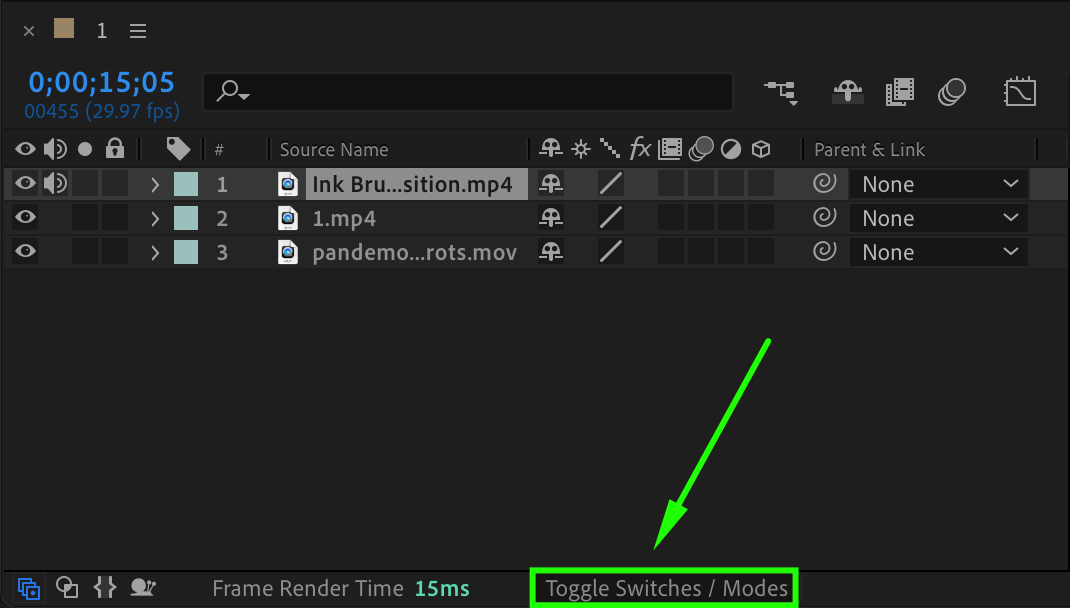

Step 6: Preview the Transition
Press the Spacebar to preview your transition. You should see the first clip fade out as the transition animation plays, revealing the second video underneath.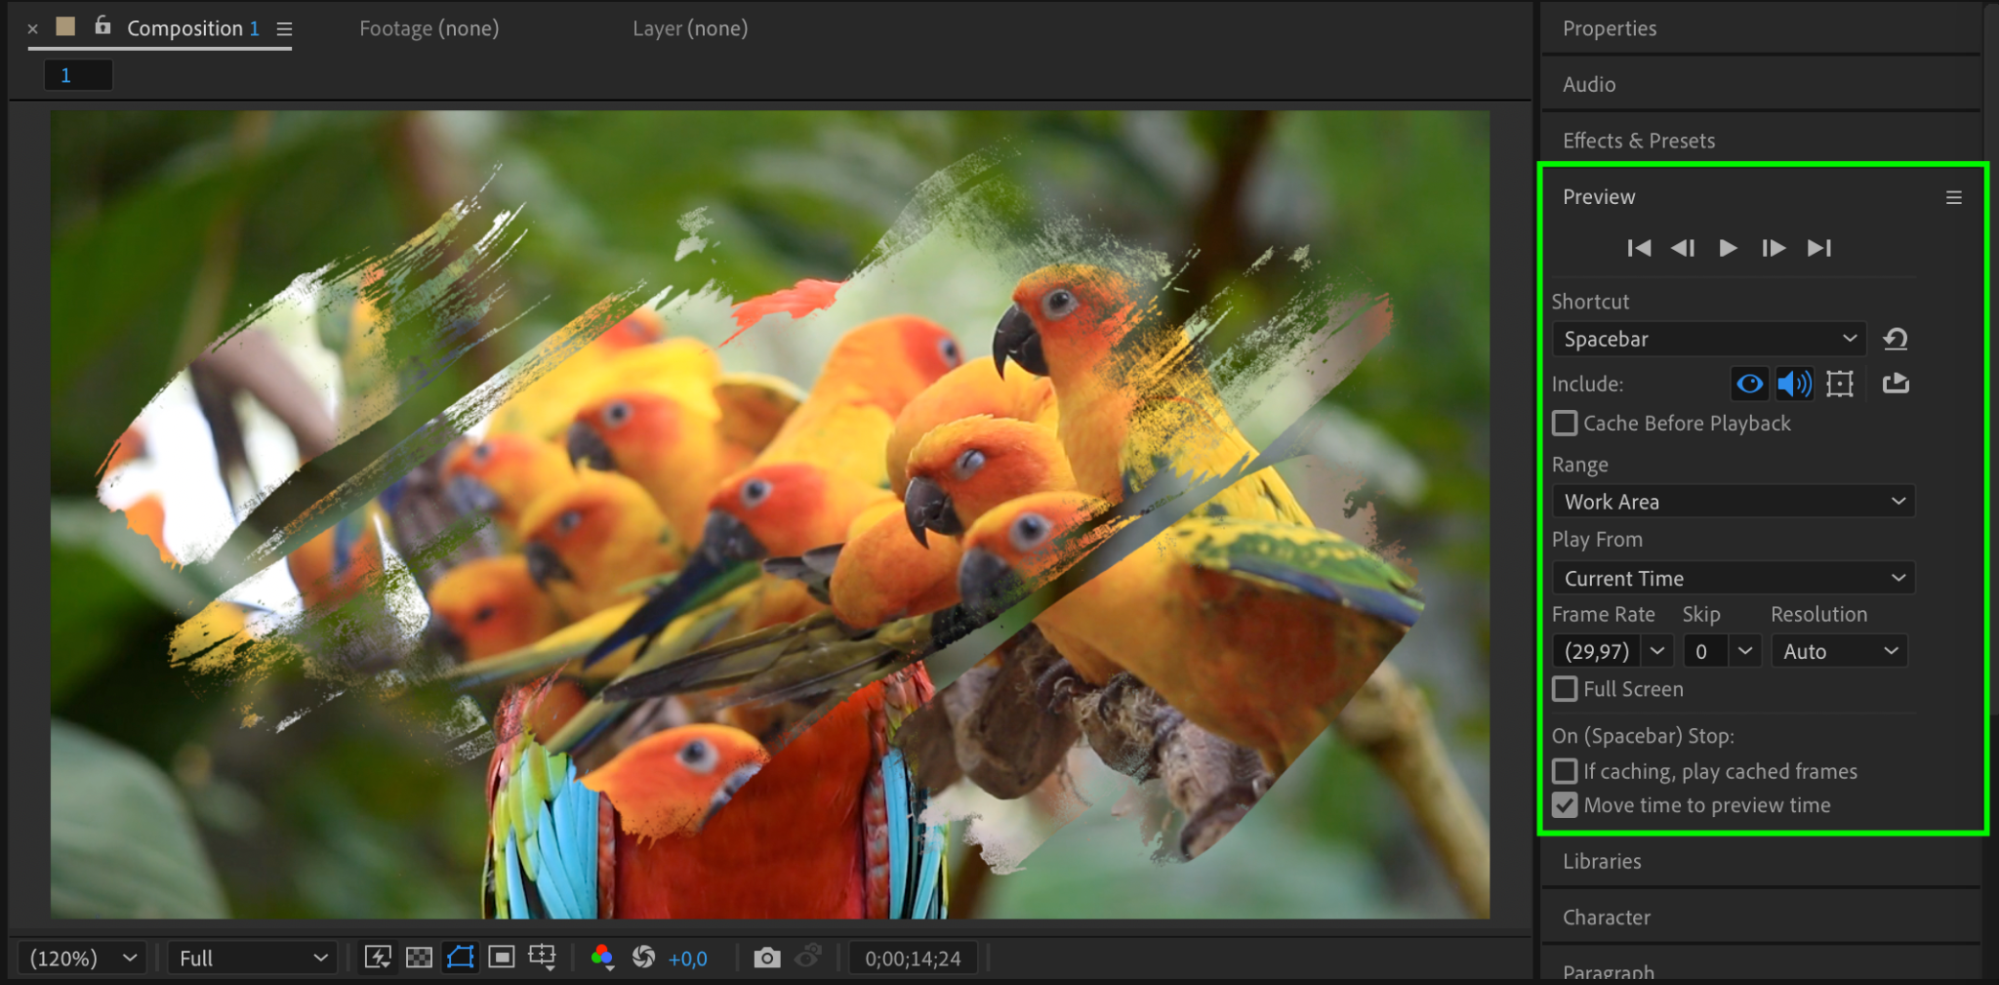 Step 7: Render the Final Video
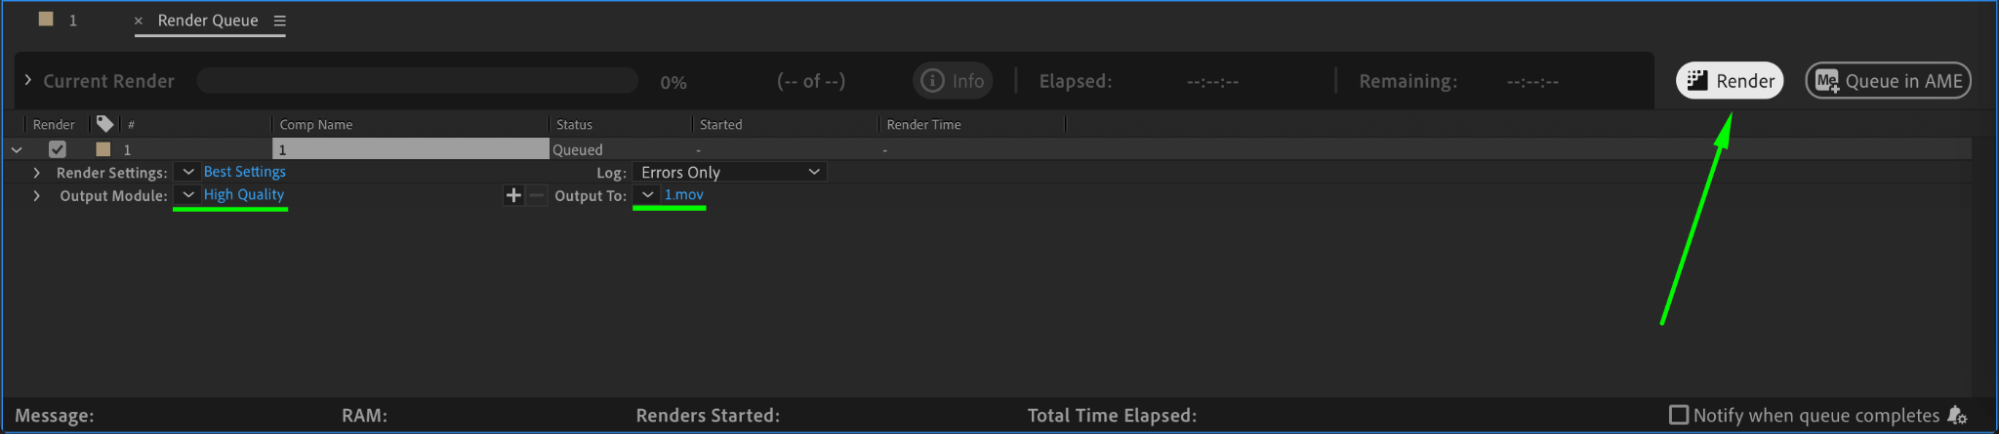
Once you’re satisfied, go to Composition > Add to Render Queue or use Adobe Media Encoder to render your final composition.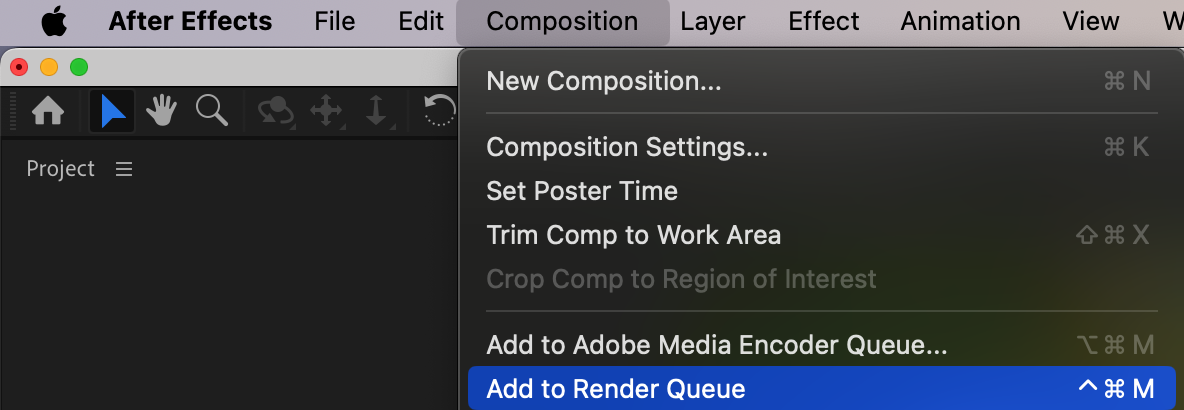
 Conclusion
You’ve just created a clean and professional-looking video transition in After Effects using a stock overlay and luma matte. It’s an easy way to add cinematic flair to your edits with minimal effort.
Our Bestsellers


