Make Seamless Slide Transitions Between Clips in After Effects
Introduction – Add Professional Slide Transitions to Any Edit
In this tutorial, you’ll learn how to create dynamic slide transitions between two clips using simple built-in effects in After Effects. These transitions give your edits a professional look and work great for travel videos, vlogs, or highlight reels.
Step 1: Import Your Clips
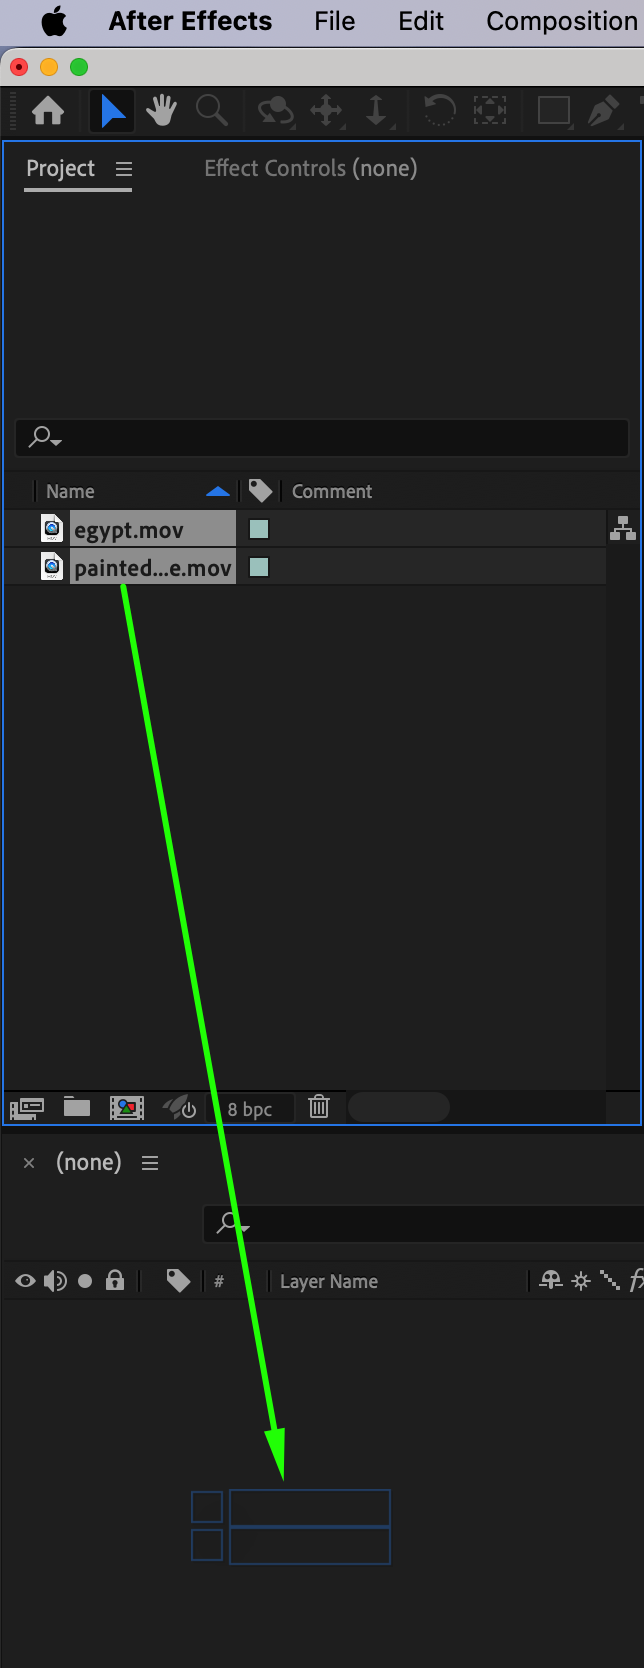
Start by going to File > Import > File and bring in the two video clips you want to transition between. Drag both onto the timeline so they are placed one after the other without gaps.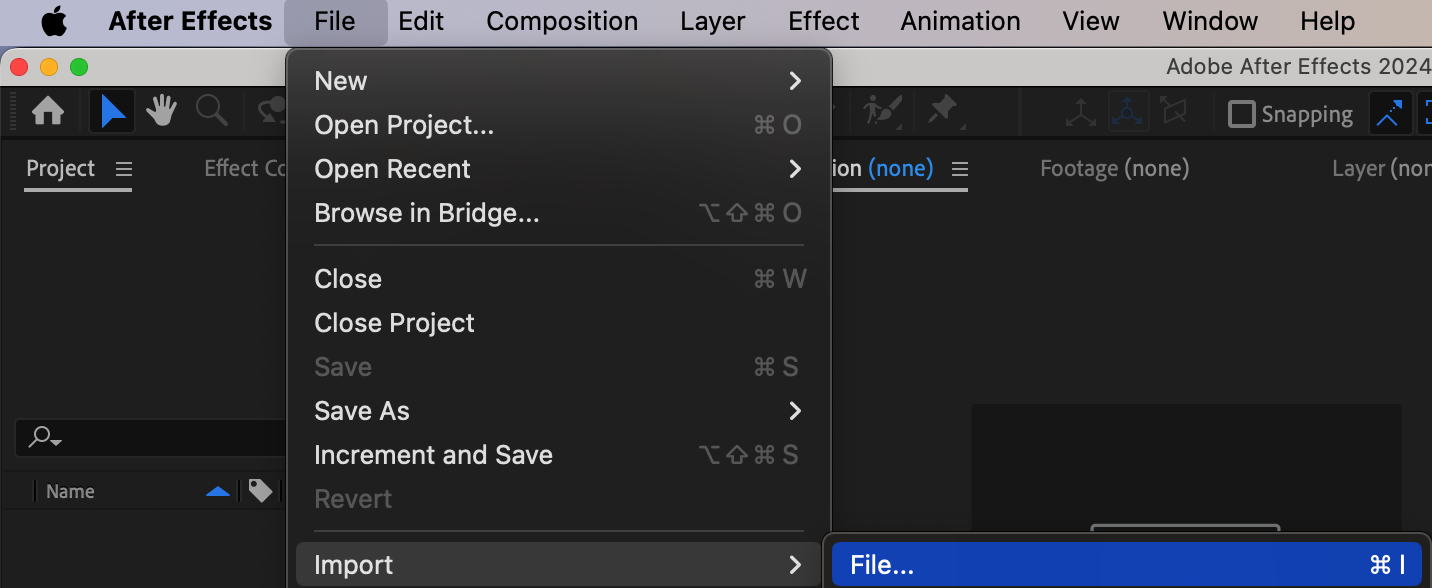
 Step 2: Create an Adjustment Layer
Go to Layer > New > Adjustment Layer. This layer will hold your transition effects. Make sure it’s selected and above both video layers on the timeline.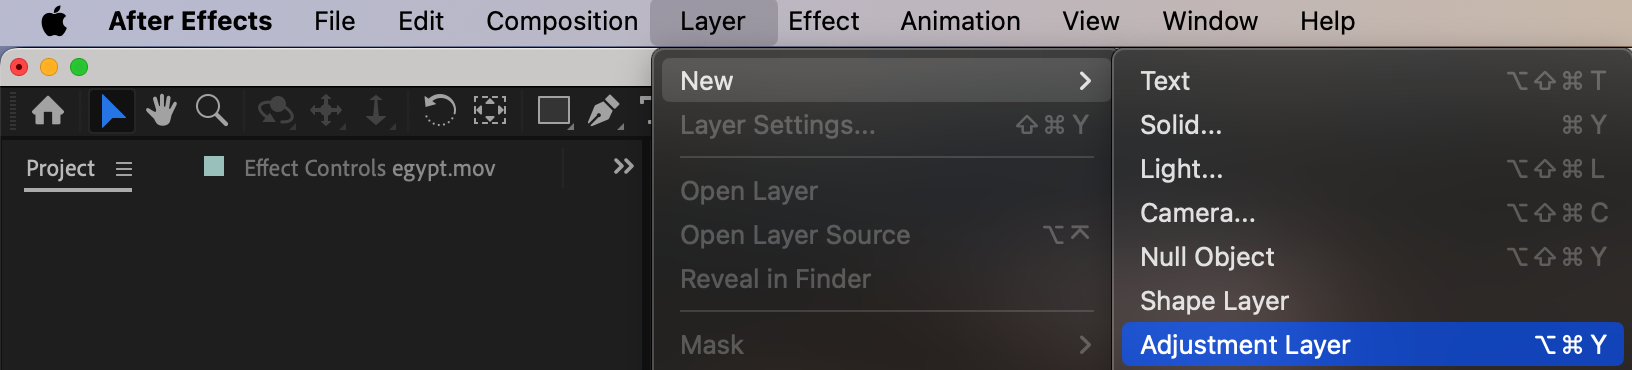 Step 3: Shorten and Position the Adjustment Layer
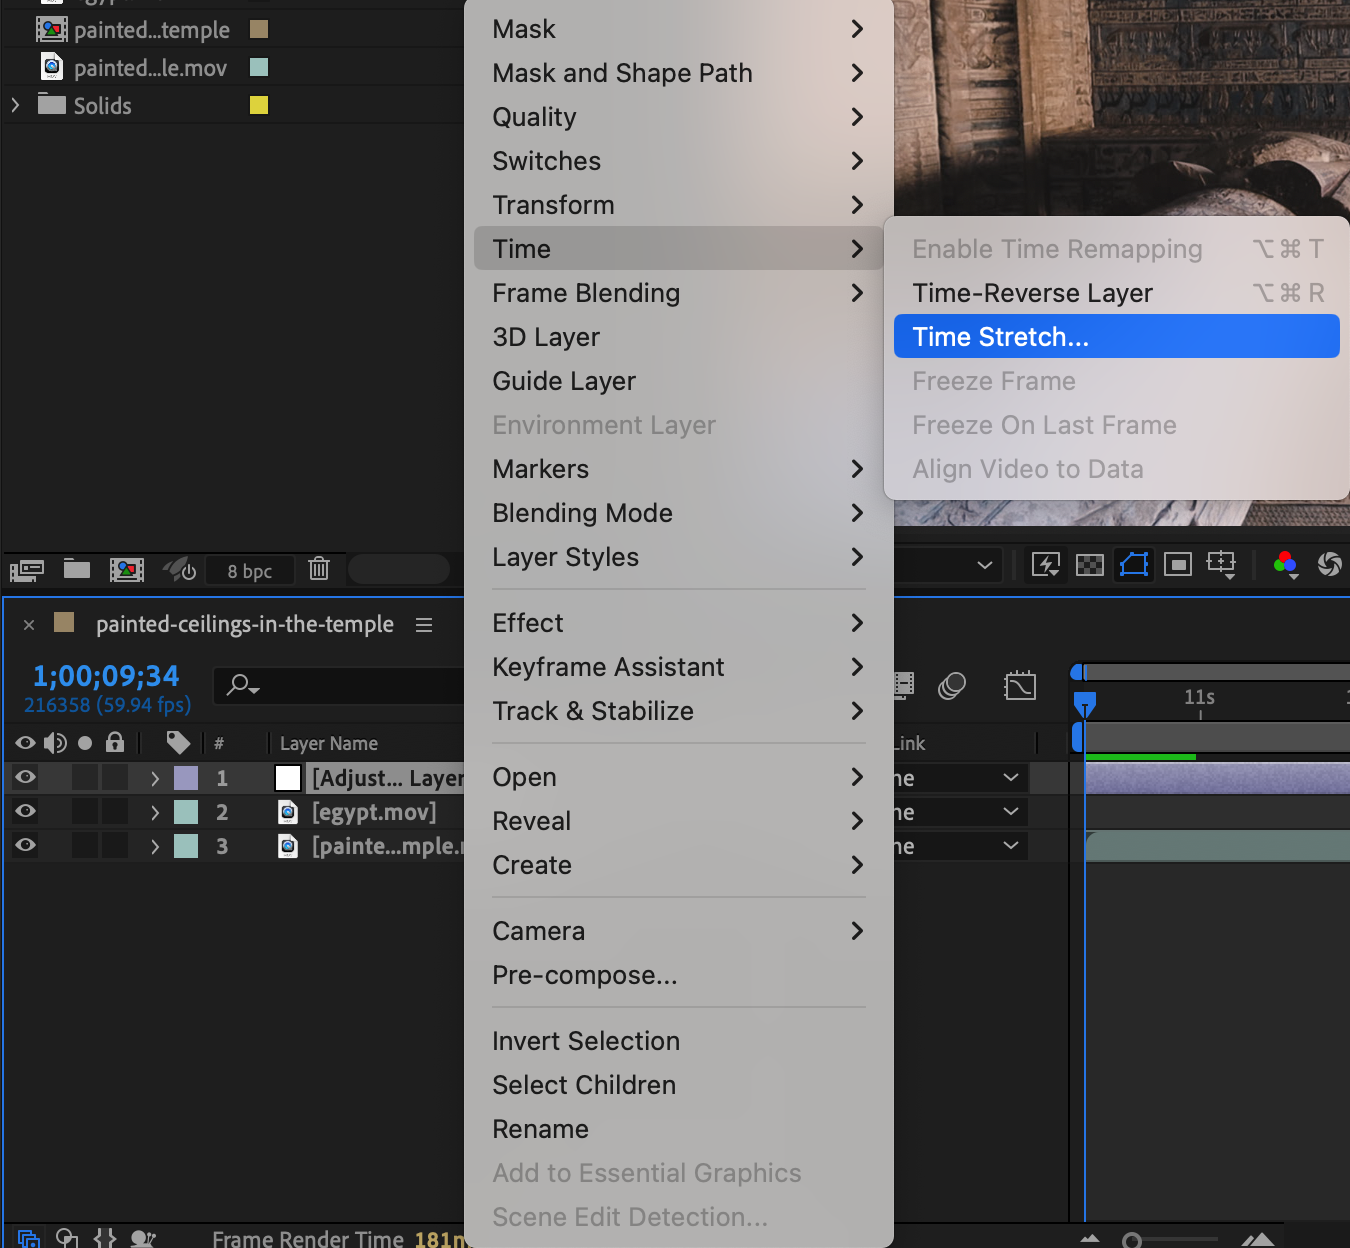
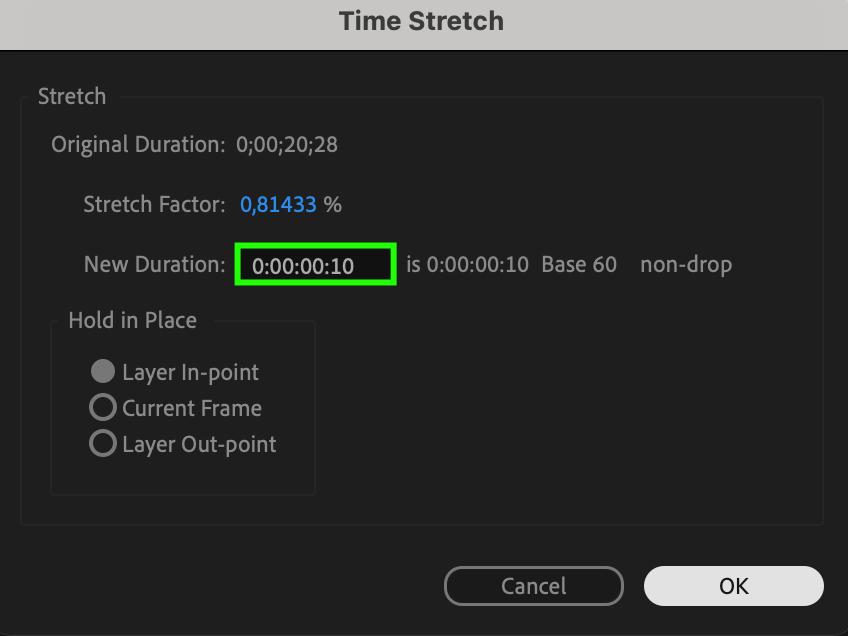
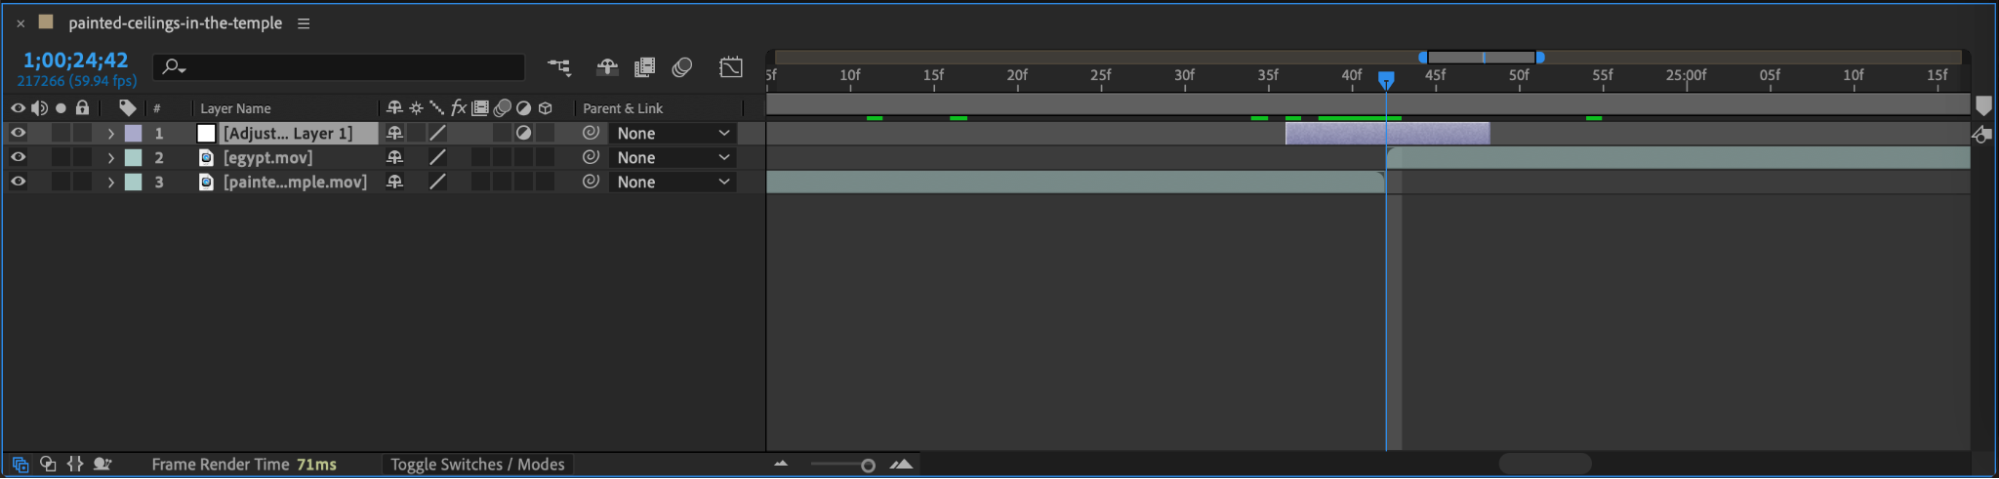
Right-click the adjustment layer, choose Time > Time Stretch, and change the Stretch Factor to 50 or set New Duration to around 10 frames. Then place this layer evenly across the cut point between the two video clips.
Get 10% off when you subscribe to our newsletter

Step 4: Add Effects
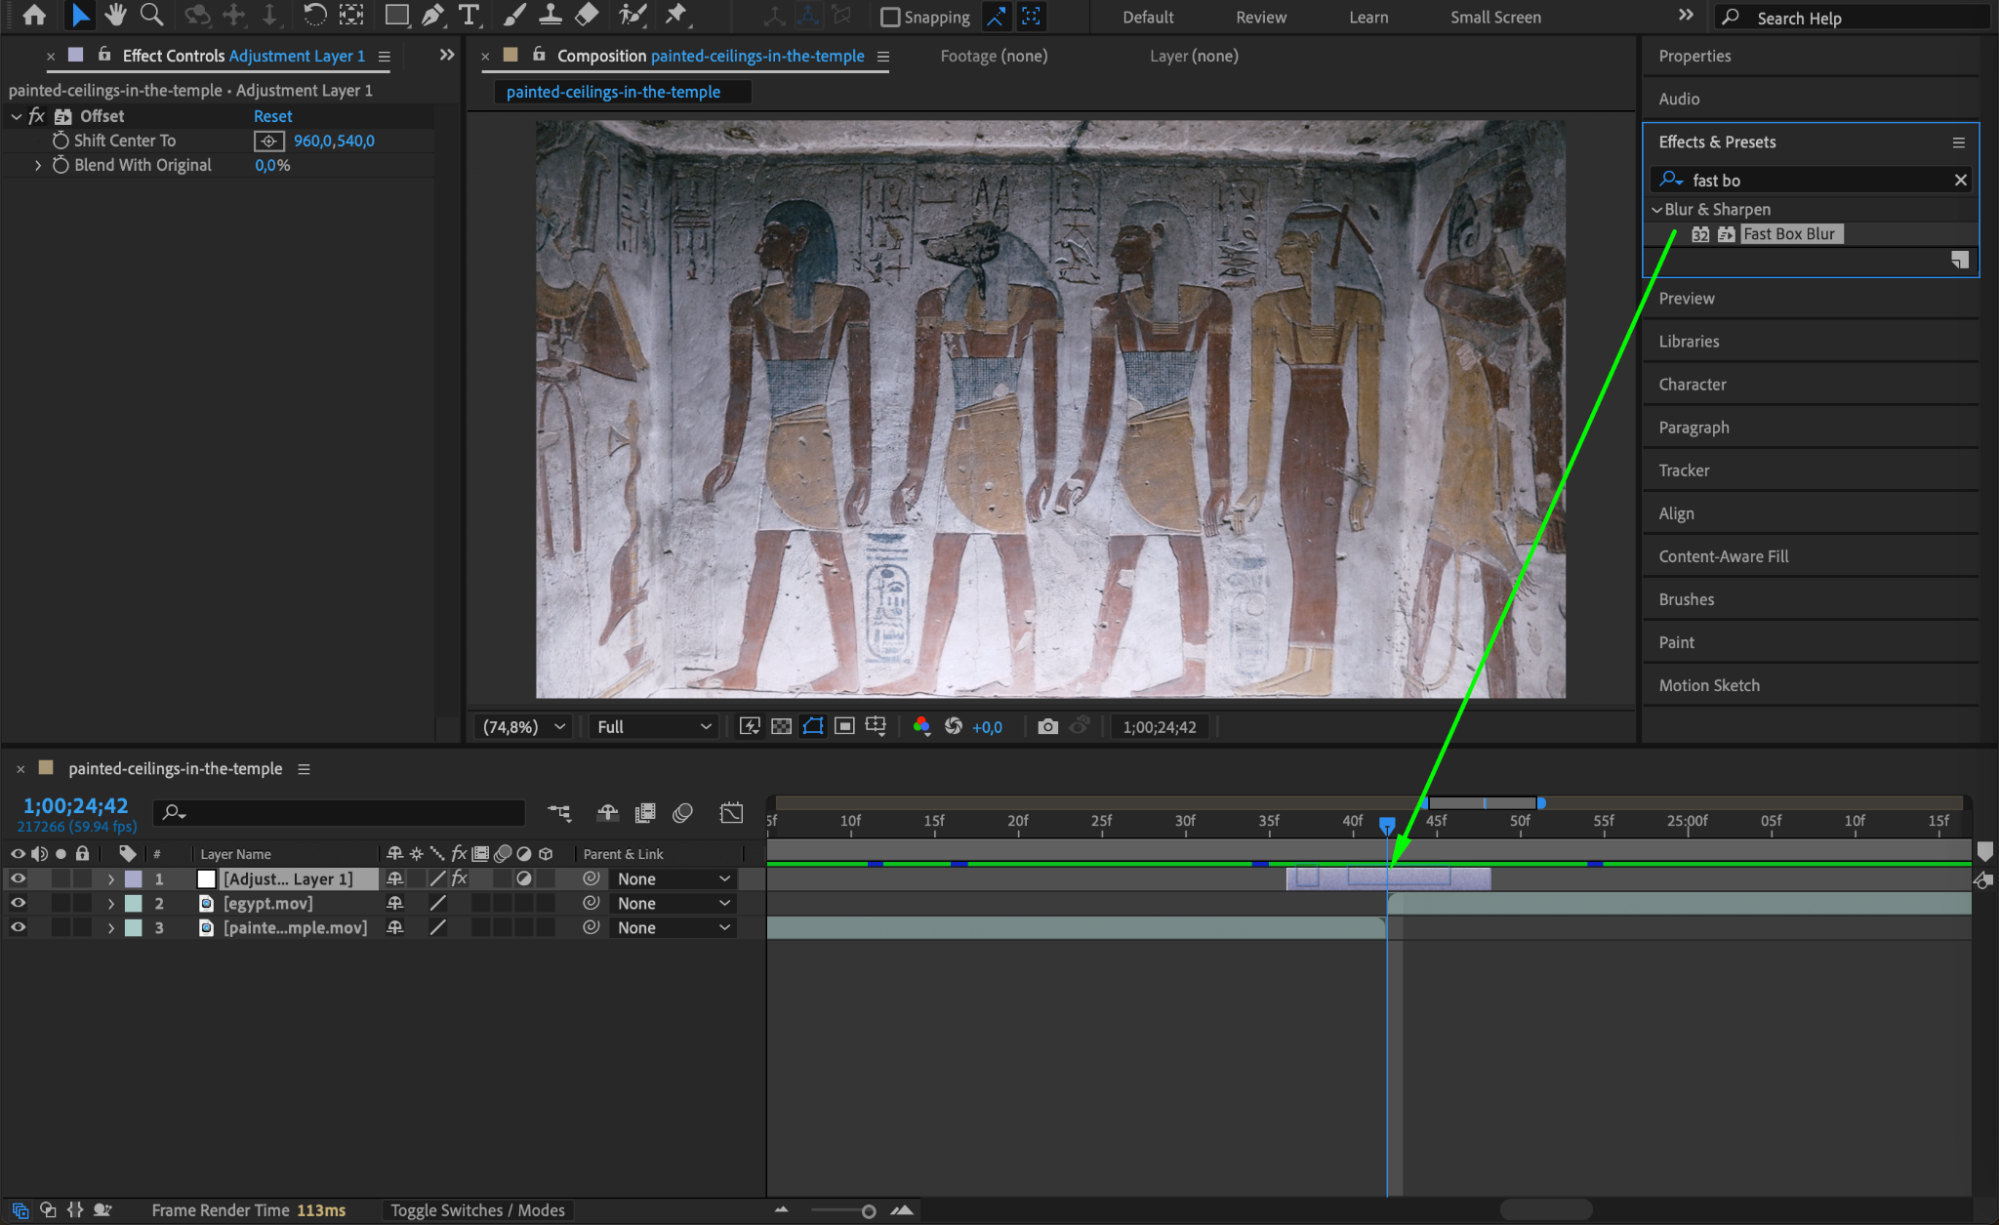
Apply the Offset effect and Fast Box Blur from the Effects & Presets panel to the adjustment layer. These will create the sliding and blur motion.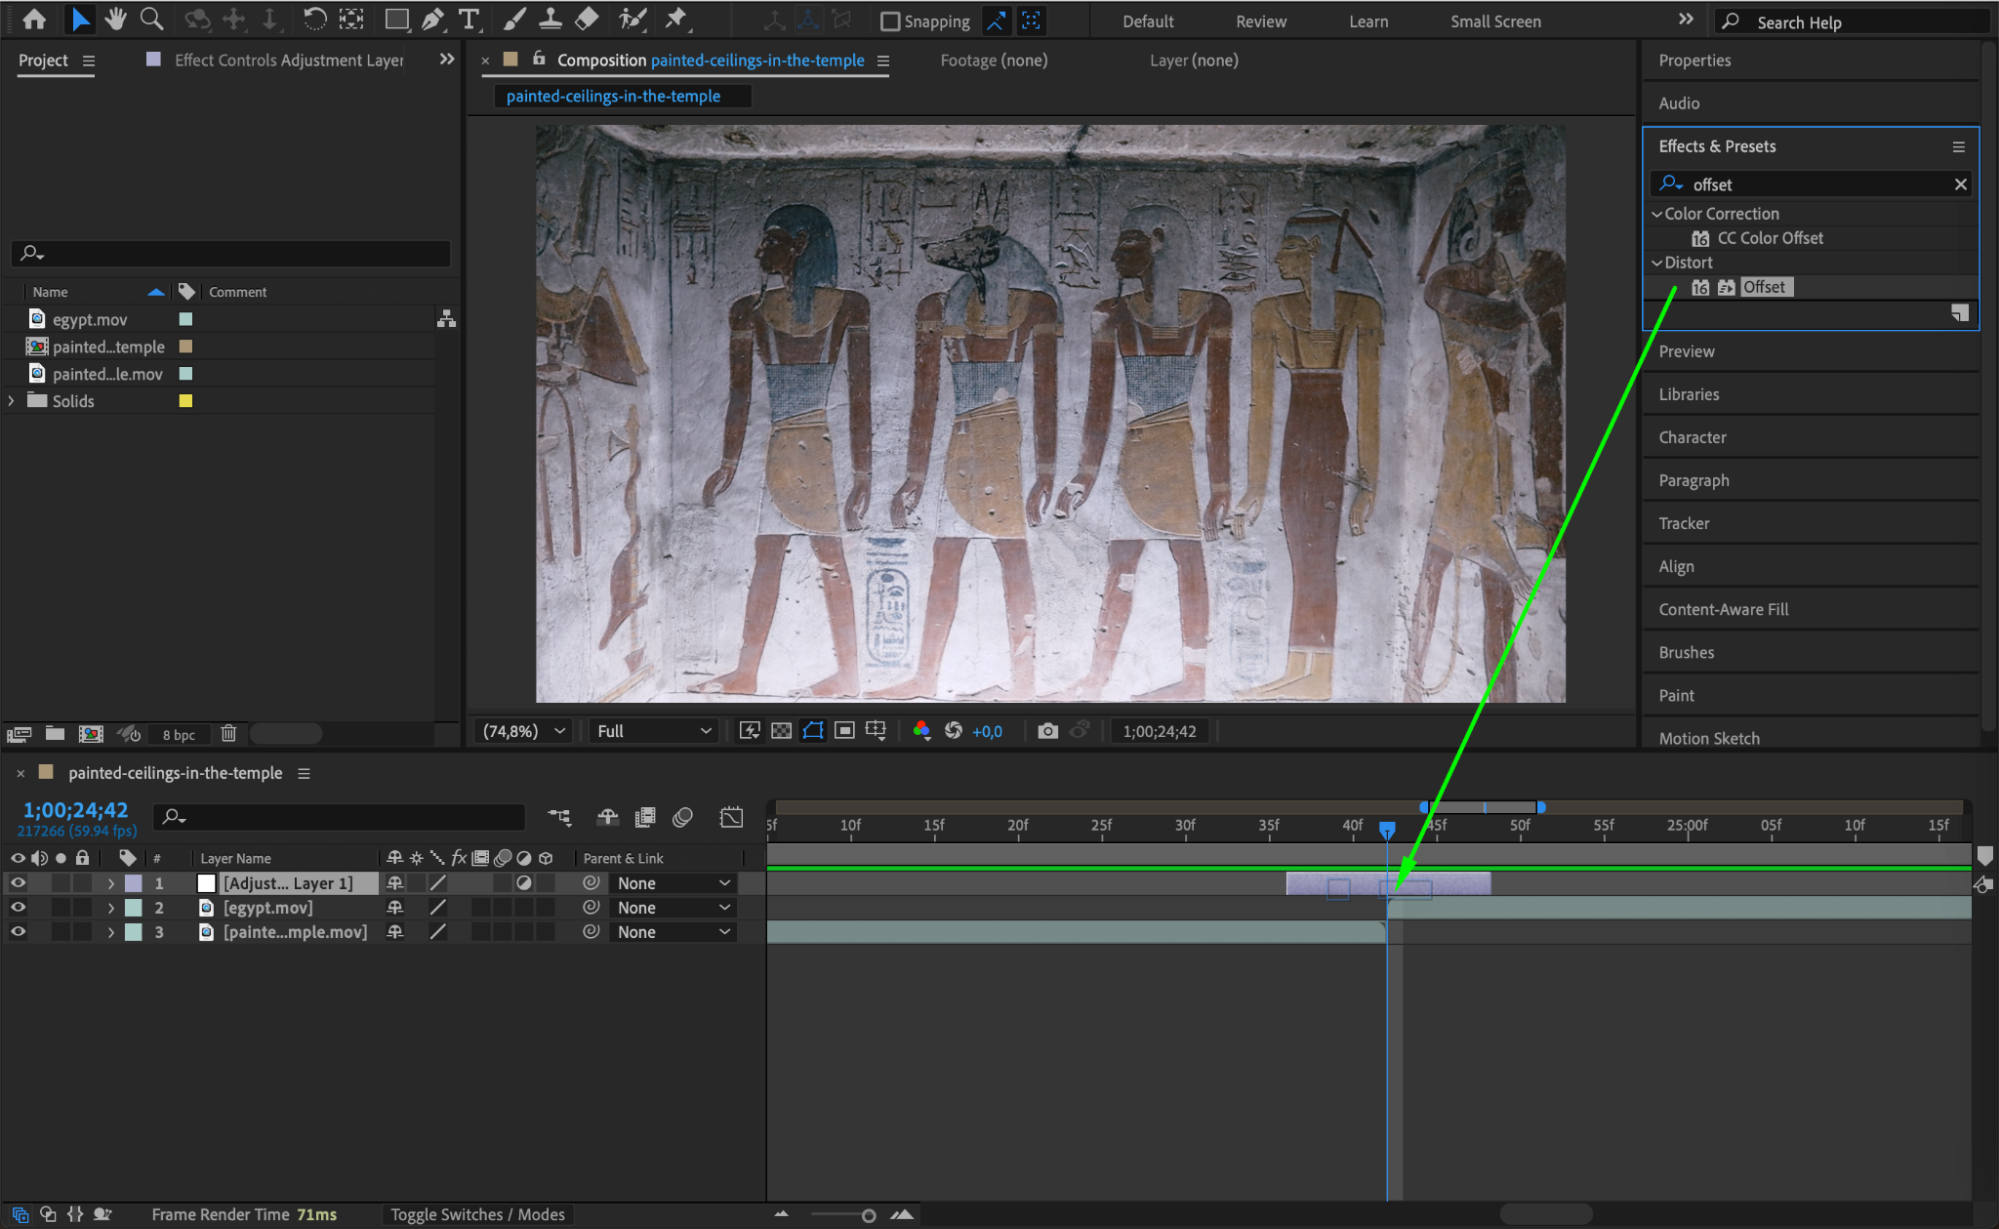
 Step 5: Set Initial Keyframes
At the start of the adjustment layer, set Offset > Shift Center To to the default value (click the stopwatch). In Fast Box Blur, set Iterations to 4, Blur Dimensions to Horizontal, and set Blur Radius to 0 with a keyframe.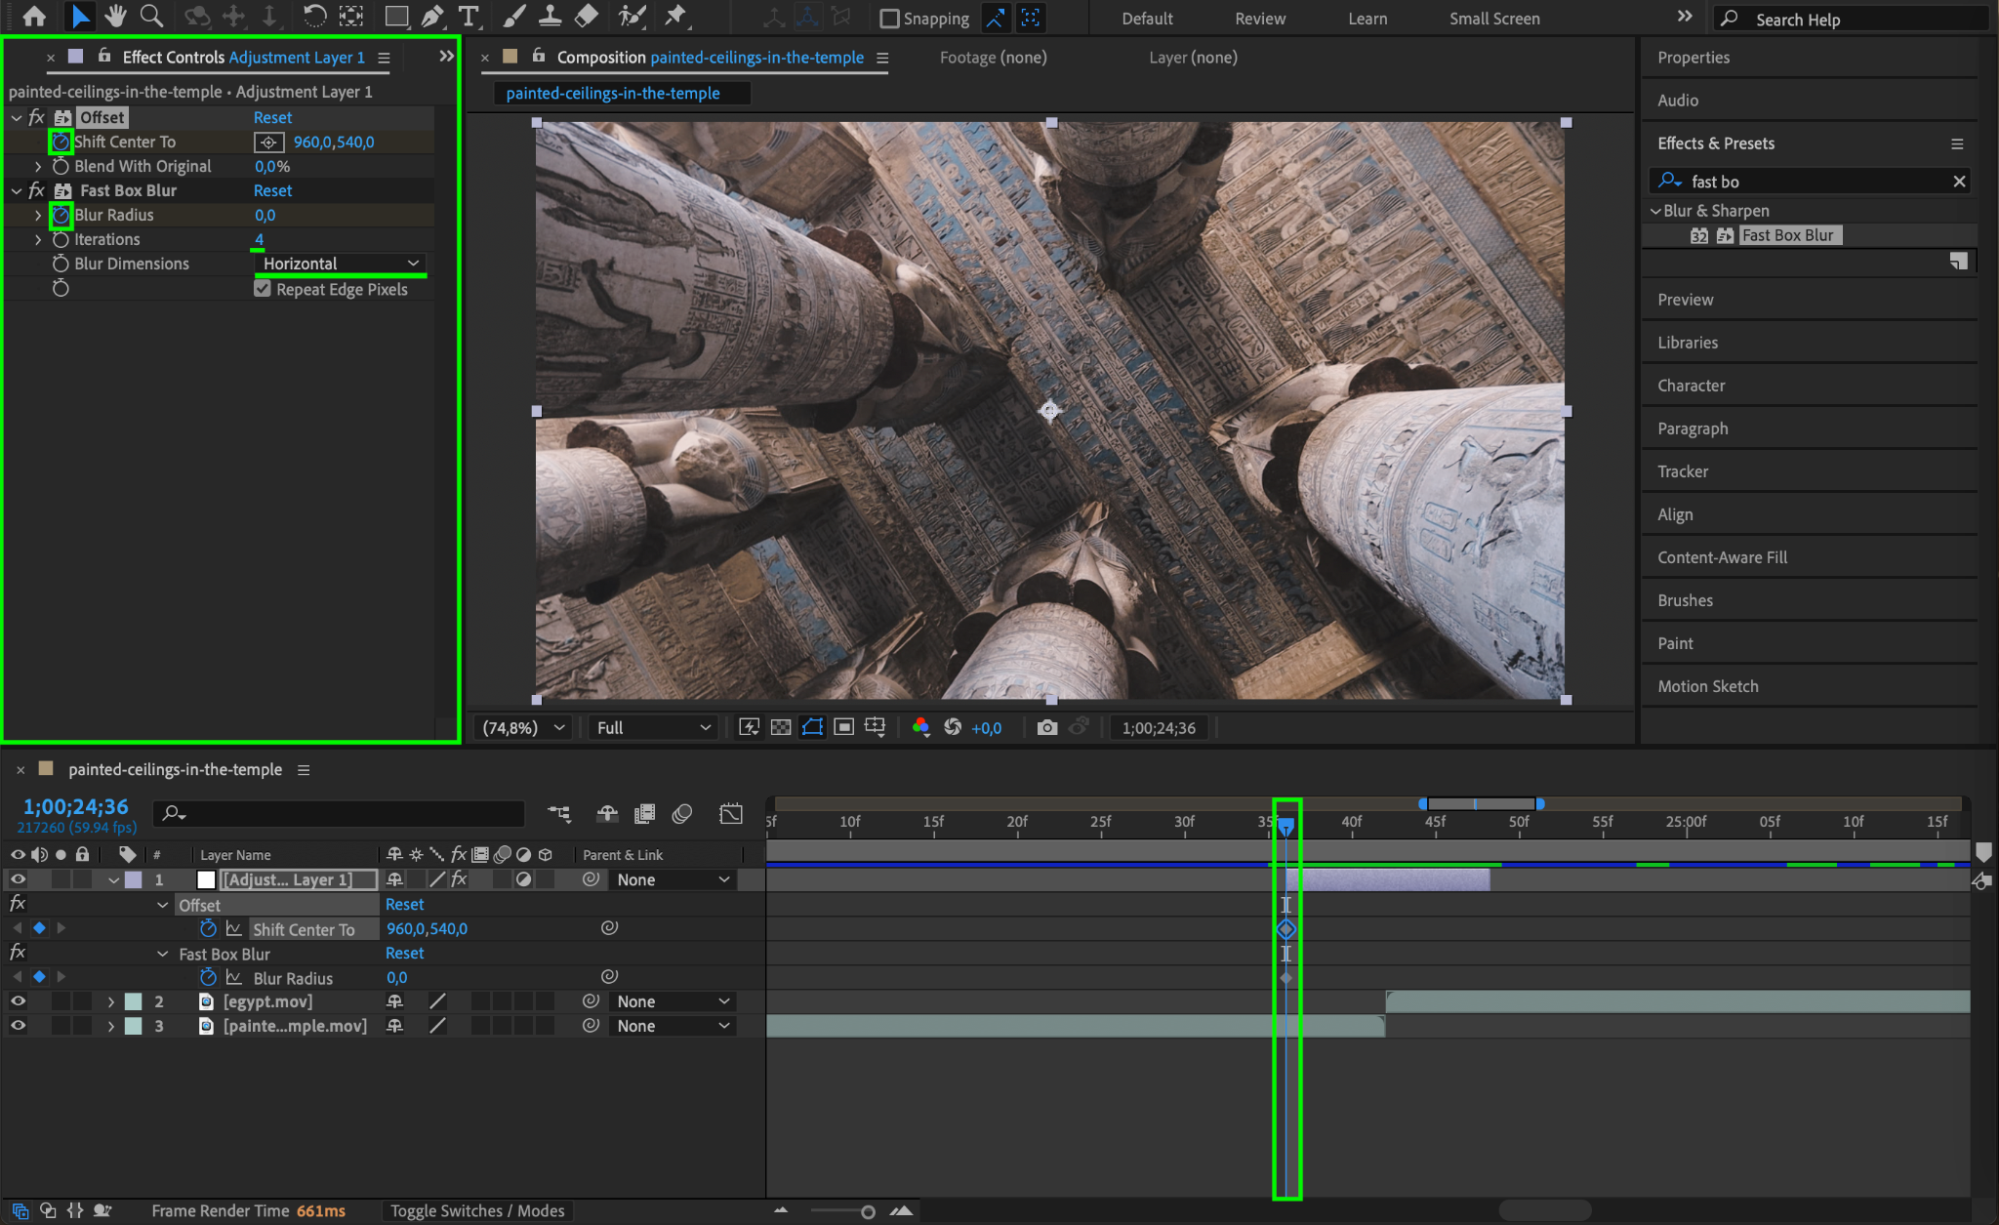 Step 6: Add End Keyframes
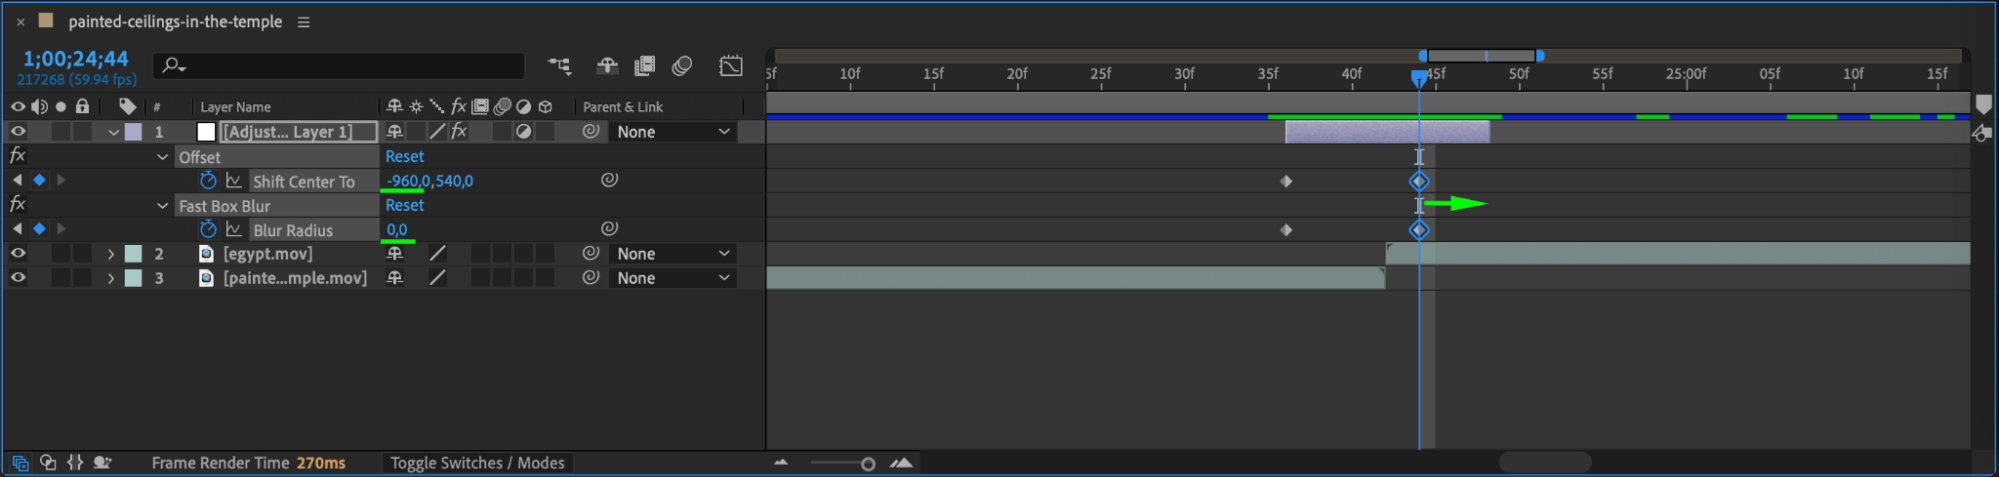
Move the CTI (Current Time Indicator) to two frames after the middle of the adjustment layer. At this point, set a new keyframe for Offset > Shift Center To, changing only the X value to the opposite (negative) of the starting value. Also, set a new keyframe for Blur Radius, changing it back to 0. Then move both of these keyframes to the end of the adjustment layer. This creates a smooth exit for the transition.
 Step 7: Set Middle Blur
Move to the center of the adjustment layer and set Blur Radius to around 200. This will create a strong motion blur effect as the slide occurs.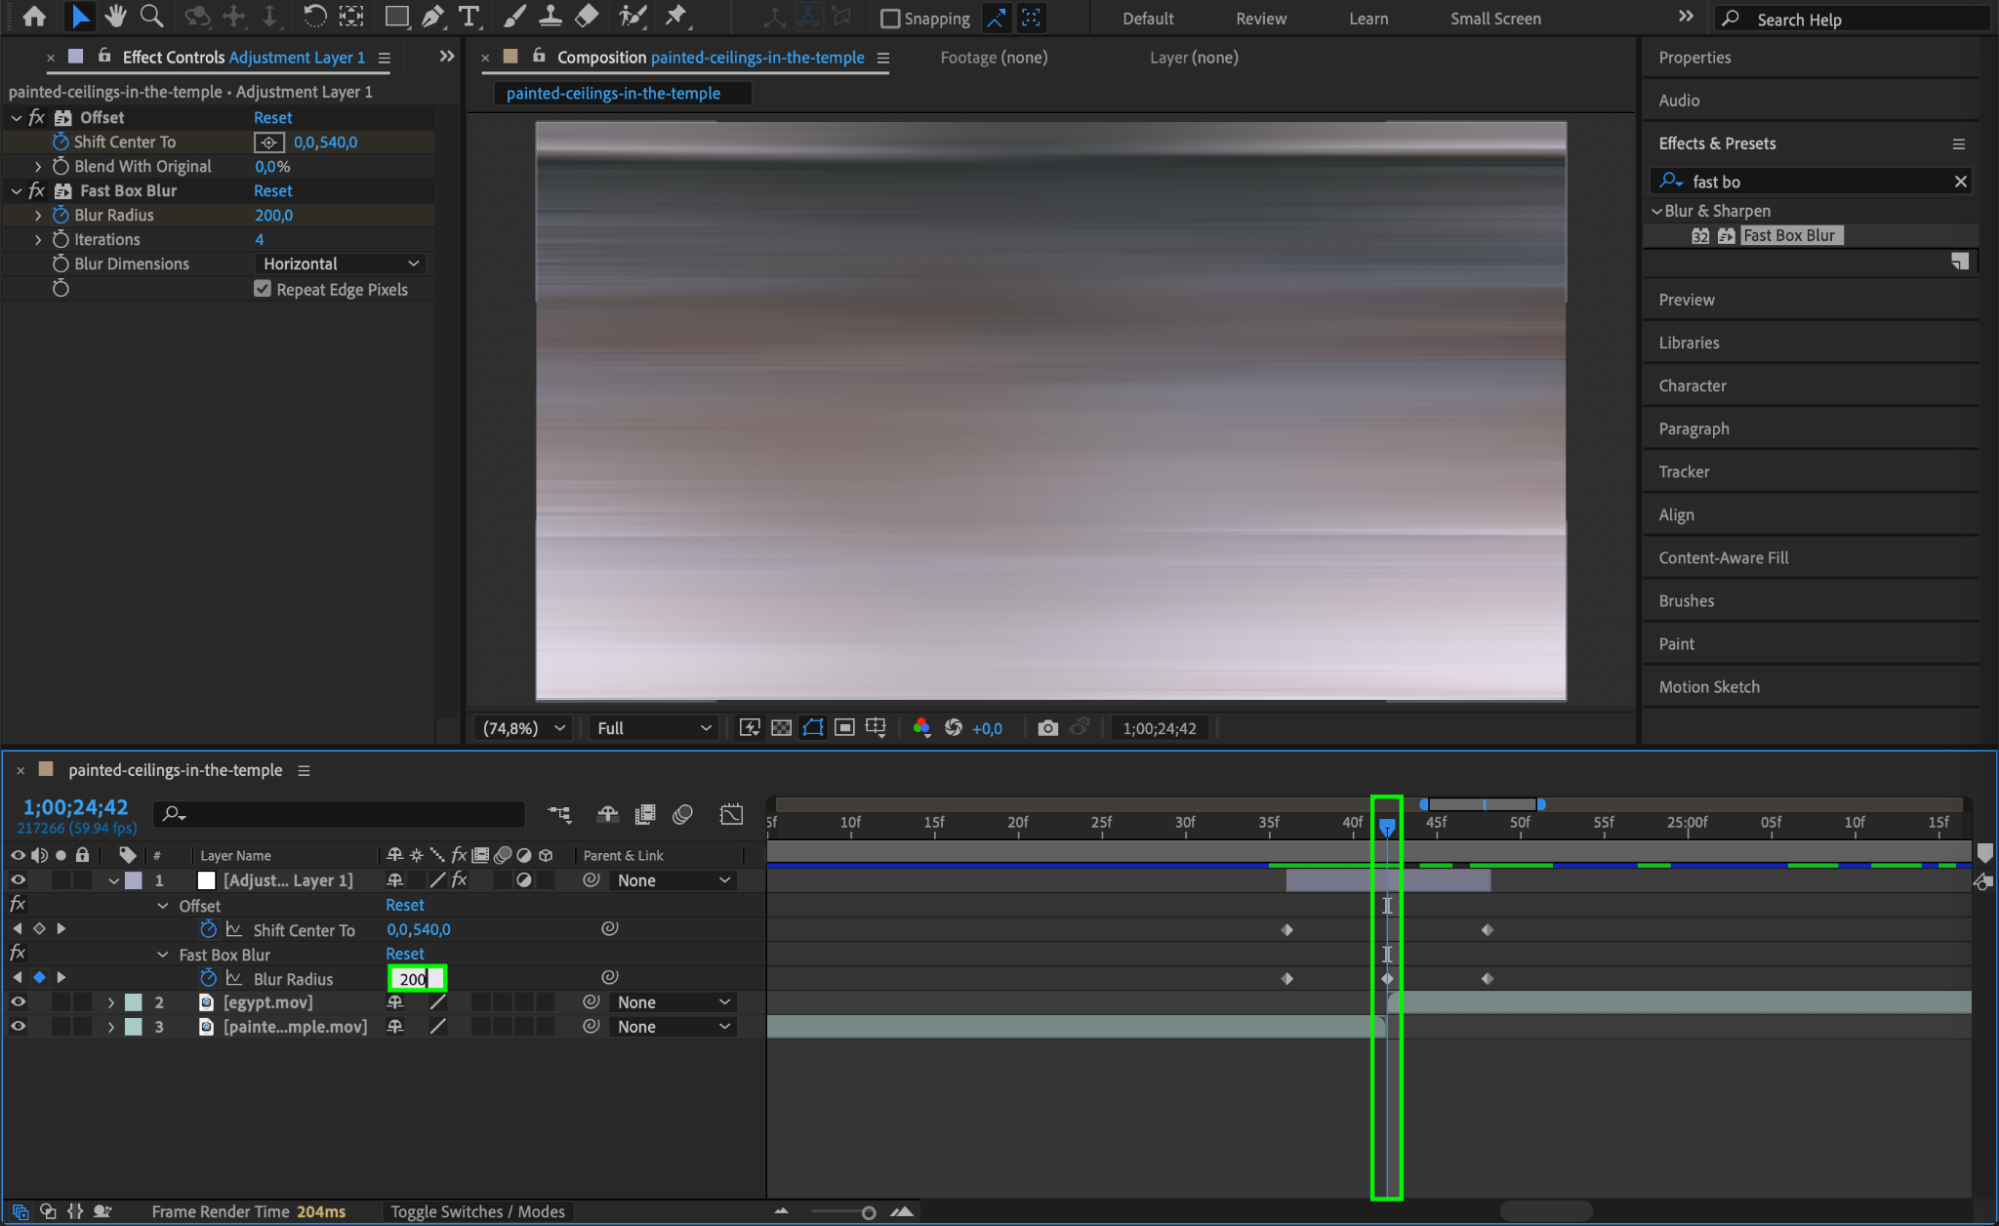 Step 8: Easy Ease the Keyframes
Select all the keyframes, right-click one of them, and choose Keyframe Assistant > Easy Ease. This smooths the speed of the transition and gives it a more professional look. Step 9: Preview the Result
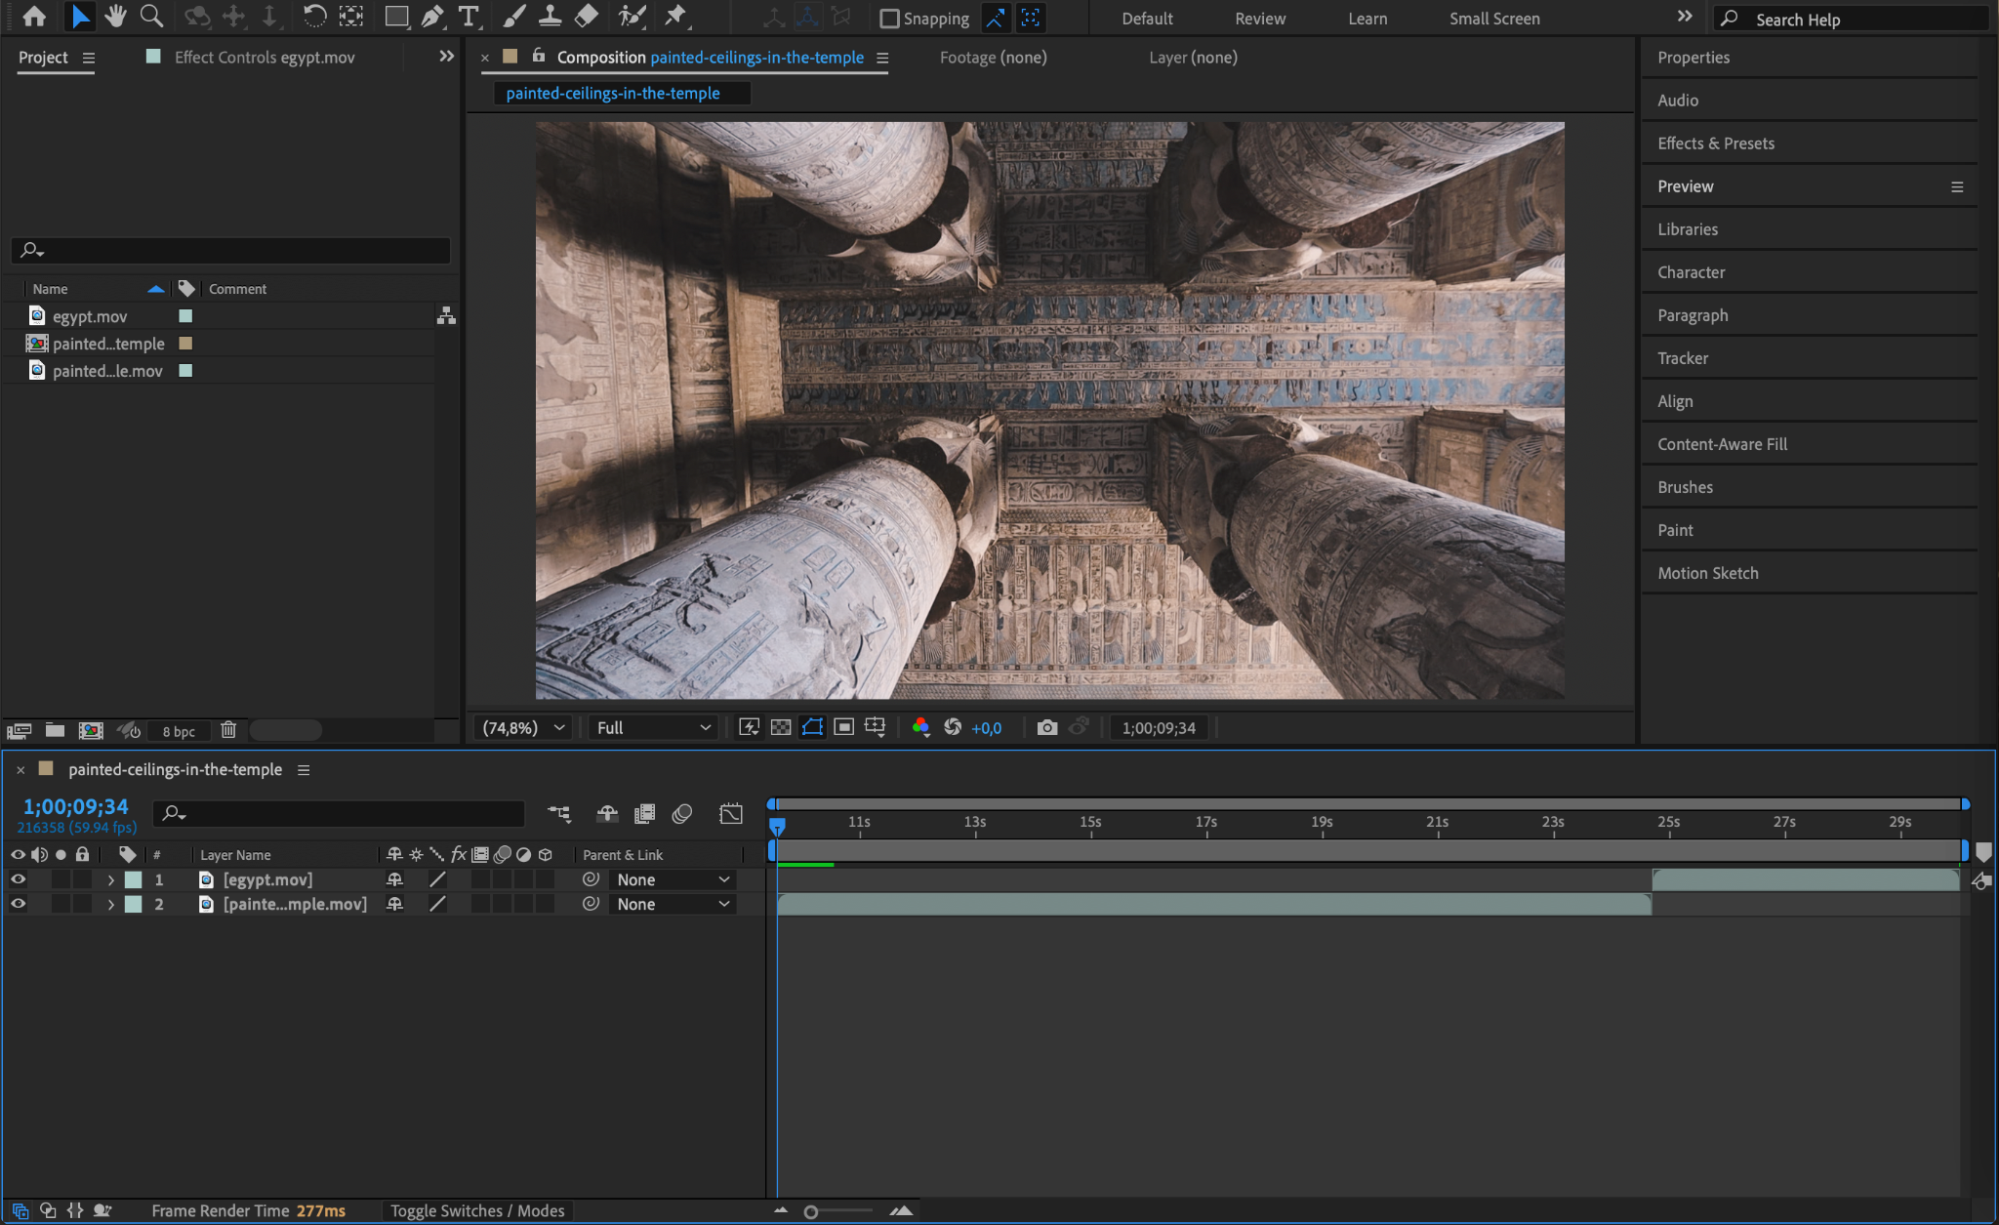
Press Spacebar to preview your animation. You’ll see a clean, horizontal sliding transition with a blur between your two video clips – ideal for modern edits.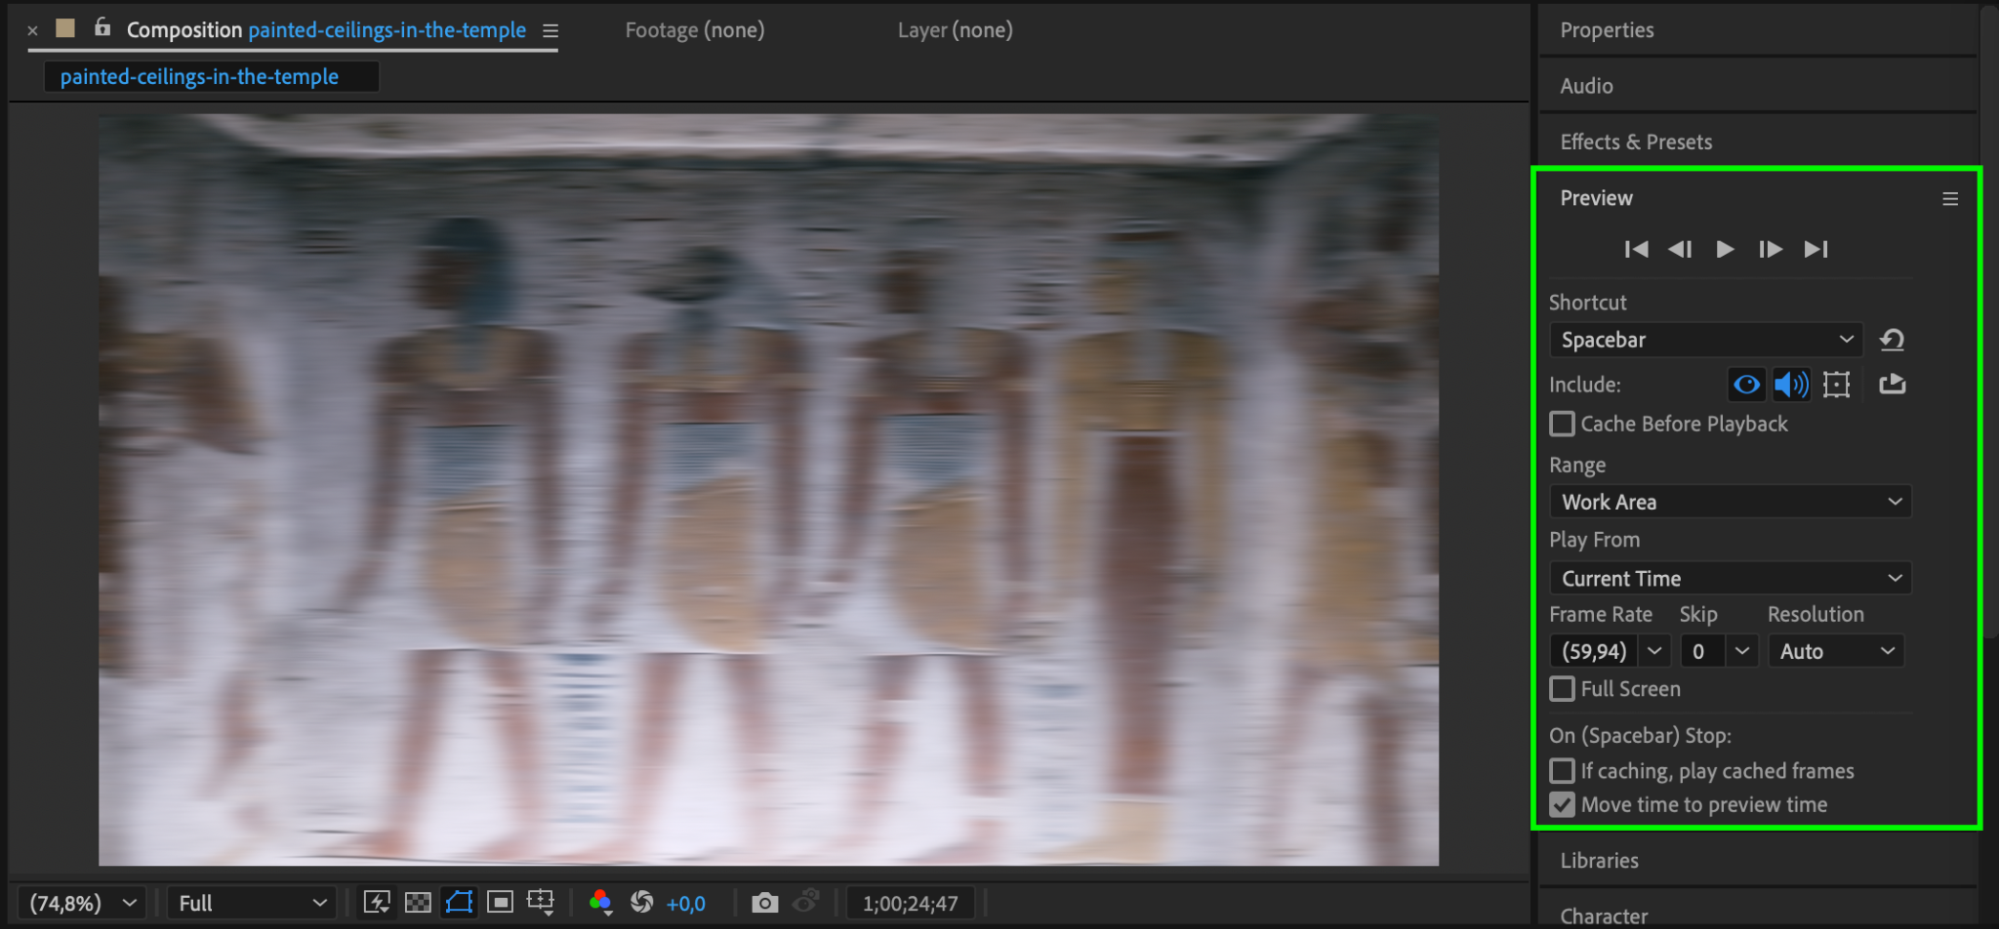 Conclusion
Slide transitions using Offset and Fast Box Blur offer a clean and stylish way to switch between scenes in After Effects. They’re easy to create and highly customizable, helping you enhance your video with minimal effort.
Our Bestsellers


