Creating Realistic Raindrops in After Effects
Introduction
Adding raindrops to a video can enhance its atmosphere, making it more dramatic or immersive. In After Effects, the CC Rainfall effect provides an easy way to simulate falling raindrops. Follow these steps to apply and adjust the effect for a natural look.
Step 1: Import Your Video
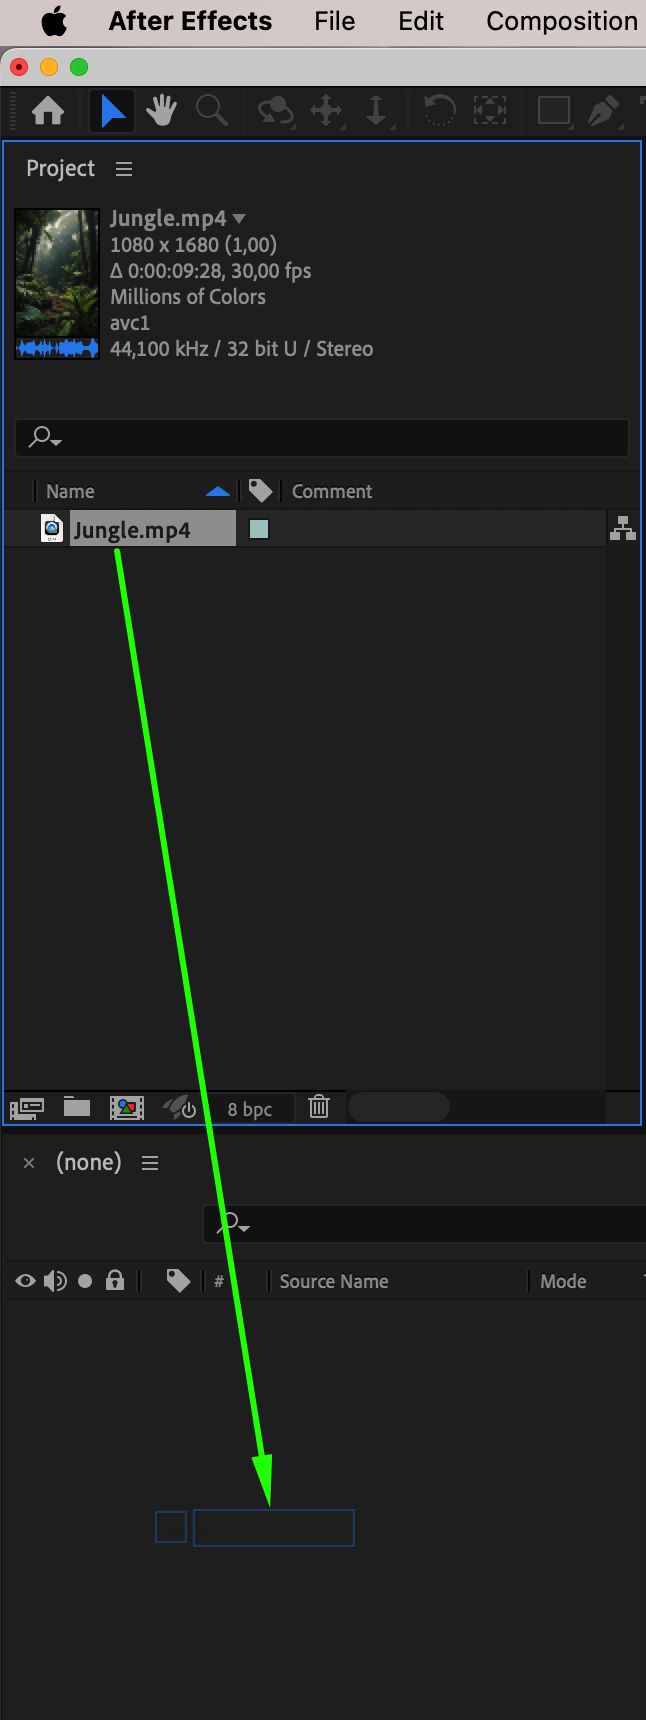
Open After Effects and import your video by navigating to File > Import > File. Select your footage and drag it onto the timeline to create a composition.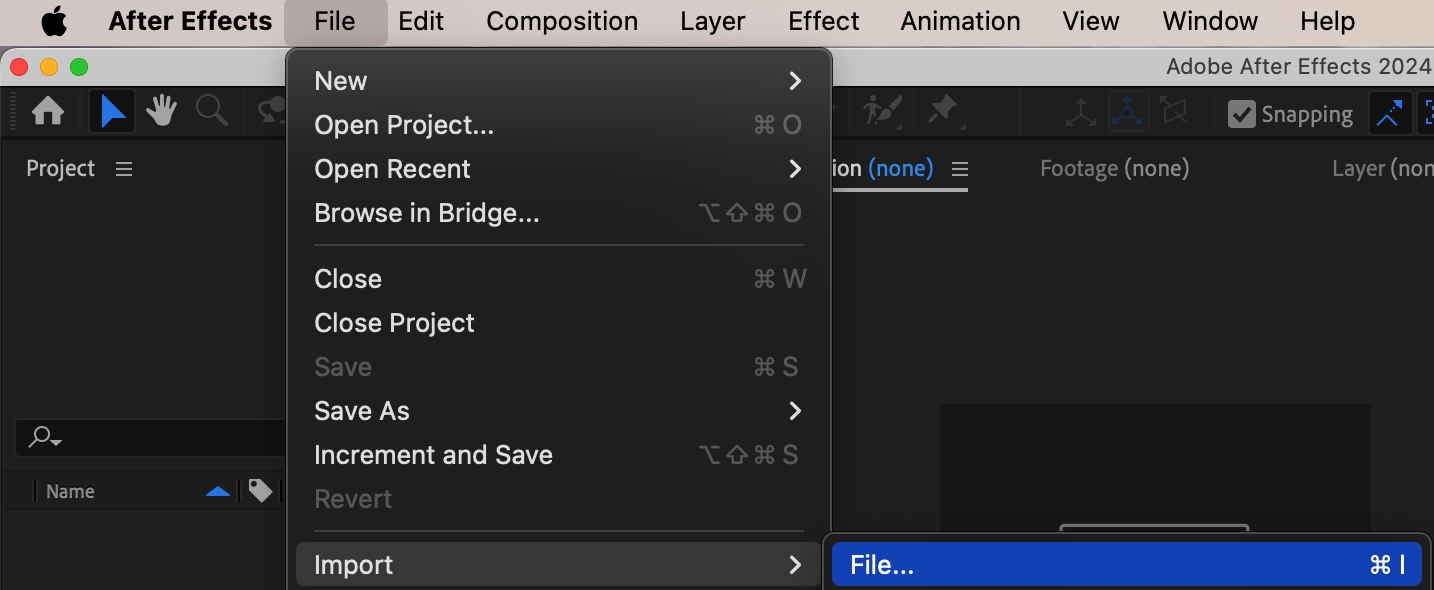
 Step 2: Add the Rainfall Effect
With the video layer selected, go to the Effects & Presets panel and search for CC Rainfall. Drag and drop the effect onto your video layer to apply the basic raindrop simulation.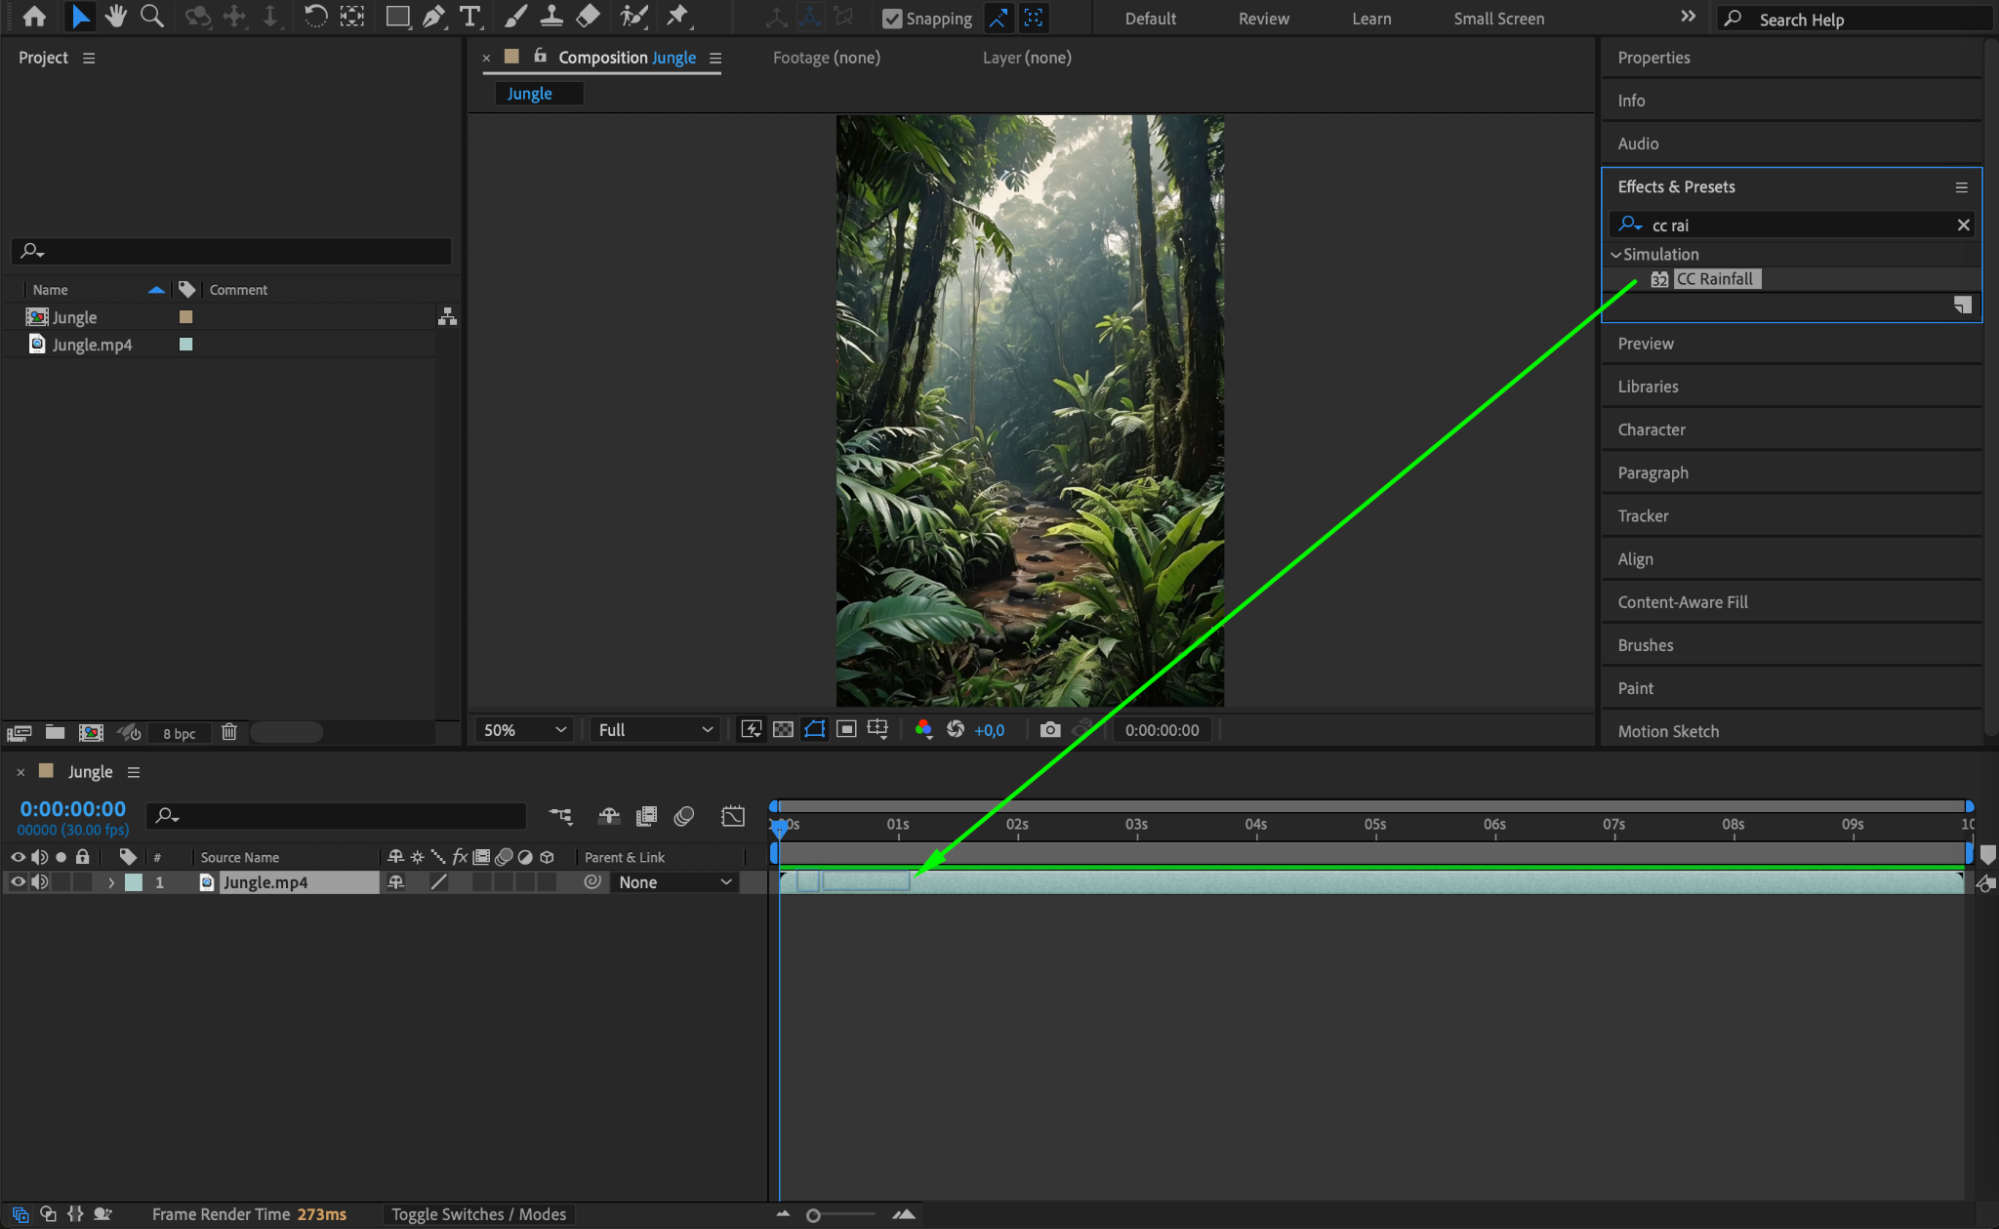
Get 10% off when you subscribe to our newsletter

Step 3: Adjust the Raindrop Settings
In the Effect Controls panel, tweak the settings for a more realistic appearance. Adjust the following parameters:
Drops: Set to 4000 for a dense rainfall effect.
Size: Change to 8 to make the drops visible but not overwhelming.
Scene Depth: Increase to 5890 to add depth to the rain.
Speed: Set to 3710 to control how fast the rain falls.
Wind: Adjust to 500 to simulate wind direction.
Spread: Change to 16 to make the raindrops more scattered.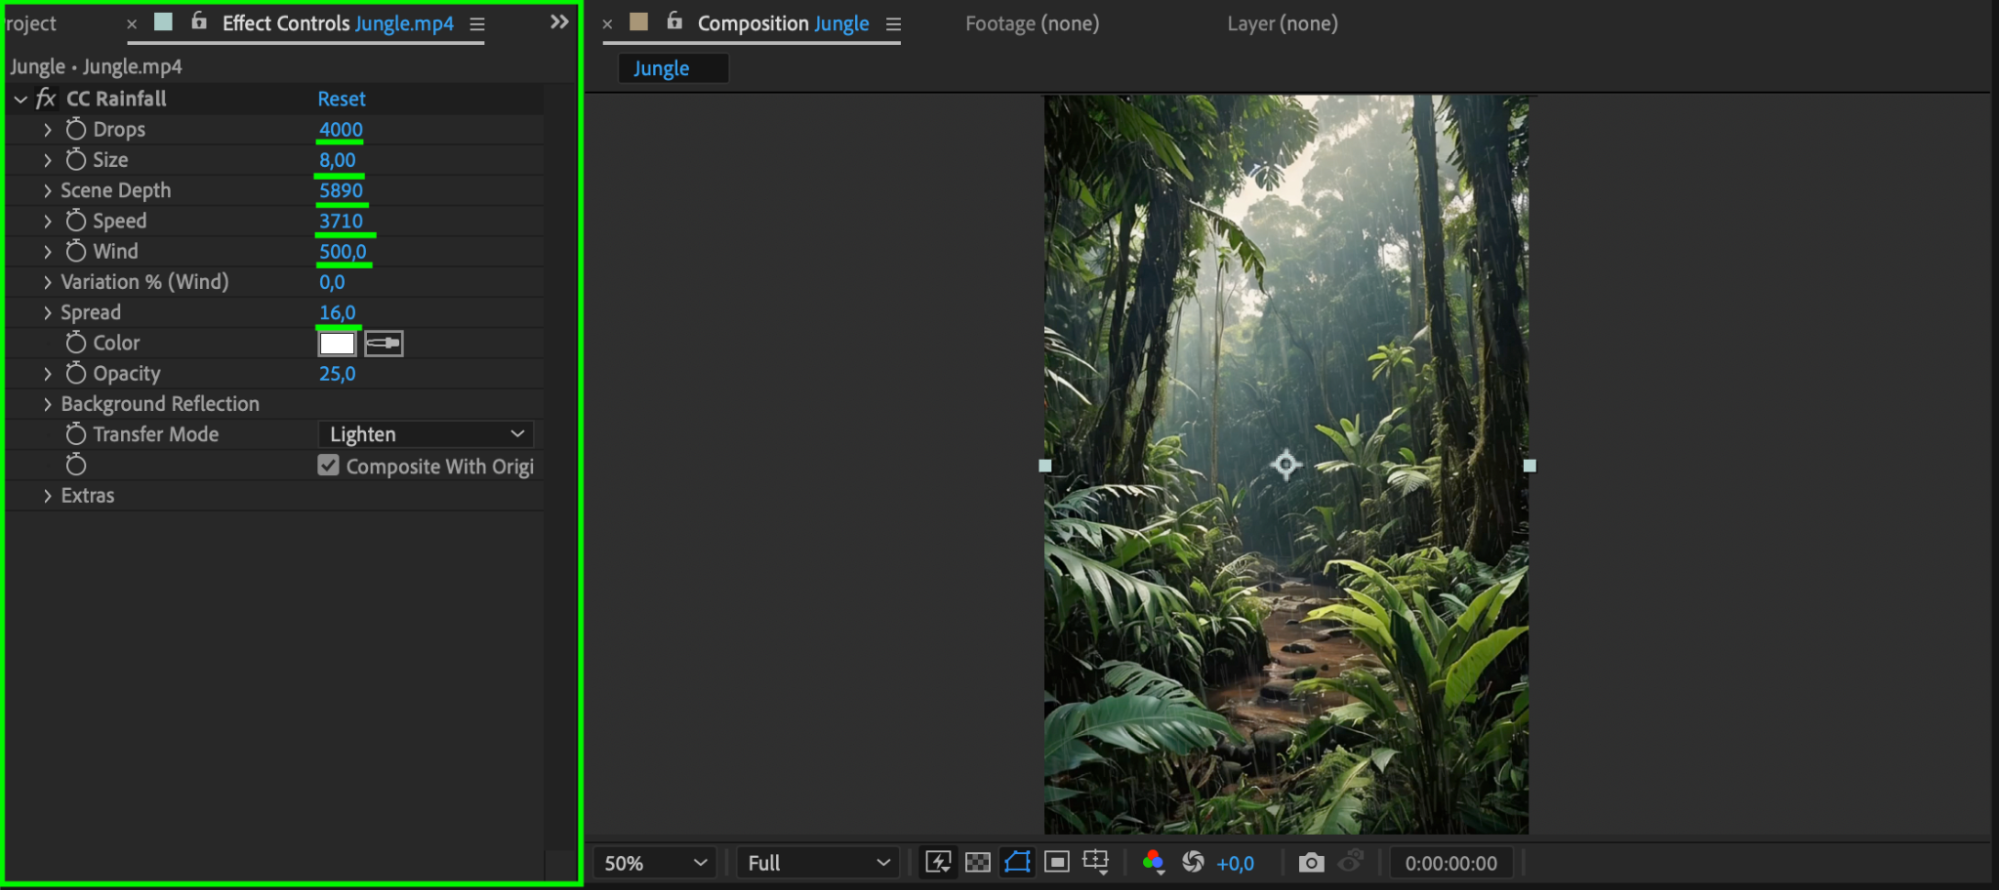 Step 4: Preview the Animation
Press Spacebar to preview your animation and ensure the raindrops look natural in your scene. If needed, tweak the settings further for better integration with your footage.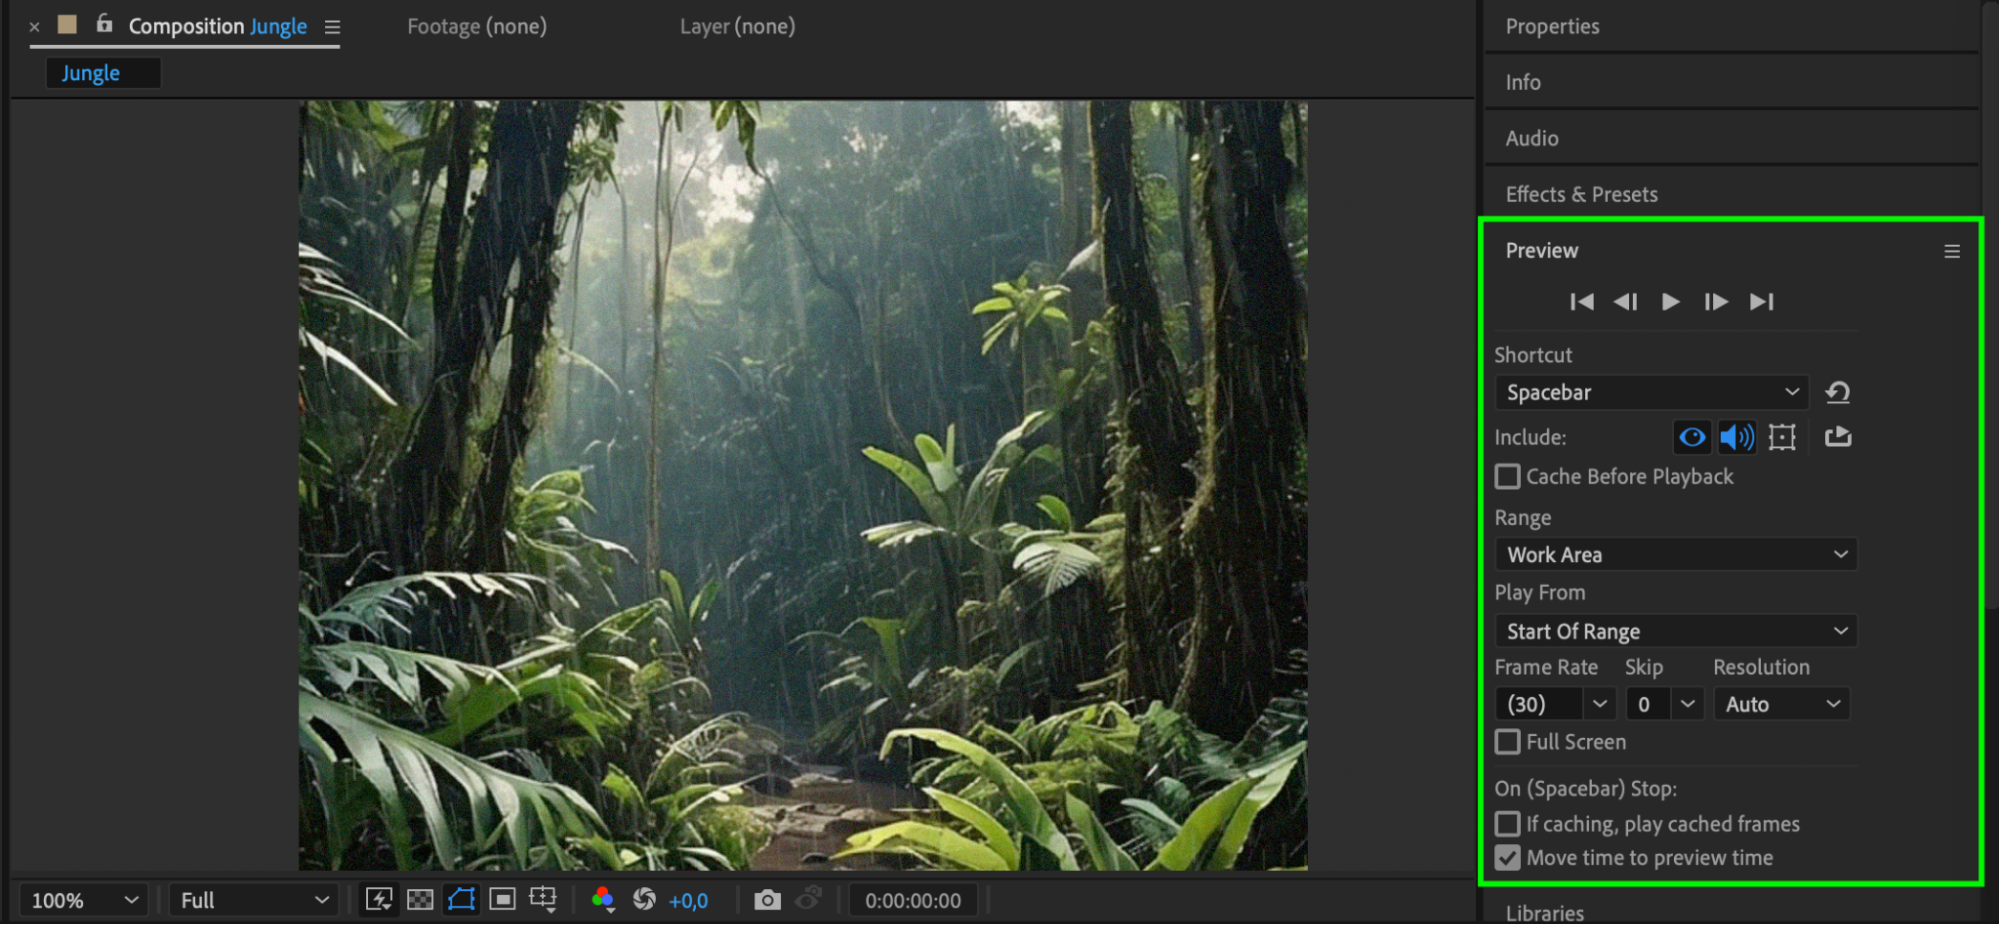 Step 5: Render Your Video
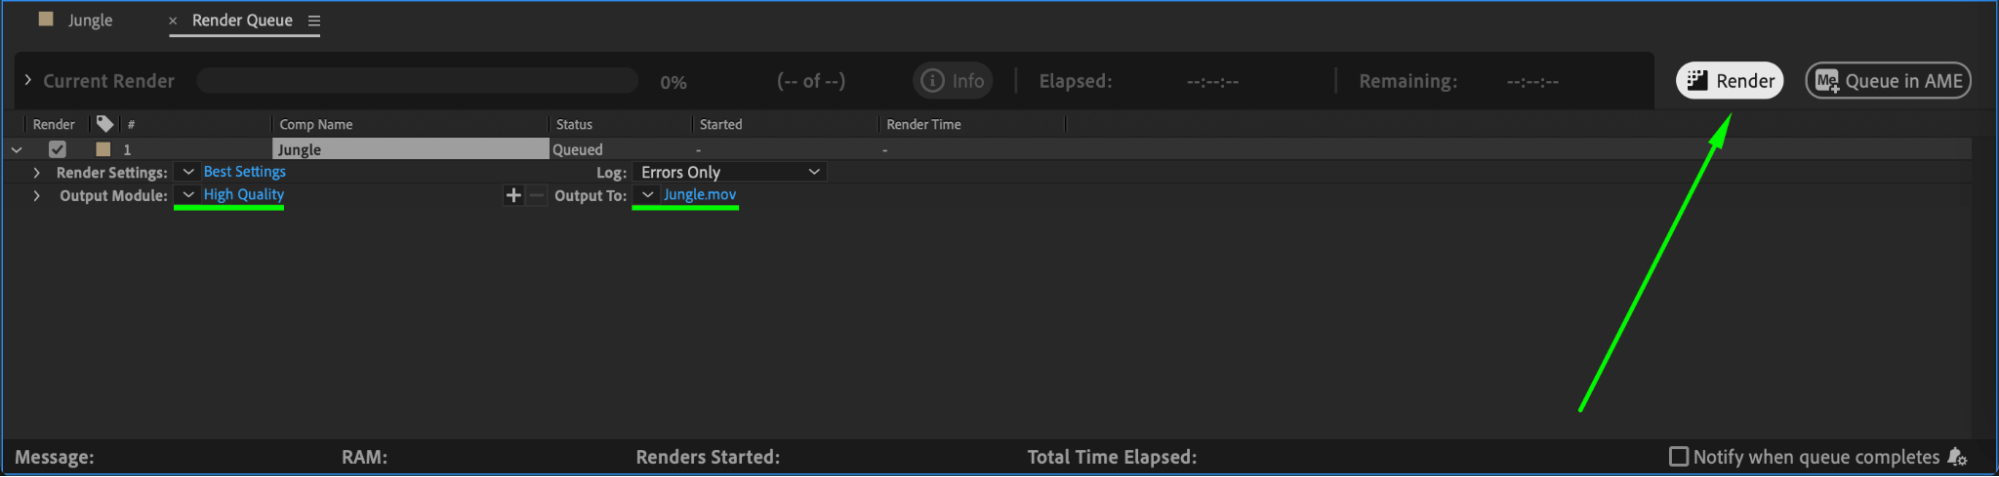
Once satisfied with the effect, go to Composition > Add to Render Queue. Adjust the output settings and click Render to finalize your video.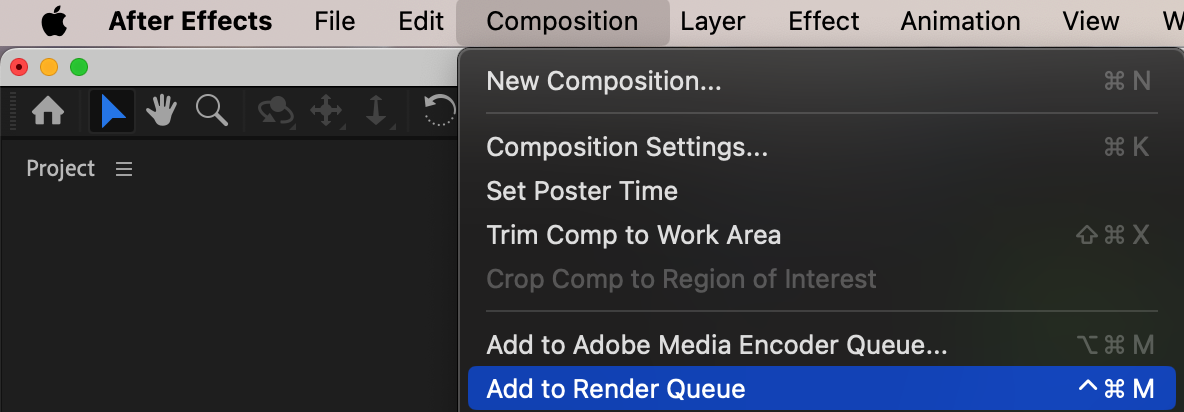
 Conclusion
By using the CC Rainfall effect and adjusting key parameters, you can create a realistic rain simulation in After Effects. This effect can add drama, realism, or a cinematic touch to your footage. Experiment with the settings to match the mood of your project.
Our Bestsellers


