Learn how to create animated text using AEJuice’s Kinetic Typography templates in Premiere Pro. Customize fonts, colors, and more in just a few steps.
Creating Kinetic Typography in Premiere Pro Using AEJuice Templates
Add Dynamic Animated Text to Your Videos with Kinetic Typography
Kinetic typography is a powerful way to add energy and motion to your text. Whether you’re working on a music video, promo, or social media content, animated text helps grab attention and communicate more effectively. In this tutorial, you’ll learn how to use AEJuice’s Kinetic Typography pack in Premiere Pro. These templates are fully customizable and perfect for motion graphics beginners and professionals alike.
Step 1: Launch Premiere Pro
Open Premiere Pro and create a new project. Import your footage or create a new sequence if you want to start with a blank timeline.
Step 2: Open AEJuice Pack Manager
Navigate to Window > Extensions > AEJuice Pack Manager 4 to open the AEJuice plugin panel. This is where you can access all installed AEJuice packs, including typography templates, transitions, effects, and more.

Get 10% off when you subscribe to our newsletter

Step 3: Download the Kinetic Typography Pack
Inside the Pack Manager, find the Kinetic Typography pack. If it’s not yet downloaded, click the Download button. Once it’s installed, you’ll be able to preview and use dozens of animated text templates.
Step 4: Choose and Import a Template
Browse through the pack and preview the available typography templates. Make sure your playhead is placed at the point in the timeline where you want the animation to appear — or you can import the template into a new, empty sequence. Click on the template you like and press Import to add it to your timeline.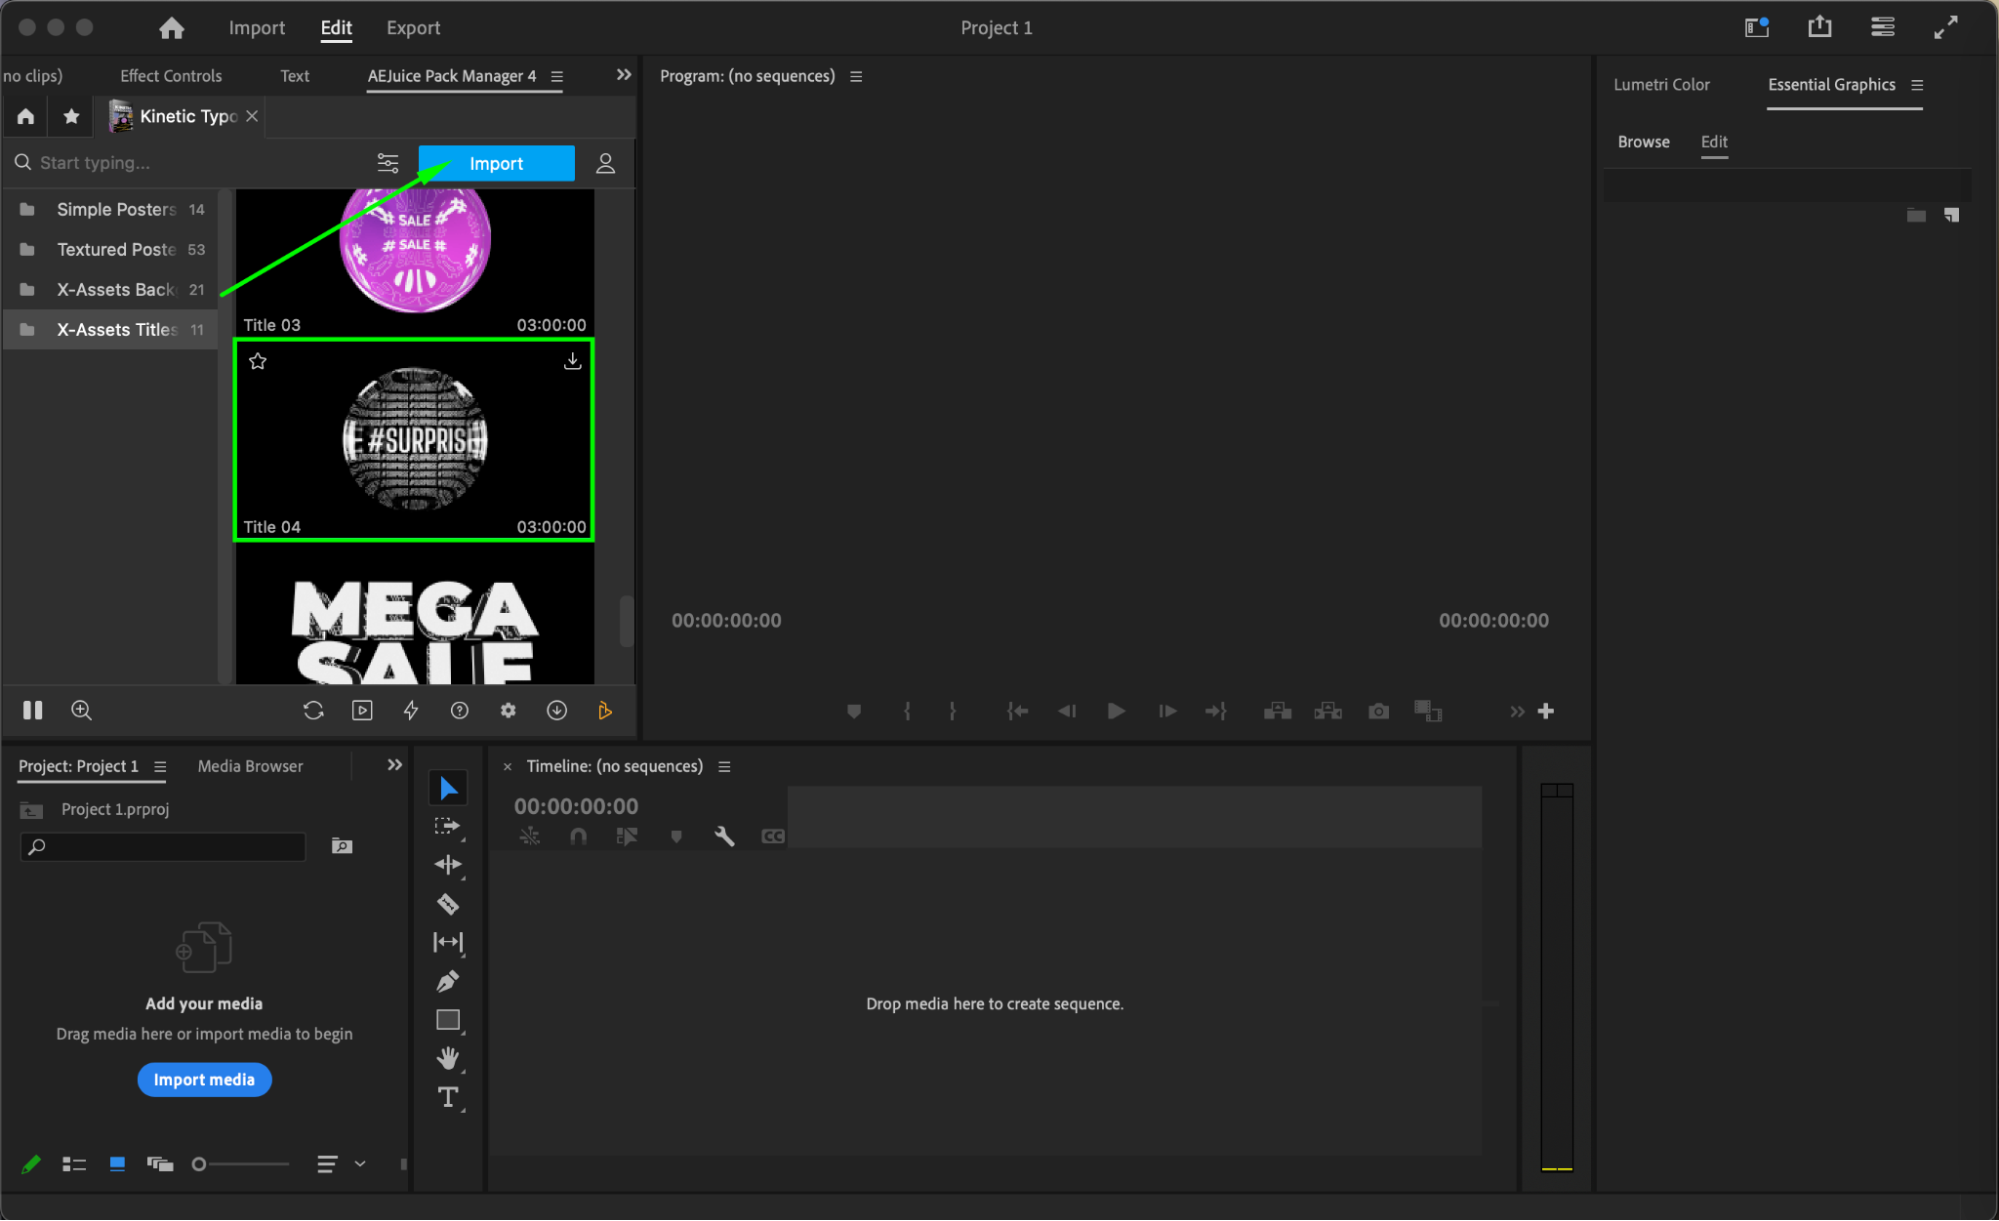
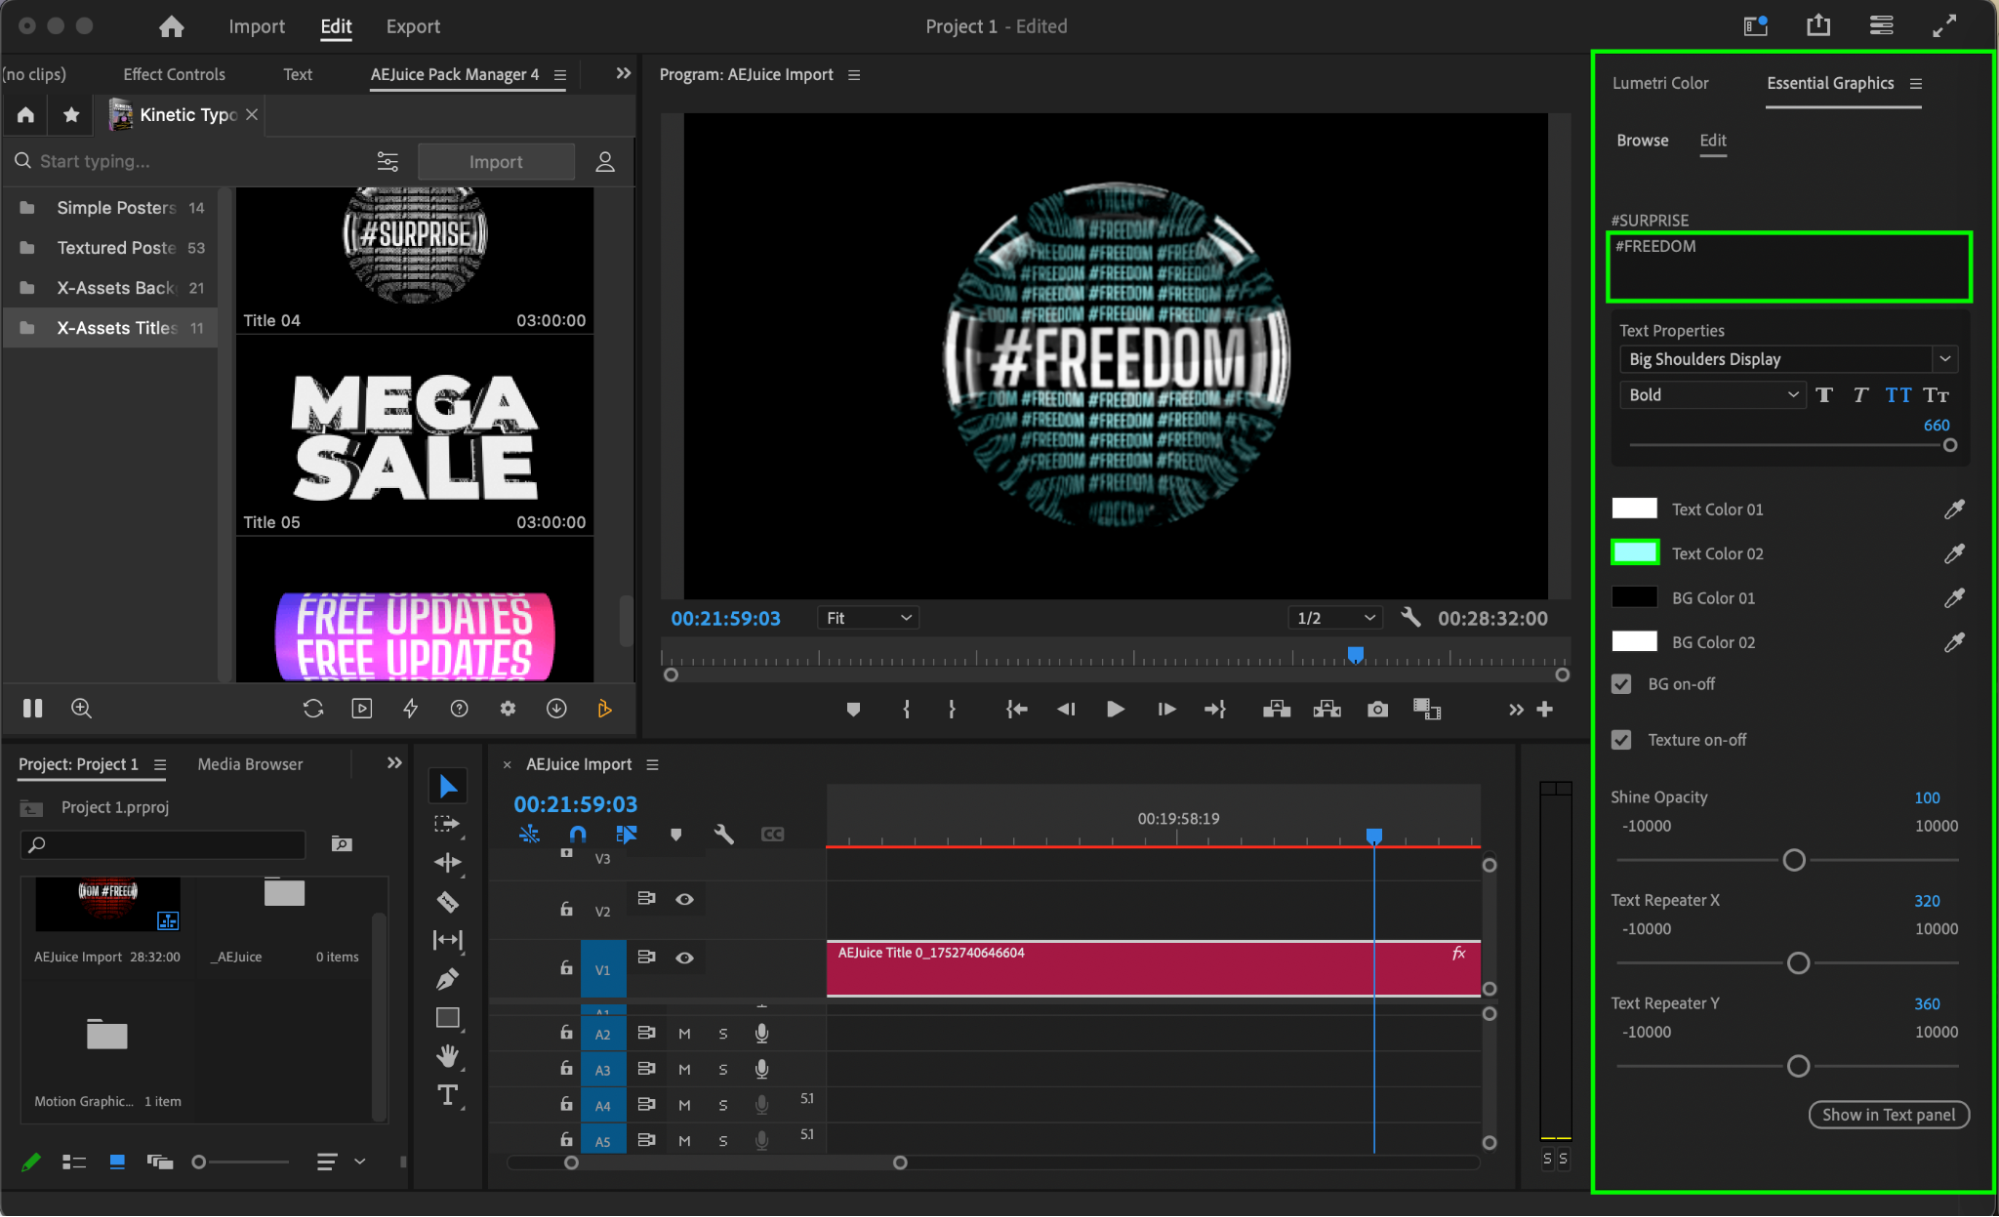
Step 5: Customize Your Typography
Click on the imported template layer in the timeline. Open the Essential Graphics panel and go to the Edit section. From here, you can customize the text, font, and color, as well as the background color. You can also adjust additional settings like shine opacity or use the Text Repeater to duplicate your text on the X or Y axis for a bold graphic look.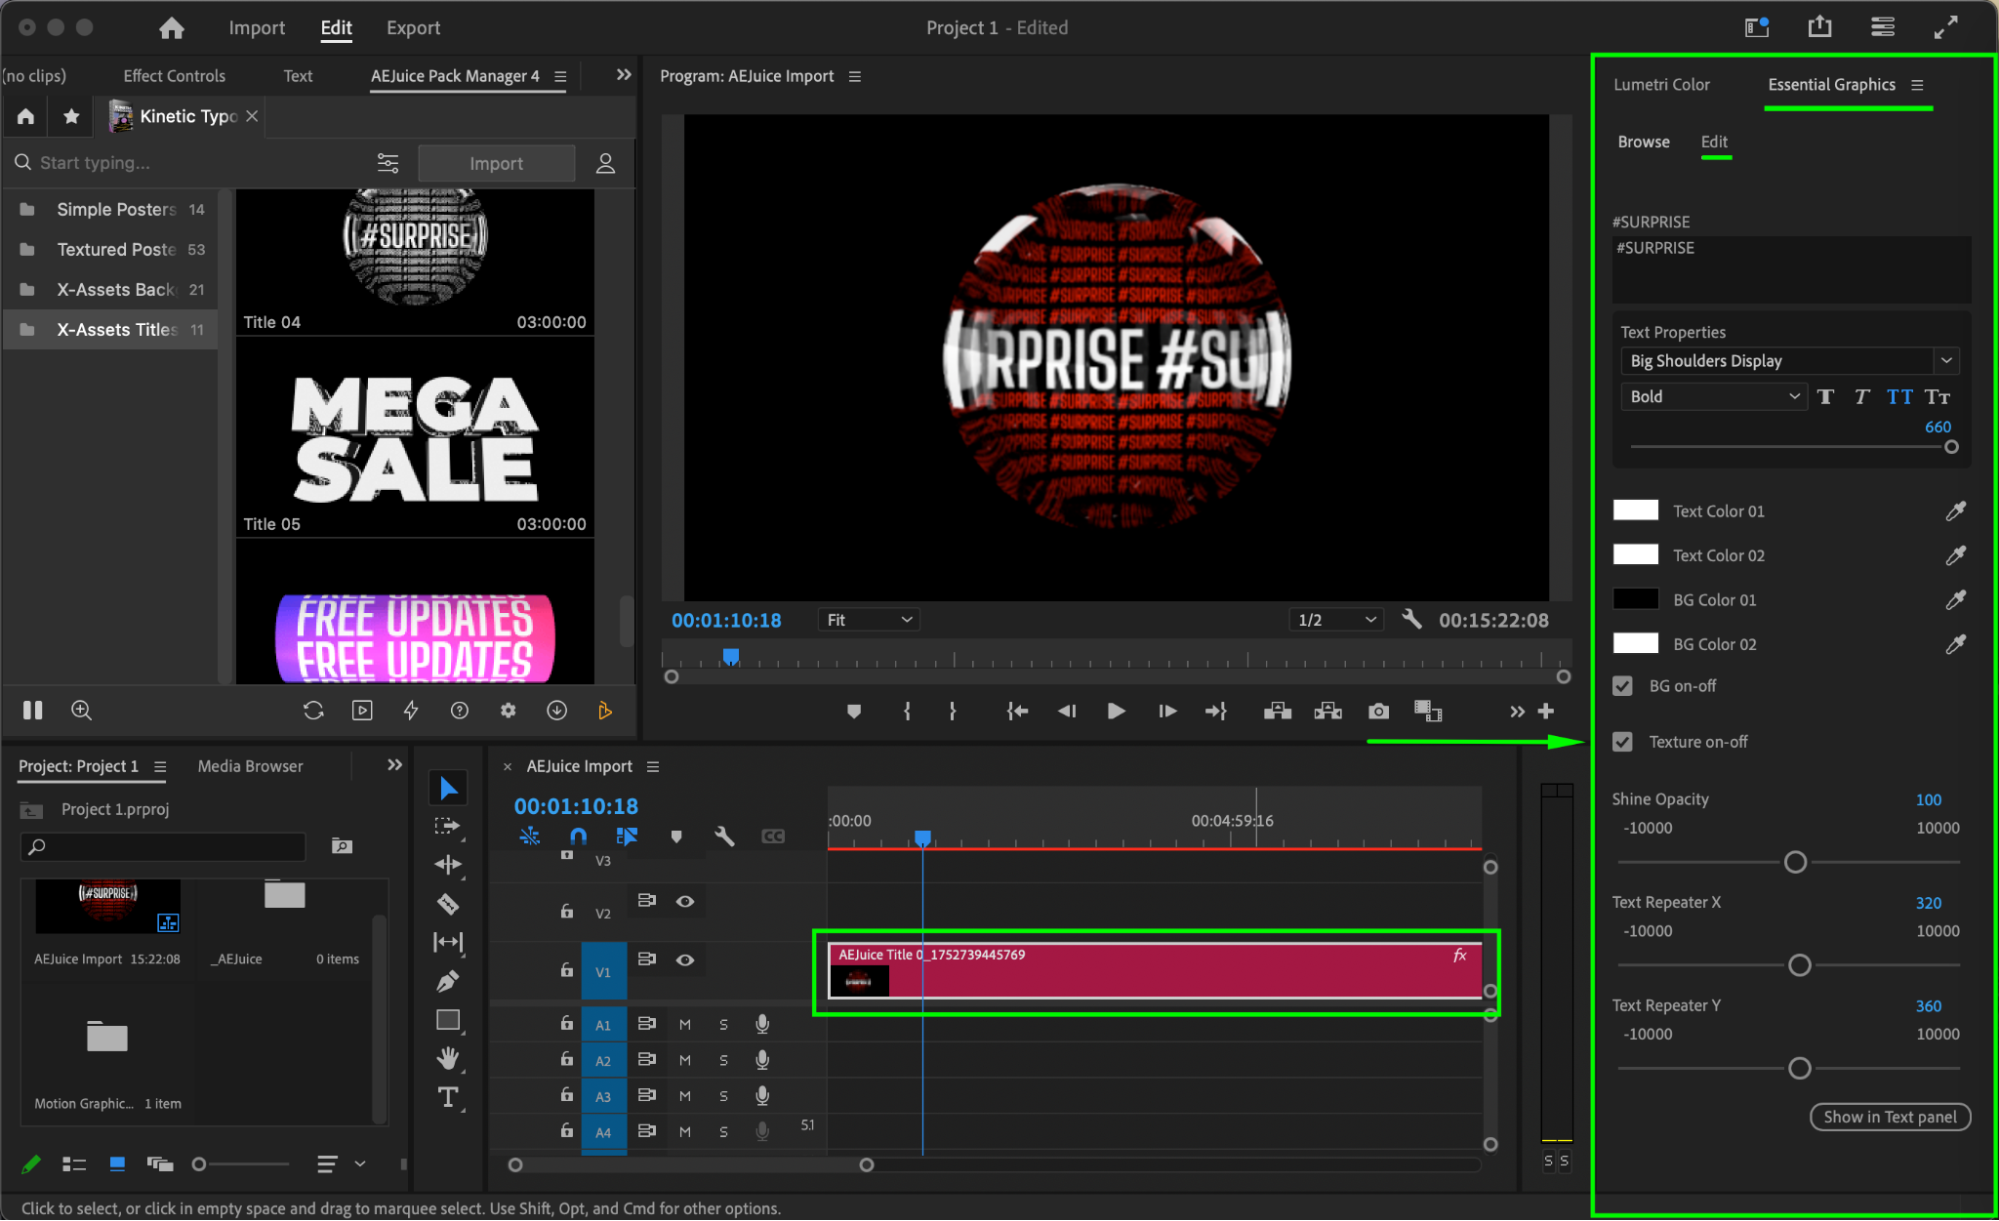
 Step 6 (Optional): Add a Custom Background
If you want to use your own video or image as a background, drag your background file from the Project panel and place it below the template layer in the timeline. Then select the template layer, go to the Essential Graphics panel > Edit, and uncheck the Background (BG on-off) checkbox to disable the built-in background of the template.
Step 7: Preview and Finalize
Press the Spacebar to play back your sequence and preview the animated text in action. Make final adjustments to the timing, style, or content as needed. When everything looks good, you’re ready to export or continue editing your video.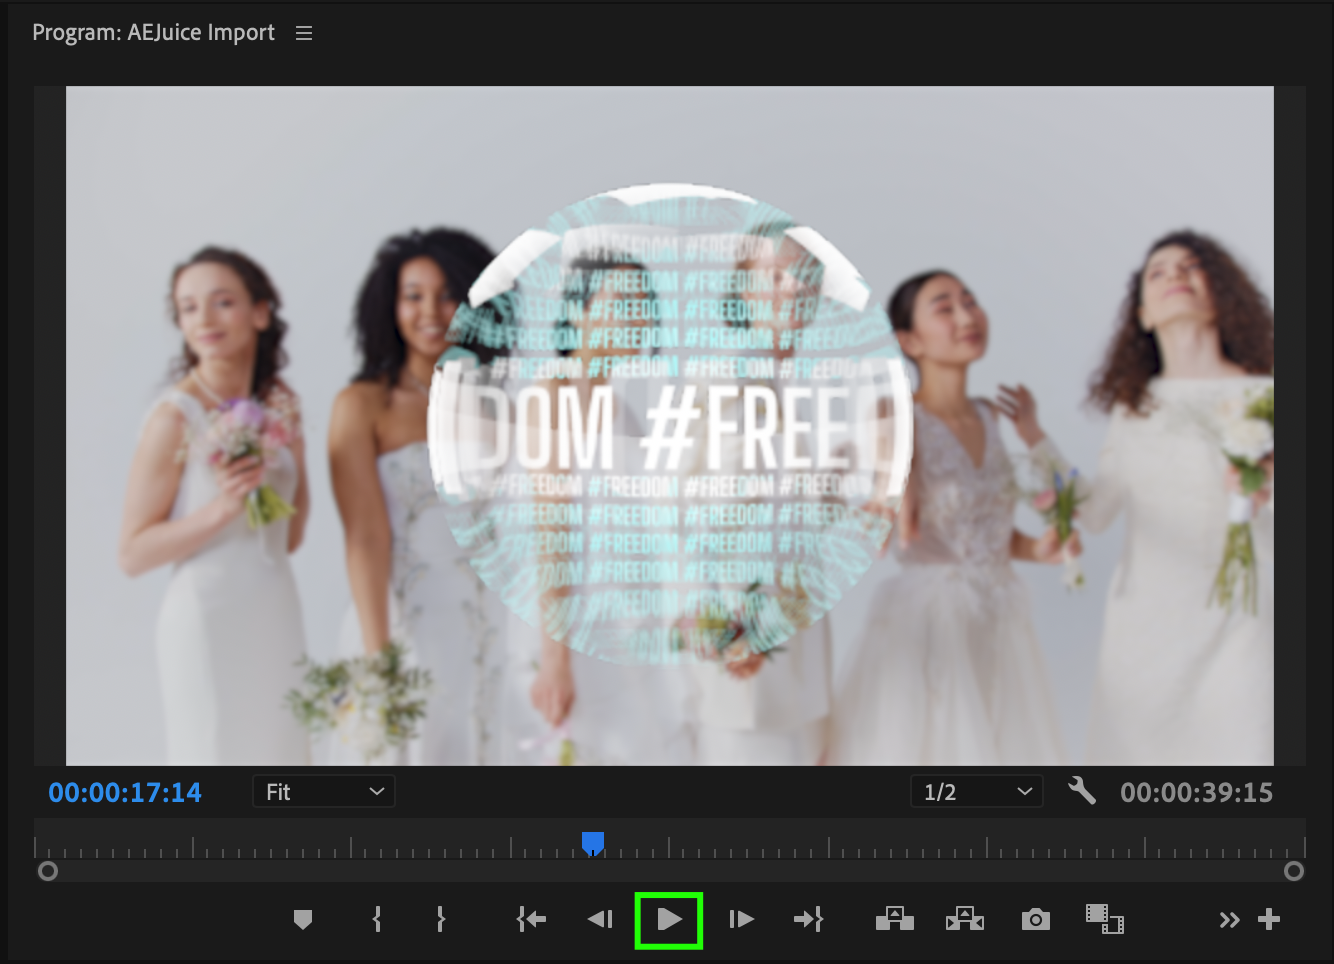 Conclusion
Kinetic typography is a simple yet powerful way to make your videos more dynamic and engaging. With the AEJuice Kinetic Typography pack, you can easily create professional animated text right inside Premiere Pro. Whether you’re working on titles, lyrics, or social content, these templates give you creative control in just a few clicks.
Our Bestsellers


