How to Make Underwater Sound Effects in After Effects
Introduction – Simulate Underwater Audio for Your Video
Creating an underwater sound effect can add depth and realism to your video. In this tutorial, you’ll learn how to apply a low-pass filter to isolate low frequencies and simulate the muffled quality of sound underwater. You’ll also optionally enhance the visual layer to respond to audio, creating a more immersive result.
Step 1: Import Your Video and Audio
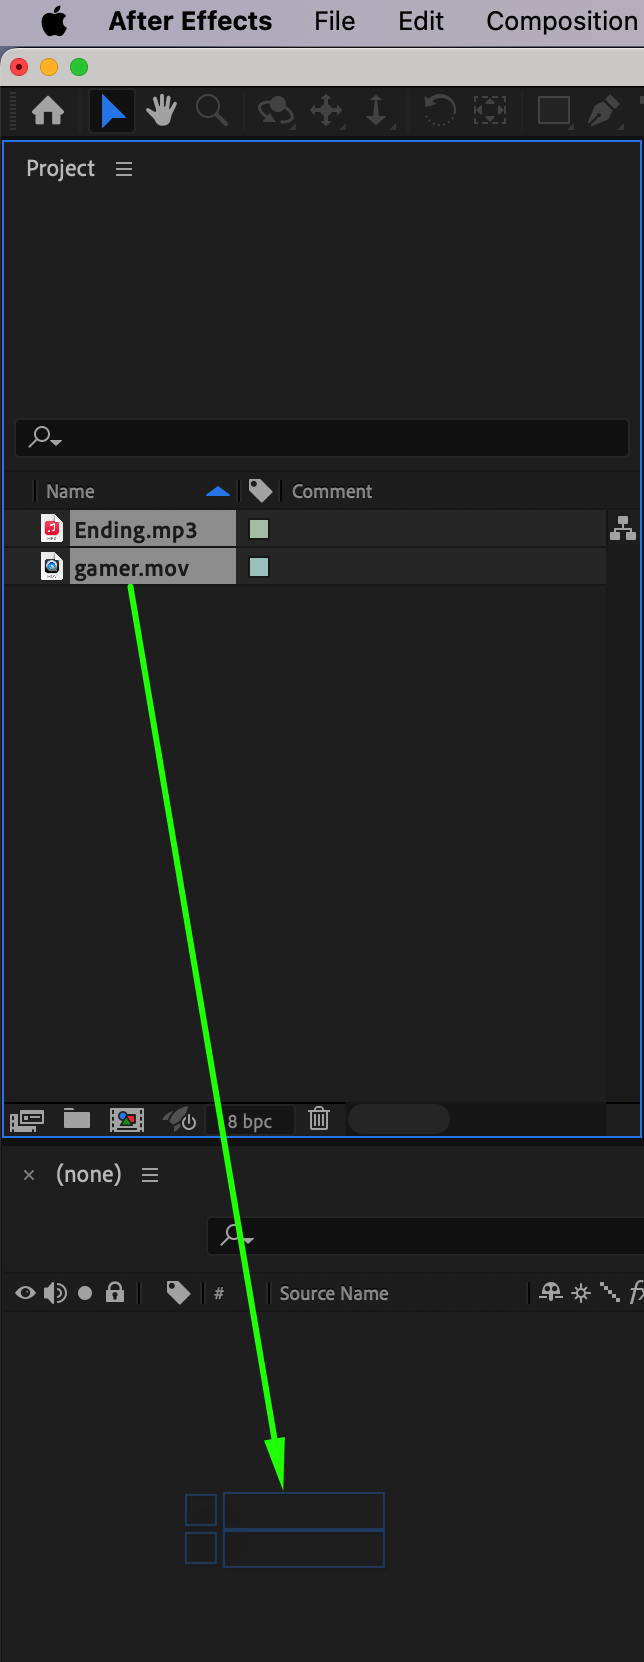
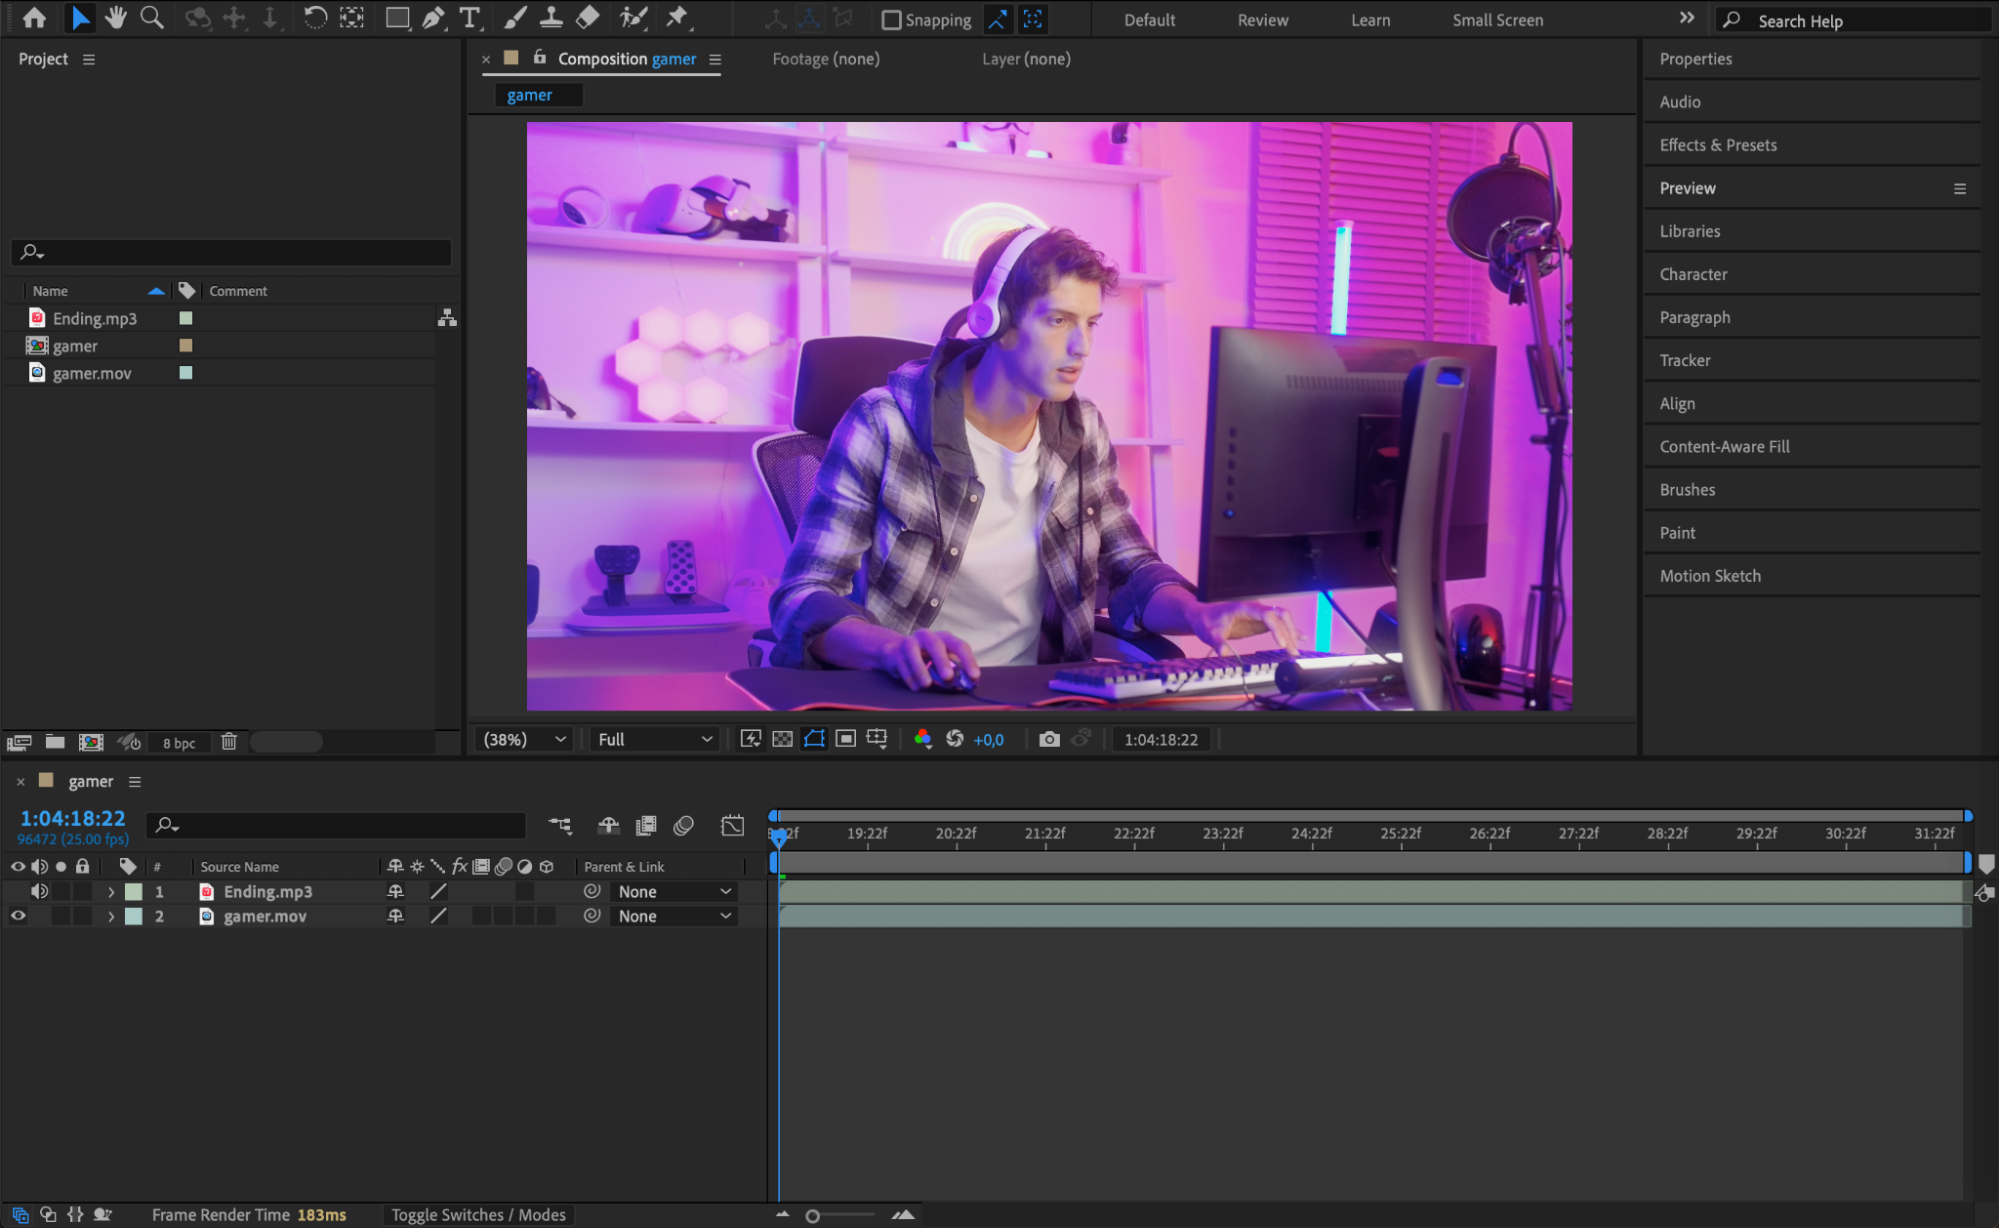
Start by importing your video and audio files. Go to File > Import > File, select your assets, and drag both the video and audio to the timeline to automatically create a new composition. Make sure they’re aligned if you’re working with separate audio.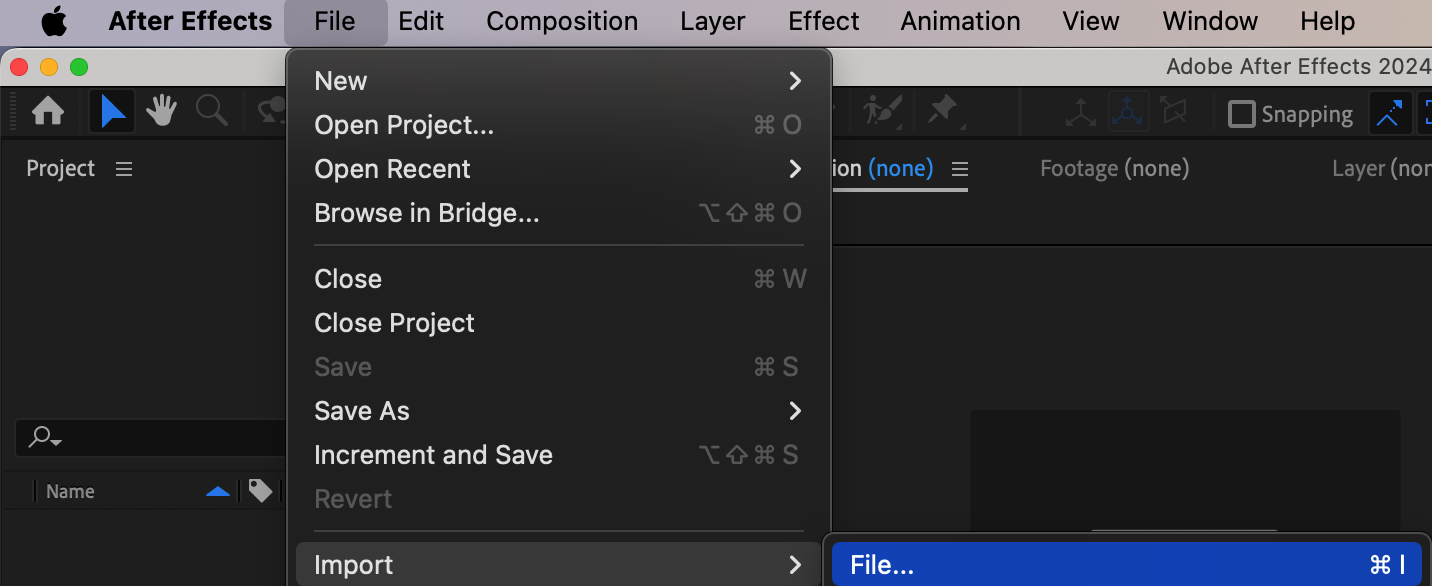
Get 10% off when you subscribe to our newsletter

Step 2: Split the Layers Where the Effect Starts and Ends
Move the CTI (Current Time Indicator) to the point where you want the underwater effect to begin. Select both the audio and video layers, then go to Edit > Split Layer to divide them. Do the same at the point where you want the effect to end. This helps isolate the segment that will have the effect applied.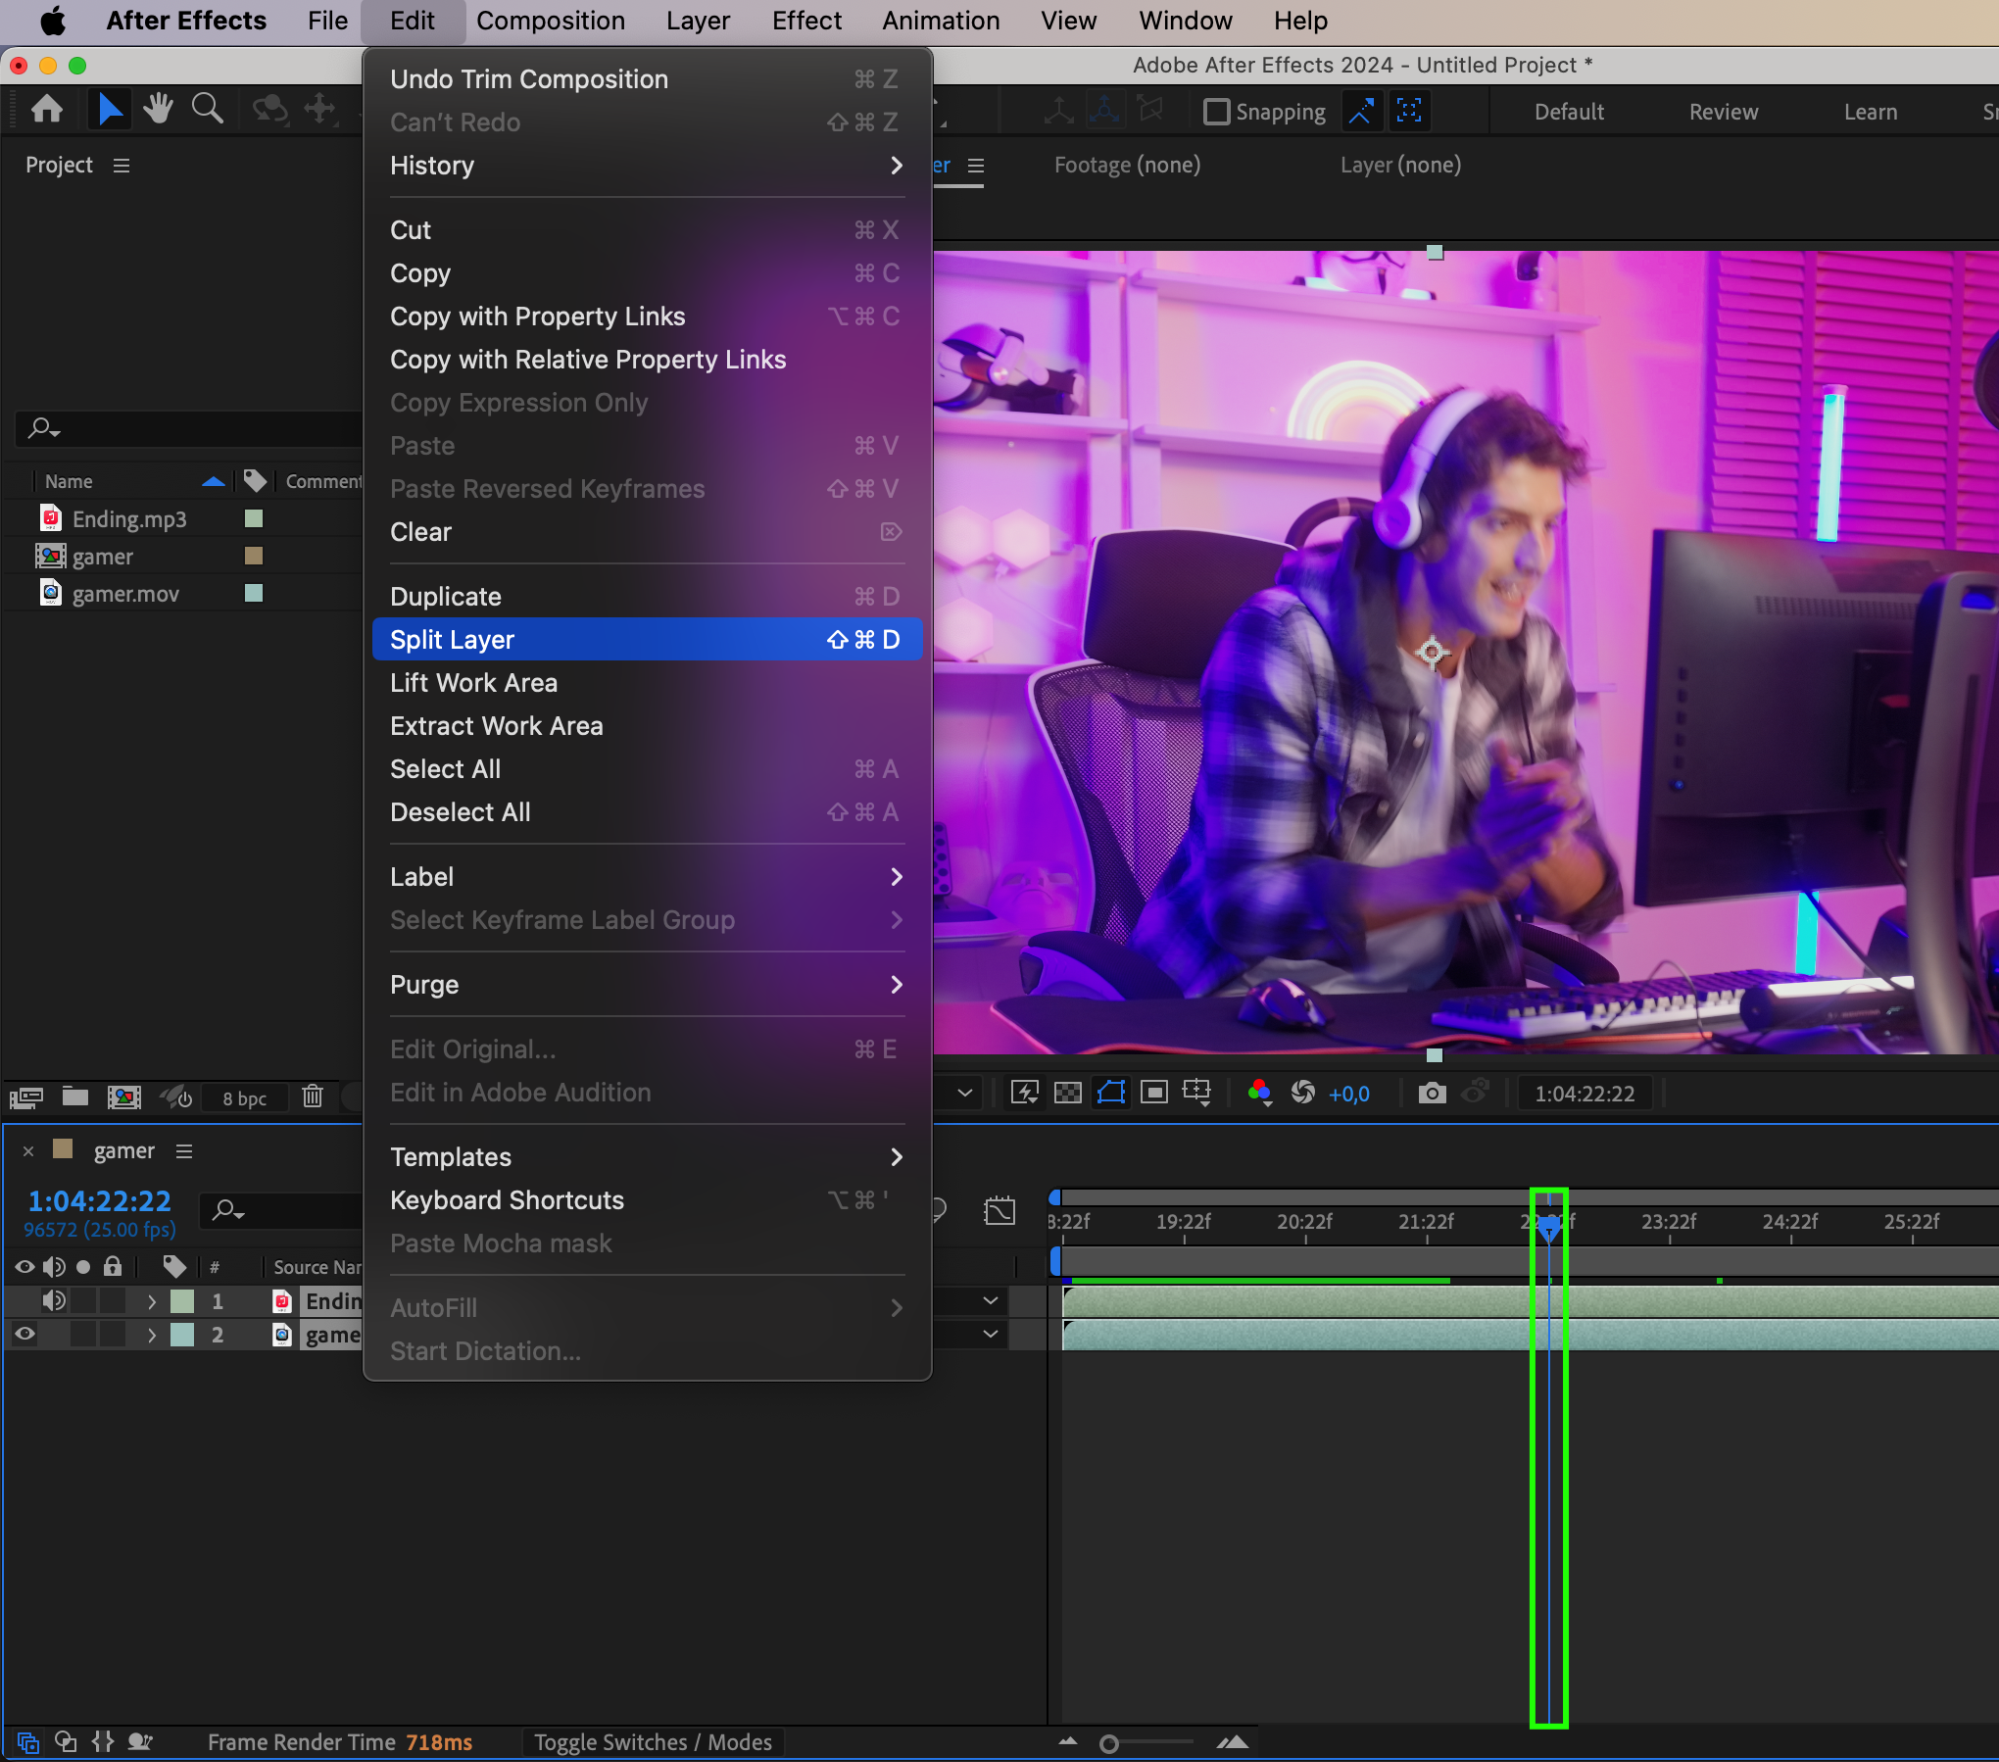
 Step 3: Apply the High-Low Pass Effect
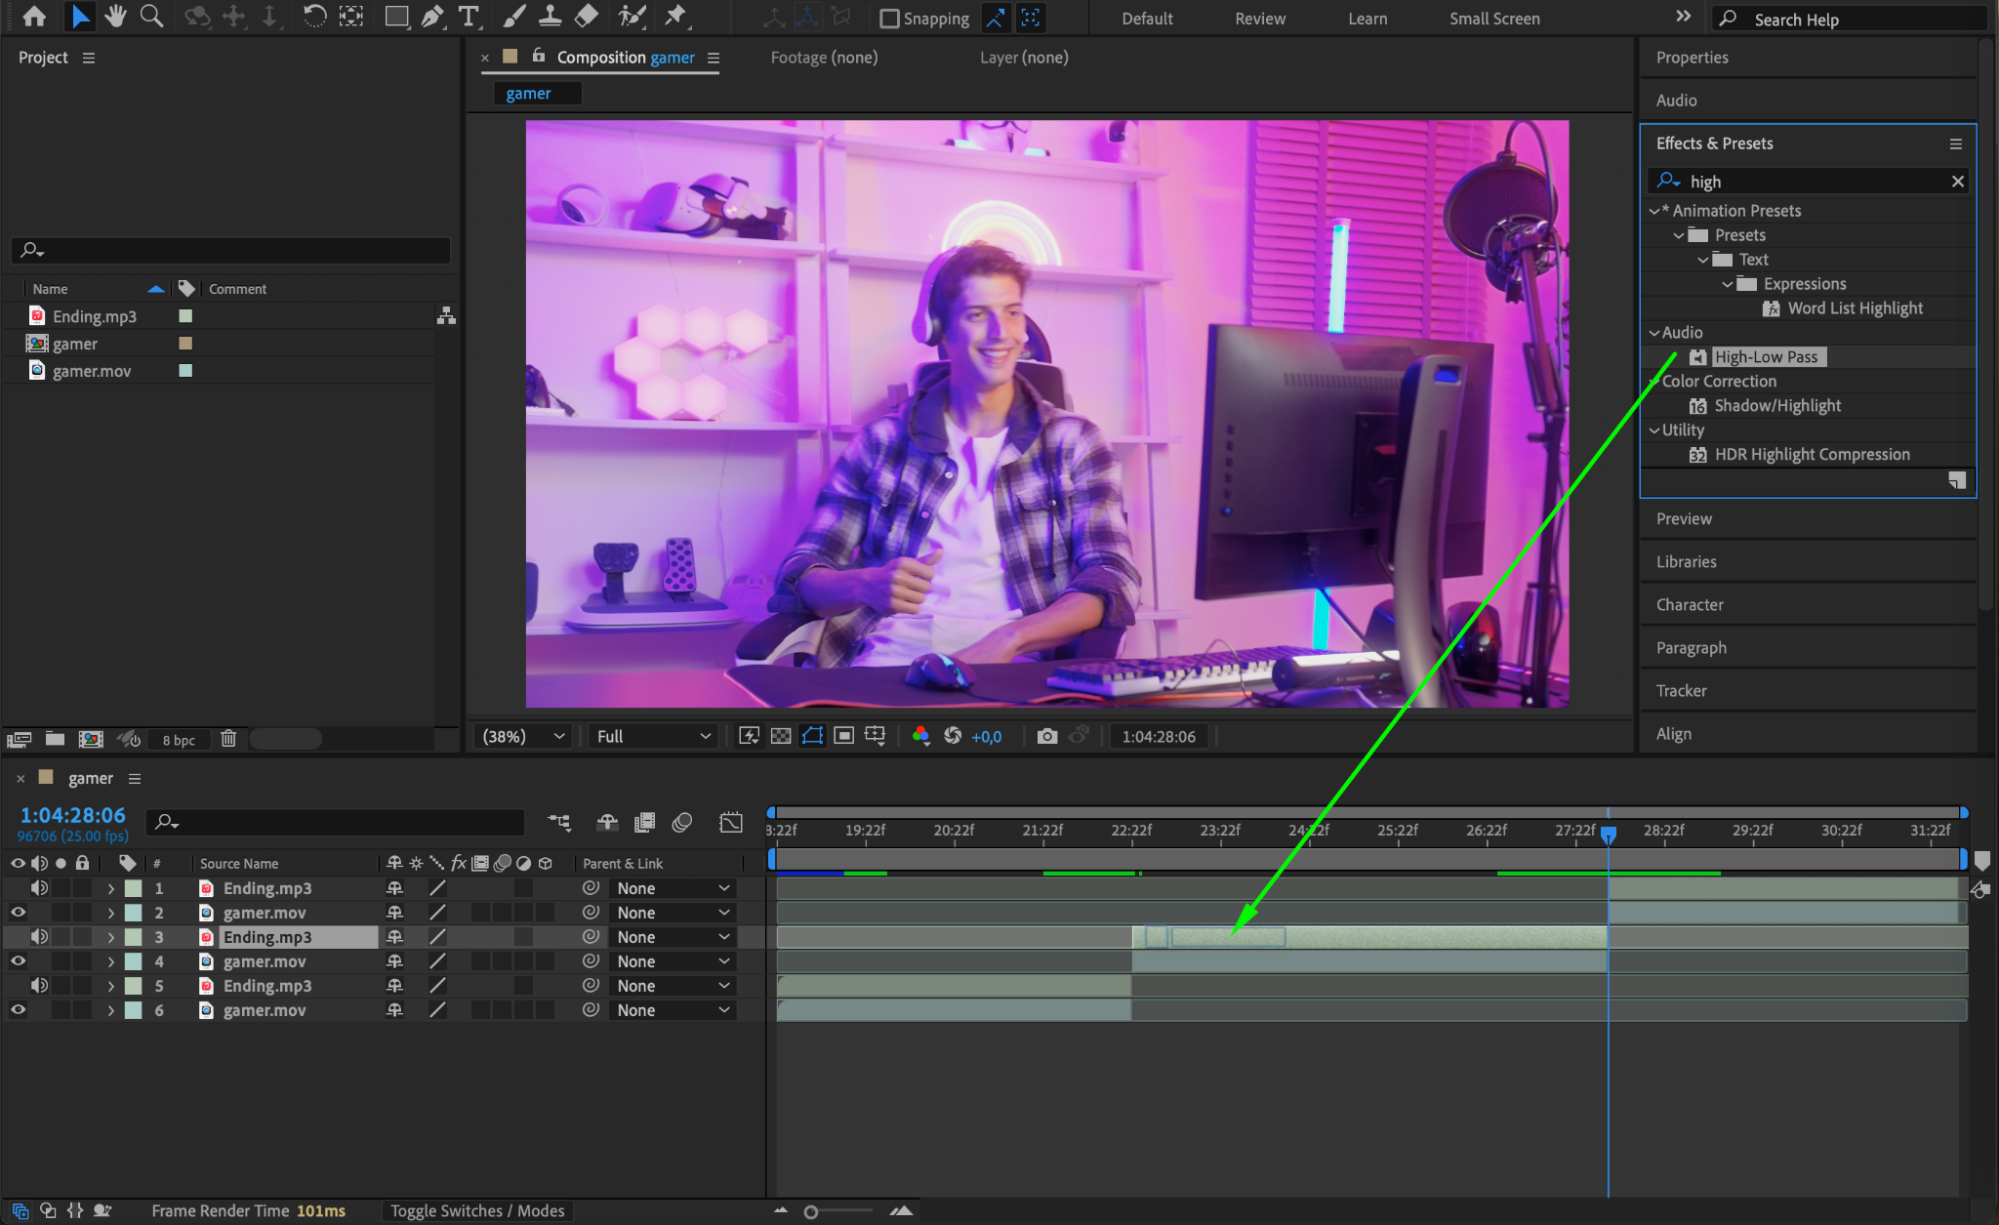
Select the split section of your audio layer where you want the underwater effect. Go to the Effects & Presets panel and search for High-Low Pass. Drag the effect onto the audio layer. In the Effect Controls Panel, change Filter Options to Low Pass and set the Cutoff Frequency to around 4000 Hz. This removes high frequencies, giving the audio a muffled, underwater feel.

Step 4: (Optional) Add Audio-Reactive Visual Effects
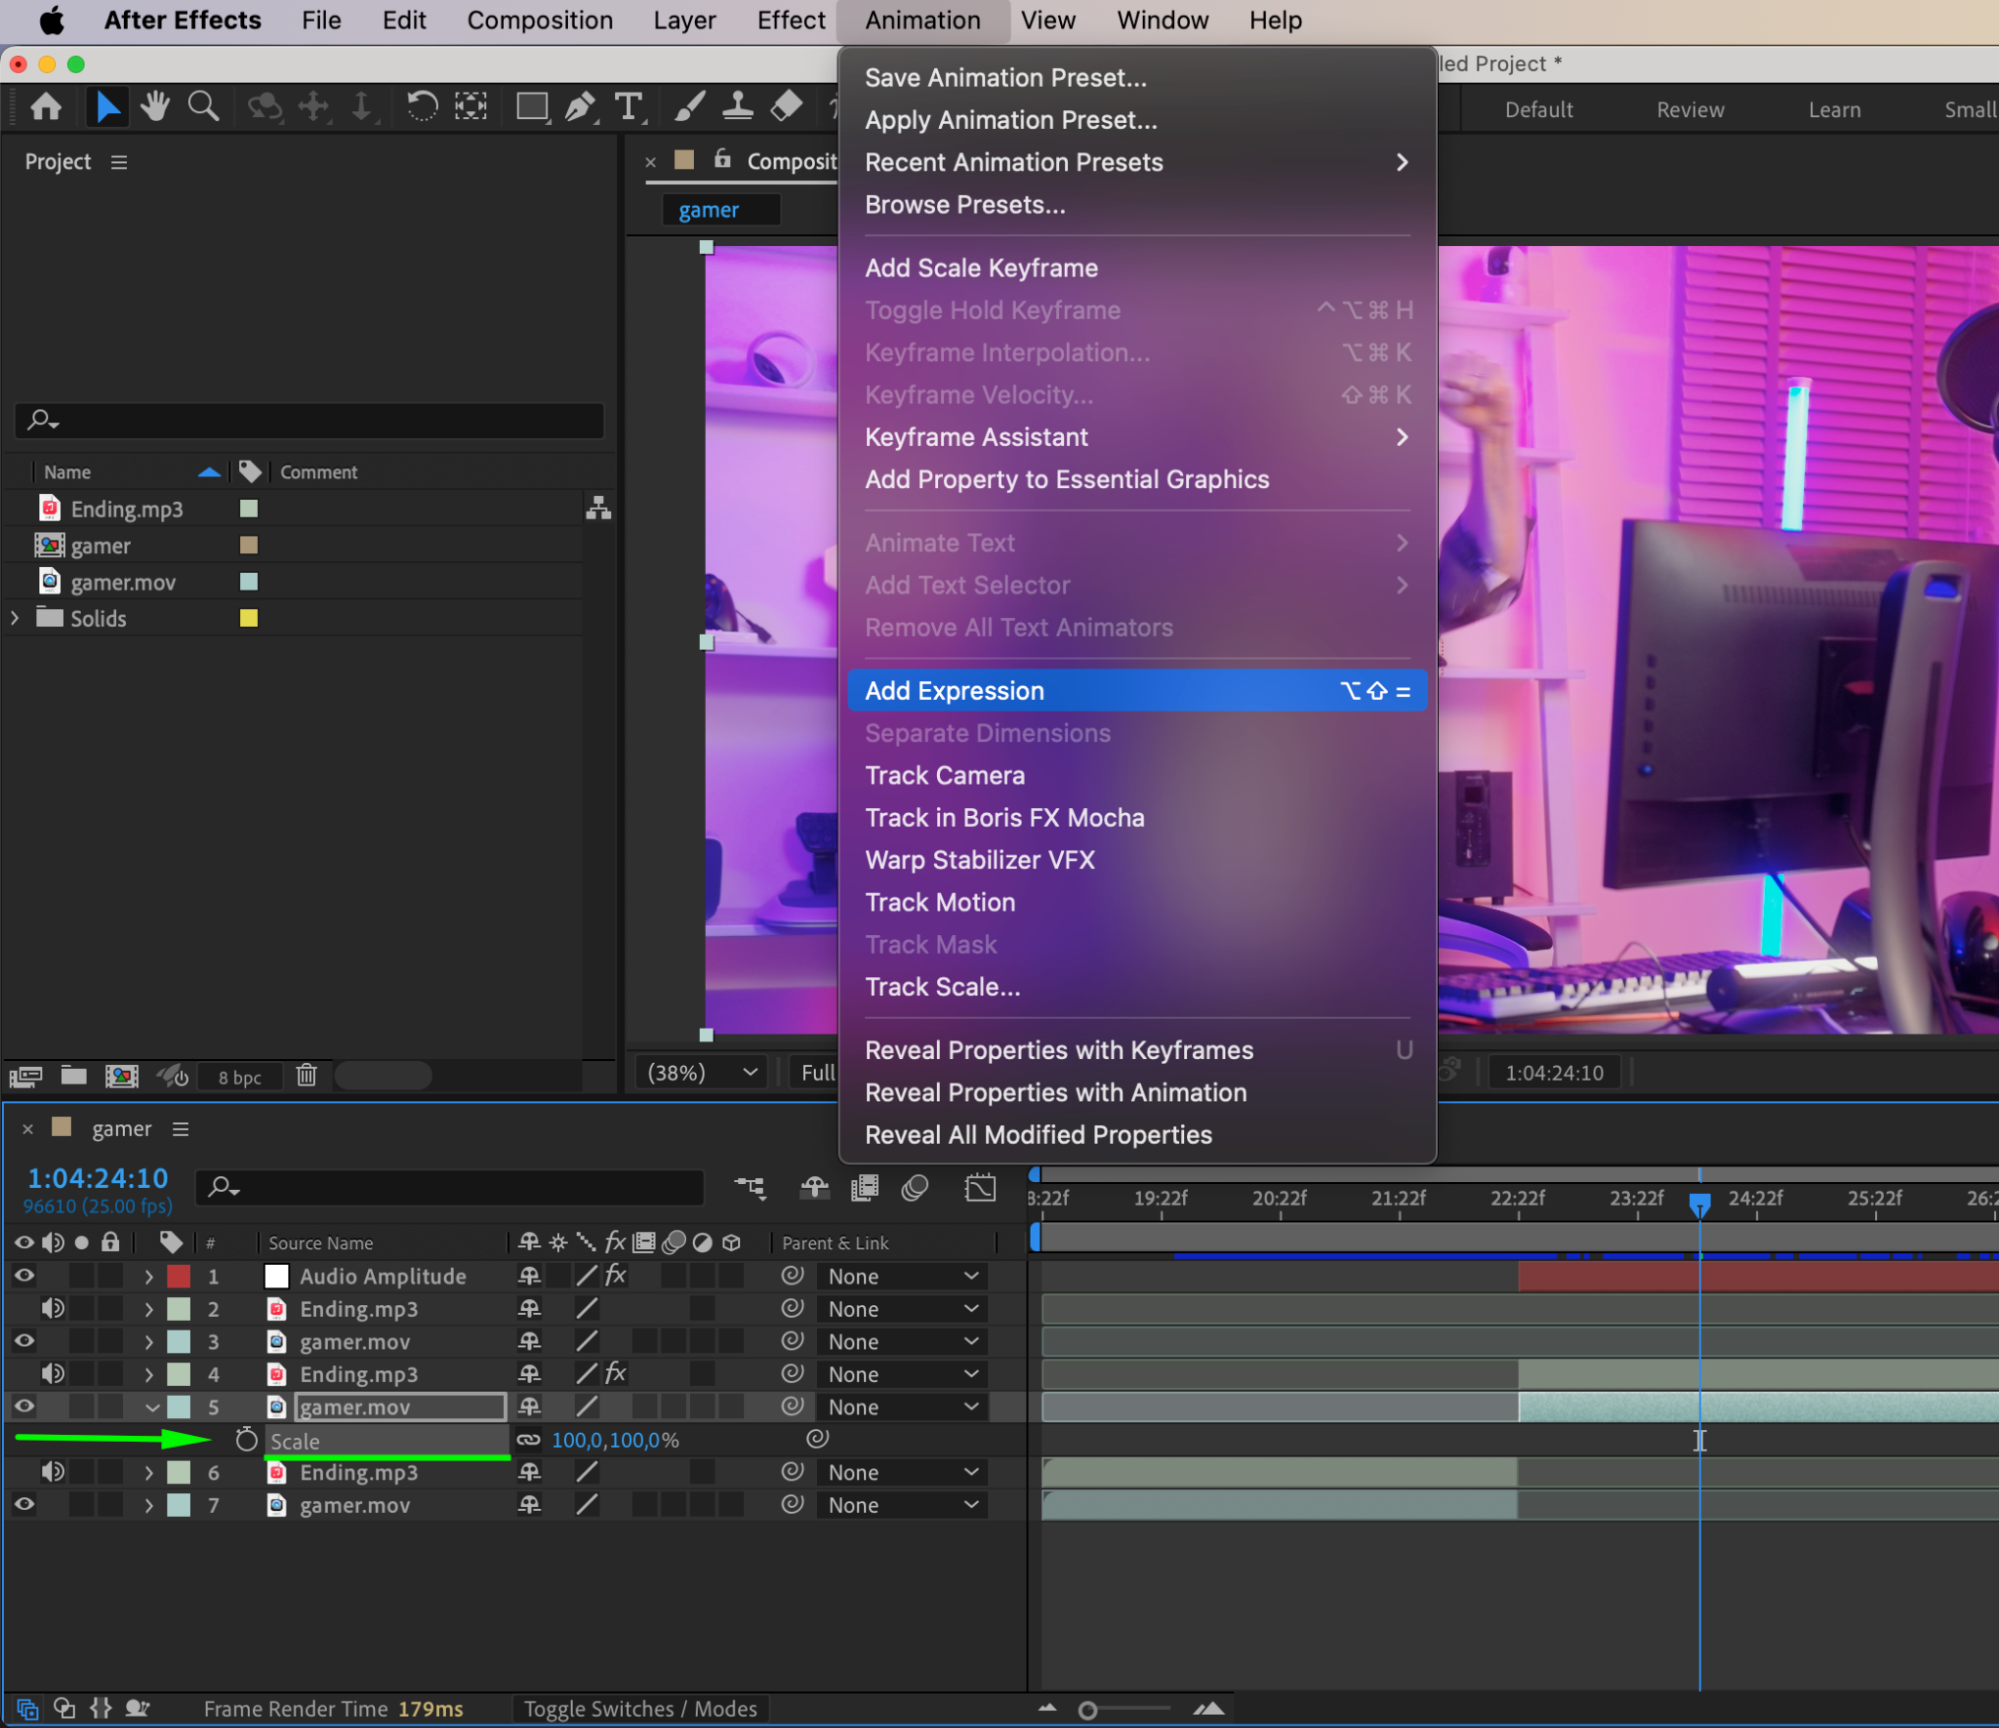
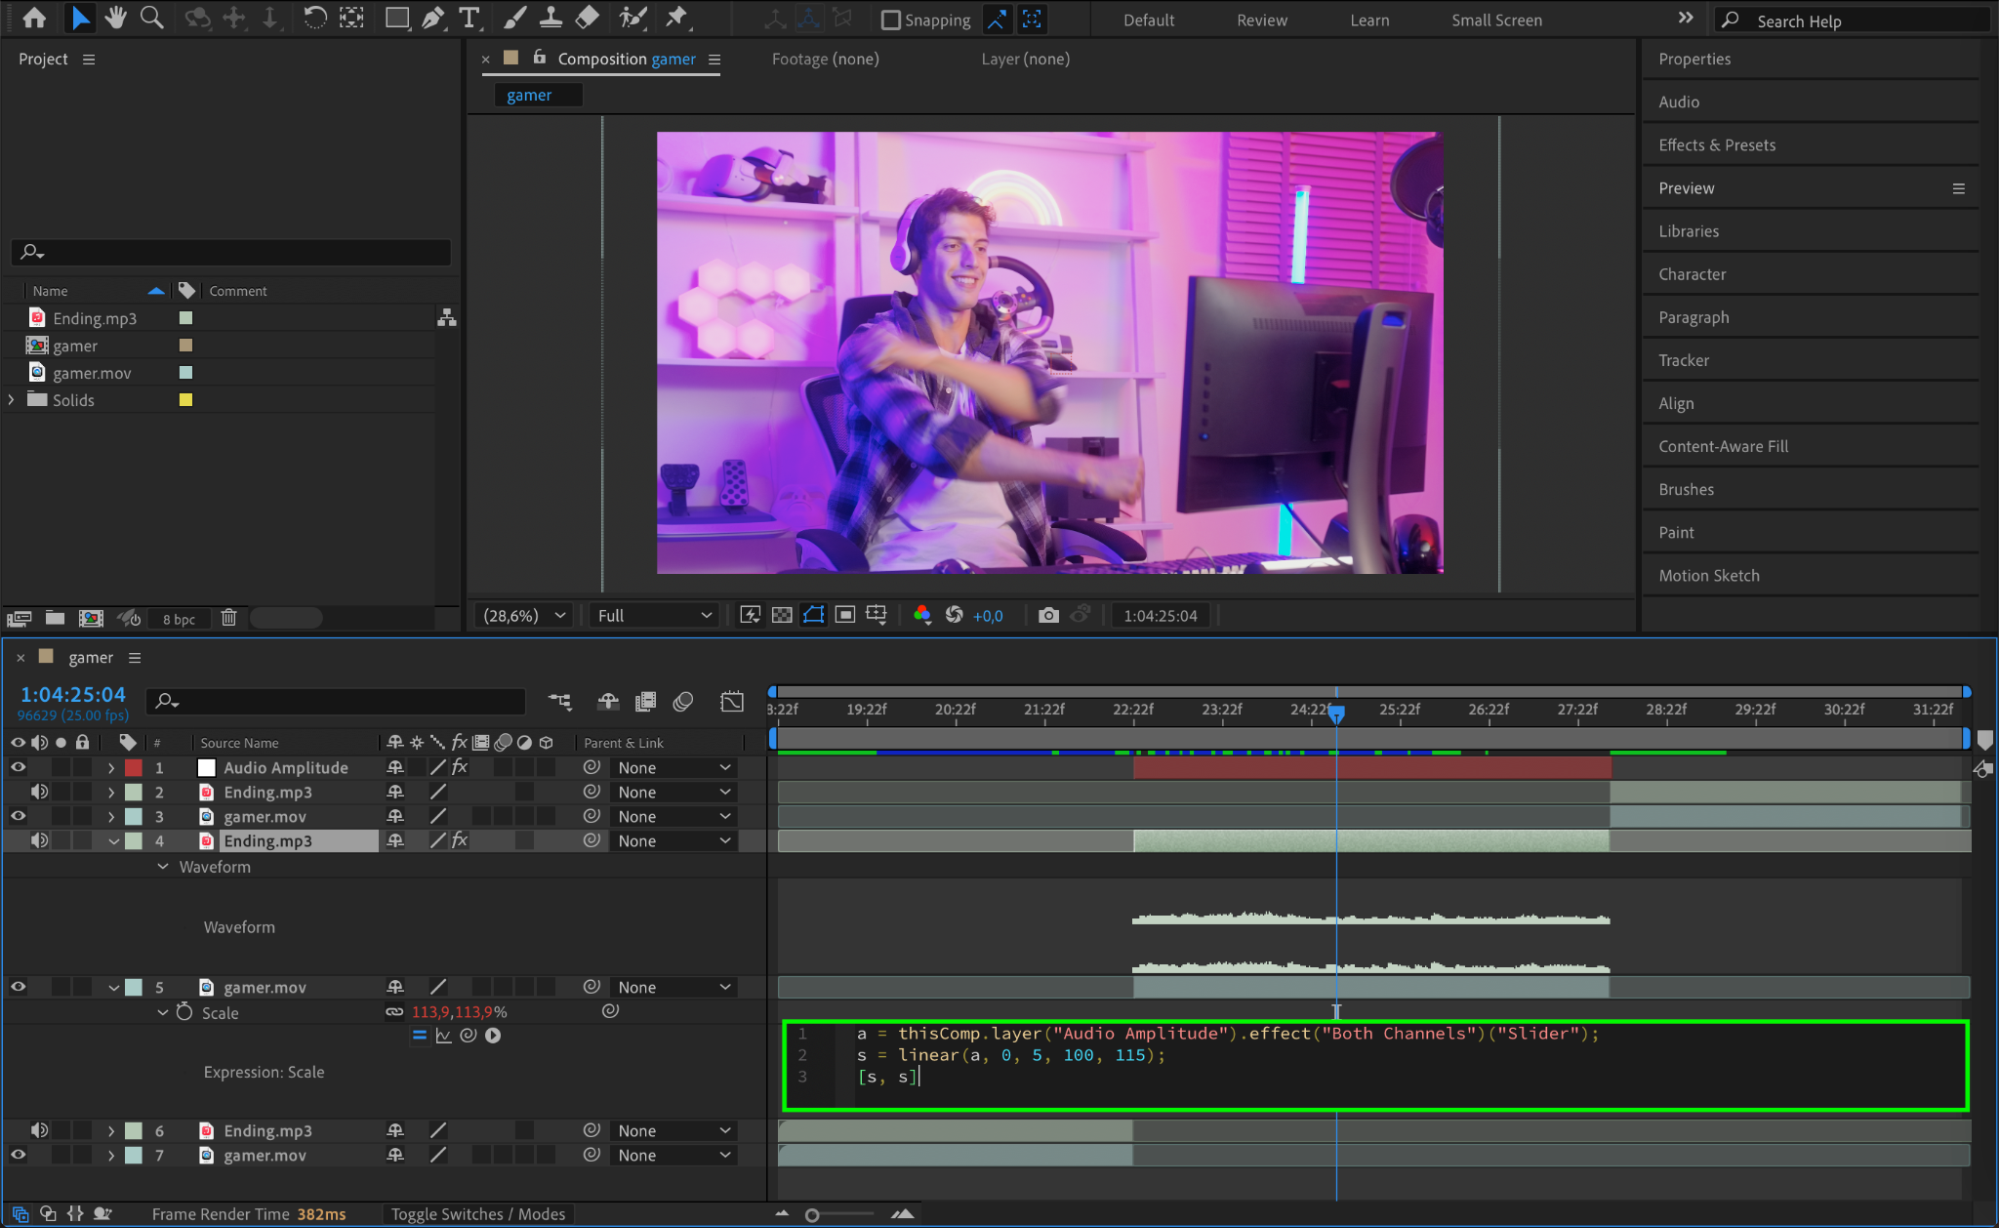
For an extra layer of polish, you can make a visual element react to the audio. Right-click the full audio layer and go to Keyframe Assistant > Convert Audio to Keyframes. This creates a new layer called Audio Amplitude. Now, select any property of a visual layer – like Scale – and add this expression:
a = thisComp.layer(“Audio Amplitude”).effect(“Both Channels”)(“Slider”);
s = linear(a, 0, 5, 100, 115);
[s, s]
This will make the visual element subtly react to the intensity of the audio, mimicking the movement of sound underwater.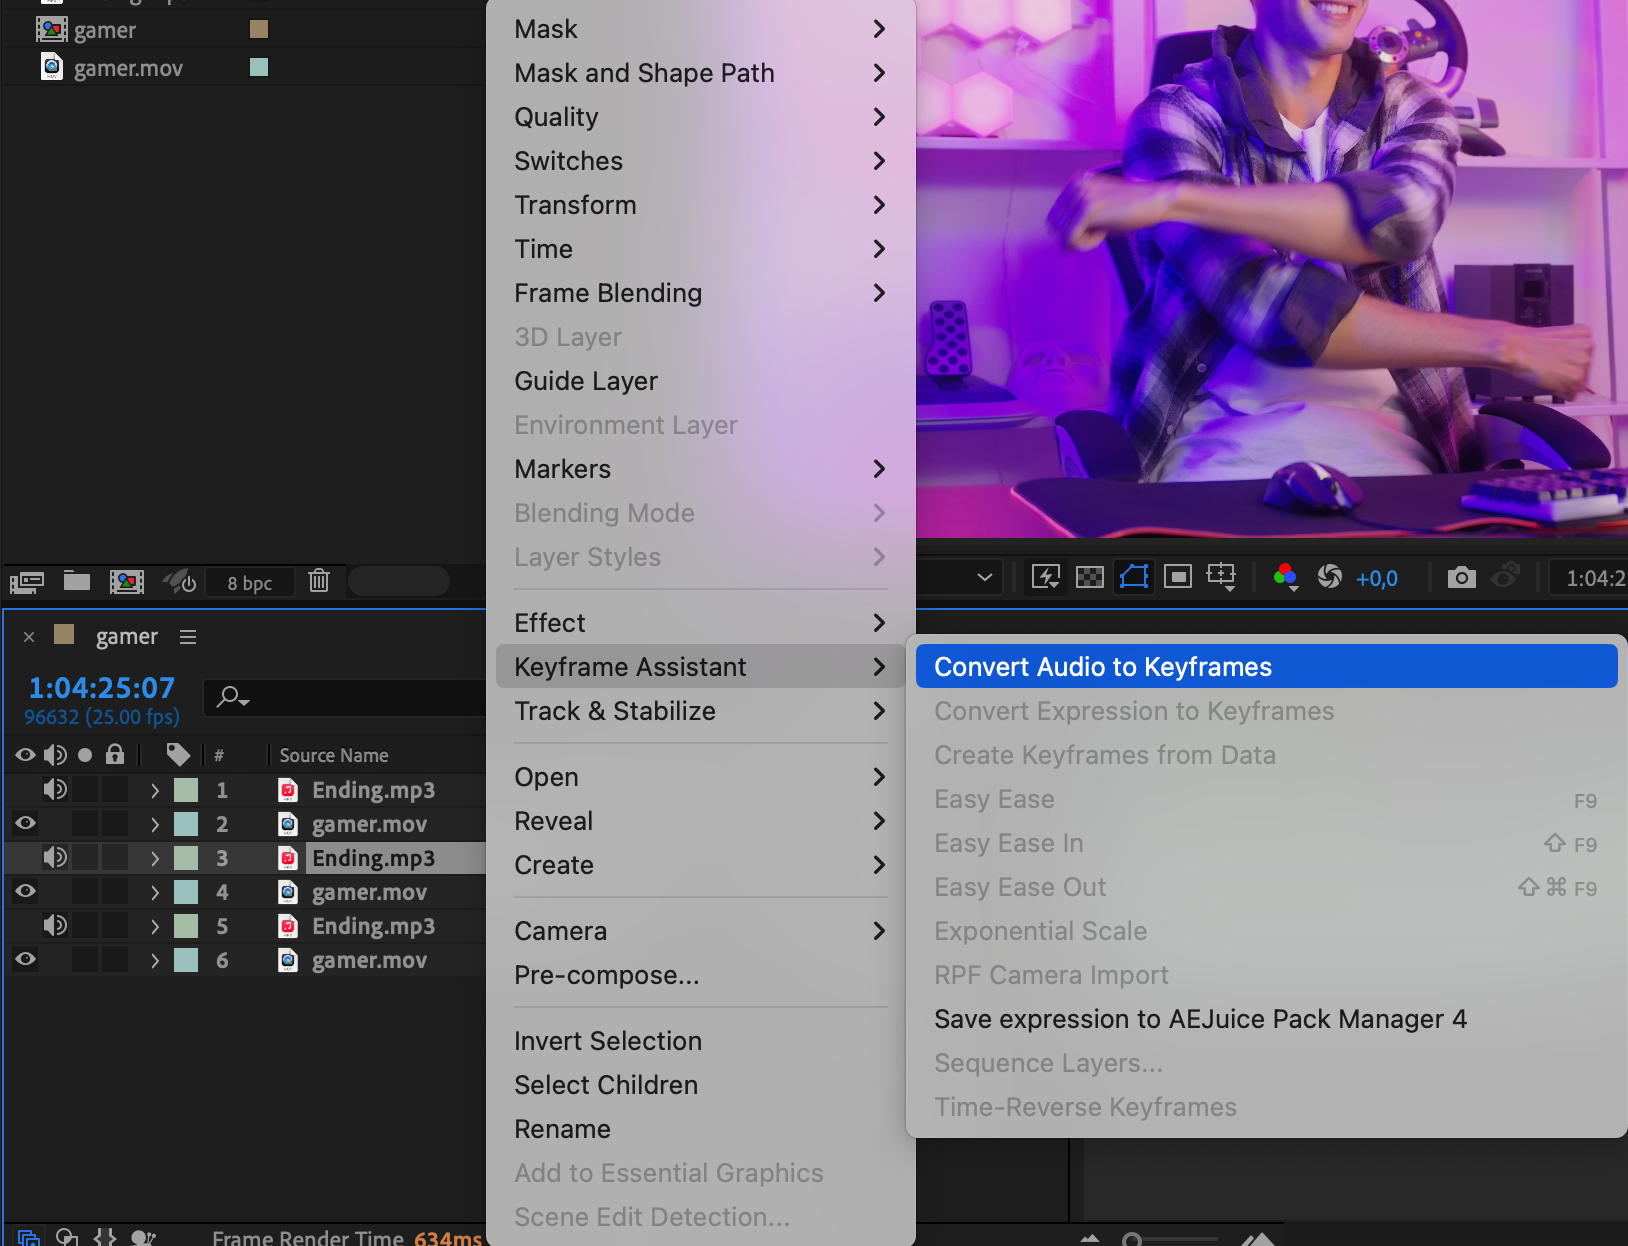
 Step 5: Preview and Adjust
Press the Spacebar to preview your composition. Make sure the audio transition into and out of the underwater effect is smooth. You can adjust the cutoff frequency or blend the audio using keyframes for a more natural transition.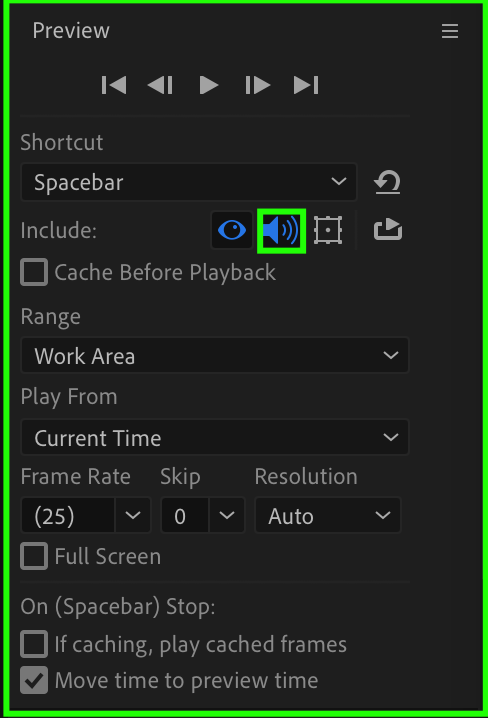 Conclusion
Adding an underwater sound effect in After Effects is simple and powerful with just a low-pass filter. For added flair, you can make visuals respond to sound for a fully immersive experience. This trick works great for underwater scenes, dreamy transitions, or sci-fi environments.
Our Bestsellers


