How to Make a Retro Swirl Intro Effect in Adobe After Effects
Introduction
A vintage swirl intro is a great way to create a nostalgic or old-school opening animation. This effect is inspired by classic film intros or 60s-style TV graphics. In this tutorial, you’ll learn how to build a spinning swirl animation using shape layers and stylize it with Lumetri color to give it a deep retro tone.
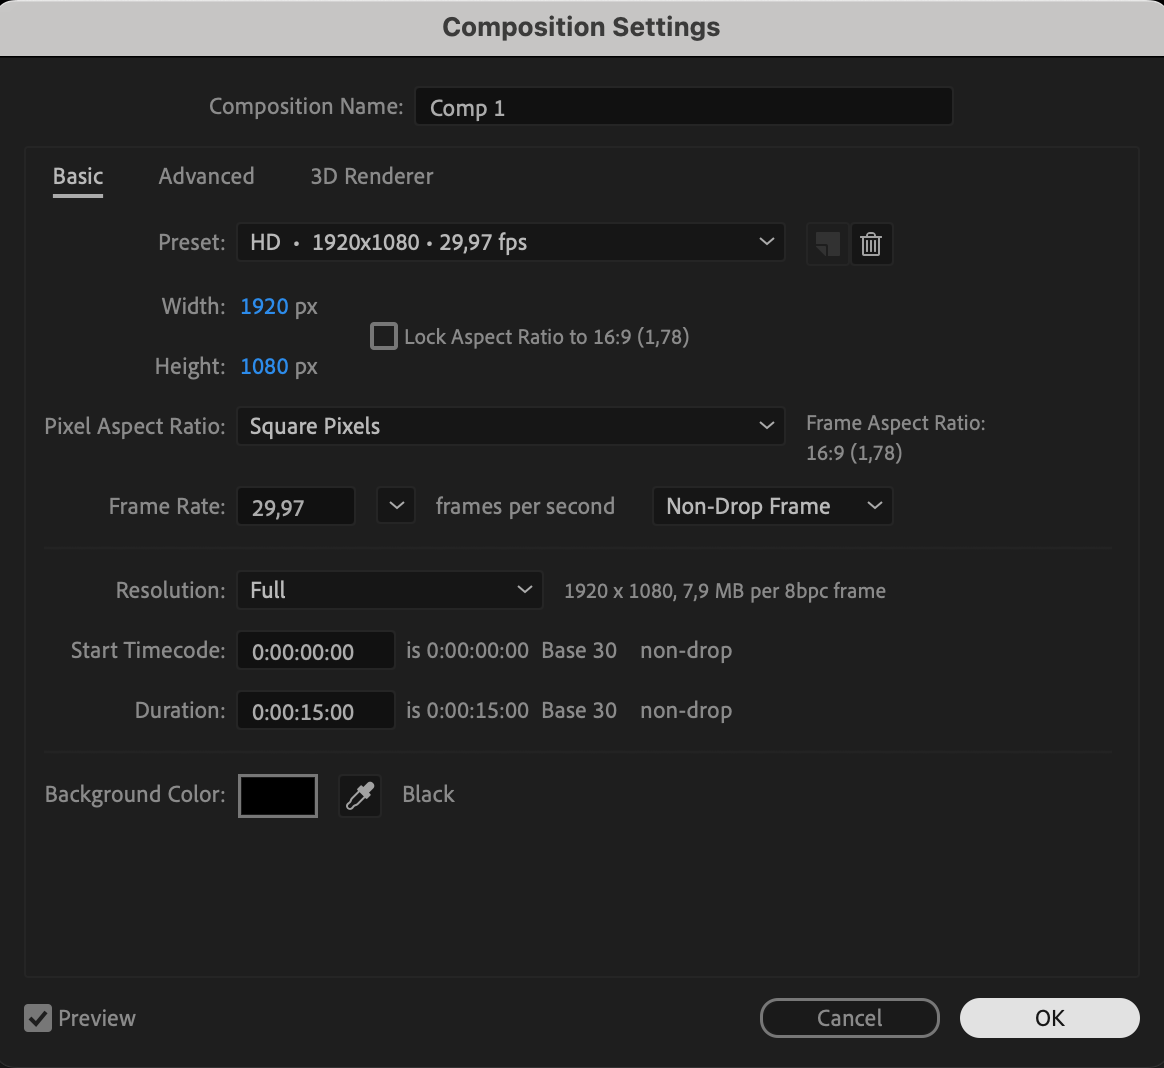
Step 1: Create a New Composition
Open After Effects and create a new composition by going to Composition > New Composition. Choose your desired resolution, such as 1920×1080, and set the duration to about 15 seconds.

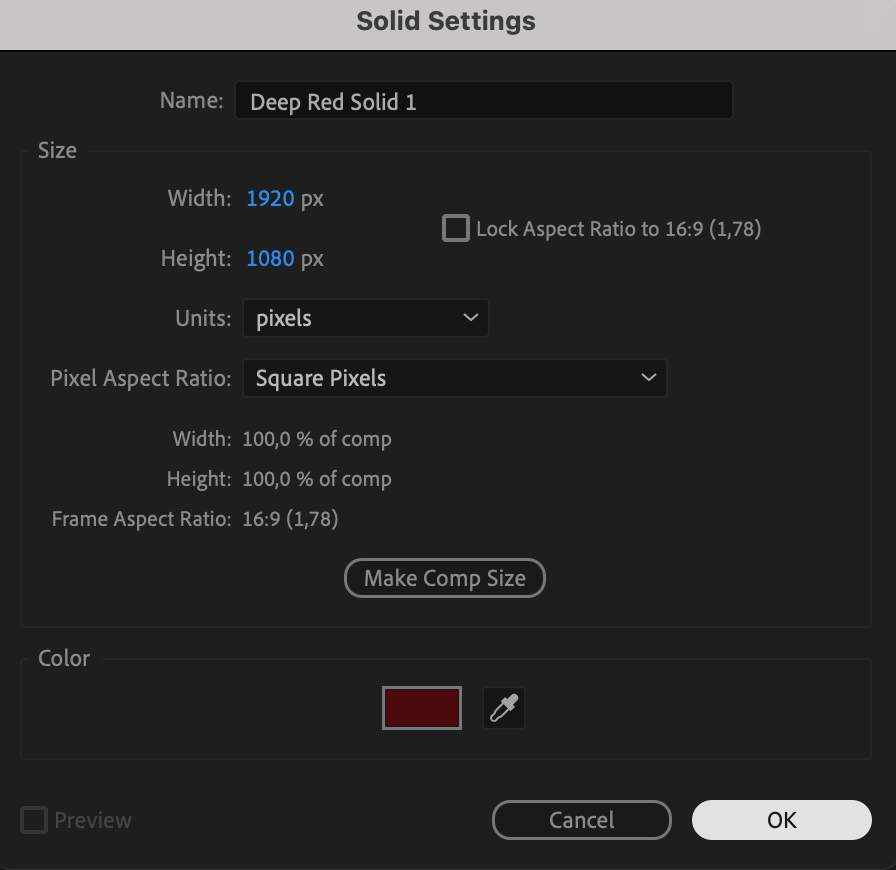
Step 2: Add a Deep Red Background
Go to Layer > New > Solid and choose a dark red or deep burgundy color. This will be your background color, giving your scene a vintage, rich tone. Click OK and make sure the solid layer fills the entire comp.

 Step 3: Apply Lumetri Color for a Vintage Look
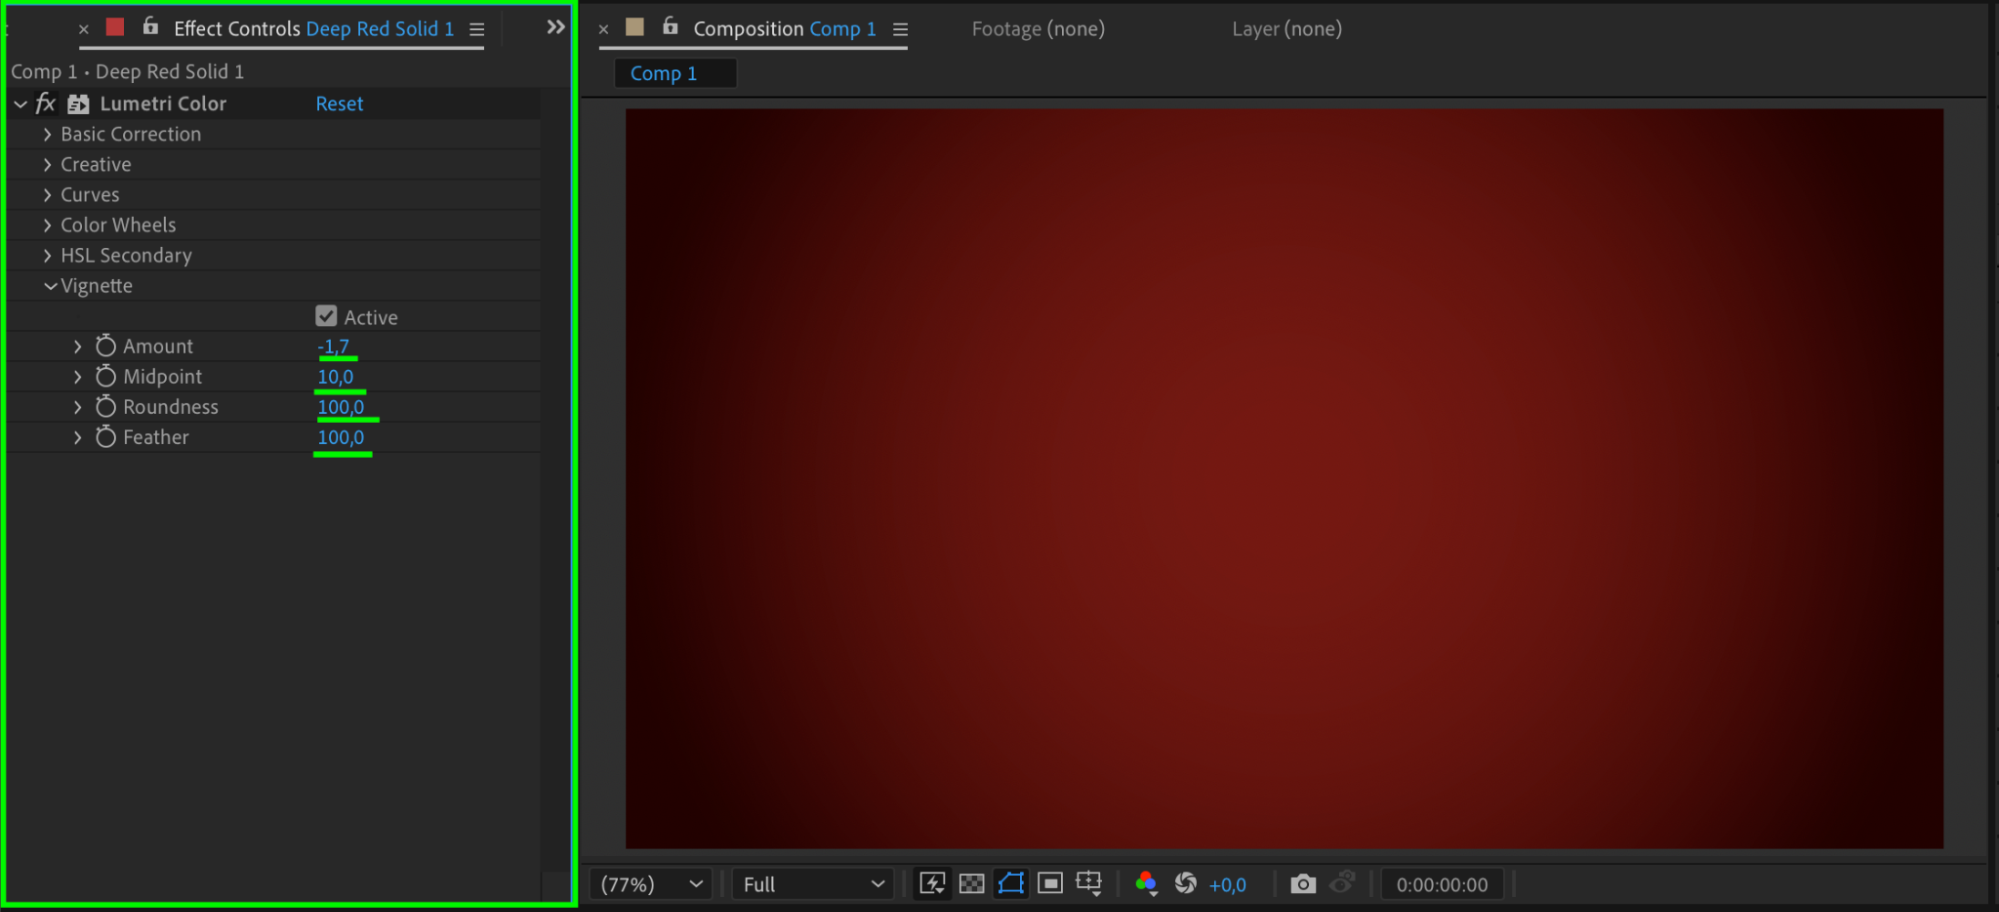
Select the red solid layer, then go to Effects & Presets and search for Lumetri Color. Apply it to the solid. In the Lumetri panel, scroll to the Vignette section and increase the vignette amount to darken the edges. This adds an old-film feel and brings focus to the center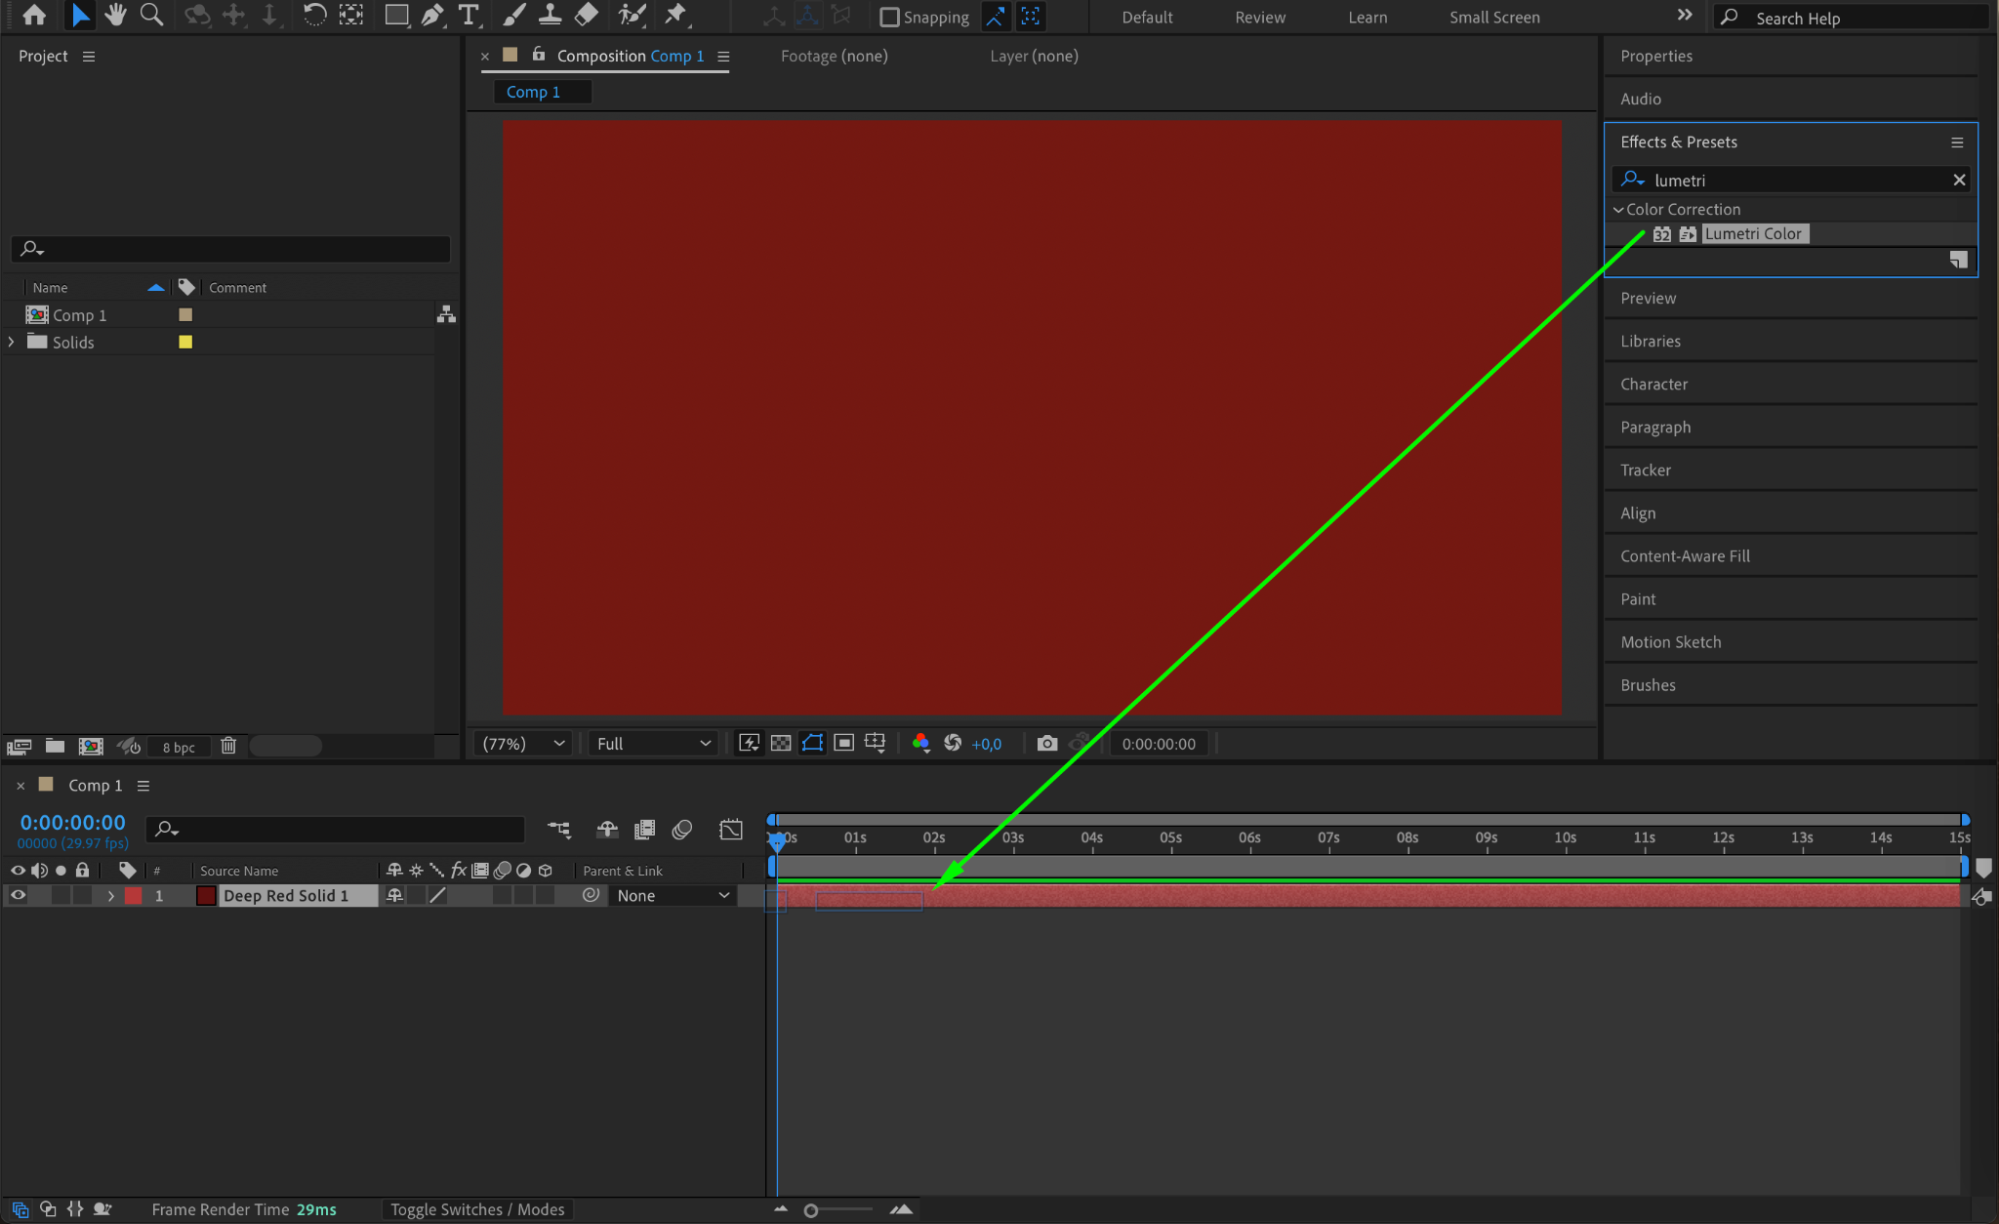
Get 10% off when you subscribe to our newsletter

Step 4: Draw the Base Swirl Line
Select the Pen Tool (G), set the Fill to “None” and the Stroke color to white with a high stroke width (around 290 px). Click in the center of the comp and draw a short vertical line upward. This line will act as the base of your swirl.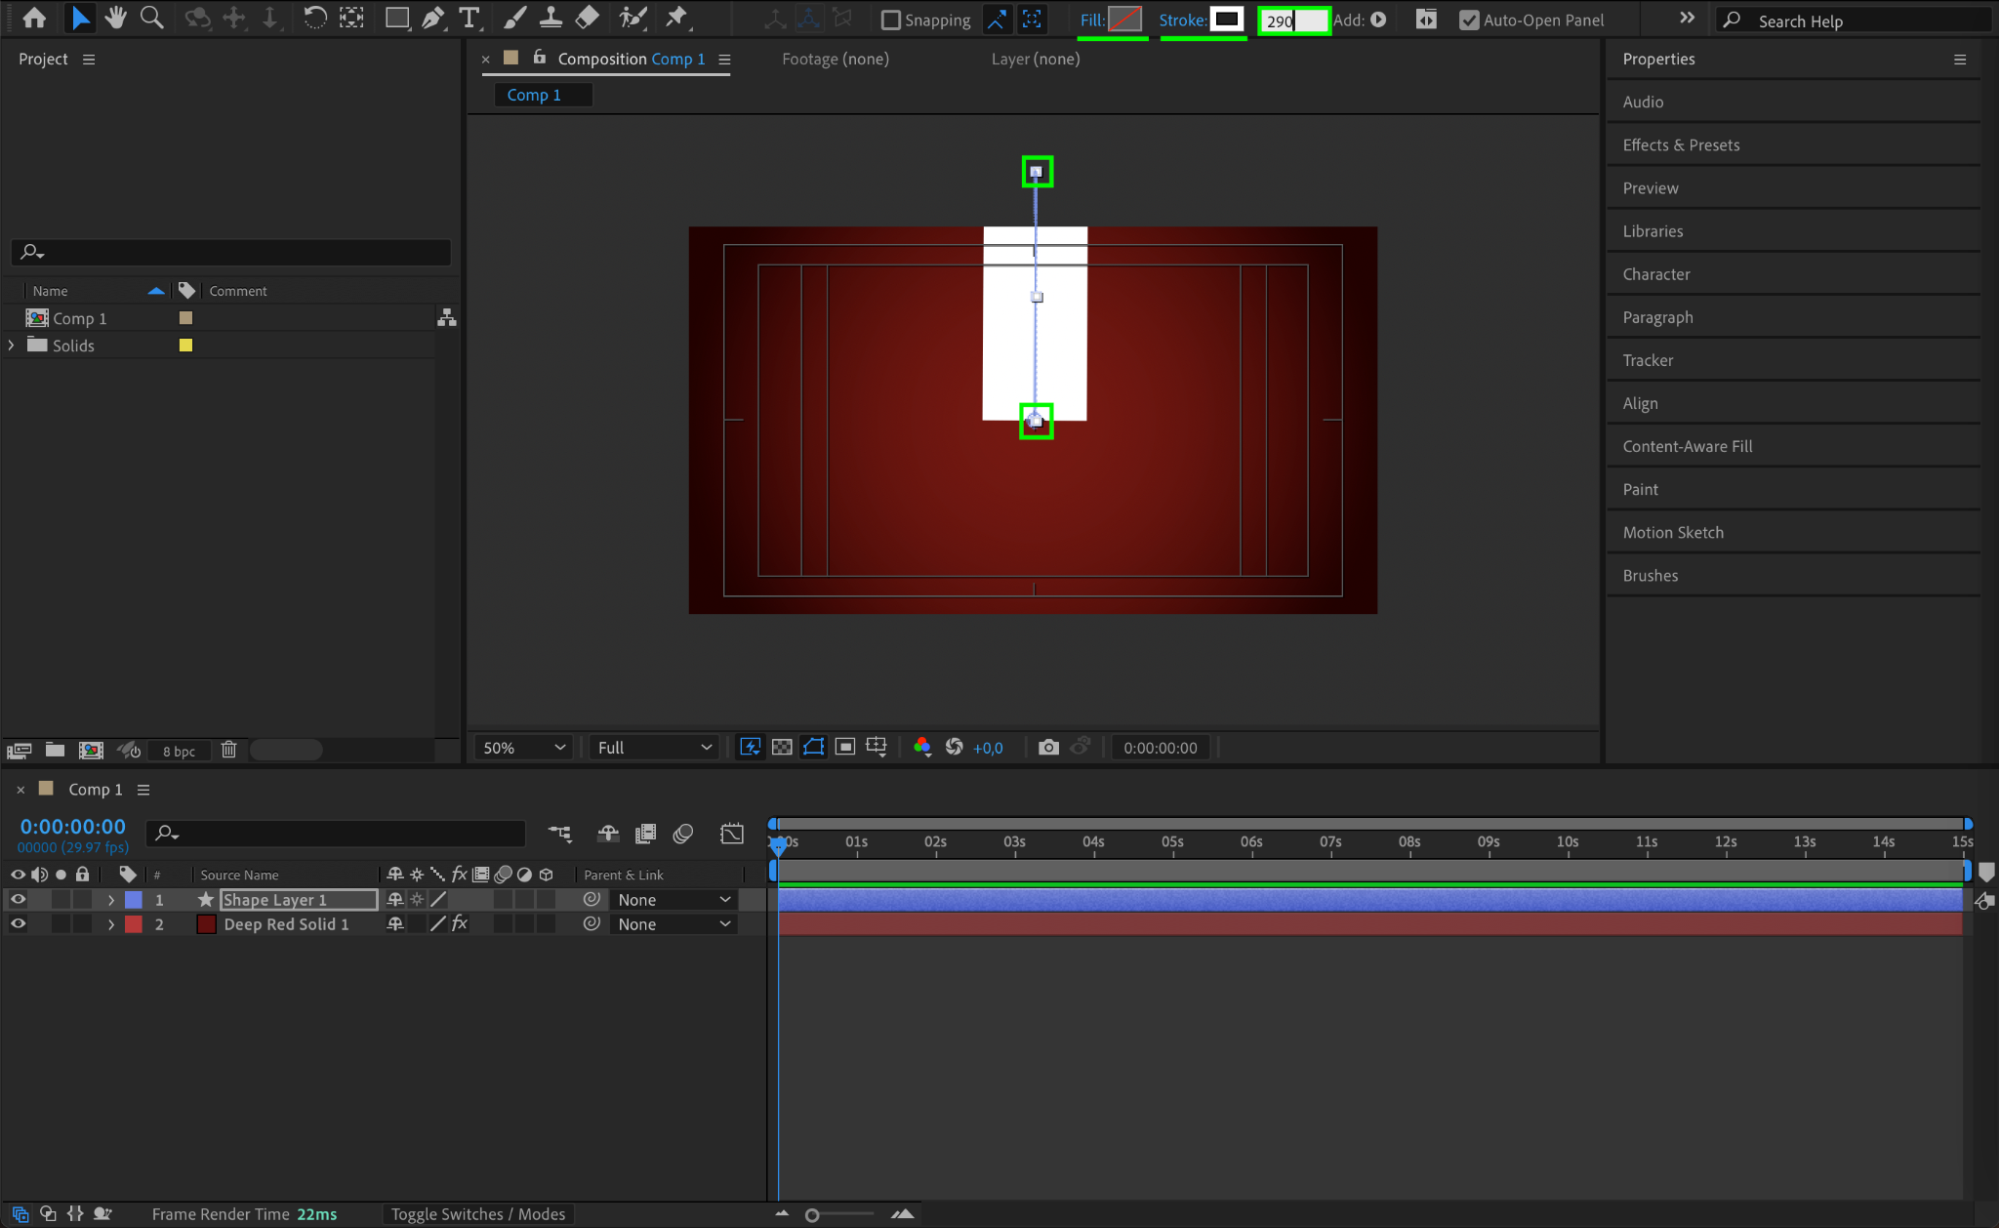
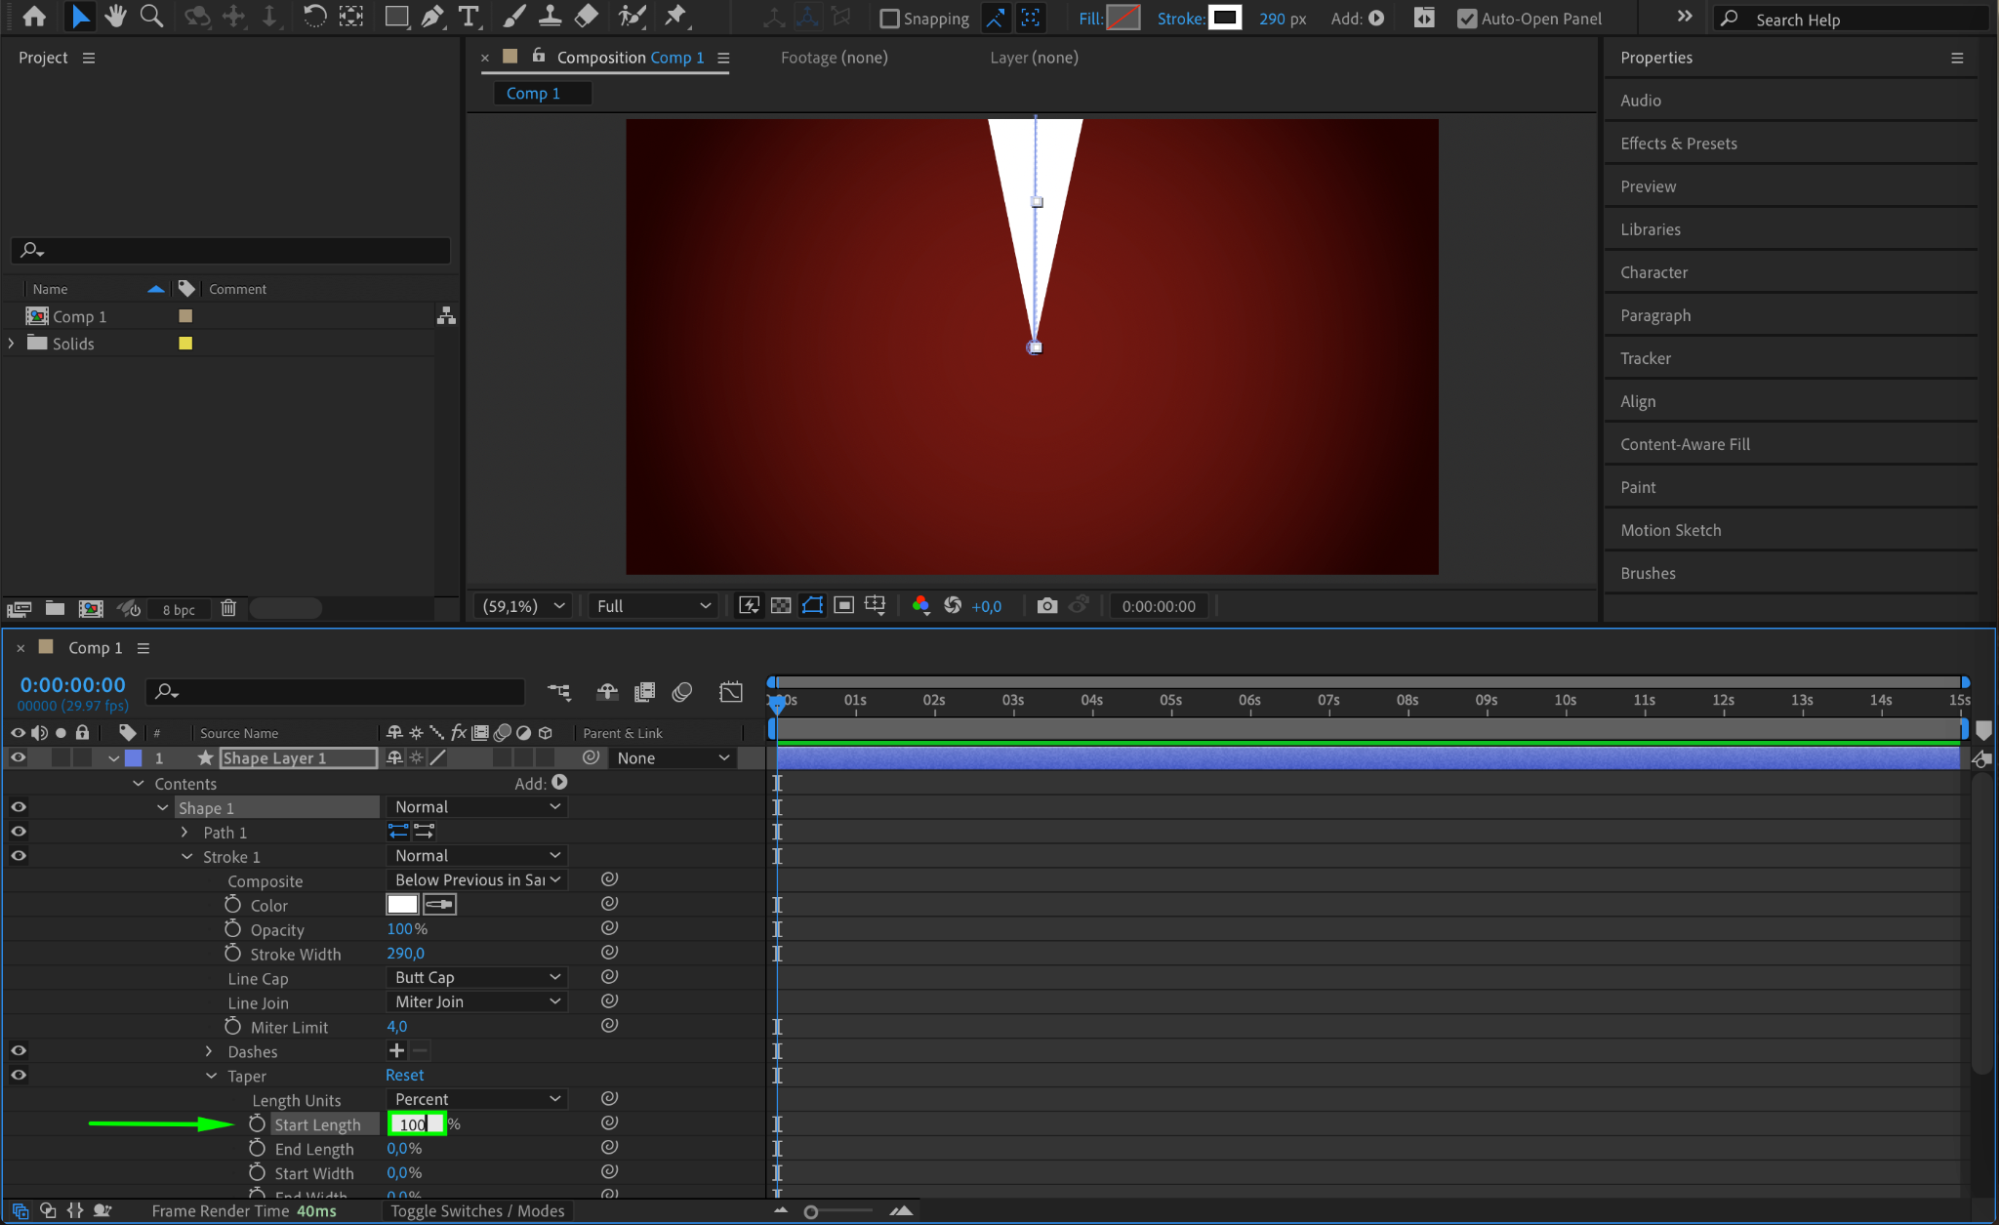
Step 5: Set the Stroke Taper Start Length
With the shape layer selected, expand its contents by clicking the arrow next to it. Navigate to Contents > Shape 1 > Stroke 1 > Taper, and find the Start Length property. Set the Start Length value to 100%. This setting creates a sharp taper at the start of the stroke, giving your swirl a pointed and cleaner look, which enhances the vintage design.
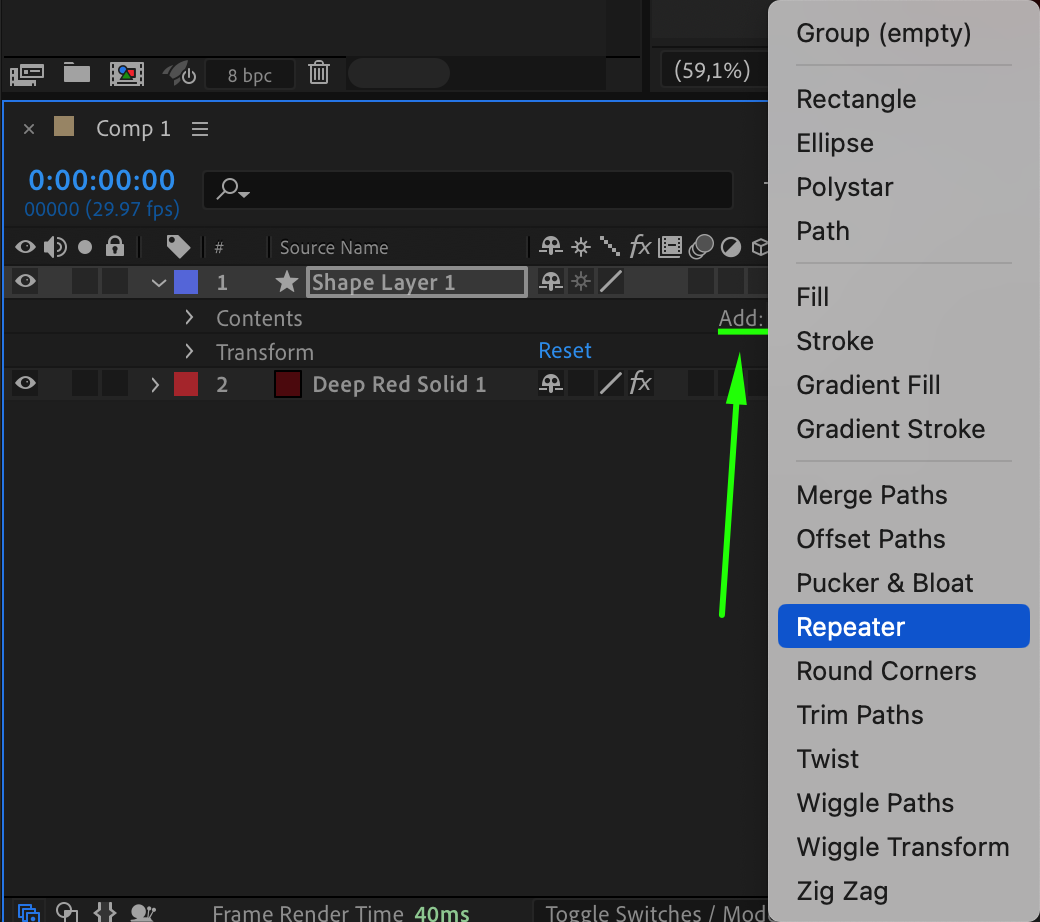
Step 6: Add a Repeater
With your shape layer still selected, go to Add > Repeater from the shape layer menu. This creates multiple copies of your line, which will be used to build the swirl pattern.
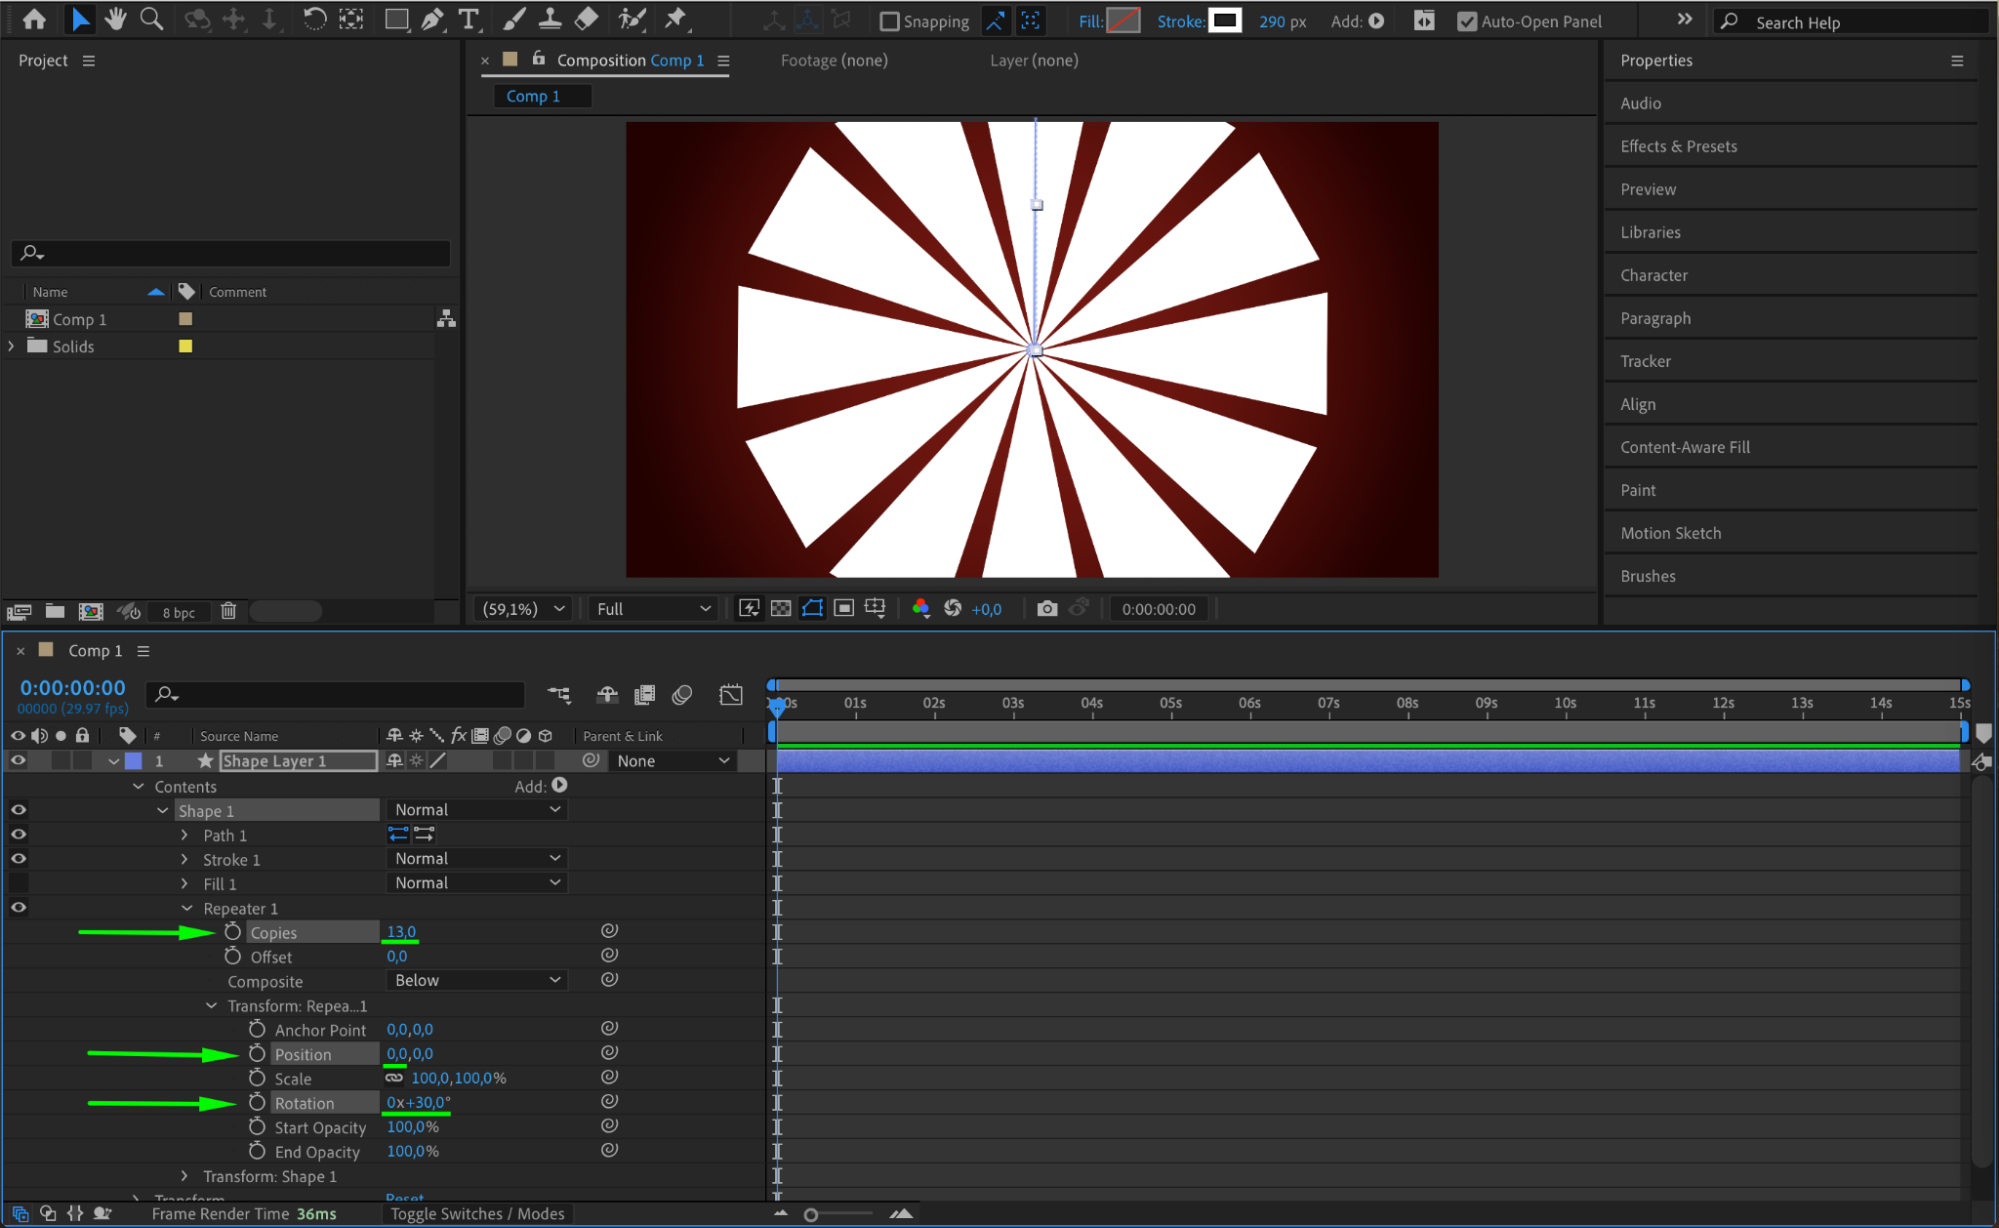
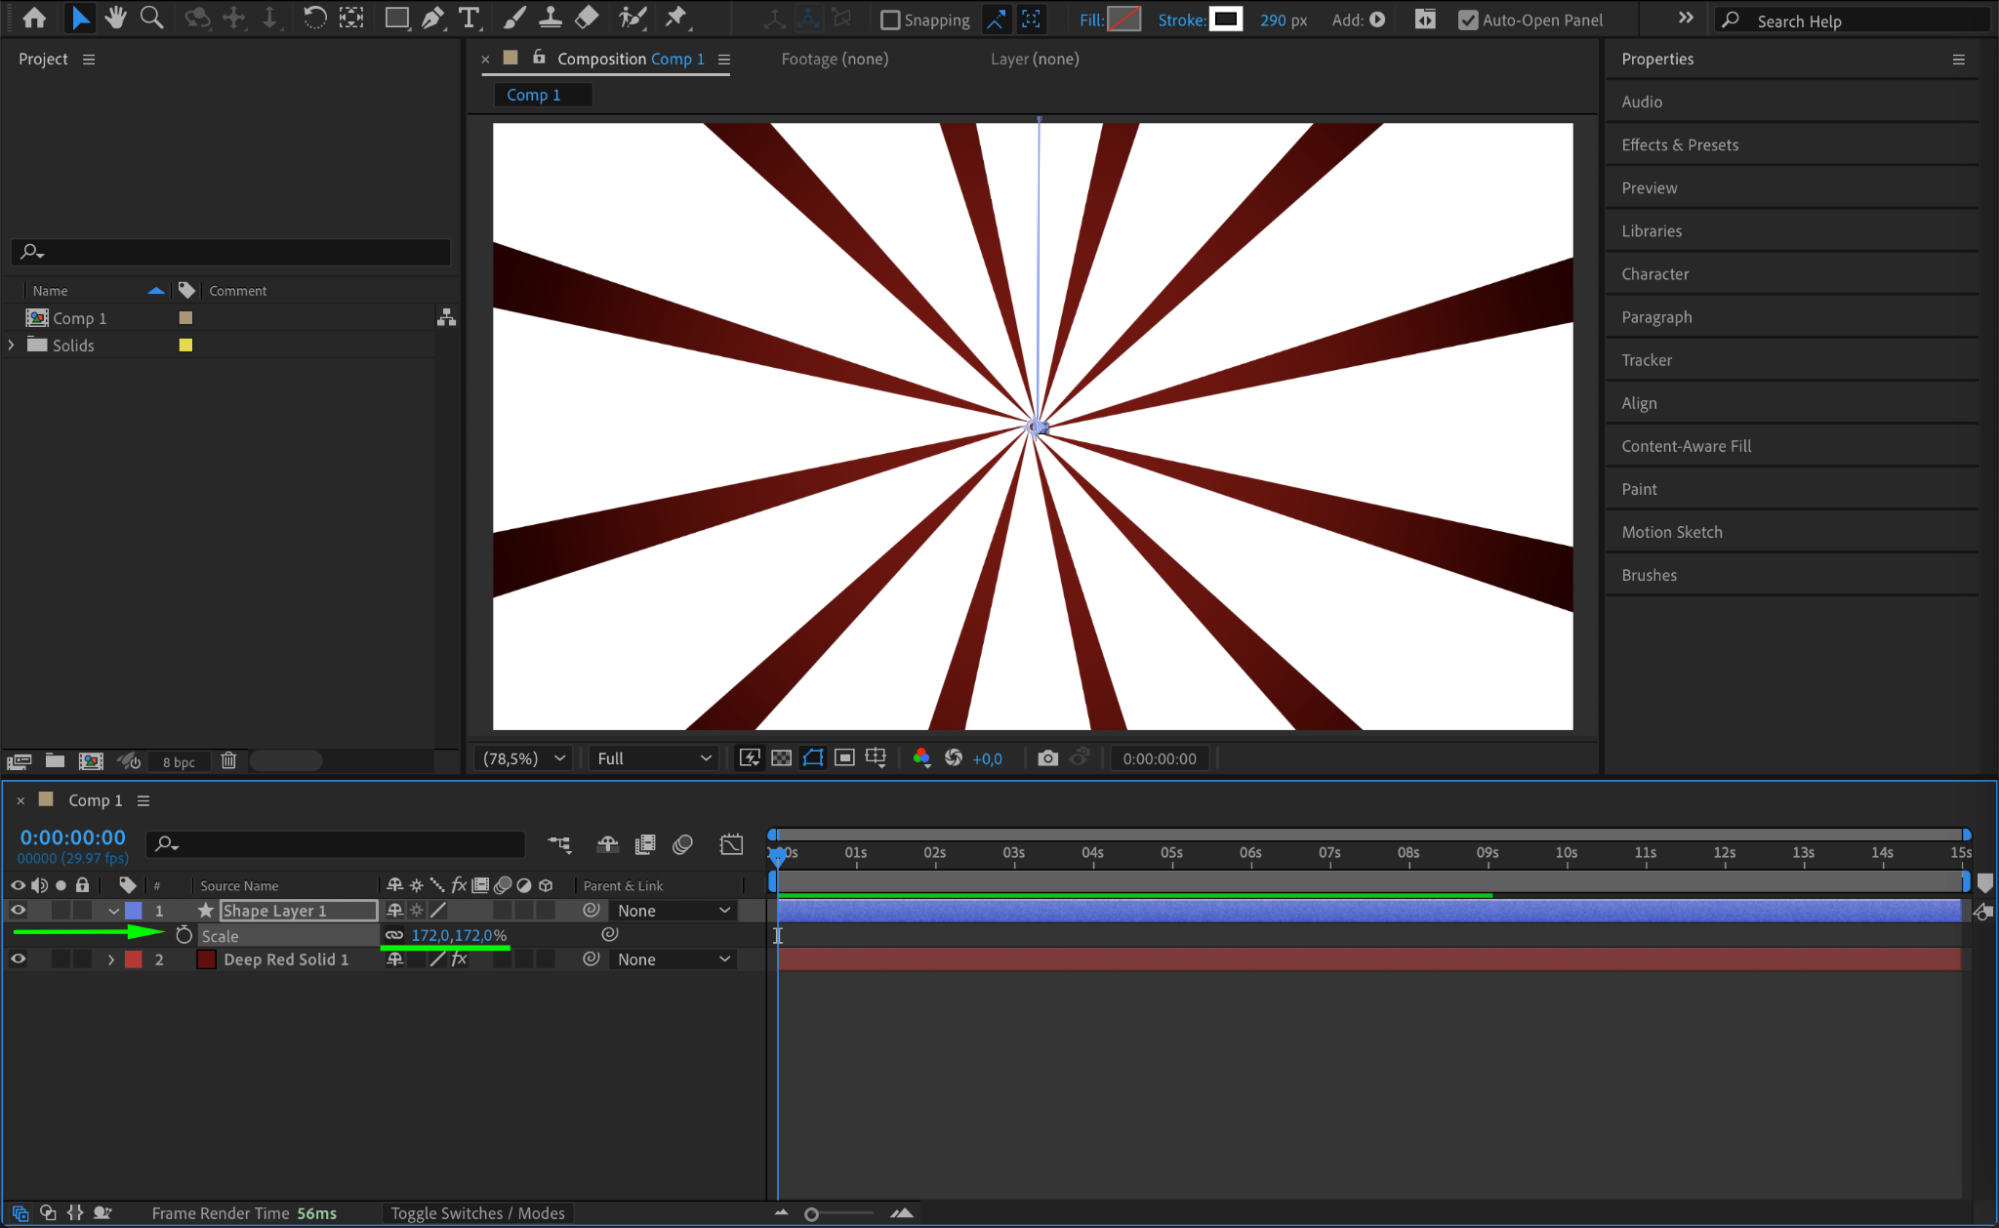
Step 7: Set Repeater Parameters
In the Repeater settings, increase Copies to 13. Then change the Position X to 0 (so the lines stack) and Rotation to 30 degrees. This creates a circular swirl made from repeated strokes.
Step 8: Adjust Scale for Fit
If some of the swirl lines go beyond the edges of your comp, you can scale down the entire shape layer. Select the shape layer and press “S” for Scale, then reduce the percentage until everything fits nicely within the frame.
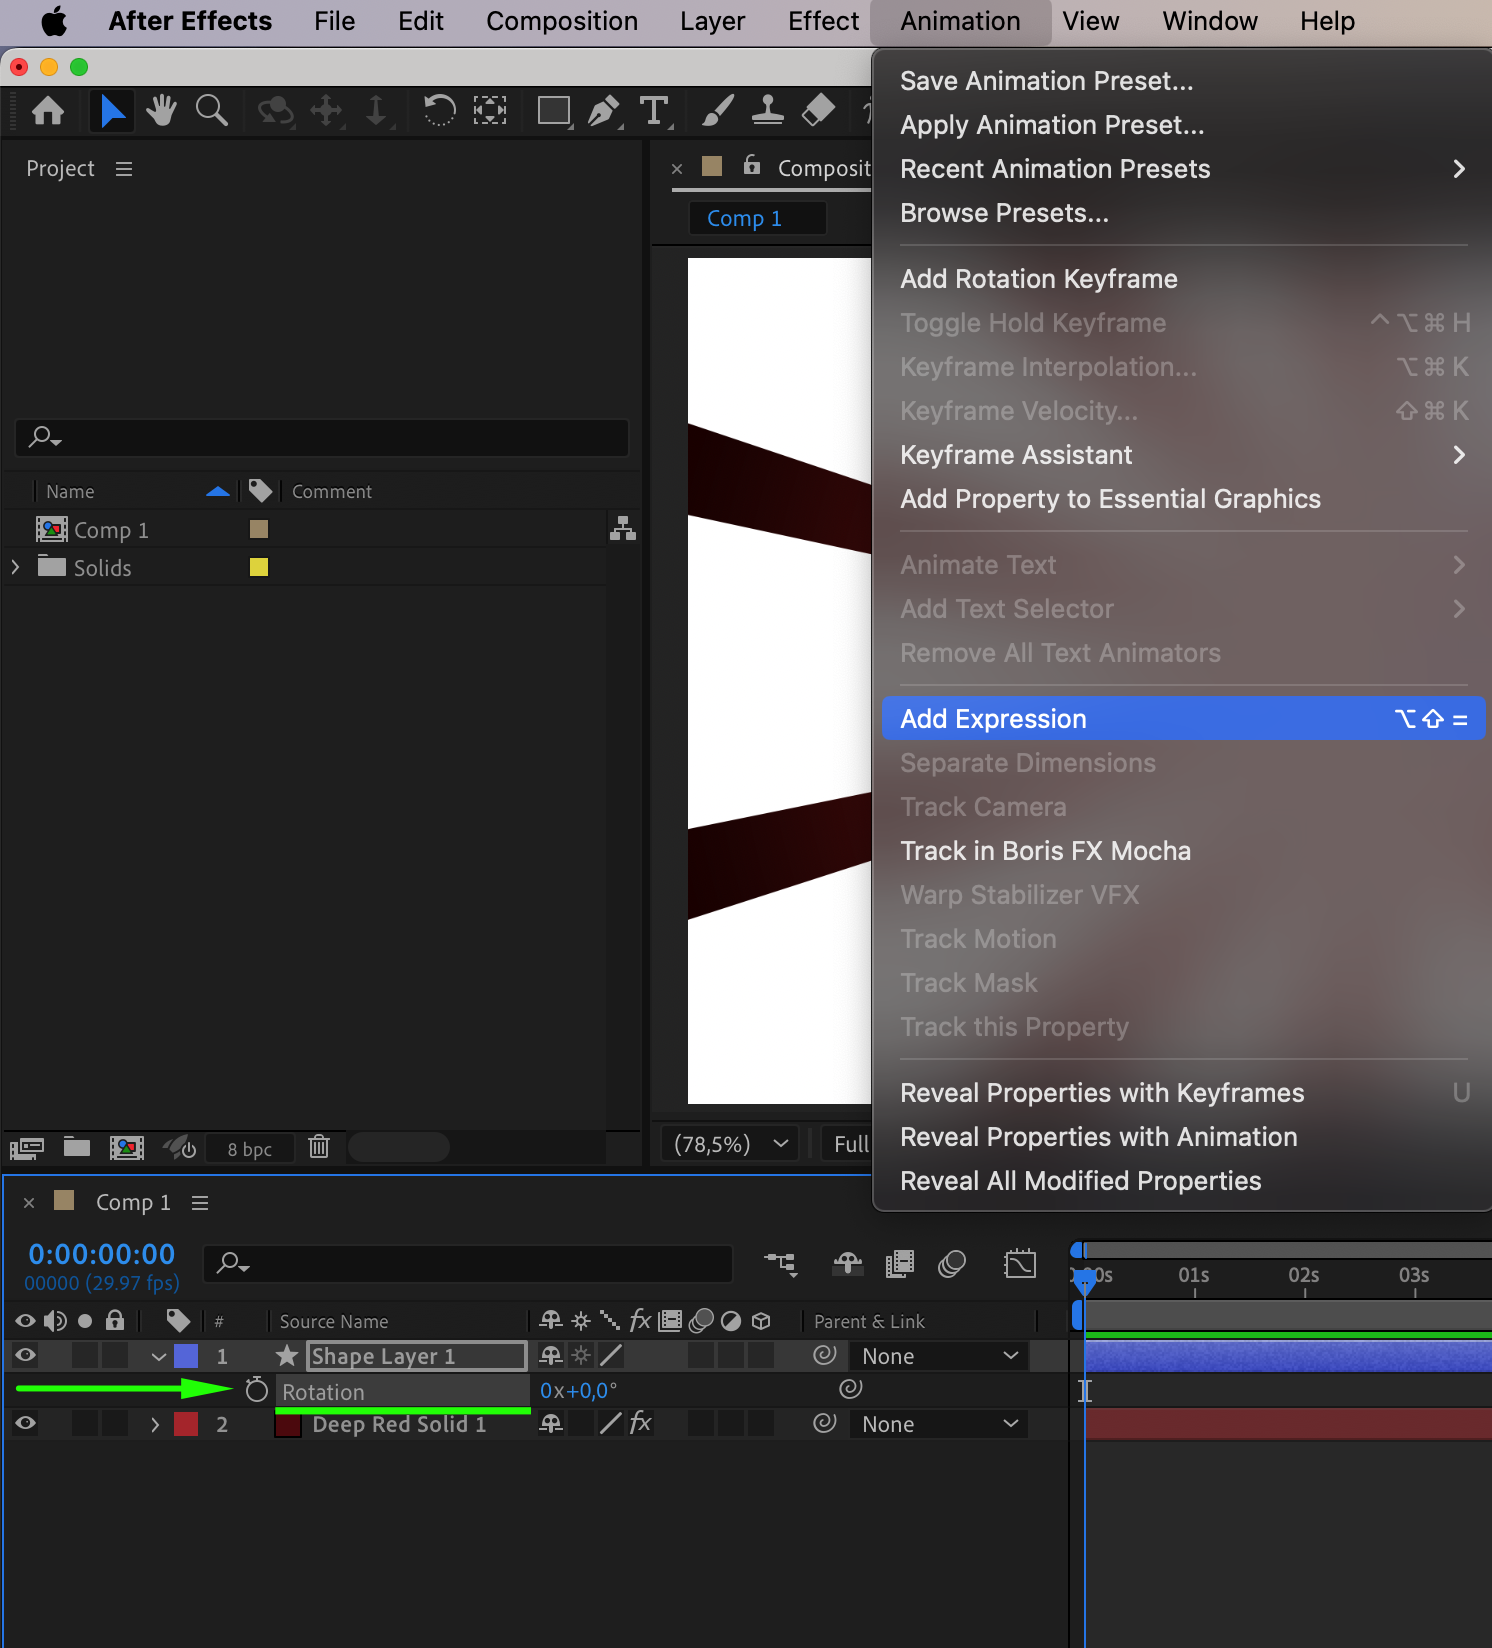
Step 9: Animate the Swirl Rotation
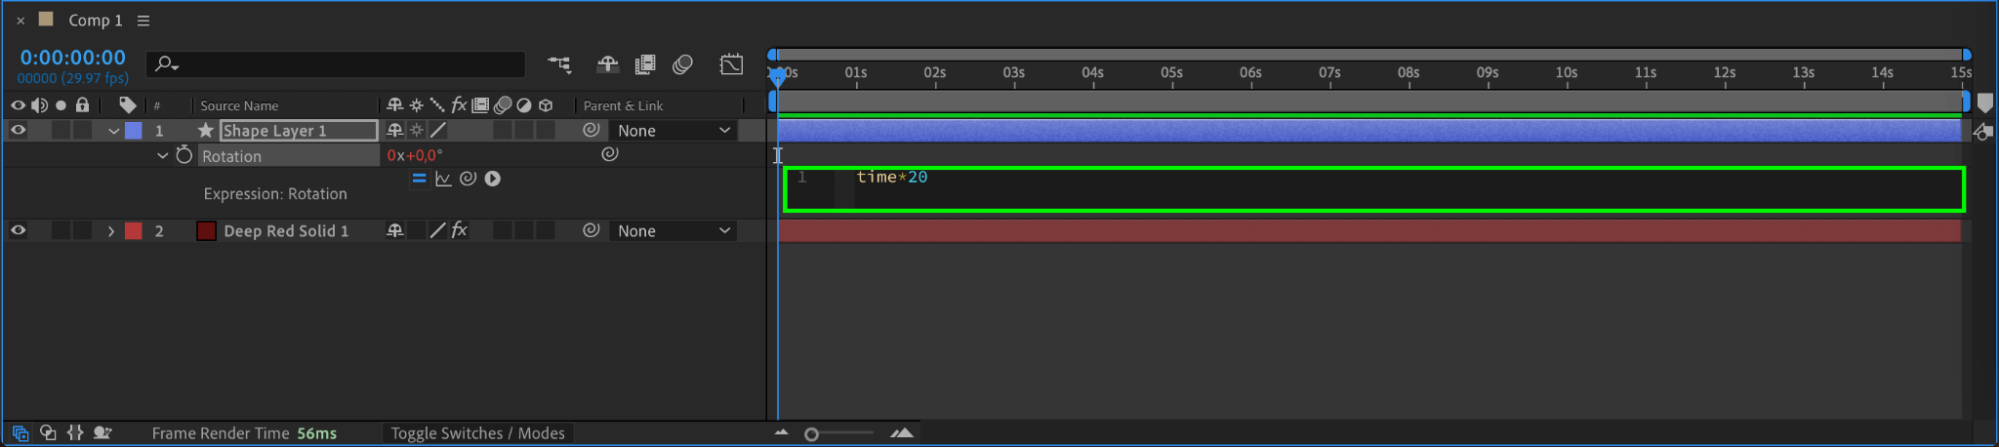
To animate the swirl, press “R” to reveal the Rotation property of the shape layer. Alt-click (or Option-click on Mac) the stopwatch and type the following expression:
time*20
This will make the swirl rotate continuously in a smooth loop.
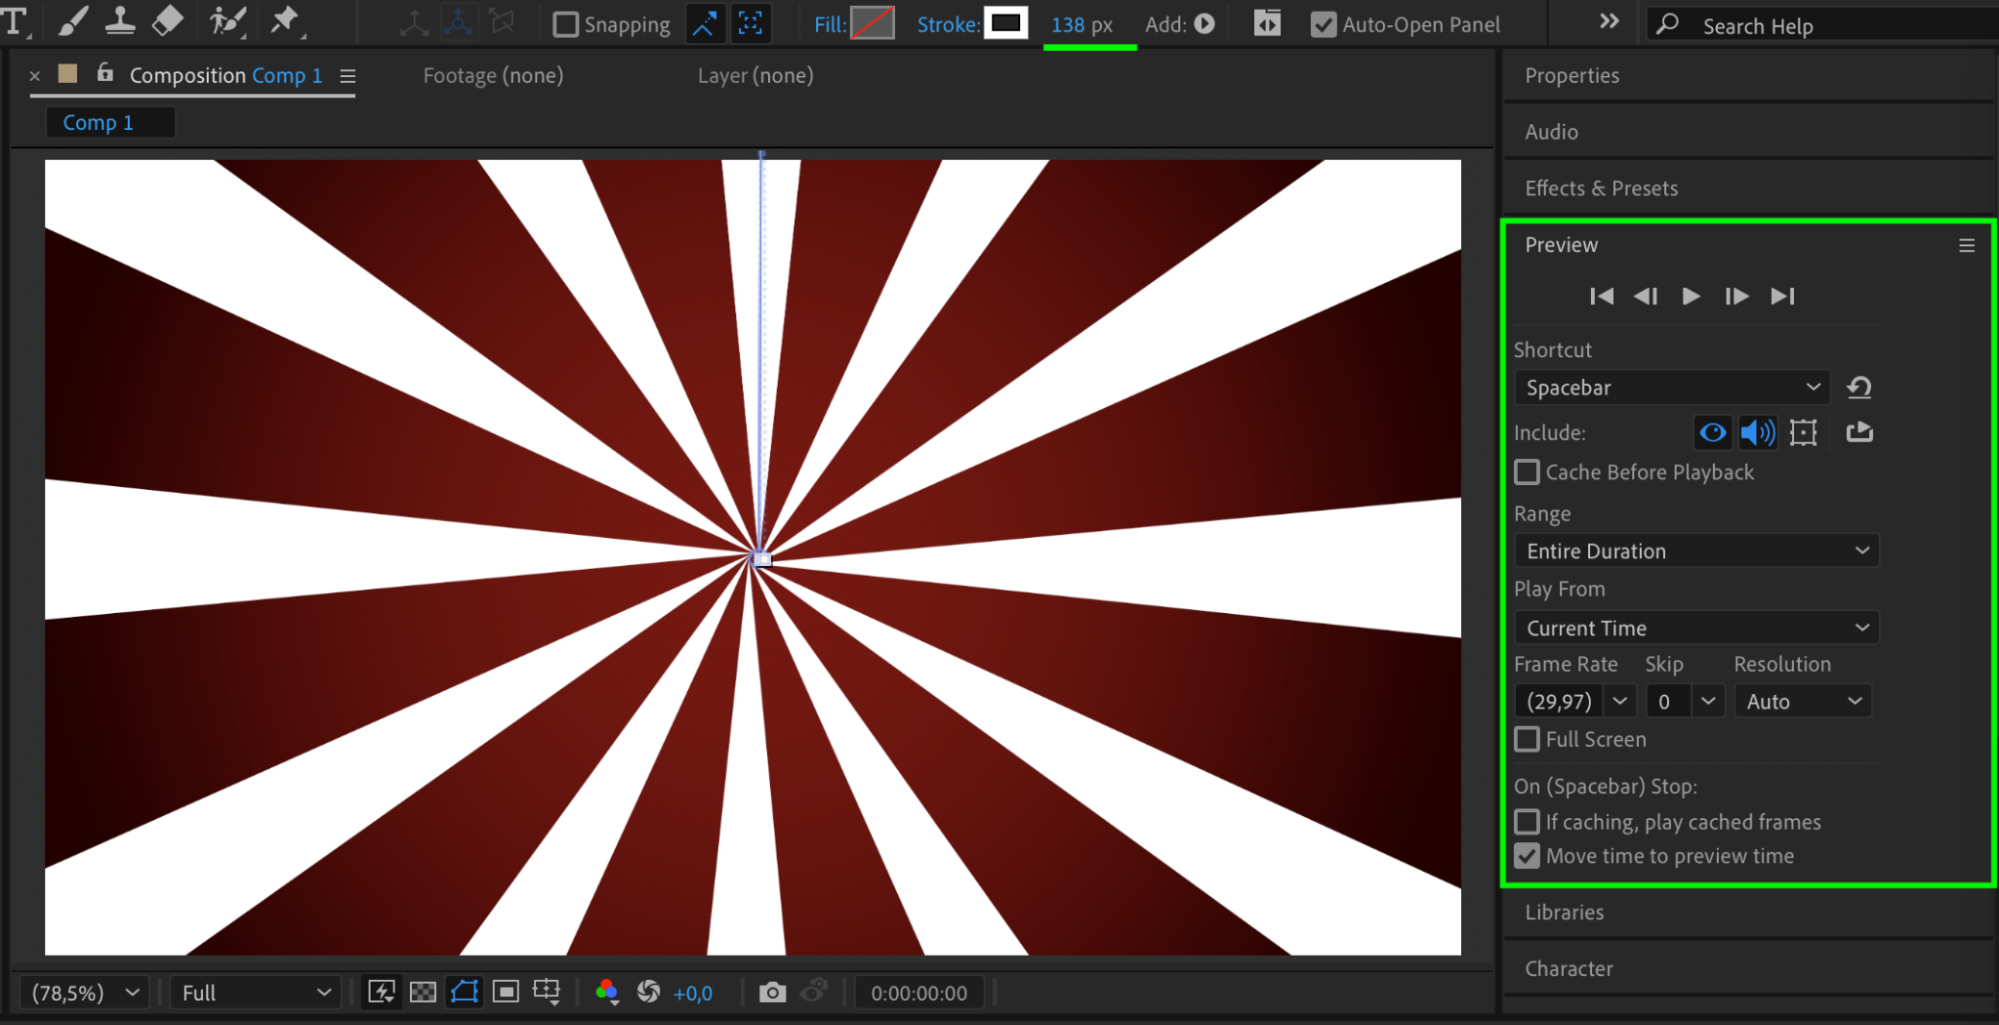
Step 10: Preview and Adjust
Press Spacebar to preview your animation. You should see a rotating vintage-style swirl with a soft vignette in the background. You can tweak stroke size, color, or speed to get the exact look you want.
 Conclusion
By combining shape layers, repeater, and Lumetri color, you can quickly create a vintage swirl intro in After Effects. This kind of animation is perfect for retro title sequences, music videos, or stylistic openers. Try adjusting the stroke width, number of copies, or rotation speed to customize it for your project.
Our Bestsellers


