Create the Iconic Star Wars Text Intro in After Effects
Introduction – Make a Cinematic Scrolling Text Effect Inspired by Star Wars
Creating the Star Wars intro is a fun way to recreate the famous scrolling text animation seen at the beginning of every Star Wars movie. In this tutorial, you will learn how to set up a starry background, design yellow cinematic text, animate it in 3D space, and enhance the look with effects like glow. Follow the steps below to make your own intergalactic intro.
Step 1: Create a New Composition
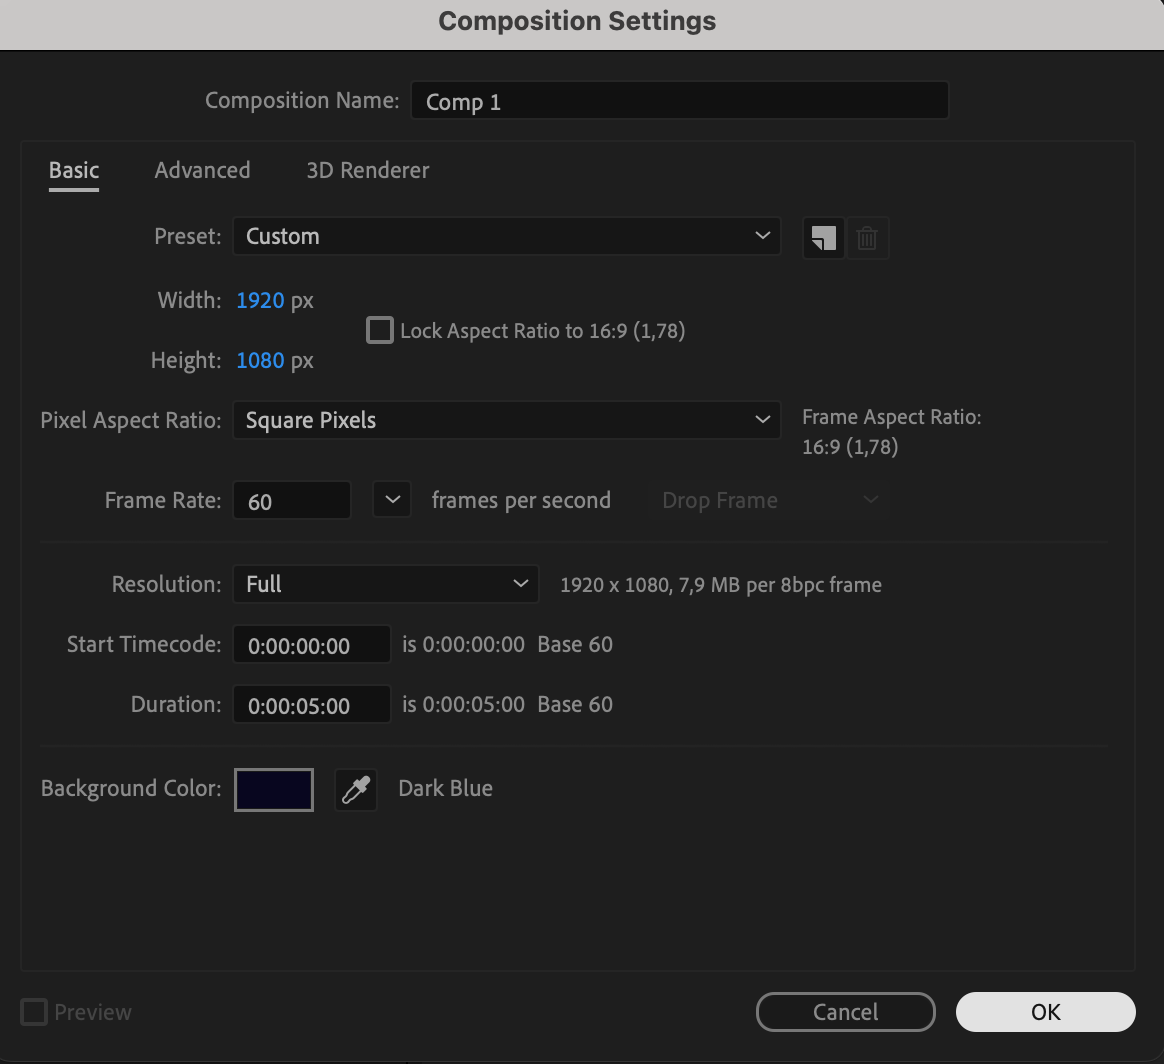
Go to Composition > New Composition, and set your desired resolution (e.g., 1920×1080). For the background color, choose a very dark blue or black to simulate outer space.
 Step 2: Add Star Background
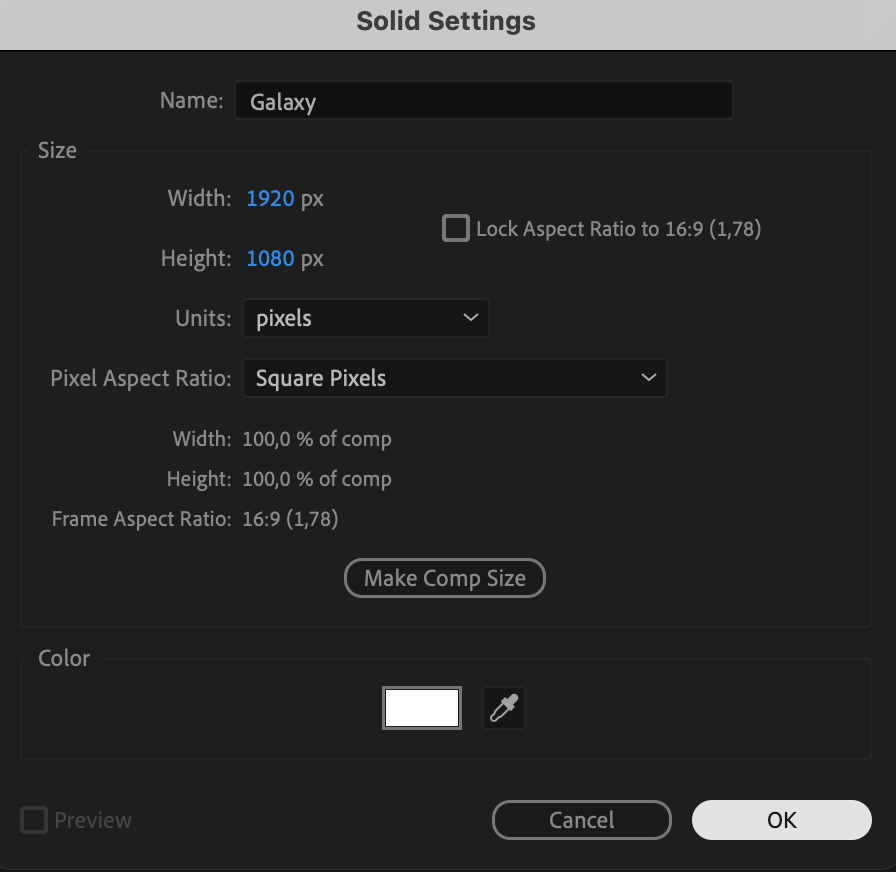
Go to Layer > New > Solid, choose white as the color, and name it “Galaxy.” This will be the base for your star field. Make sure it matches the size of your composition.
 Step 3: Apply the Star Field Effect
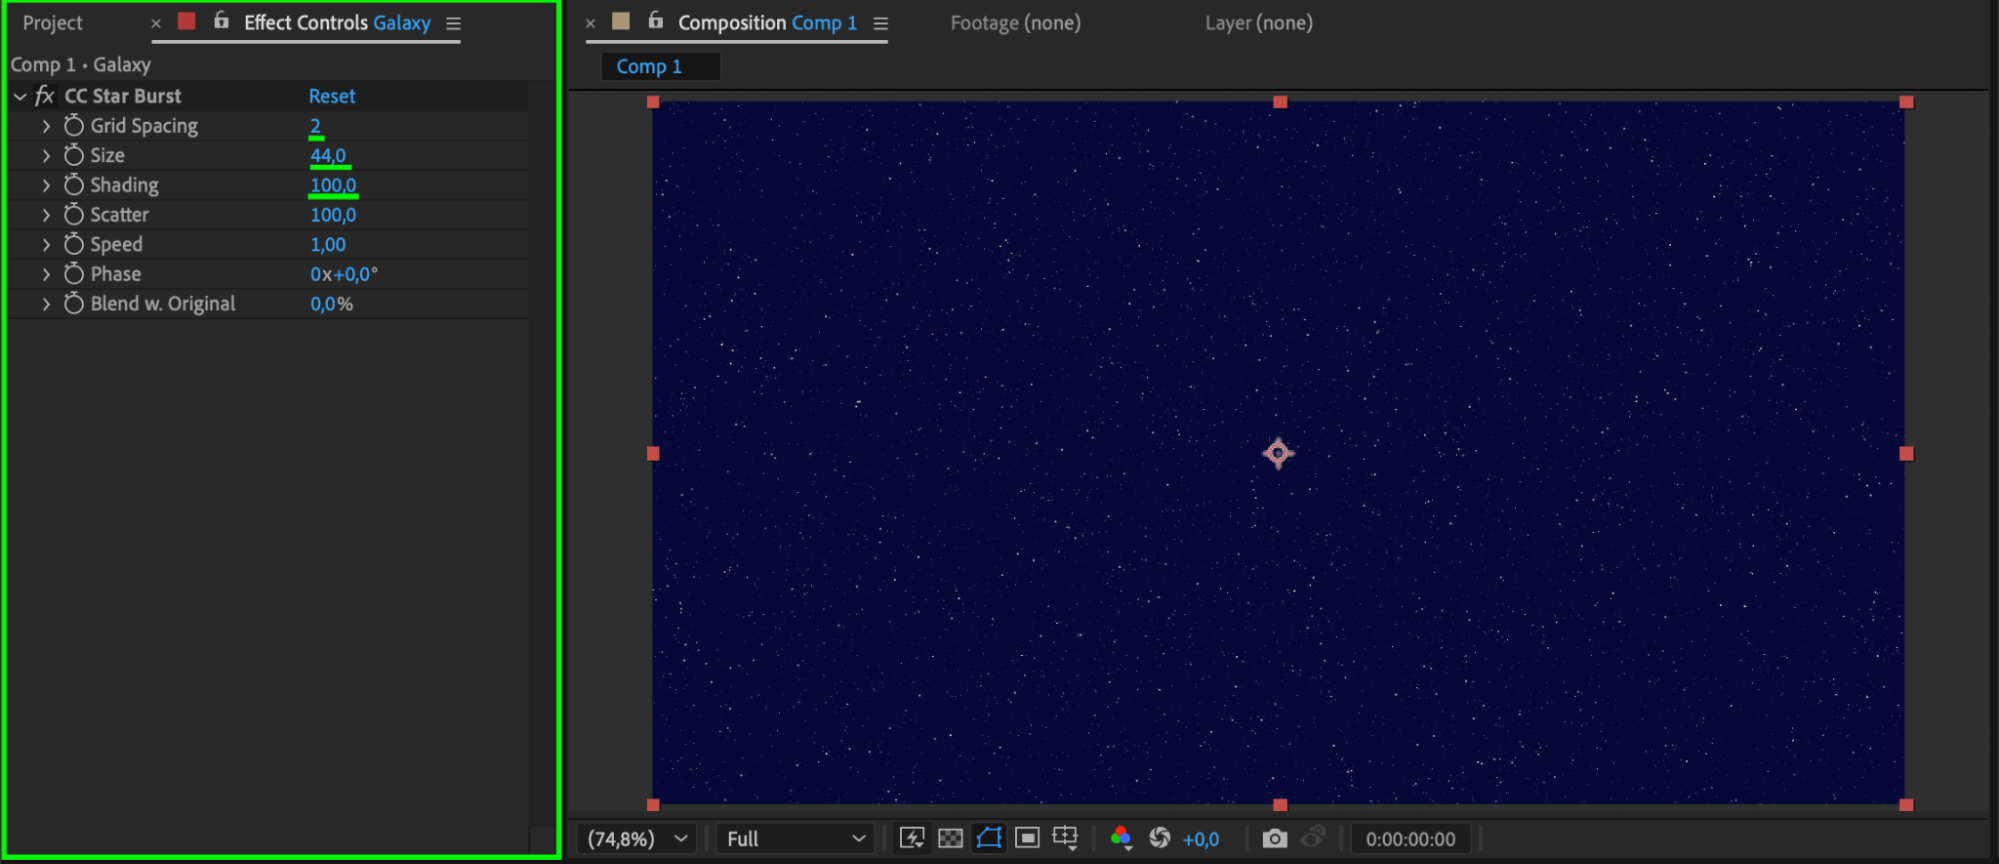
With the Galaxy solid selected, go to the Effects & Presets panel and apply the CC Star Burst effect. Adjust the Speed and Scatter settings to your liking to create a dynamic star background.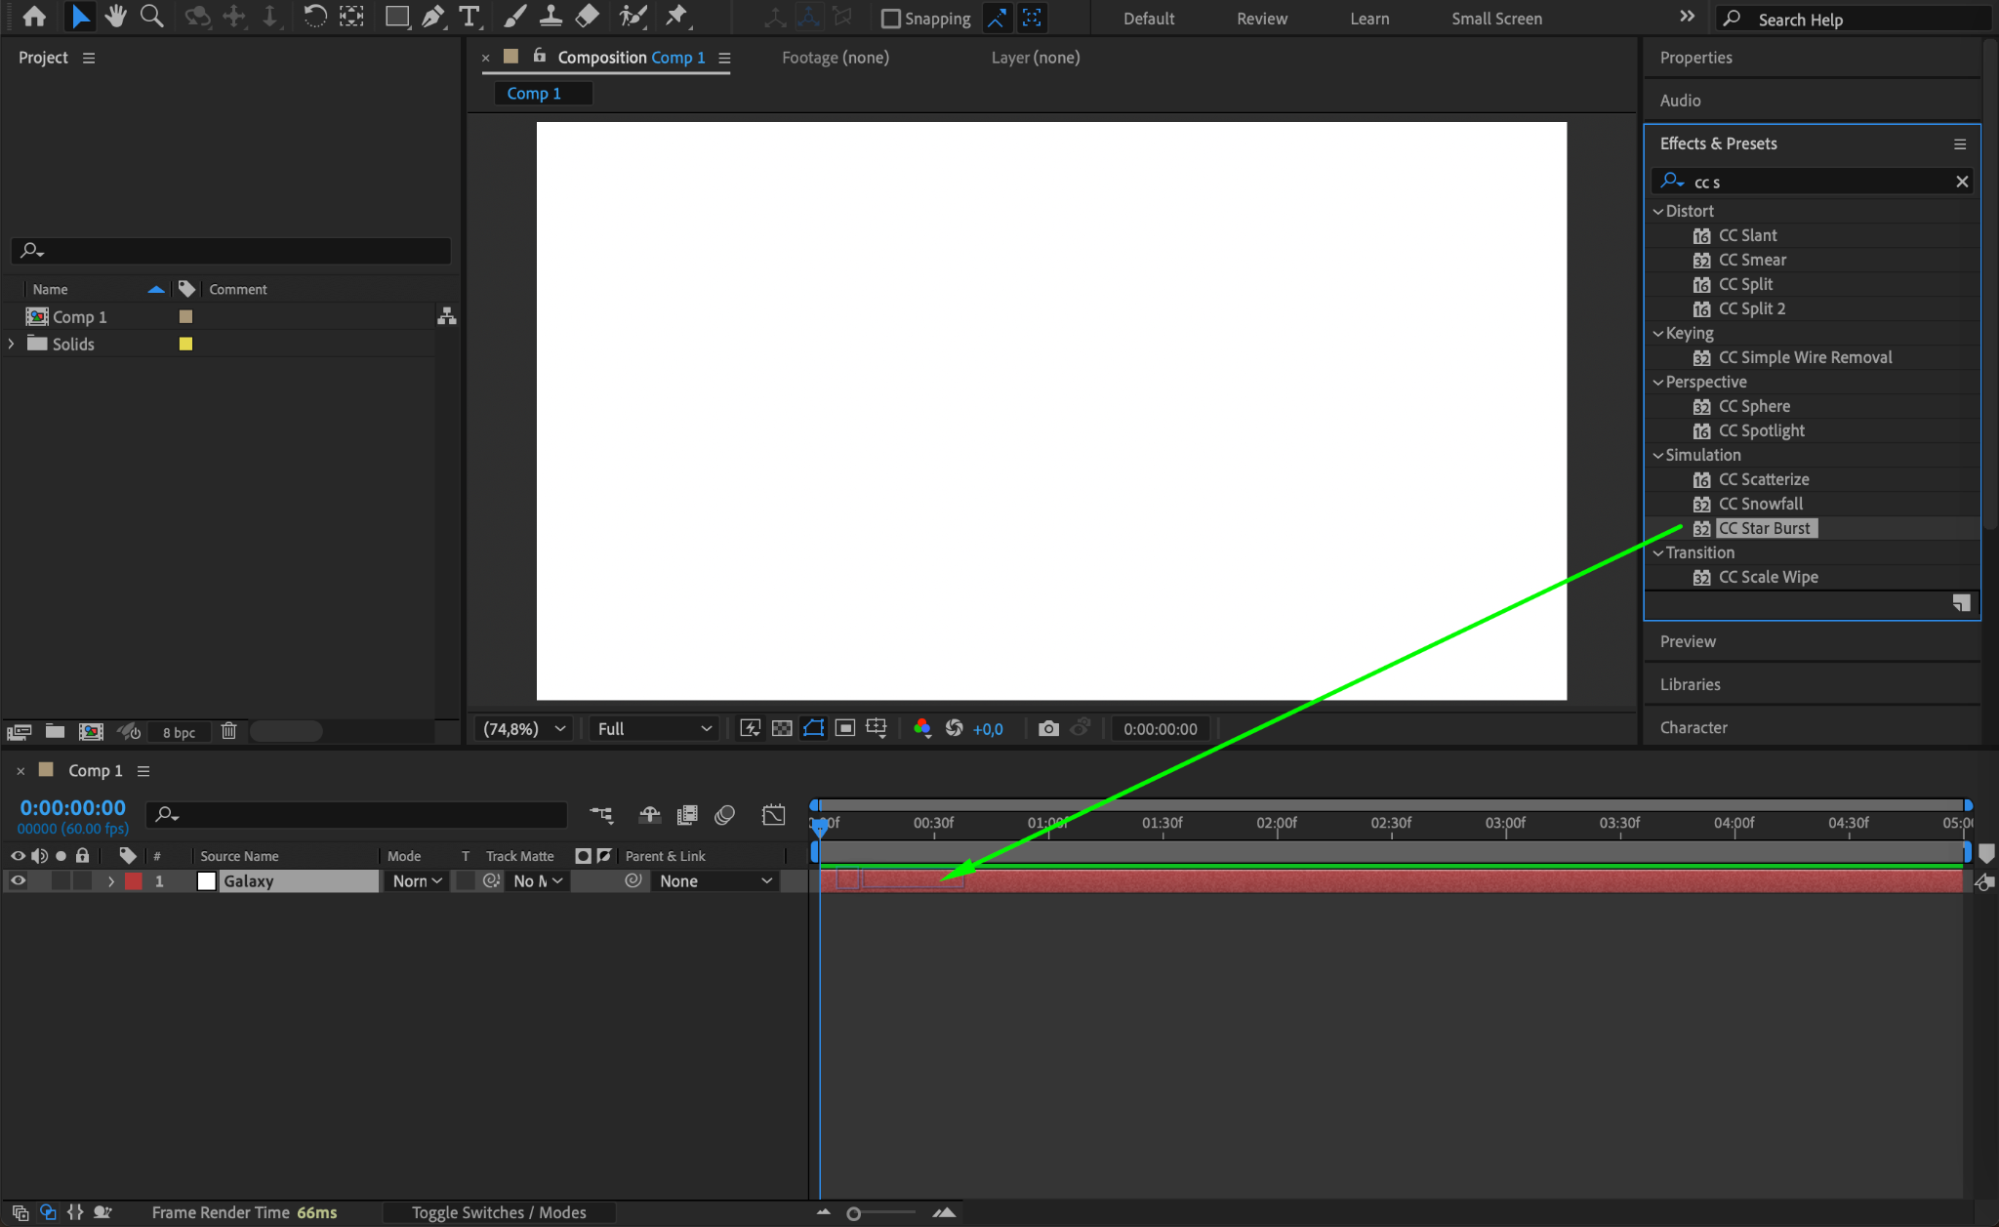
Step 4: Create the Text
Select the Type Tool (Ctrl/Cmd + T) and type your intro text. Use a yellow color and a bold font, similar to what is seen in Star Wars. Make sure your text block is long enough to scroll off screen.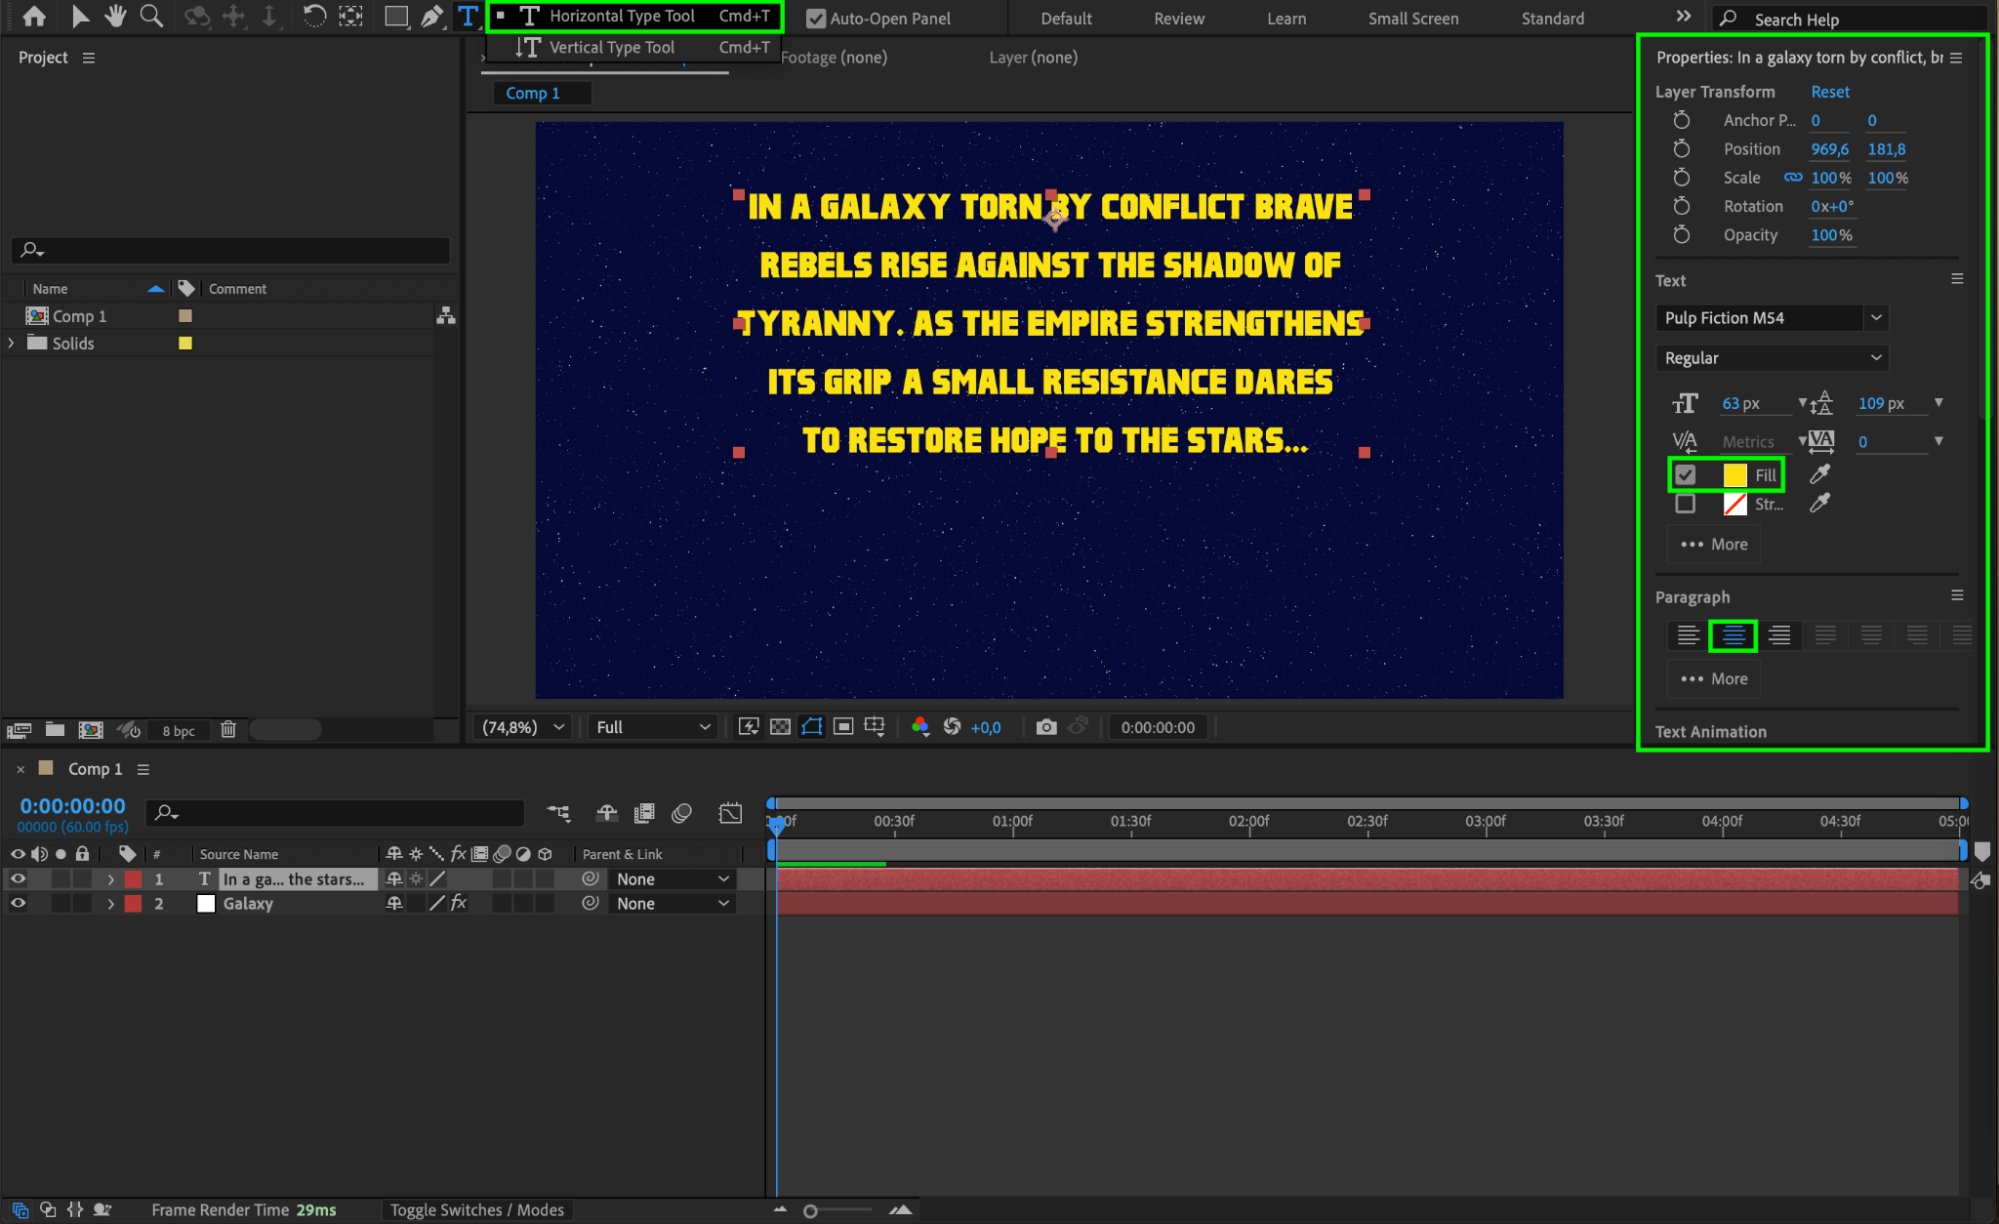
Get 10% off when you subscribe to our newsletter

Step 5: Convert Text to 3D and Adjust Orientation
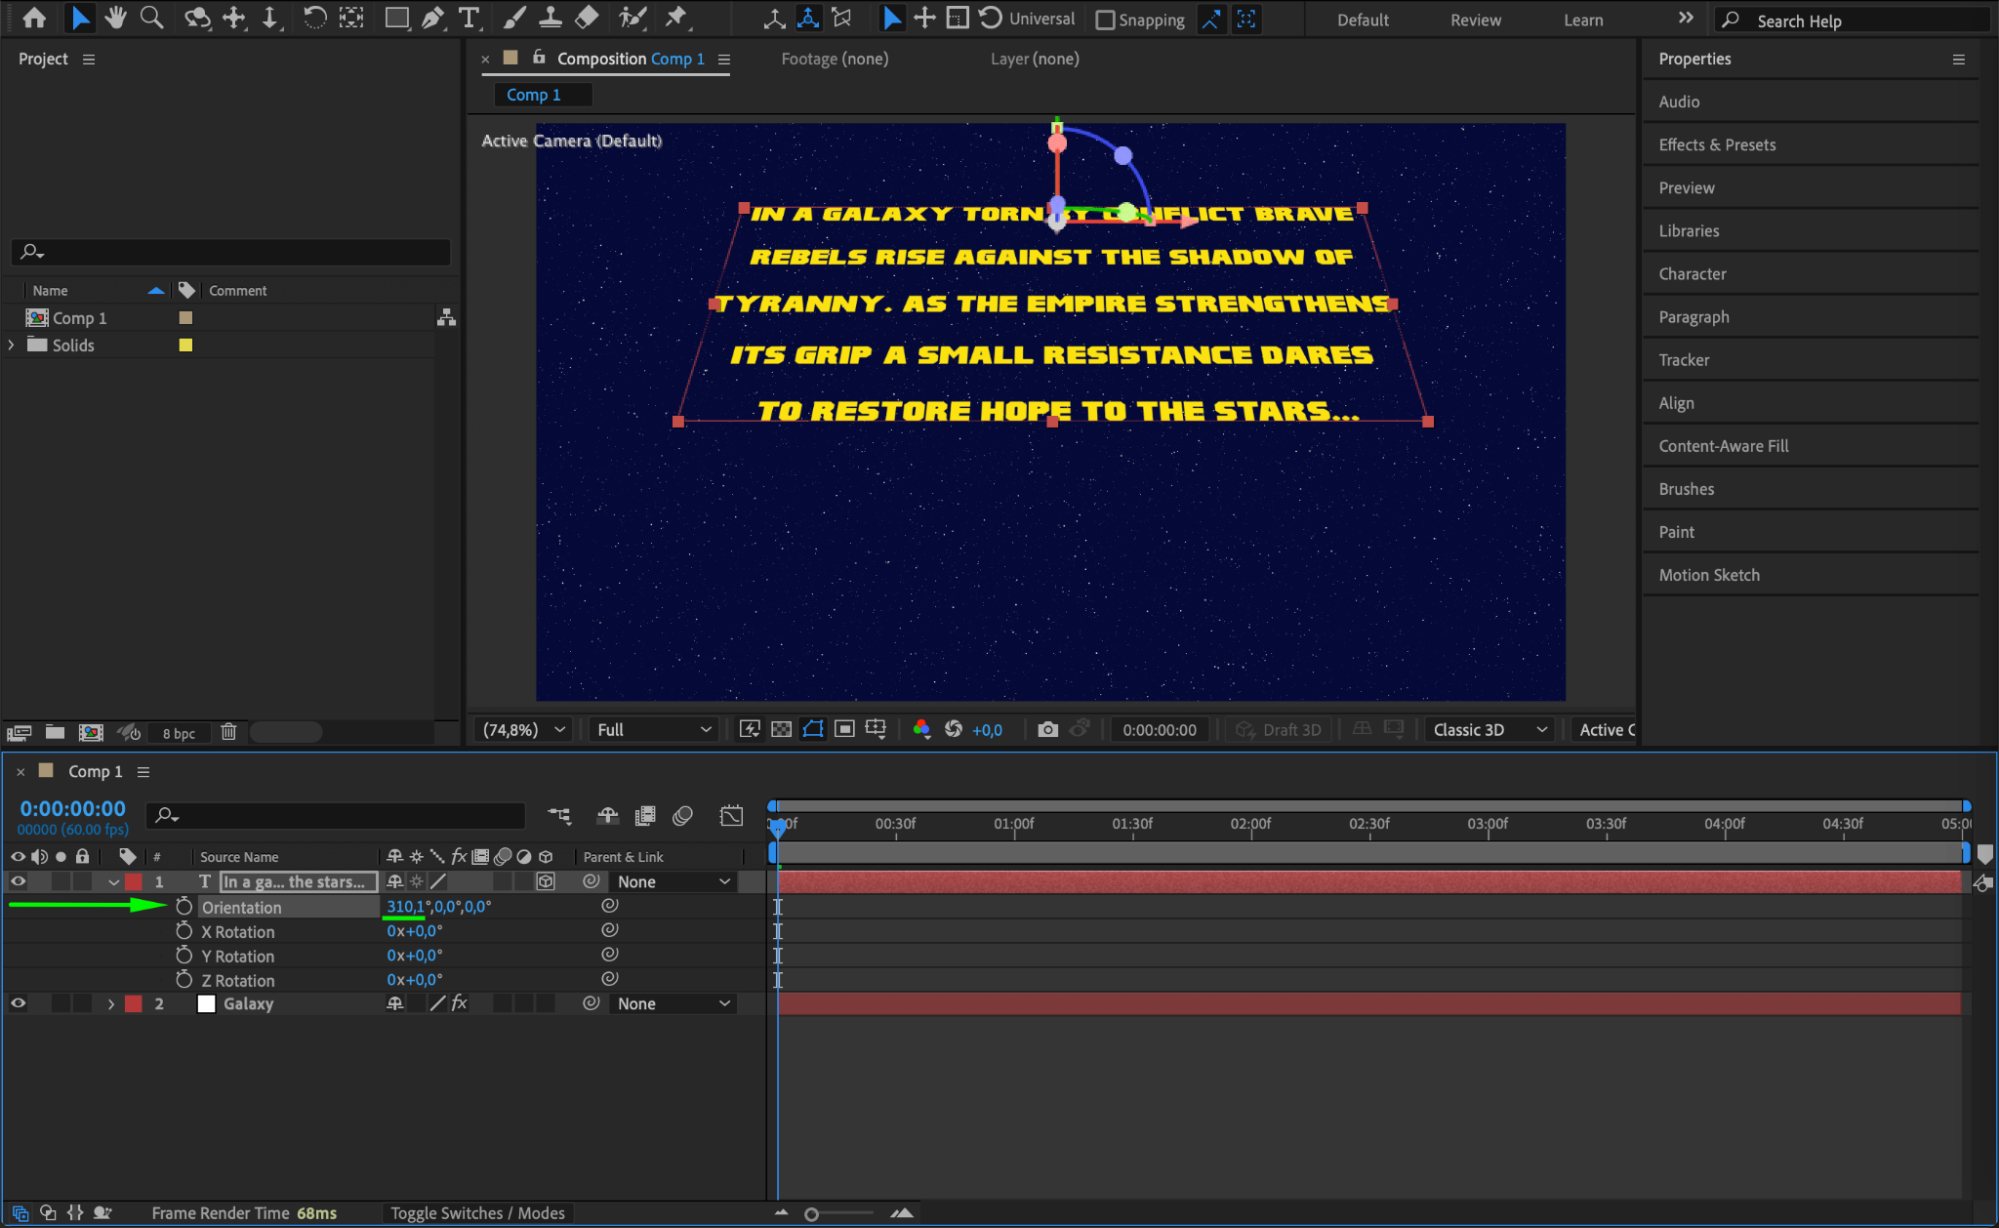
Enable the 3D Layer switch for the text layer. Then, go to the Transform section and change the X Orientation to around 310°. This gives the text the classic tilted perspective as it scrolls away into space.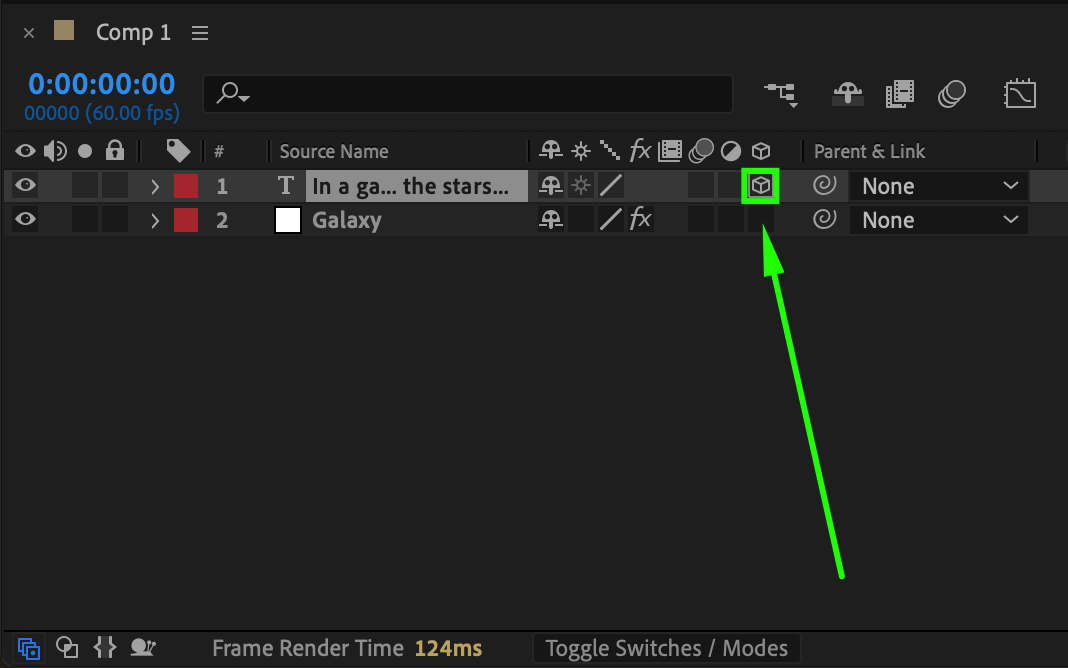
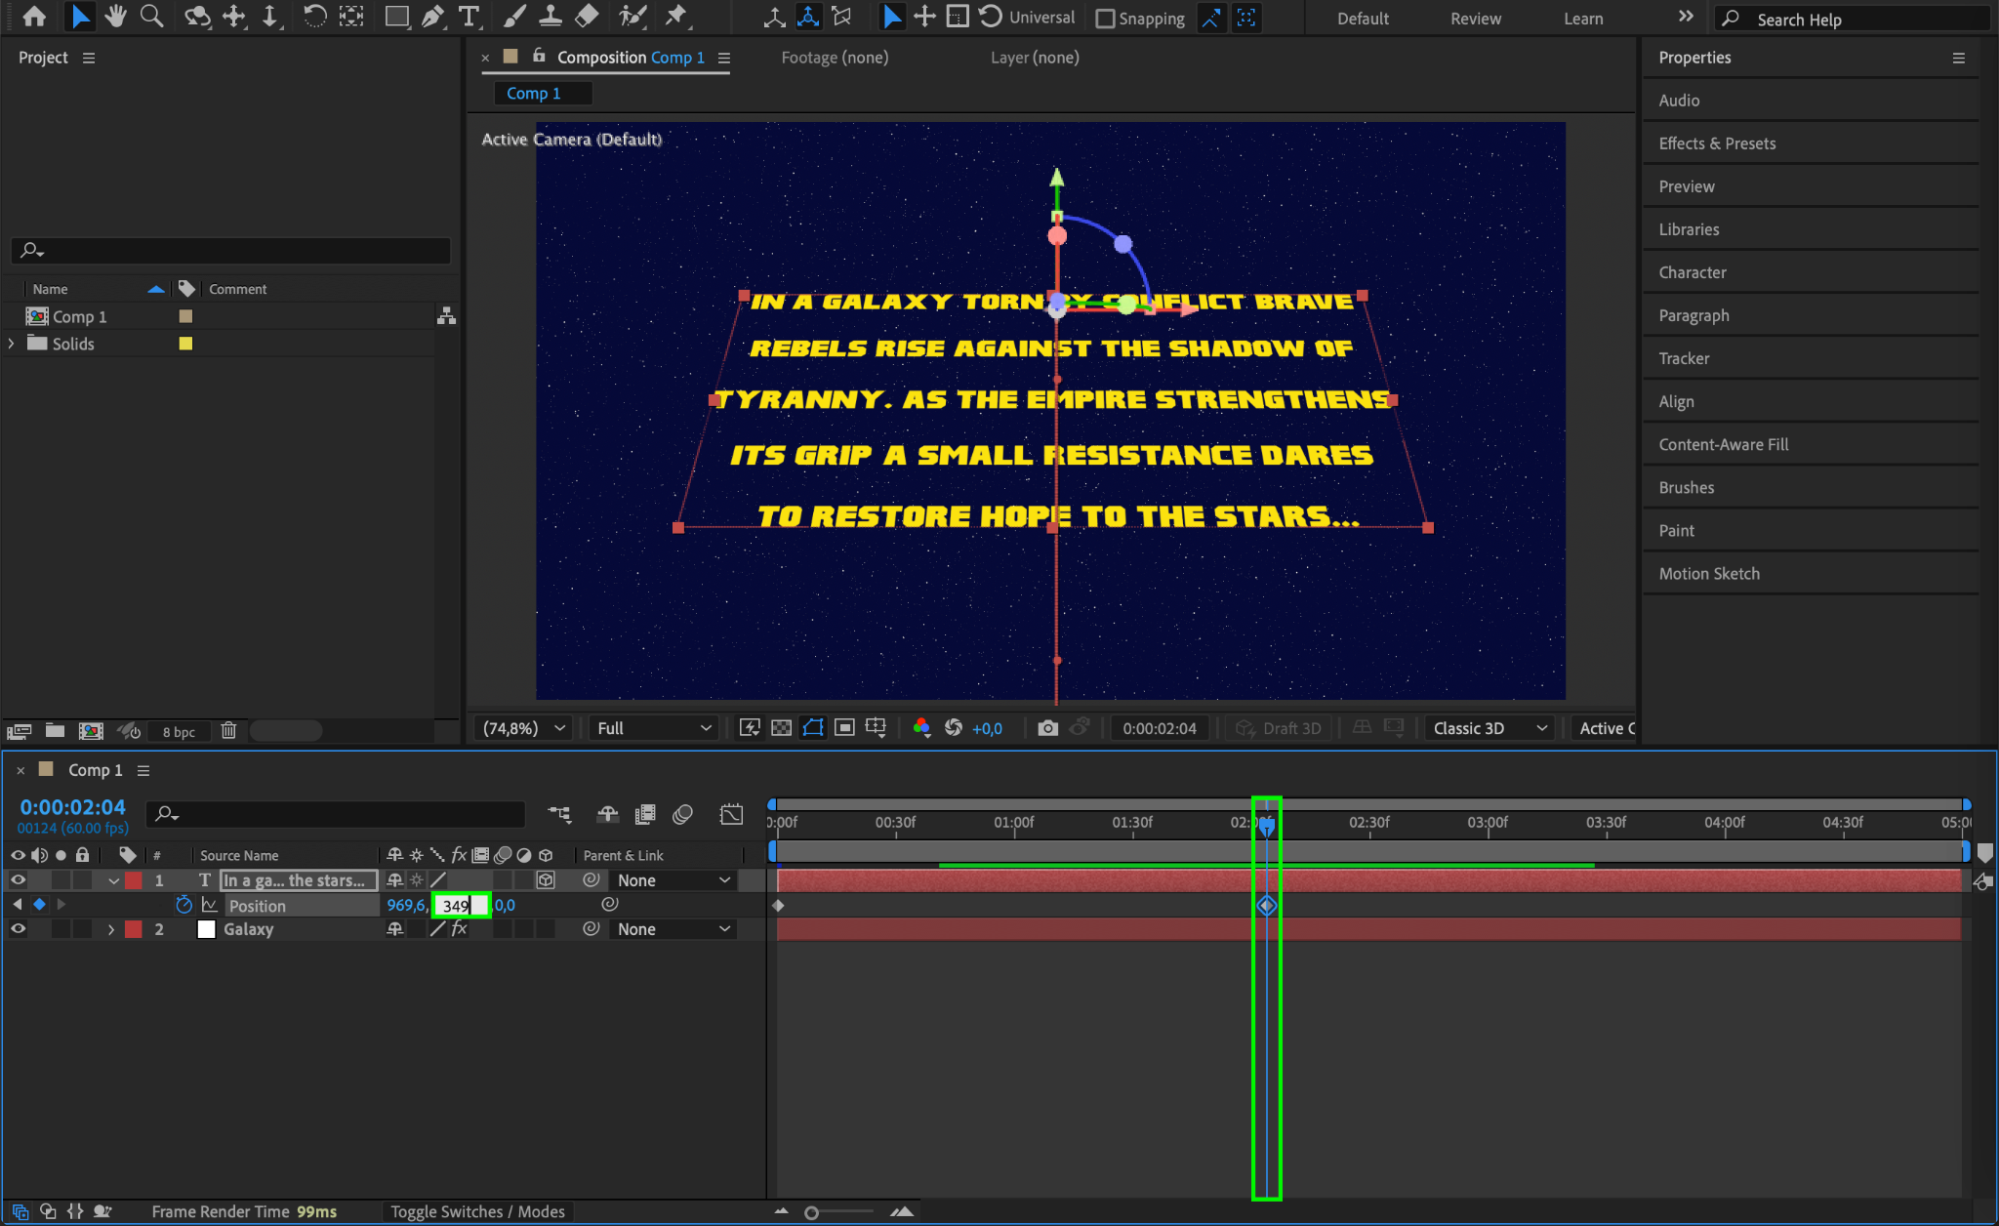
 Step 6: Animate the Text Position
Set a keyframe for the Y Position when the text is off-screen at the bottom. Move forward in time and set another keyframe when the text has scrolled far into the distance. This creates the scrolling effect.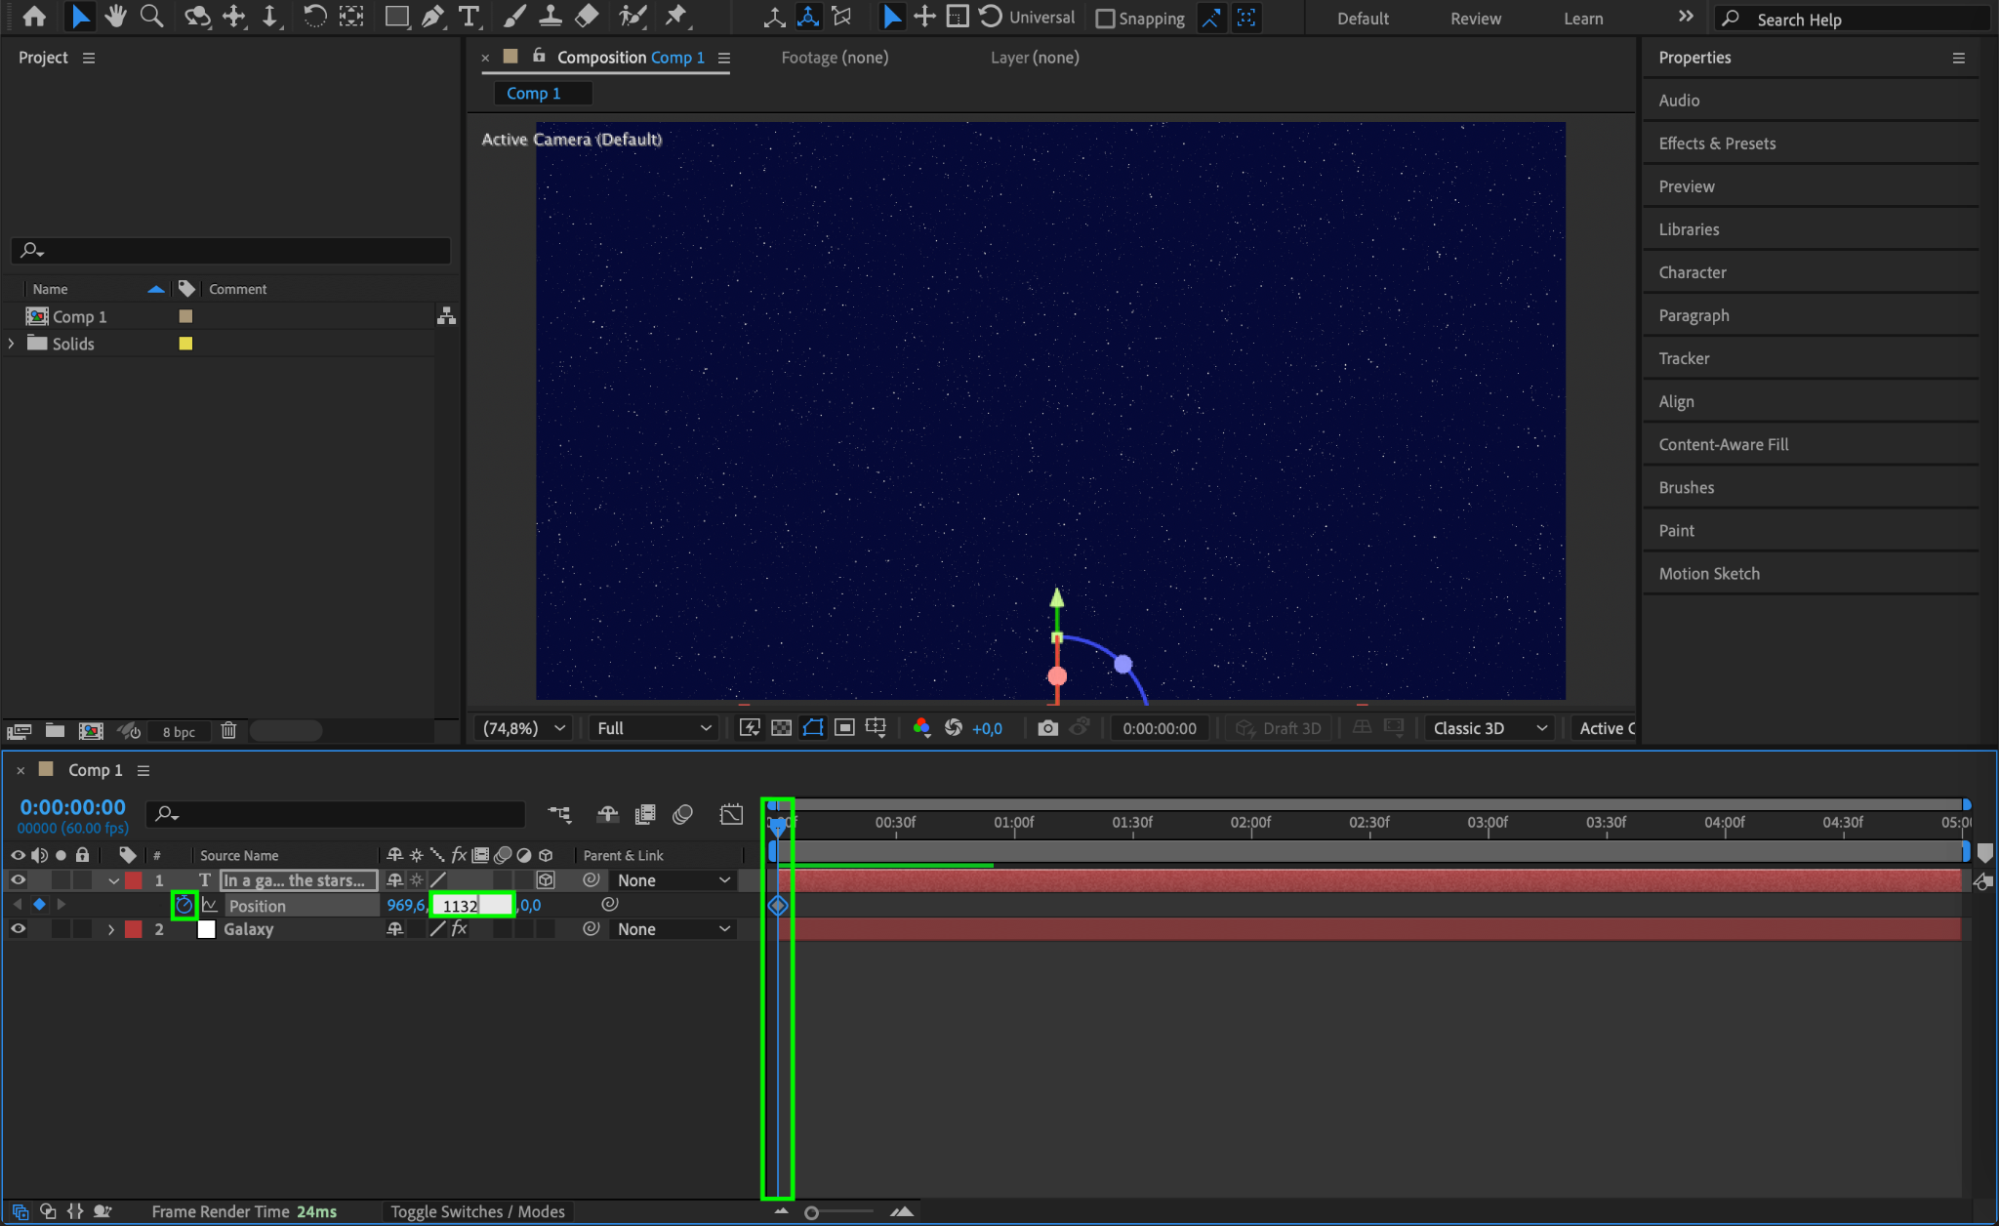
 Step 7: Add Easy Ease for Smoother Animation
Select both position keyframes, right-click, and choose Keyframe Assistant > Easy Ease. You can also use the Graph Editor to fine-tune the speed and create a smooth acceleration and deceleration.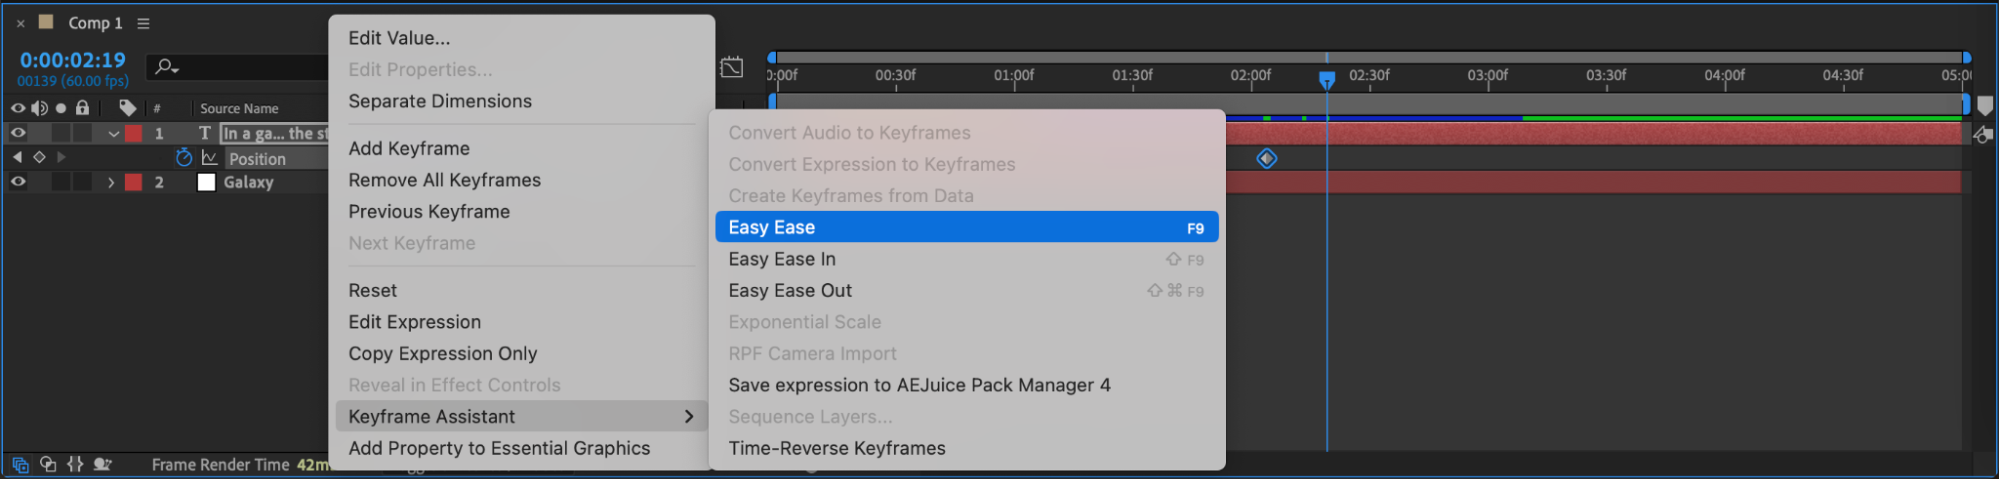
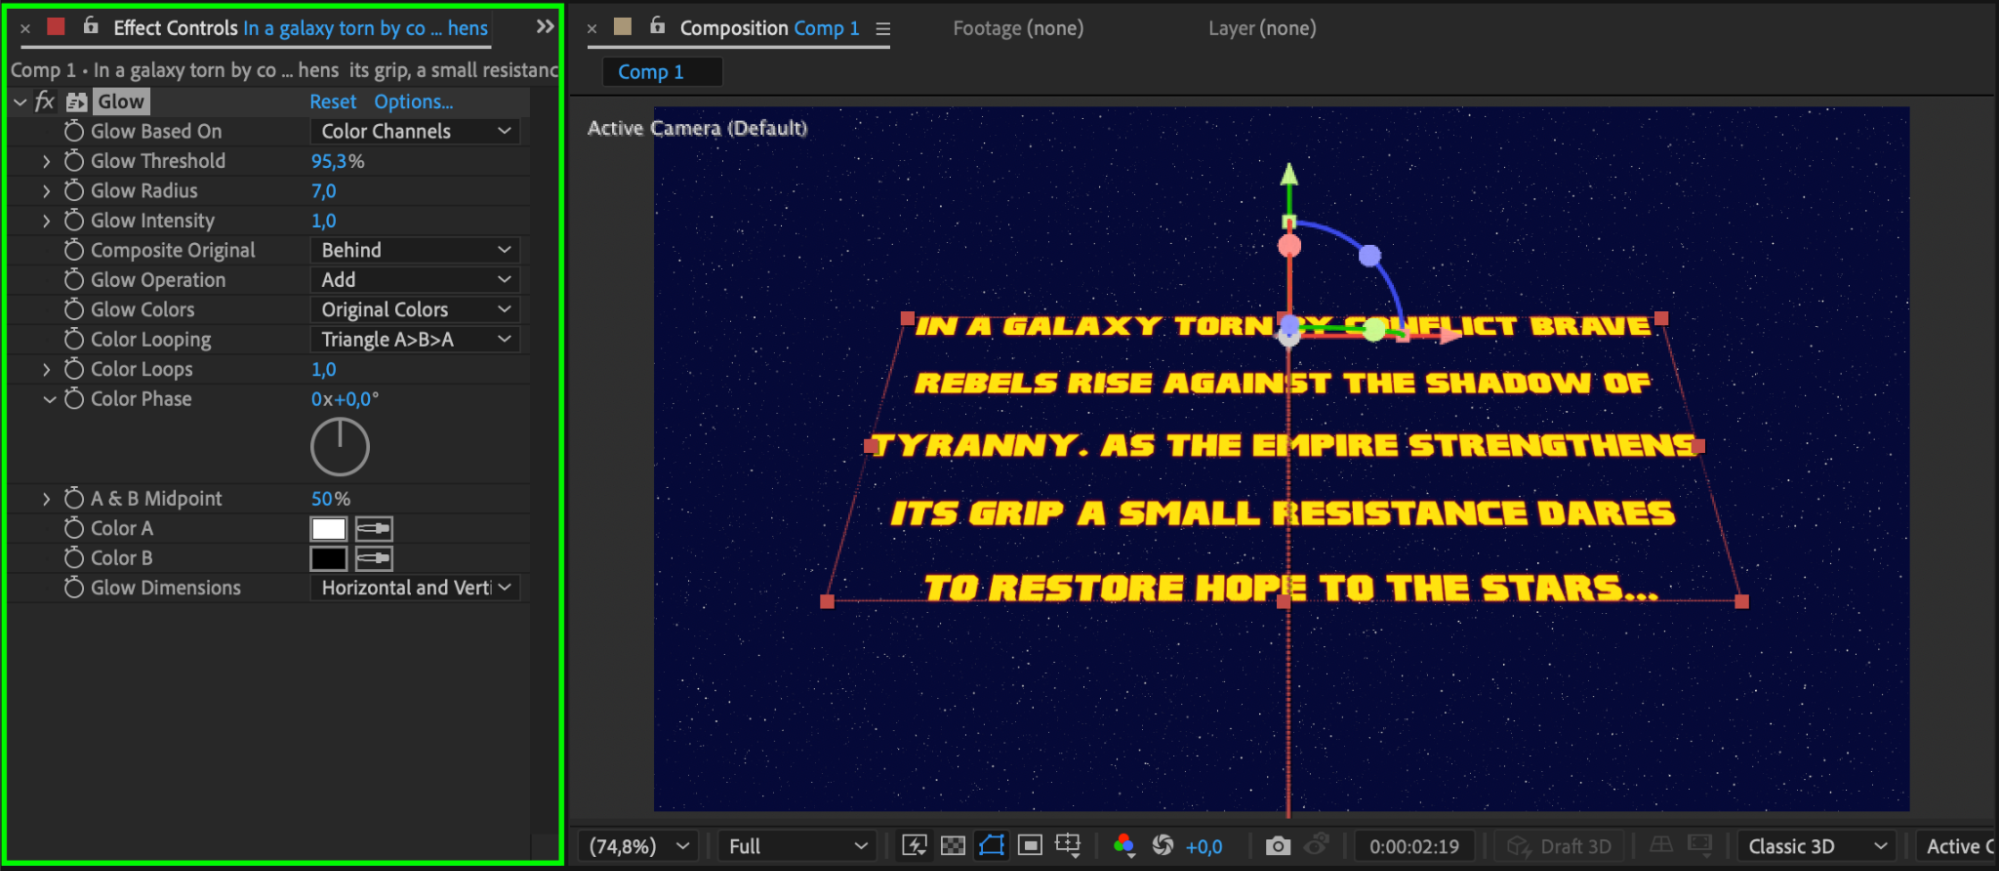
Step 8: Add Glow for Cinematic Look
Select your text layer and apply the Glow effect from the Effects & Presets panel. Adjust Glow Radius and Glow Intensity to give the yellow text a more vibrant and spacey appearance.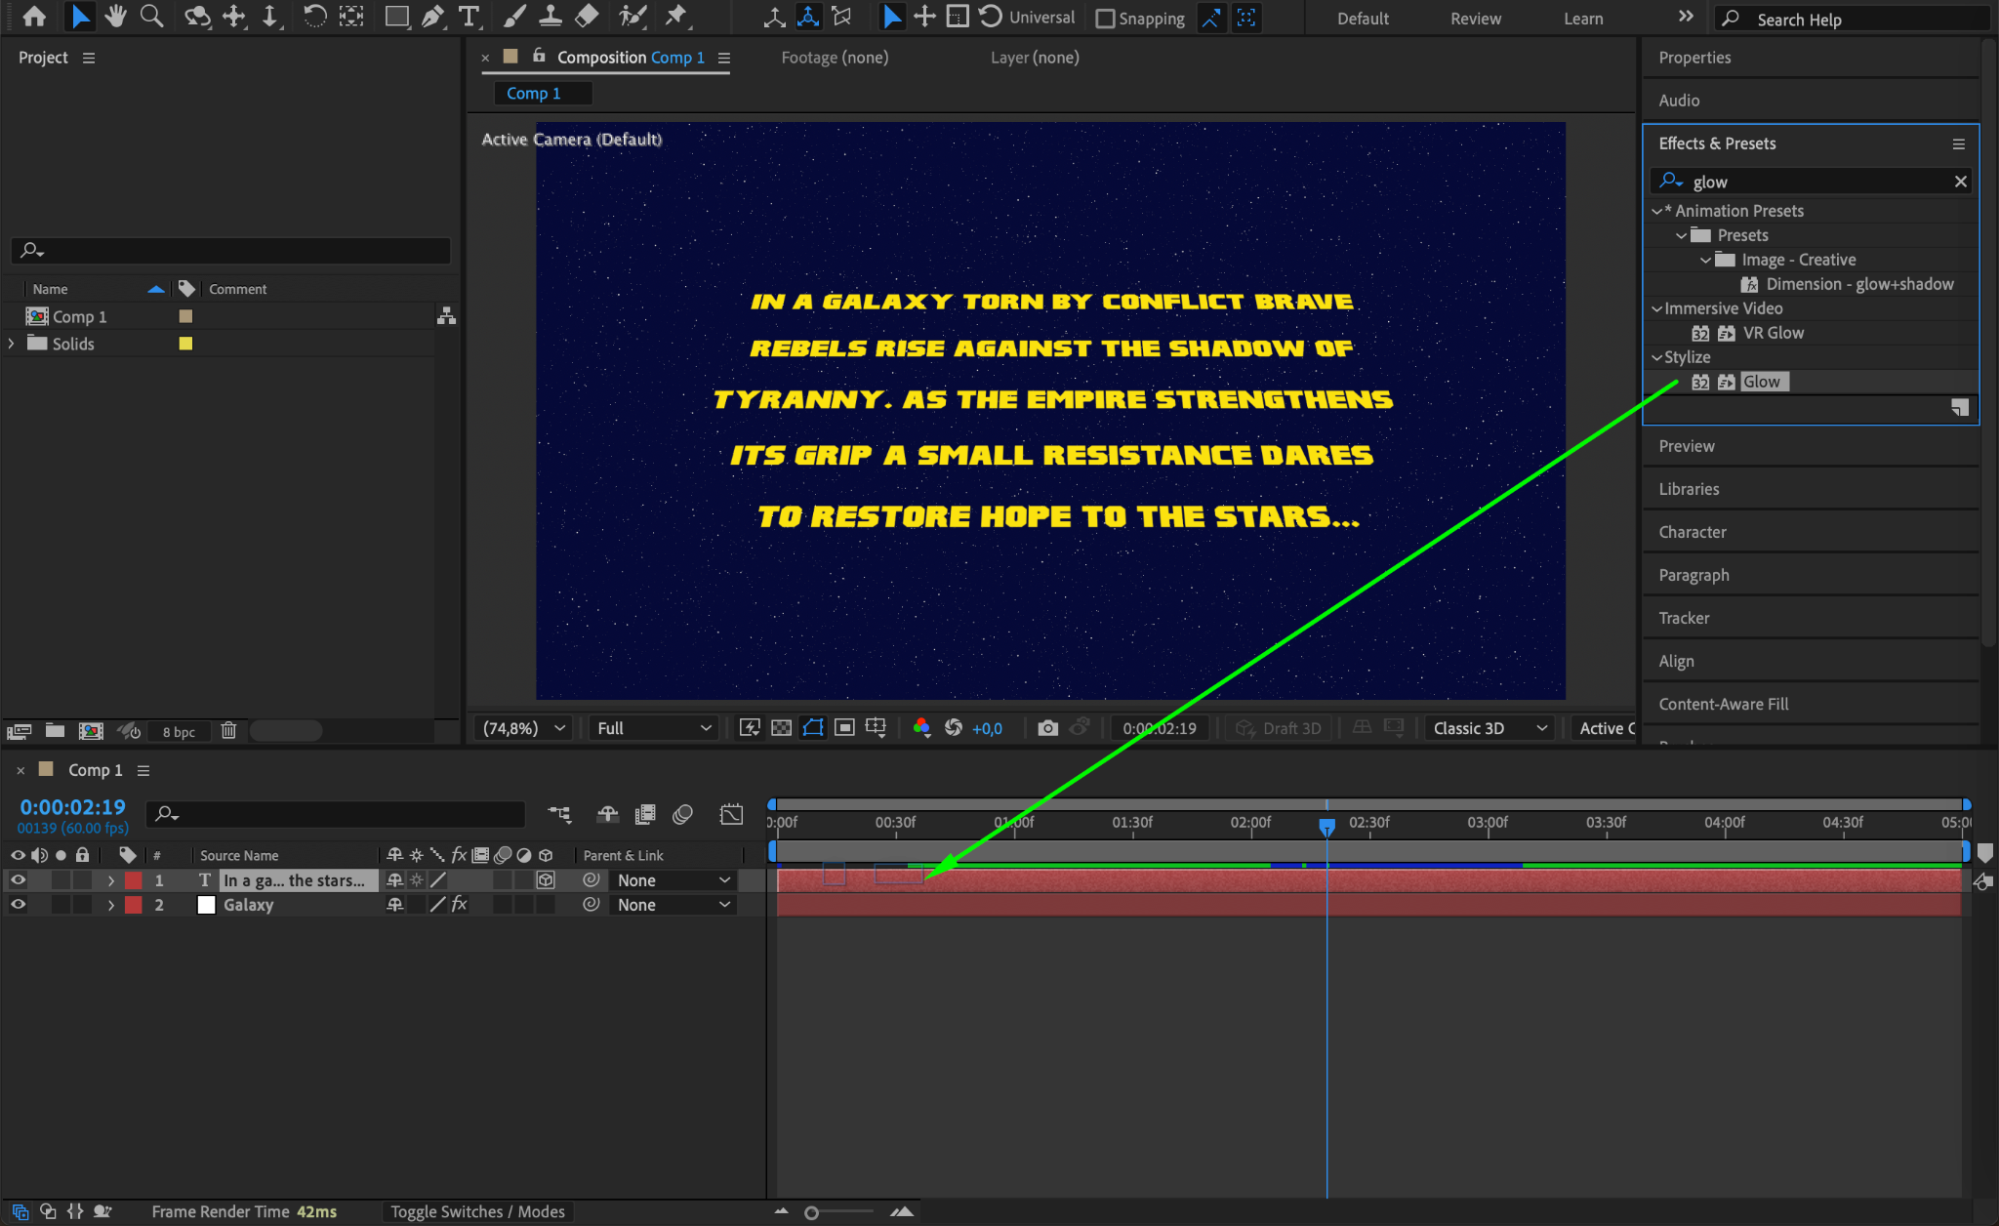
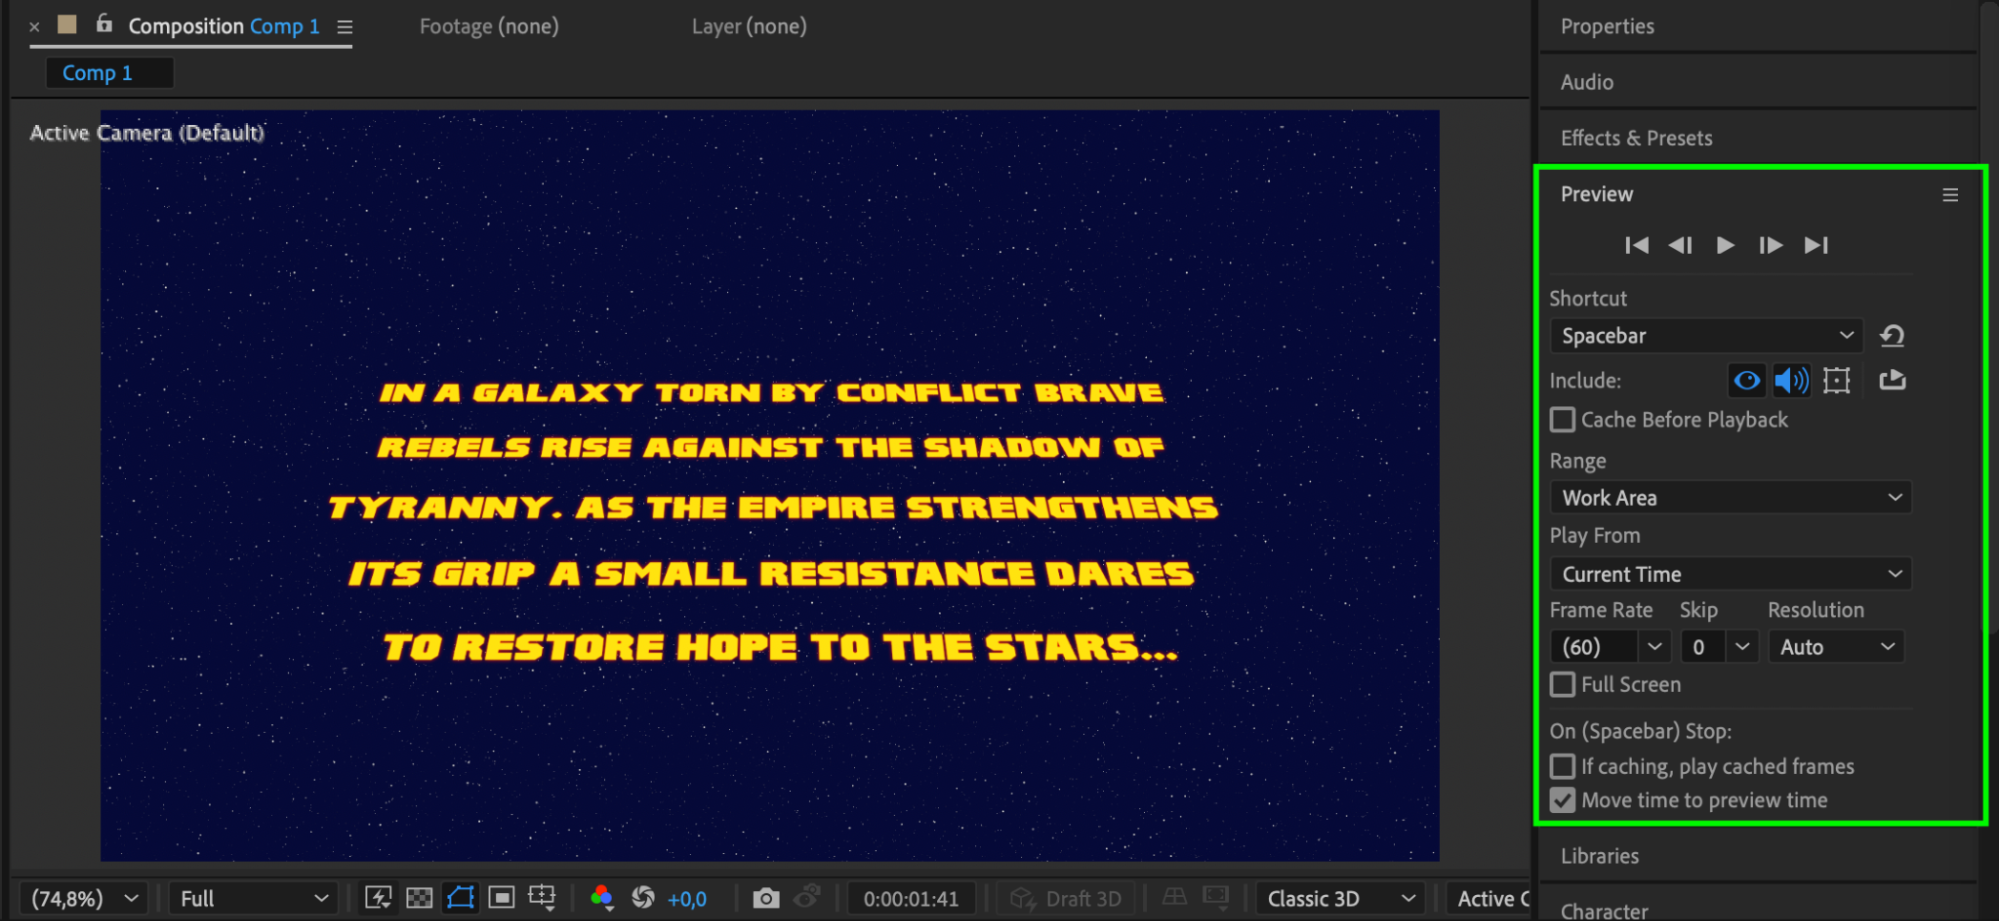
Step 9: Preview Your Star Wars Intro
Press the Spacebar to preview your animation. Tweak timing and effects if necessary to match the cinematic style.
Conclusion
By following these simple steps, you can recreate the legendary Star Wars intro in After Effects. It’s perfect for fan films, parodies, or just practicing your motion design skills.
Our Bestsellers


