Learn how to create a podcast visualizer using AEJuice templates in Premiere Pro.
Creating a Podcast Visualizer in Premiere Pro
Introduction to Podcast Visualizers in Premiere Pro
If you want to turn your audio podcast into engaging visual content, podcast visualizers are the perfect solution. They work great for both audio podcasts and audiobooks, helping you present sound-based content in a more dynamic way. These animated templates display waveforms and other visual elements that match your audio. In this tutorial, you’ll learn how to use AEJuice’s Podcast Visualizer Pack inside Premiere Pro to create stunning visual content for YouTube or social media.
Step 1: Launch Premiere Pro and Create a Project
Open Premiere Pro. In the import window, give your project a name in the Project Name field and click Create to begin editing.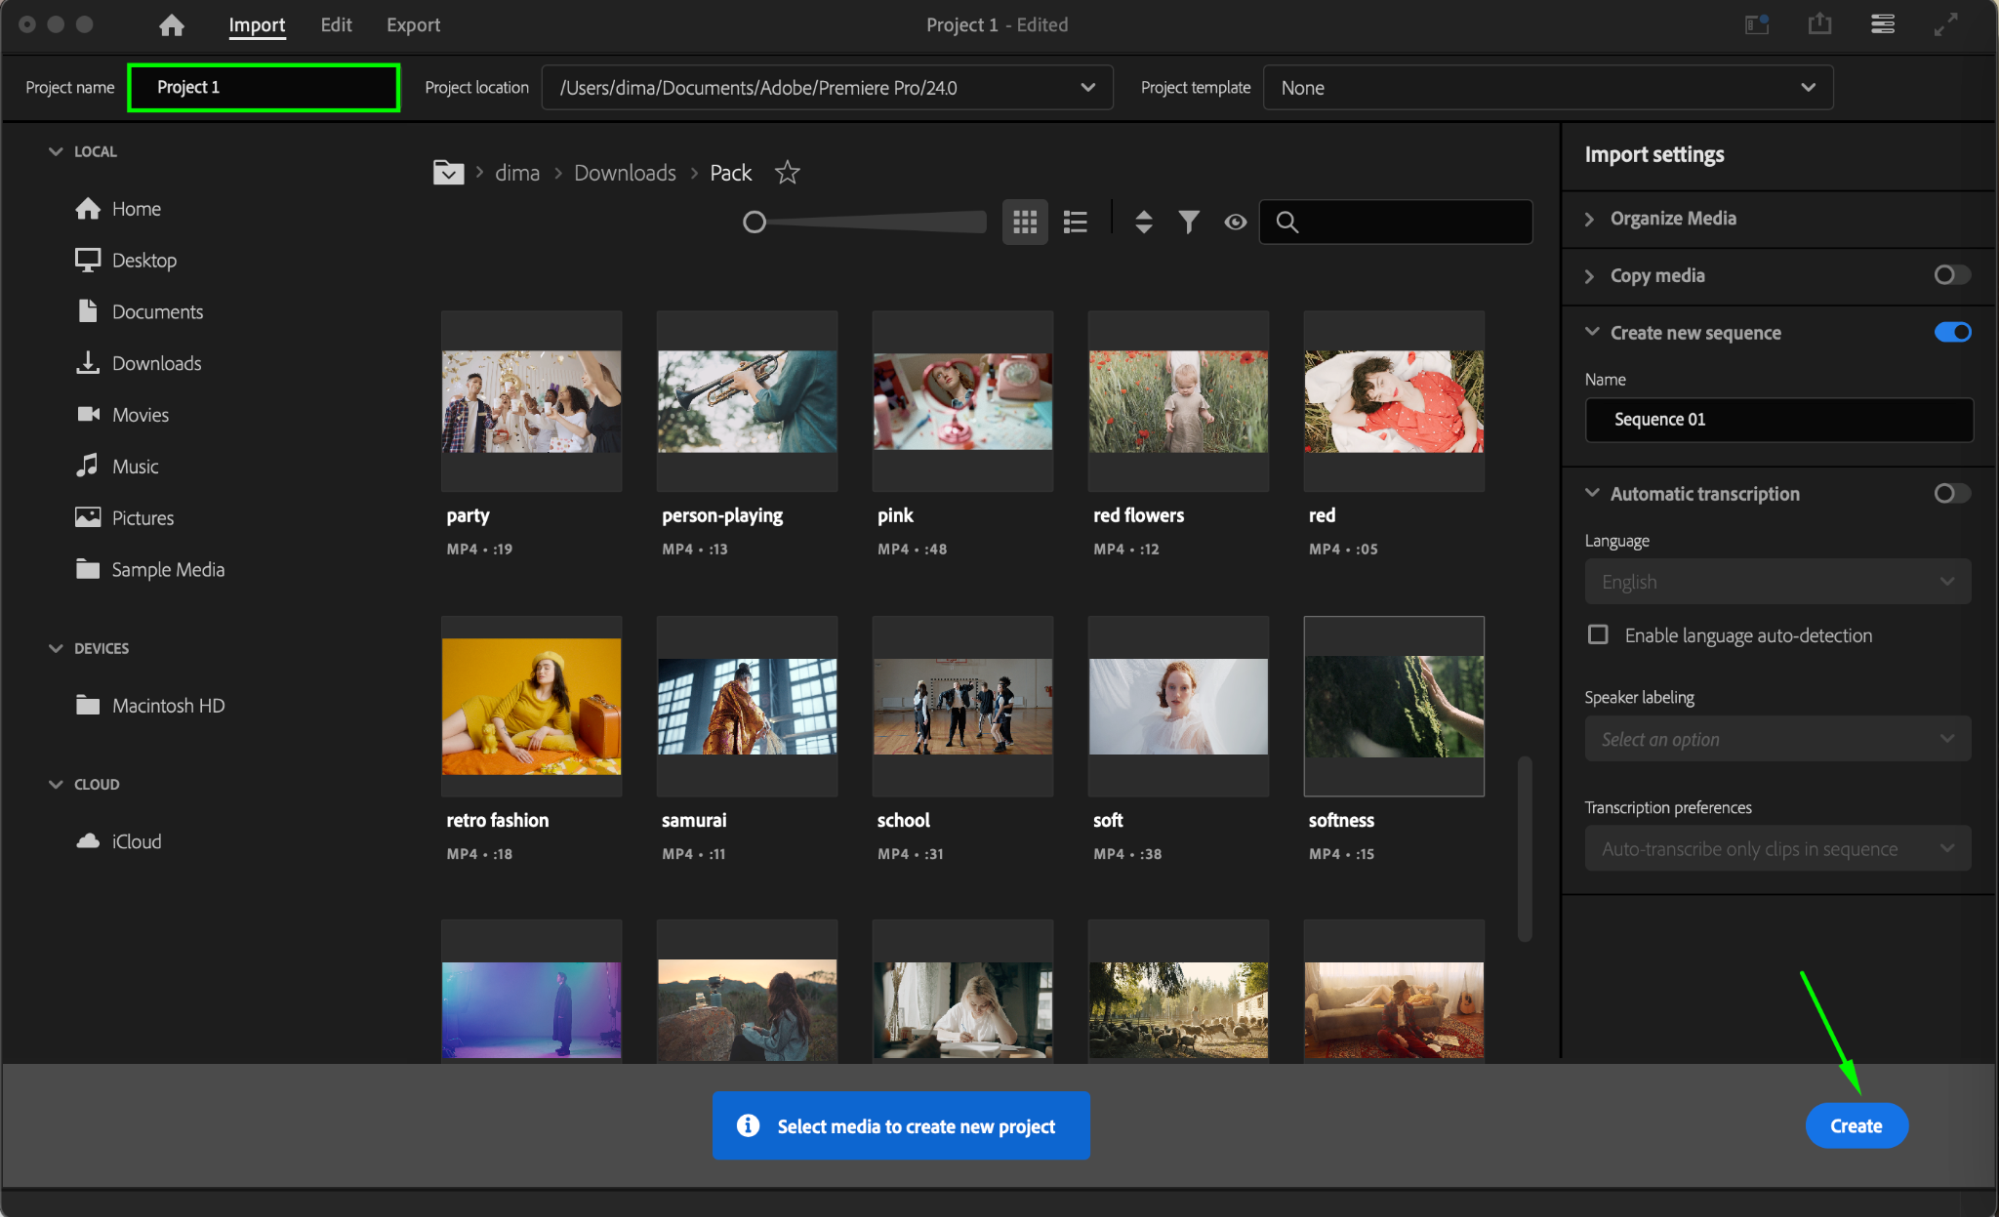
Get 10% off when you subscribe to our newsletter

Step 2: Open AEJuice Pack Manager 4
Go to Window > Extensions > AEJuice Pack Manager 4 to open the plugin panel. This is where you’ll access all your AEJuice template packs, including the Podcast Visualizer Pack.
Step 3: Download the Podcast Visualizer Pack
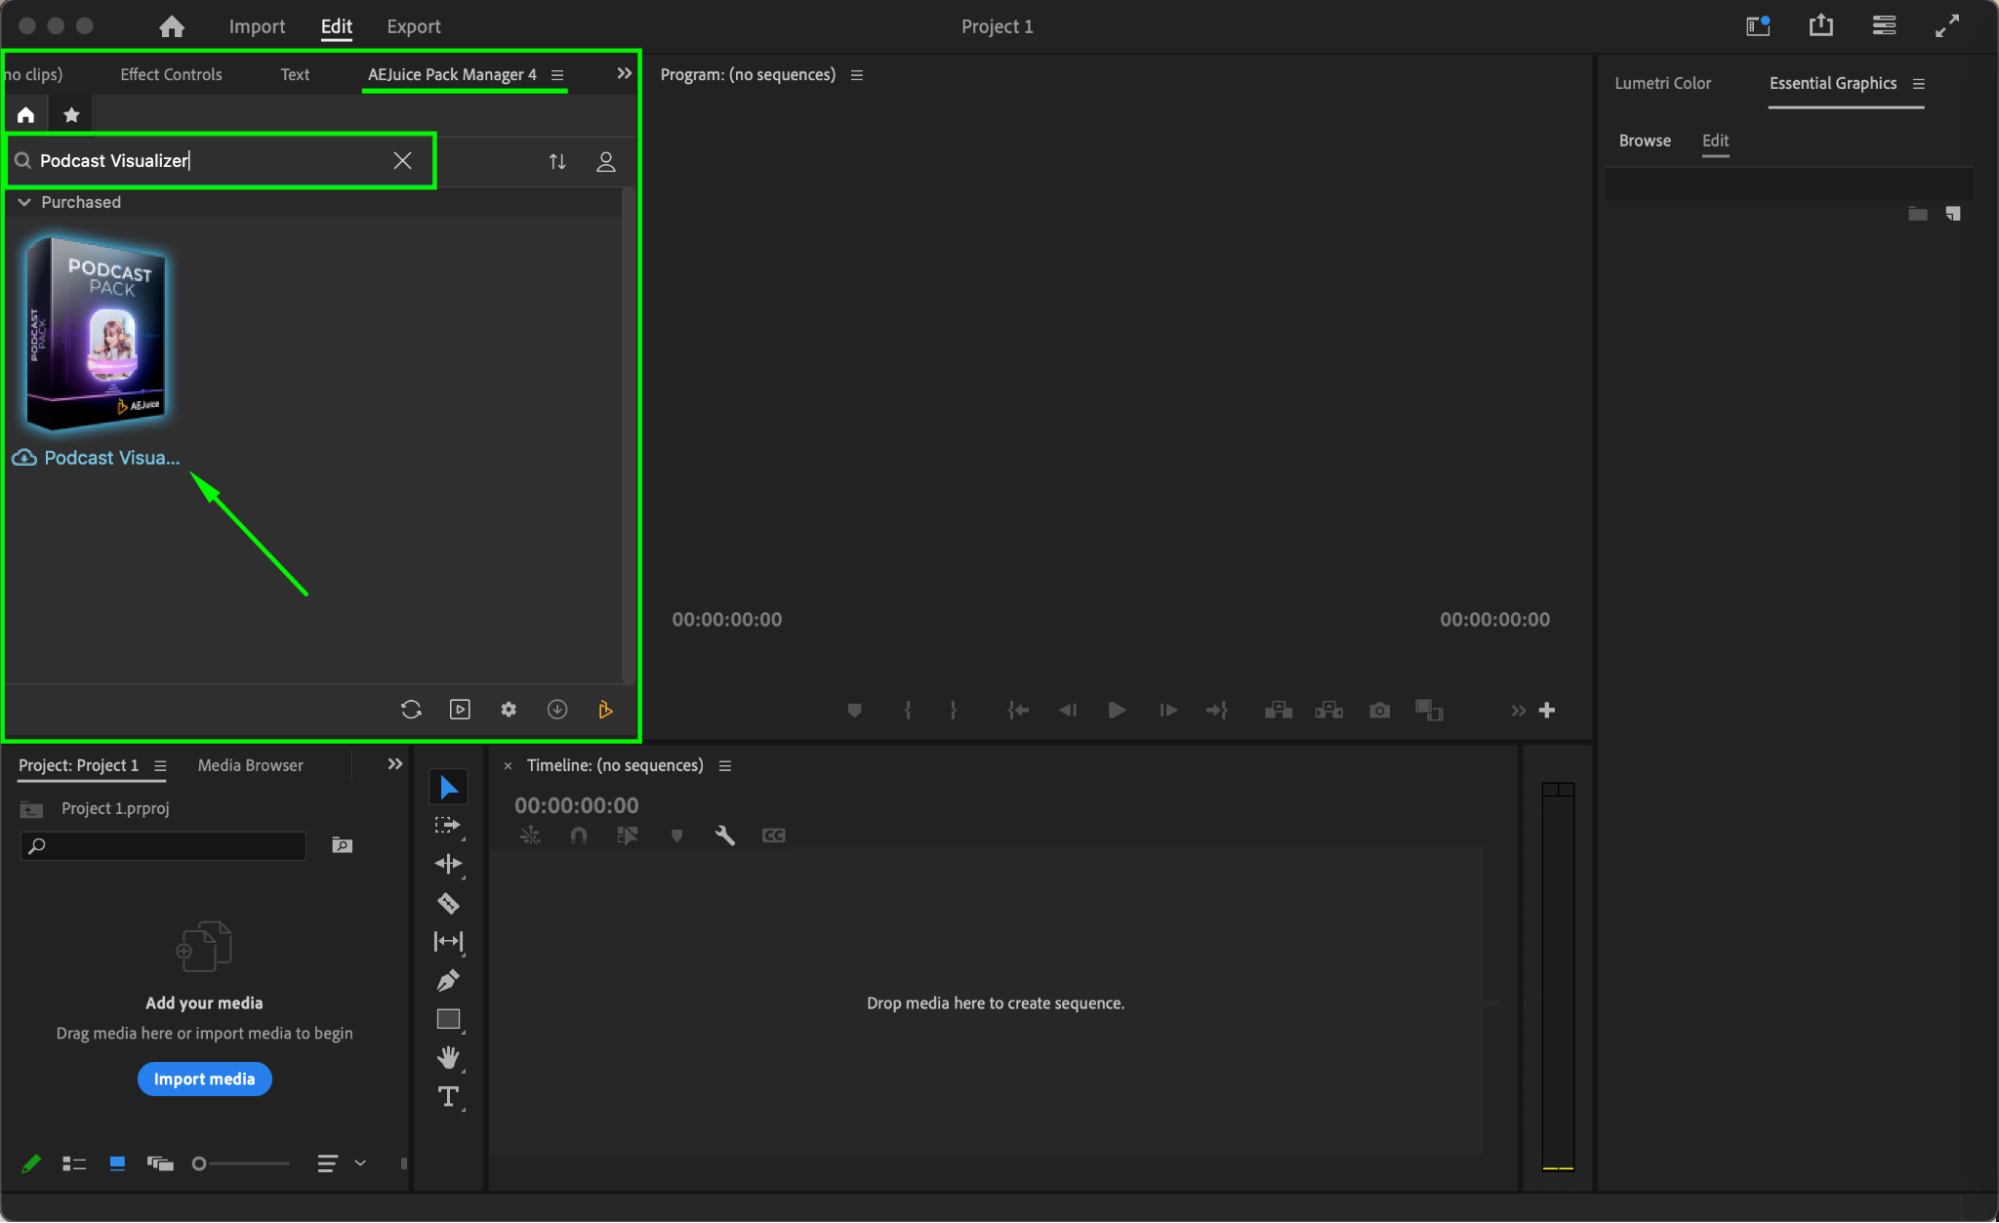
Inside the Pack Manager, locate the Podcast Visualizer Pack. Click on it to download, if it’s not already installed. Once downloaded, you’ll see a list of ready-made templates designed for podcast content.
 Step 4: Choose and Import a Template
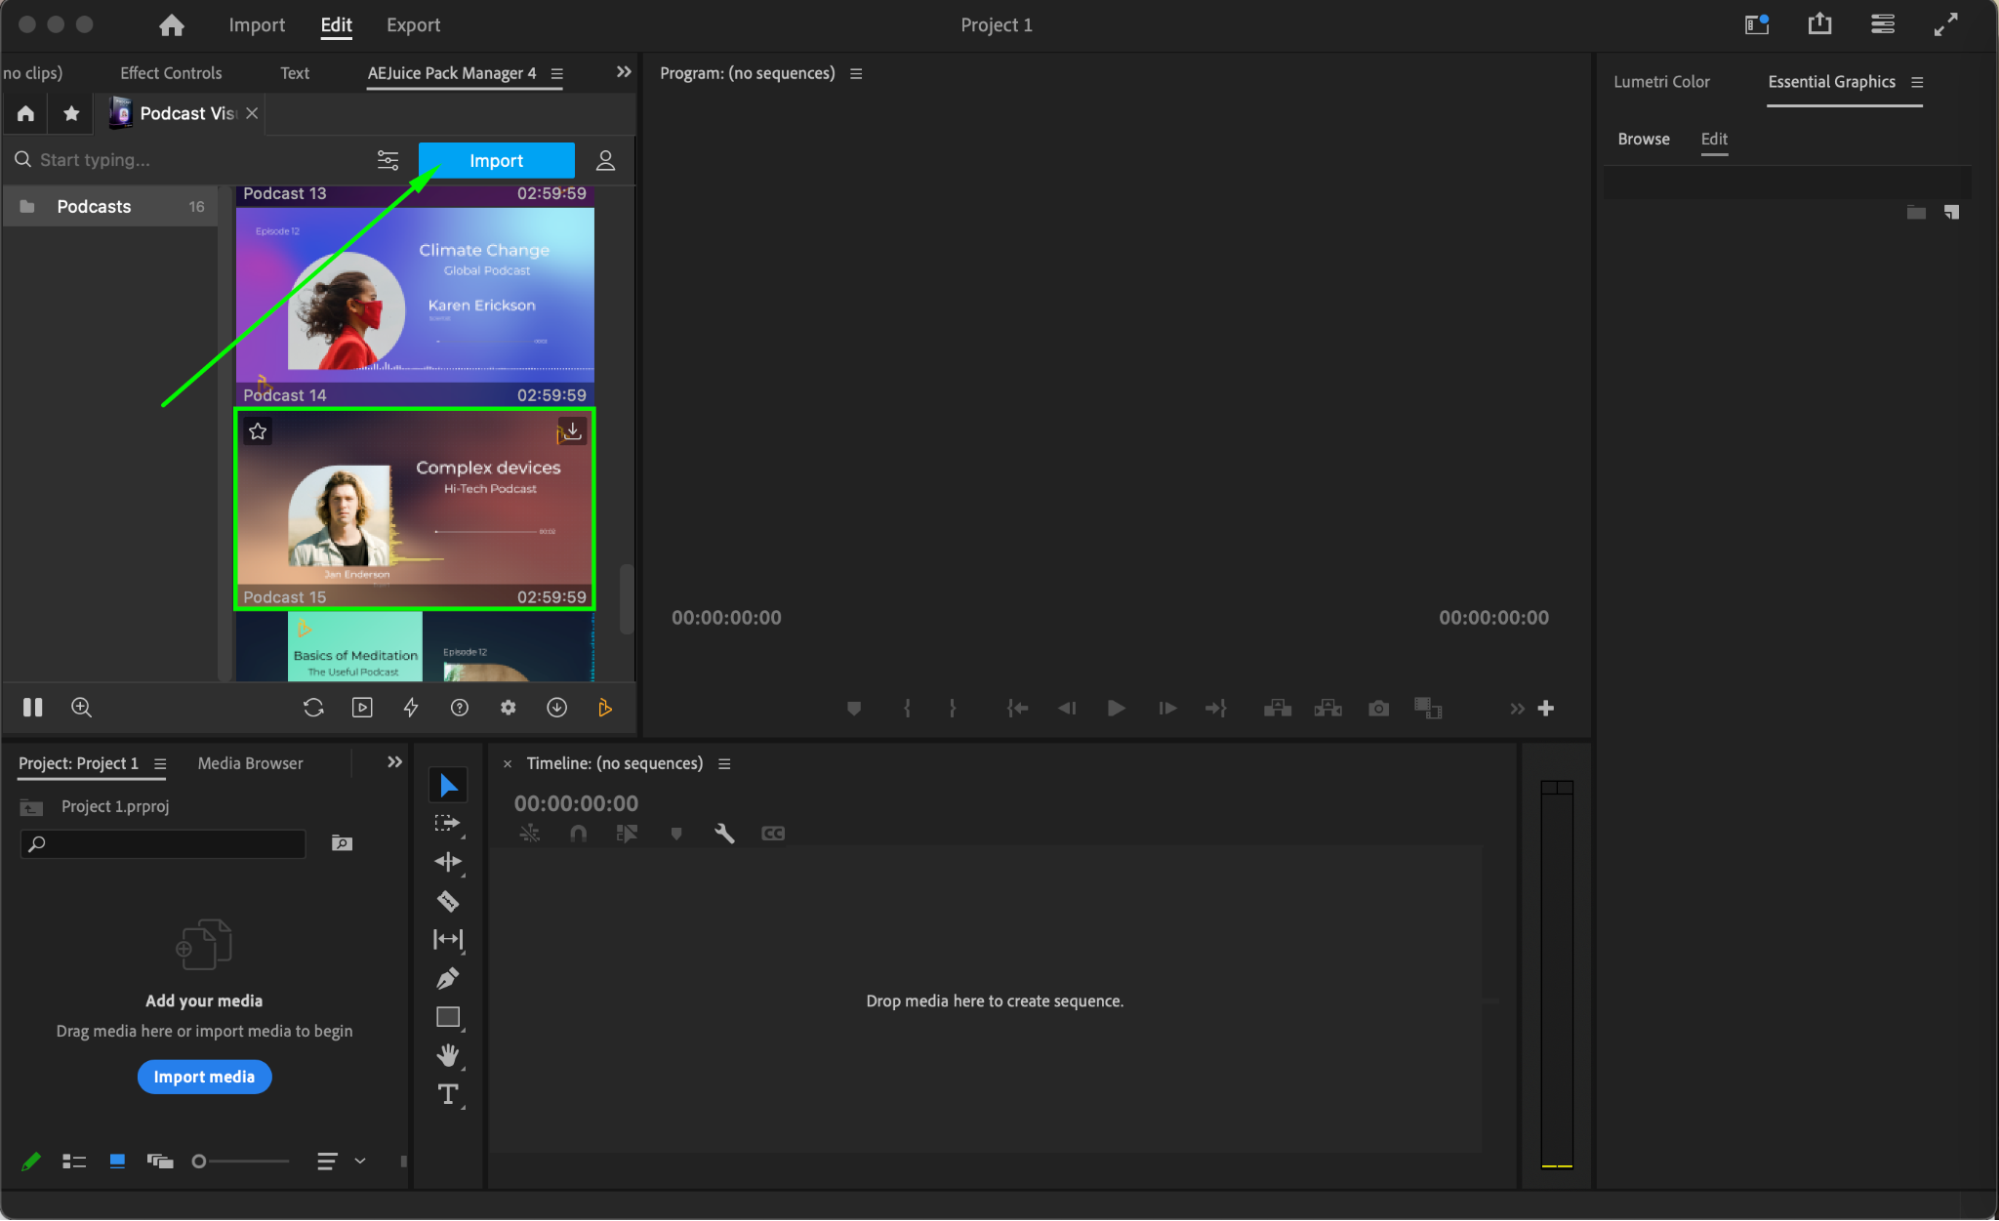
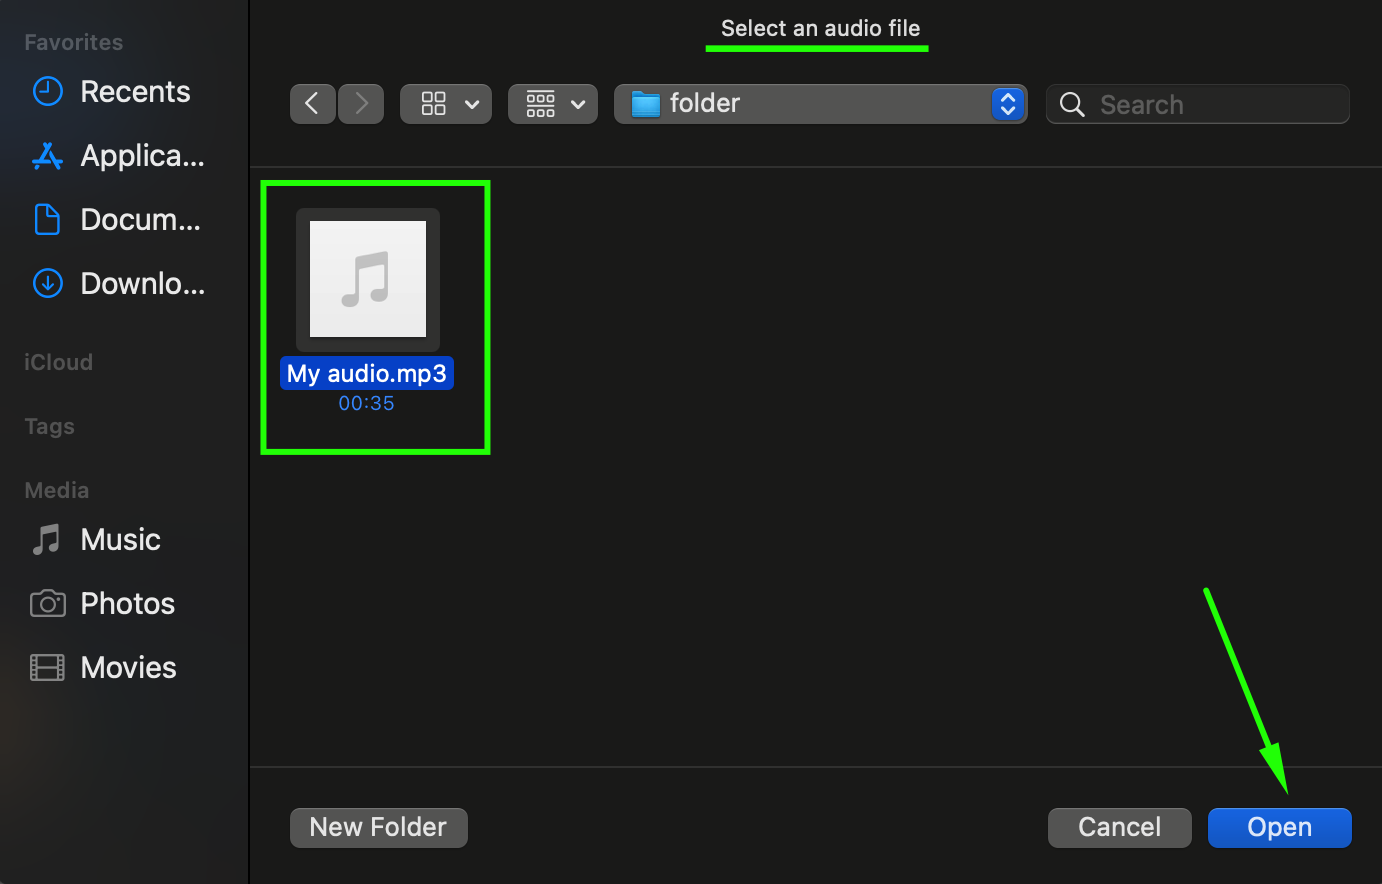
Browse through the Podcast Visualizer pack and choose a template you like. Click on it, then click the Import button to download and apply it. After clicking Import, a window will appear asking you to select an audio file. Choose your podcast episode or audio track and click Open. The visualizer template will be imported and automatically synced with your audio waveform.
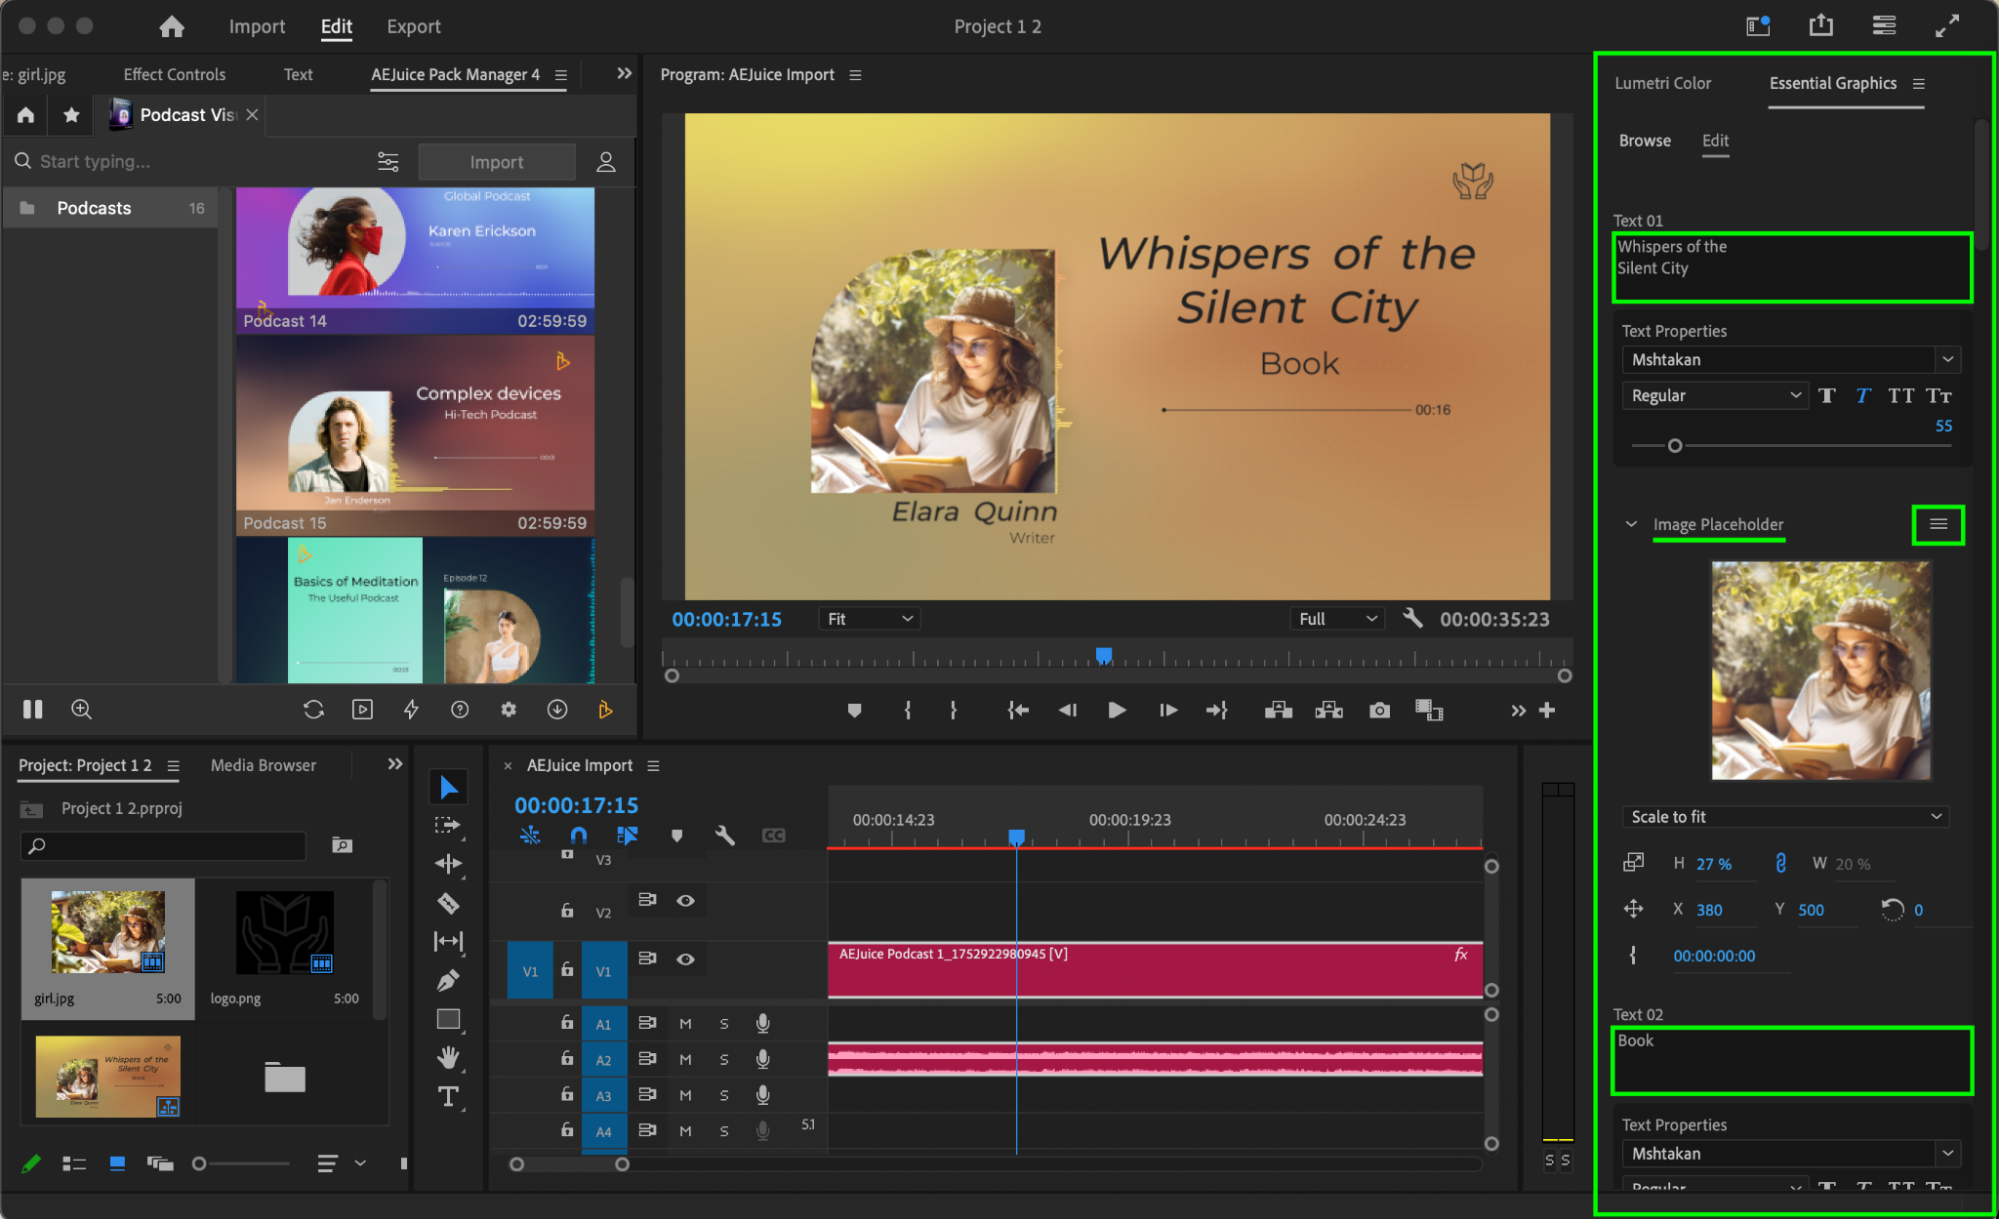
Step 5: Customize the Visualizer
Select the visualizer layer on the timeline. Then go to the Essential Graphics panel, switch to the Edit section, and click the three-line icon next to the image placeholder to upload your podcast logo or photo. You can adjust its size and position to fit your design. Replace the placeholder text fields with your podcast name, episode title, or any other information. Customize the font, size, and colors to match your personal or brand style. You can also manually adjust the background colors or use the background hue slider to quickly change the background color.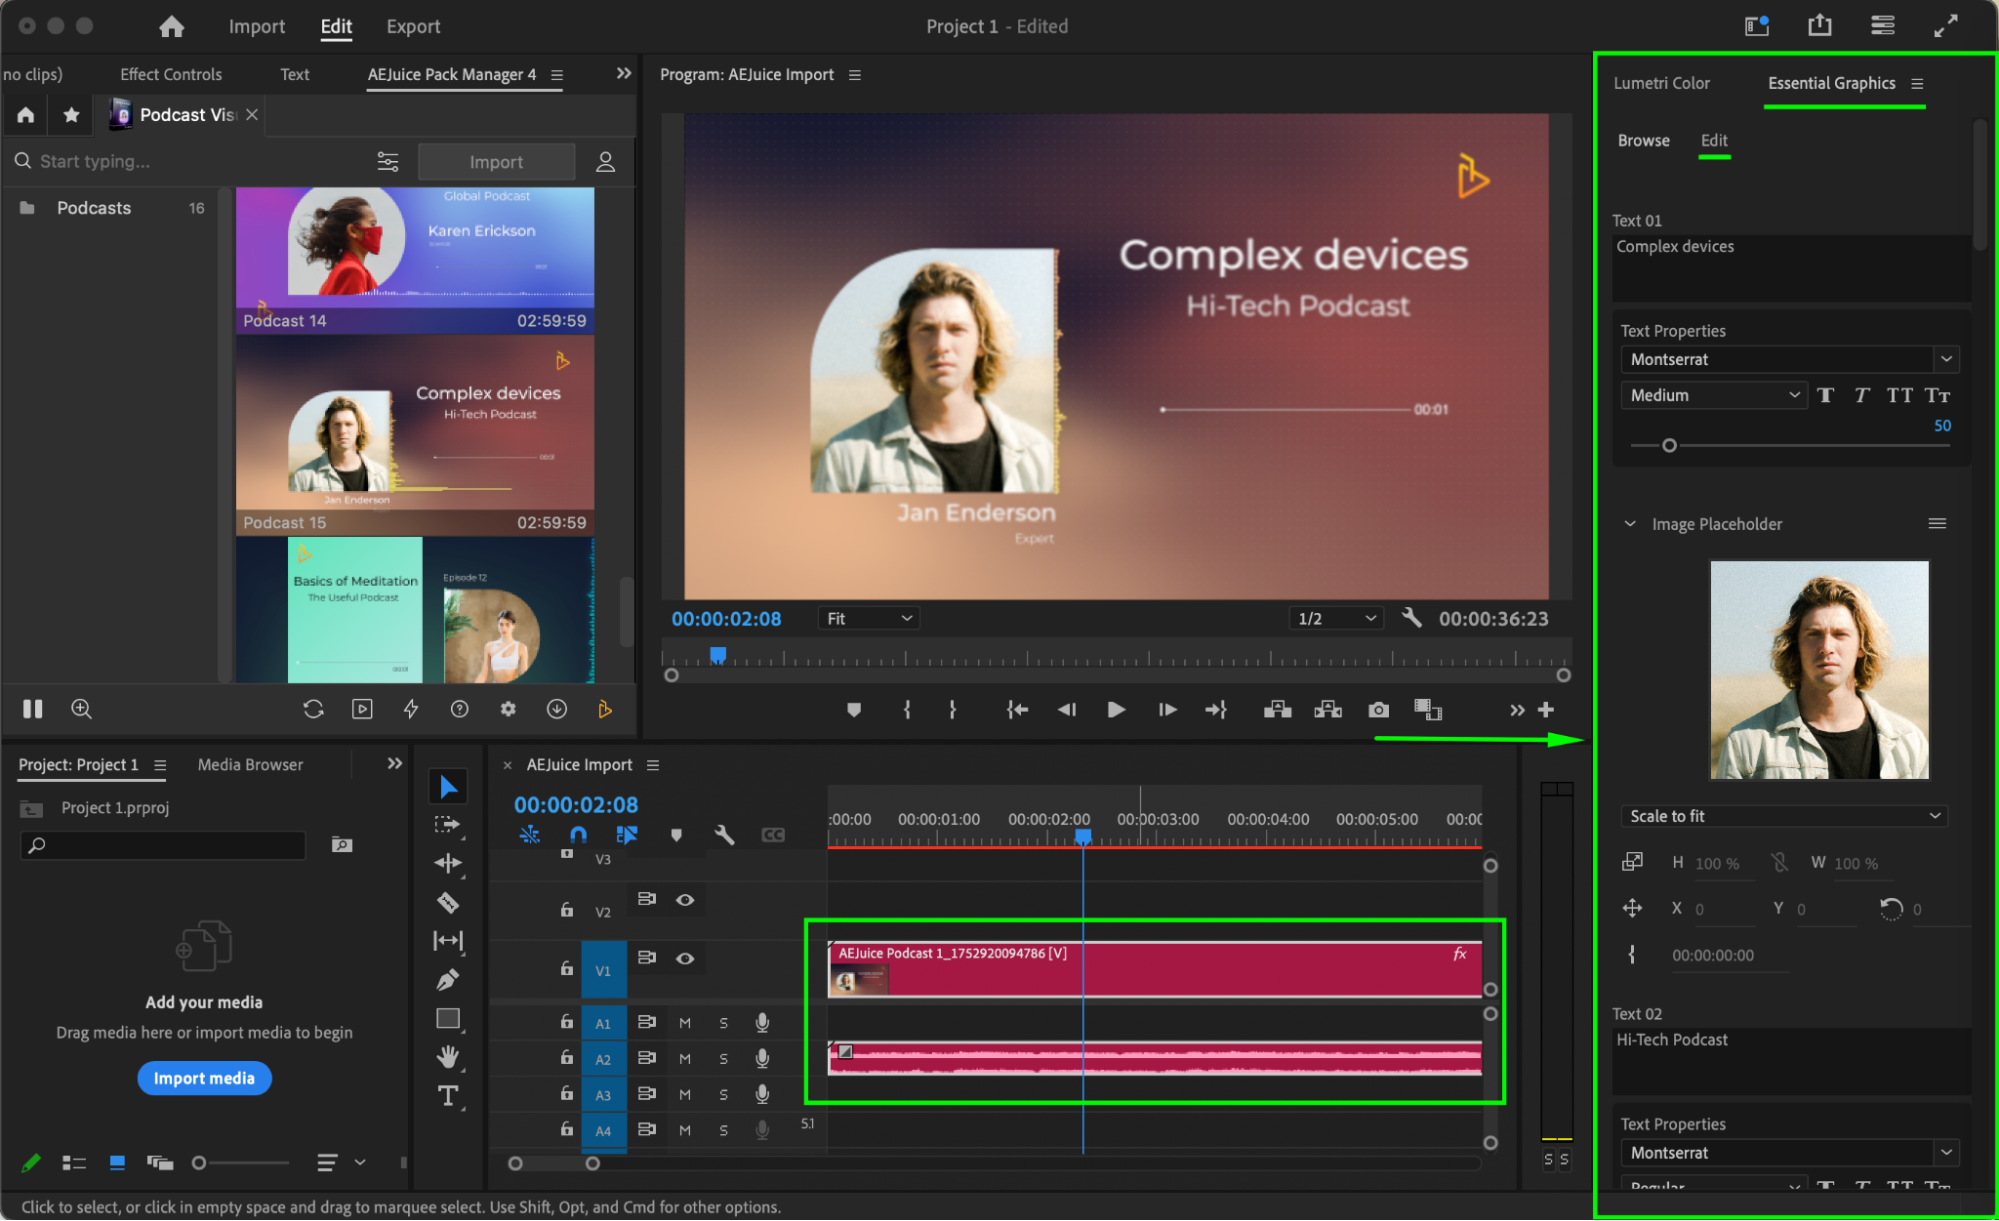
 Step 6: Preview Your Visualizer
Click Play to preview the visualizer in real time. If needed, make final adjustments to the position, scale, or animation timing. Once satisfied, you’re ready to export and share your podcast video. Conclusion
Using AEJuice’s Podcast Visualizer templates in Premiere Pro is one of the easiest ways to bring your audio content to life. Whether you’re sharing on YouTube or social media, this visual upgrade helps grab attention and grow your audience. Try different styles and make each episode visually unique!
Our Bestsellers


