Learn how to add and customize cinematic film noise overlays using AEJuice for a vintage or gritty video look.
Create a Cinematic Look with Film Noise in After Effects
Introduction – Why Add Film Noise to Your Video?
Film noise effects are a powerful way to give your video a vintage, cinematic, or gritty atmosphere. Whether you’re editing a music video, short film, or documentary, a touch of noise and grain can make your visuals feel more organic and artistic. In this tutorial, you’ll learn how to use AEJuice’s Film Noise pack to quickly apply, position, and customize film grain overlays in Adobe After Effects.
Step 1: Import Your Footage
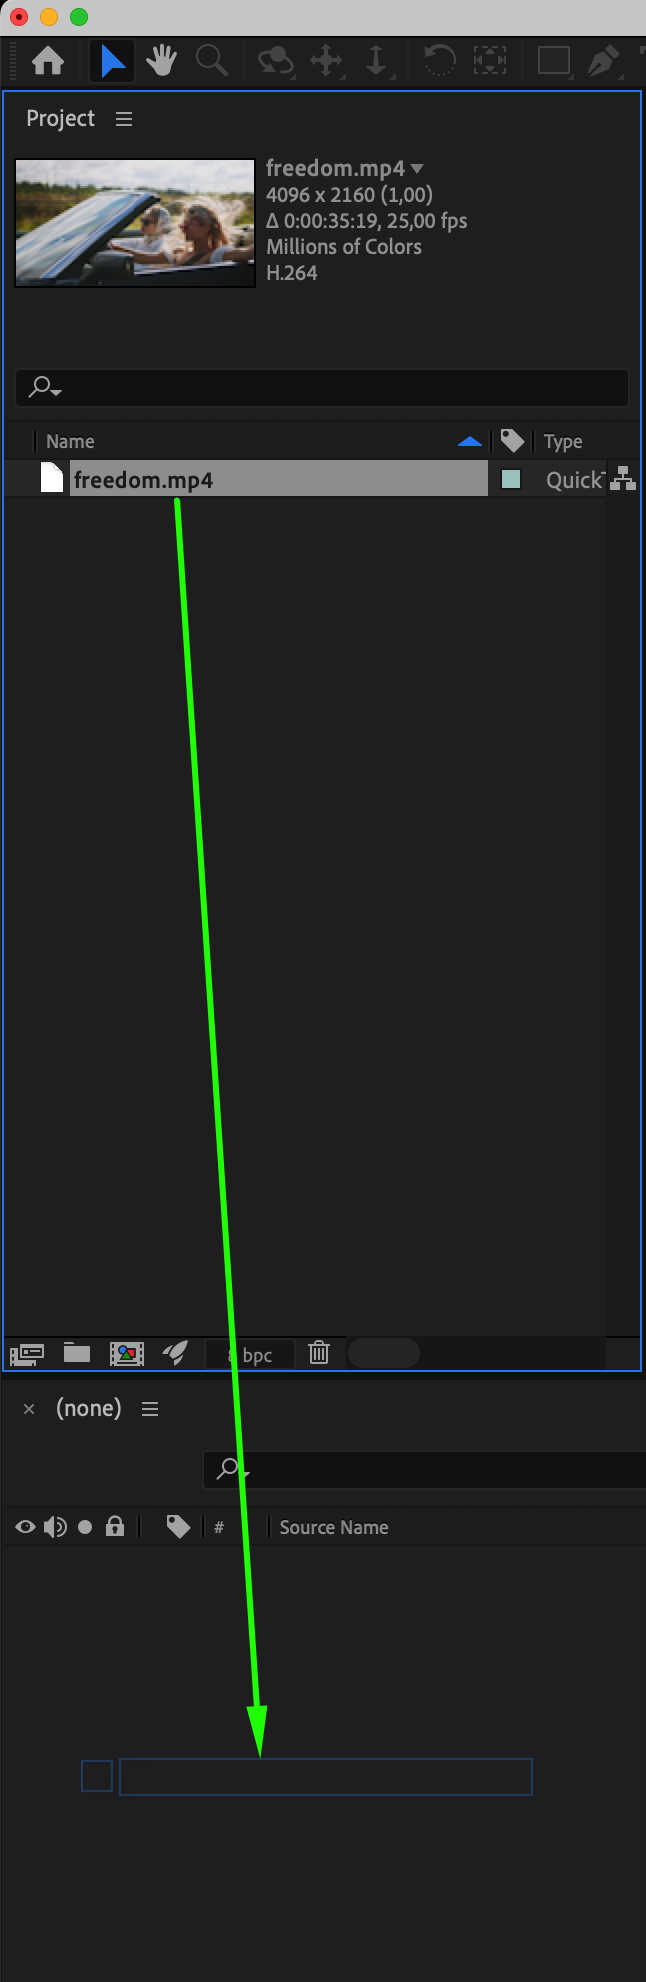
Go to File > Import > File, choose your main video clip, and drag it into the timeline. This will be your base composition, where the film noise overlay will be added.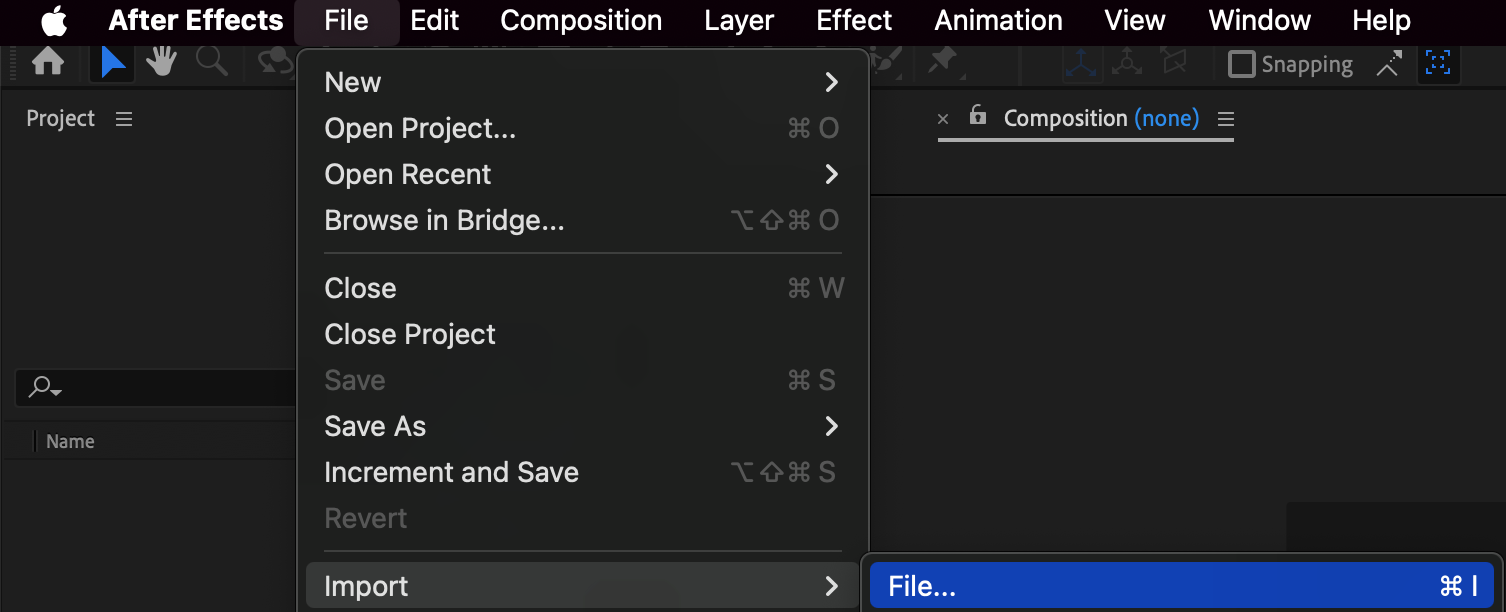
Get 10% off when you subscribe to our newsletter

Step 2: Open AEJuice Pack Manager
To access your AEJuice assets, navigate to Window > AEJuice Pack Manager 4. This panel lets you browse, preview, and import all AEJuice effects and overlays available in your library. Step 3: Download the Film Noise Pack
Inside the Pack Manager, scroll until you find the Film Noise pack. Click to download it if it’s not yet installed. Once ready, you’ll be able to explore various high-quality film noise templates. Step 4: Choose and Import a Noise Overlay
Browse through the pack and preview the available overlays. Find a film noise animation that matches your video style. Click it, then press the Import button. The file will download and a pre-composition (like Noise 10) will appear in your timeline.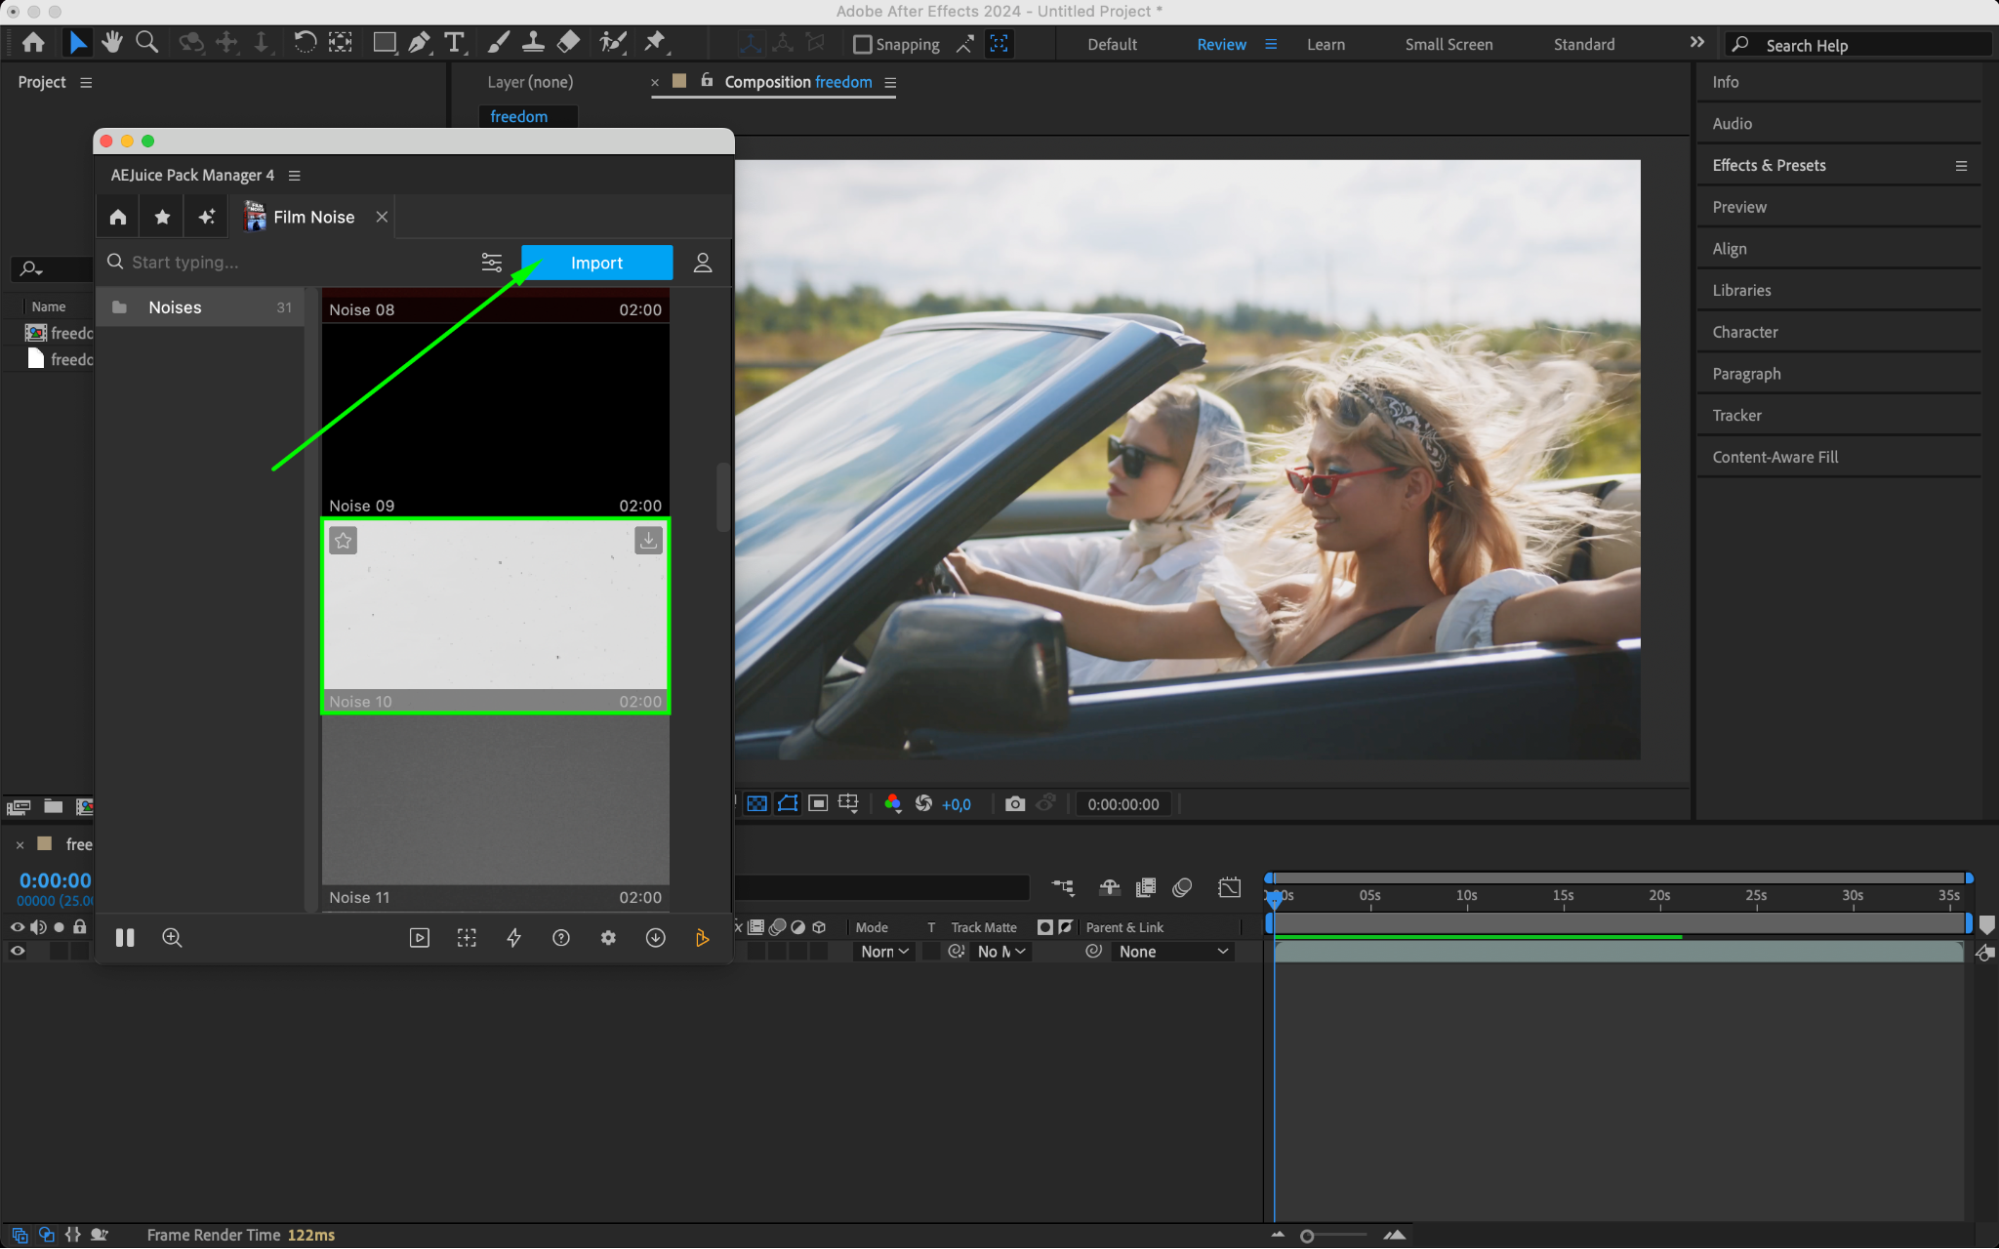
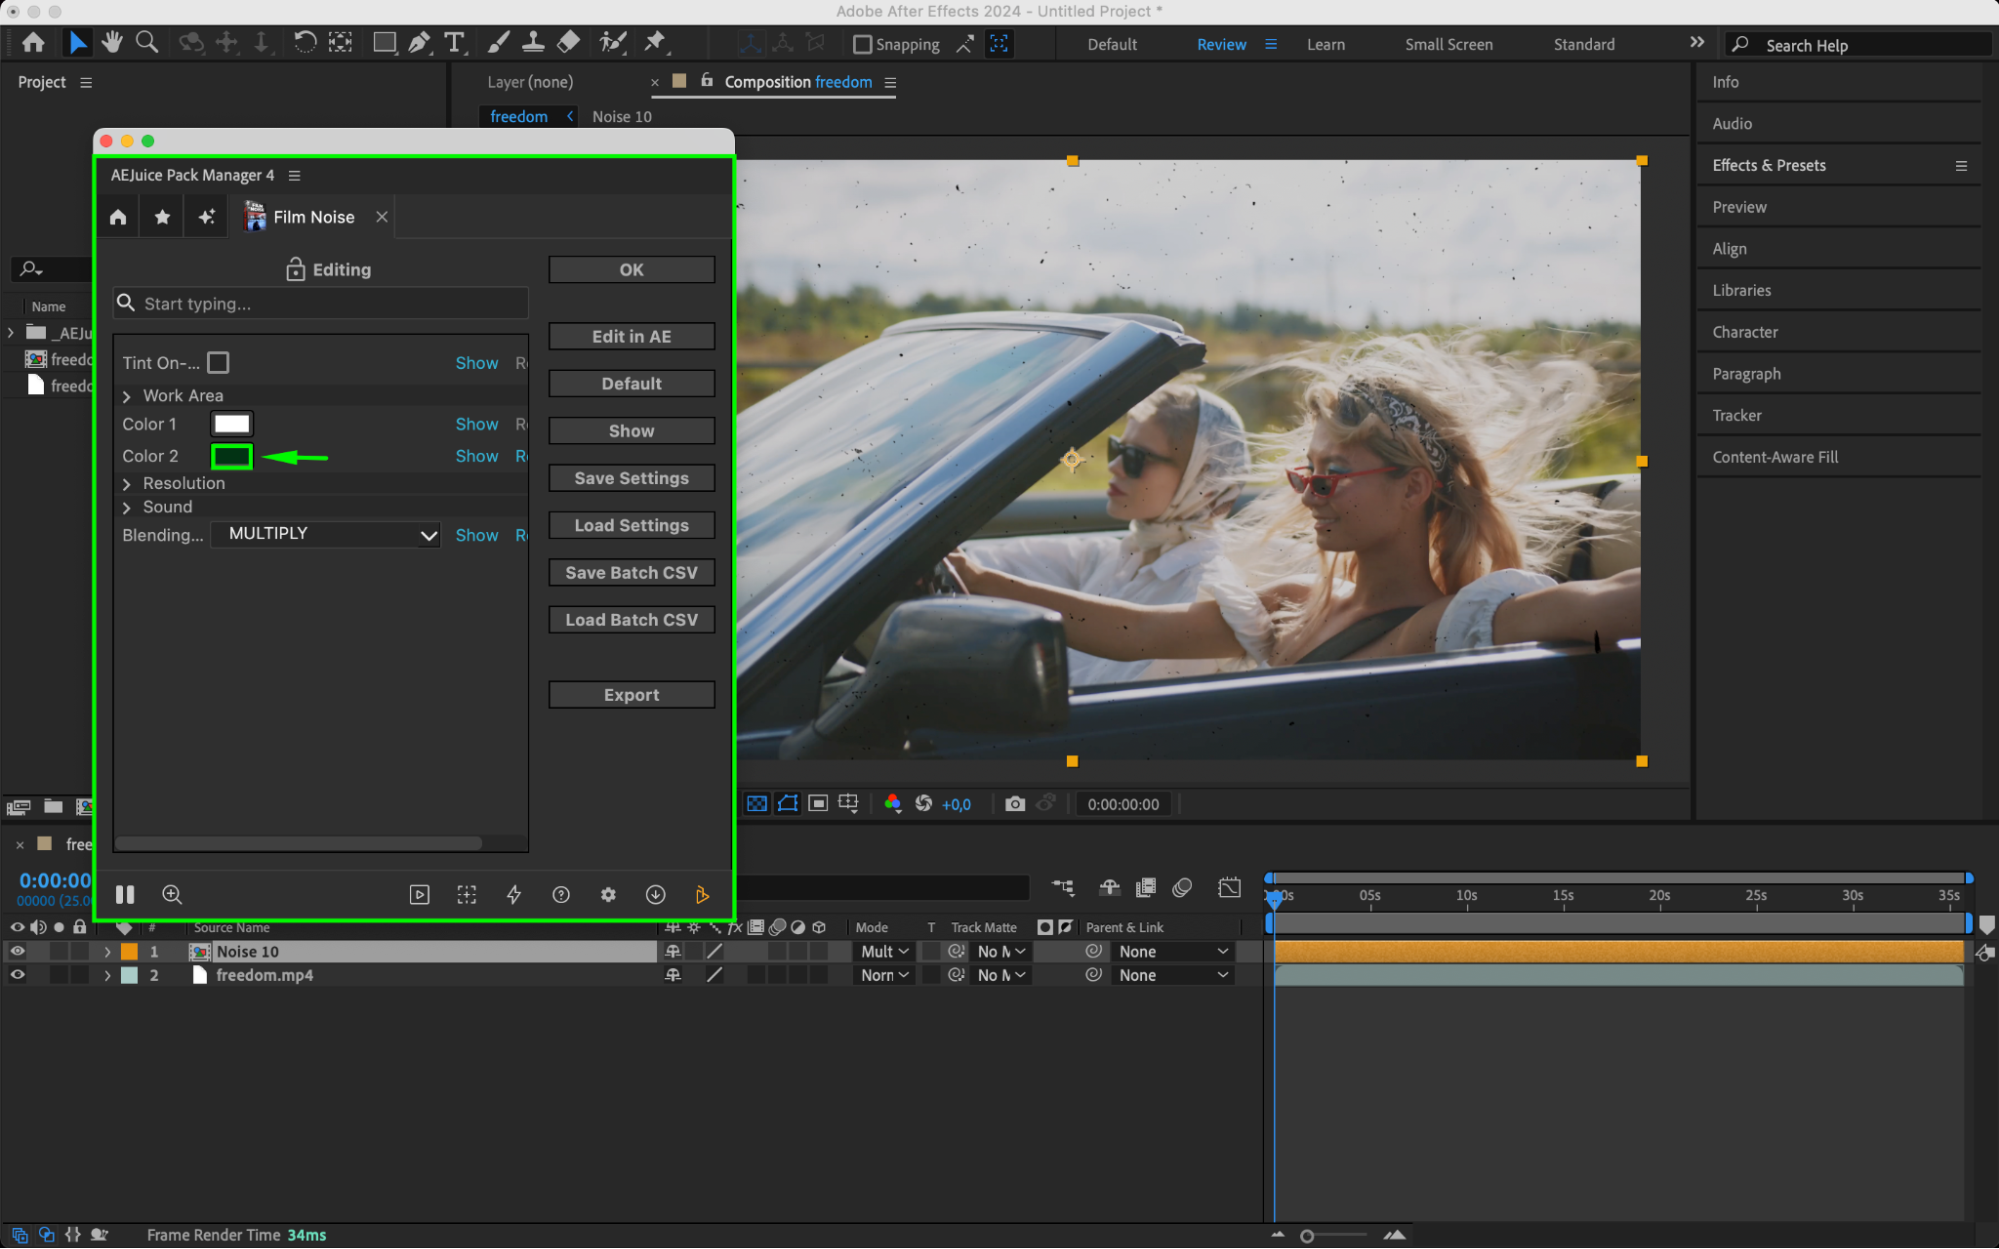
Step 5: Customize the Overlay Settings
Select the pre-comp layer in the timeline. Then, in the AEJuice Pack Manager 4 panel, click the Edit button (represented by three sliders). This will open a customization panel where you can adjust settings like Tint On/Off (if enabled, you can choose Color 1), set Color 2 for the scratches or grain, and experiment with different blending modes.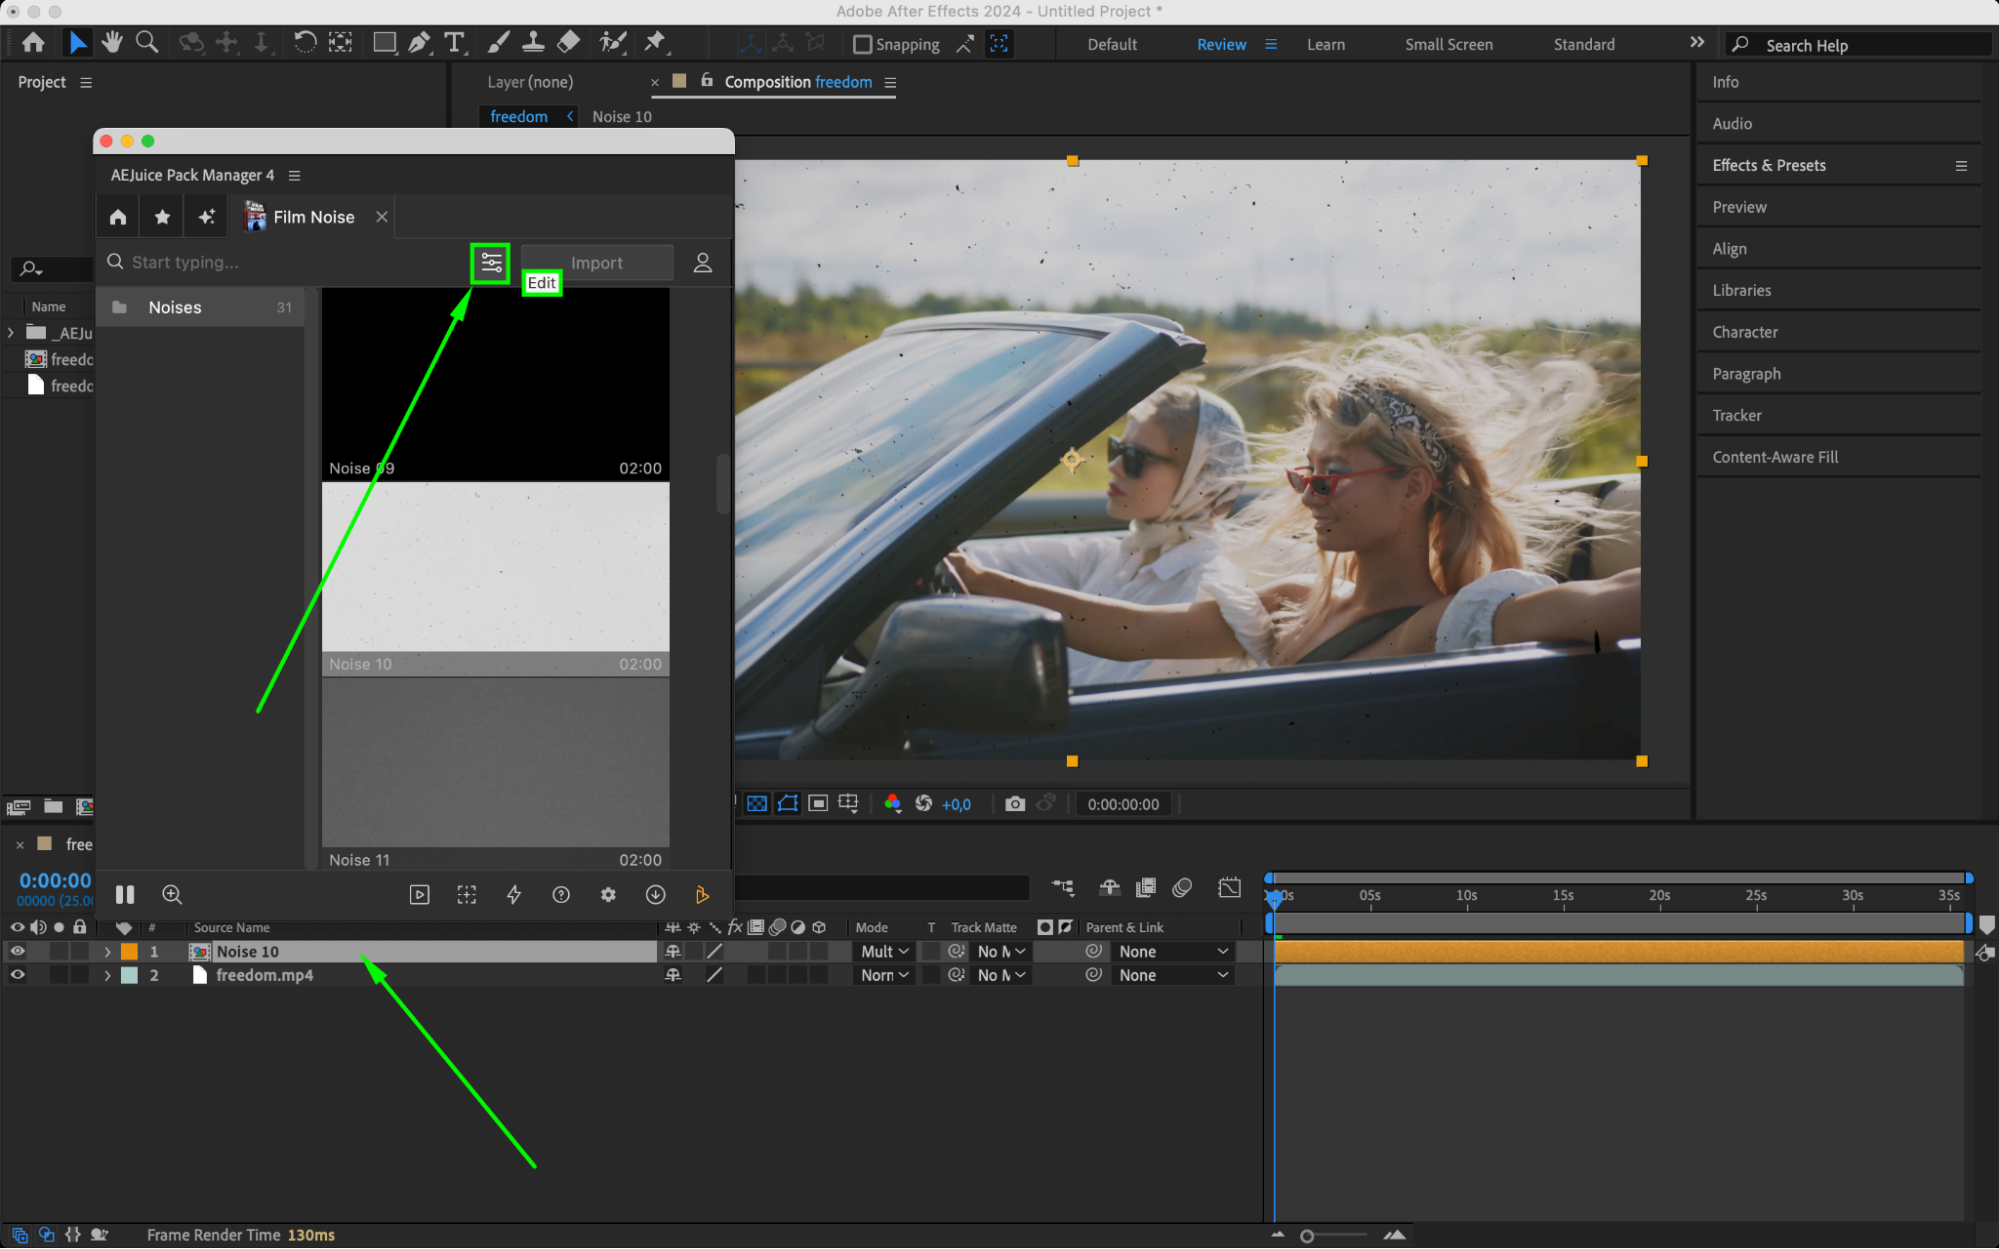
 Step 6: Preview and Finalize
Press the Spacebar to preview your clip with the overlay applied. Make any final adjustments to match your desired look. Once you’re happy with the result, export your video.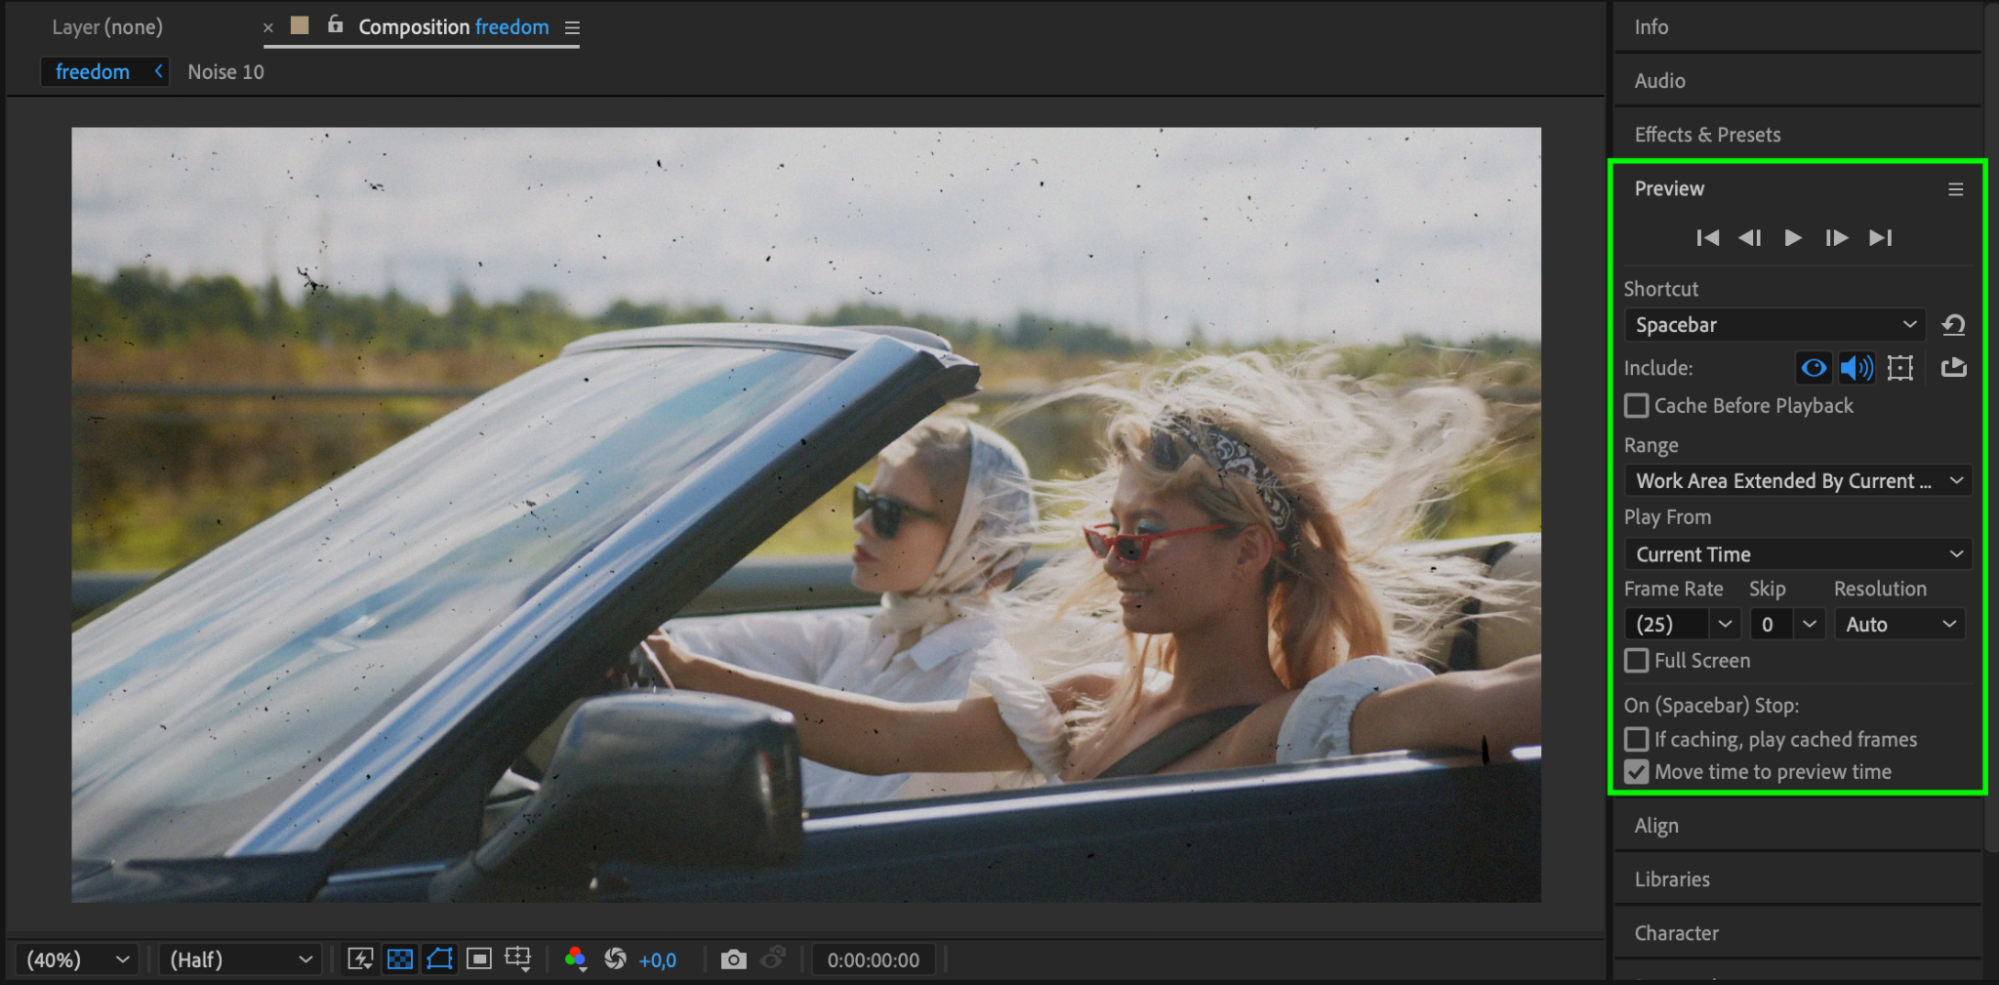 Conclusion
Film noise overlays are one of the best tools to instantly add a cinematic, analog feel to your video. With AEJuice’s Film Noise pack, it’s easy to drag, drop, and fully customize the effect to match your project. Use this film noise tutorial as a guide and explore different overlays to get the exact texture and style you’re looking for.
Our Bestsellers


