How to Create an Old Film Effect in After Effects
Simulating Vintage Film with Grain, Flicker, and Color Adjustments
The old film effect gives your video a vintage, nostalgic feel, simulating imperfections like grain, flicker, and jitter. In this tutorial, you’ll learn how to achieve this look using effects such as wiggle expressions, noise, vignettes, and color adjustments in After Effects.
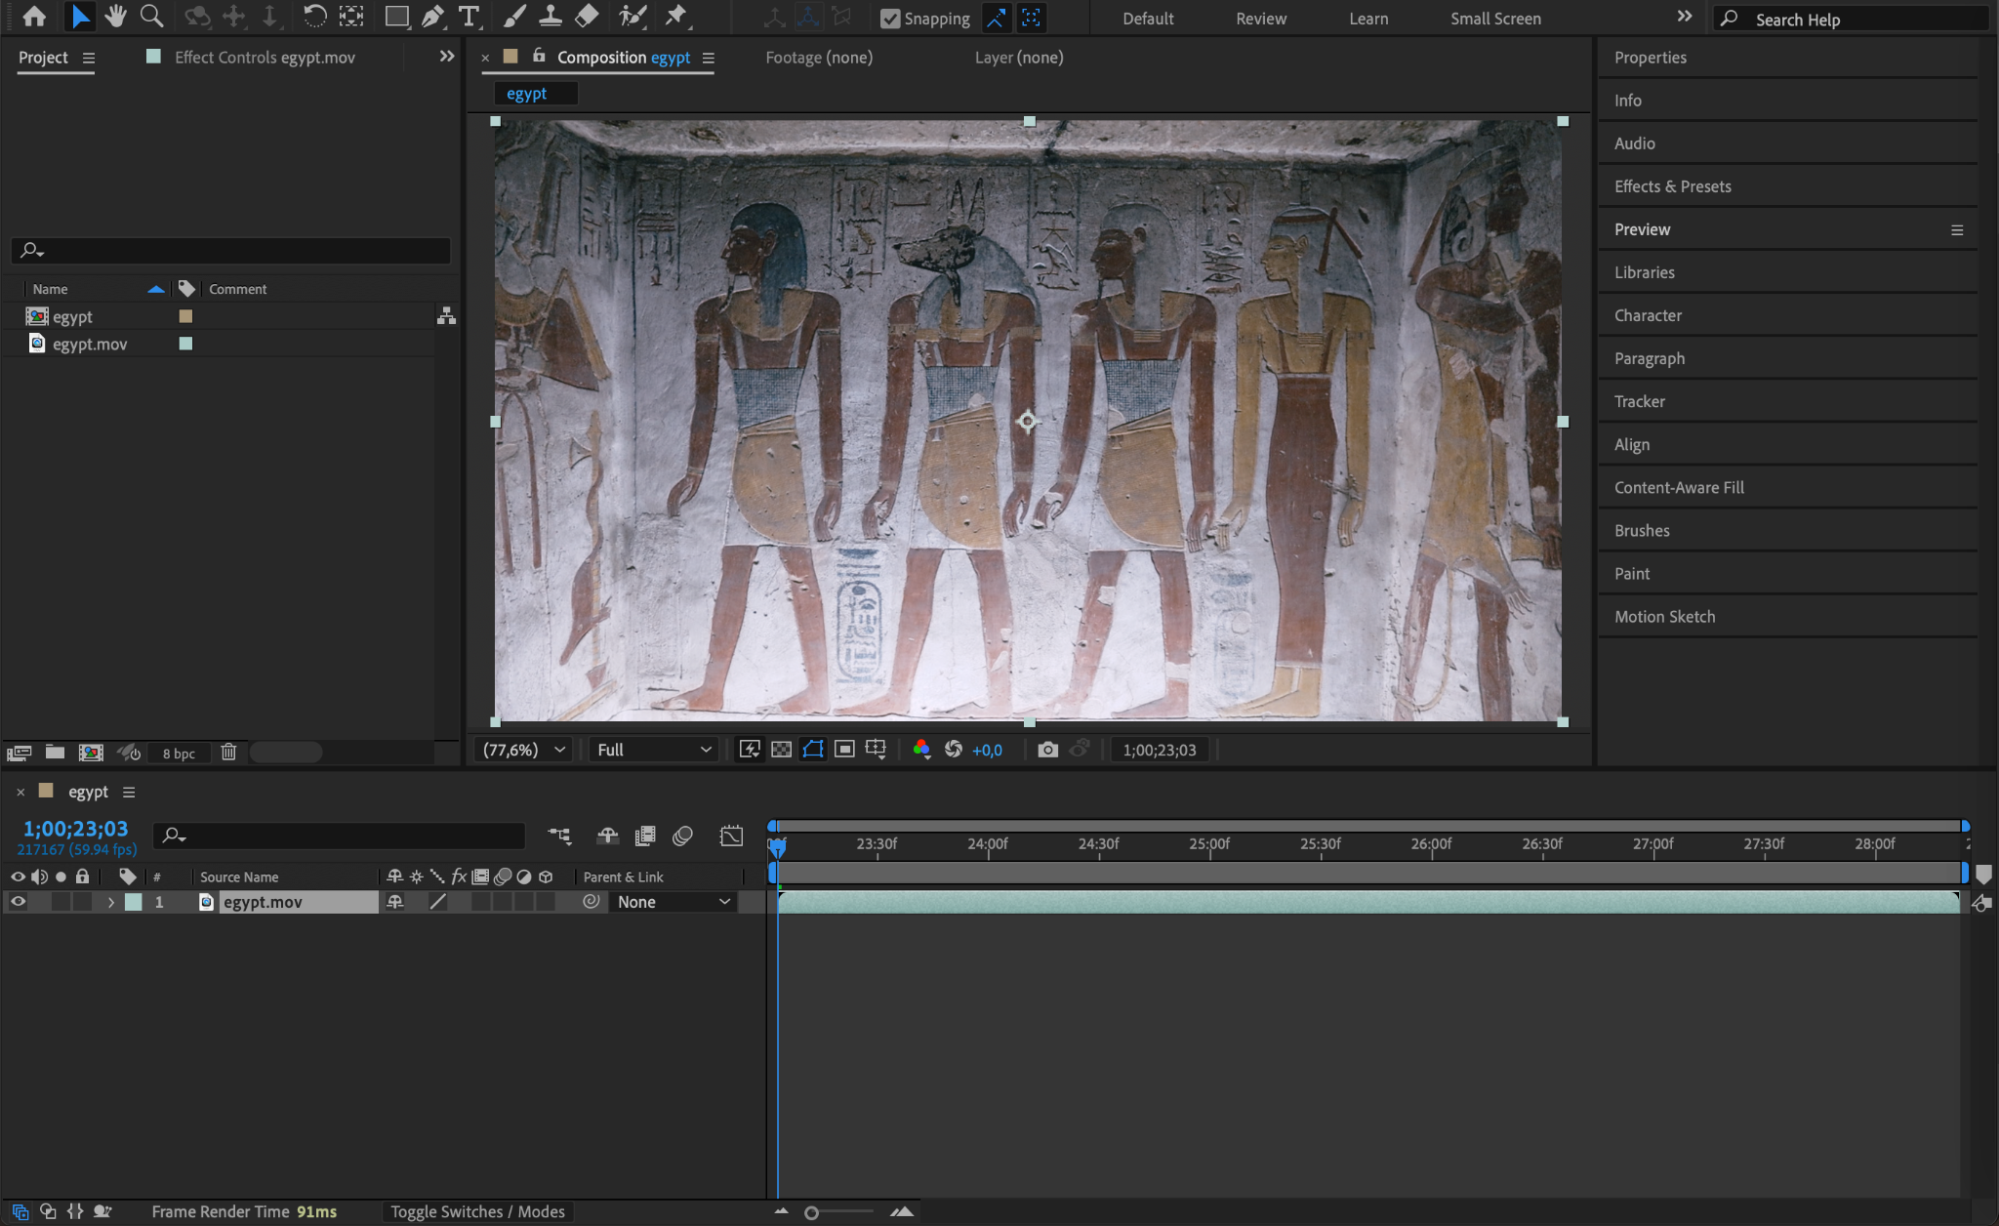
1. Open Your Project in After Effects
Start by launching After Effects and opening your existing project. If you don’t have a project yet, create a new composition and import your video file.
 2. Add Camera Shake for an Authentic Look
Select your video layer and press “P” to open the Position property. Right-click on Position and choose Separate Dimensions. For the Y Position, click the stopwatch while holding Alt/Option and enter:
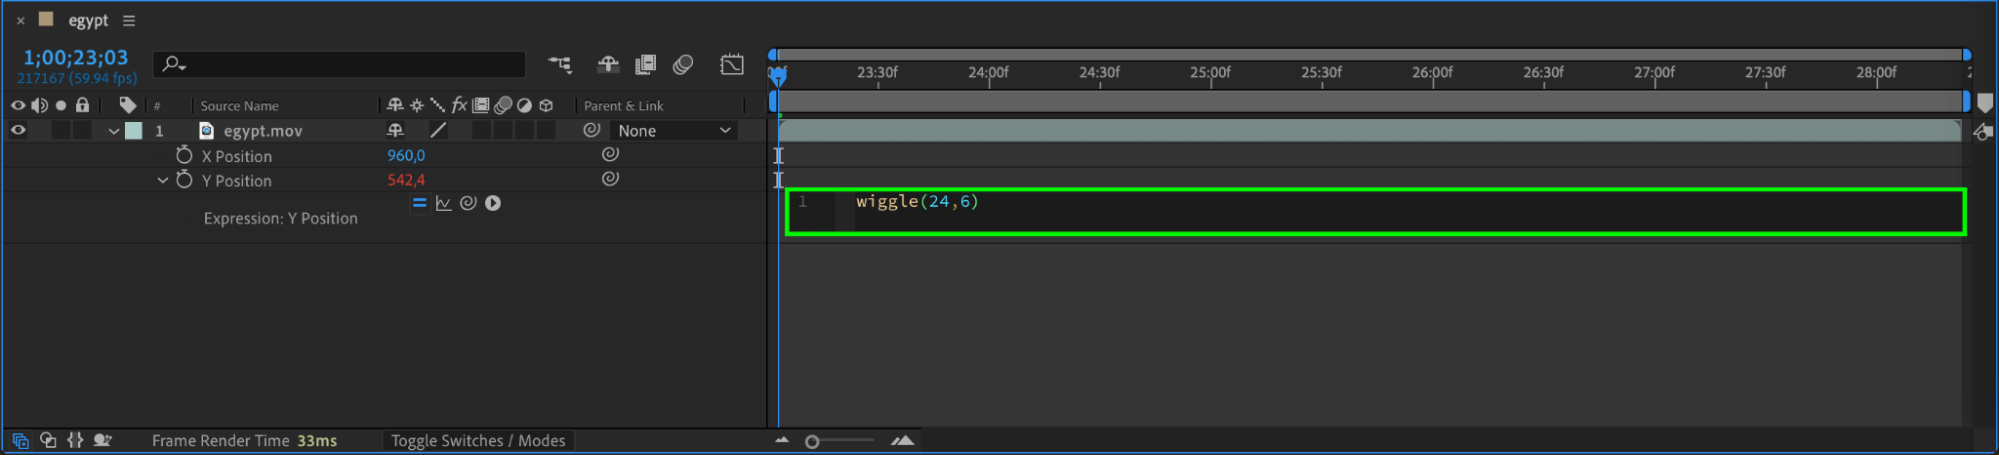
wiggle(24,6)
This will create a slight vertical shake, mimicking the unstable motion of old film cameras.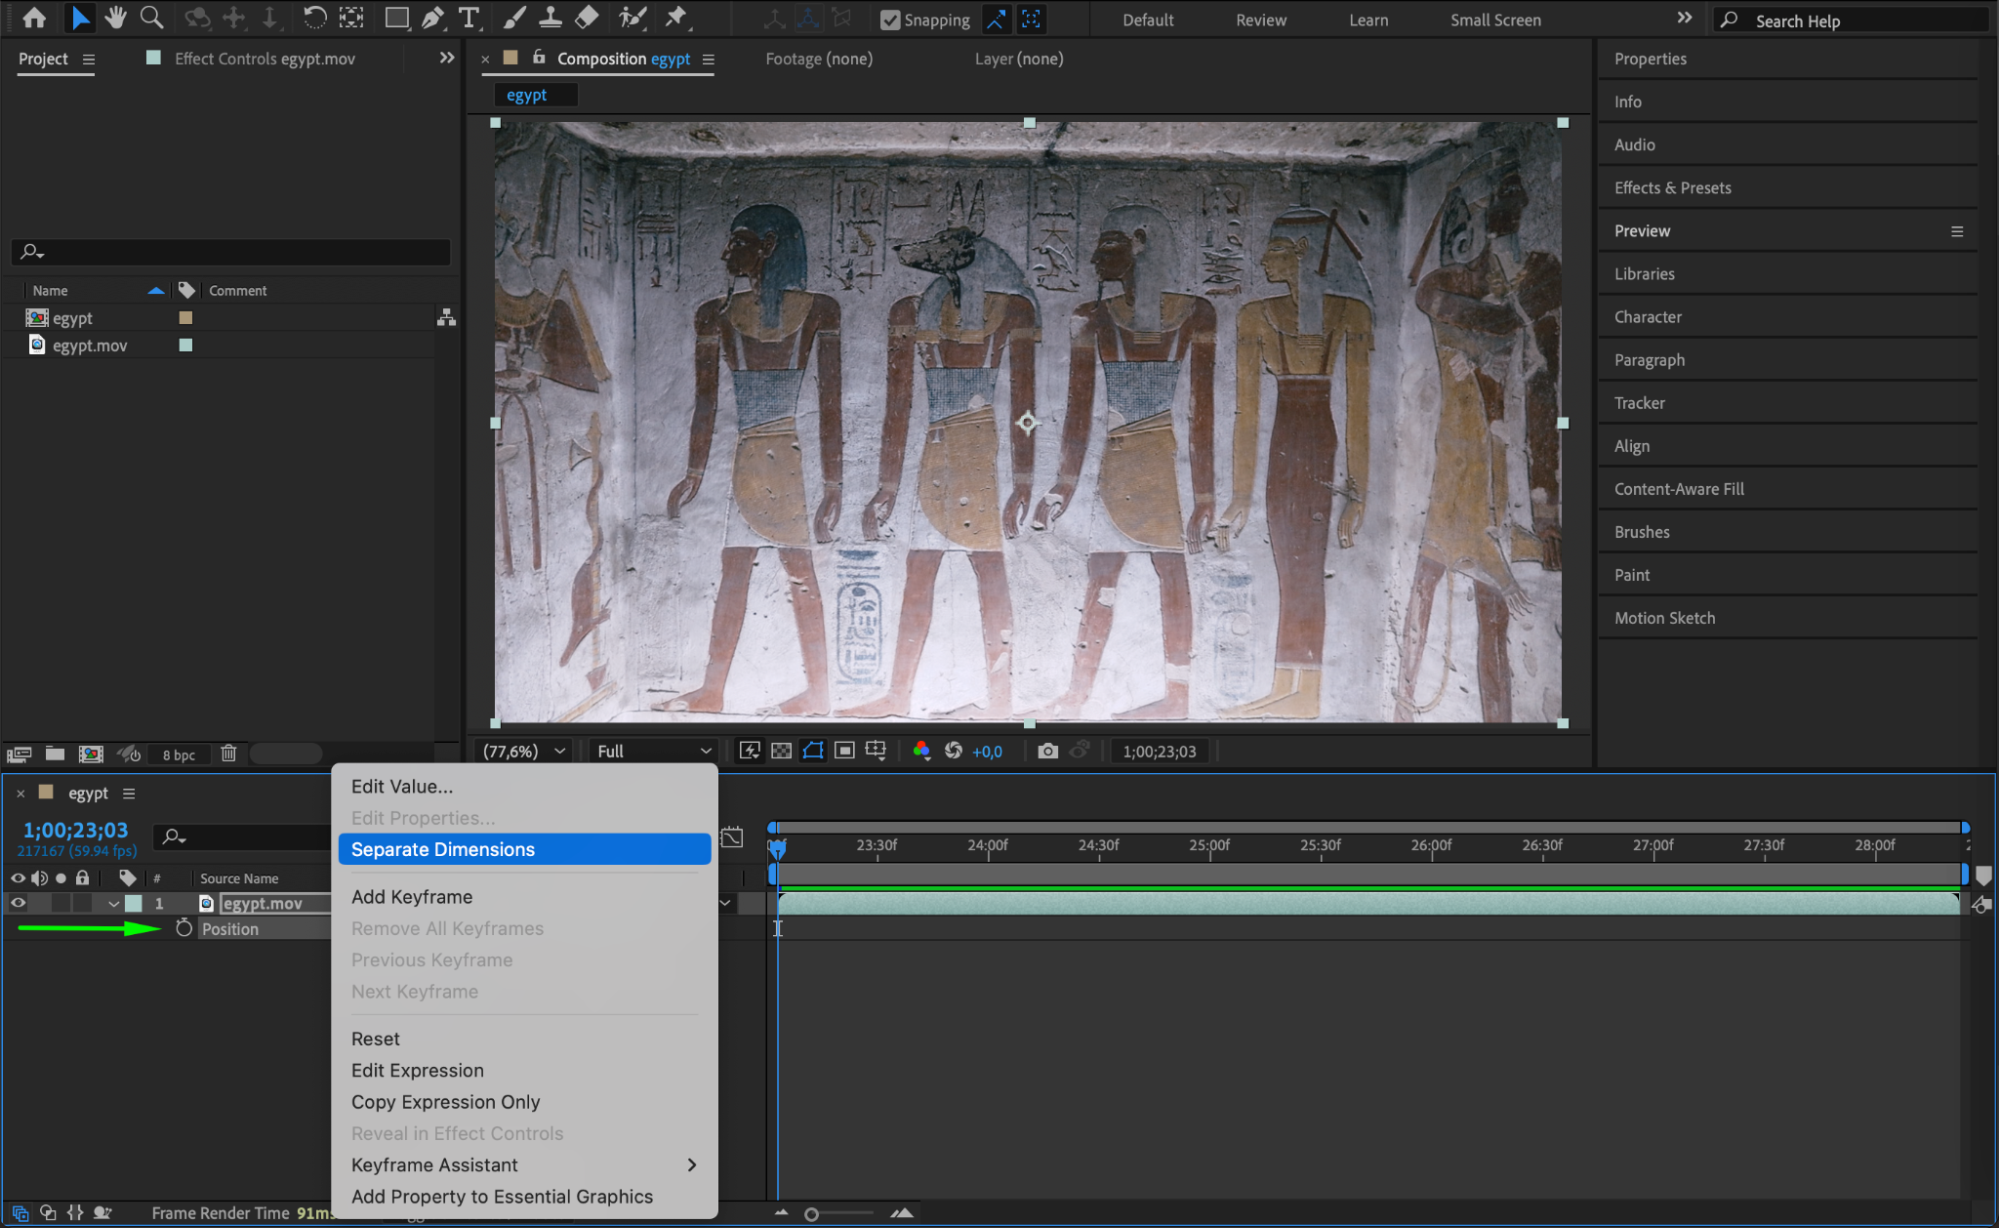
 3. Create an Adjustment Layer
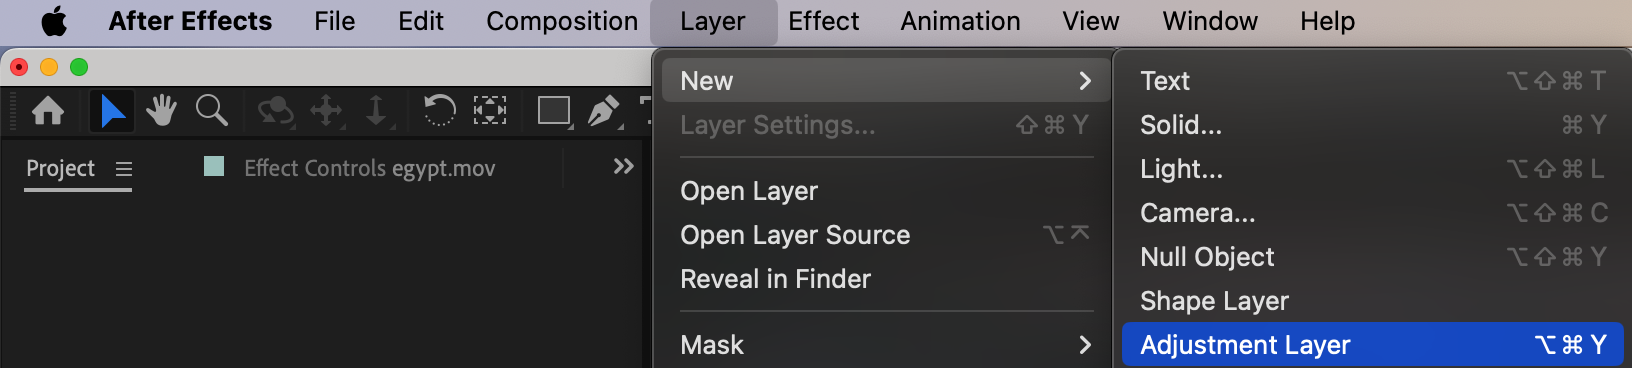
Go to Layer > New > Adjustment Layer. This will allow you to apply effects without directly modifying your video.
Get 10% off when you subscribe to our newsletter

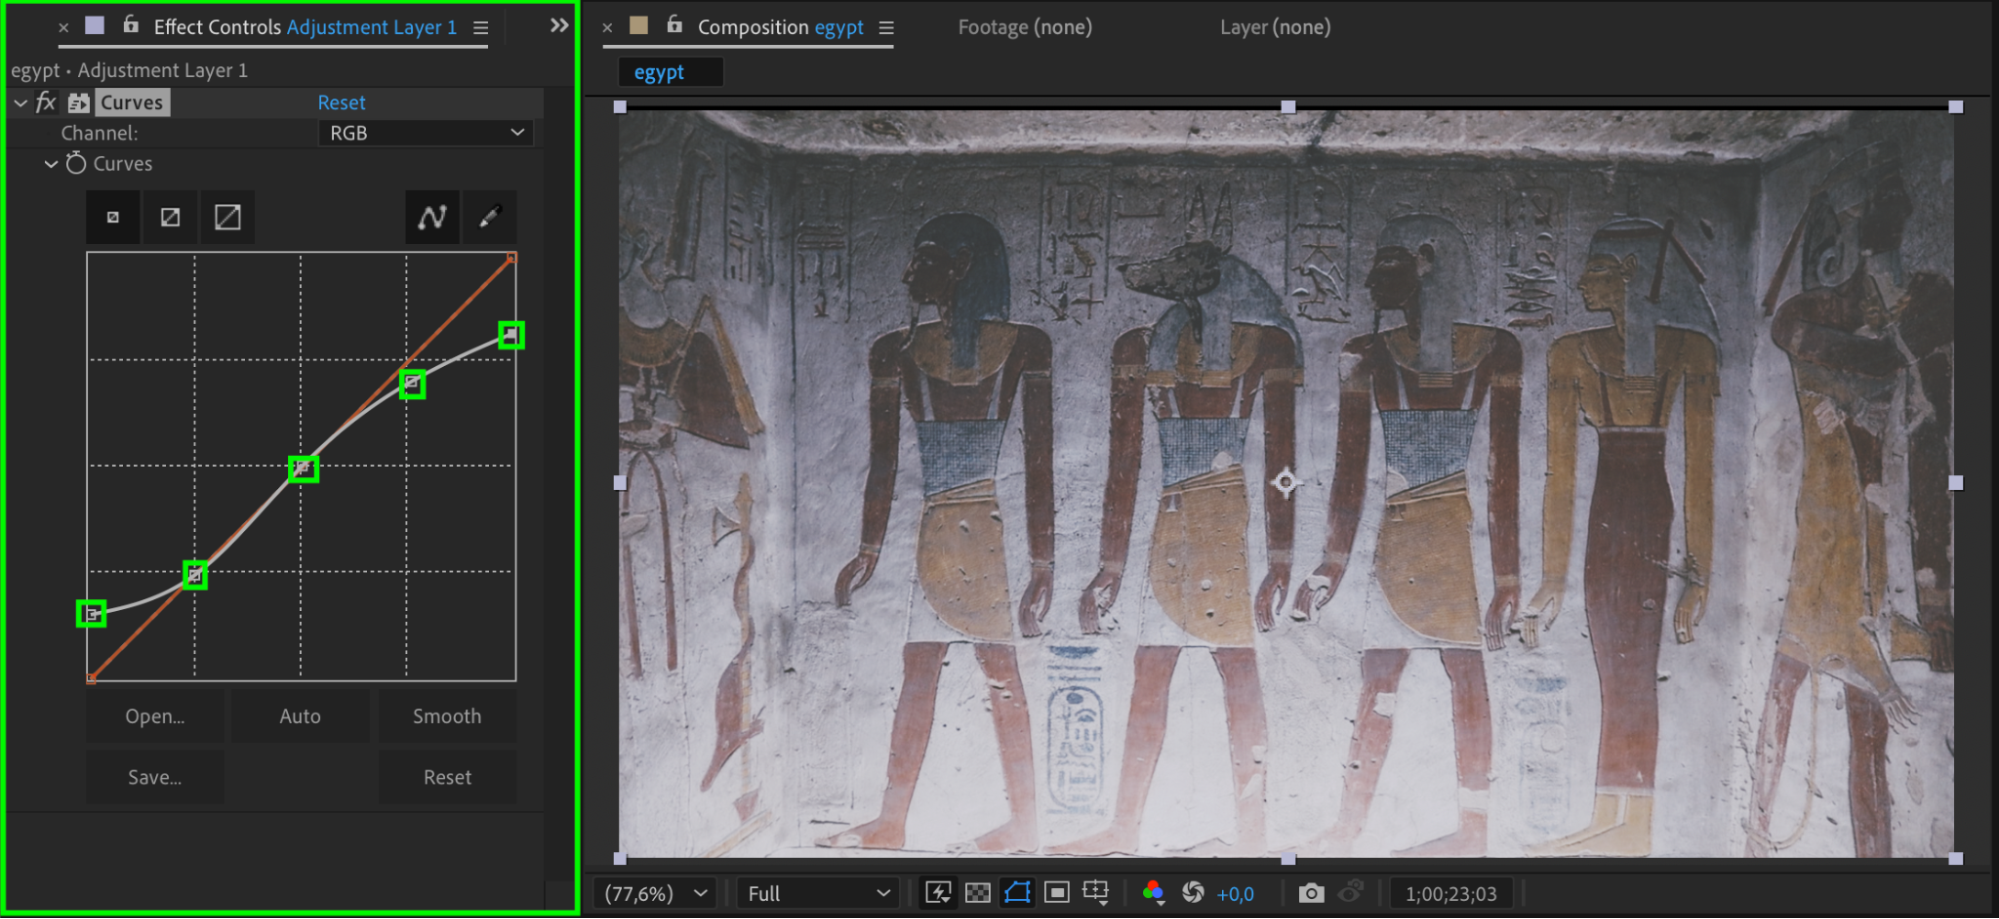
4. Adjust the Color with Curves
Go to the Effects & Presets panel and search for Curves. Drag it onto the Adjustment Layer. In the Effect Controls Panel, shape the curve into an “S” to increase contrast, enhancing the faded film look.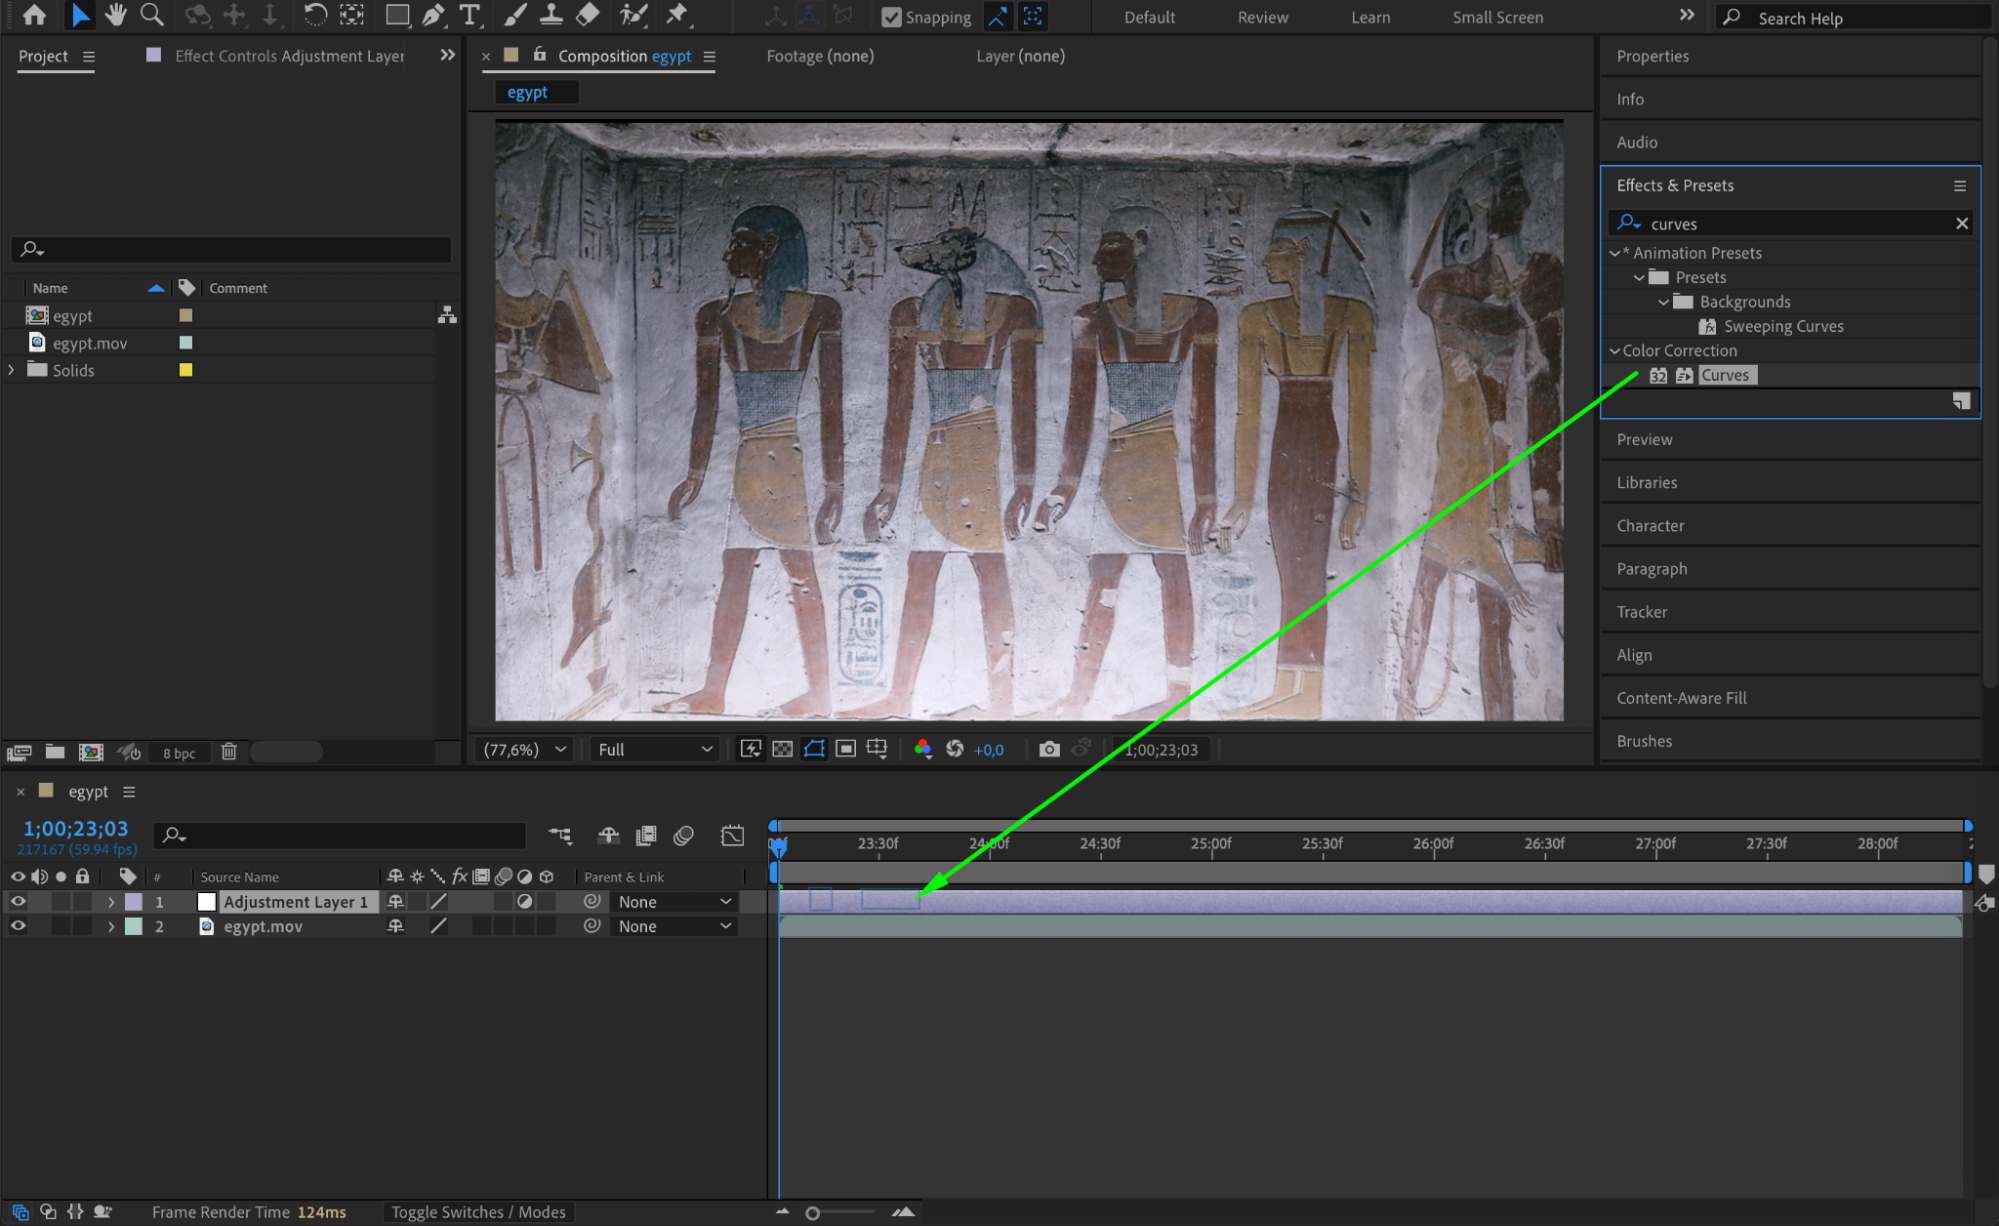
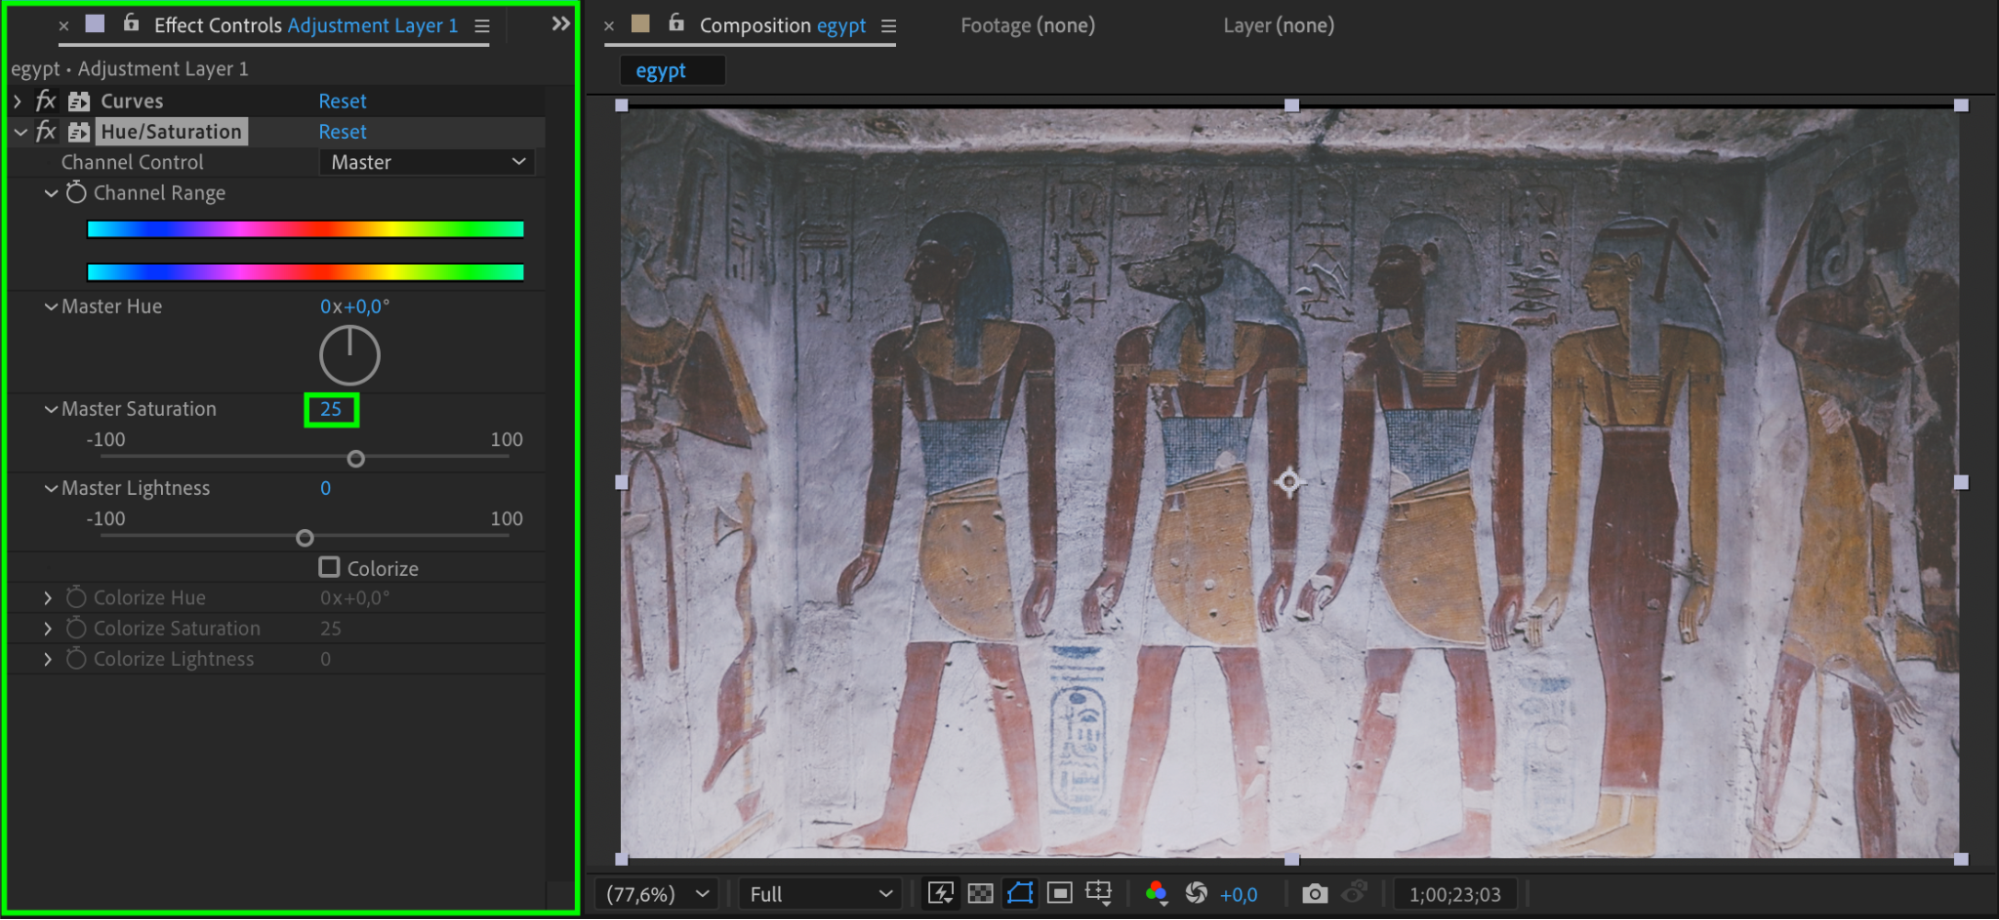
 5. Desaturate the Colors
Apply the Hue/Saturation effect to the Adjustment Layer. In the Effect Controls Panel, set Master Saturation to 25 to give your video a washed-out appearance, similar to old film.
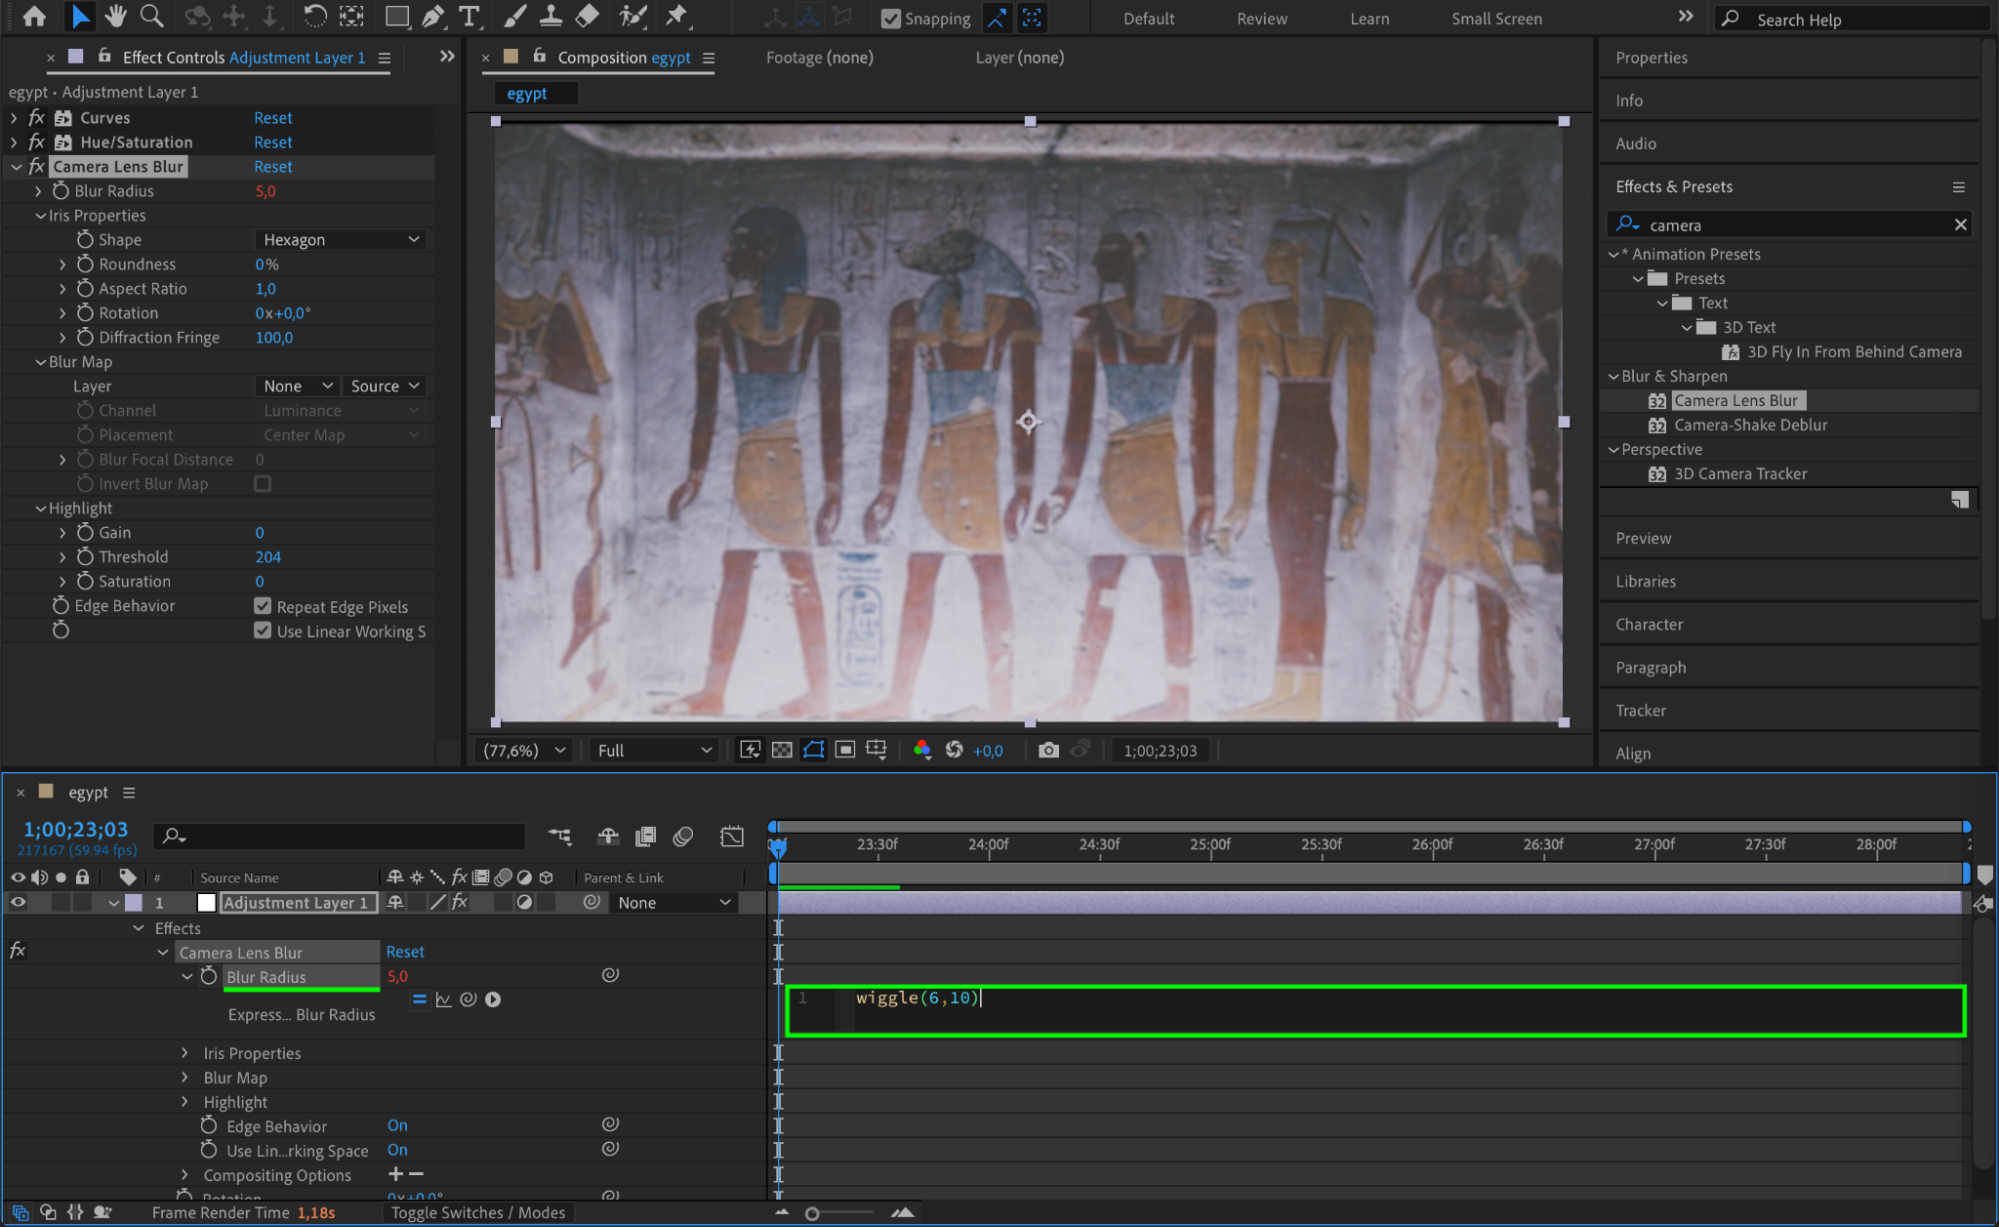
 6. Add Subtle Blur for Soft Focus
Apply the Camera Lens Blur effect to the Adjustment Layer. For the Blur Radius, click the stopwatch while holding Alt/Option and enter:
wiggle(6,10)
This simulates the inconsistent focus of old cameras.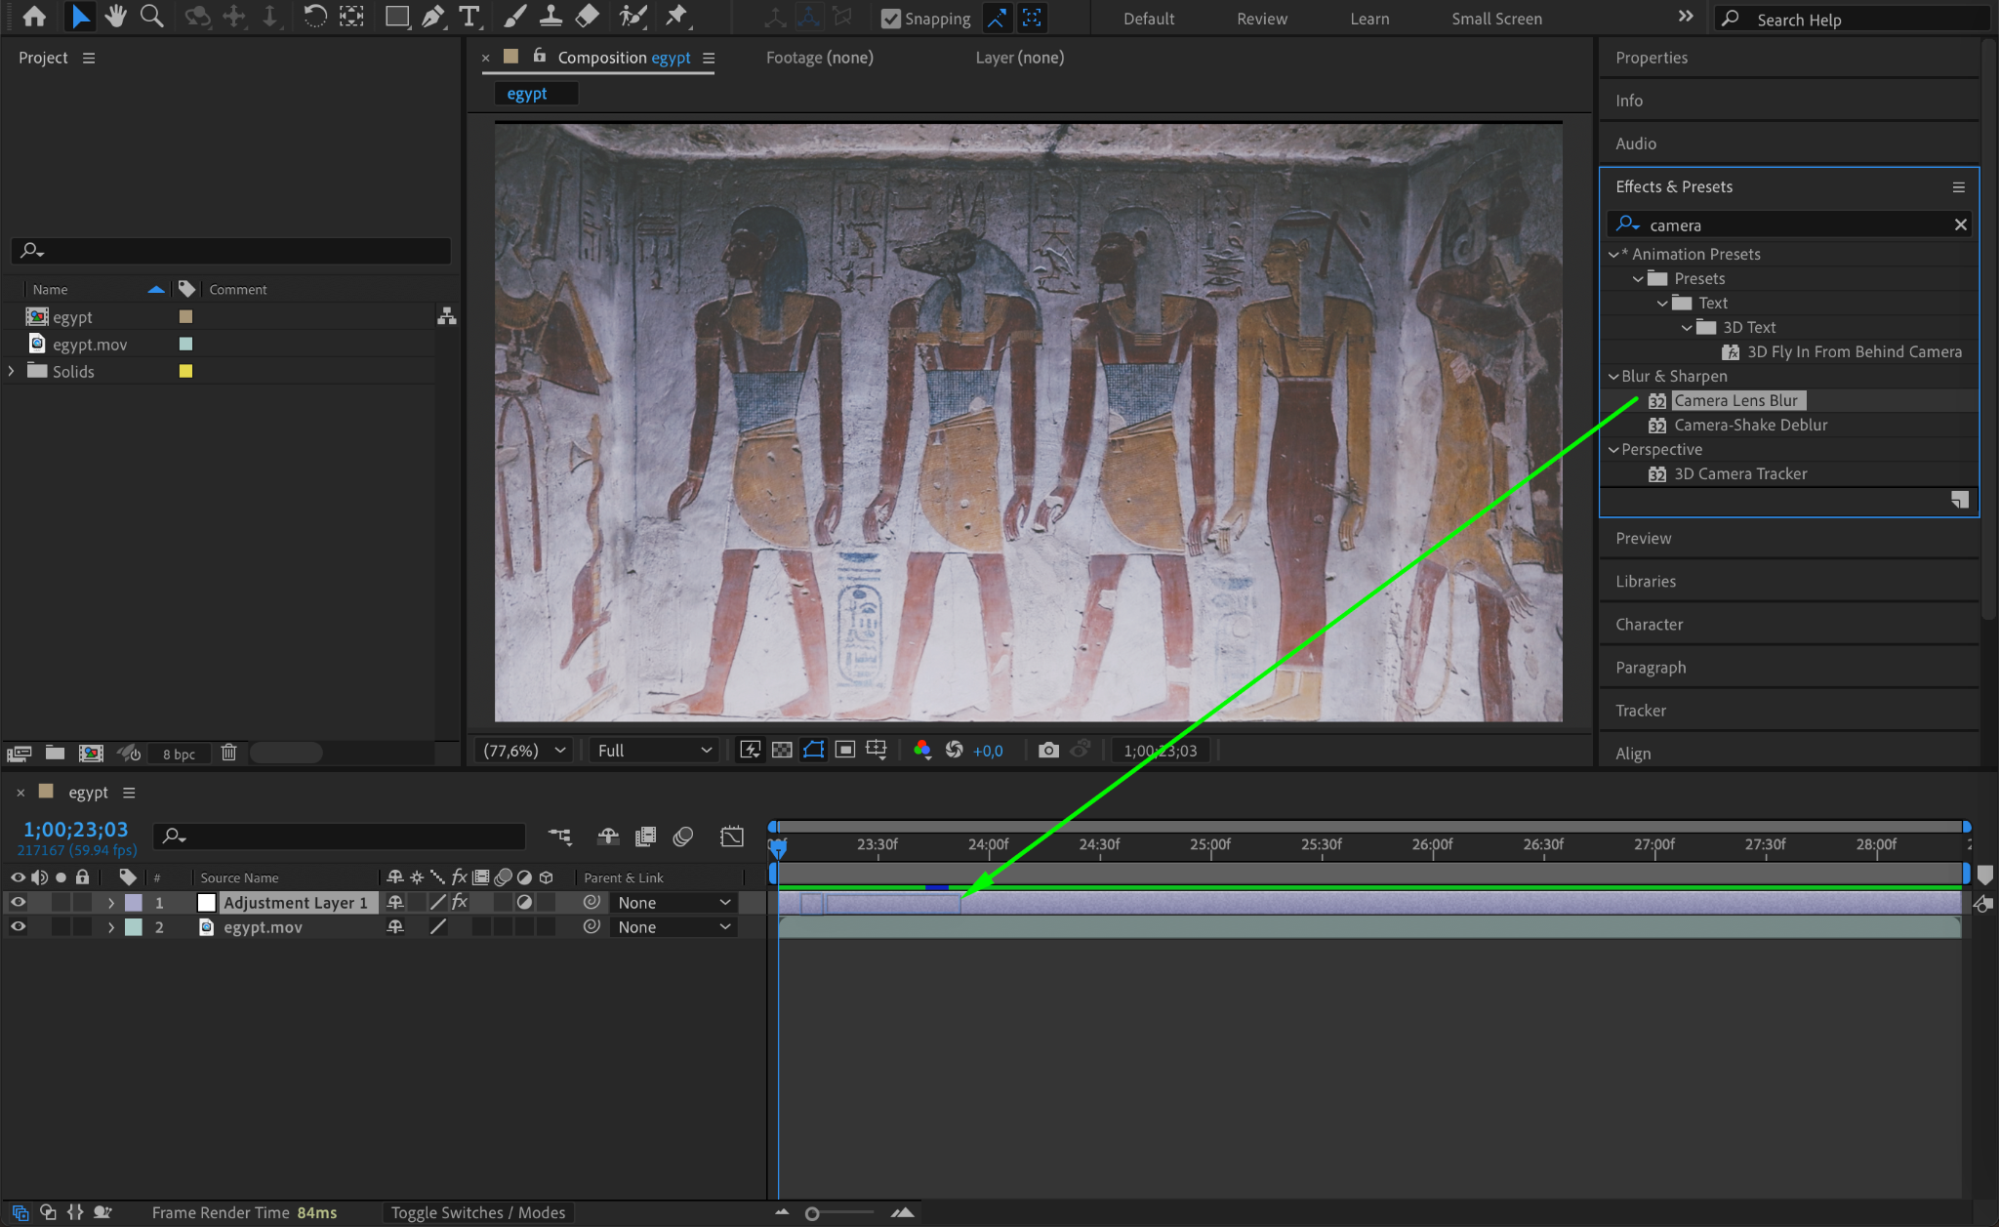
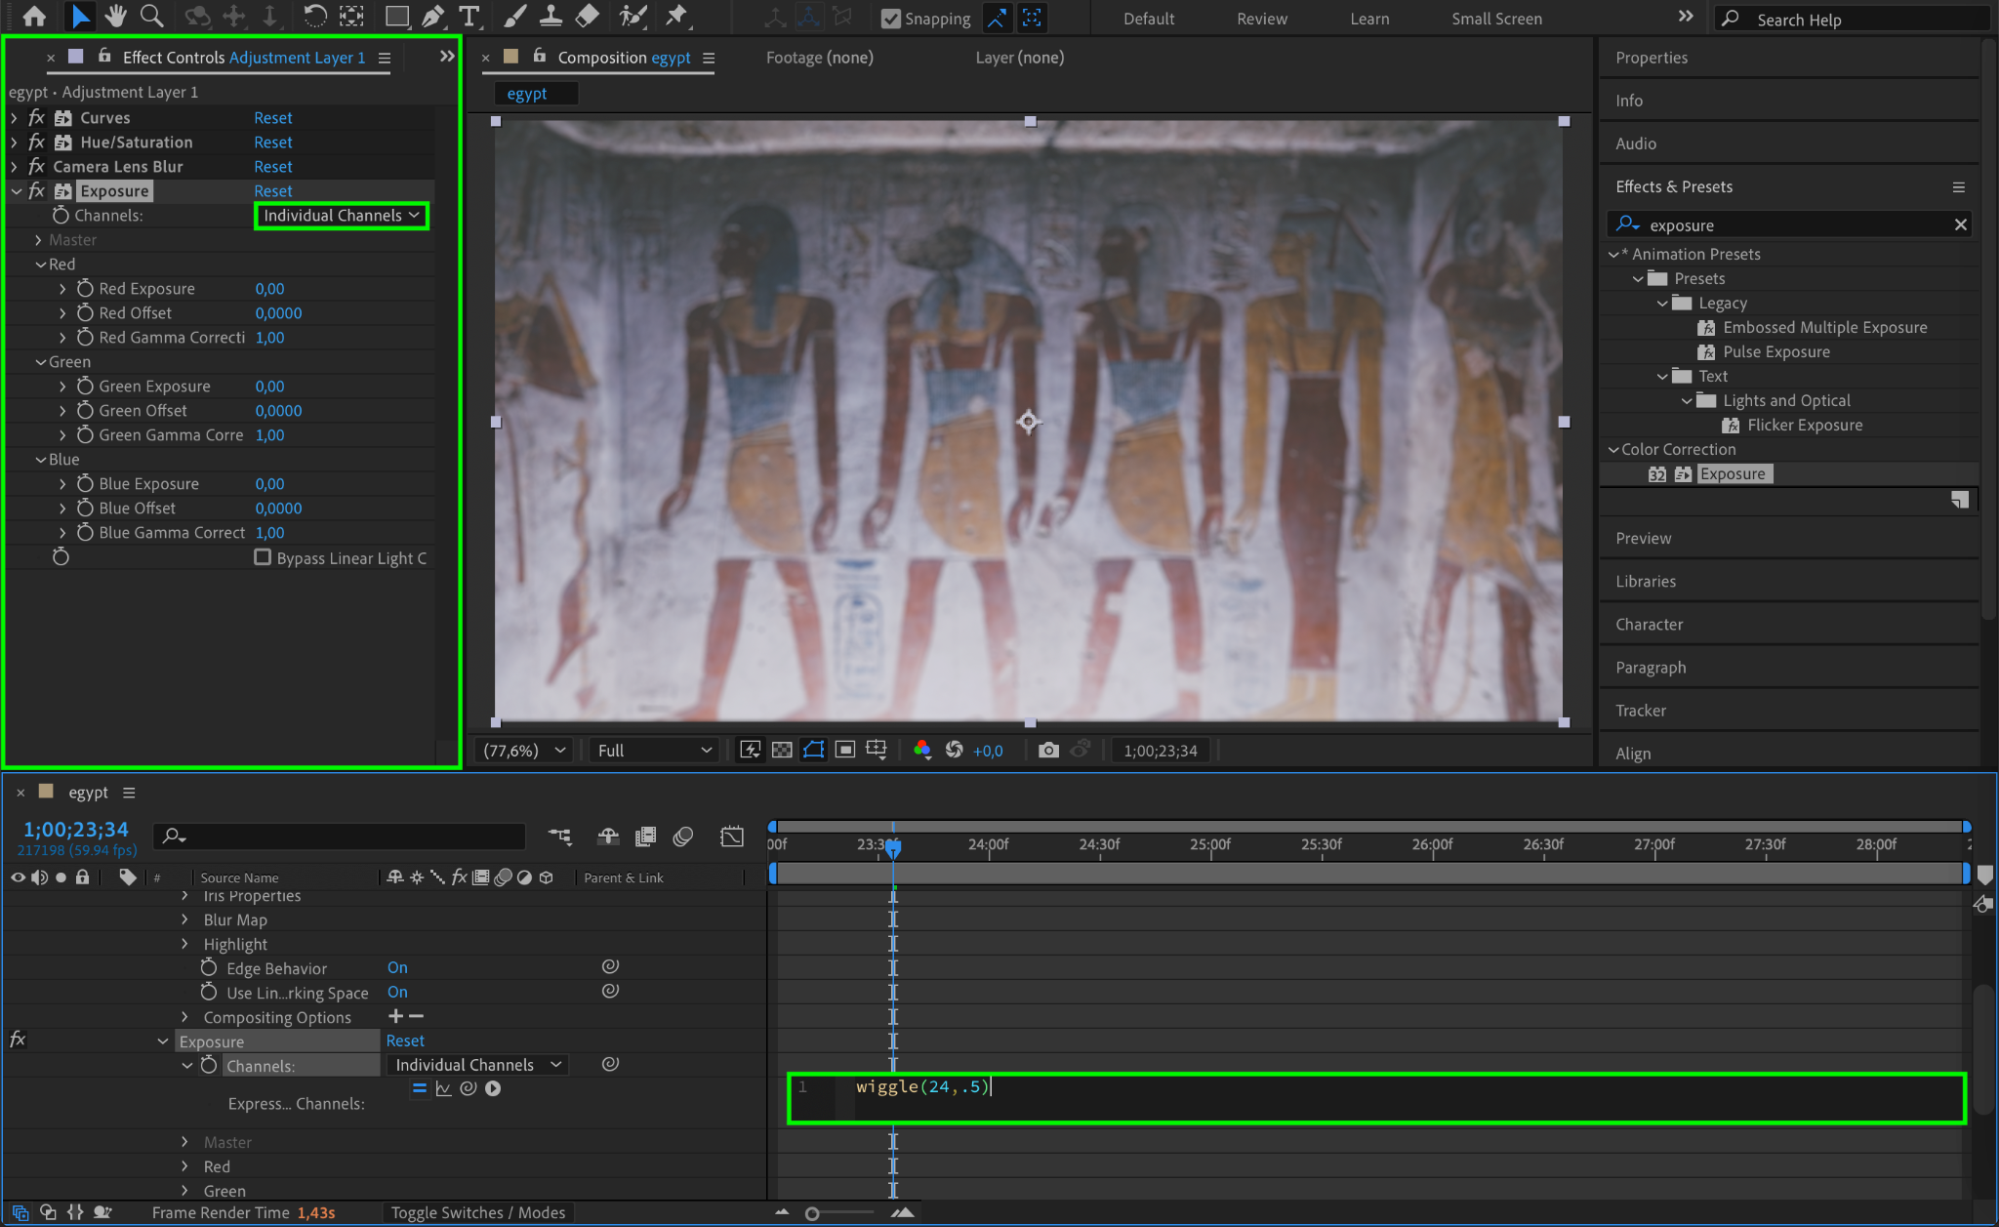
 7. Create Random Flickering Exposure
Apply the Exposure effect and change Channels to Individual Channels. For Blue Exposure, click the stopwatch while holding Alt/Option and enter:
wiggle(24,.5)
This effect randomly alters the brightness, emulating old film flicker.
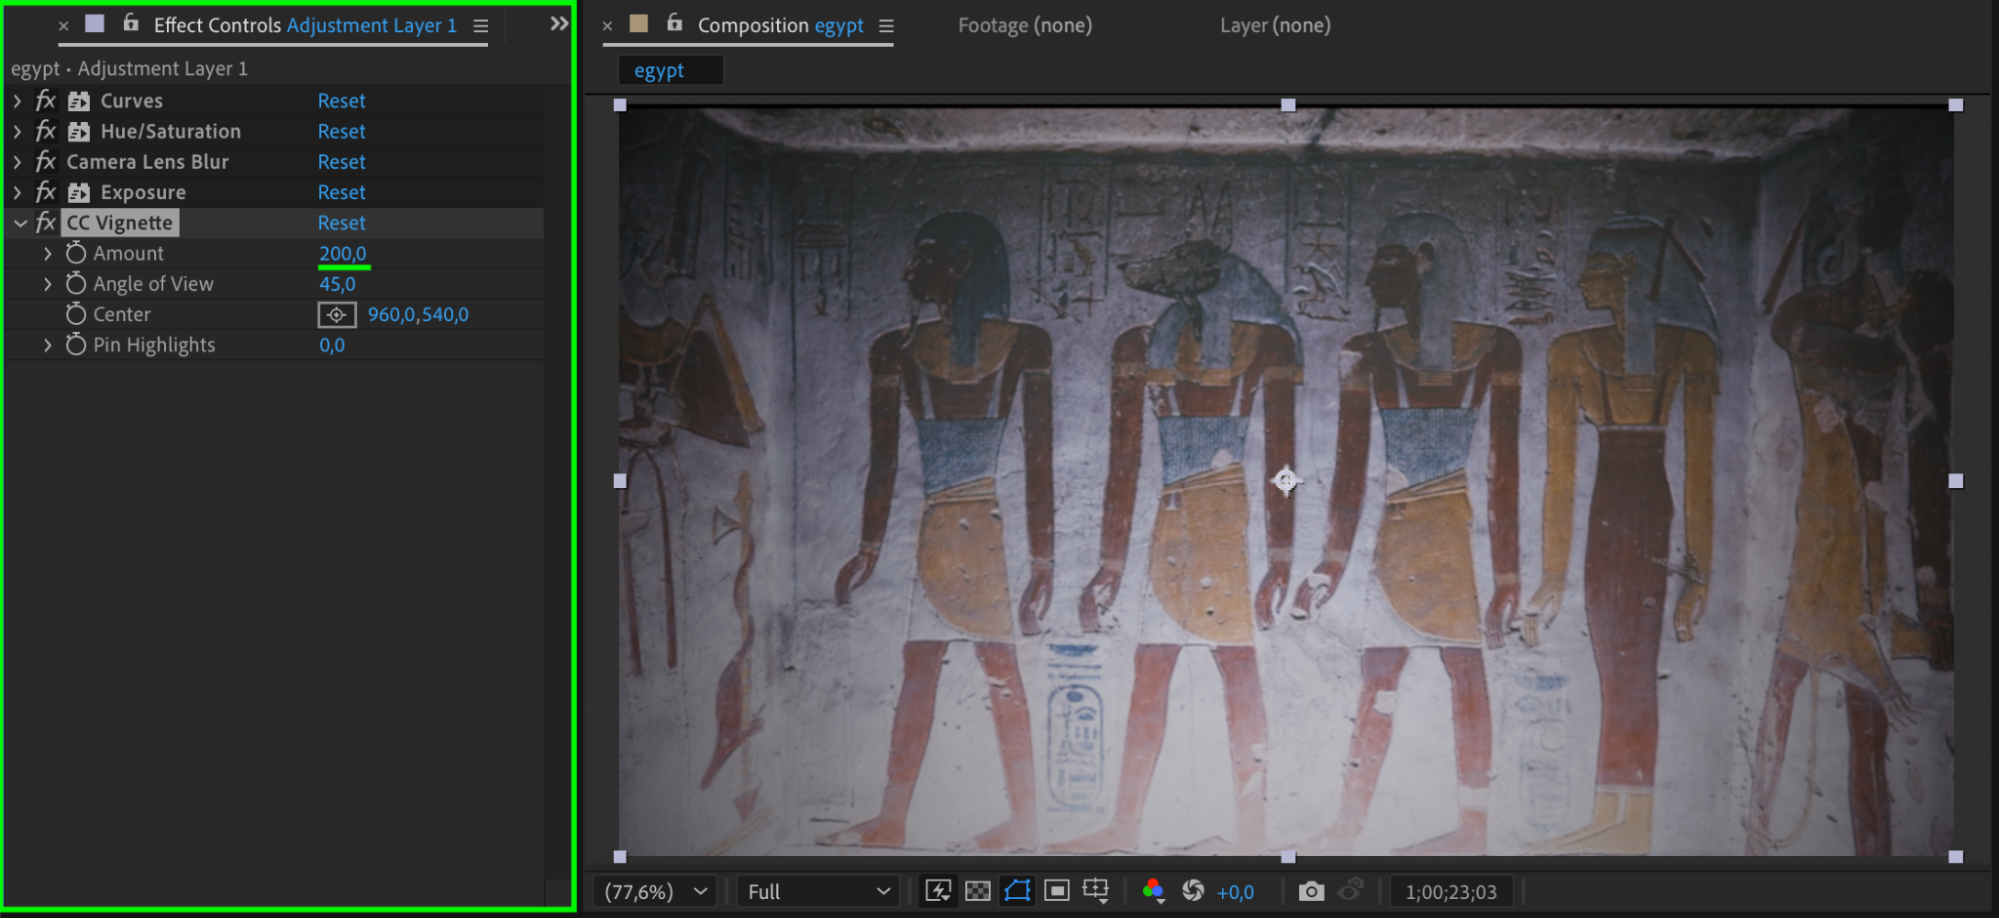
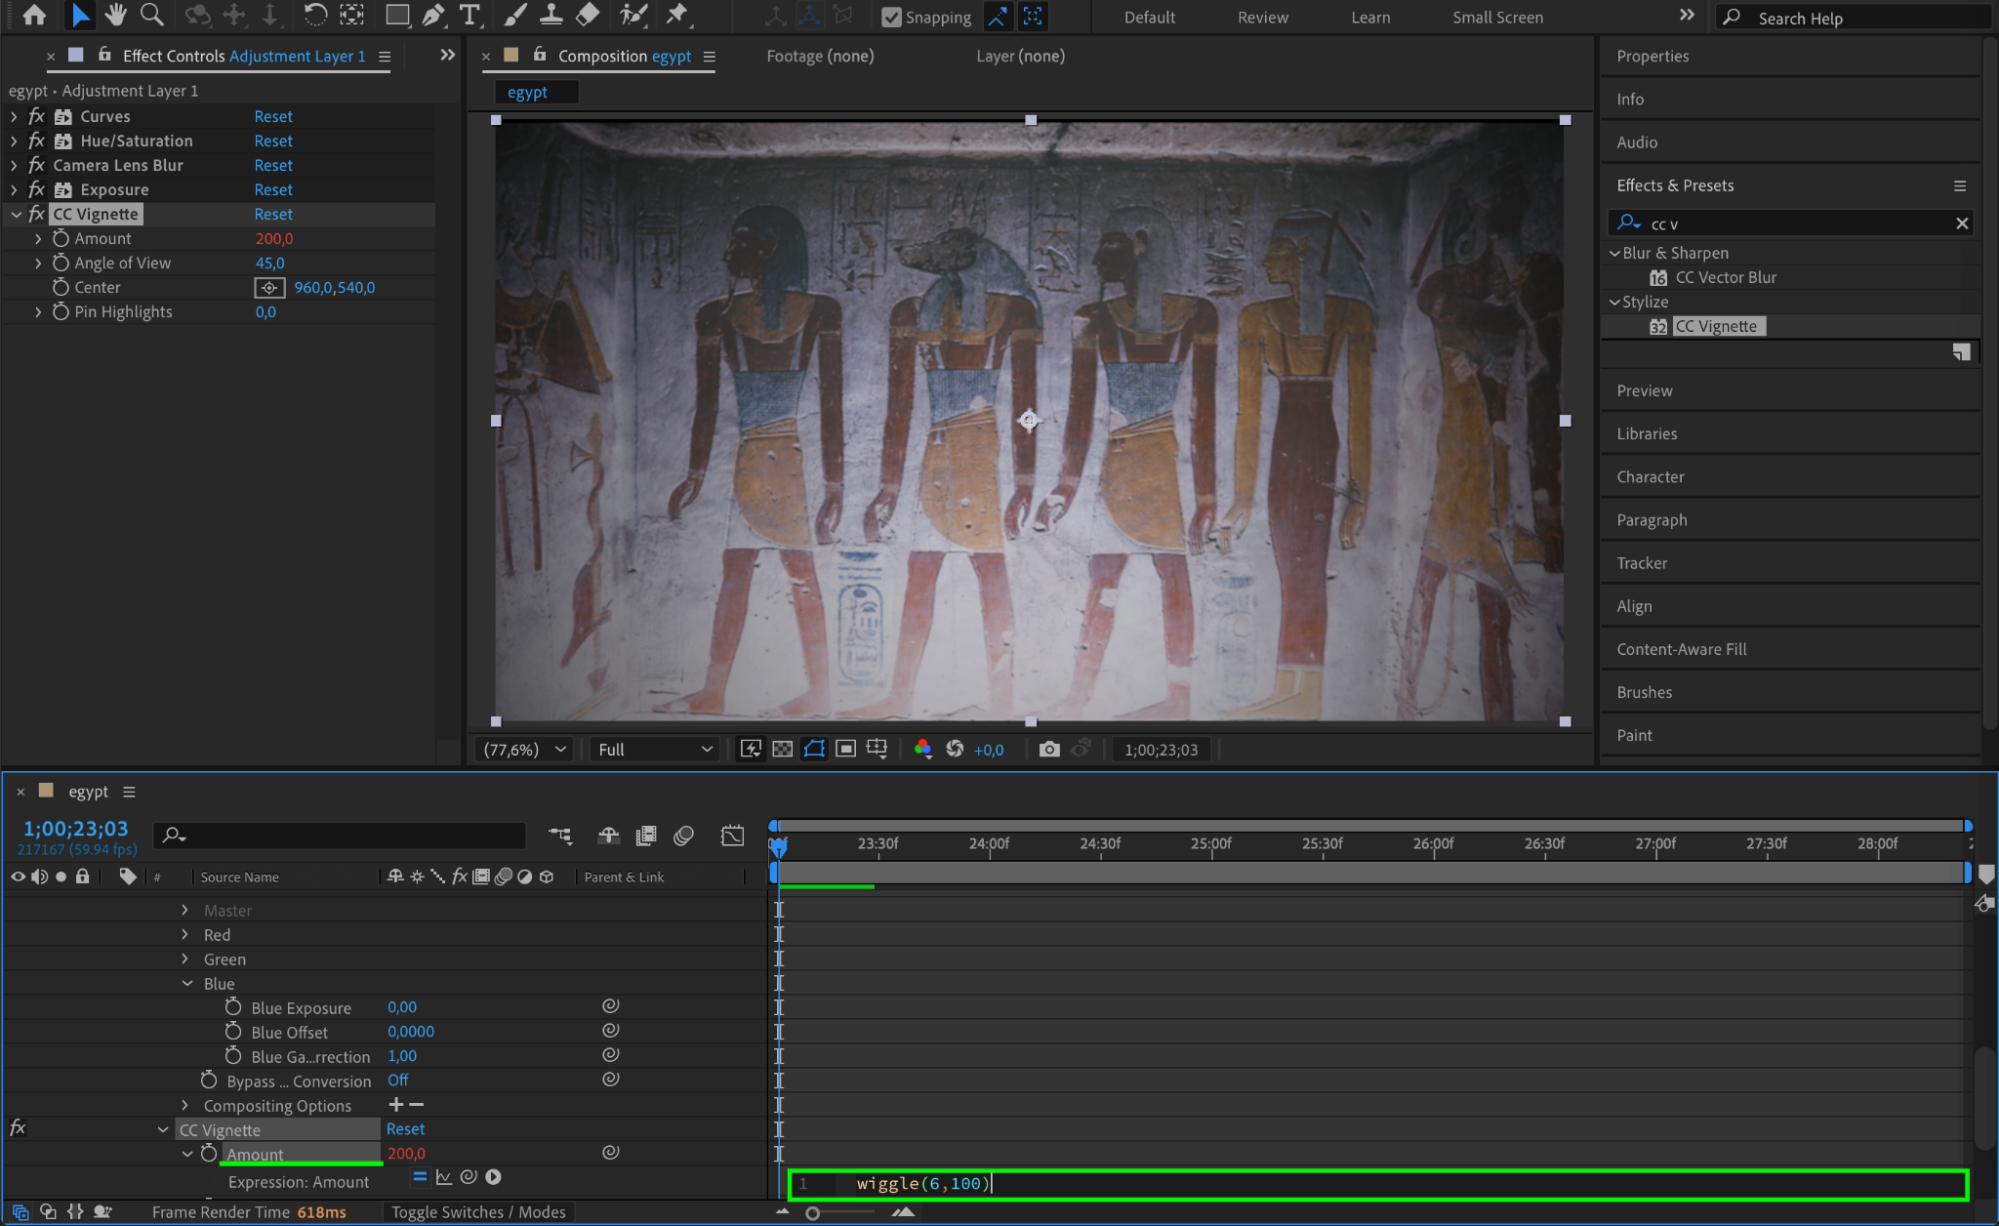
8. Add a Vignette Effect
Apply the CC Vignette effect. Set the Amount to 200. Click the stopwatch while holding Alt/Option and enter:
wiggle(6,100)
This will create a subtle, dynamic vignette effect that darkens the edges of the frame over time.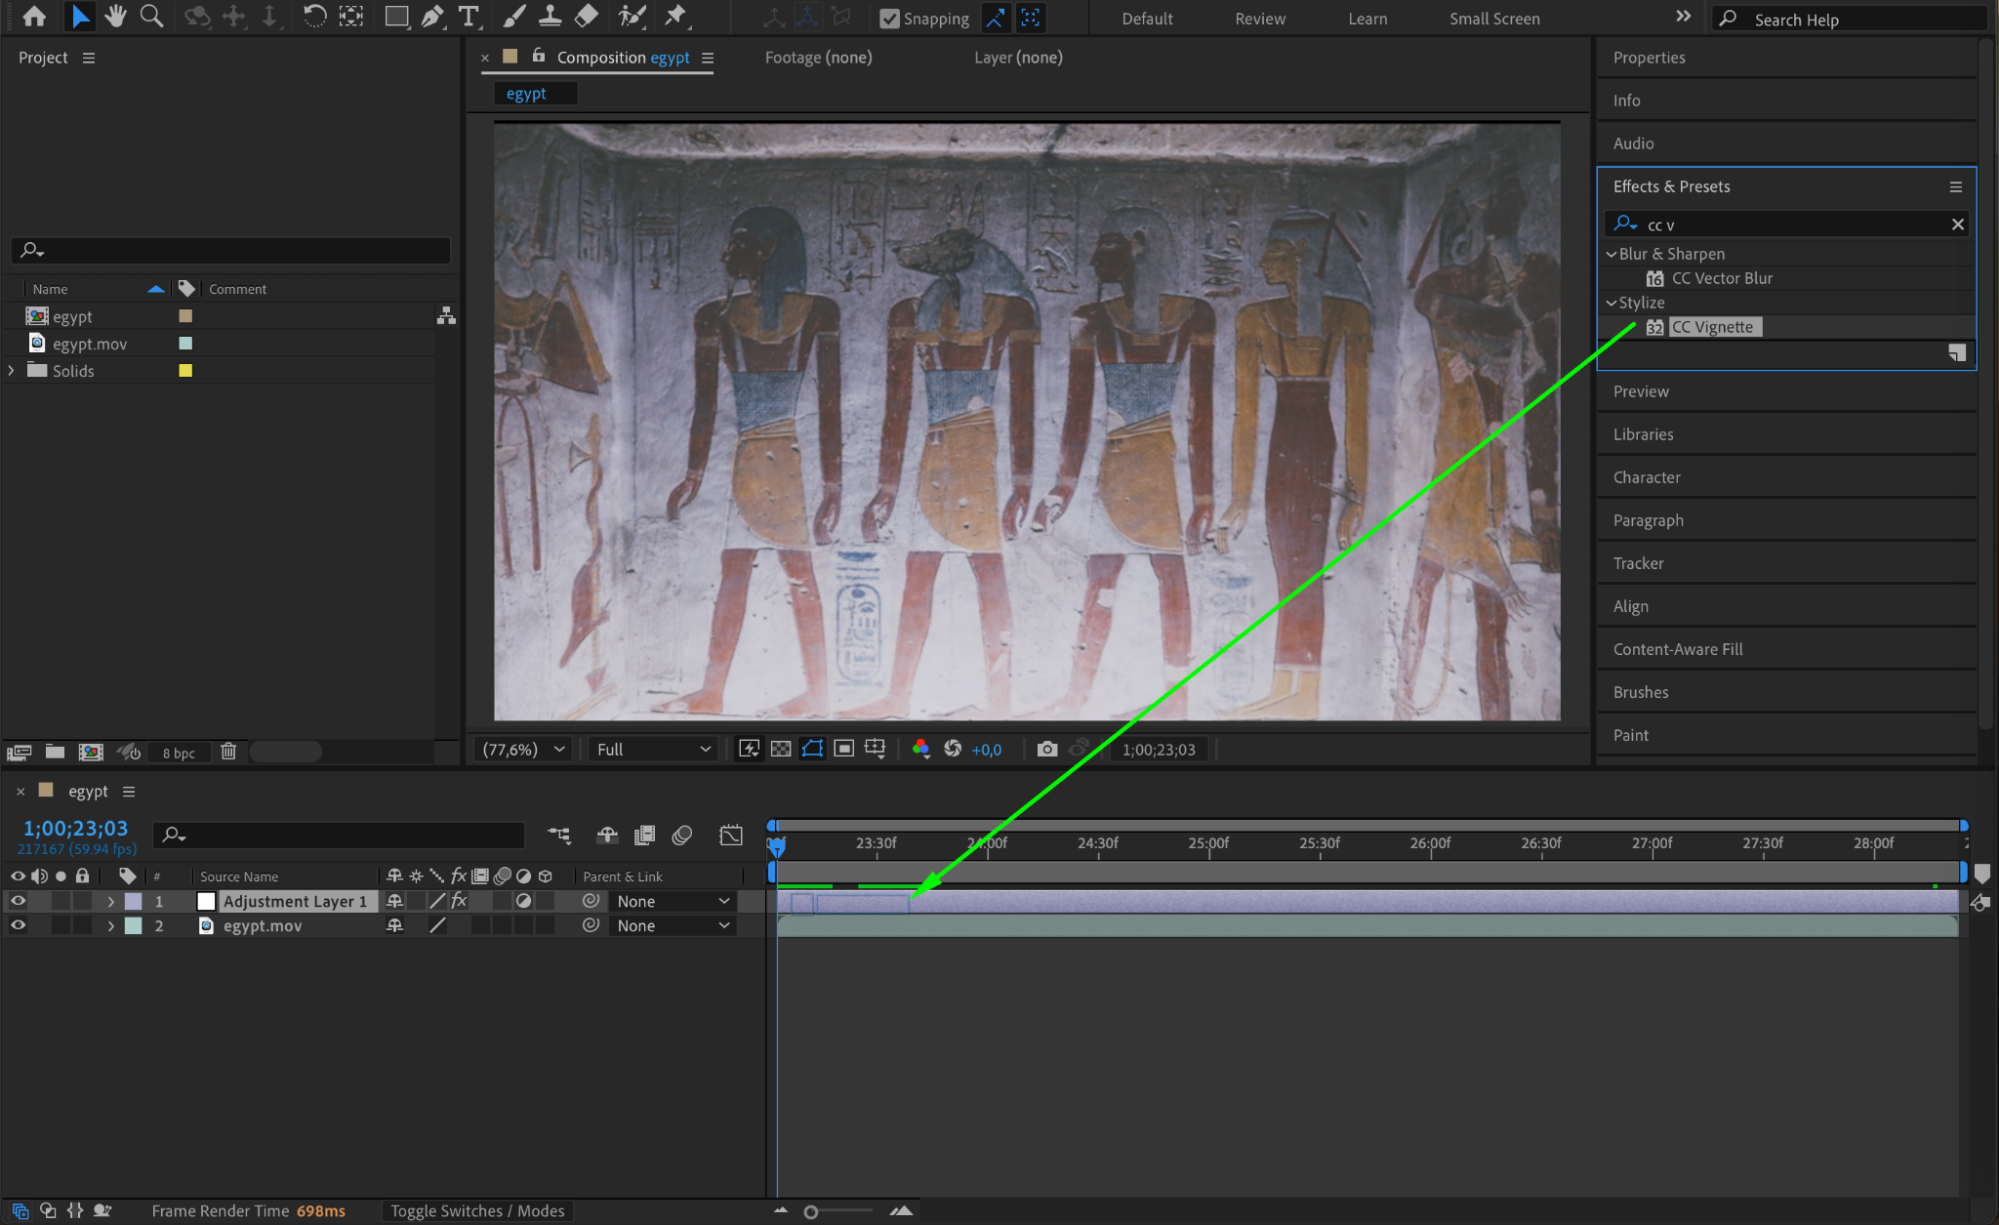
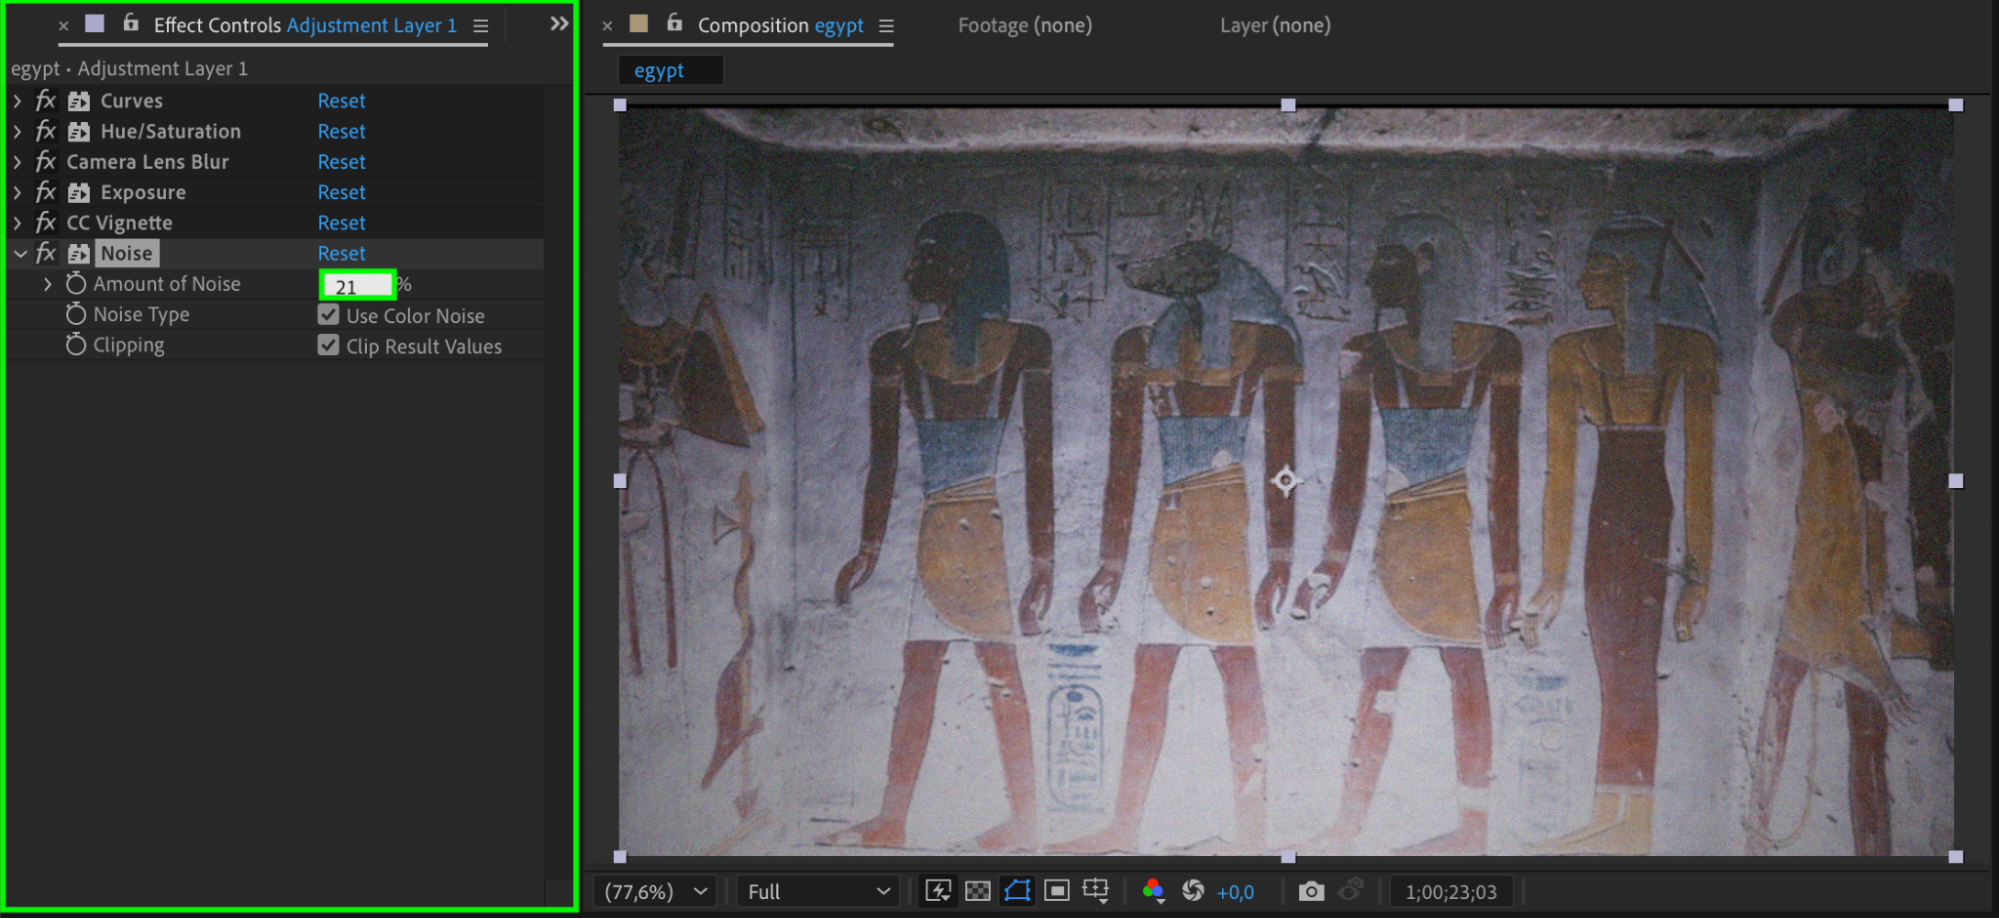
 9. Add Film Grain with Noise
Apply the Noise effect to the Adjustment Layer. Set the Amount of Noise to 21 to introduce film grain, making the footage look aged.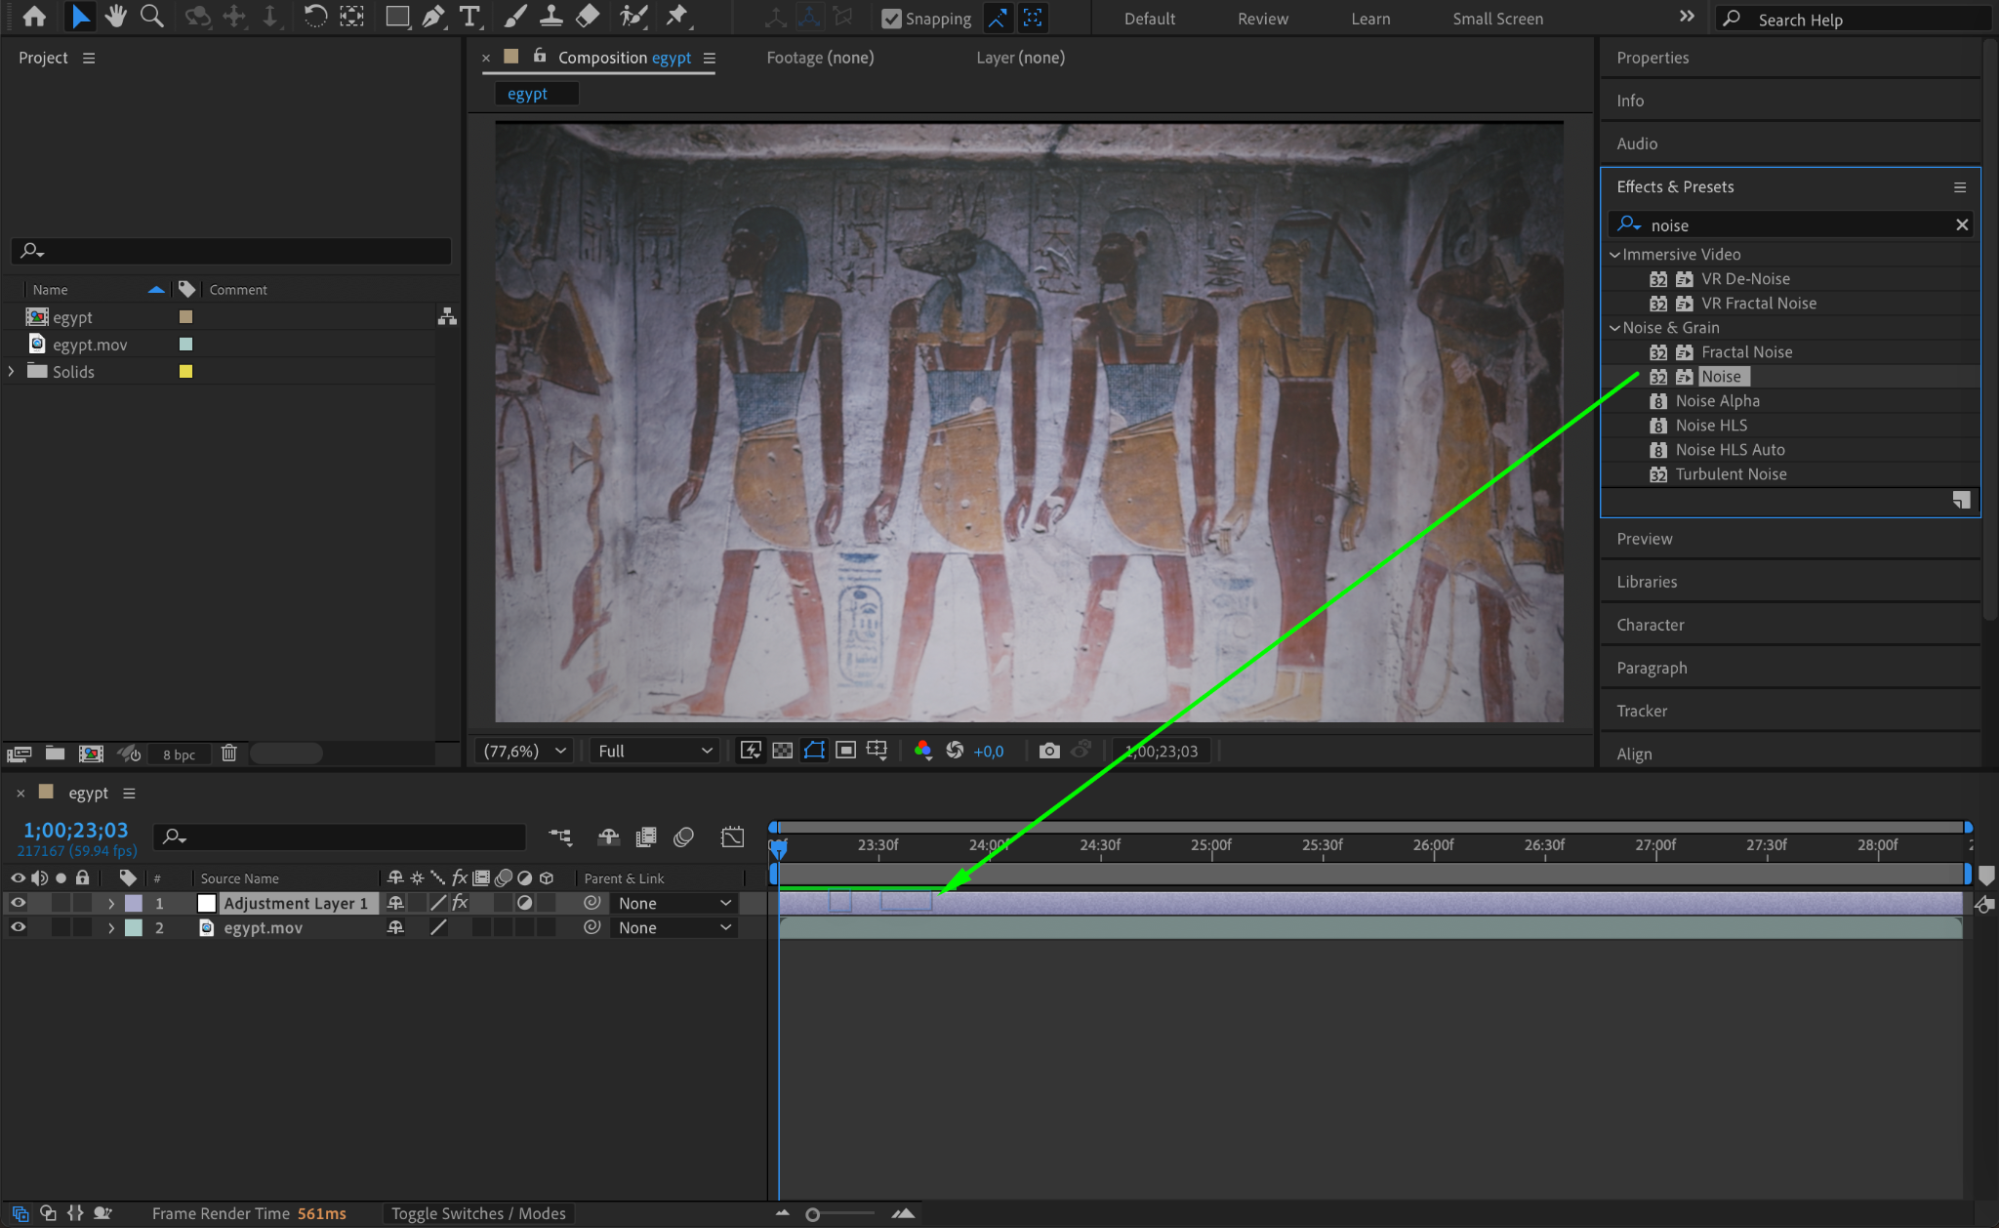
 10. Organize Layers and Add a Frame Rate Effect
Rename your Adjustment Layer to Film for organization. Then, create another Adjustment Layer and name it Time by going to Layer > New > Adjustment Layer.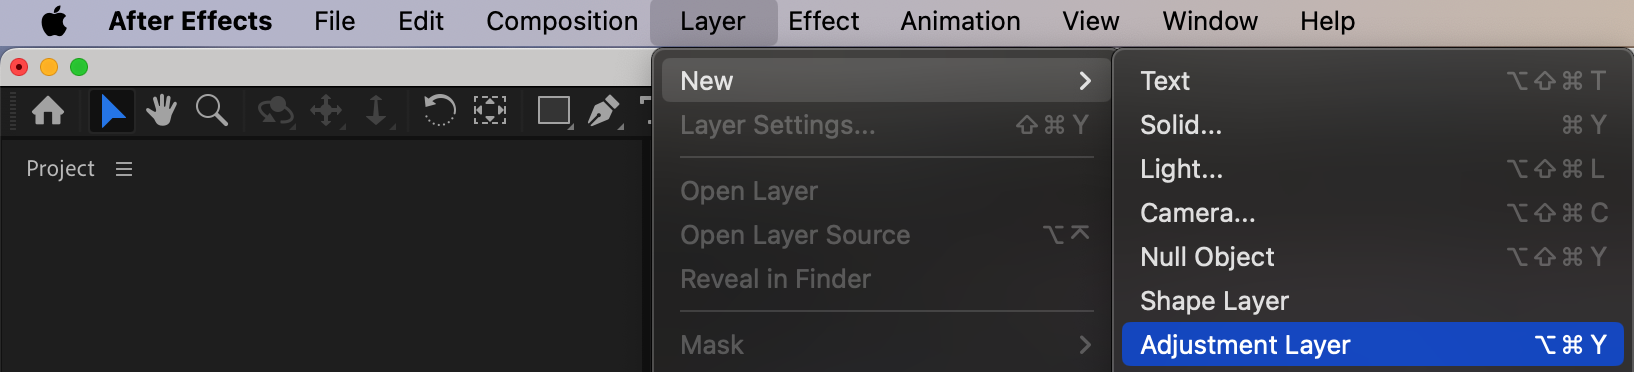 11. Lower the Frame Rate for a Choppy Look
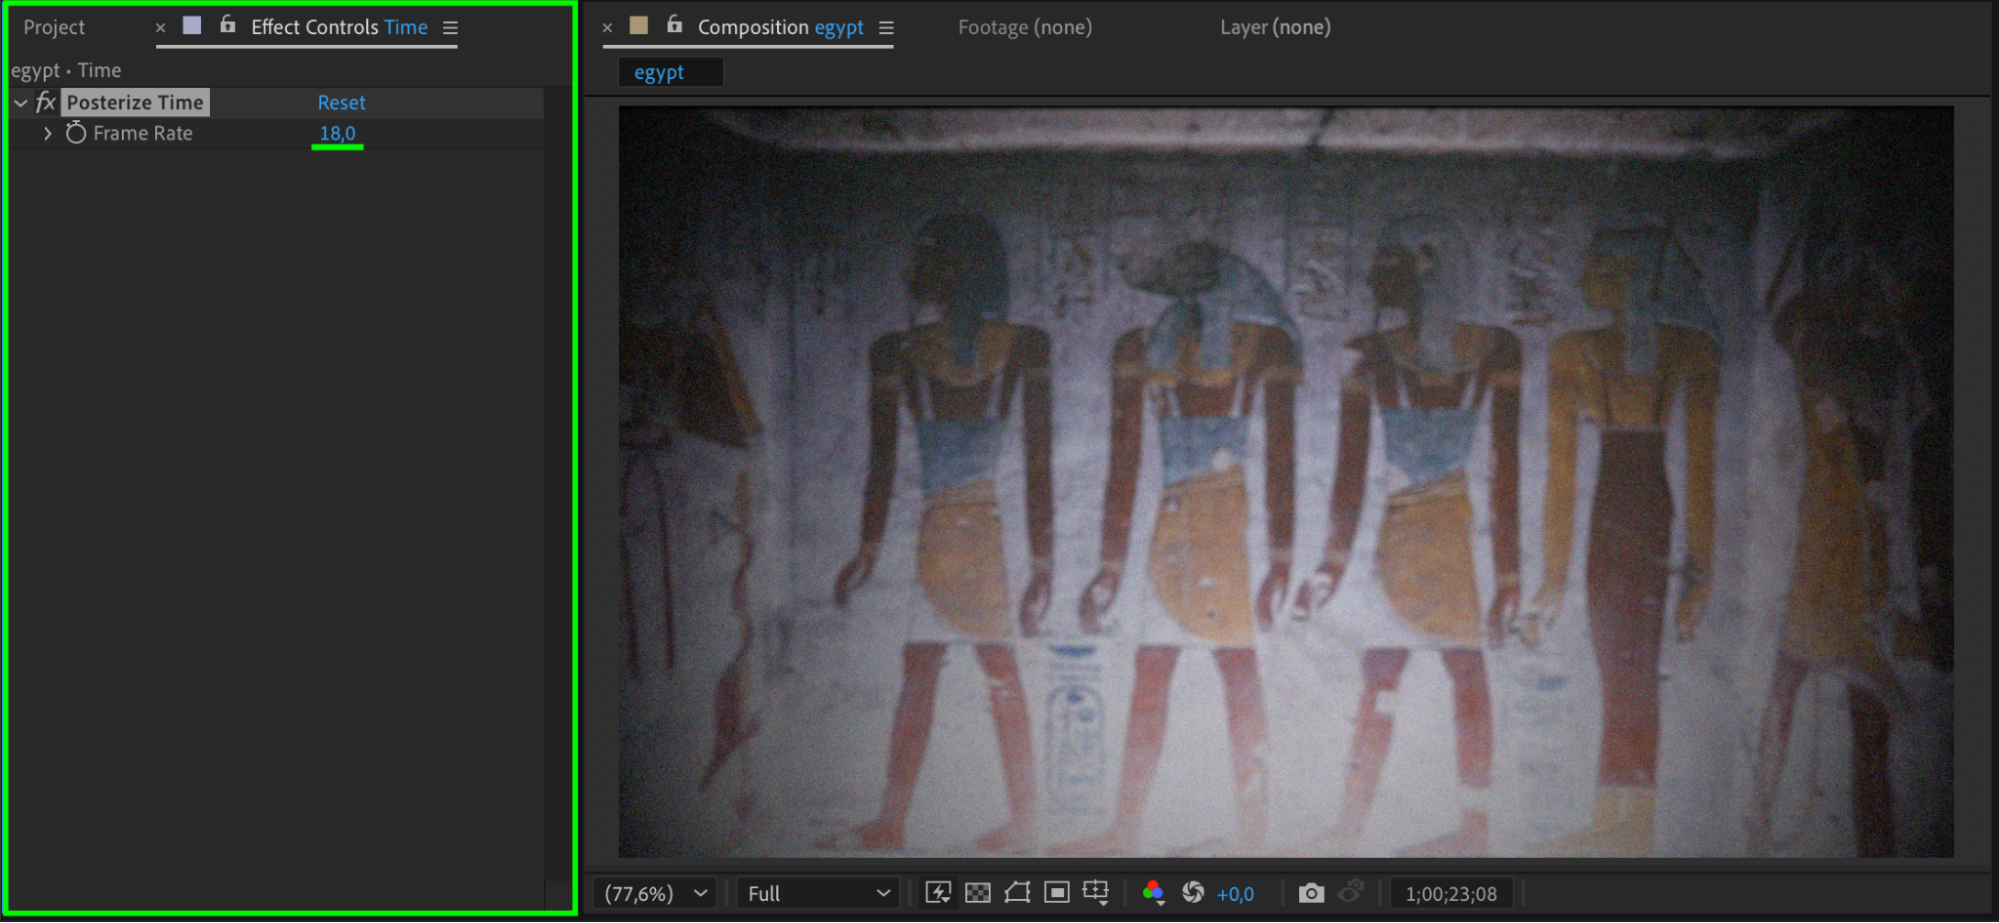
Apply the Posterize Time effect to the Time adjustment layer. Set the Frame Rate to 18 to mimic the lower frame rate of vintage film cameras.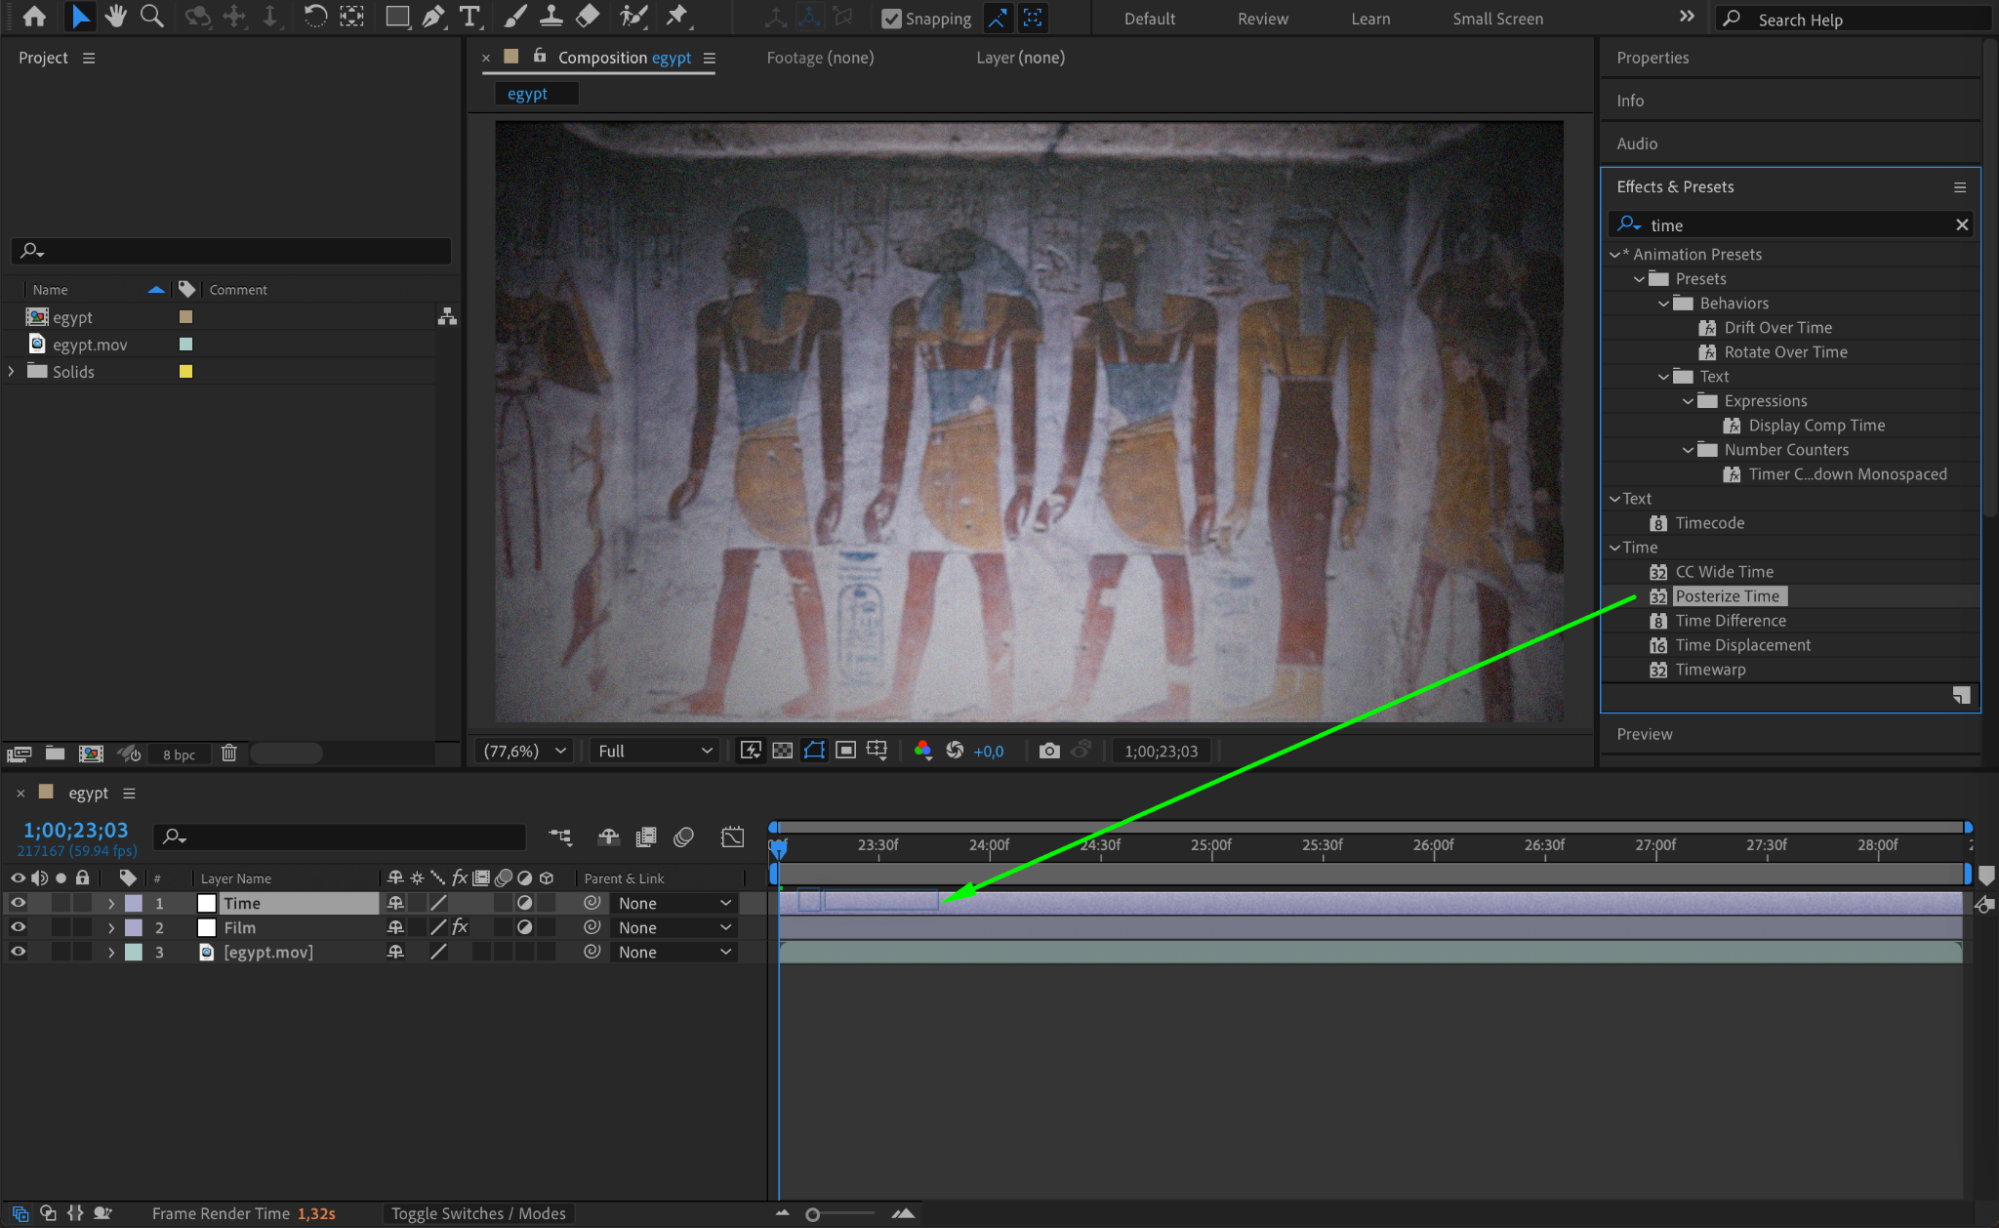
 12. Preview and Render
Press Spacebar to preview your animation. If the vintage look is as desired, go to Composition > Add to Render Queue and export your final video.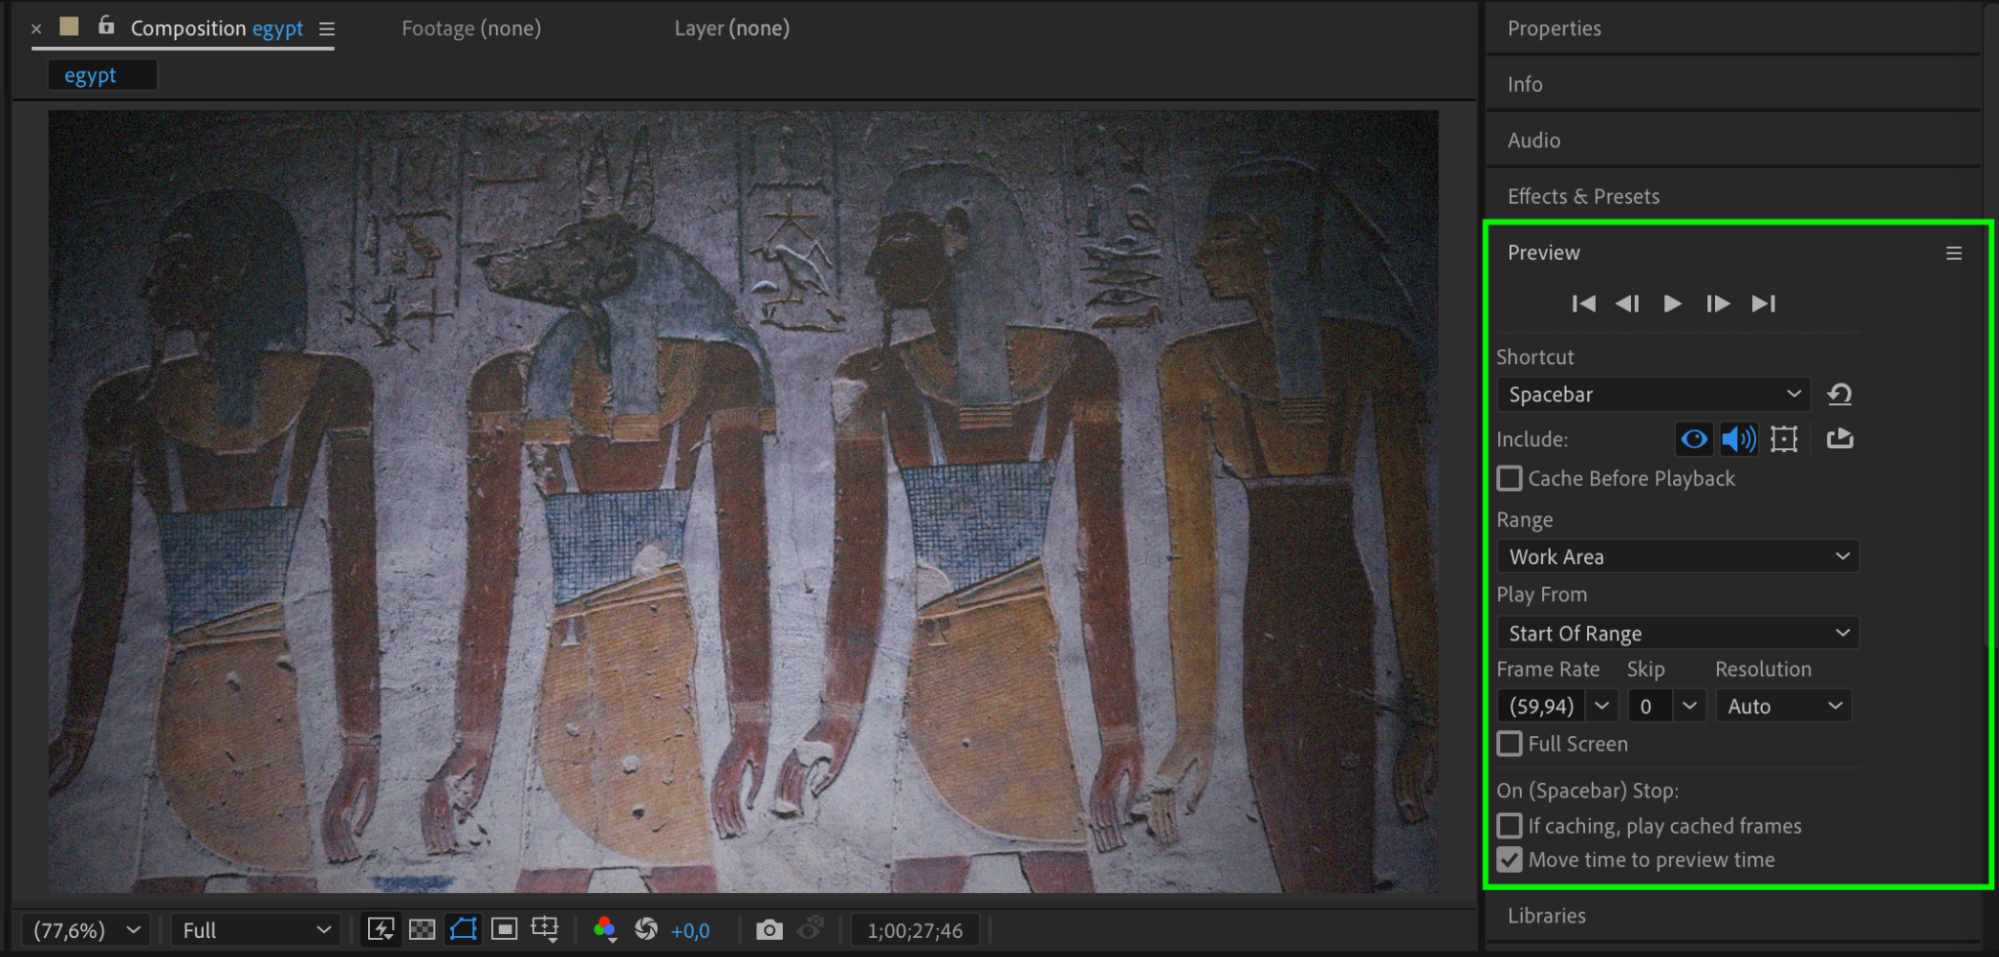
Conclusion
By following these steps, you can achieve a realistic old film effect in After Effects. This combination of jitter, noise, blur, and color adjustments will give your footage a nostalgic, cinematic look. Experiment with different settings to customize the effect to your n
Our Bestsellers


