Mastering Z Depth for Depth of Field Effects in After Effects
Introduction
Using Z Depth in After Effects helps create more realistic and cinematic depth of field effects. By extracting and manipulating depth information, you can simulate how a real camera lens blurs objects based on their distance from the camera. Let’s walk through a simple way to use Z Depth in your projects.
Step 1: Open Your Project
Start by opening your After Effects project that contains 3D layers like text, shapes, or other 3D elements. Make sure the layers have depth information enabled.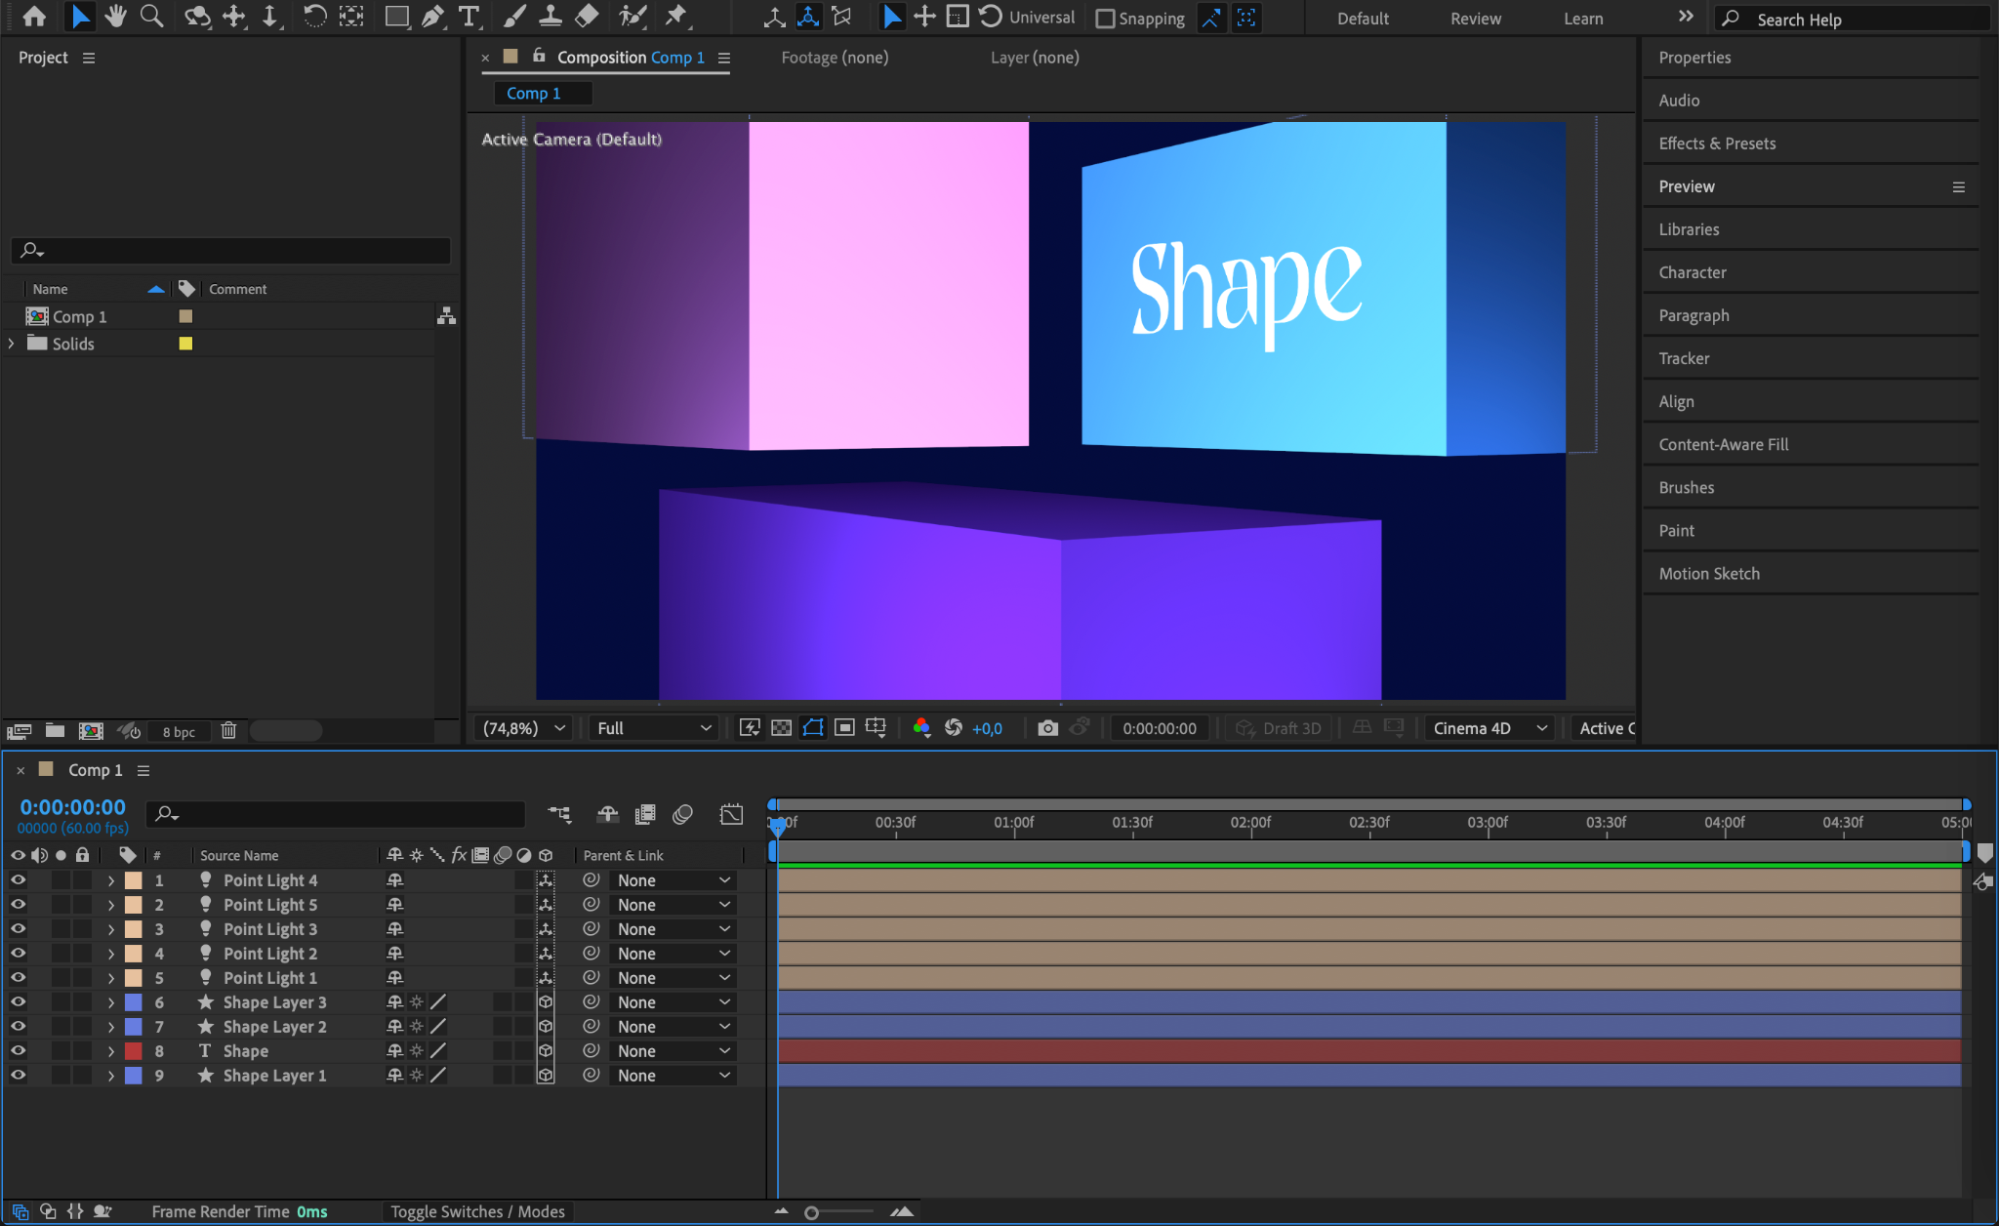 Step 2: Pre-Compose the Layers
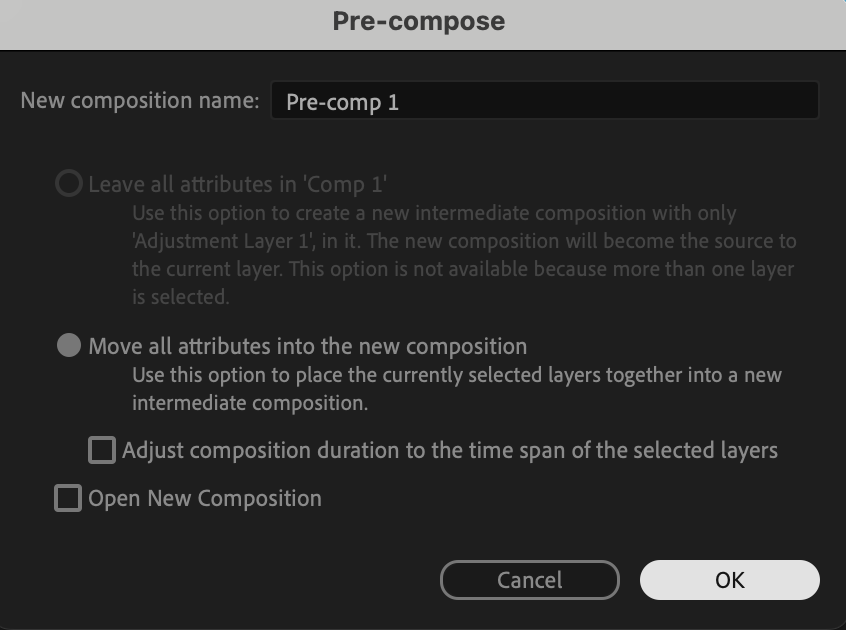
Select all the layers you want to work with. Right-click on them and choose Pre-Compose. This combines them into one composition and makes it easier to apply effects globally.
Get 10% off when you subscribe to our newsletter

Step 3: Apply 3D Channel Extract
Drag and drop the 3D Channel Extract effect from the Effects & Presets panel onto your pre-composed layer. This effect allows you to extract the depth information from your 3D scene.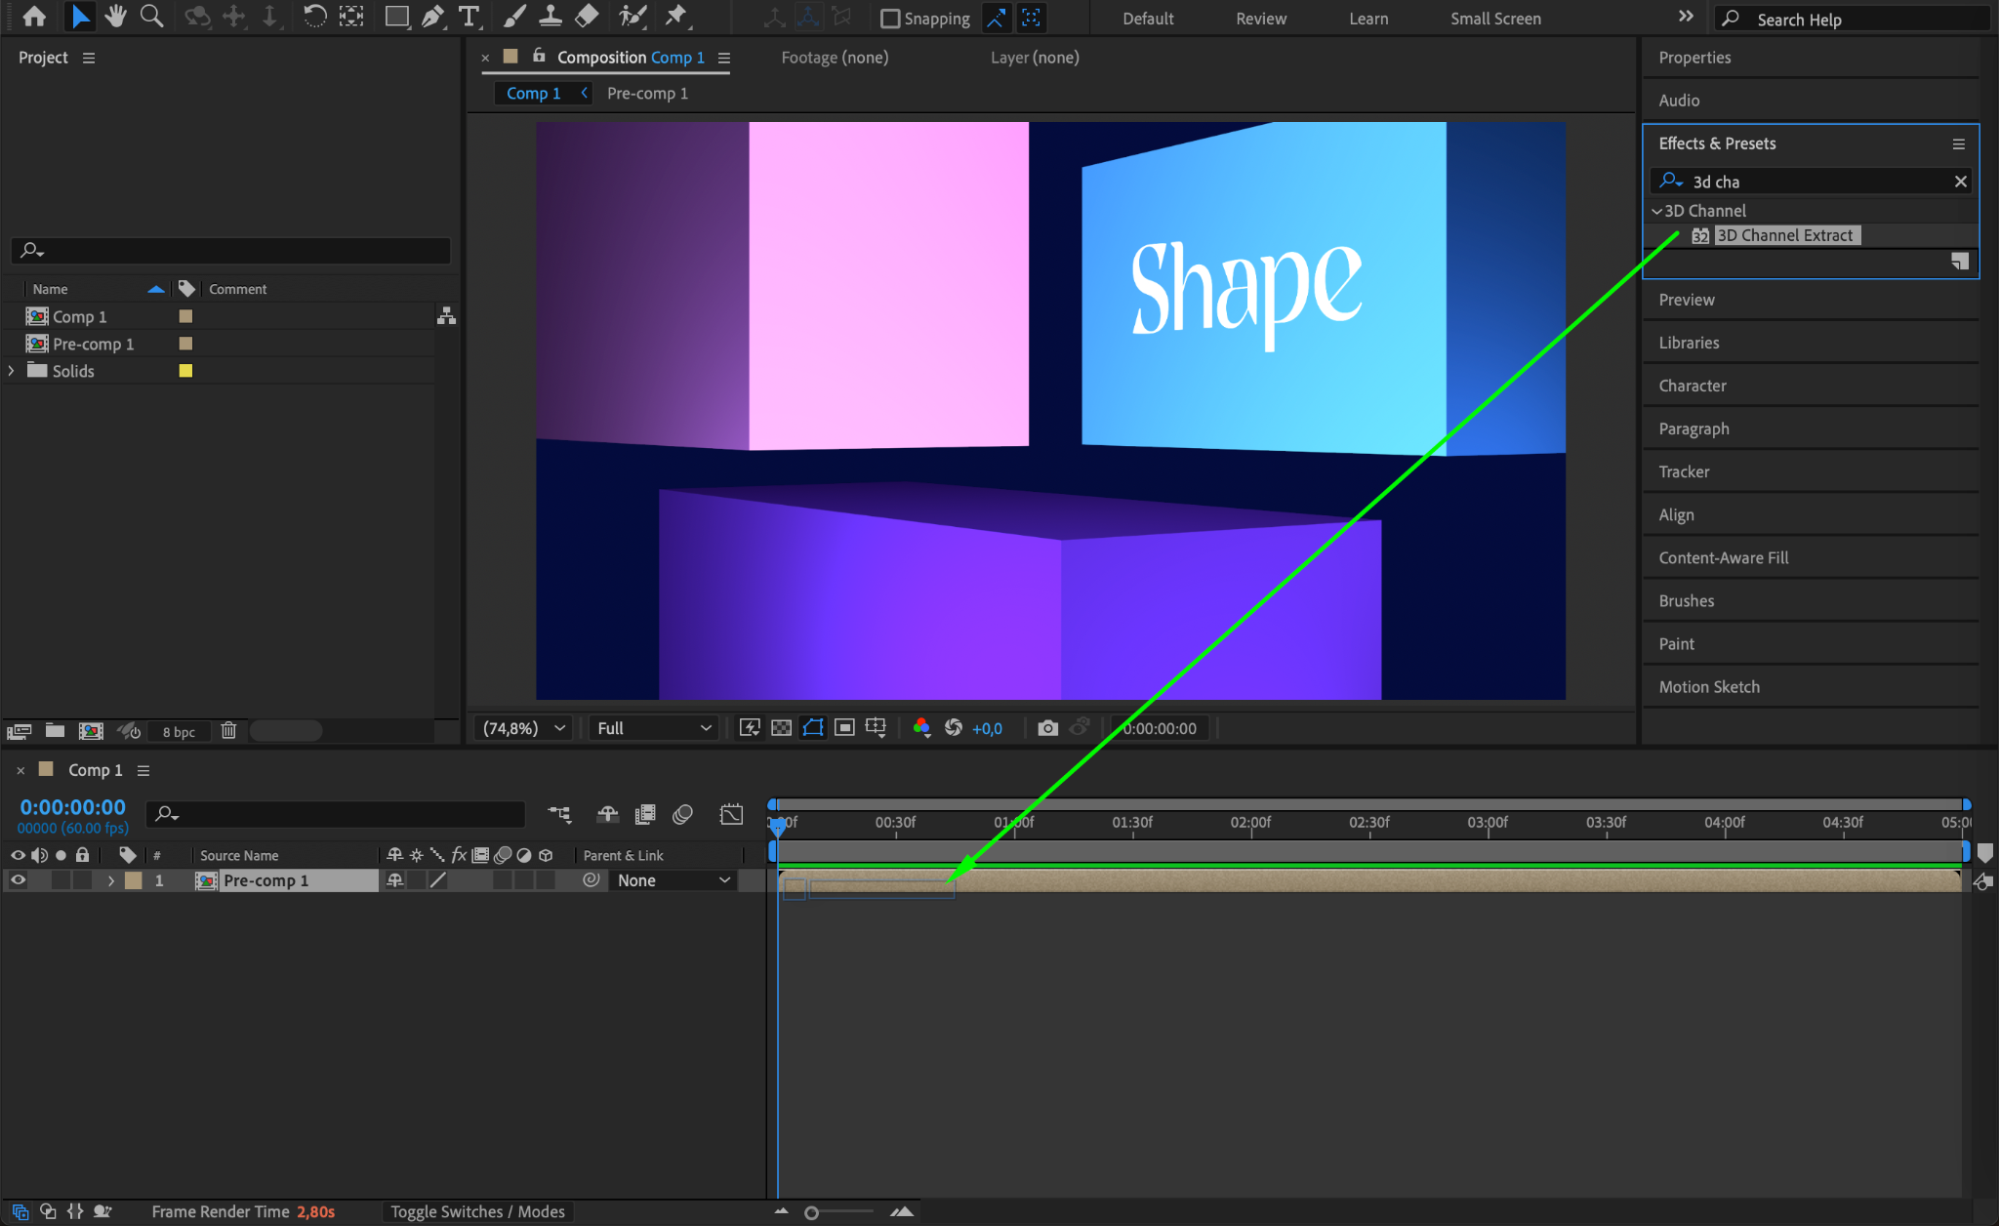 Step 4: Adjust the Black Point
In the Effect Controls panel, adjust the Black Point value. Set it around 3500 or tweak it until the depth information (the objects) becomes clearly visible. The Black Point defines the closest visible point.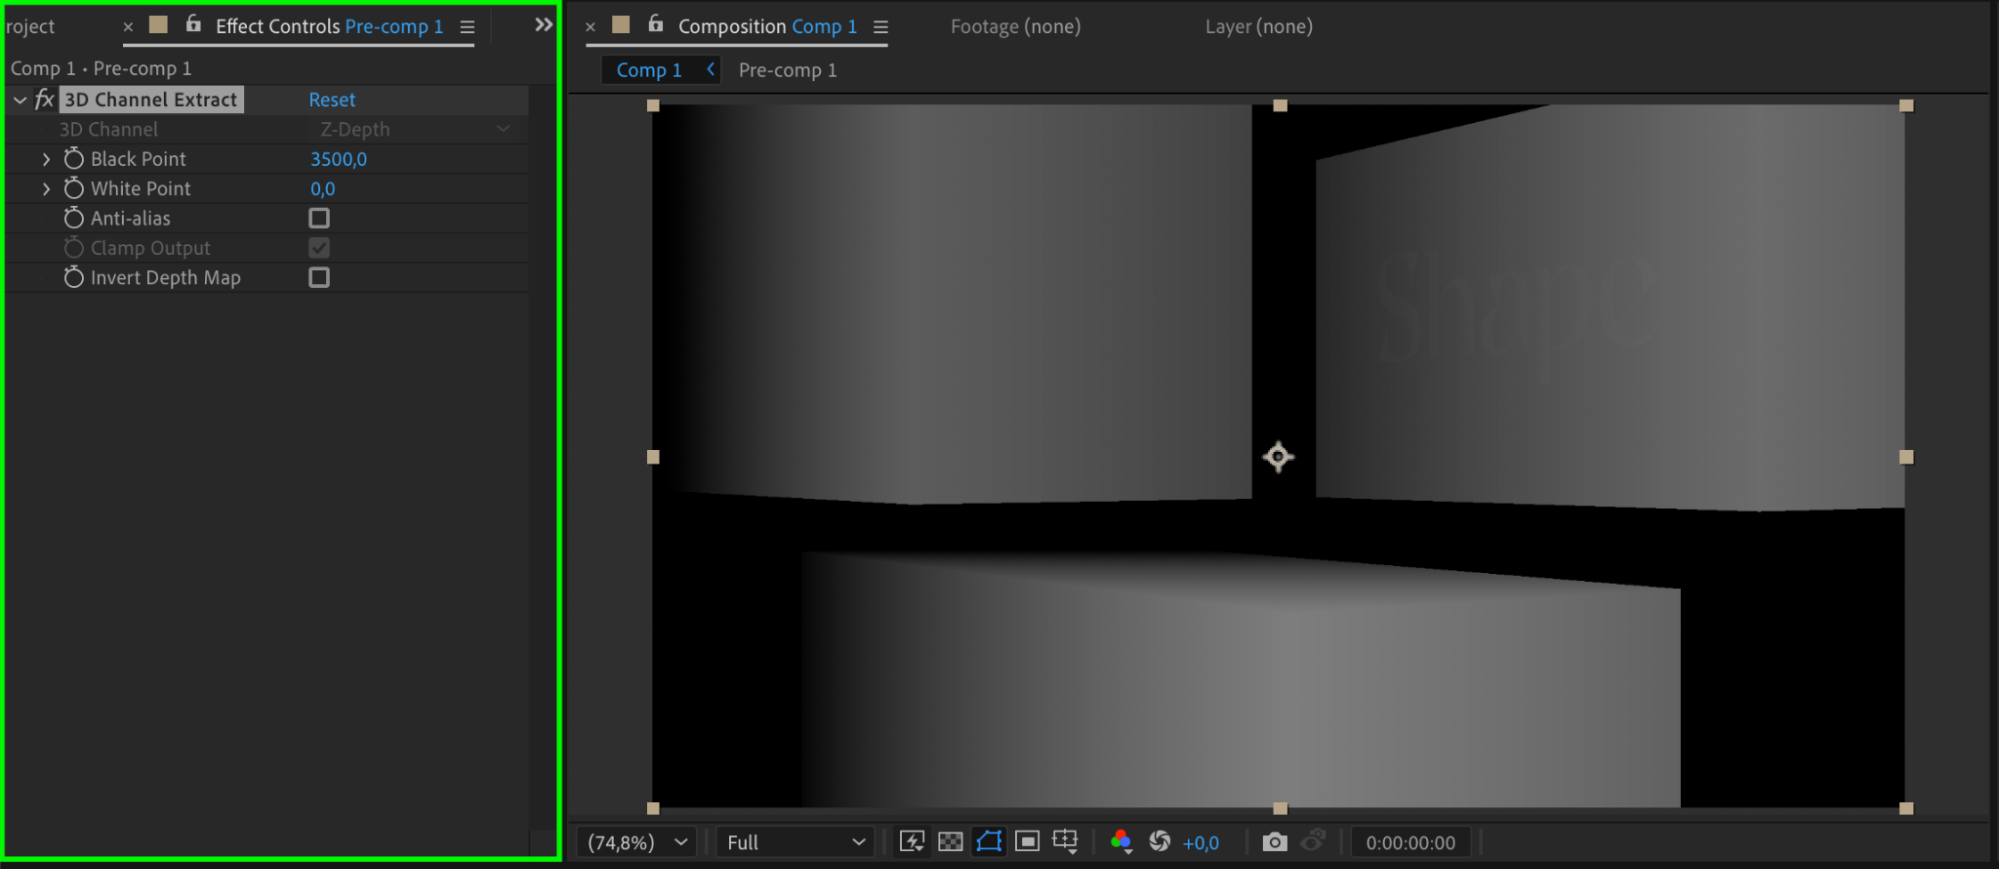 Step 5: Duplicate the Pre-Comp Layer
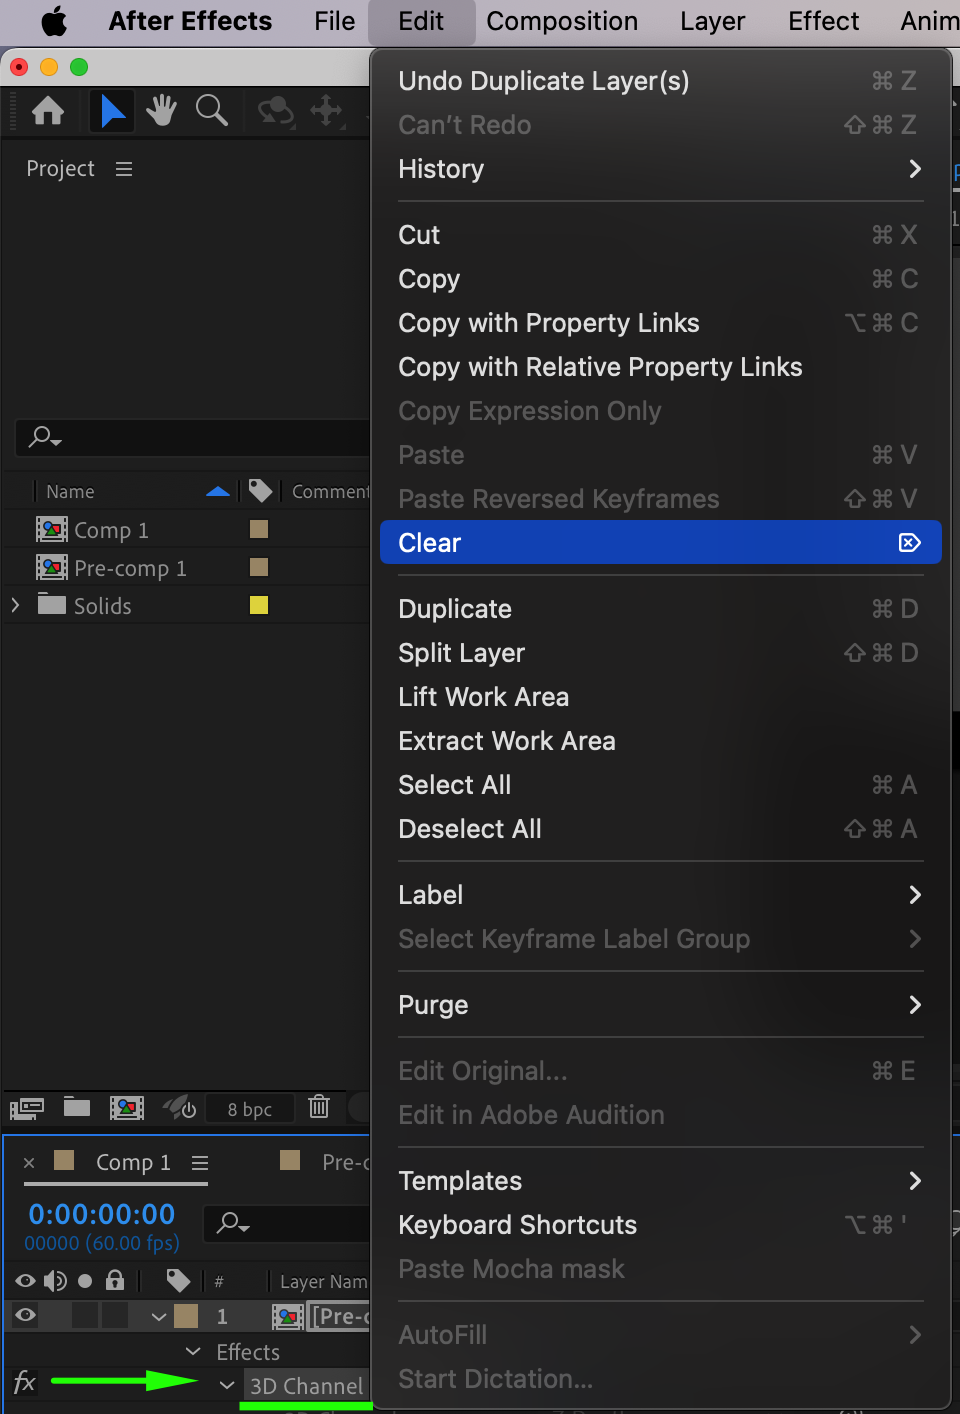
Duplicate your pre-composed layer by selecting it and pressing “Ctrl/Cmd + D”. On the duplicated layer, remove the 3D Channel Extract effect. This will preserve your original visual content while keeping the depth information separate.
 Step 6: Create a New Adjustment Layer
Go to Layer > New > Adjustment Layer. This new adjustment layer will hold the Lens Blur effect, allowing it to affect the entire scene without altering individual layers.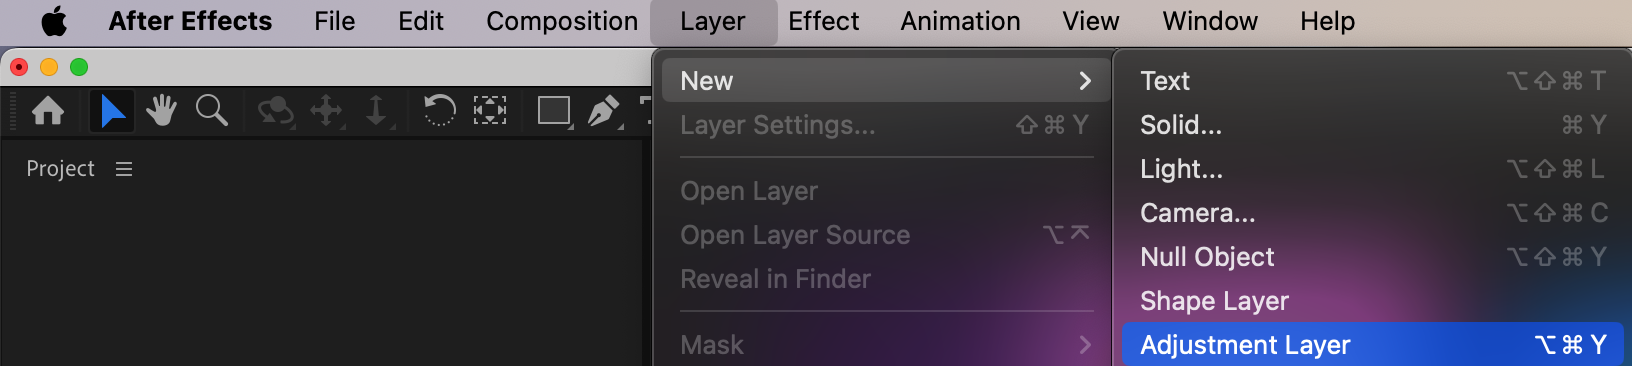
Step 7: Apply Lens Blur
Apply the Lens Blur effect to the adjustment layer. In the settings, choose Layer as the original pre-compose (the one with depth information). Set Blur Radius to around 33 to create a noticeable blur. Make sure to enable Effects & Masks so that the Lens Blur uses the extracted Z Depth.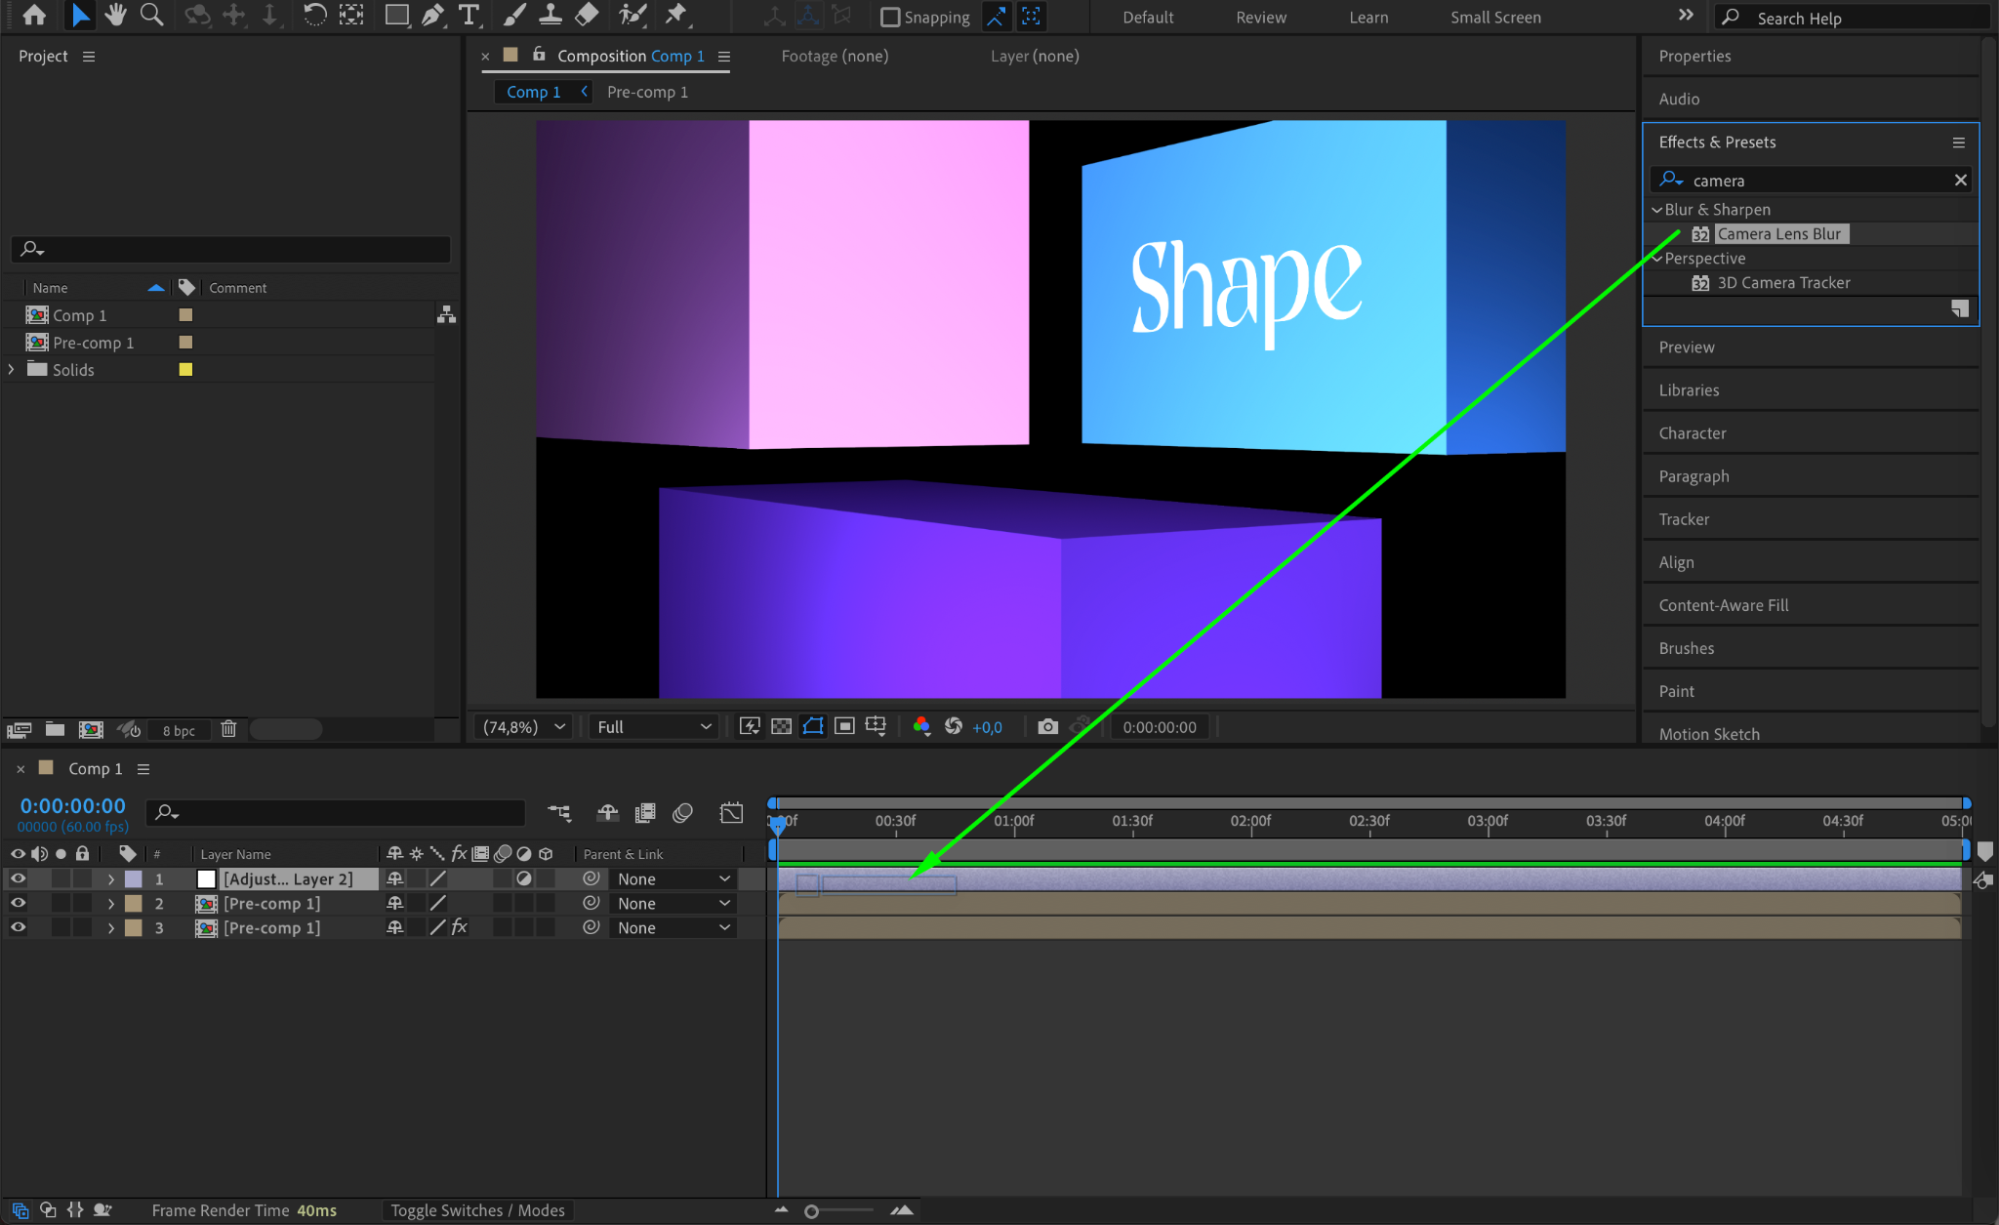
 Step 8: Fine-Tune Depth of Field
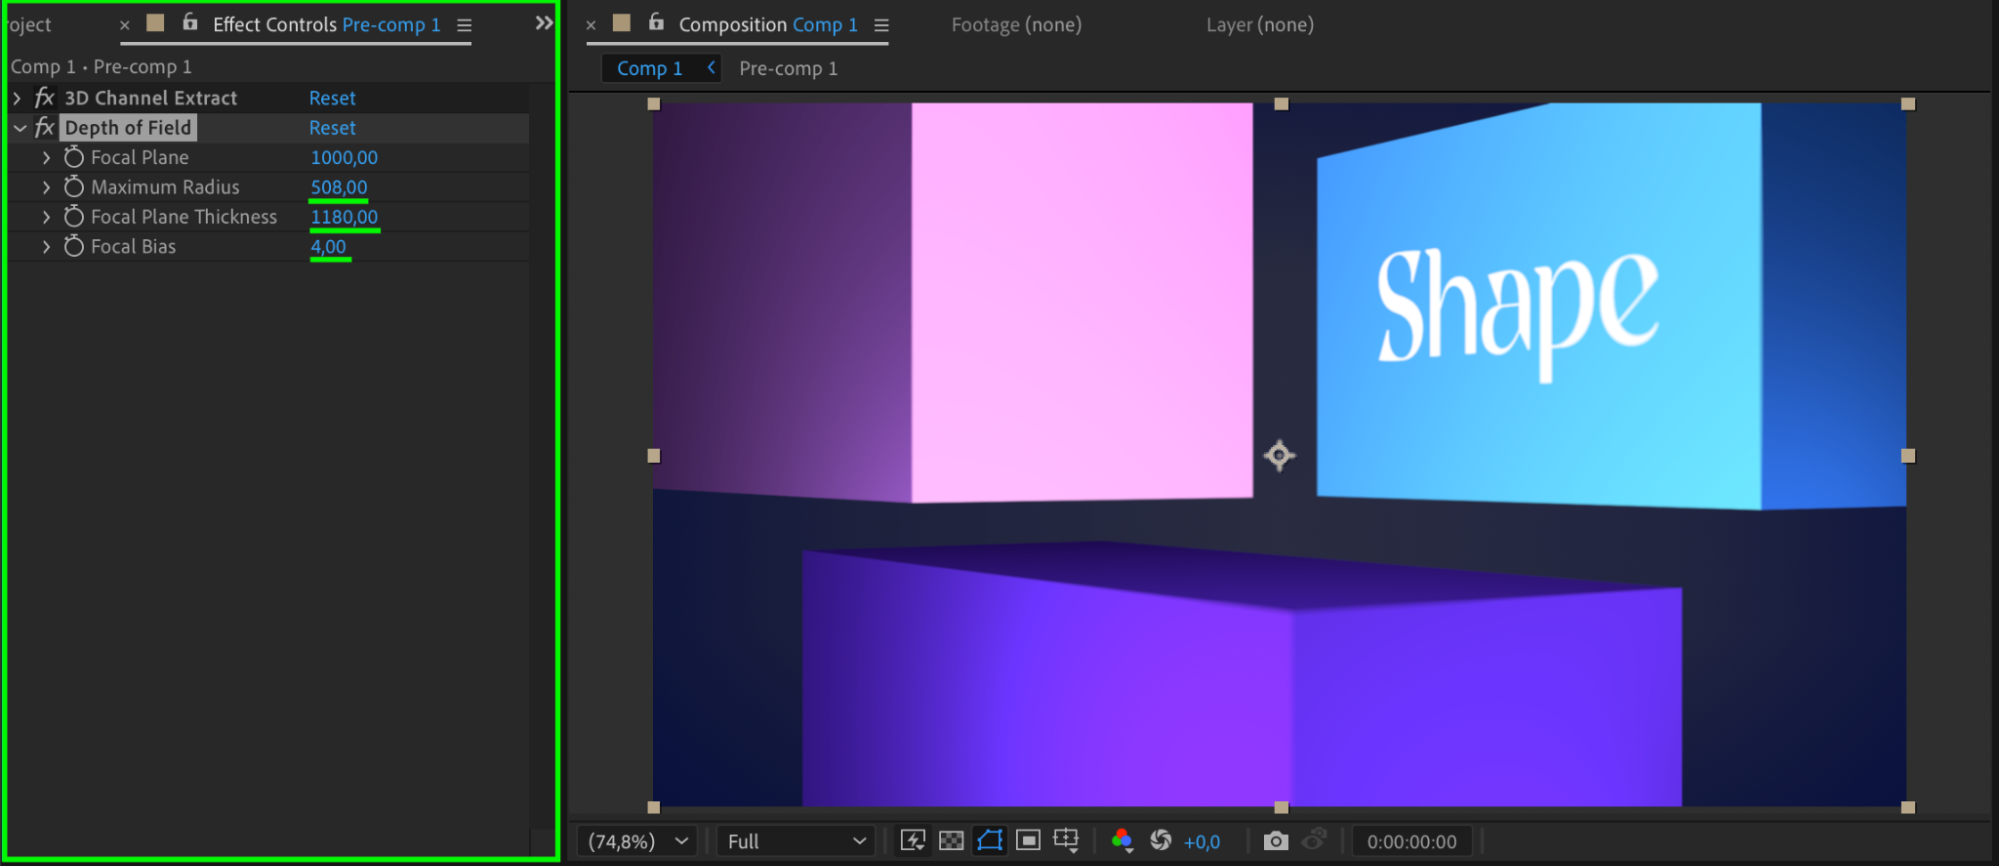
You can further enhance realism by enabling and adjusting Depth of Field settings. Increase the Maximum Radius and tweak other parameters to control how the blur behaves based on distance.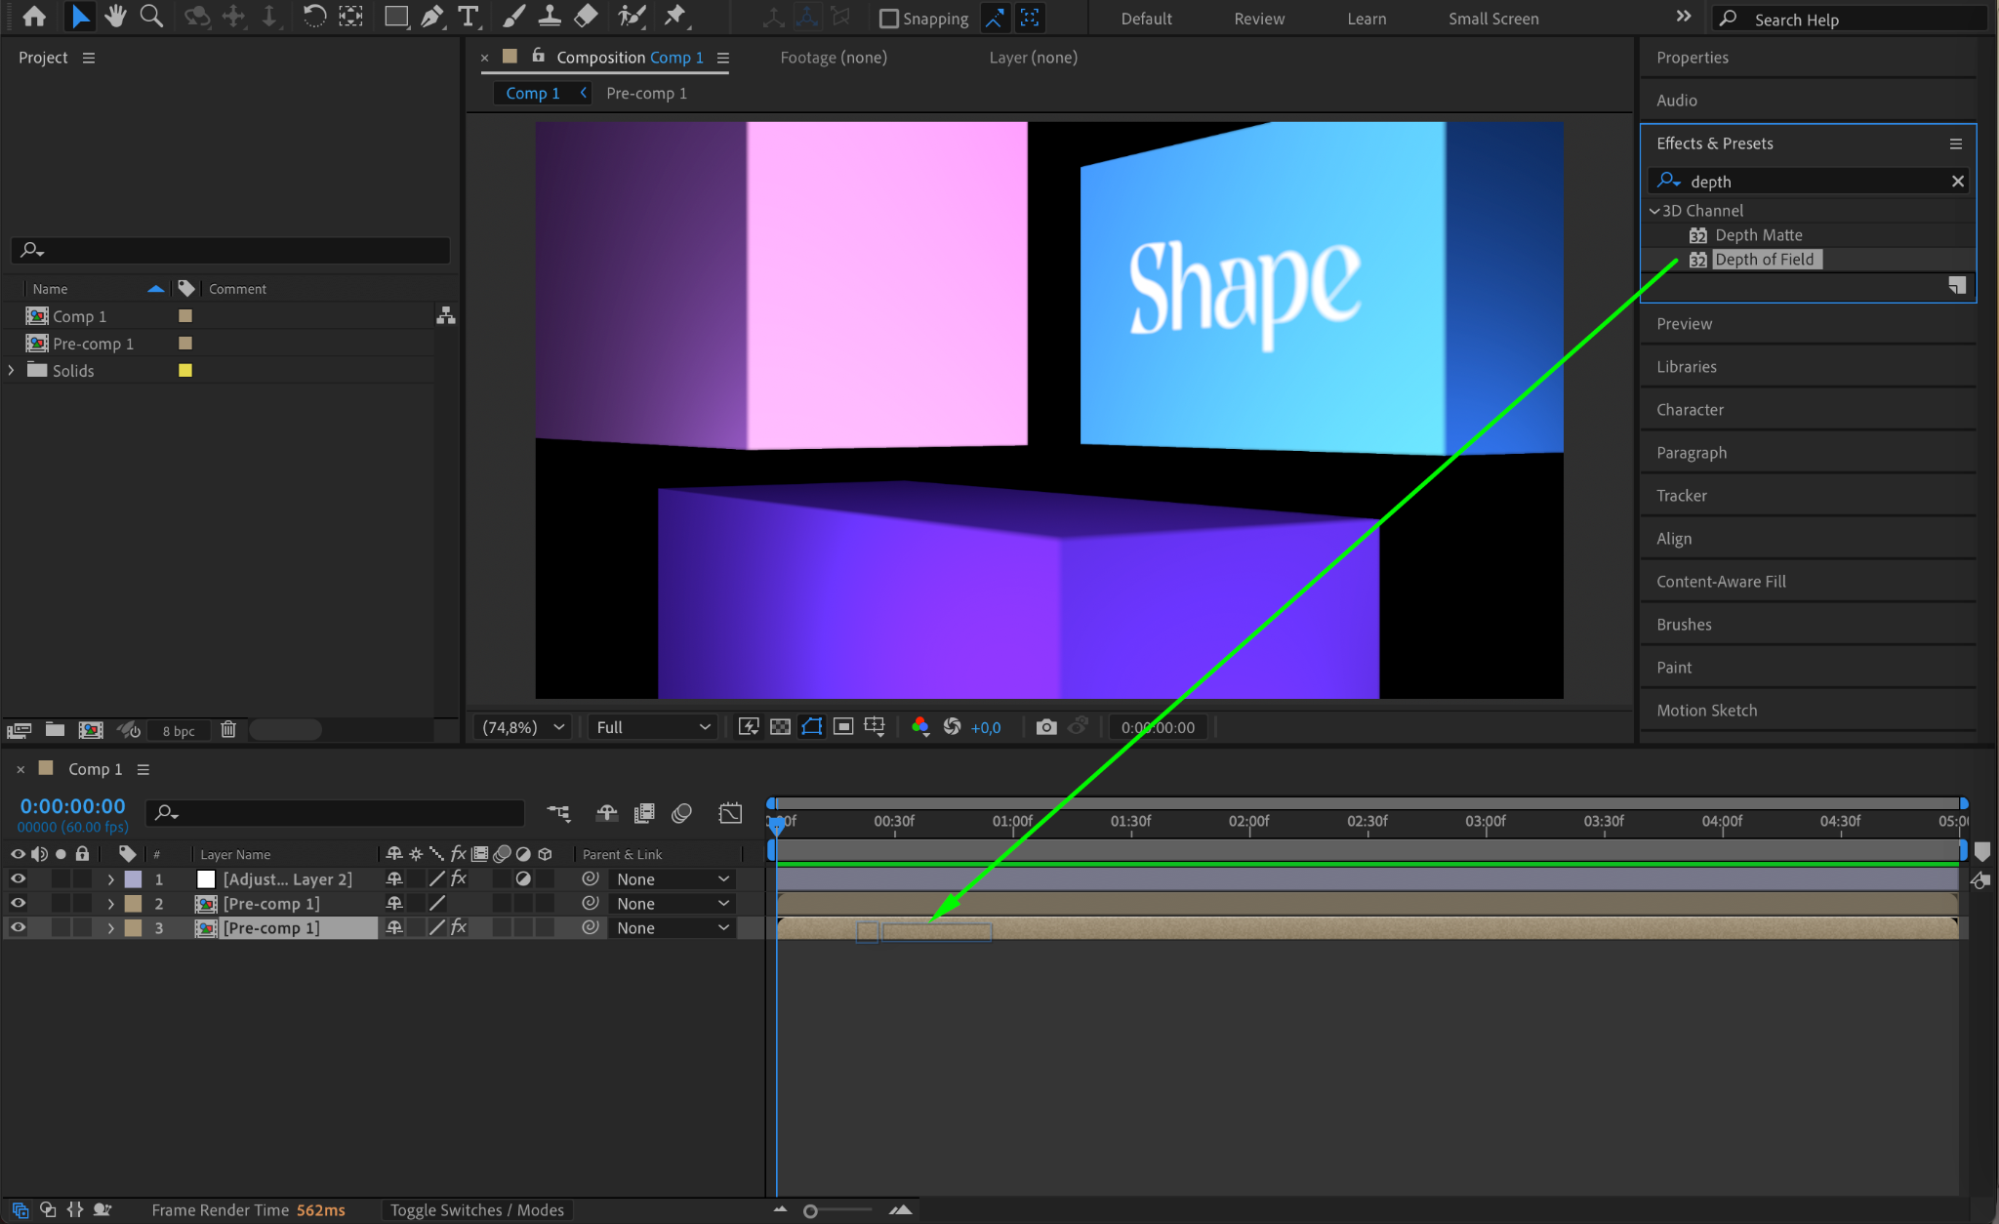
 Step 9: Preview Your Composition
After setting up the Z Depth and Lens Blur, play back your composition to see the effect in motion. Watch how the focus shifts between objects at different distances. If the blur feels too strong or too weak, go back and fine-tune the Lens Blur or Z Depth settings for a more natural look. Conclusion
Using Z Depth in After Effects allows you to simulate realistic camera focus and depth of field. By extracting depth data and combining it with effects like Lens Blur, you can create professional, cinematic visuals that add depth and dimension to your projects. With a few adjustments, your compositions can look more dynamic and visually engaging.


