Creating Magical Effects with Evolution Animation
Introduction
The Evolution property in Adobe After Effects is often used to create dynamic, constantly changing effects such as moving textures, distortions, or magical appearances. By animating Evolution, you can make objects seem to form, disappear, or pulse in a very natural way. In this guide, you’ll learn how to use Evolution step-by-step to enhance your projects.
Step 1: Open Your Project
Start by opening the After Effects project where you want to create an animated effect. Make sure the layer you want to edit is ready in your timeline.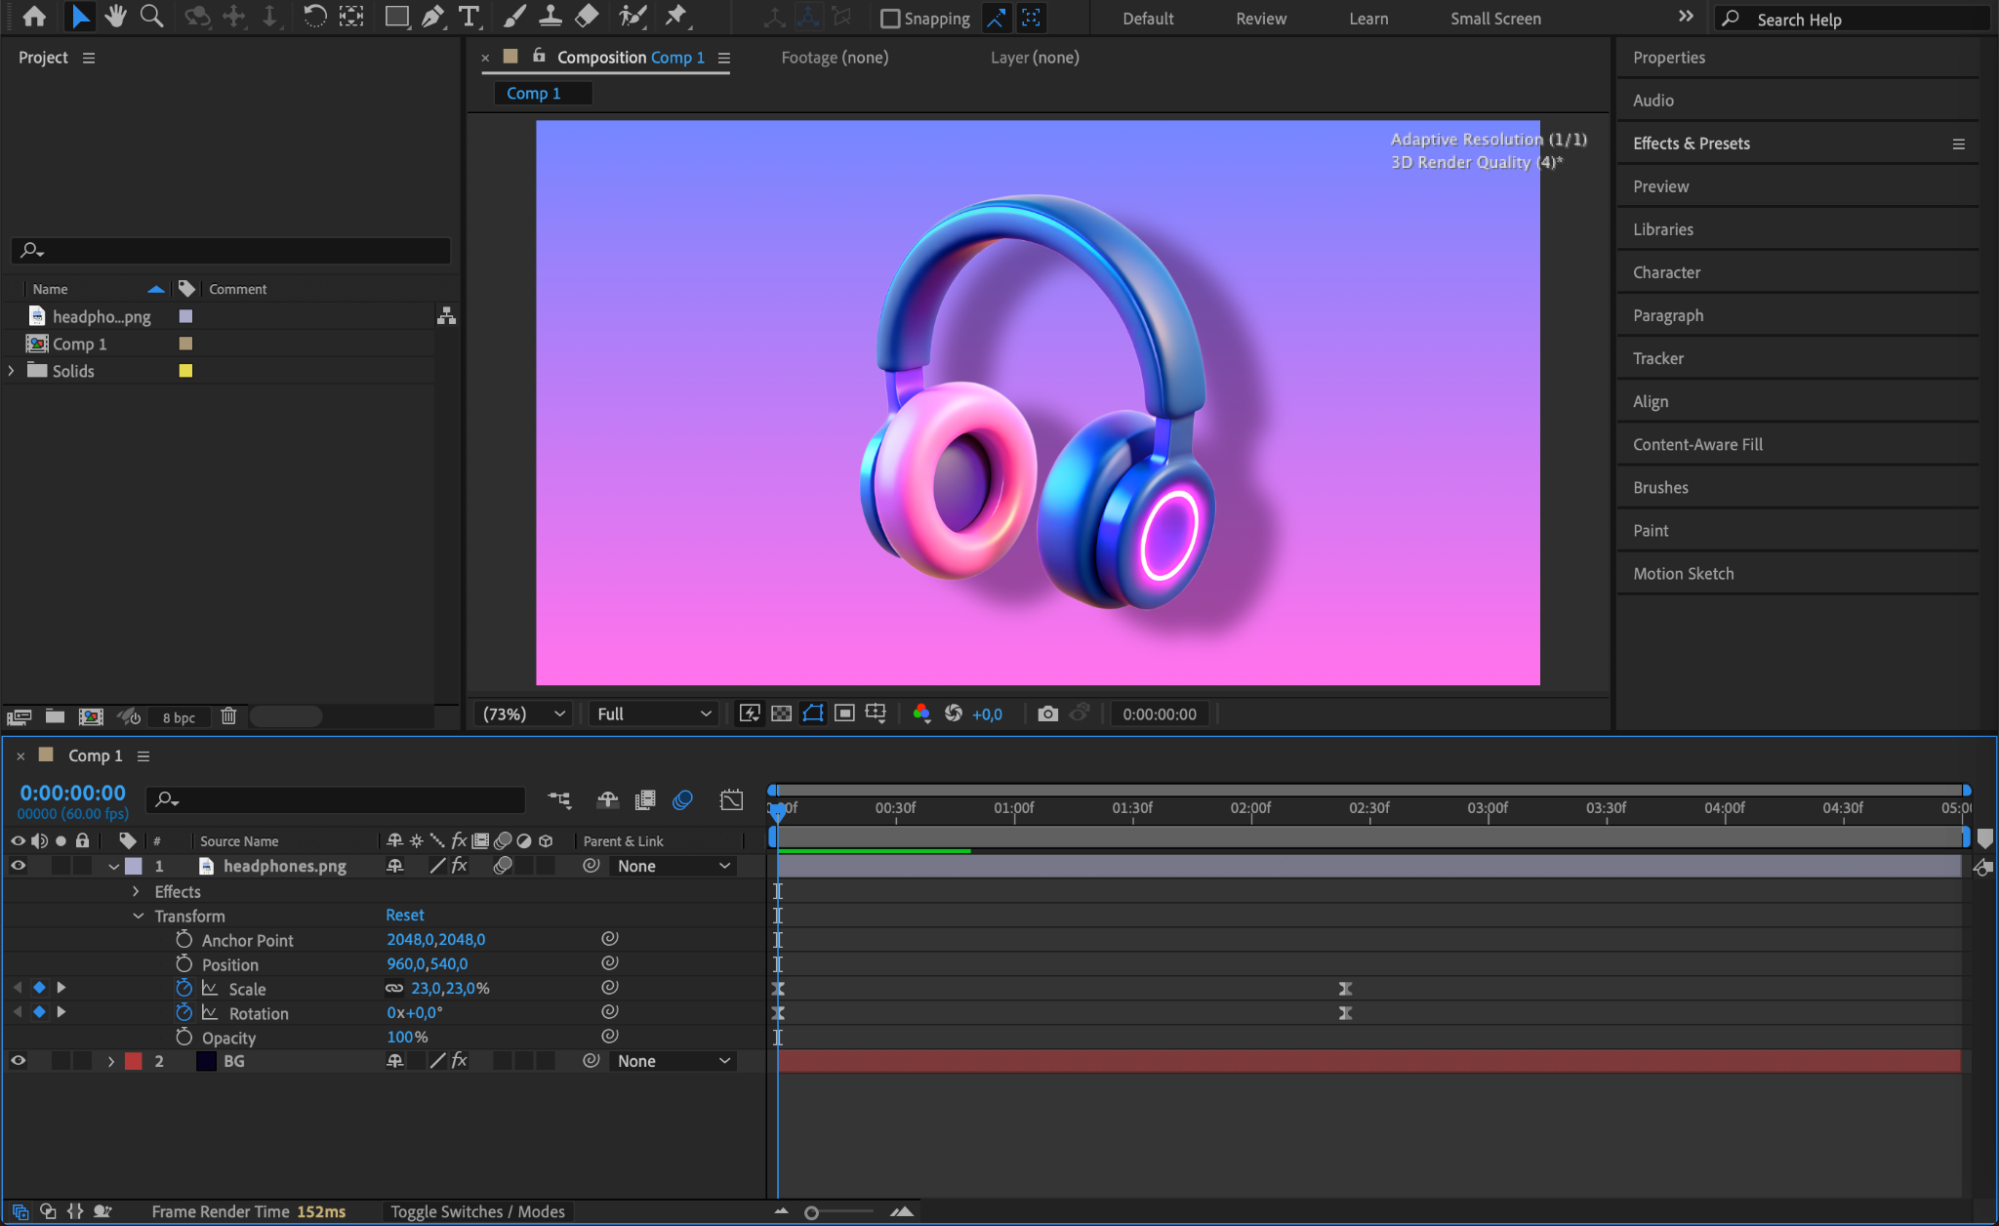 Step 2: Apply an Effect with Evolution
Go to the Effects & Presets panel and search for an effect that contains the Evolution property, such as Turbulent Displace. Drag the effect onto your chosen layer to apply it.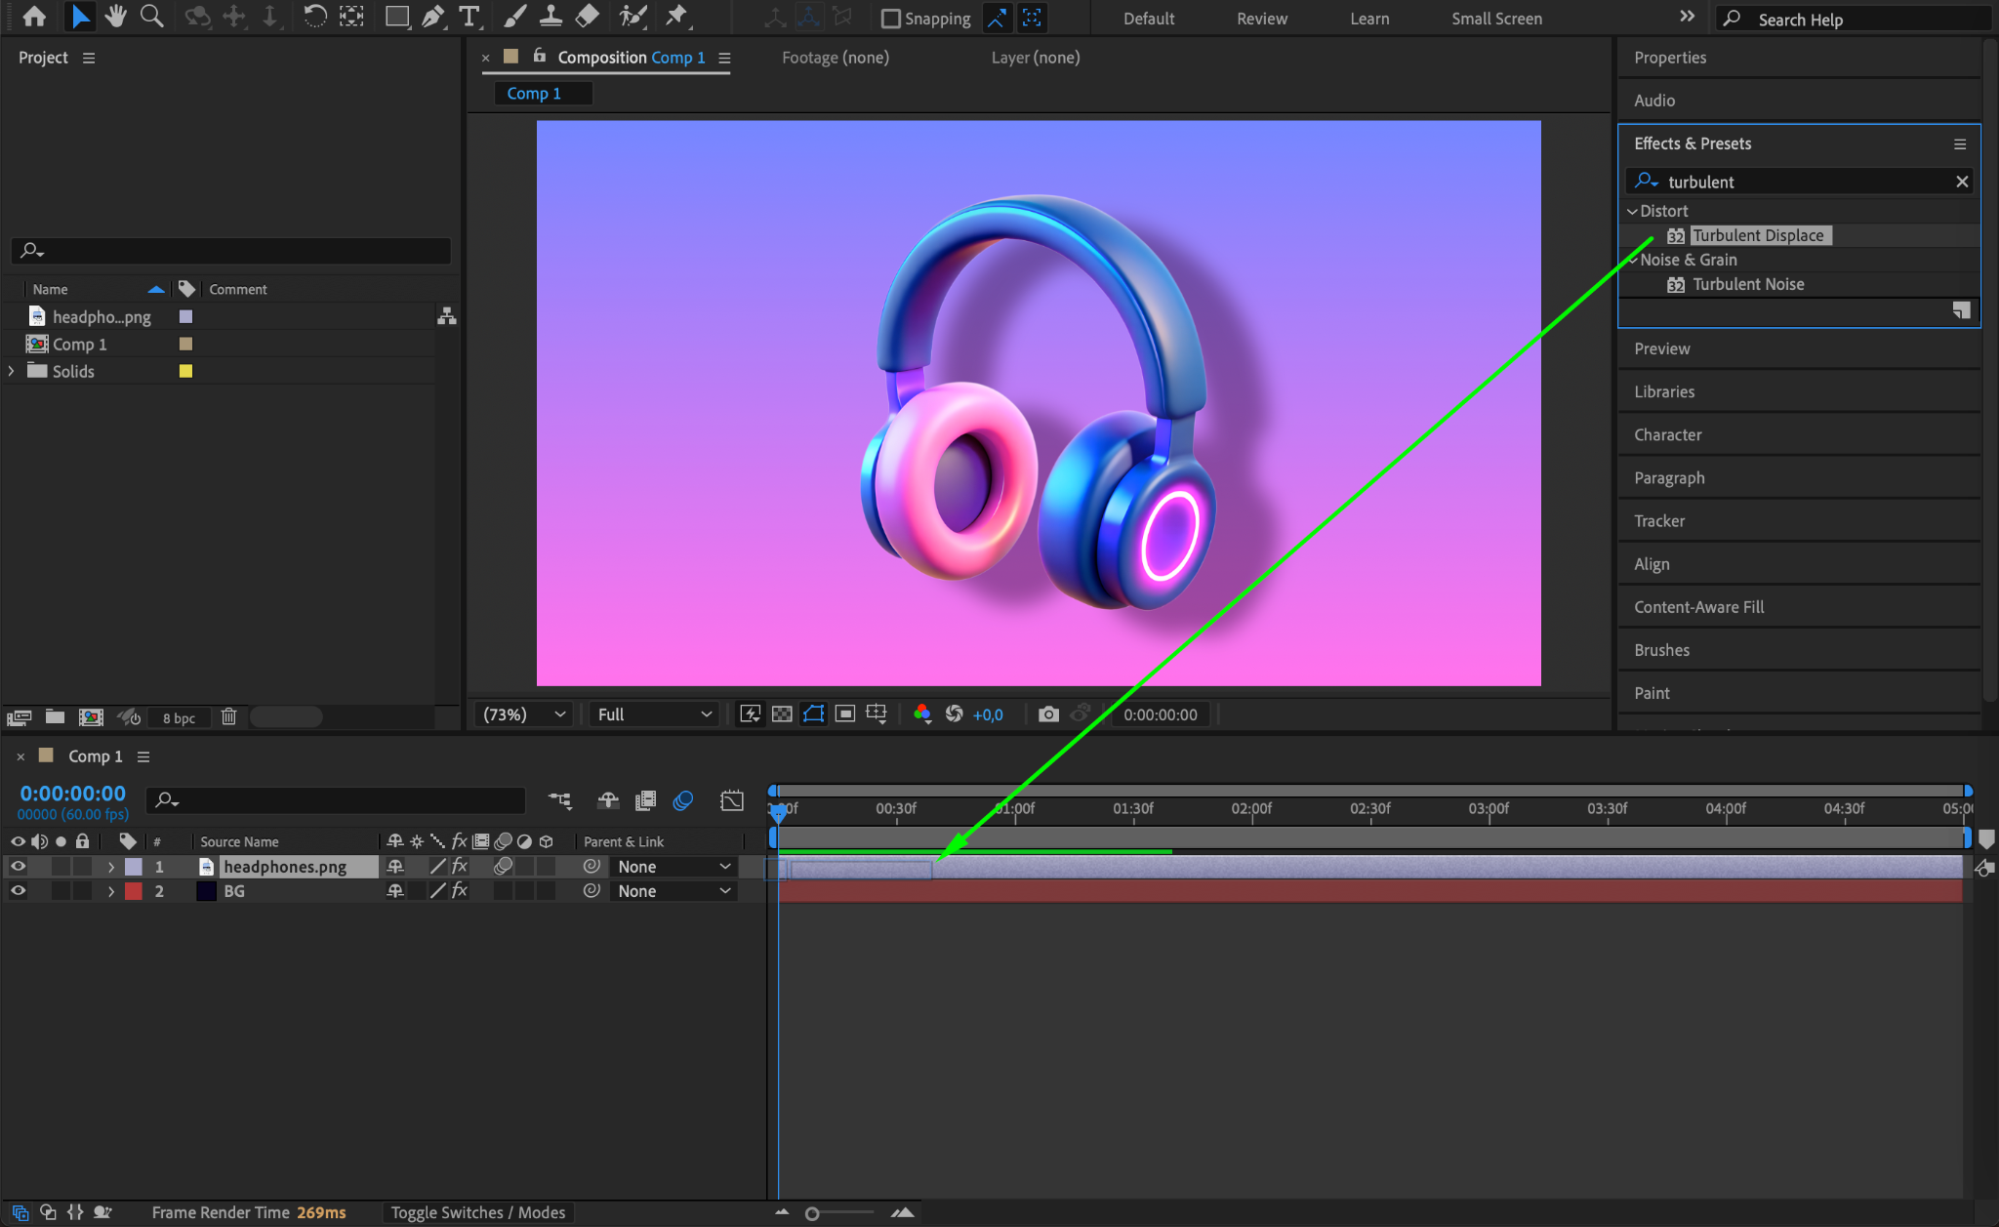
Get 10% off when you subscribe to our newsletter

Step 3: Customize the Effect’s Appearance
With your layer selected, go to the Effect Controls panel. Here, you can adjust settings like Amount, Size, and Offset to design the initial look of your distortion or texture before animating the Evolution.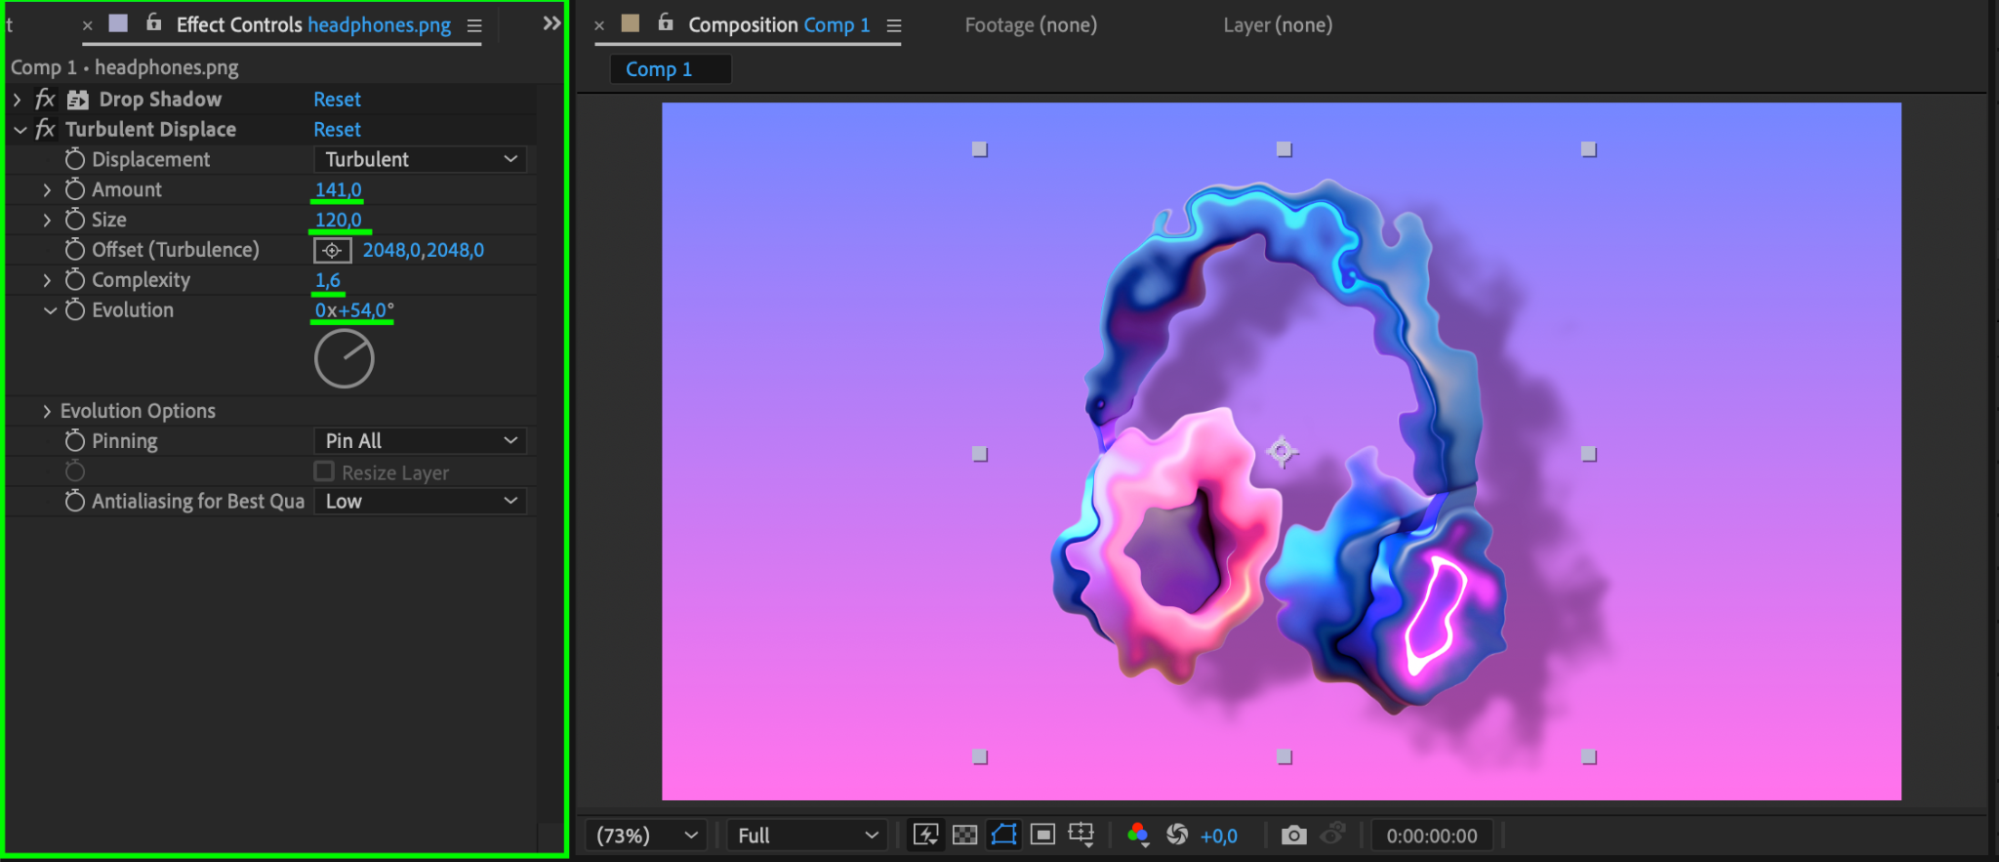 Step 4: Animate the Evolution Property
Click the stopwatch icon next to the Evolution parameter to create a keyframe. Move the CTI (Current Time Indicator) forward and change the Evolution value. You can also animate Opacity along with Evolution to create a more magical appearing effect.
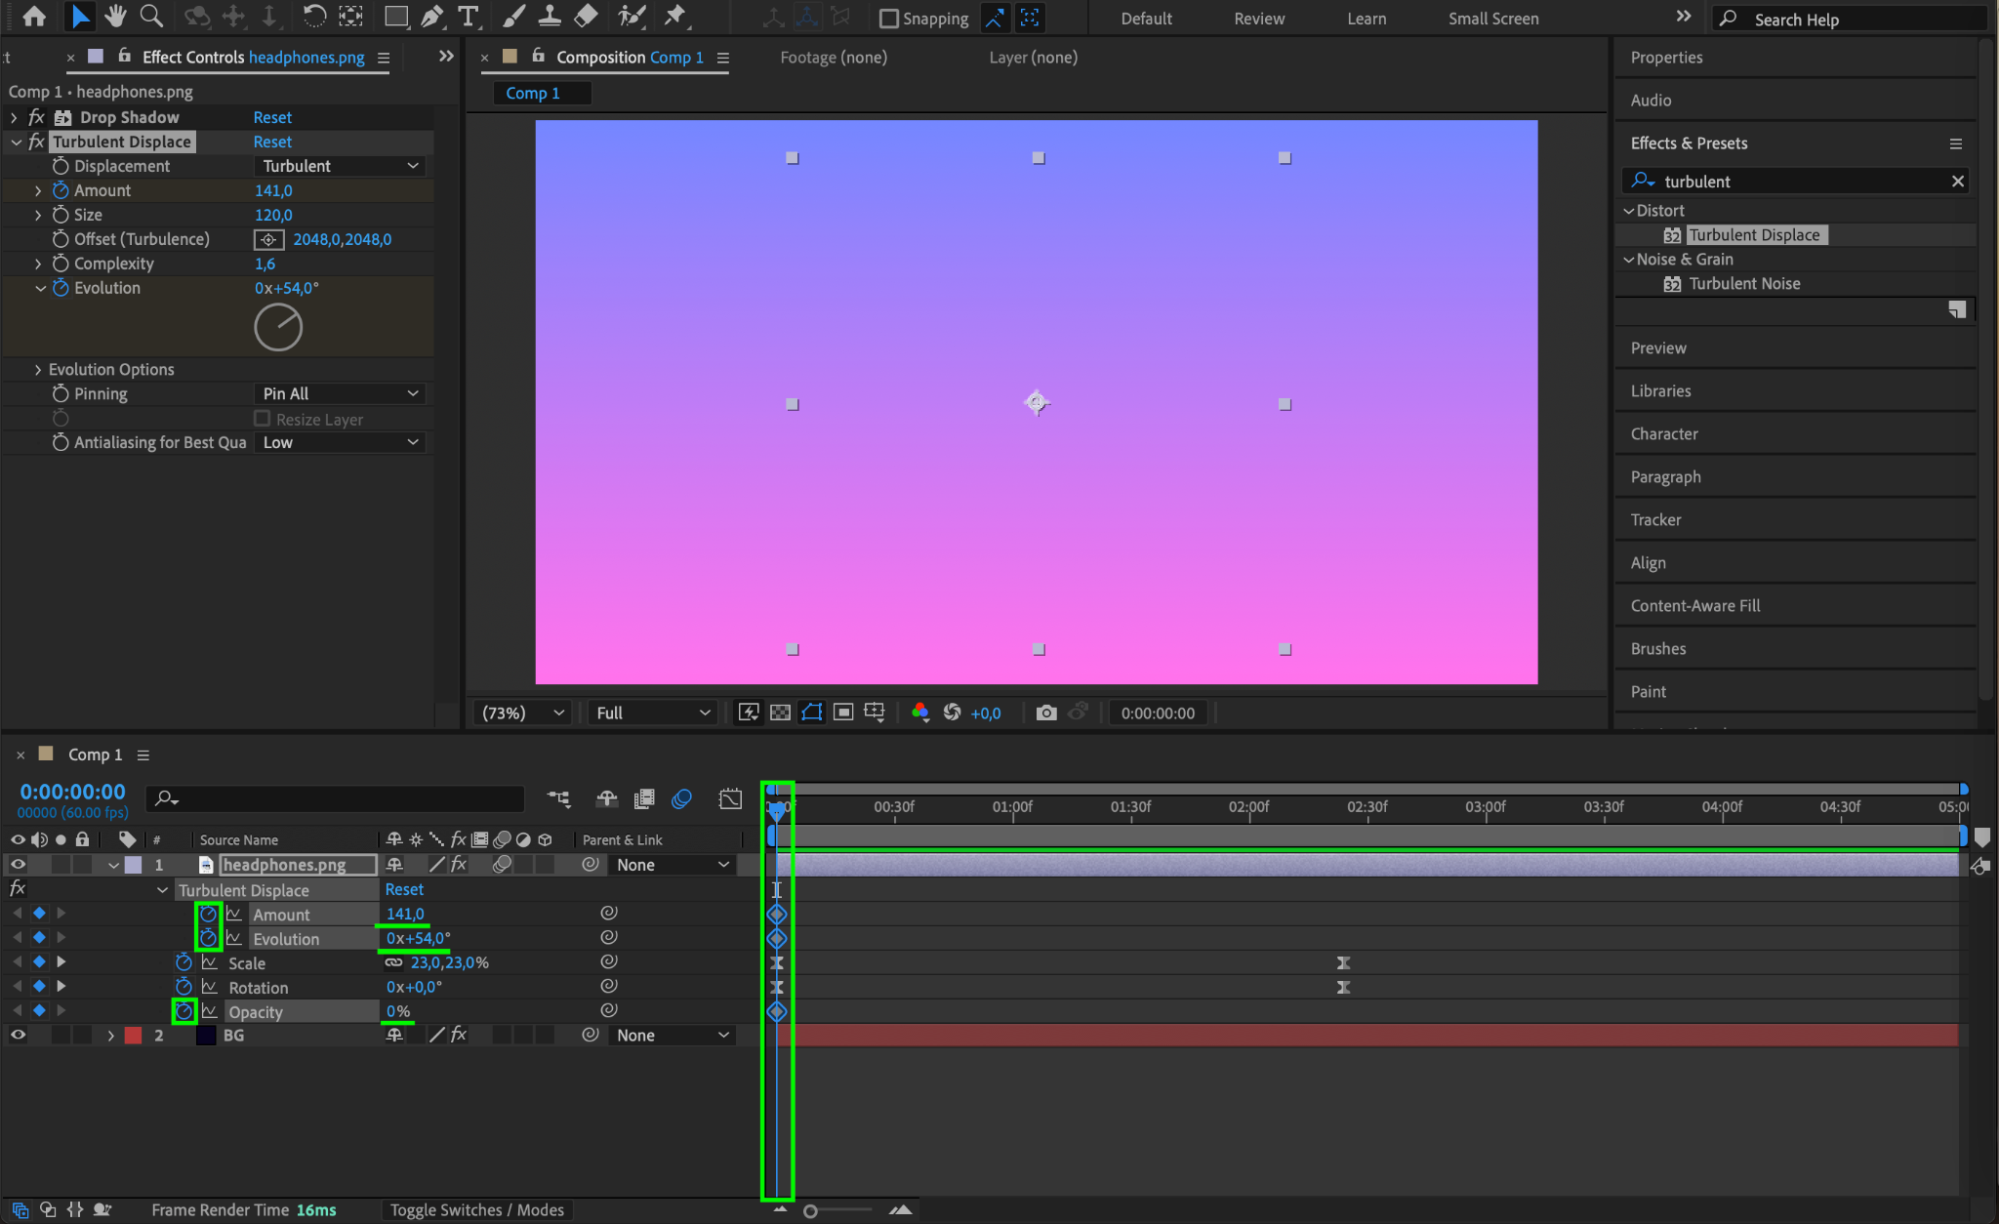
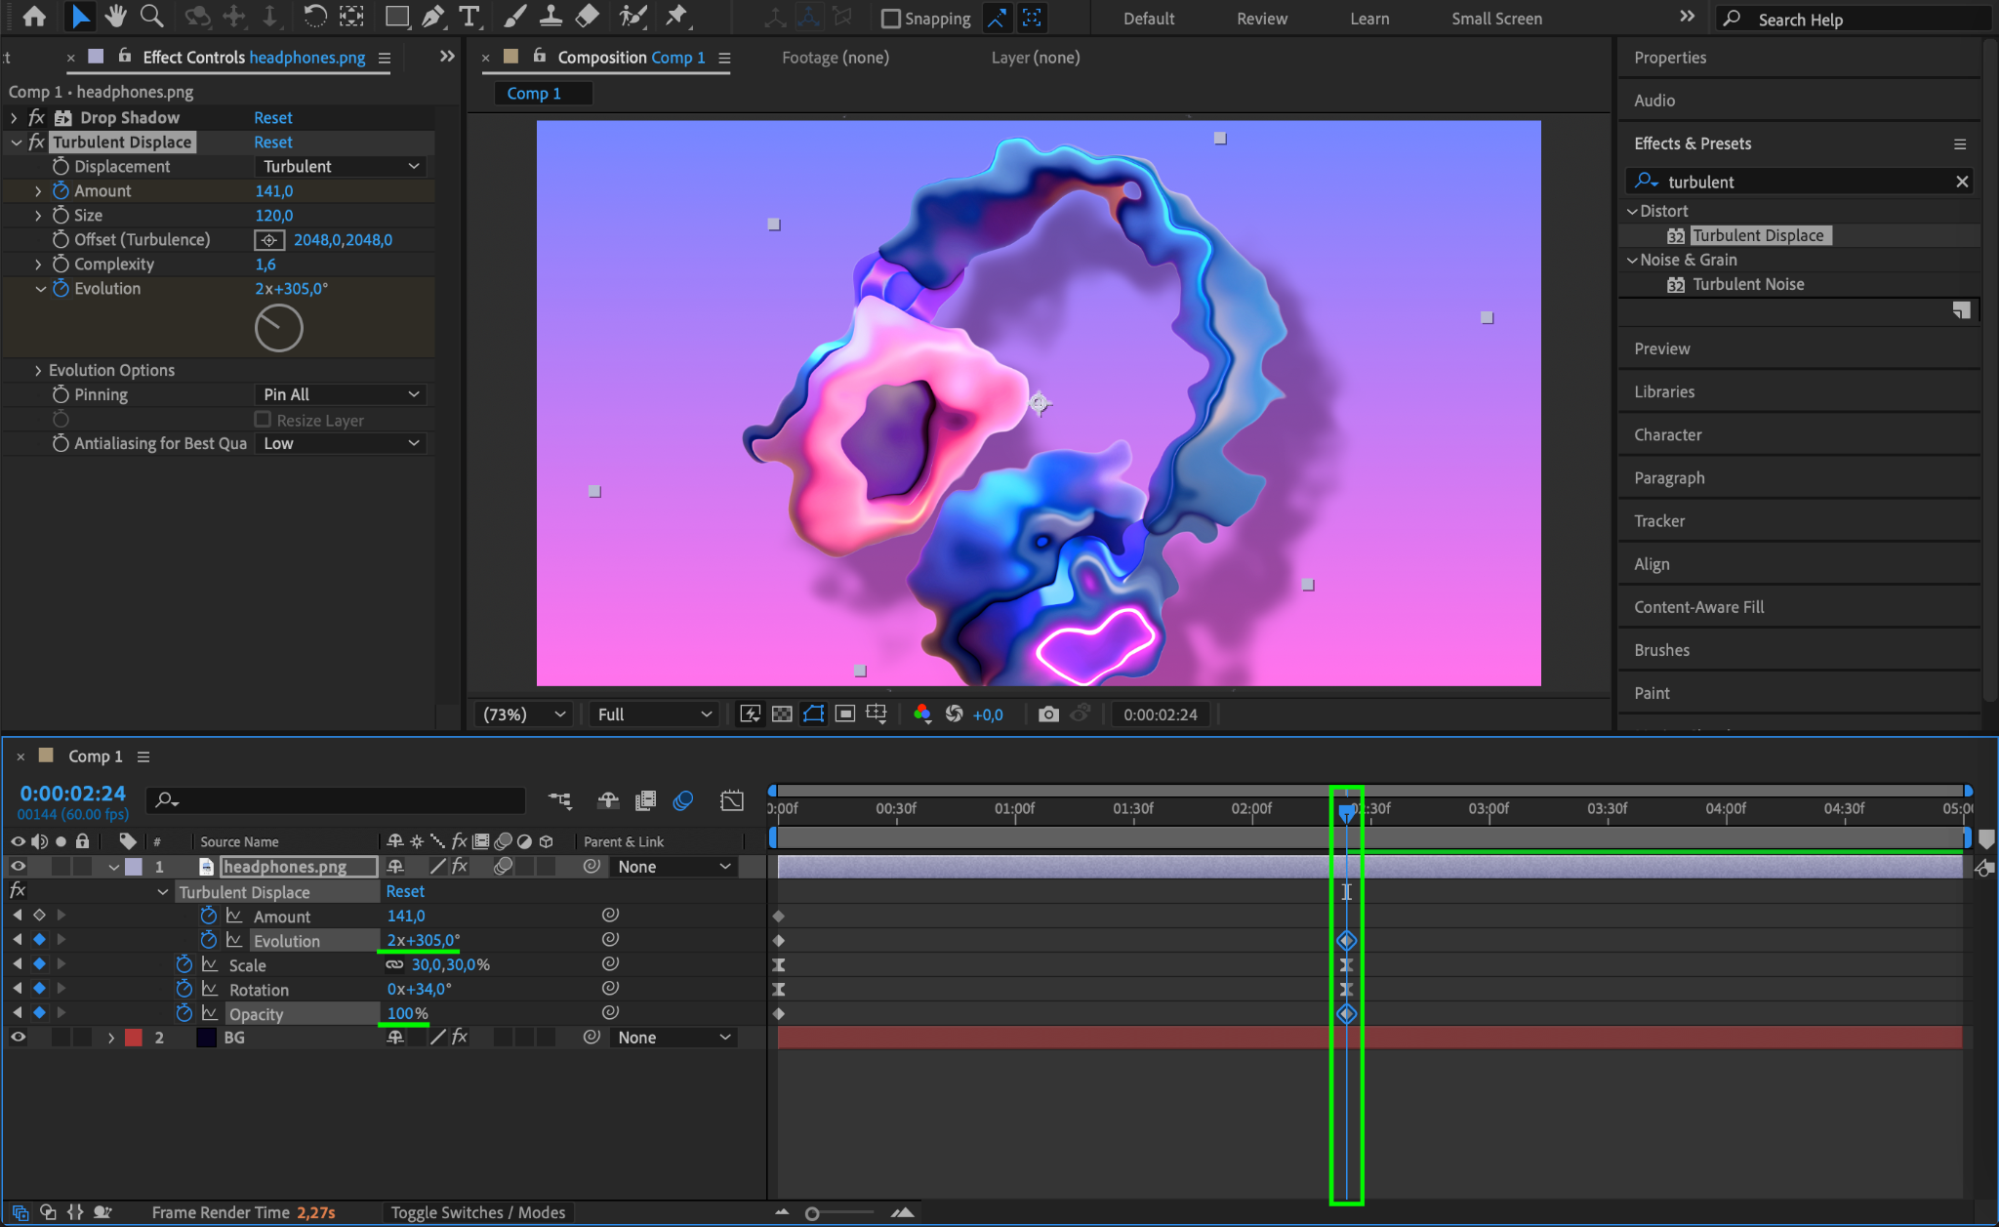
Step 5: Animate Evolution and Amount Together
For a more interesting animation, animate both Evolution and the Amount. For example, start with a high Amount (making the object look very distorted), and animate it toward a lower Amount while Evolution continues to move. This gives the feeling of an object forming sharply out of a magical blur.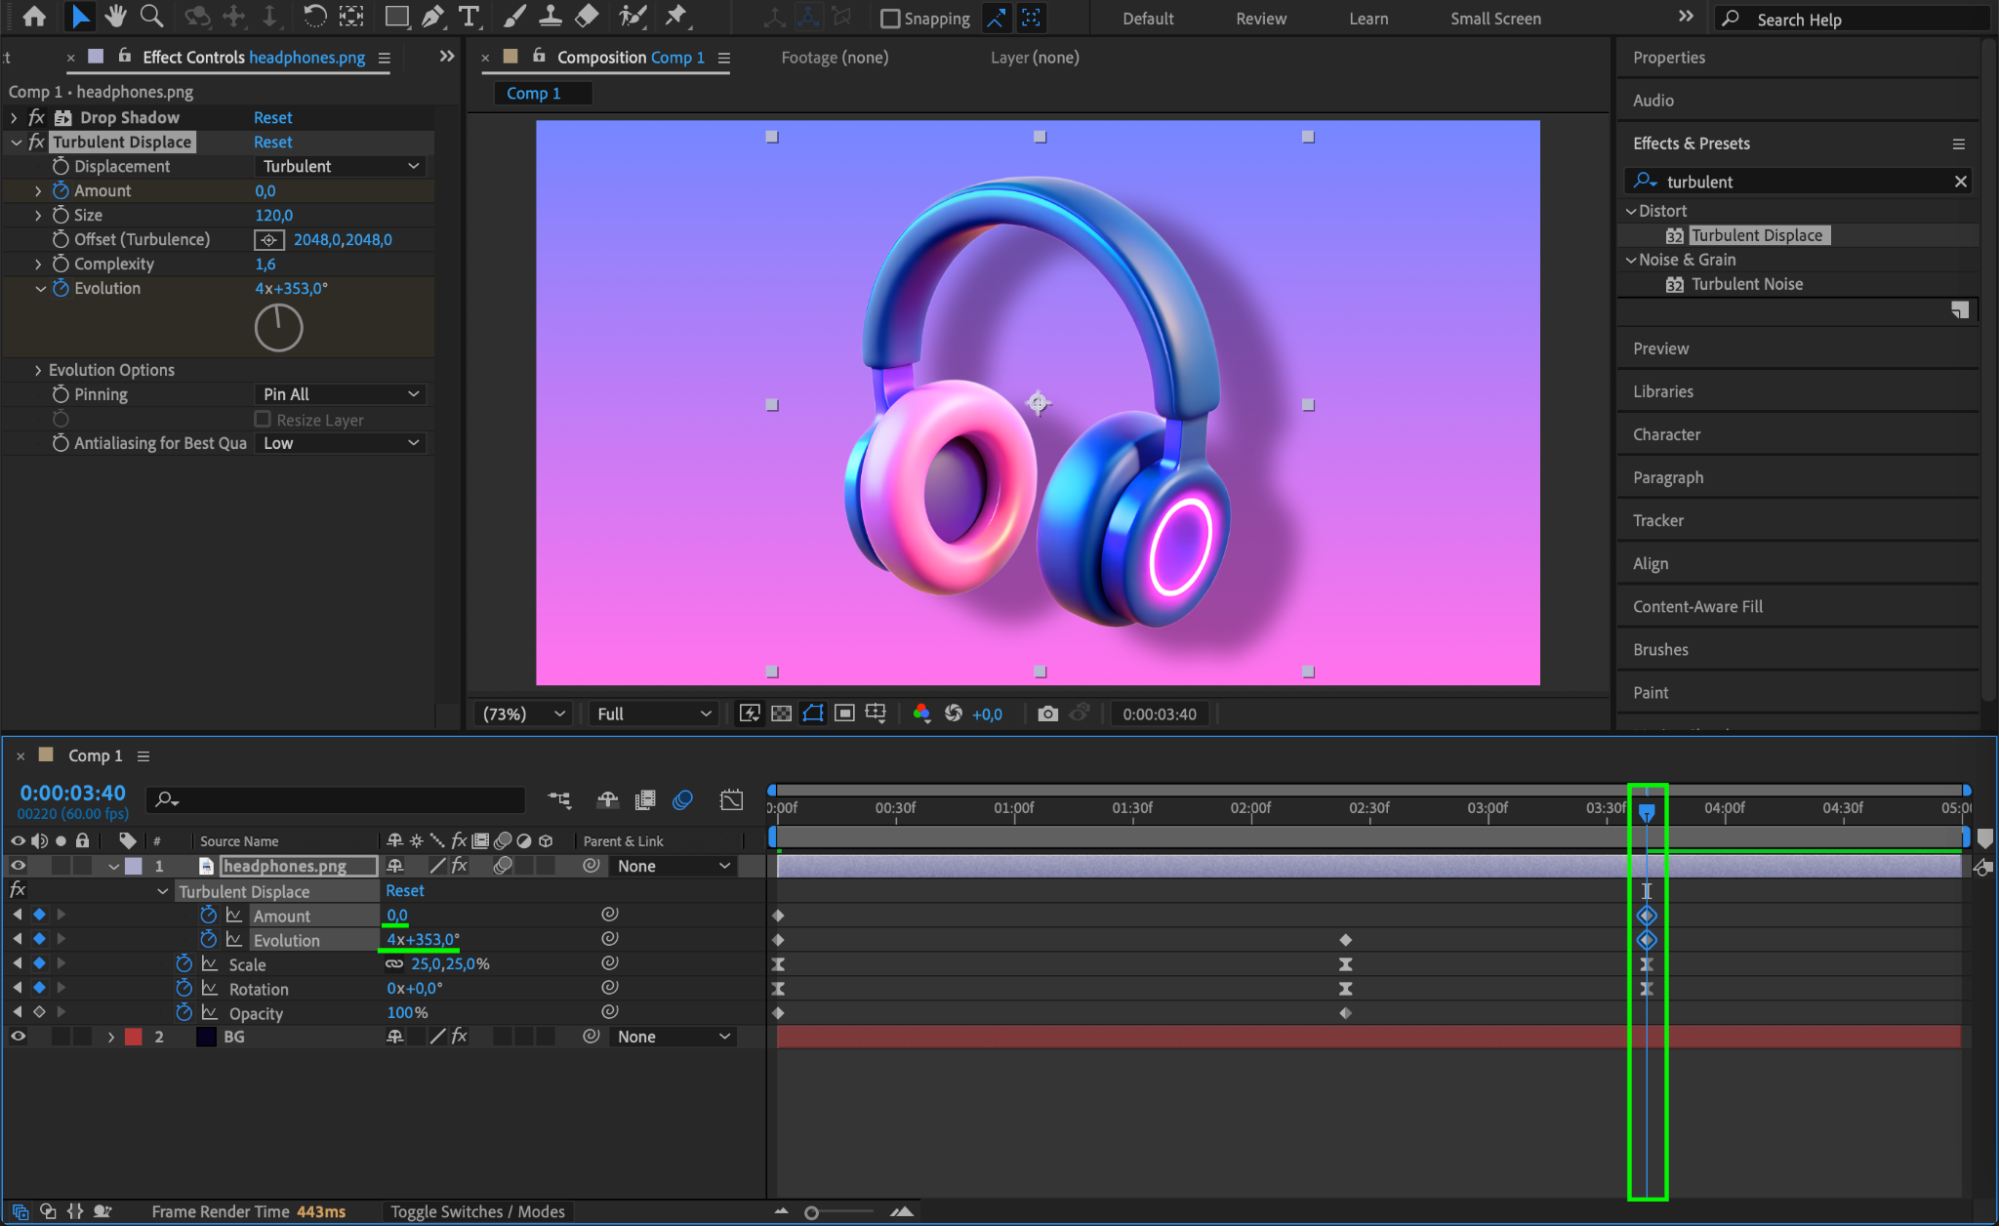 Step 6: Apply Easy Ease for Smoother Motion
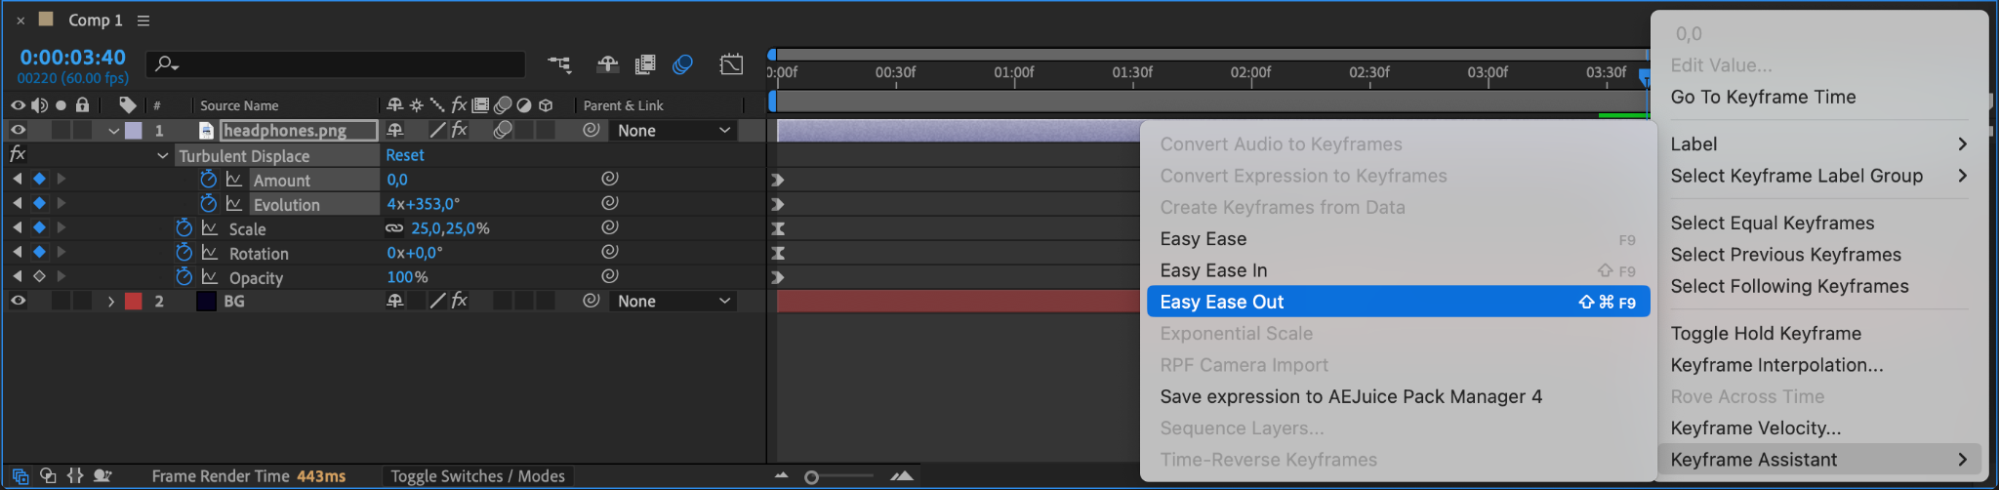
Select the keyframes at the start, right-click and choose Keyframe Assistant > Easy Ease In. Then, select the final keyframes and choose Easy Ease Out. This will make your animation look much more natural and professional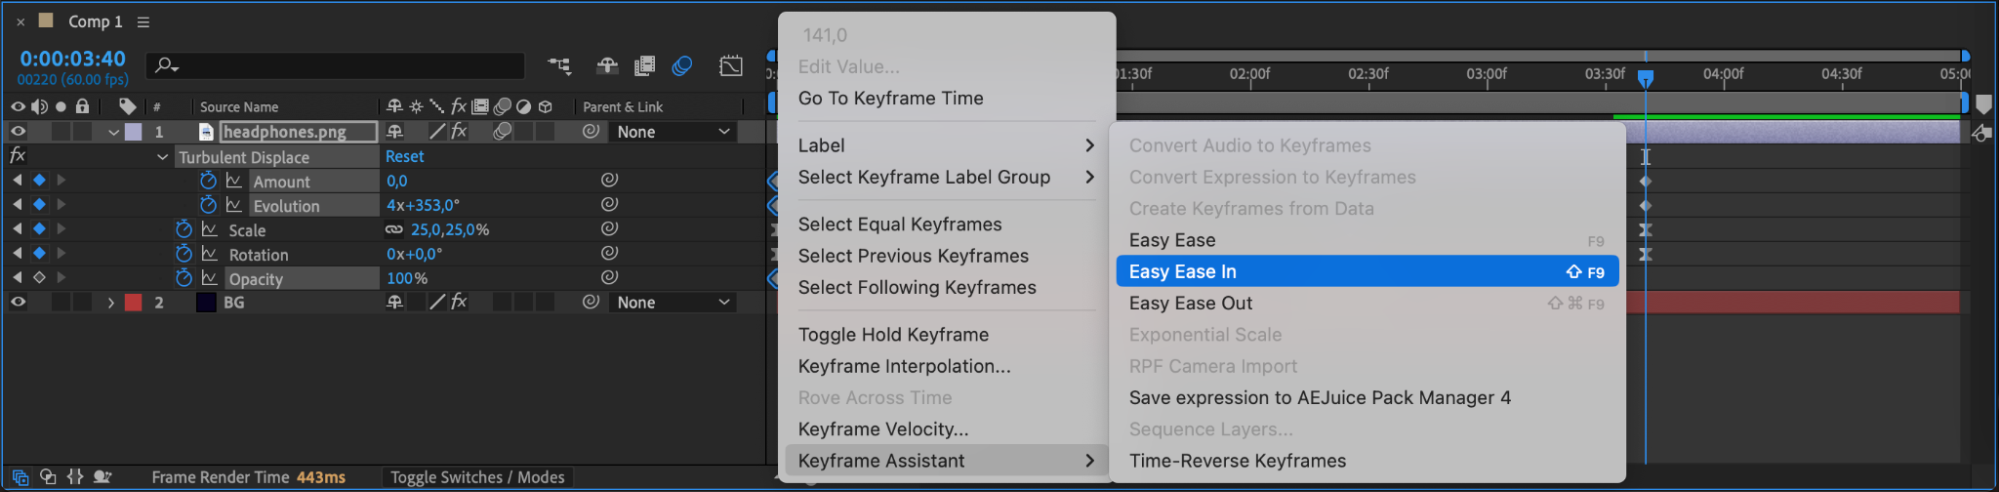
 Step 7: Preview Your Animation
Press the spacebar to preview your work. Watch how the object transforms and evolves smoothly. If needed, adjust the Evolution speed or Amount values to match the look you want.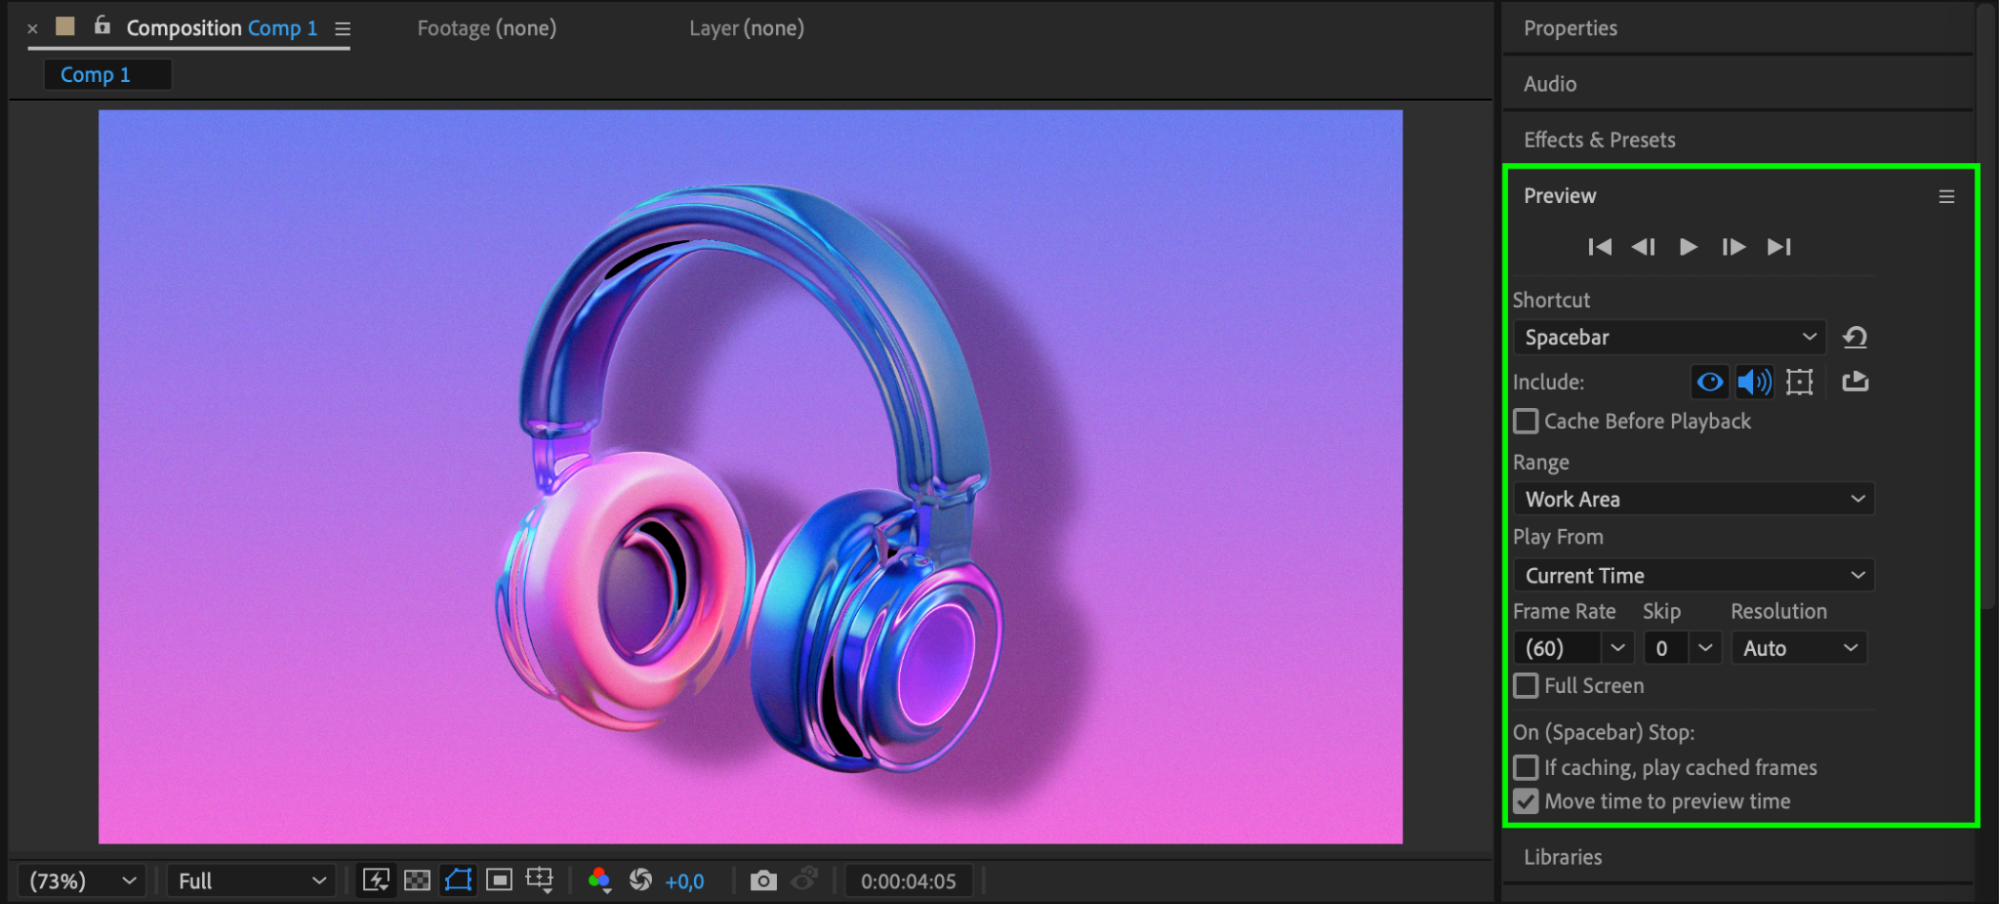
Conclusion
Animating the Evolution property in After Effects opens up creative possibilities for making objects appear, transform, and move in magical ways. By combining Evolution with properties like Amount and Opacity, and using Easy Ease for smoothing, you can create highly polished, professional effects that add life and movement to your projects.


