Creating and Animating Underlined Text in After Effects
Introduction
Adding an animated underline to your text can help highlight important words or phrases and make your compositions look more professional. In this guide, you’ll learn an easy method to create and animate an underline in After Effects, using simple layers and animation techniques.
Step 1: Create Your Text
Open your After Effects project and create a new text layer. Type the word or sentence you want to underline. Adjust the font, size, and positioning as needed so it looks ready for the underline animation.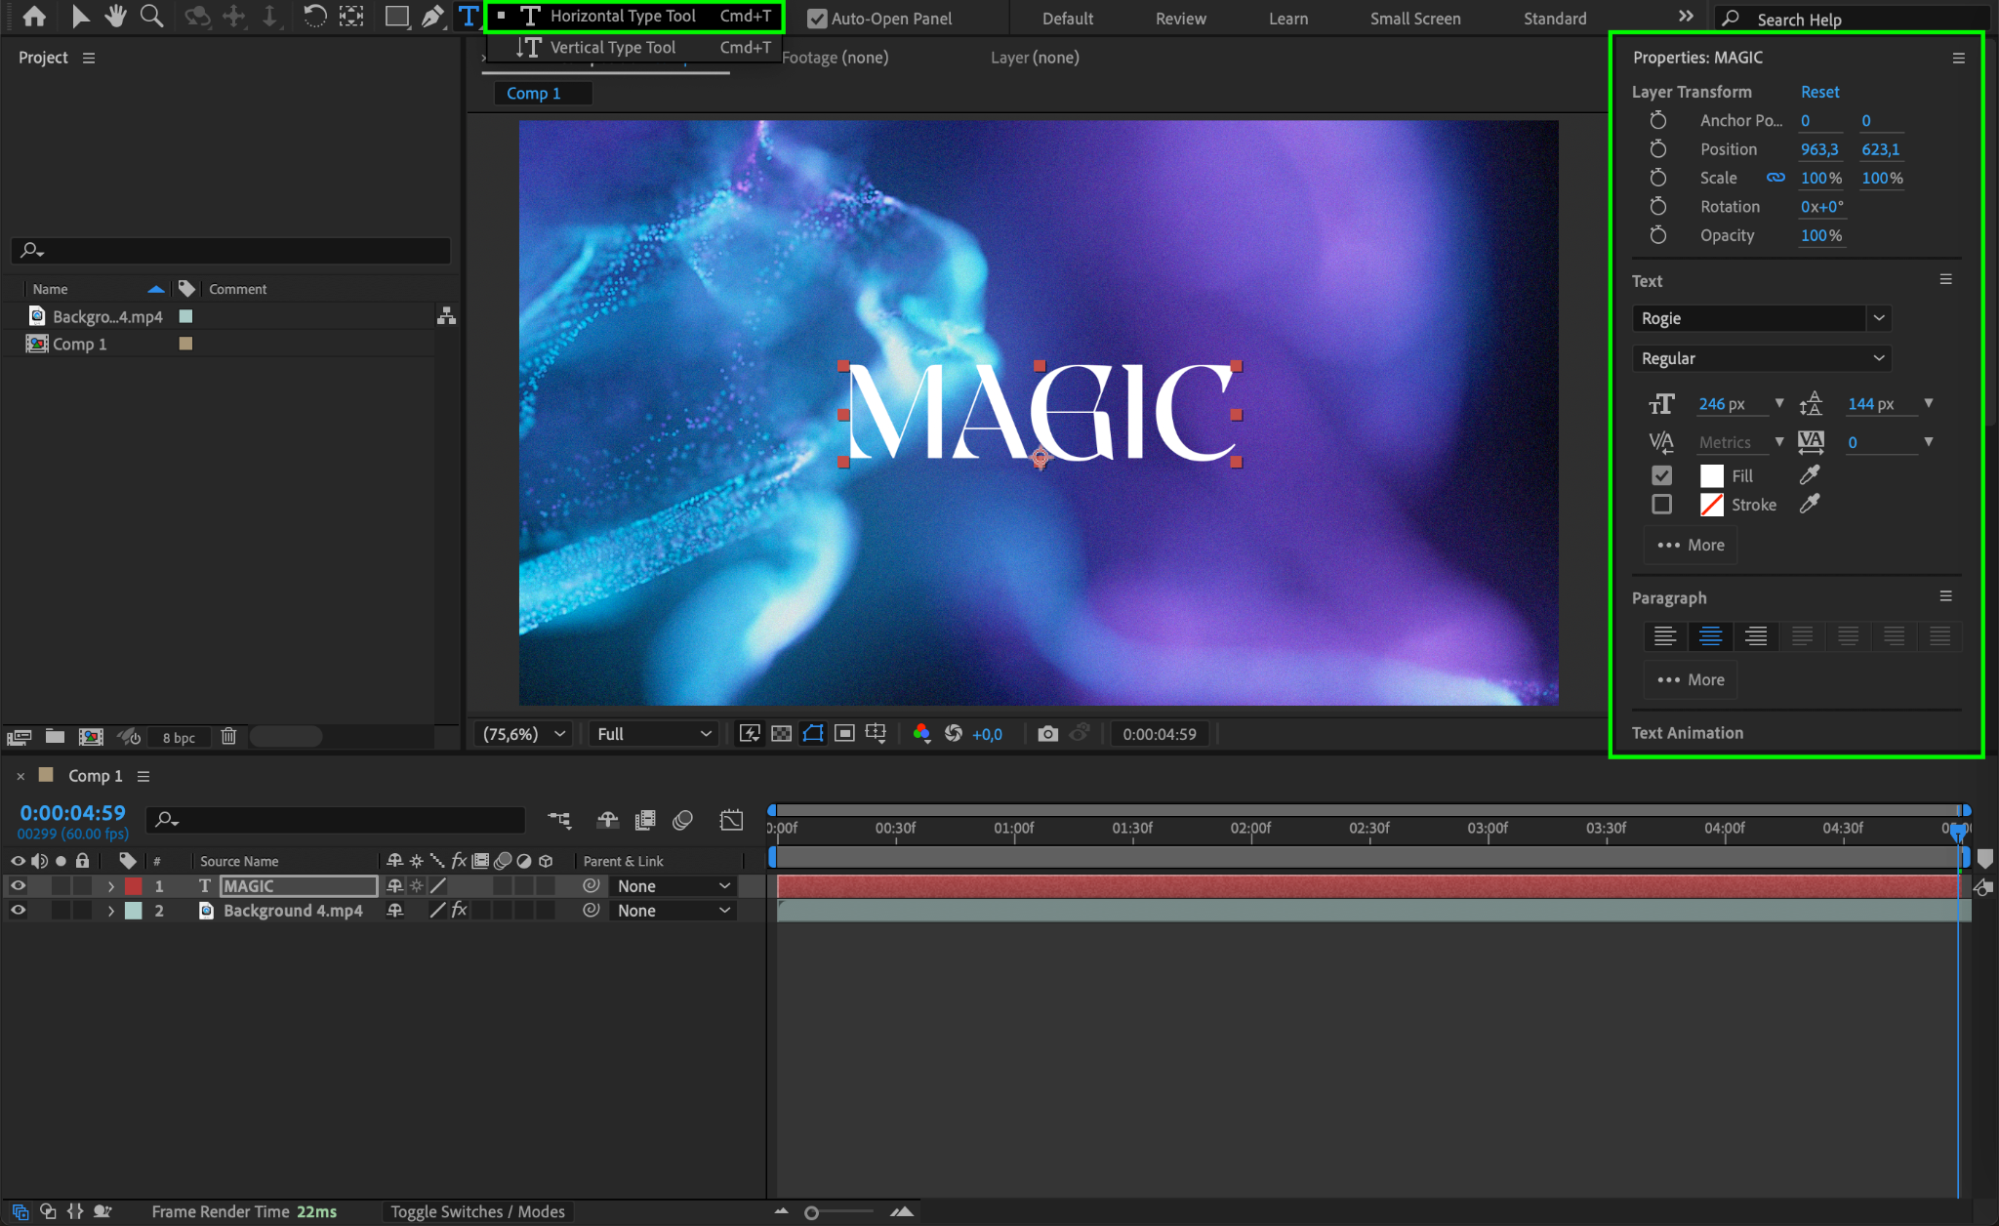 Step 2: Create a Solid for the Underline
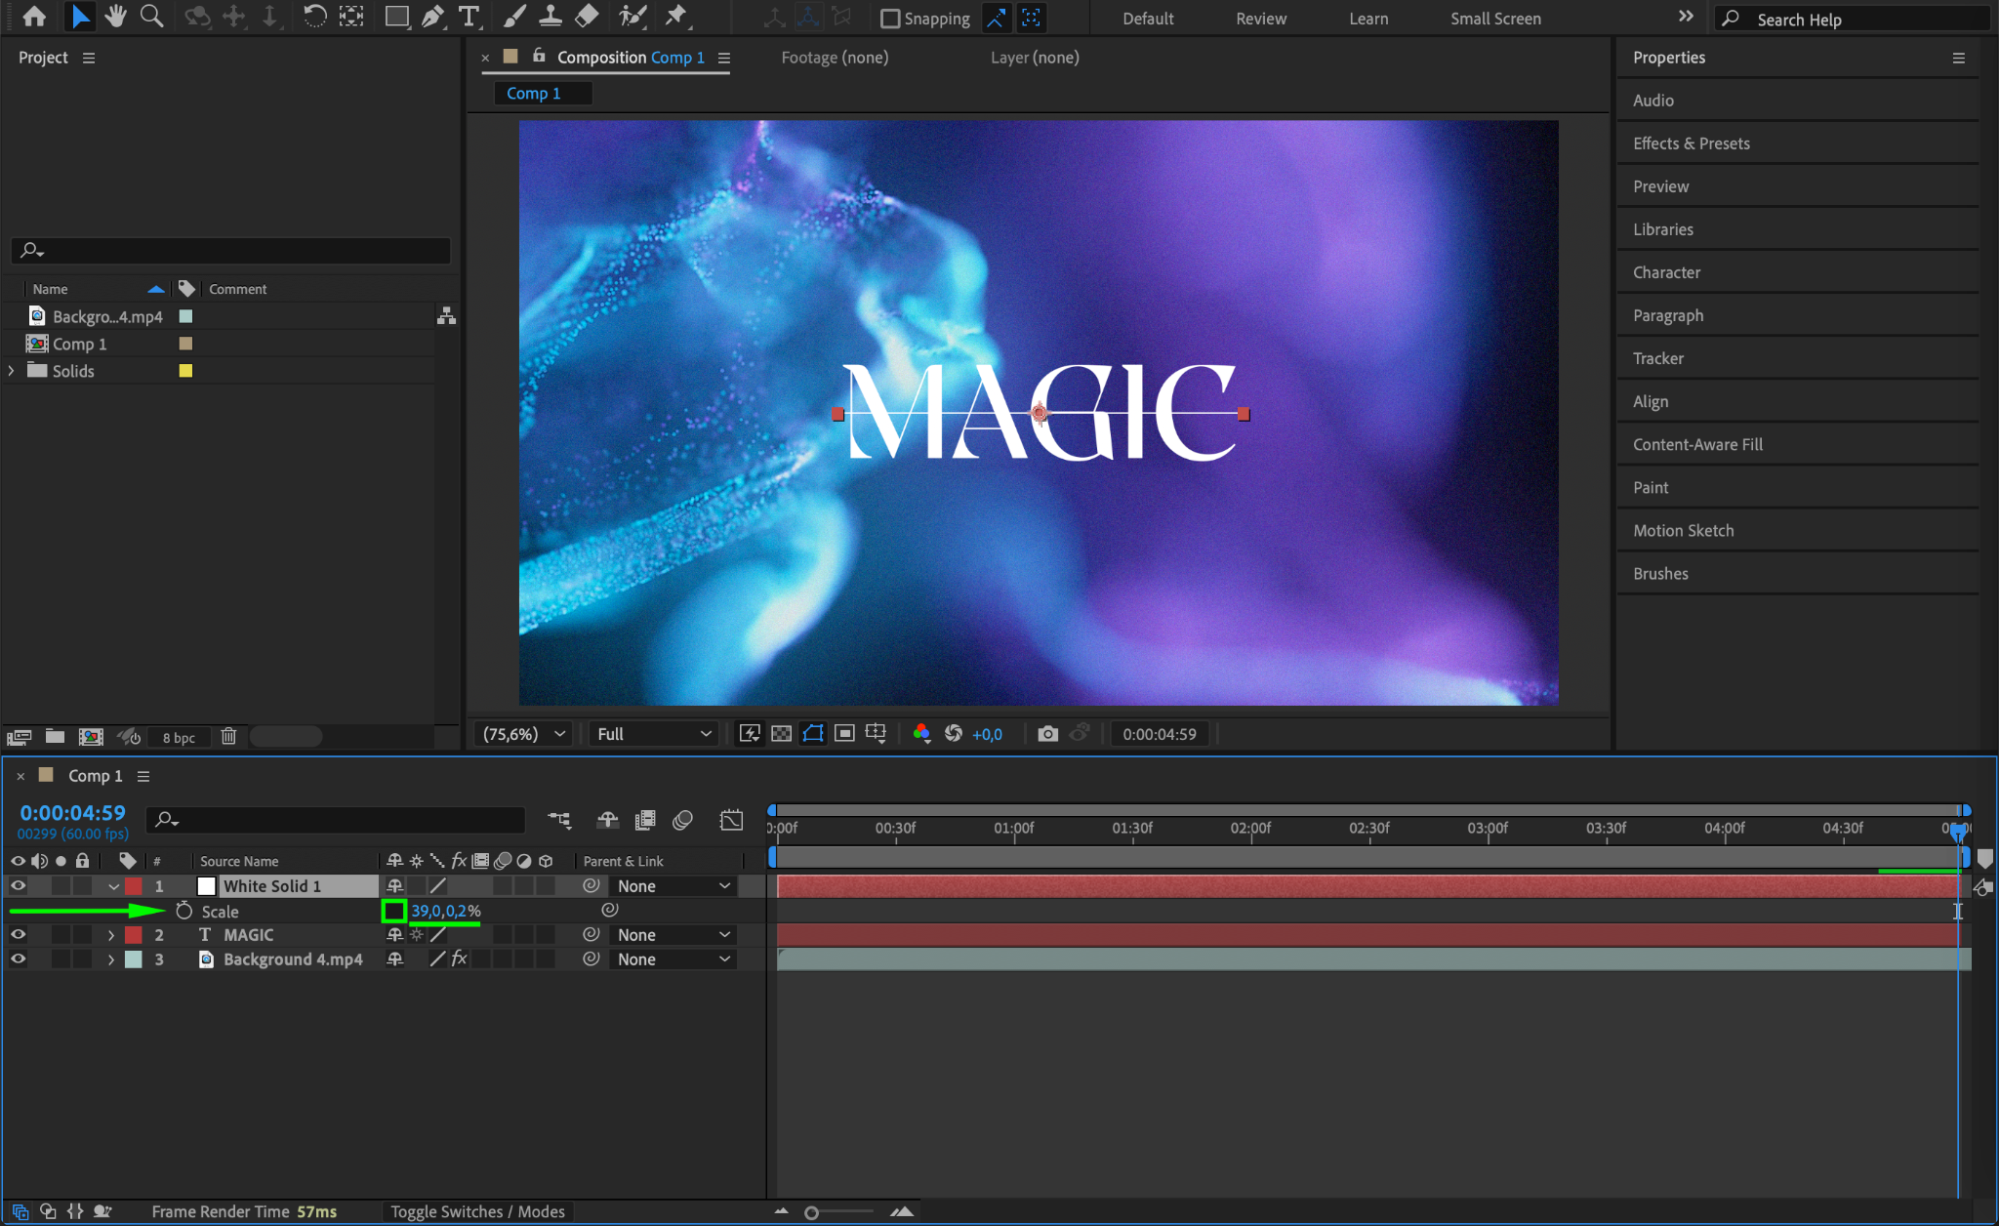
Go to Layer > New > Solid and pick a color that matches or complements your text color. This solid will become the underline. 

Get 10% off when you subscribe to our newsletter

Step 3: Adjust the Scale of the Solid
Select the solid layer and press “S” to open the Scale properties. Unlink the chain icon between the X and Y values. Set the X value to match the length of your text and adjust the Y value to control the thickness of the underline. Position the solid carefully under the text using the Position property.
 Step 4: Animate Scale and Opacity
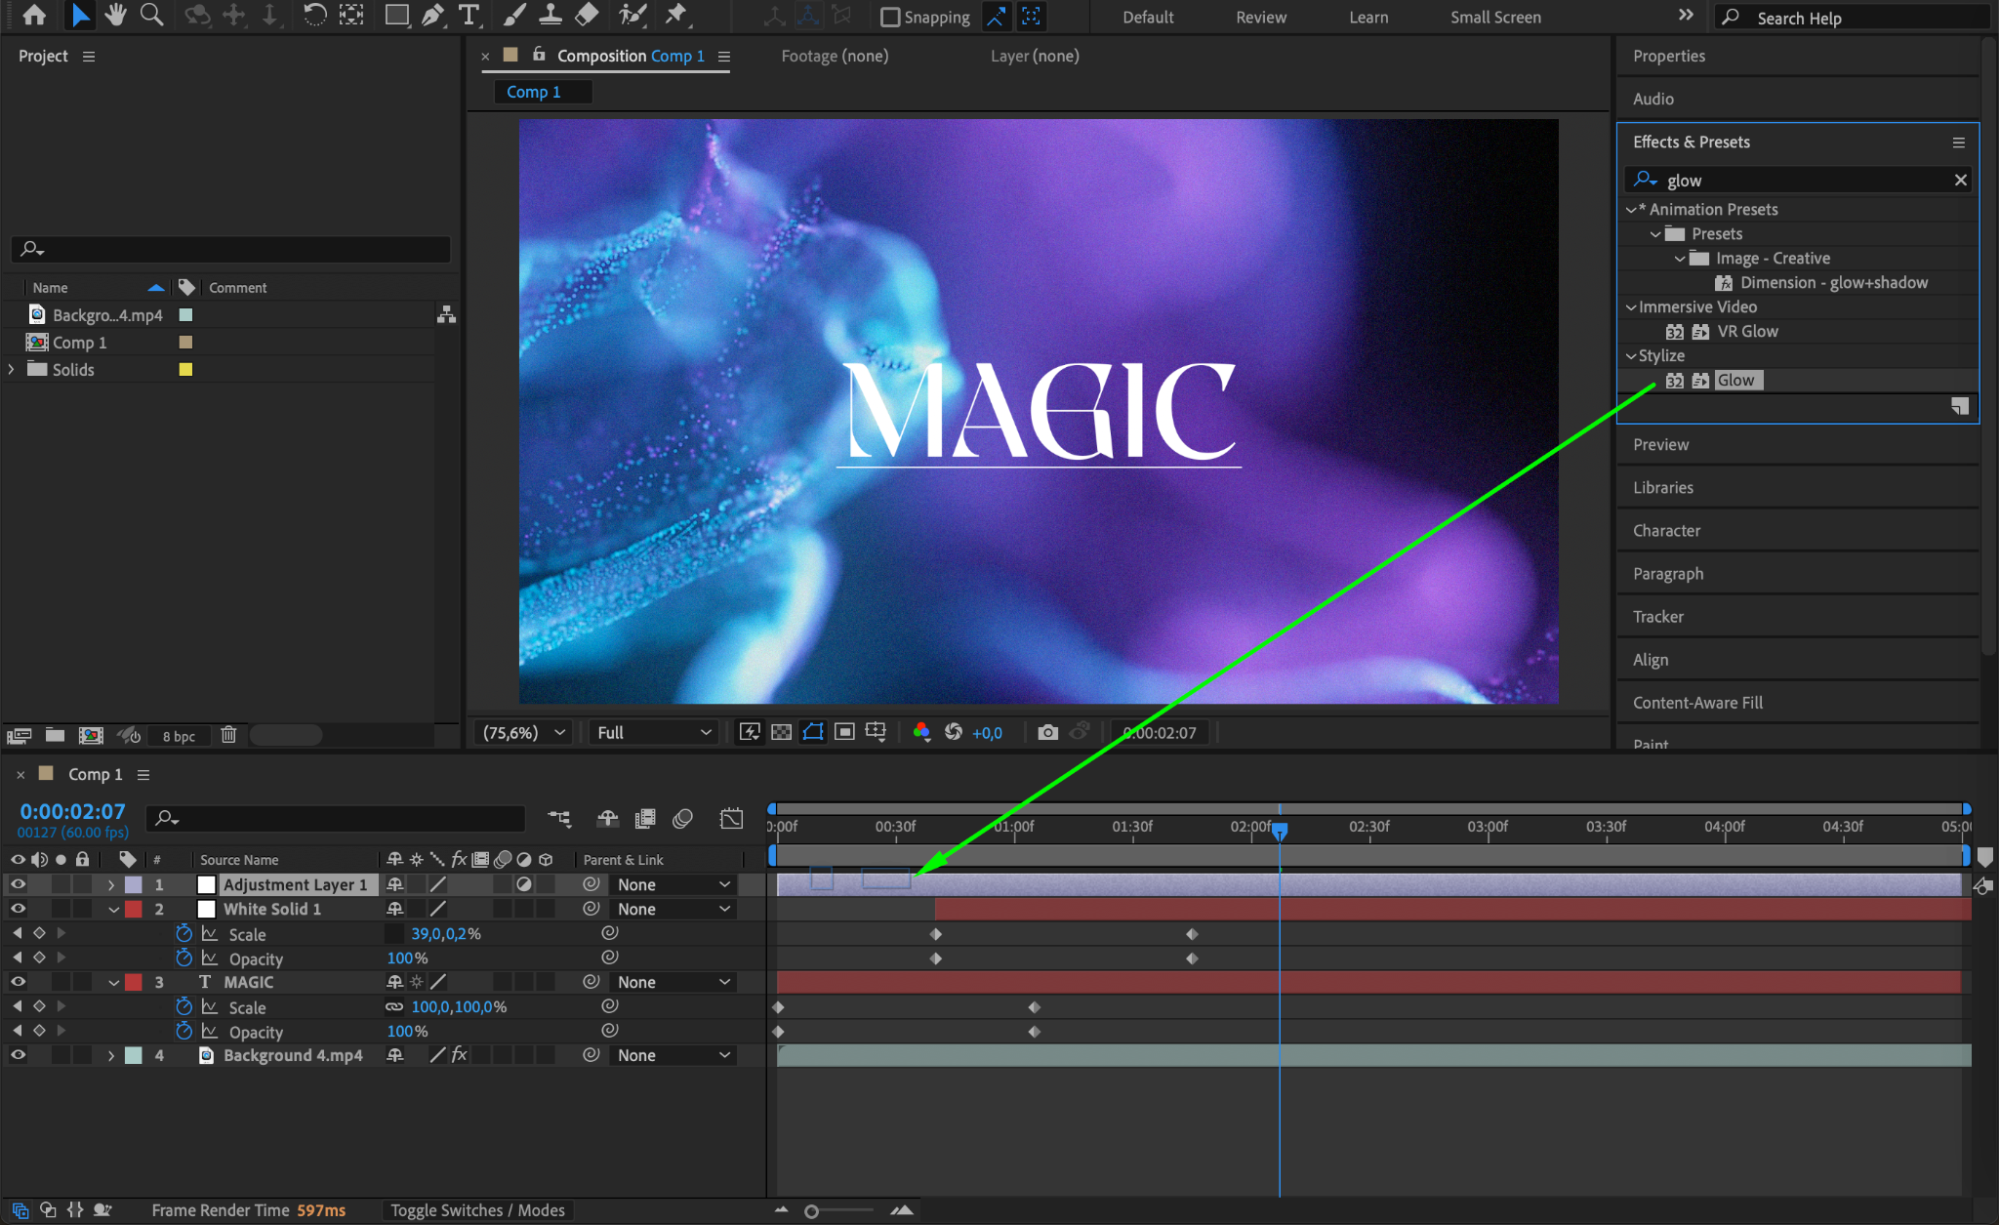
Animate the Scale and Opacity for both the text and the solid. Start with 0% for both at the beginning and animate them up to 100% over a few seconds. For the solid layer, use the customized X and Y scale values you set earlier. This creates a smooth reveal effect for both the text and underline.
 Step 5: Offset the Solid Animation Slightly
Shift the start point of the solid layer slightly to the right on the timeline so the underline appears just after the text appears. This small delay adds more interest and style to the animation.
Step 6: Add an Adjustment Layer for Effects
Go to Layer > New > Adjustment Layer. Apply any desired effects (such as Glow or Blur) onto the adjustment layer to customize the look of your text and underline animation.
 Step 7: Pre-compose for Better Control
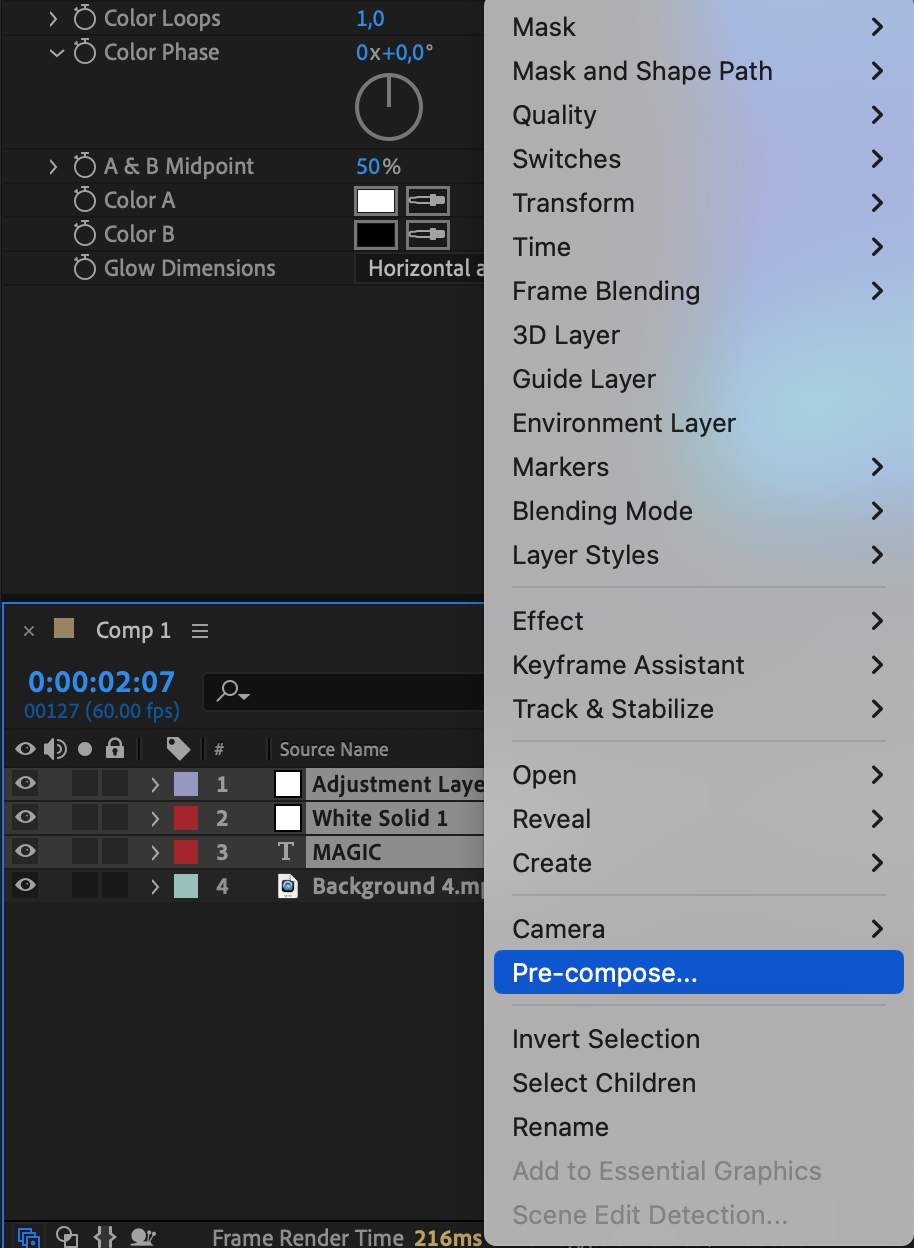
Select the text layer, solid layer, and adjustment layer. Then go to Layer > Pre-compose. This groups them into one layer, making it easier to move, duplicate, or apply additional effects without affecting the rest of your composition.
 Step 8: Preview and Finalize
Press the spacebar to preview your animation. Make any final adjustments if needed. Once you are happy with the result, you can move forward to render your project.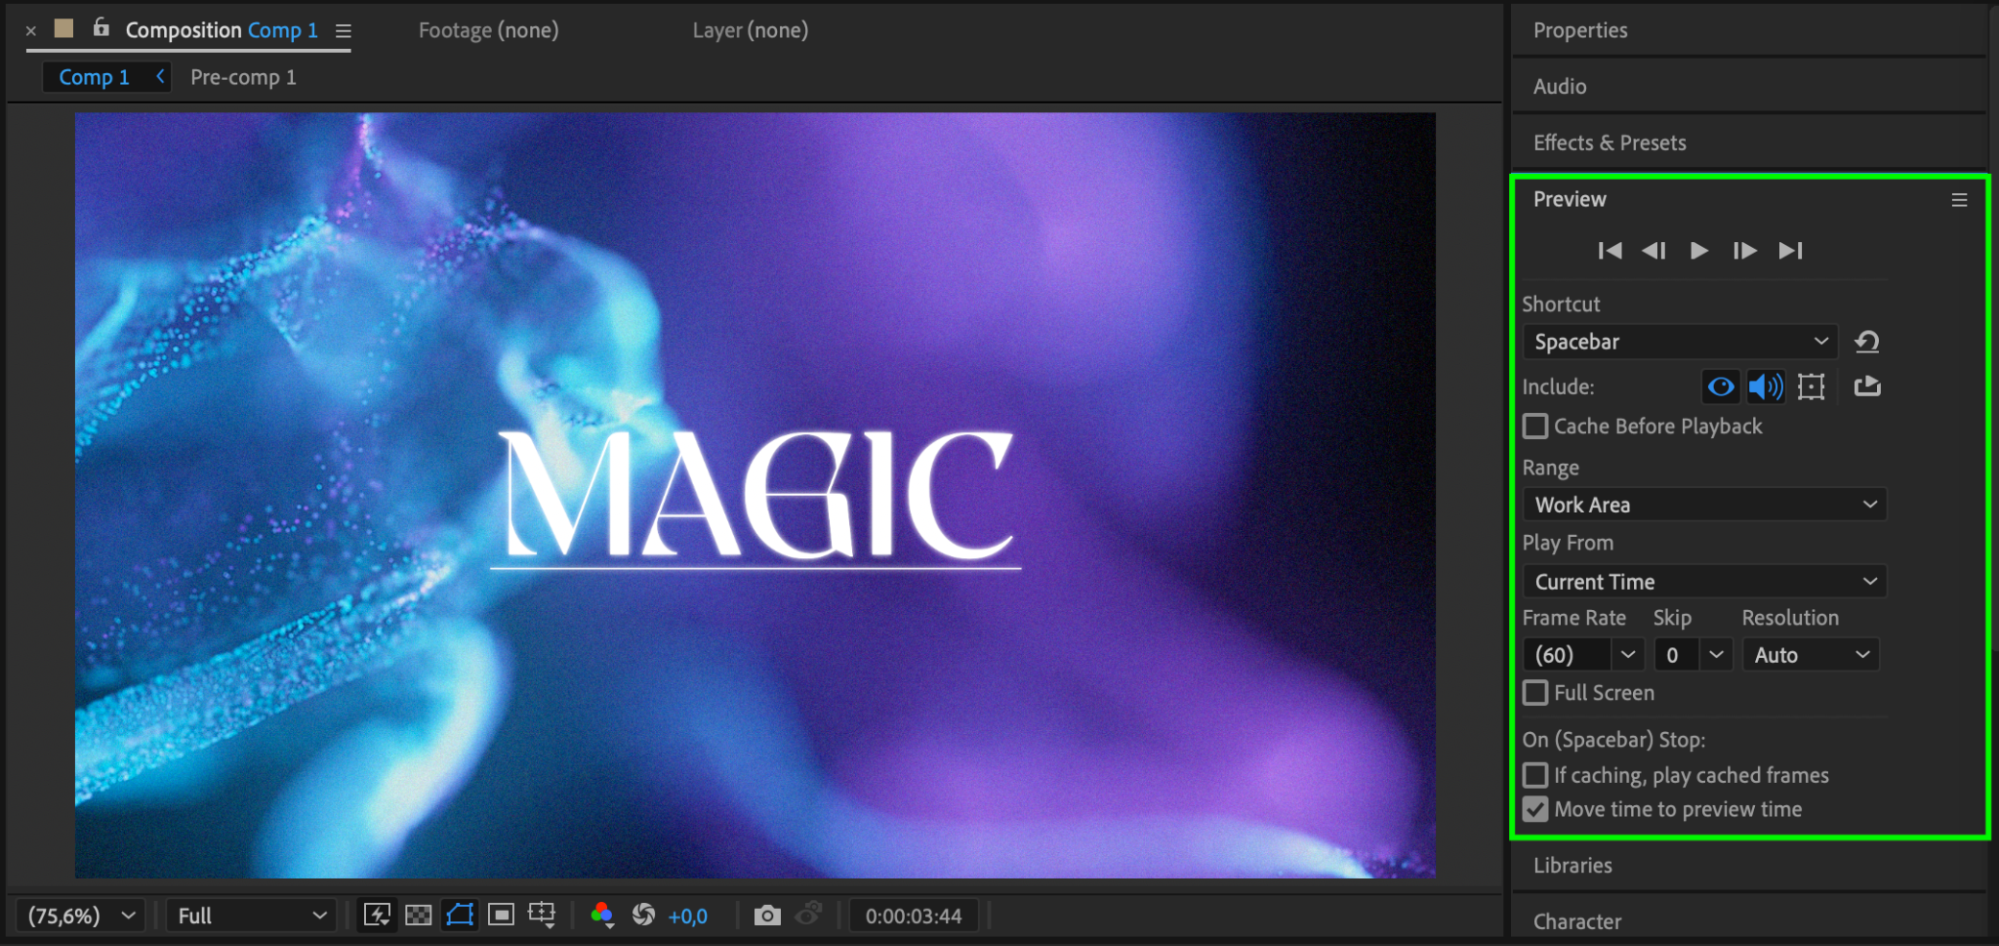 Conclusion
Underlining text in After Effects with a smooth animation can make your designs more dynamic and visually appealing. With just a few layers and simple adjustments, you can create a professional underline effect that enhances your project.


