Adjusting Animation Speed in After Effects
Introduction
Changing the speed of an animation is a basic but powerful skill in After Effects. Whether you want a quick motion or a slow, dramatic effect, it can be done easily by stretching or compressing keyframes. This guide will show you how to speed up or slow down animations with simple steps.
Step 1: Open Your Project
Start by opening your After Effects project that contains the animation you want to adjust. Make sure you have the timeline panel visible to access your layers.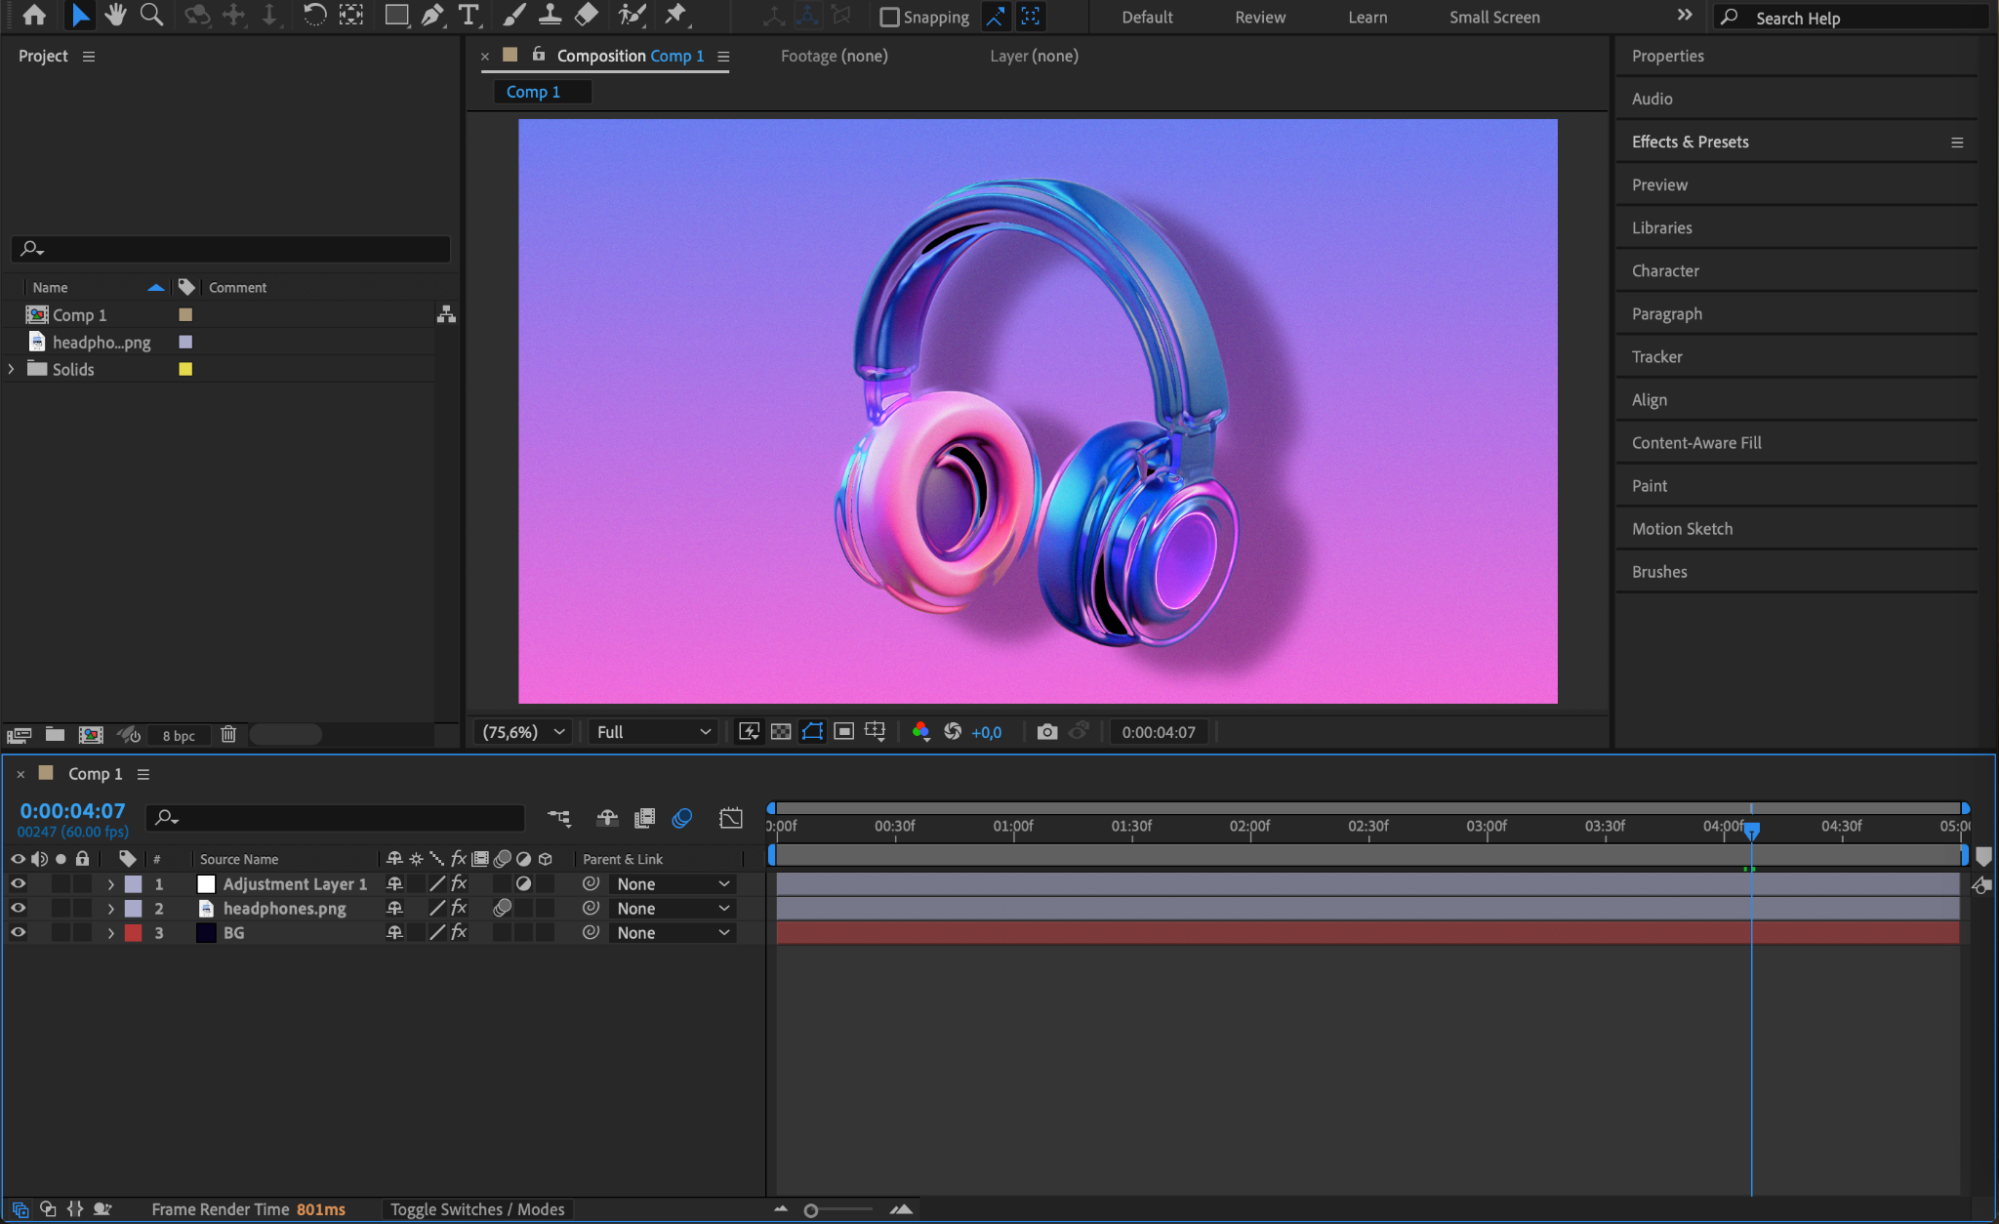
Step 2: Reveal Keyframes
Select the layer with the animation you want to edit. Press “U” on your keyboard to reveal all keyframes on that layer. This will show the points where changes in the animation happen.
Get 10% off when you subscribe to our newsletter

Step 3: Stretch or Compress Keyframes
Click and drag to select all the keyframes you want to adjust. Hold down Alt (Windows) or Option (Mac), then grab the last keyframe.
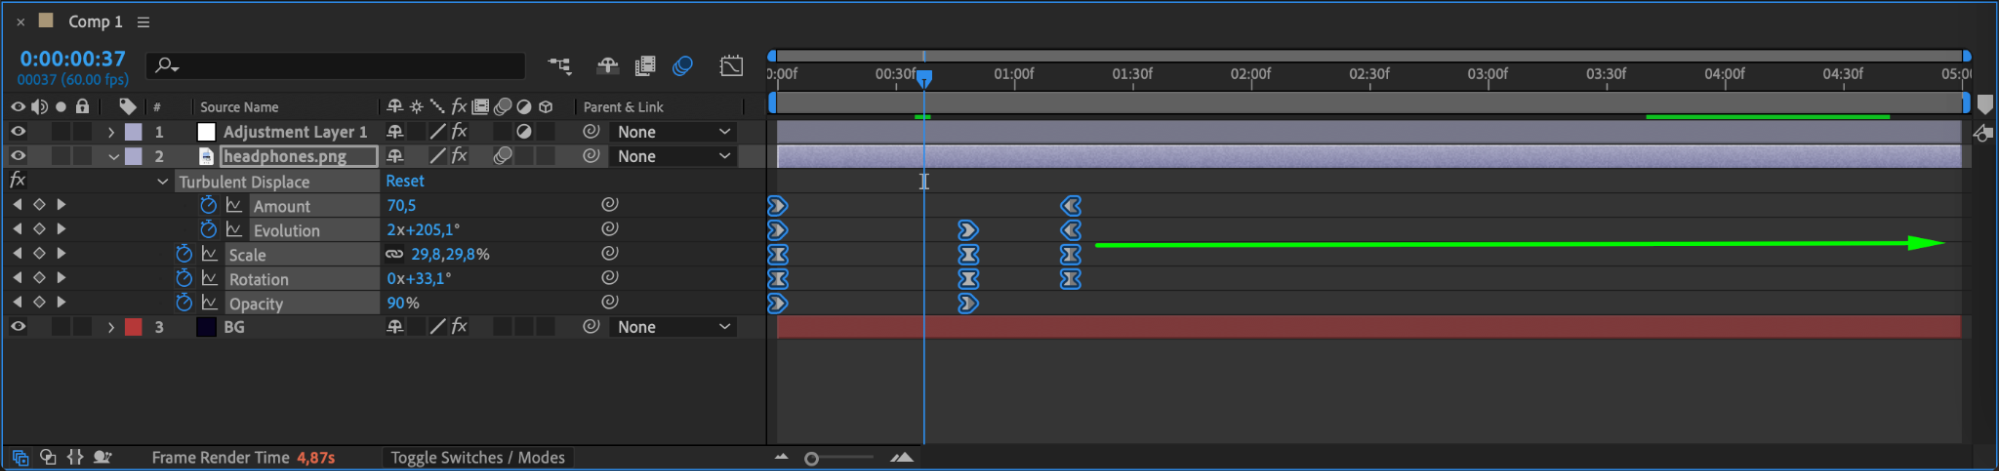
To speed up the animation, drag the keyframes closer together to the left.
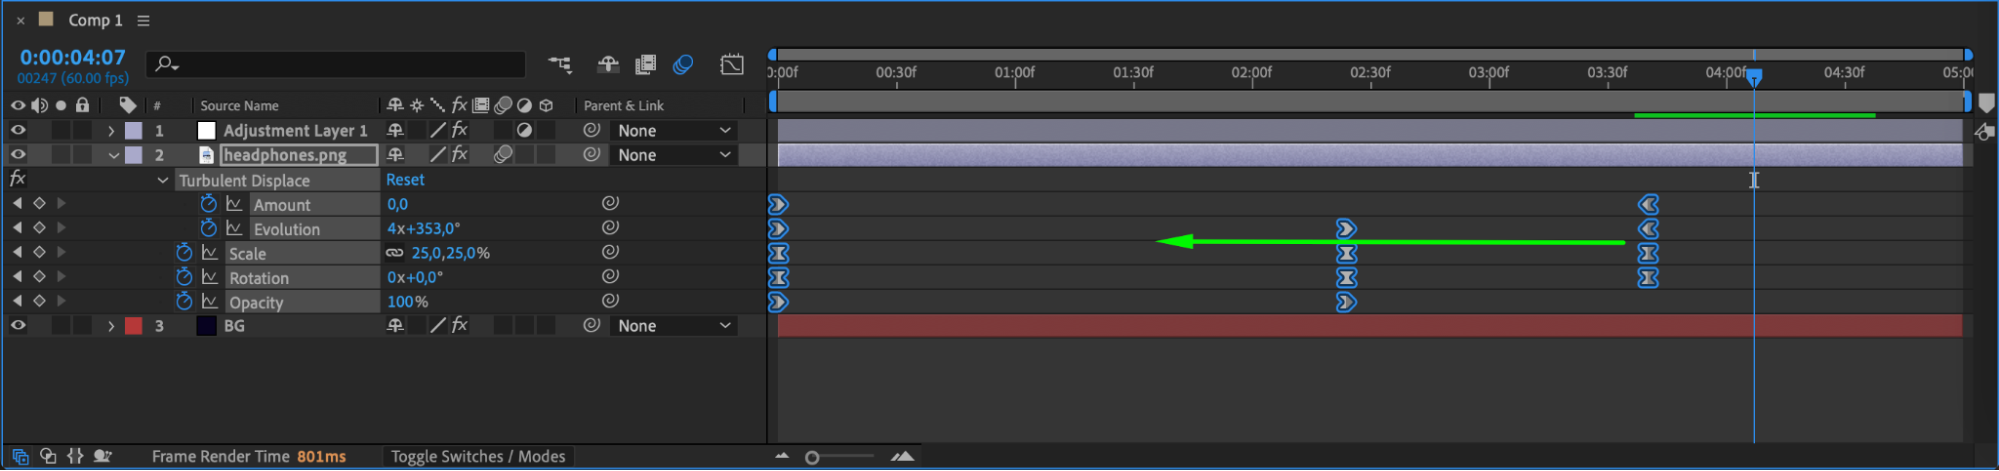
 To slow it down, drag them further apart to the right.
 Step 4: Fine-Tune Using the Graph Editor
For smoother and more detailed control, open the Graph Editor. Here, you can adjust the speed and timing curves manually, creating more natural accelerations and decelerations in your animation.
Step 5: Preview Your Animation
Press the spacebar to preview your changes. Watch carefully to see if the animation feels natural at the new speed. Adjust the keyframes or graph curves as needed.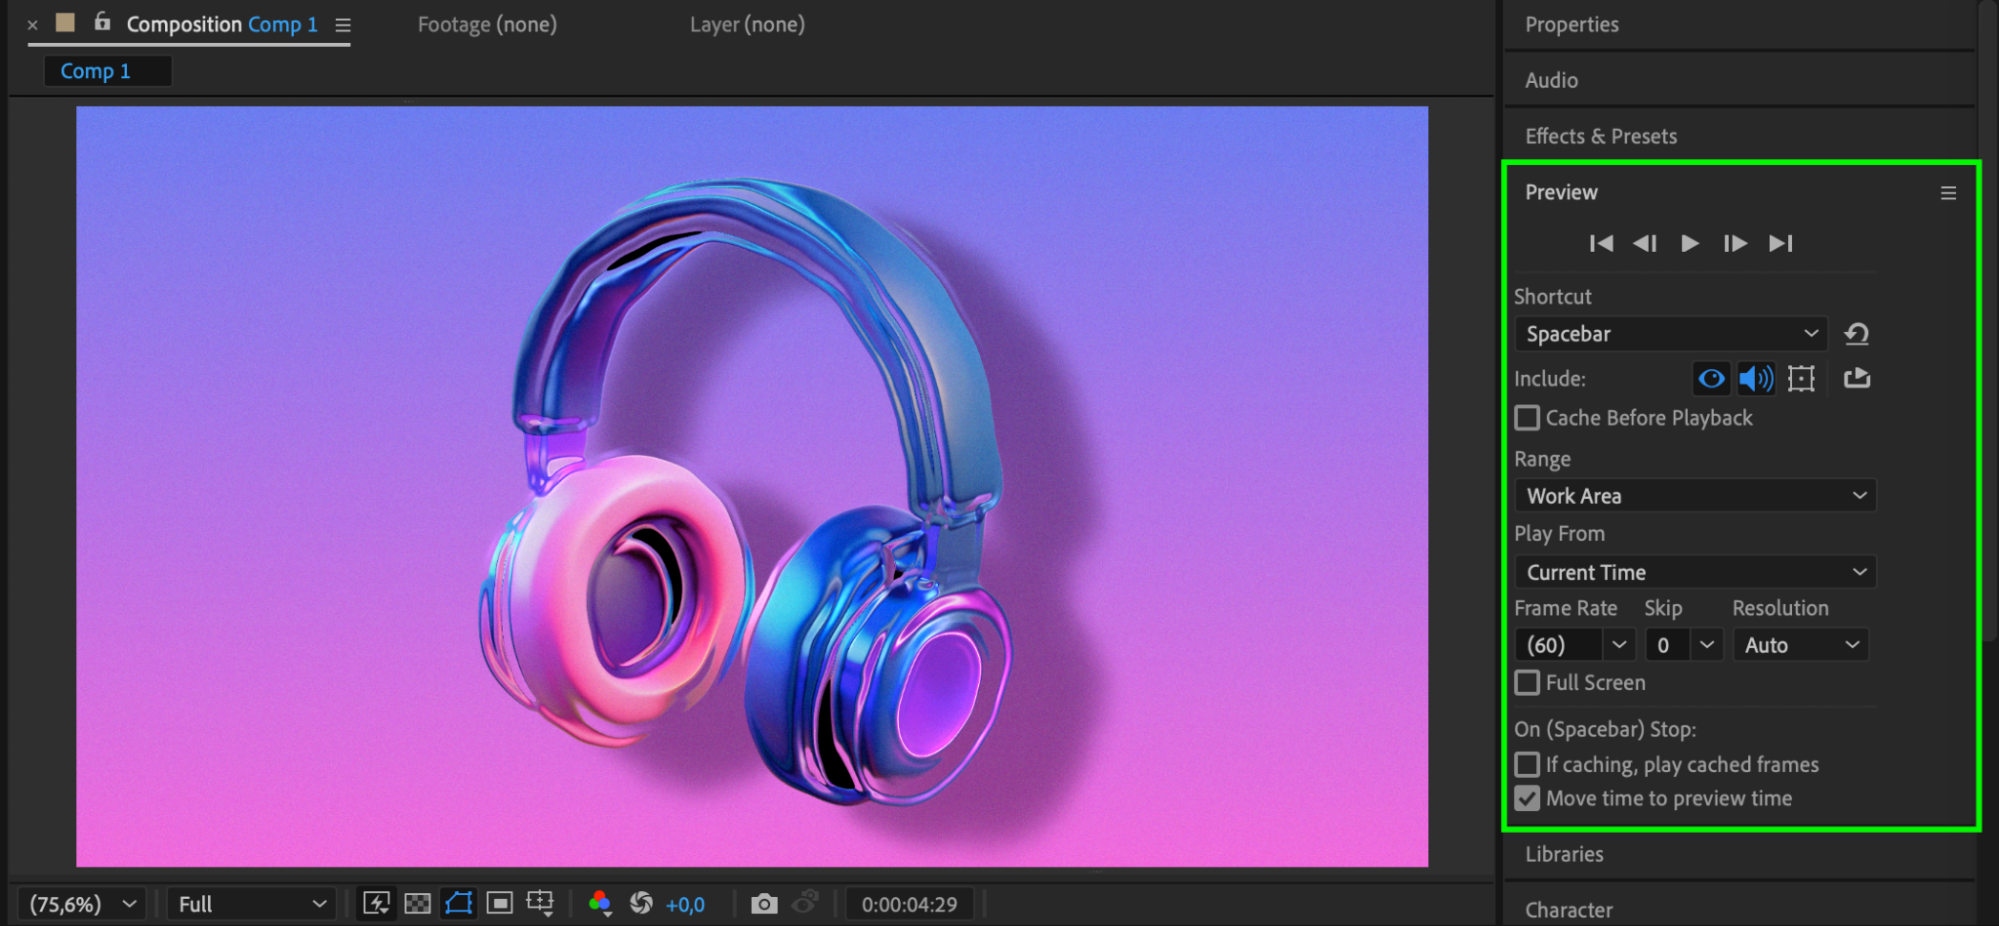
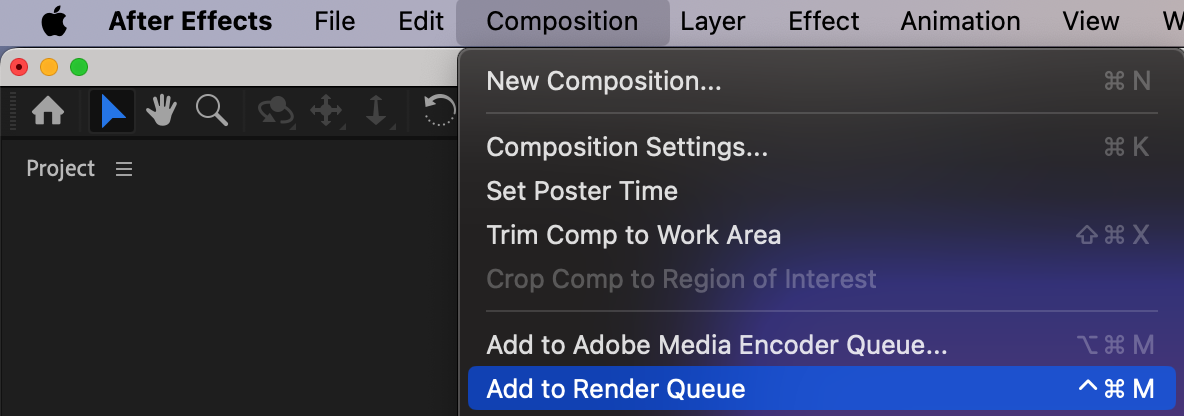
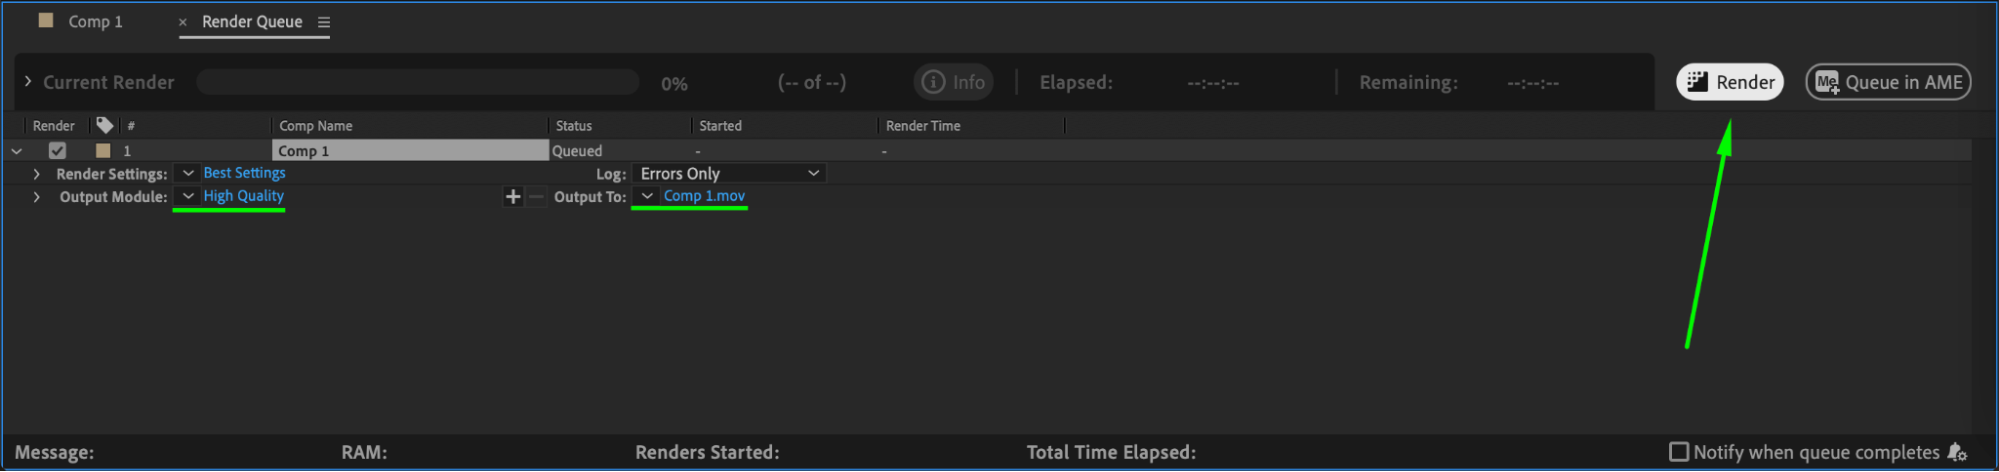
Step 6: Render Your Final Animation
Once you are happy with the speed adjustments, render your animation by going to Composition > Add to Render Queue. Choose your settings and export the final file.
Conclusion
Speeding up or slowing down animations in After Effects is quick and easy once you understand how to move and stretch keyframes. Using the Graph Editor gives you even more creative control to create smooth, professional animations.


