Animating a Write-On Text Effect in Adobe After Effects
Introduction
The write-on text effect is a popular animation style that gives the appearance of text being written on the screen by hand. In this tutorial, you’ll learn step-by-step how to create this effect using shape layers and simple animation techniques in Adobe After Effects.
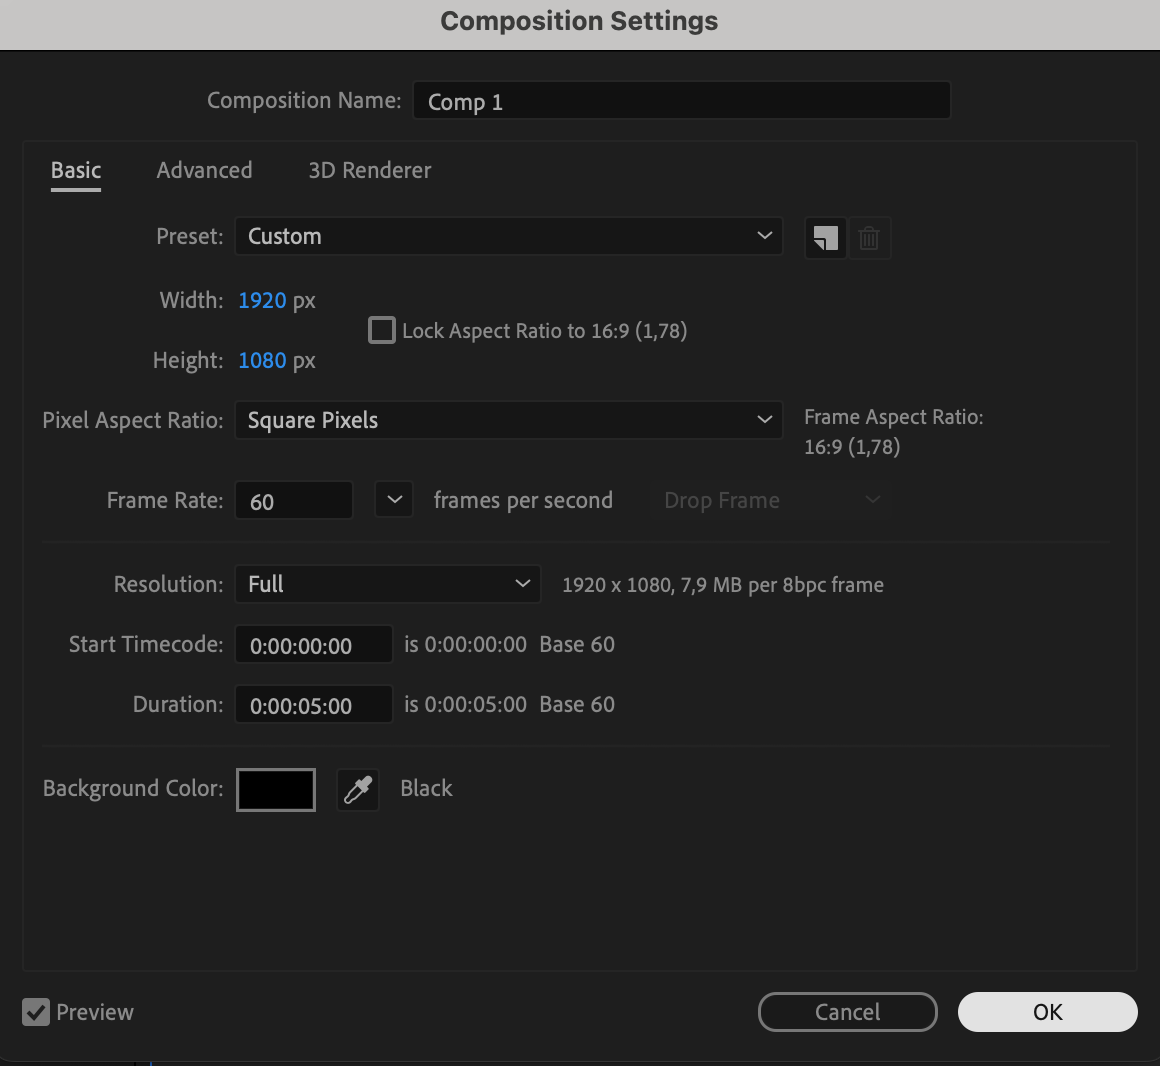
Step 1: Create a New Composition
Open Adobe After Effects and go to Composition > New Composition. Set your desired resolution, frame rate, and duration for your project.
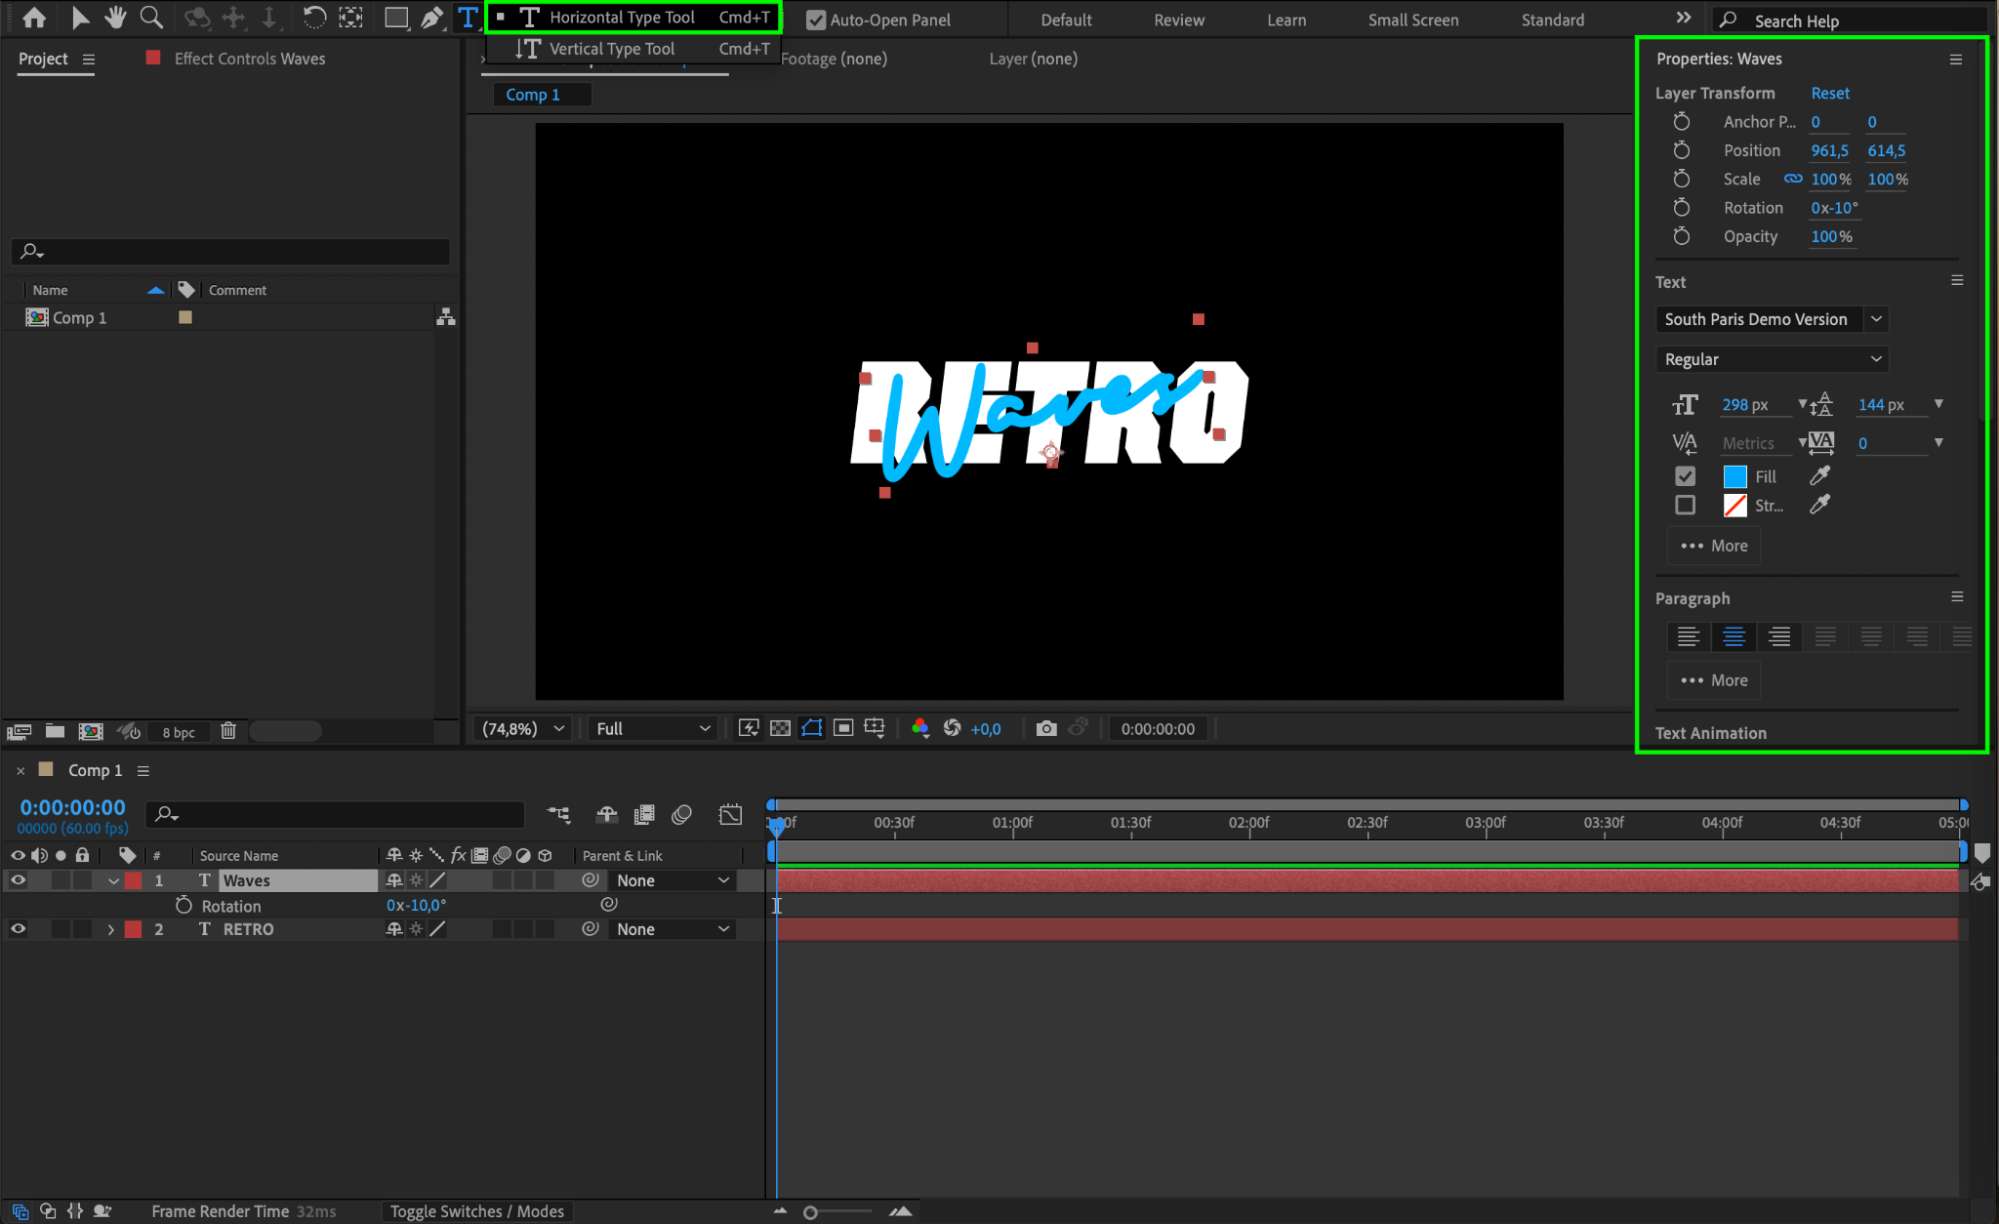
 Step 2: Create Background Text
Use the Type Tool (Ctrl/Cmd + T) to type the text that will act as a background guide for your write-on effect. Choose a readable font and position it in the center of your composition.
Get 10% off when you subscribe to our newsletter

Step 3: Create the Write-On Text
Now create a second text layer using a script or cursive font, which will simulate the hand-written style. This will be the text that you animate appearing on screen.
Step 4: Trace the Text with the Pen Tool
Hide the first text layer by clicking the eye icon next to it. Then, select the Pen Tool (G) and start tracing the shape of the cursive text by creating a path over it. After you complete the path, change the shape layer settings: set Fill to “None,” Stroke to around 23px (adjust as needed), and choose a color that fits your design.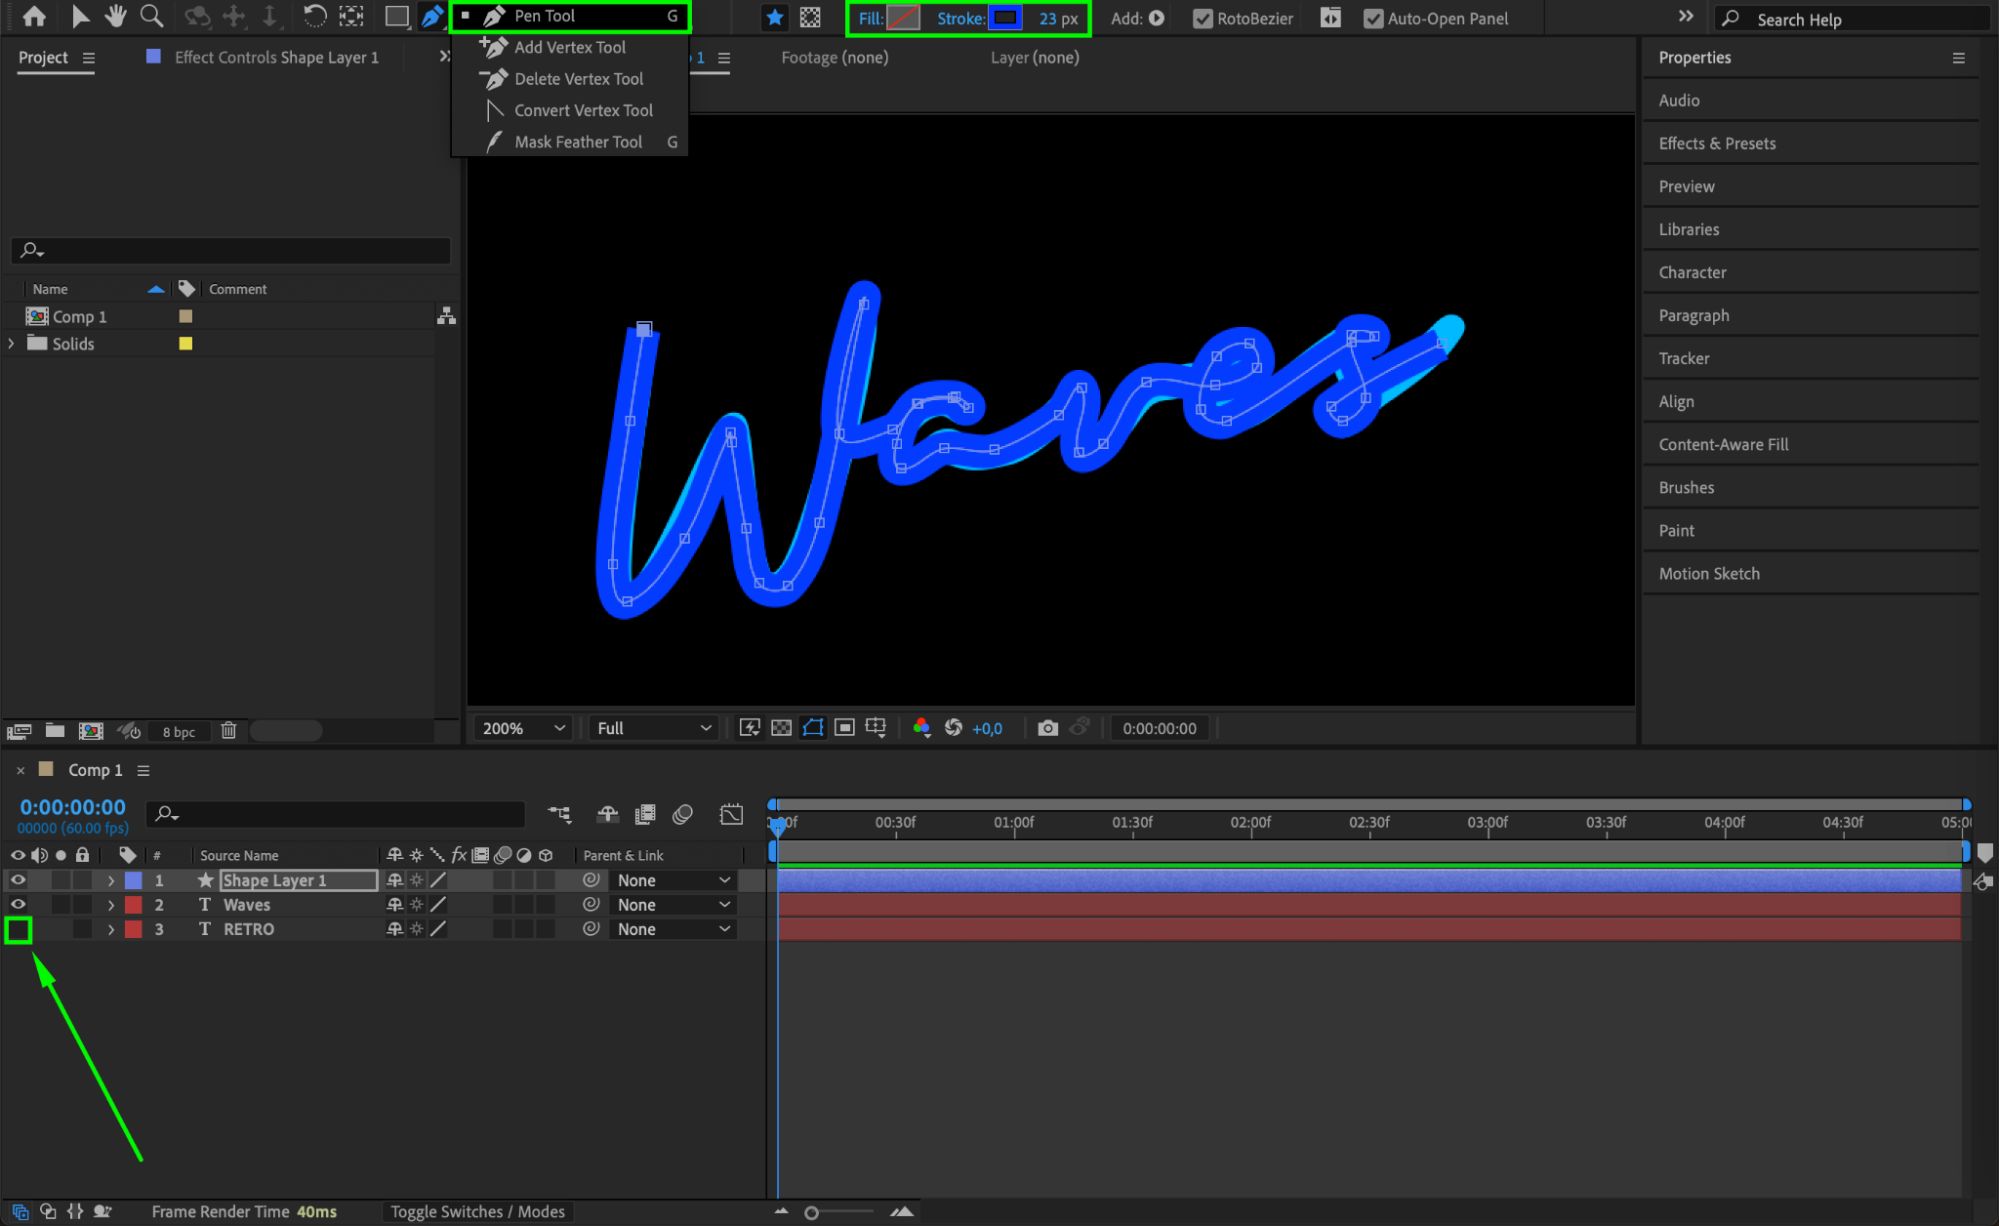 Step 5: Add Trim Paths to the Shape Layer
Hide the cursive text completely. Expand the properties of the new shape layer. Under Contents, click the Add button and select Trim Paths. This will allow you to animate the stroke as if it is being written over time. Step 6: Animate the Write-On Effect
Inside the Trim Paths settings, find the End property. Move the CTI (Current Time Indicator) to the start of the timeline, set End to 0%, and click the stopwatch. Move the CTI to the middle of the timeline and set End to 100%. This will animate the stroke from start to finish.
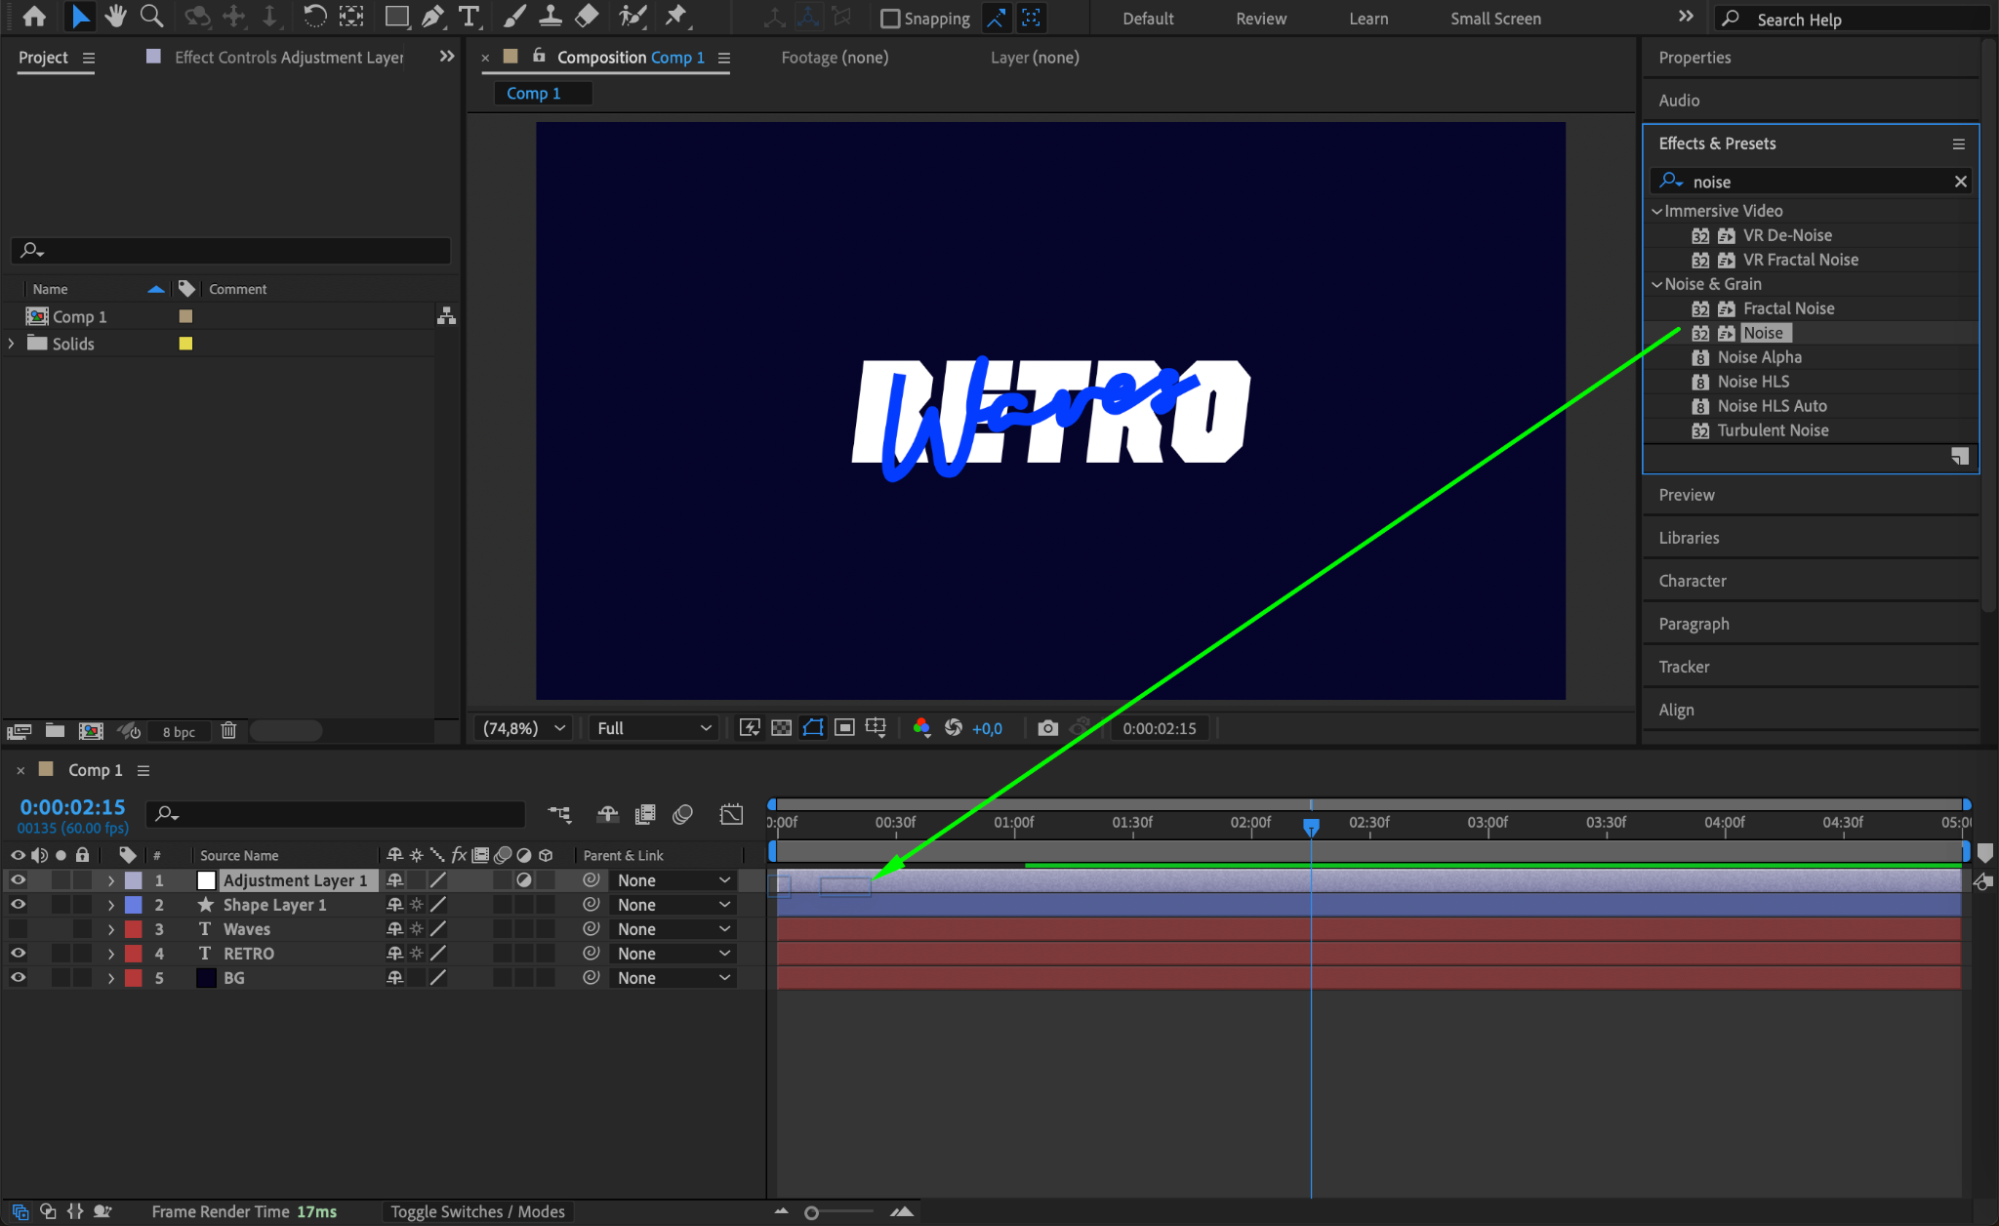
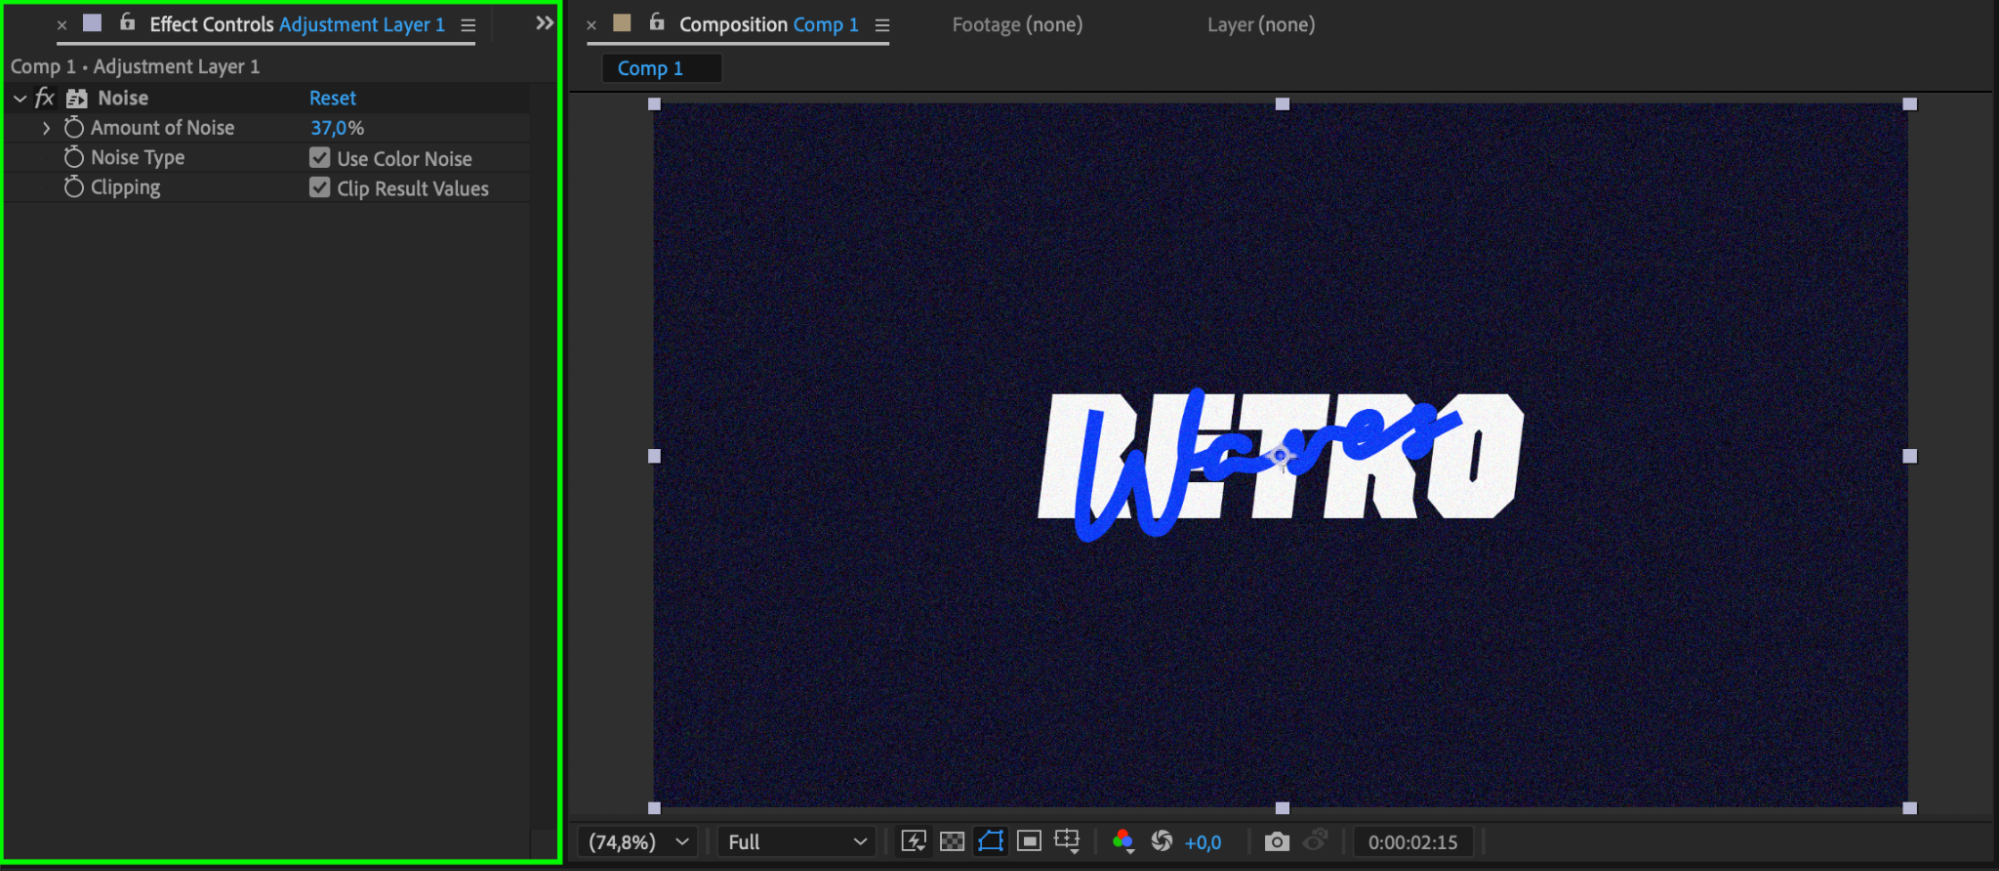
 Step 7: Create an Adjustment Layer and Add Effects
Go to Layer > New > Adjustment Layer. You can apply effects such as Noise or Grain to the entire composition to make the animation look more organic.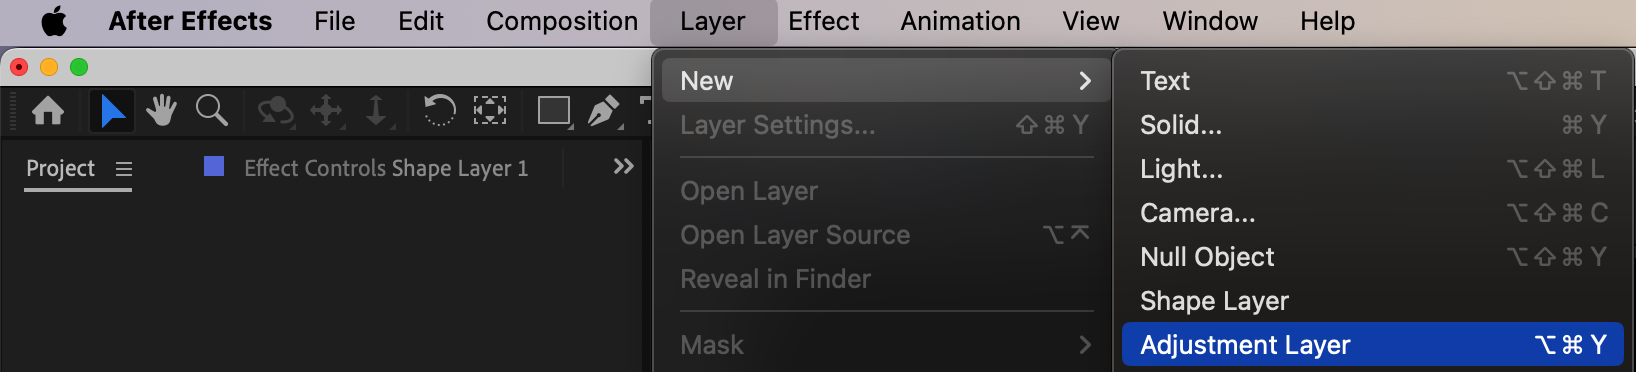
Step 8: Apply Glow to the Background Text
Turn the visibility back on for the original background text layer. Apply a Glow effect from the Effects & Presets panel to add a soft glowing look around the text and make it stand out.
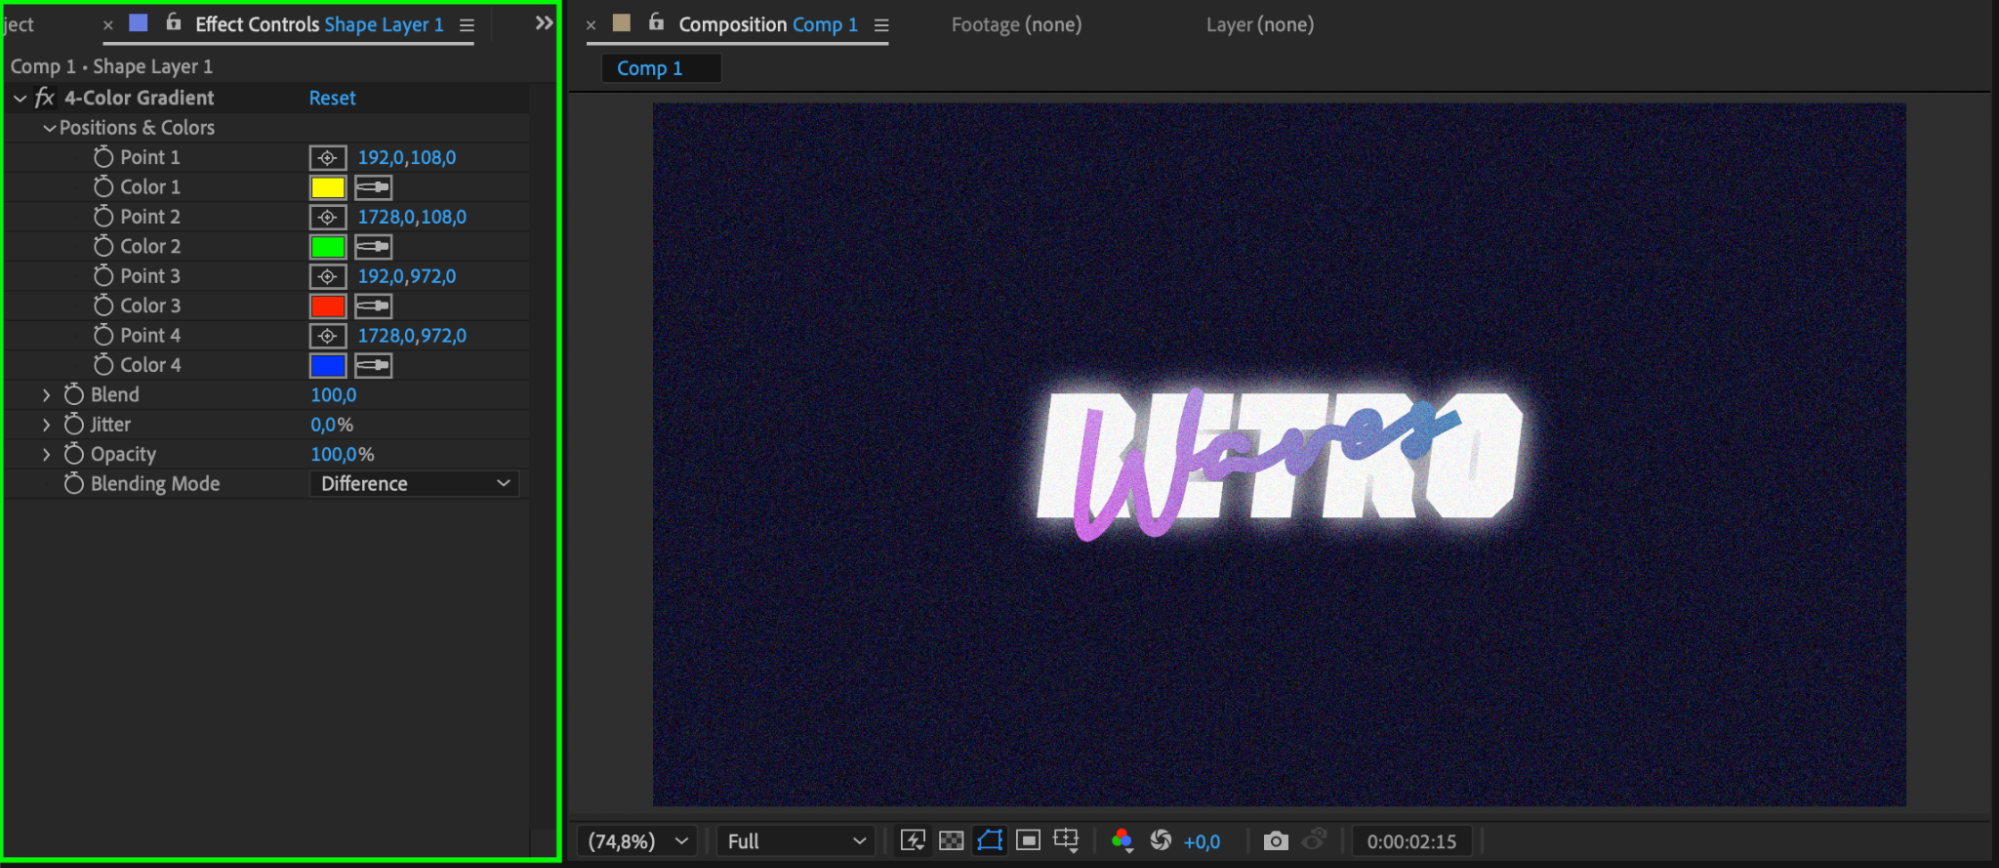
 Step 9: Stylize the Animated Stroke
Select your animated shape layer (the cursive path) and apply a 4-Color Gradient or any other style effect you prefer. This adds color variation and makes the write-on animation more vibrant and visually interesting.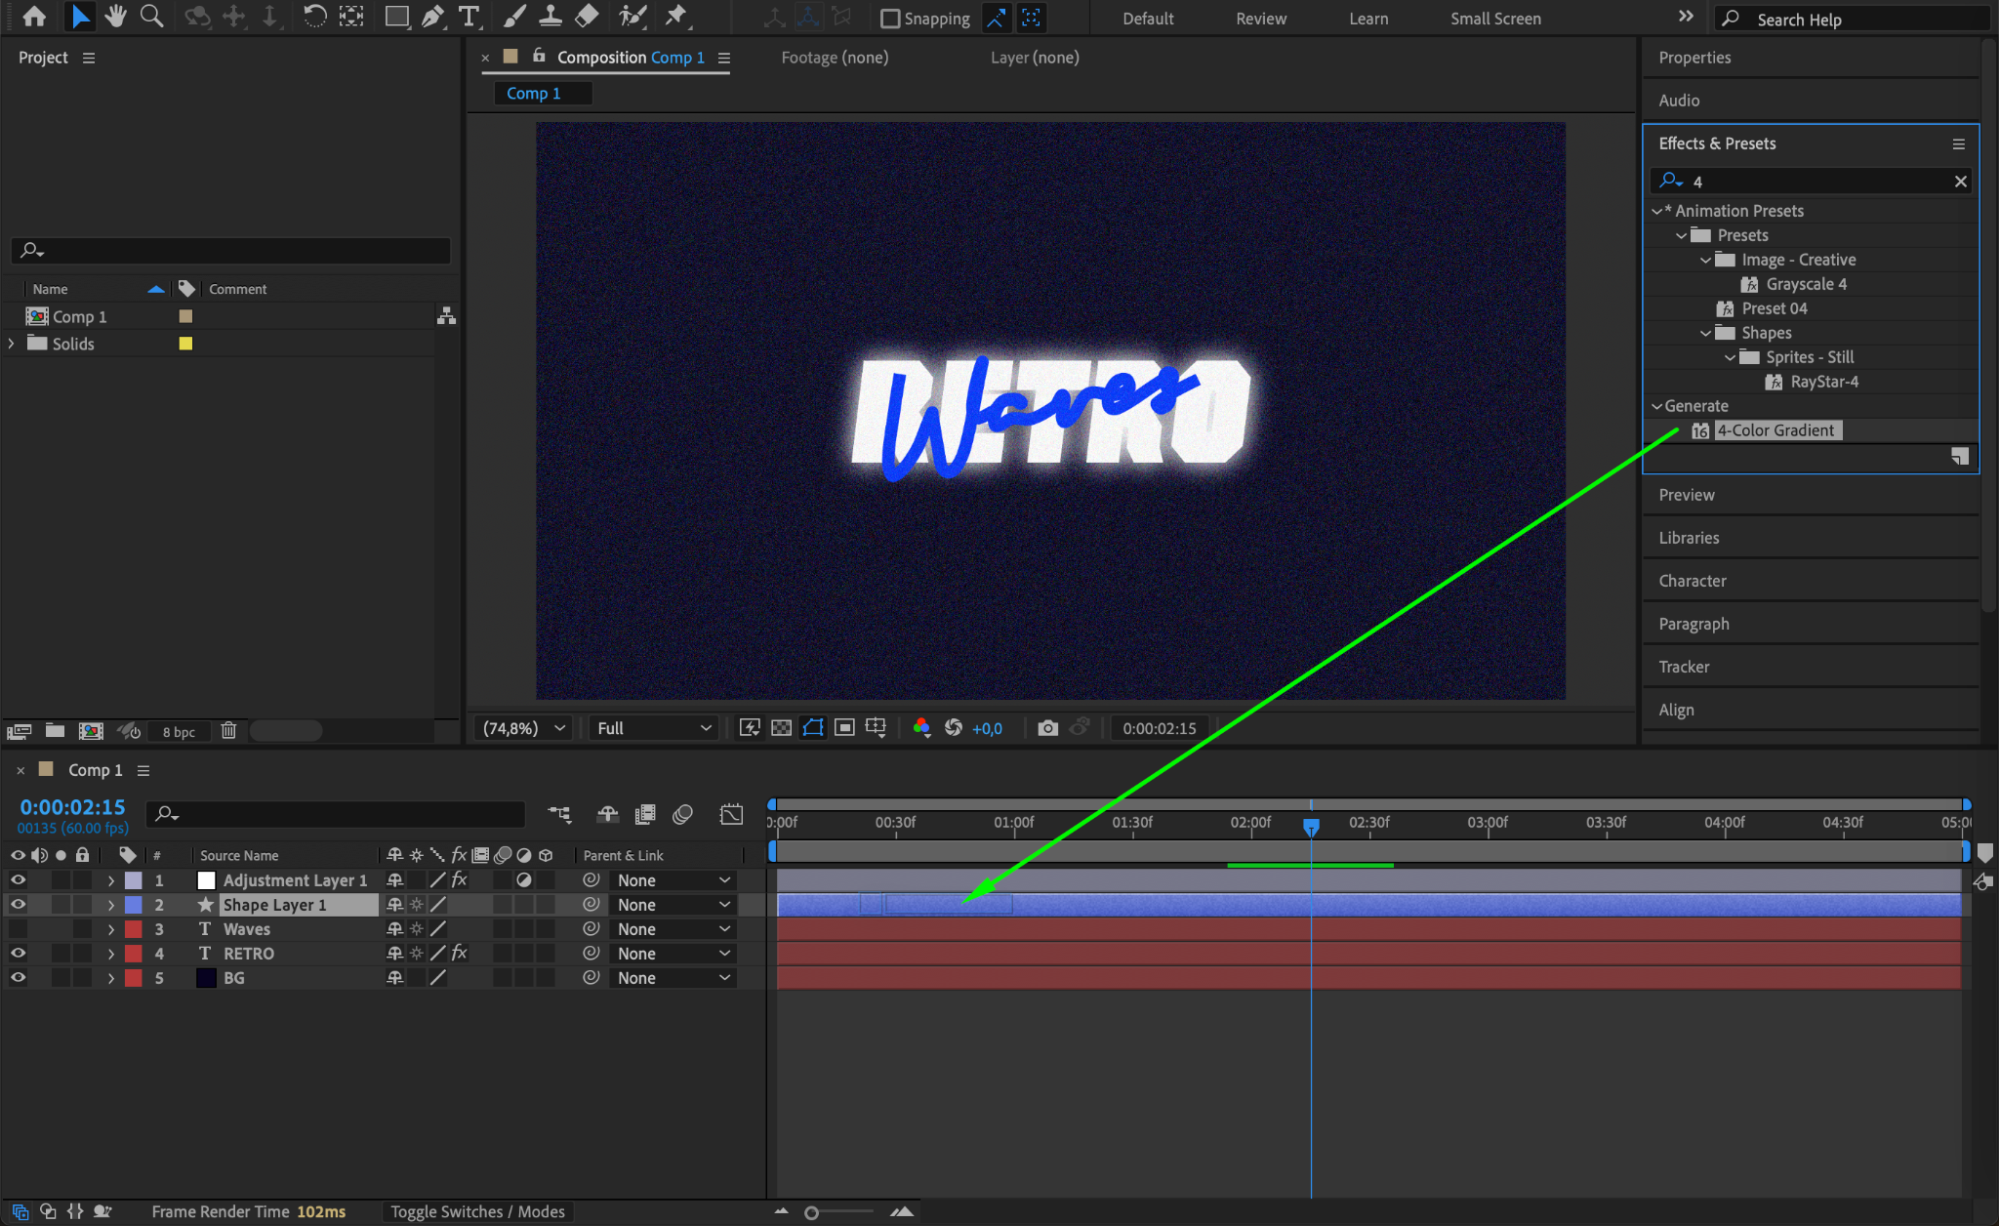
 Step 10: Preview and Render
Press the spacebar to preview your animation. Fine-tune the timing and effects if needed. When satisfied, go to Composition > Add to Render Queue and export your final animation. Conclusion
Creating a write-on text effect in After Effects is a simple and creative way to add elegance and style to your videos. With just a few tools like the Pen Tool, Trim Paths, and some visual effects, you can create professional-looking animations in no time.


